Qidi X-Max 3: First impressions

I’m probably going to end up with a variation on this. It is annoying.

I’m thinking about this fan:

I may cut out the noise-creating grille from the back plate and put the fan on the outside. No need to worry about static ratings that way. And I’d rather use an adjustable buck converter than the resistor to slow the fan down.

3 Likes

8 posts were split to a new topic: X-Max3 fails to boot after attempted software update

I’ve been getting this error repeatedly lately, mostly while pre-heating rather than while printing.

I’ve asked support about this. No idea whether it’s a hardware or software problem!

Edit: They responded in less than 30 minutes to let me know that it was a hardware issue and to ask for information to ship me replacement parts. :+1:

Qidi brought the price for the X-Max 3 down another $50 to $899 for black friday, effective today. I’m curious whether that will come back up afterward, given that the lowered $719 price for the sightly smaller K1 Max with lidar and camera doesn’t appear to be a black friday sale.

They said that this was from either the USB-C cable (which they run CAN bus over) to the board on the print head being bad, or the board on the print head overheating. They are sending a new USB-C cable, as well as parts to replace the rear cover with one with a fan in it, and piggyback the fan from the heat sink cooling fan with a small breakout board.

Additionally, they are also sending a soft magnetic sheet and an inductive sensor. because the bltouch is more fragile than an inductive sensor. I had already bought a spare bltouch, and I prefer the bltouch and the magnets on the aluminum surface, so I plan to keep those in reserve for if both bltouch sensors break.

1 Like

I could tell from the smell while printing ABS that the carbon filter was no longer filtering as much, so it was time to refresh it by leaving it out in the sun for a few hours.

I removed the lid from the filter box and tried to remove the carbon pack.

I could not get the carbon pack back out around the rail at the back of the printer. After quite some work, I finally decided to unscrew four screws at the back that looked like they might be how the box was held in place.

One of the four screws had a stripped socket, and the only way I got it out was an ez-out.

Support later confirmed that they expect you to unscrew the box each time you charge the carbon filter. The screws are self-tapping plastic screws, not machine screws; they do not engage with permanent threads. Support didn’t offer to replace the defective screw, saying only “It’s not a problem to use it with only three screws.” (Edit: later, support offered to send new threads and a new box if there was a problem using it with only three screws.)

It looks like the filter box could instead be screwed to the outside of the printer, enabling filter maintenance more easily. :thinking:

Edit: Except that the provided screws are too short for that.

I ended up designing a replacement.

1 Like

I ordered that Noctua fan. It’s possible to install it on the inside even though it’s twice as thick as the original. I didn’t modify the panel at all.

I used one of the $1 LM2596 buck converters to convert from 24V to 12V.

I used a JST connector to connect wires to the buck converter, which I then soldered to the “omni” connector that came with the fan. I used liquid electrical tape as strain relief for the wires at the solder points, and put kaptan tape across the bottom of the LM2596 board and around the wires to isolate it.

Because I installed the original screws instead of substituting 25mm M3 screws, I had to install them with the heads inside the frame, and they protrude out the back. I could have either used this mounting technique with shorter screws or used longer screws through the hole fan case and avoided the problem, but now I’ll just occasionally scrape my hand and mutter when I am working on the back of the printer. I didn’t modify the printer at all, and could trivially replace the original fan if I wanted to.

I tucked the LM2596 board in among the wires at the bottom of the electronics bay and there’s plenty of room now.

I can still hear the fan if I’m listening for it, but it’s so much quieter. And it probably cools the board even better, because the 20mm deep fan has higher static pressure than the 10mm deep one it replaced.

1 Like

I now have two working cameras in the printer.

The official camera flickers when I soft-PWM dim the case light. The one I set up doesn’t. So I’m back to full-power case light.

Because I’m using wired ethernet now, I removed the USB wifi dongle that the printer ships with, which gave me an additional port in order to be able to plug in both cameras.

The way I plugged it in, /home/mks/klipper_config/webcam.txt is the camera I first added, and has

camera_usb_options="-d /dev/video4 -r 1280x720 -f 10"

Then for the official camera, I’m using this device spec in /home/mks/klipper_config/webcam1.txt:

camera_usb_options="-d /dev/v4l/by-id/usb-SYX-230524-J_HD_Camera-video-index0 -r 1280x720 -f 10"

To make sure they are found, as root, systemctl restart webcamd and then less /var/log/webcamd.log

Then I have configured two cameras in Fluidd. The front camera in my setup uses /webcam2?action=stream (which, confusingly, comes from webcam1.txt), and the rear camera uses /webcam/?action=stream (which is from webcam.txt) I’d rather things made more sense, but I don’t really want to customize this printer more than I have to.

1 Like

They shipped me three really separate things.

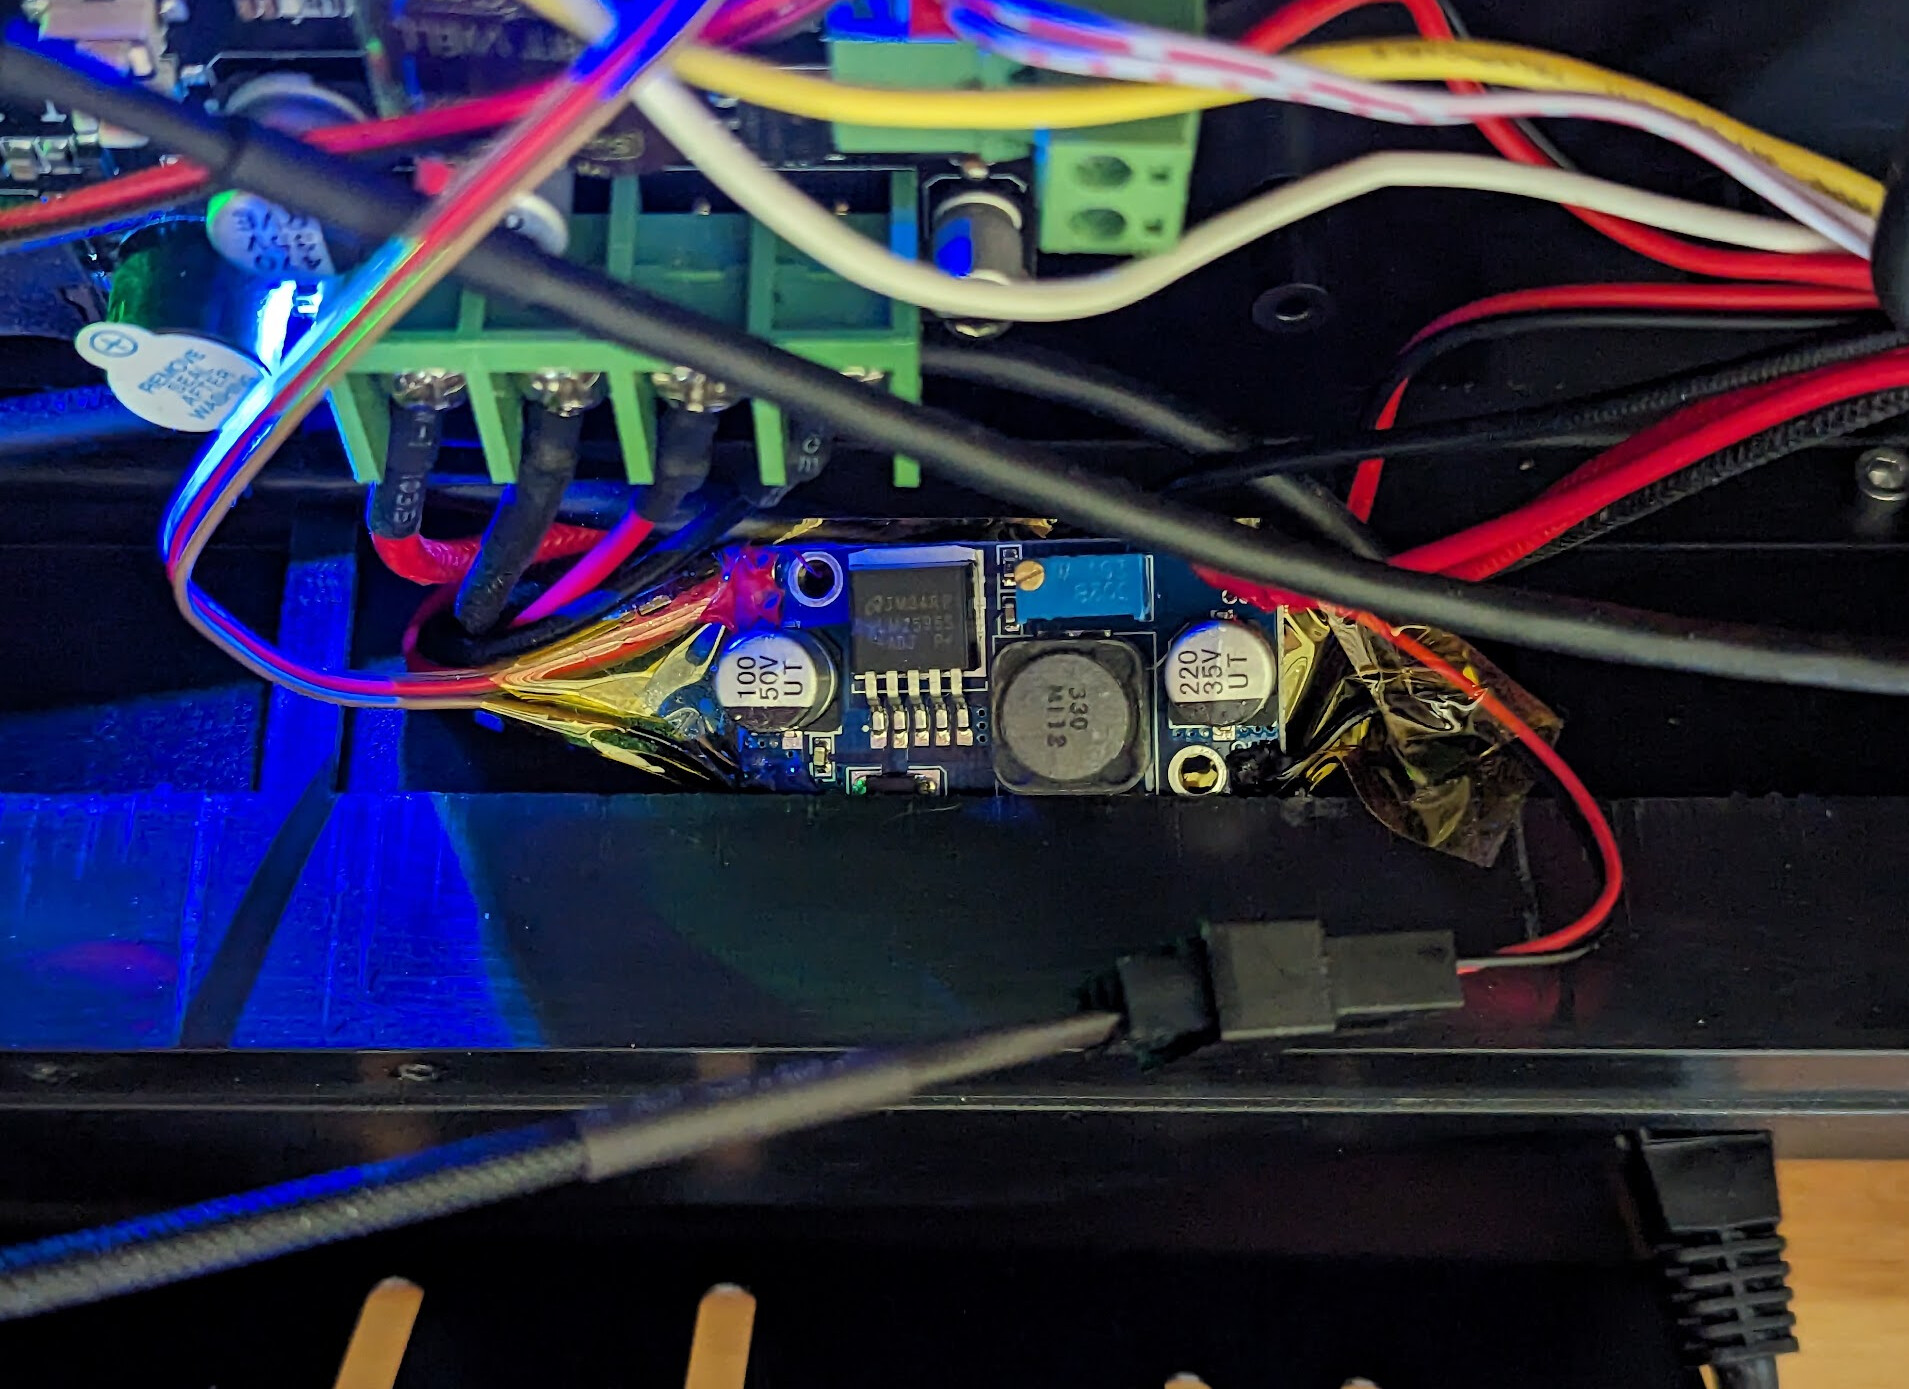
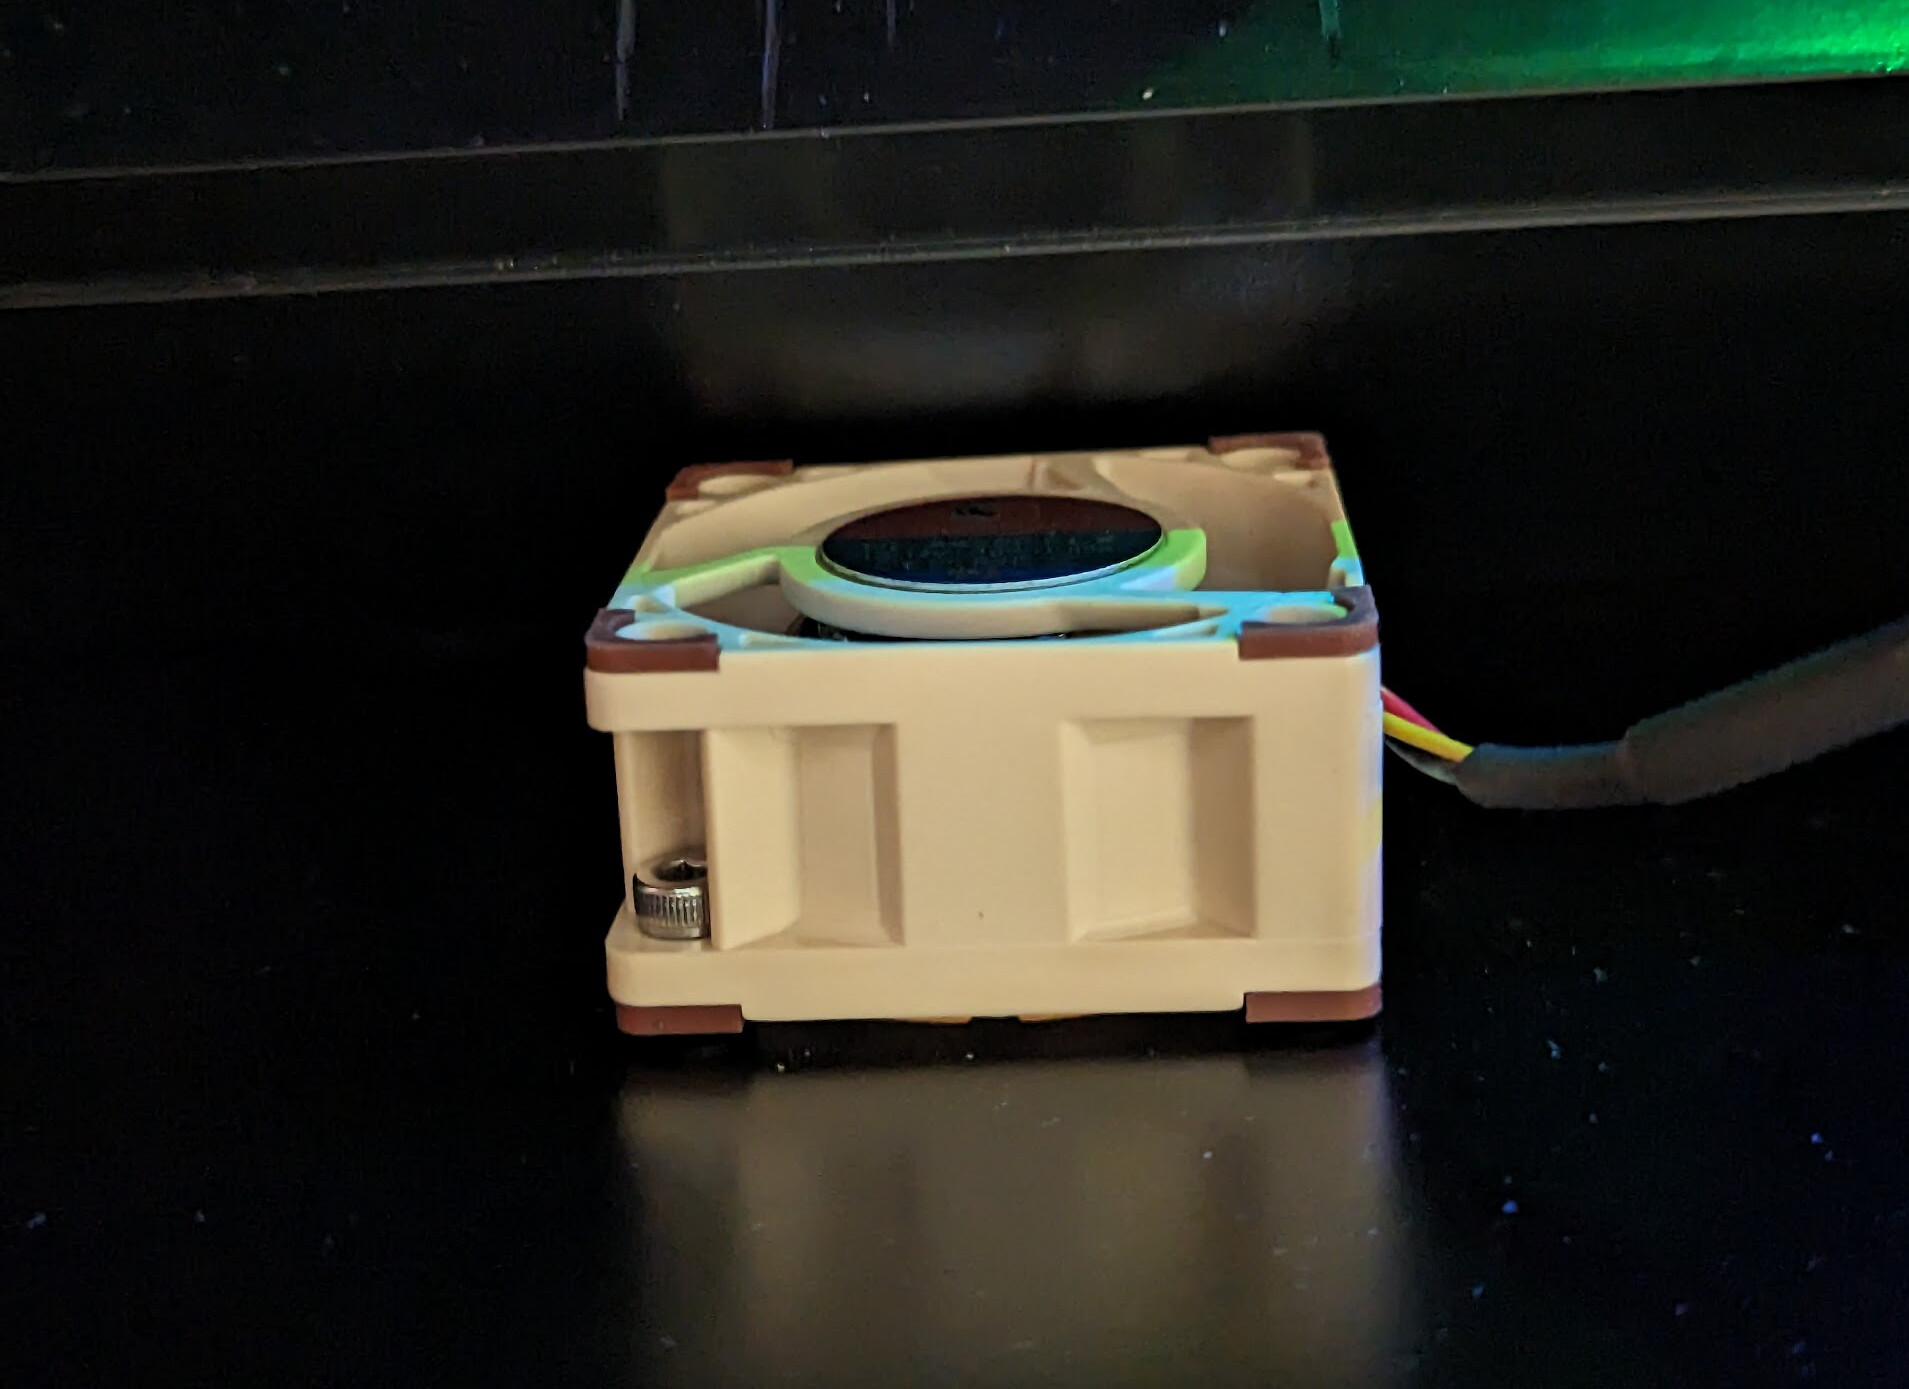
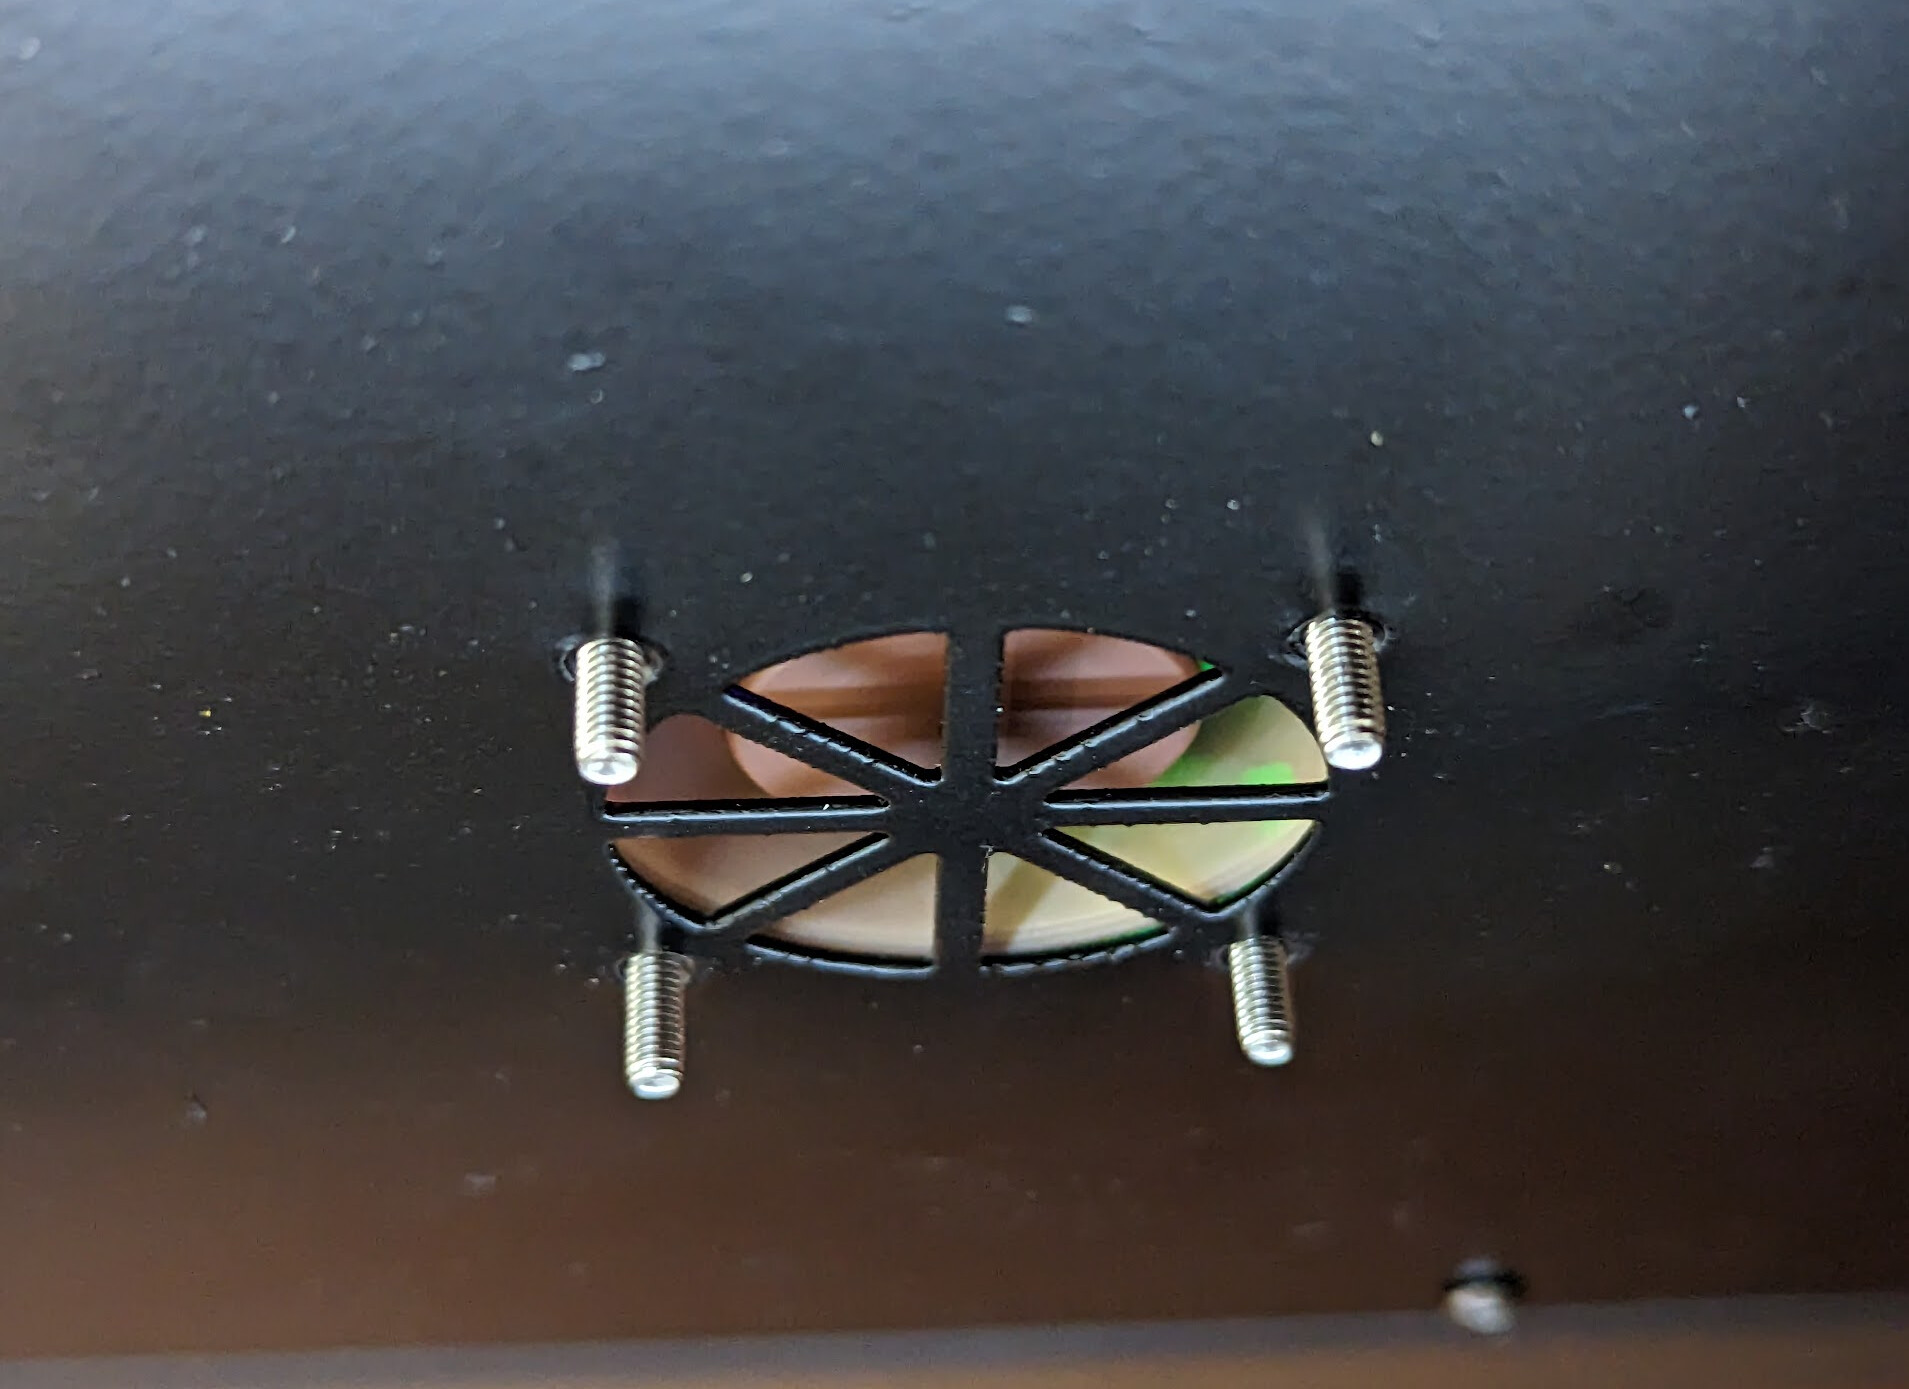
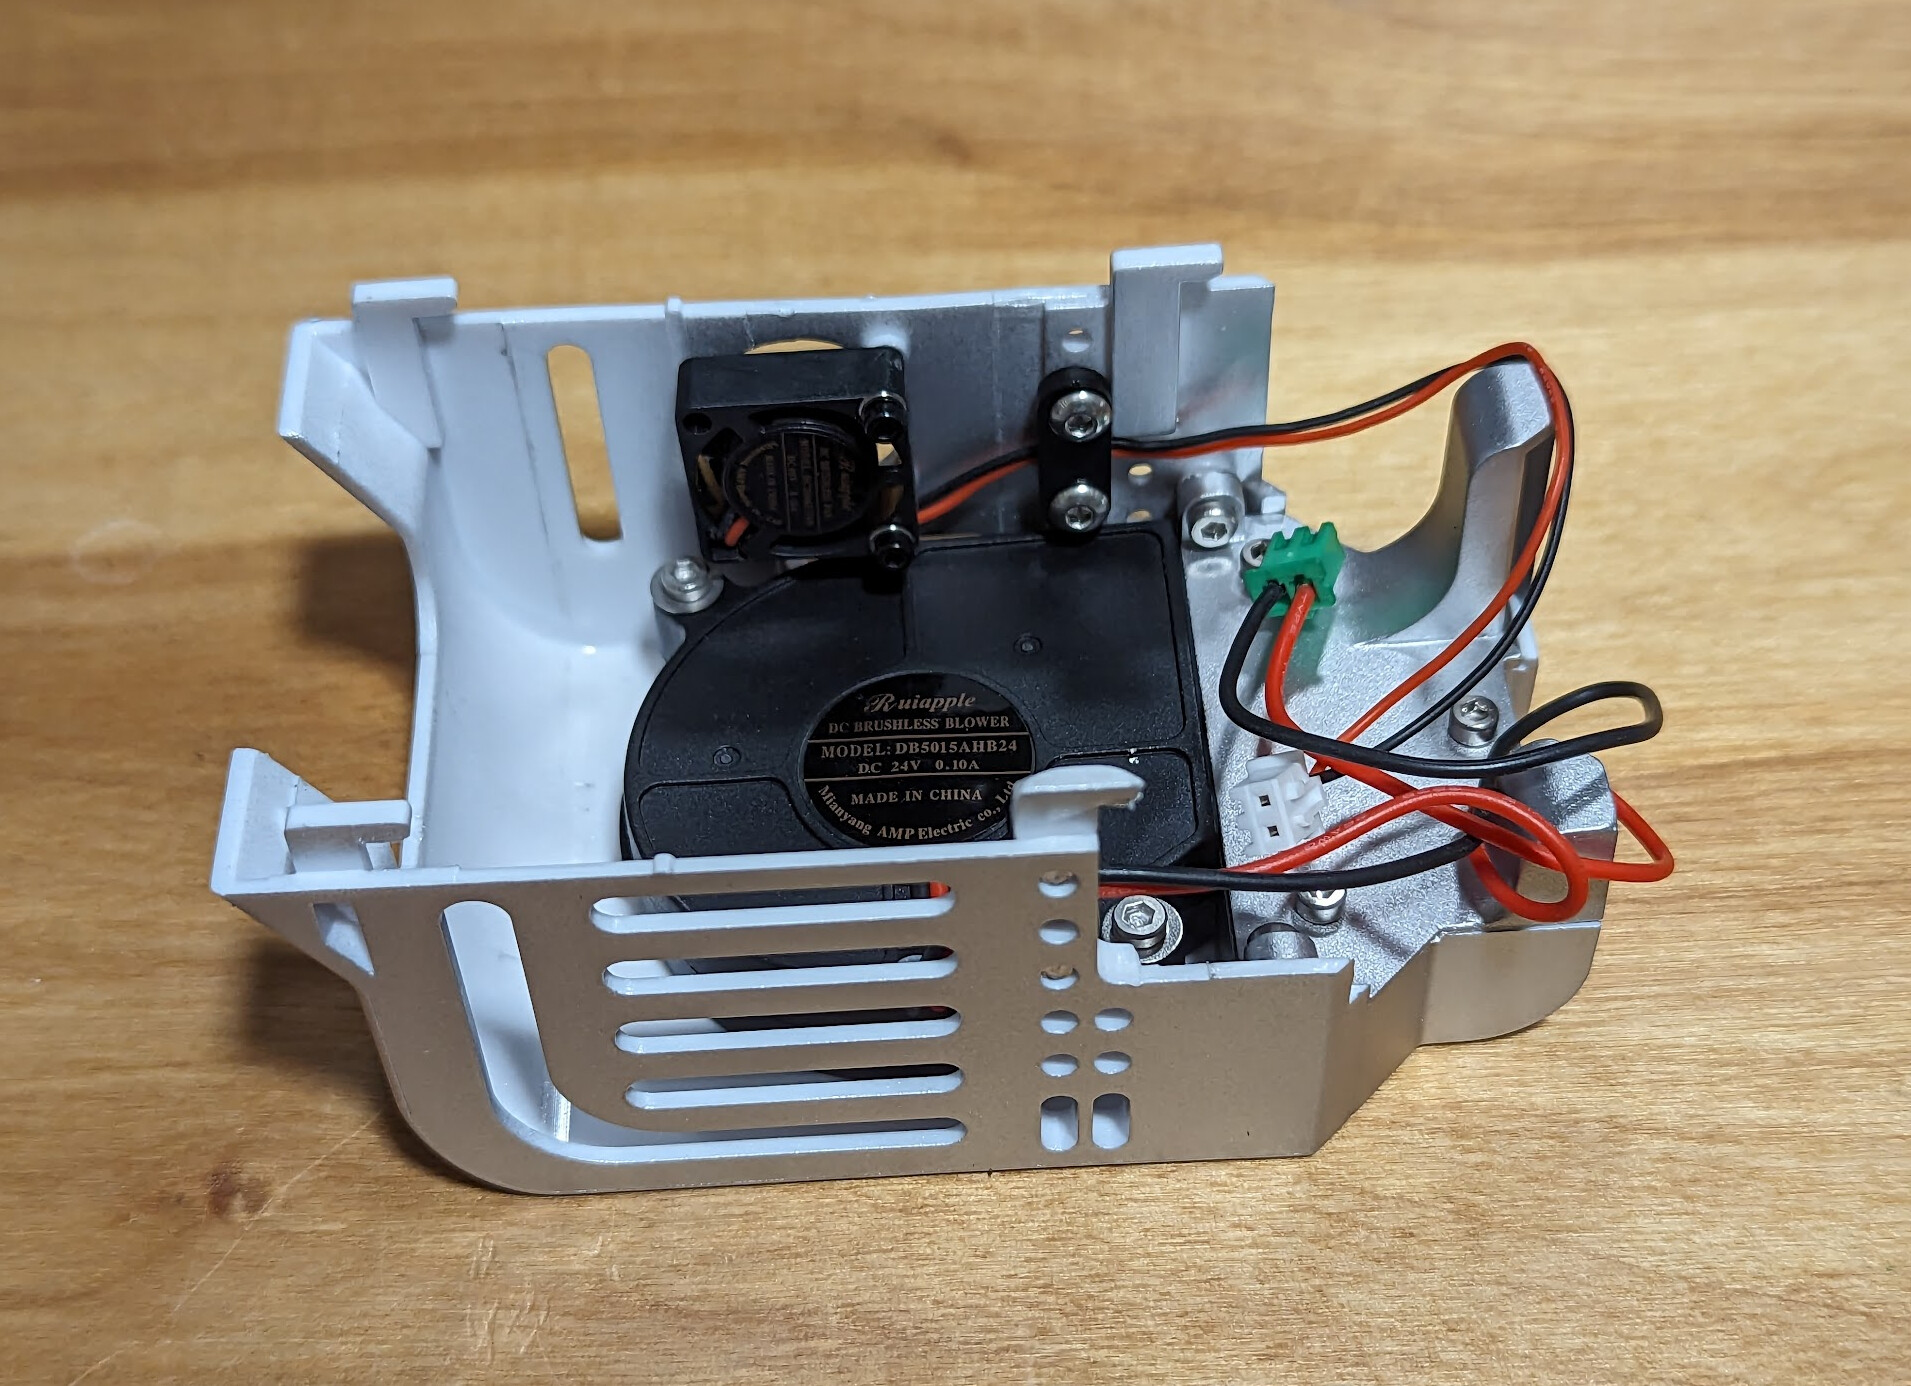
A new front and back cover, which have more air slots and each have a tiny 20mm 5V fan. This includes a breakout board with a regulator to power them from the same circuit as the 24V heat sink cooling fan. There were already unpopulated holes for adding this breakout board. I guess they had planned ahead to have room for a fix for something?

This I installed, and re-ran input calibration since I clearly changed the mass of the print head.

It was nice to get a new front cover, since one of the four tangs on the original cover had already broken.

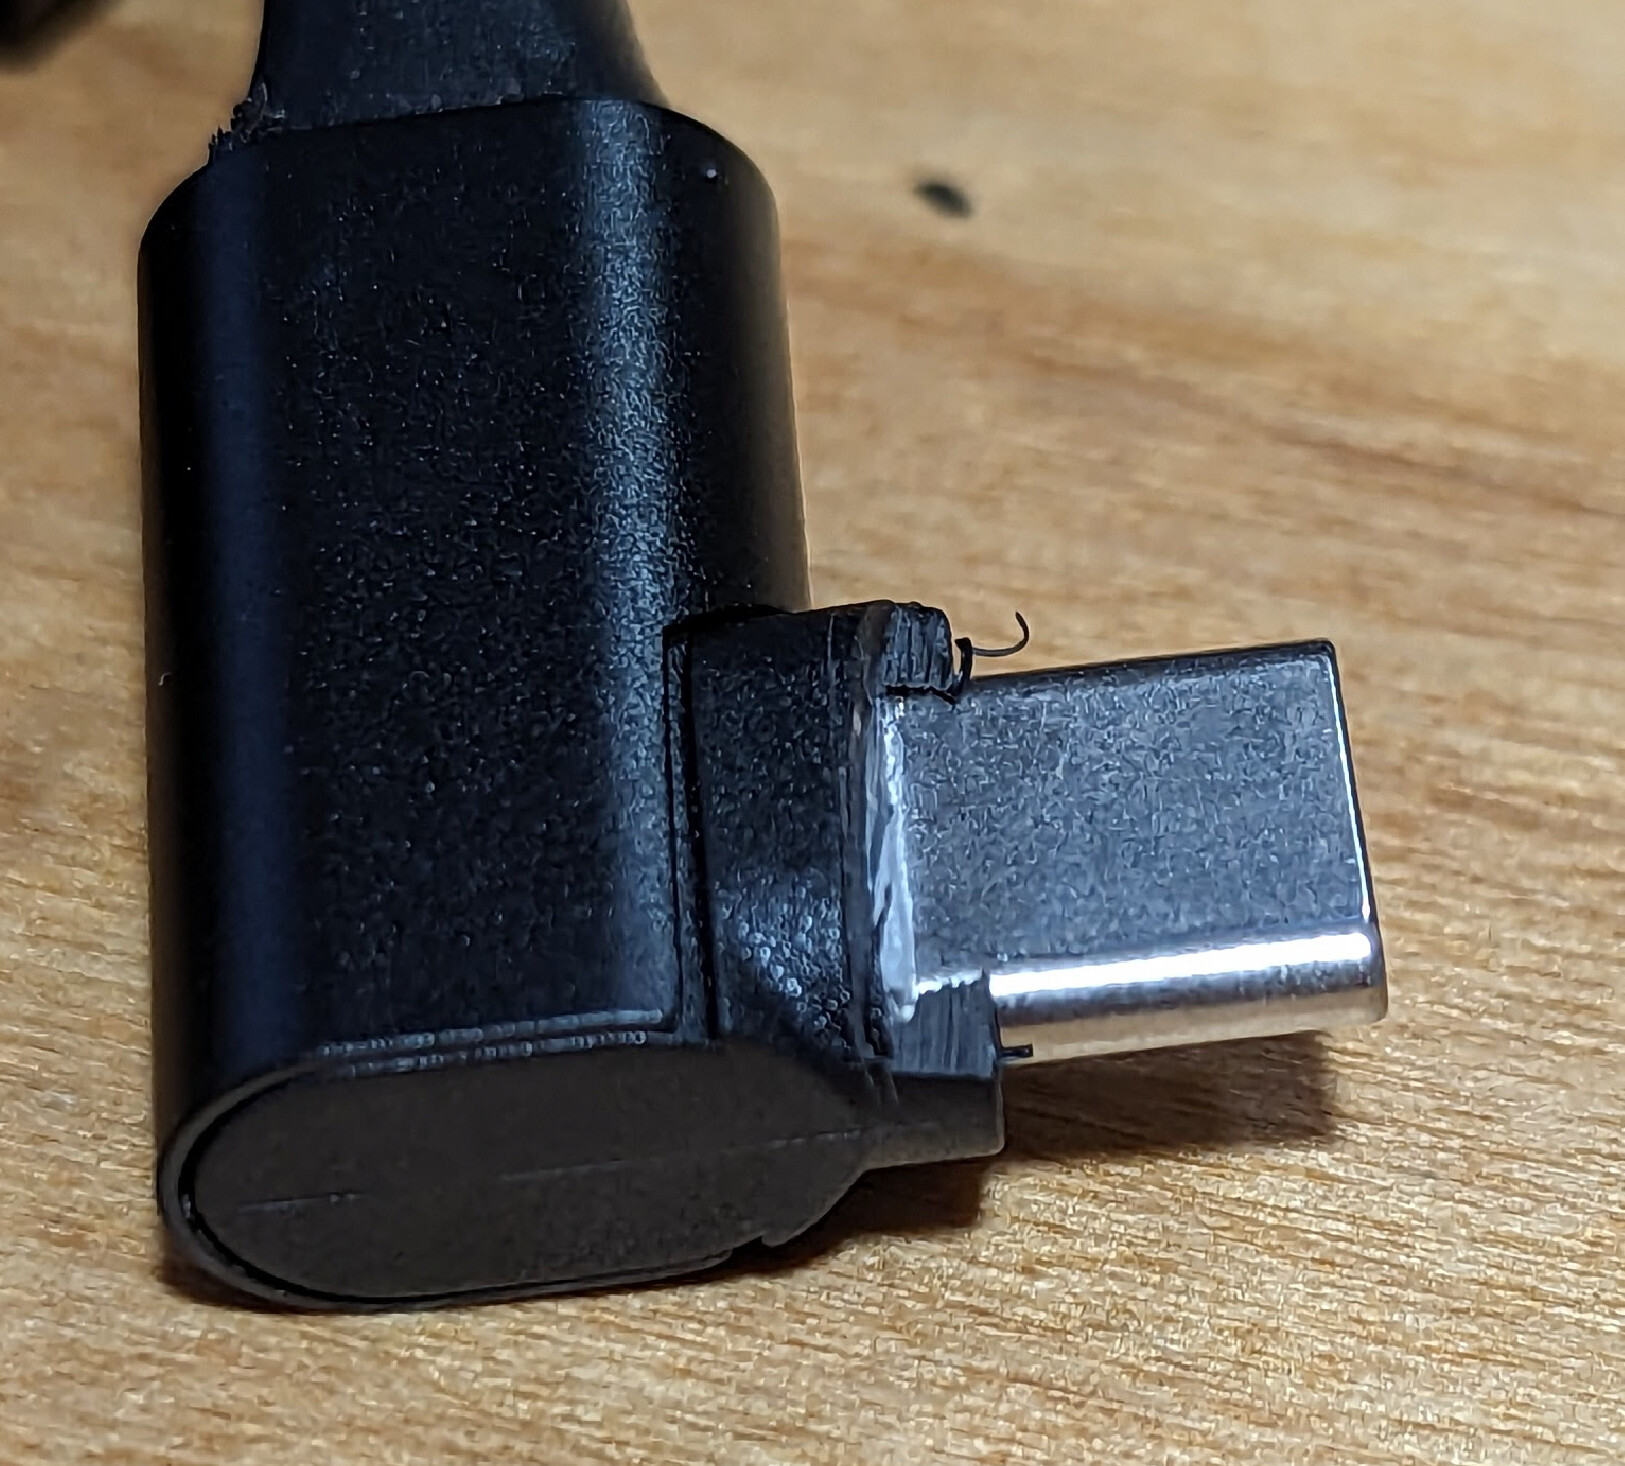
A new USB-C cable (over which they run CAN) and installation hardware for it. Interestingly, they must have tested and bought some off-the-shelf cable, because both ends are clearly hand-trimmed to fit.

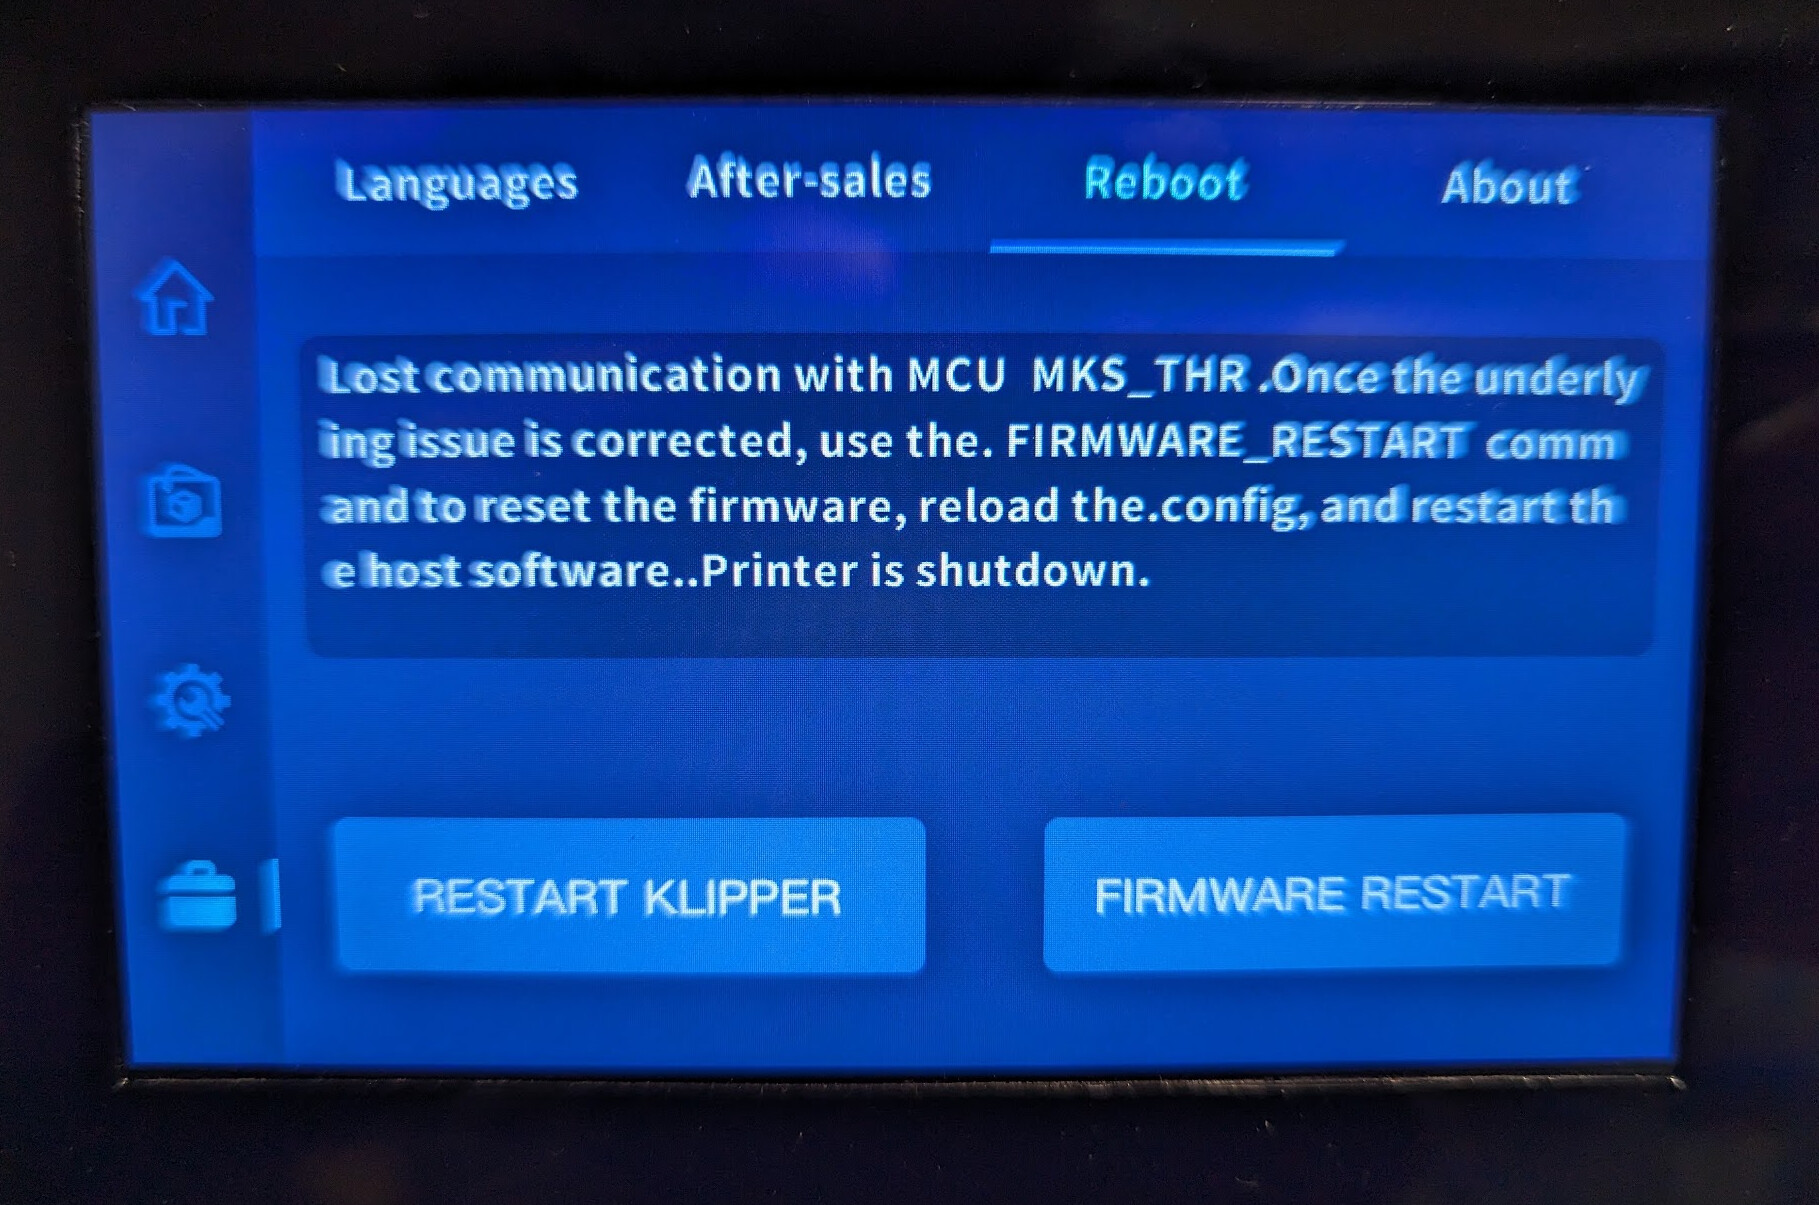
For this, I am waiting to see whether I keep getting the error before taking the effort to install it. If I do keep seeing it, my USB-C cable is probably defective. But it’s rather a pain to route through and install, and since I normally got that error message with the printer at rest rather than during a print, I doubt that the cable is the problem. For this, I’ll wait and see.

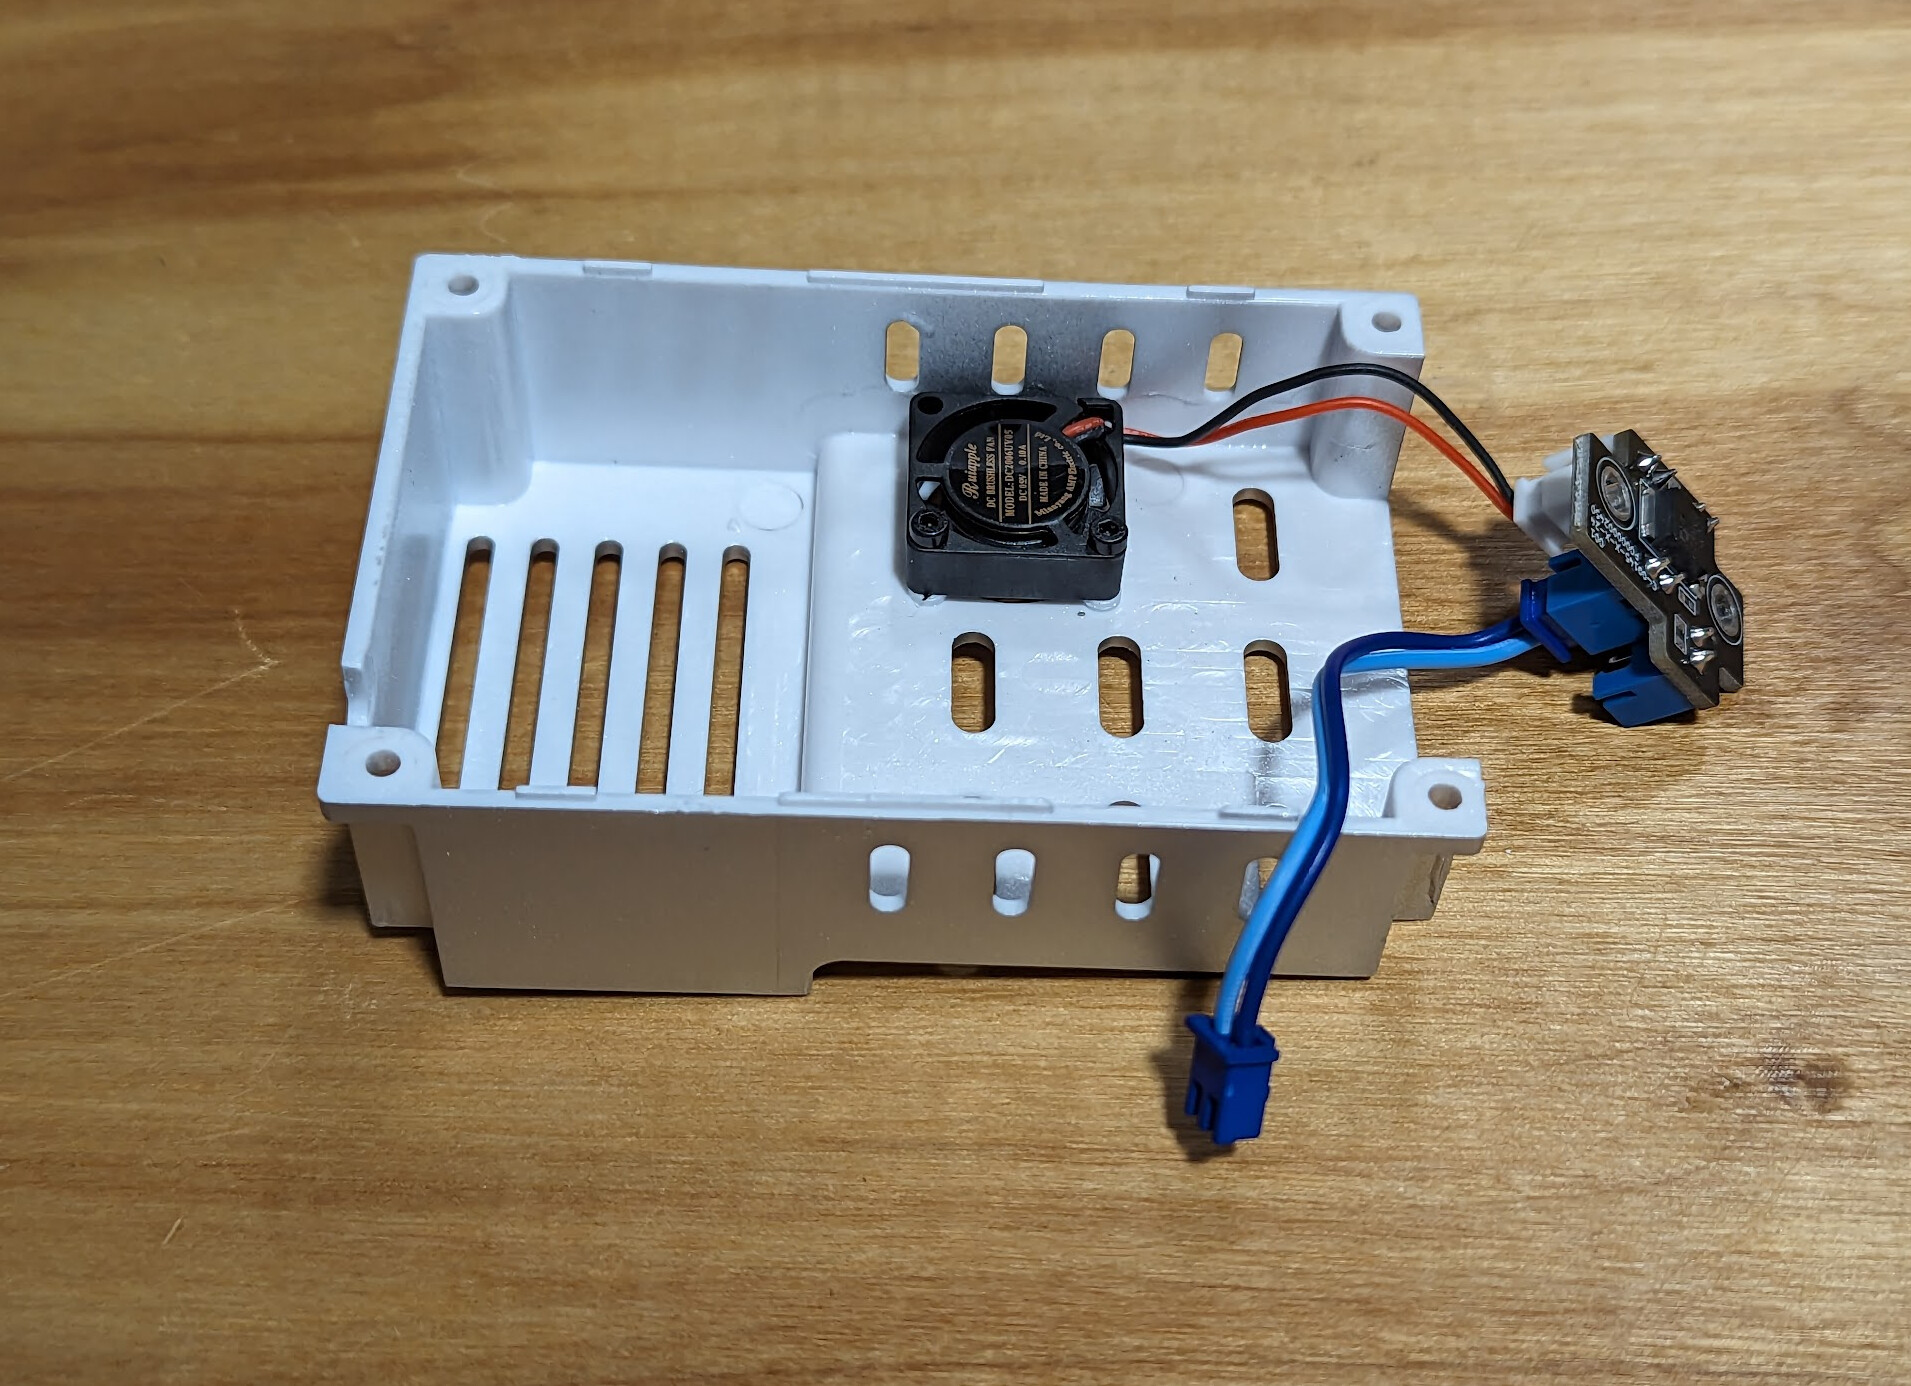
An inductive bed leveling sensor and a soft magnetic bed since the 9 hard high-temperature magnets would make the inductive sensor not work. They said that it’s more robust than the bltouch. However, I already bought a spare bltouch just in case this one breaks, I want to be able to swap out surfaces without having to have different profiles for different surfaces, and I don’t want to add a soft magnetic surface when they already ship high-temperature magnets. In fact, I’ve been pondering changing my other printer over from an inductive print head to a bltouch after experiencing failure of an inductive sensor, and in doing so I would also like to change from soft magnetic sheet to hi-temp rare earth magnets.

Fortunately, the new cover with the new fans still fits around the bltouch, so I’ll keep the soft magnetic sheet and inductive sensor aside for now. If I go through two bltouch sensors, I can always reconsider.

This does make me assume that they have switched to shipping new units with the inductive sensor.

1 Like

Hi Michael, I Had this issue for the past two months… they sent me 3 different usb-c cables. Its works until it doesn’t. The erro occurs mostly when printing ABS with chamber heater ON. Bought a high quality usb-c(with ground) and so far so good.

I replaced the magnets with the soft bed but Im still using the bl-touch. Bed leveling improved a lot. The downside is, when printing larger/longer prints, the bed plate tends to lift/pull from the soft magnet. Im countering this by printing larger stuff diagonally. Im wondering if the inductive sensor will be even better for auto leveling. Let me know if you try it.

A post was split to a new topic: Configuring chamber heating for OrcaSlicer on Qidi

Can you provide a link to the good cable you bought?

That confirms to me that I don’t want to switch. I’m not finding bed leveling to be a problem and I like the strong hold of the high temp rare earth magnets.

Hi Michael, I bought the cable locally. It’s Ugreen usb-c cable. I purchase two of them, one rated as 60W and the other 100W. The 100W one had the same problem. So I stick with the 60W version. Be aware that some triming around the connector is necessary to fit the cable properly.

1 Like

Kingroon is now making an assortment of “three eyes” nozzles in the right length for the X-Smart/Plus/Max 3 series. I haven’t ordered or tested them, but there’s a possibility they will help take more advantage of the fast speeds possible on this printer, since extrusion rate is the biggest limiting factor as far as I can tell.

Now the same price is a Christmas sale… :smiling_face:

I did take them up on this offer and paid a few dollars in shipping to get the smooth bed sheet. It has a fairly thick soft gloss surface on the smooth side; another reason to stick with bl-touch and not have to have a separate profile for each different kind of build plate. The other side of the plate is textured PEI (goldish, not the black-ish “HF” of the default plate), and that textured side is still labeled.

I’ve only printed ABS on it, and adhesion has been fine so far.

Price keeps falling. $899 on the site, and $50 off with coupon code MERRYXMAS right now.

I finally read this thoughtfully — the hot end has a 115W heater, I think. That makes me worry about a 60W cord. :grimacing:

I was worried about that too, but so far it’s the only cable that works. The new cable they sent me had the same issue after some time, only when using the chamber heater. I read in a different forum, that the real problem is the adapter plate chipset overheating. That’s why the add those little fans to the printer head.
Do you think this 60w cable could cause some damage or even catch on fire?