TL;DR
With about four hours of printing of about 120g of plastic, eight 6x3mm magnets, 4 M3x12 screws, one 1/8" or 3.2-3.5mm drill bit, some steam-activated carbon, and some HEPA filters, you can upgrade your Qidi X-Max 3 to vastly improve its handling of ABS fumes, and optionally add microplastic filtration not included with the printer originally.
Backstory
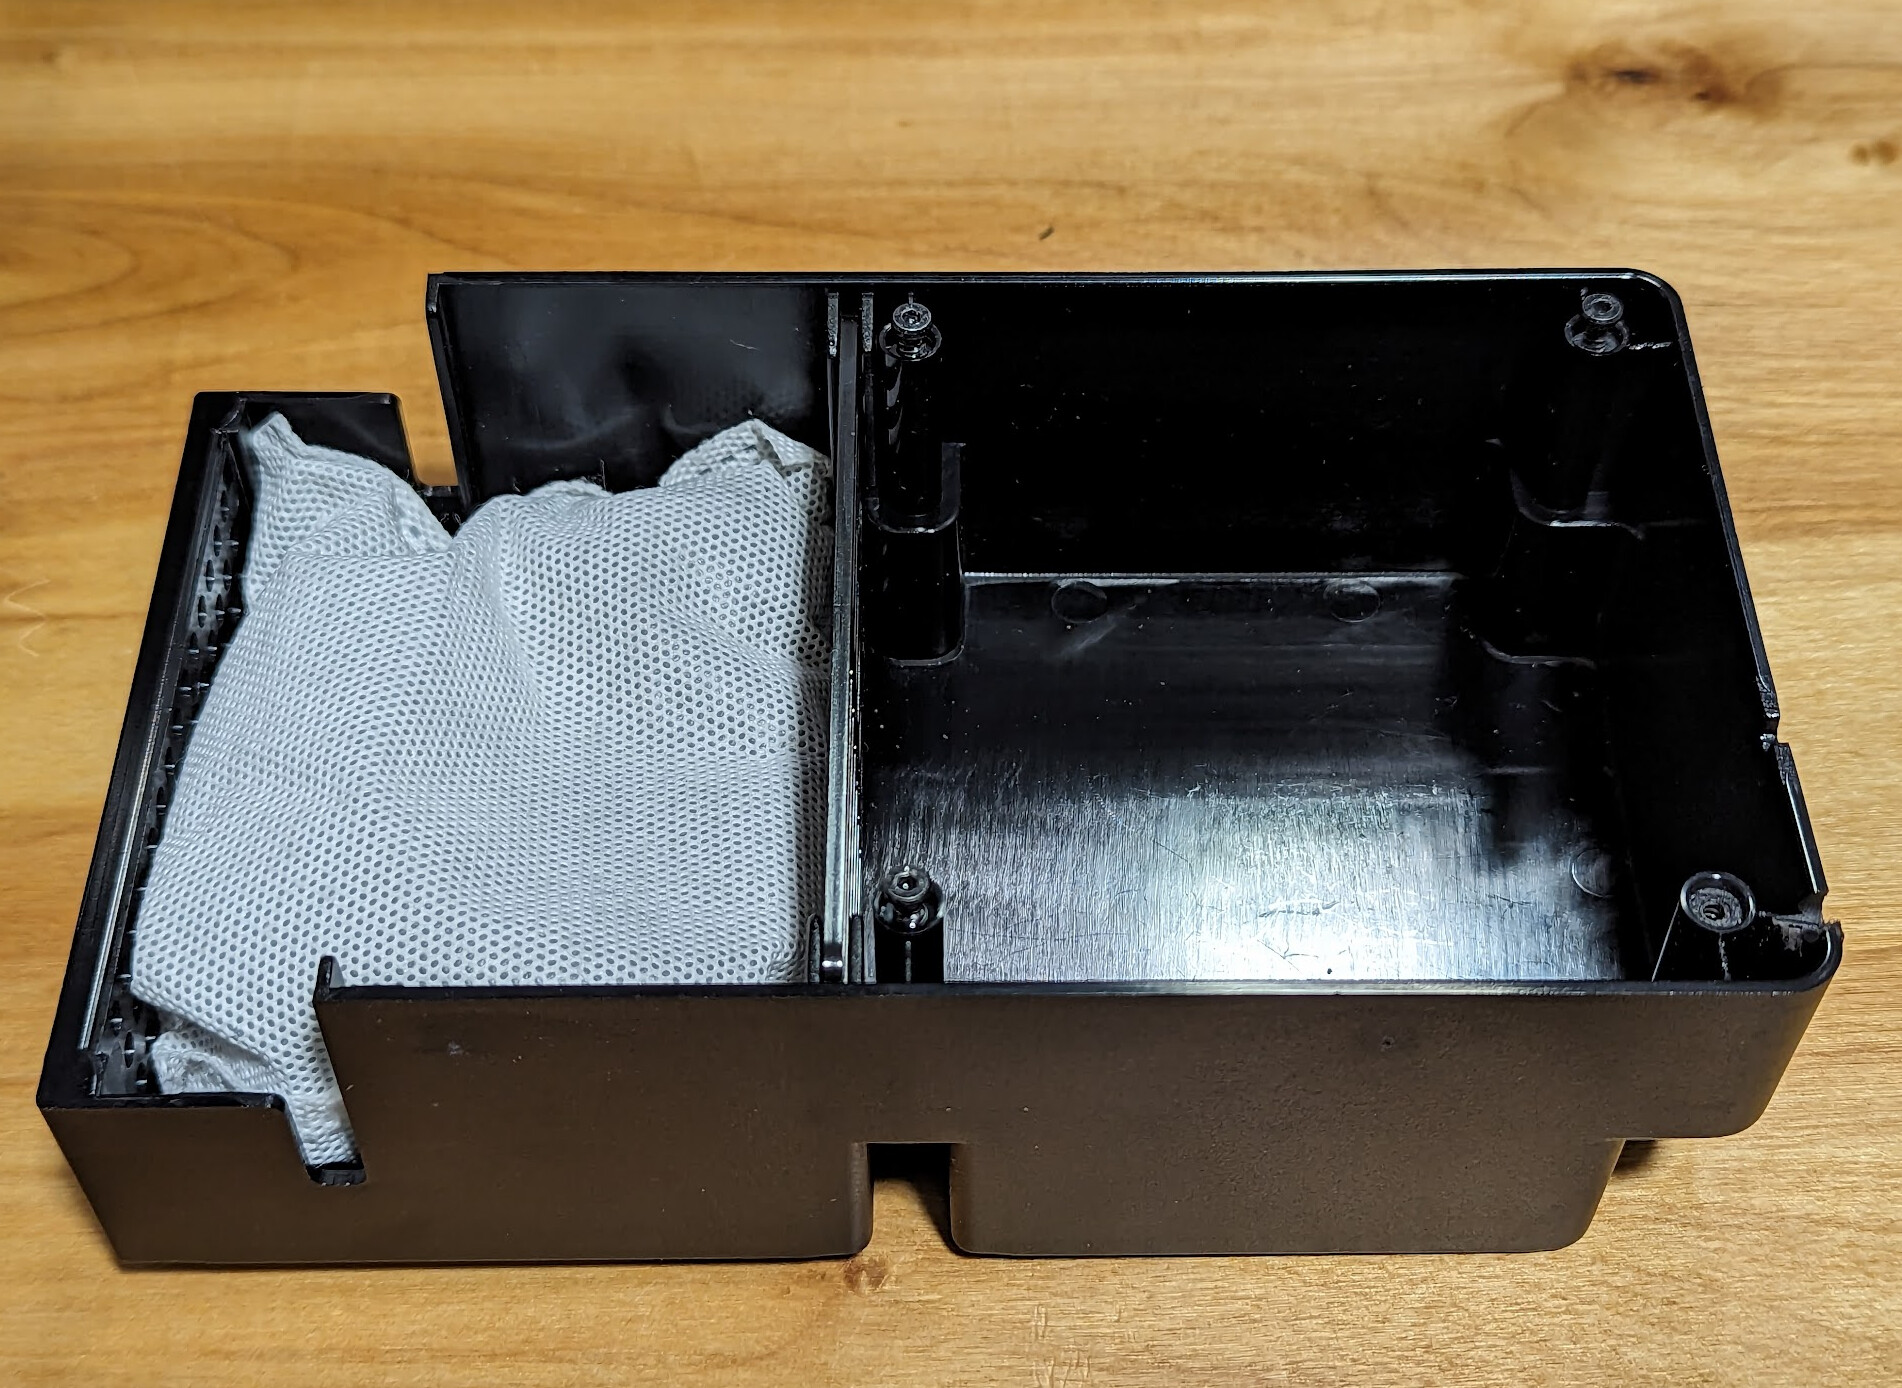
The Qidi X-Max 3 has a problem that appears to be unique in its line: The carbon packet in the carbon filter is very hard to change. The X-Smart 3 doesn’t have a carbon filter, and the X-Plus 3 reportedly has a carbon filter that is easier to service. But the box in the X-Max 3 that holds the carbon filter pack is like a lobster trap. Easily in; not so easily out.
The box could easily enough be screwed to the outside of the printer instead of the inside, and then would be easy to service, except that the screws would need to be about 4mm longer. 12mm M3 plastic screws would do the trick, if you happen to have them handy.
But I really wanted to also have a HEPA filter, and to have a lot more carbon than is in the little bag that comes with the printer. I bought a large bag of bulk carbon pellets when I printed my Nevermore Micro v6 XL for my other printer, so I have plenty left, and I bought 21 of the 130mm x 40mm x 9mm HEPA filters, of which the Nevermore uses one at a time.
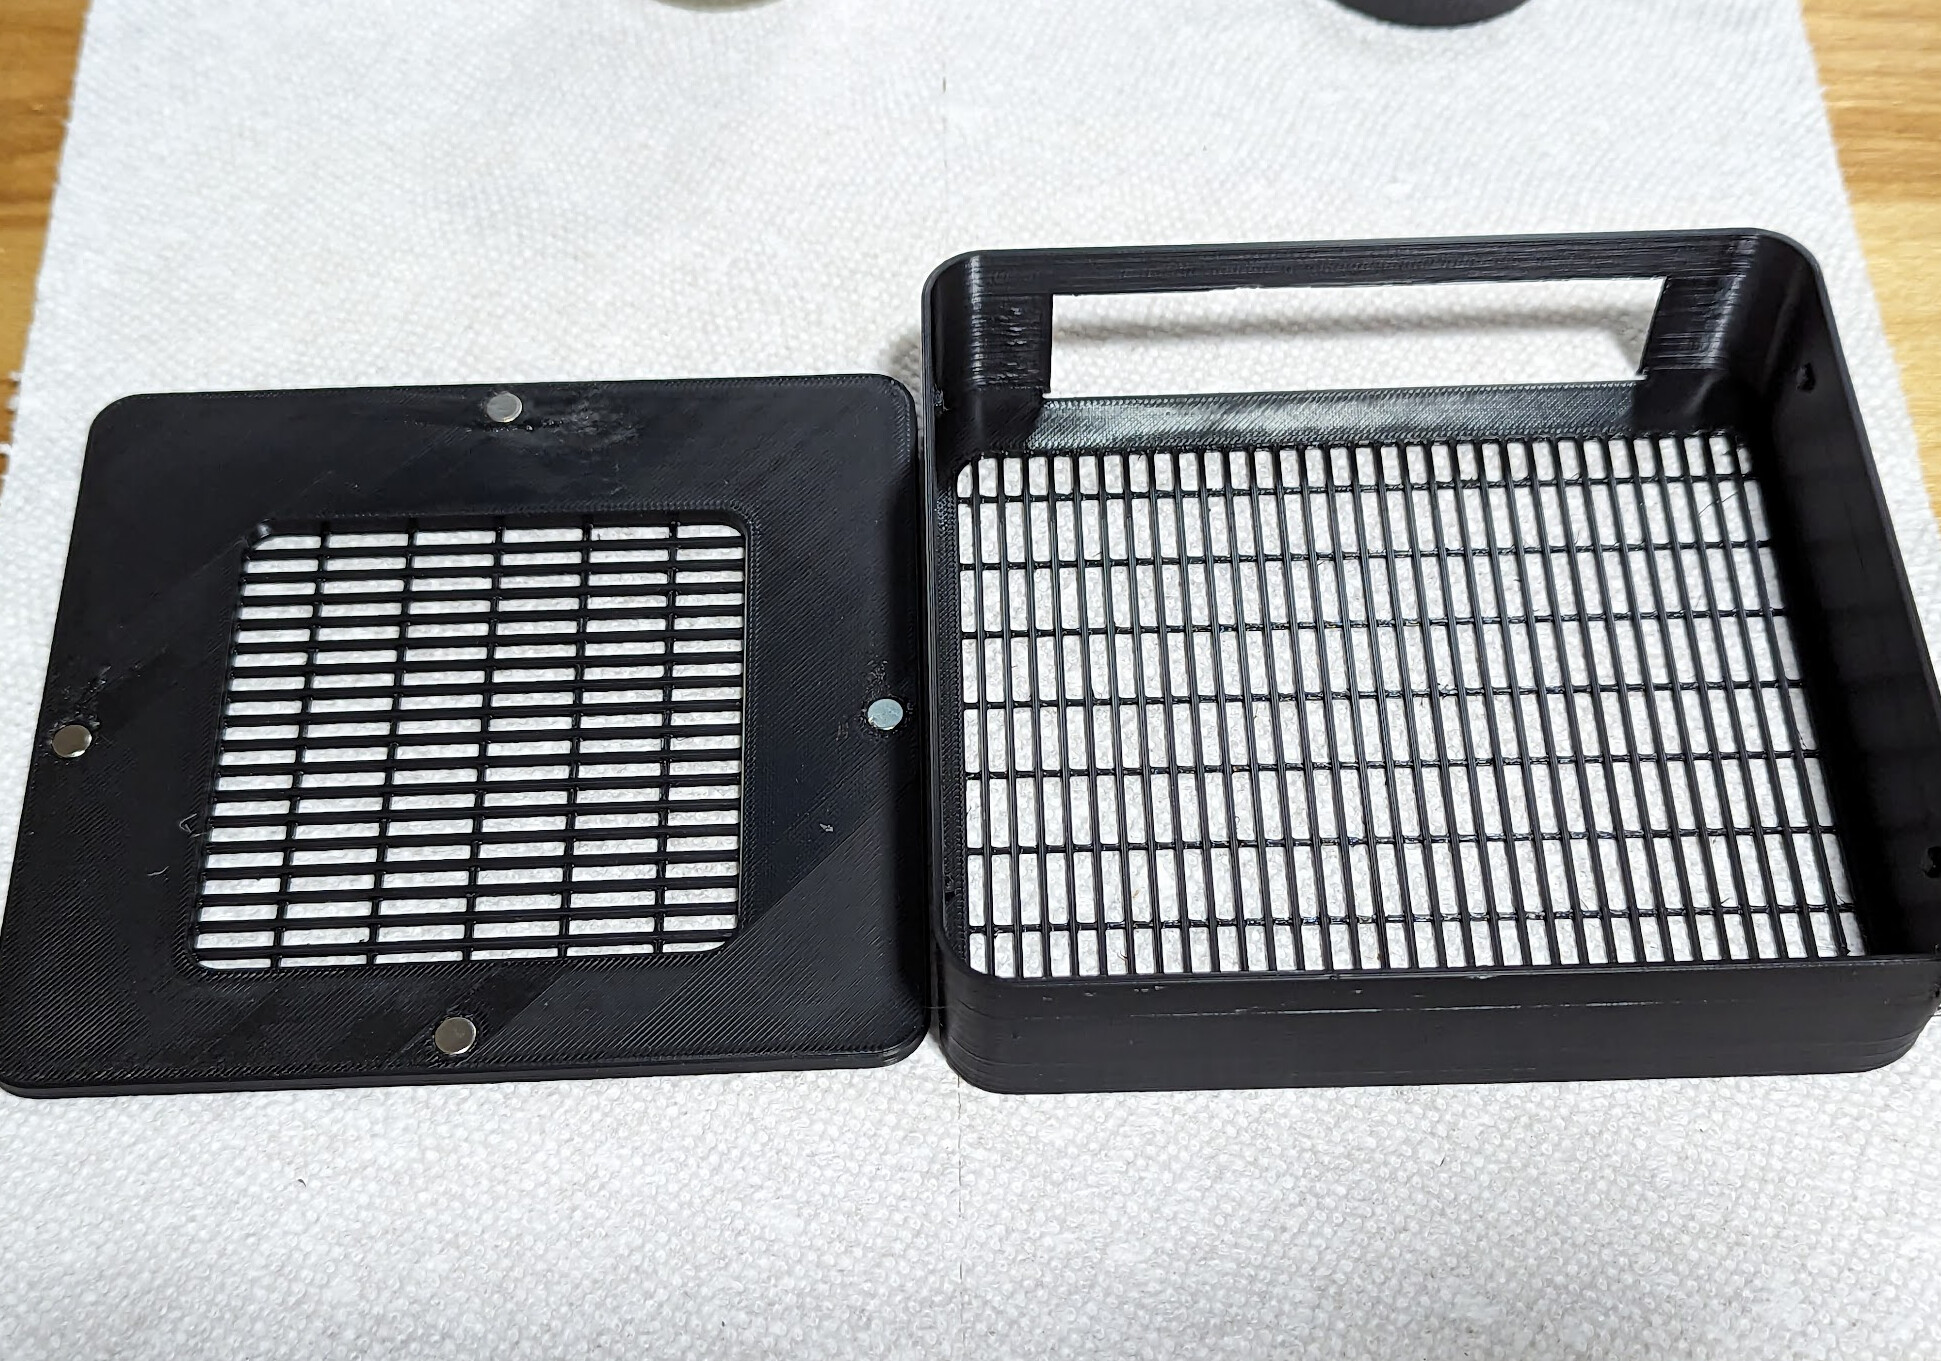
So I designed my own, in FreeCAD. It’s far better than what it replaced, and I’m providing all the files I have so you can modify it if you want.

The parts
- Eight 6x3mm magnets
- 4 M3x12 screws
- Steam-activated carbon pellets. Acid-activated will destroy your printer, so don’t gamble; pay for carbon that you know is safe, steam-activated. I chose to buy Nevermore-branded pellets to support the work that went into creating the Nevermore, which I use on my other printer.
- Multiple of 3 XIAOMI MIJIA G1 Mi 130mm x 40mm x 8mm HEPA filters, the same kind used on the Nevermore Micro v6 XL
Printing
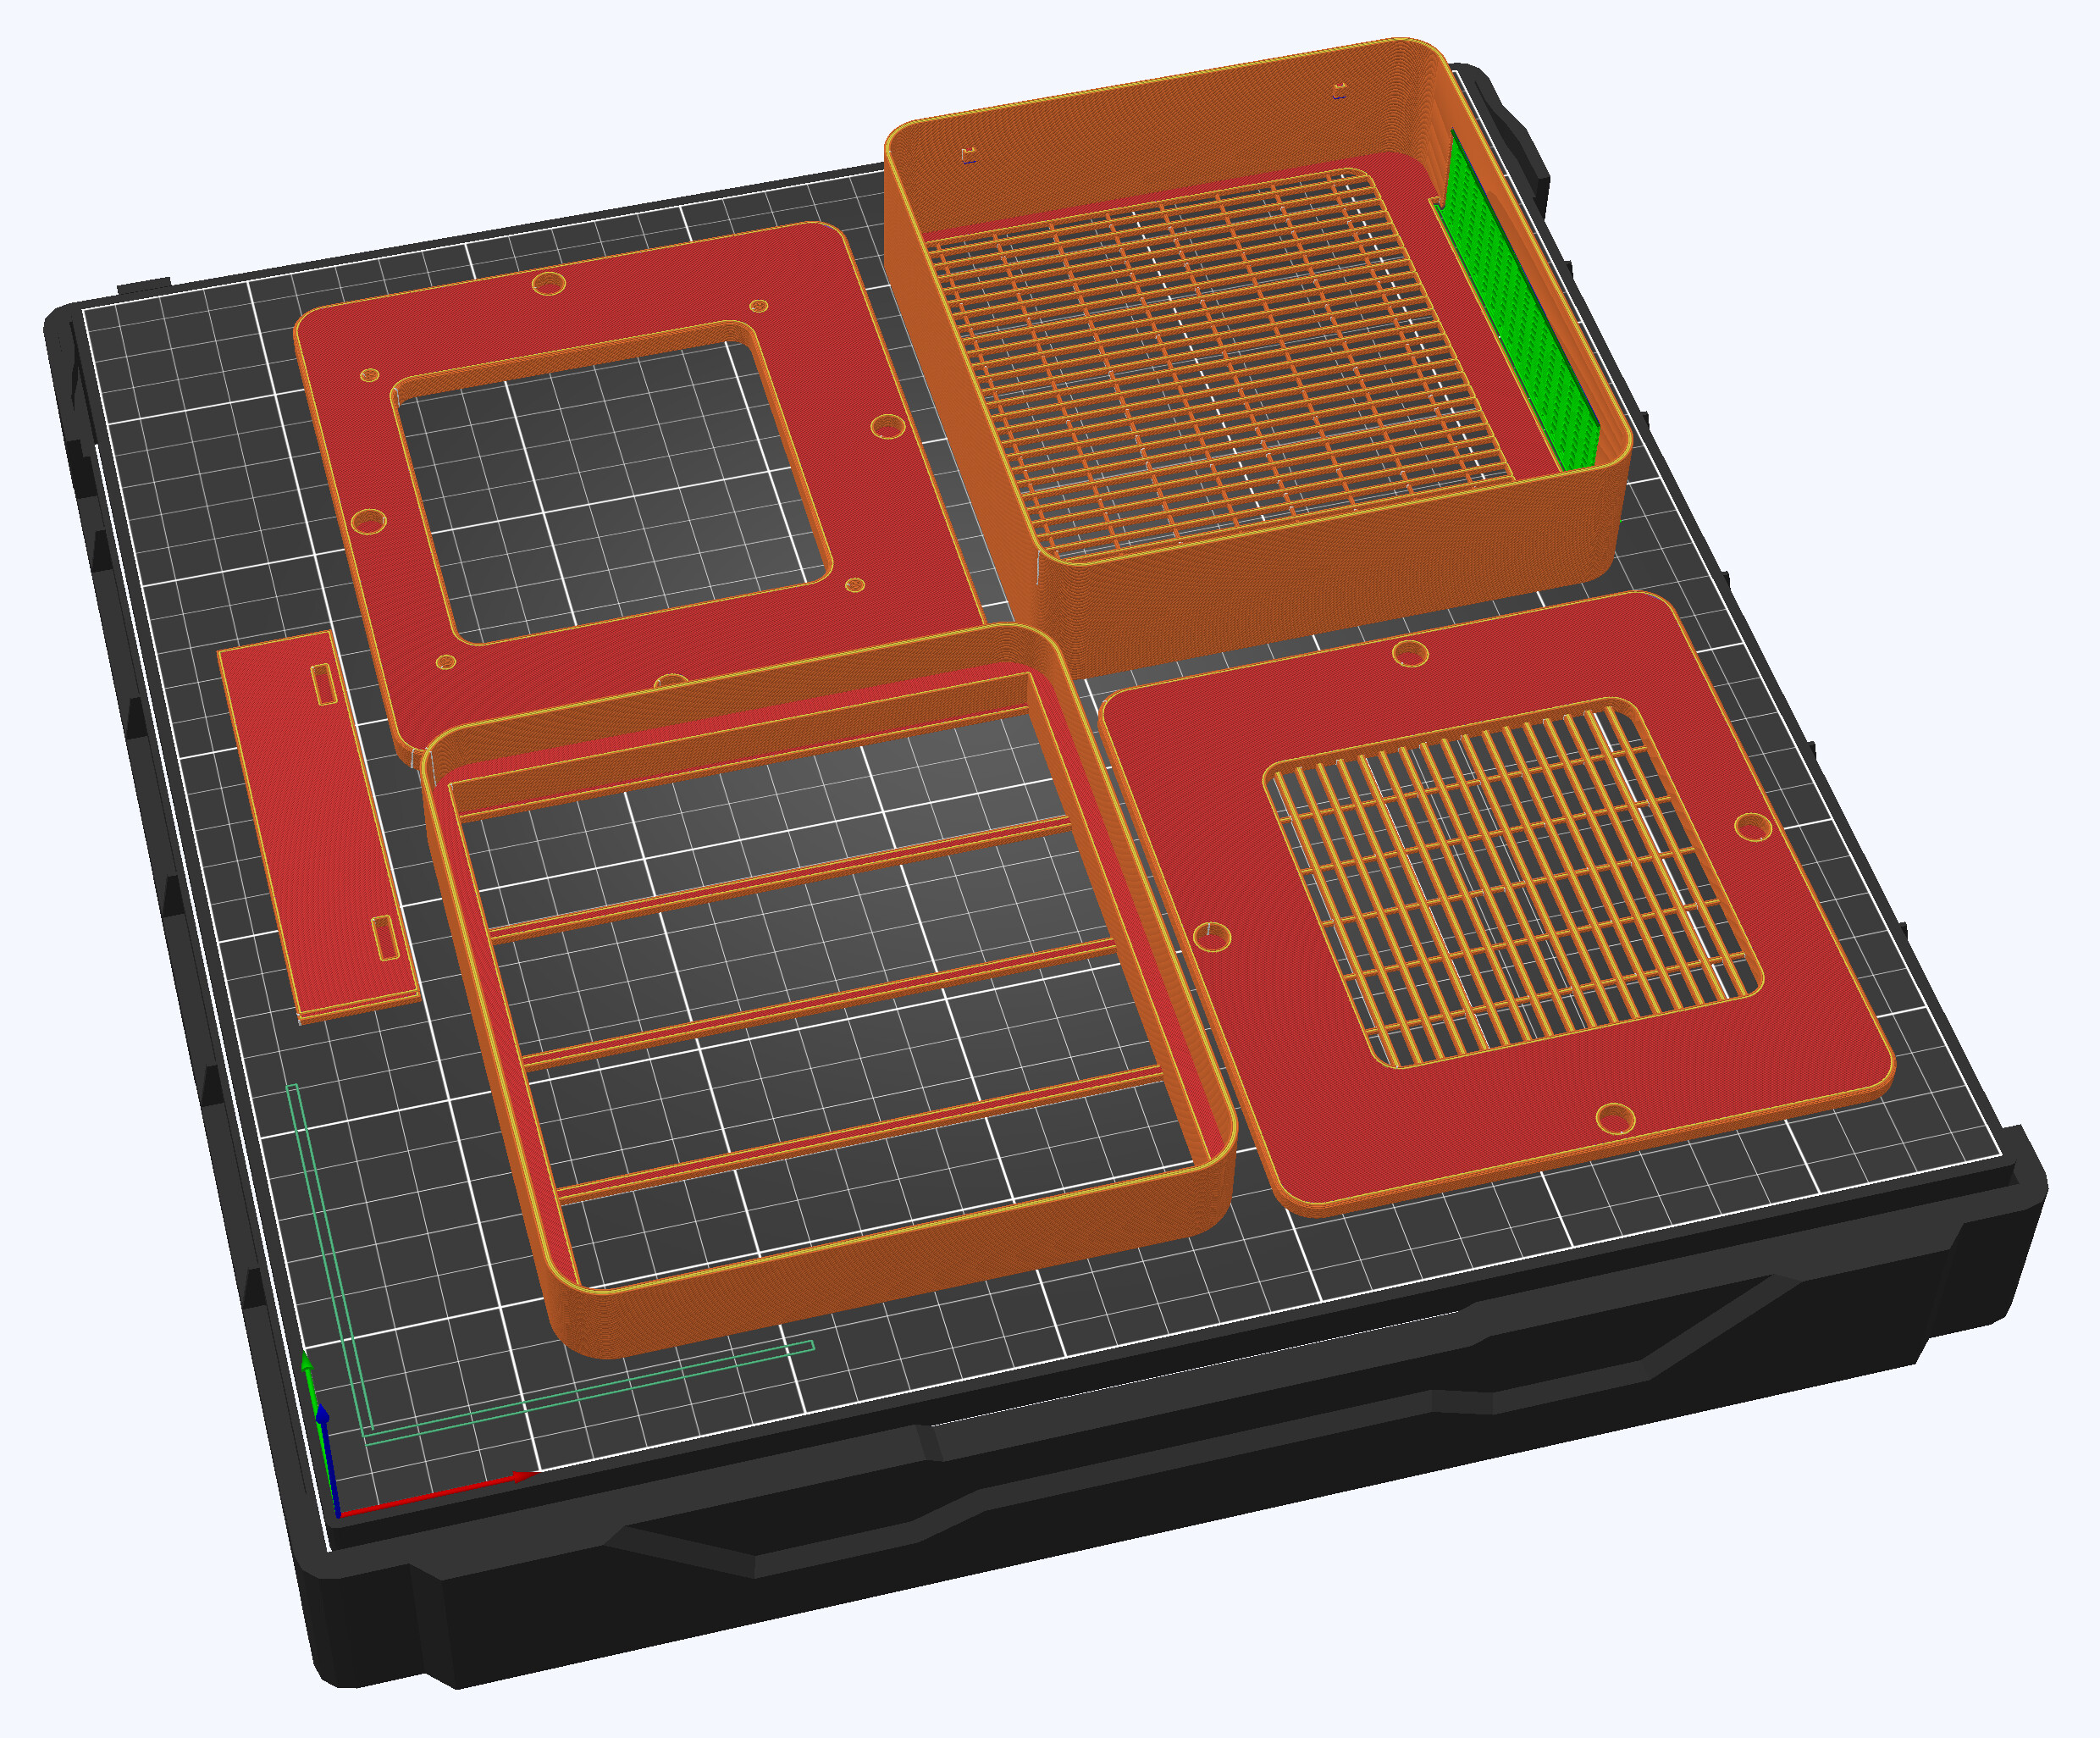
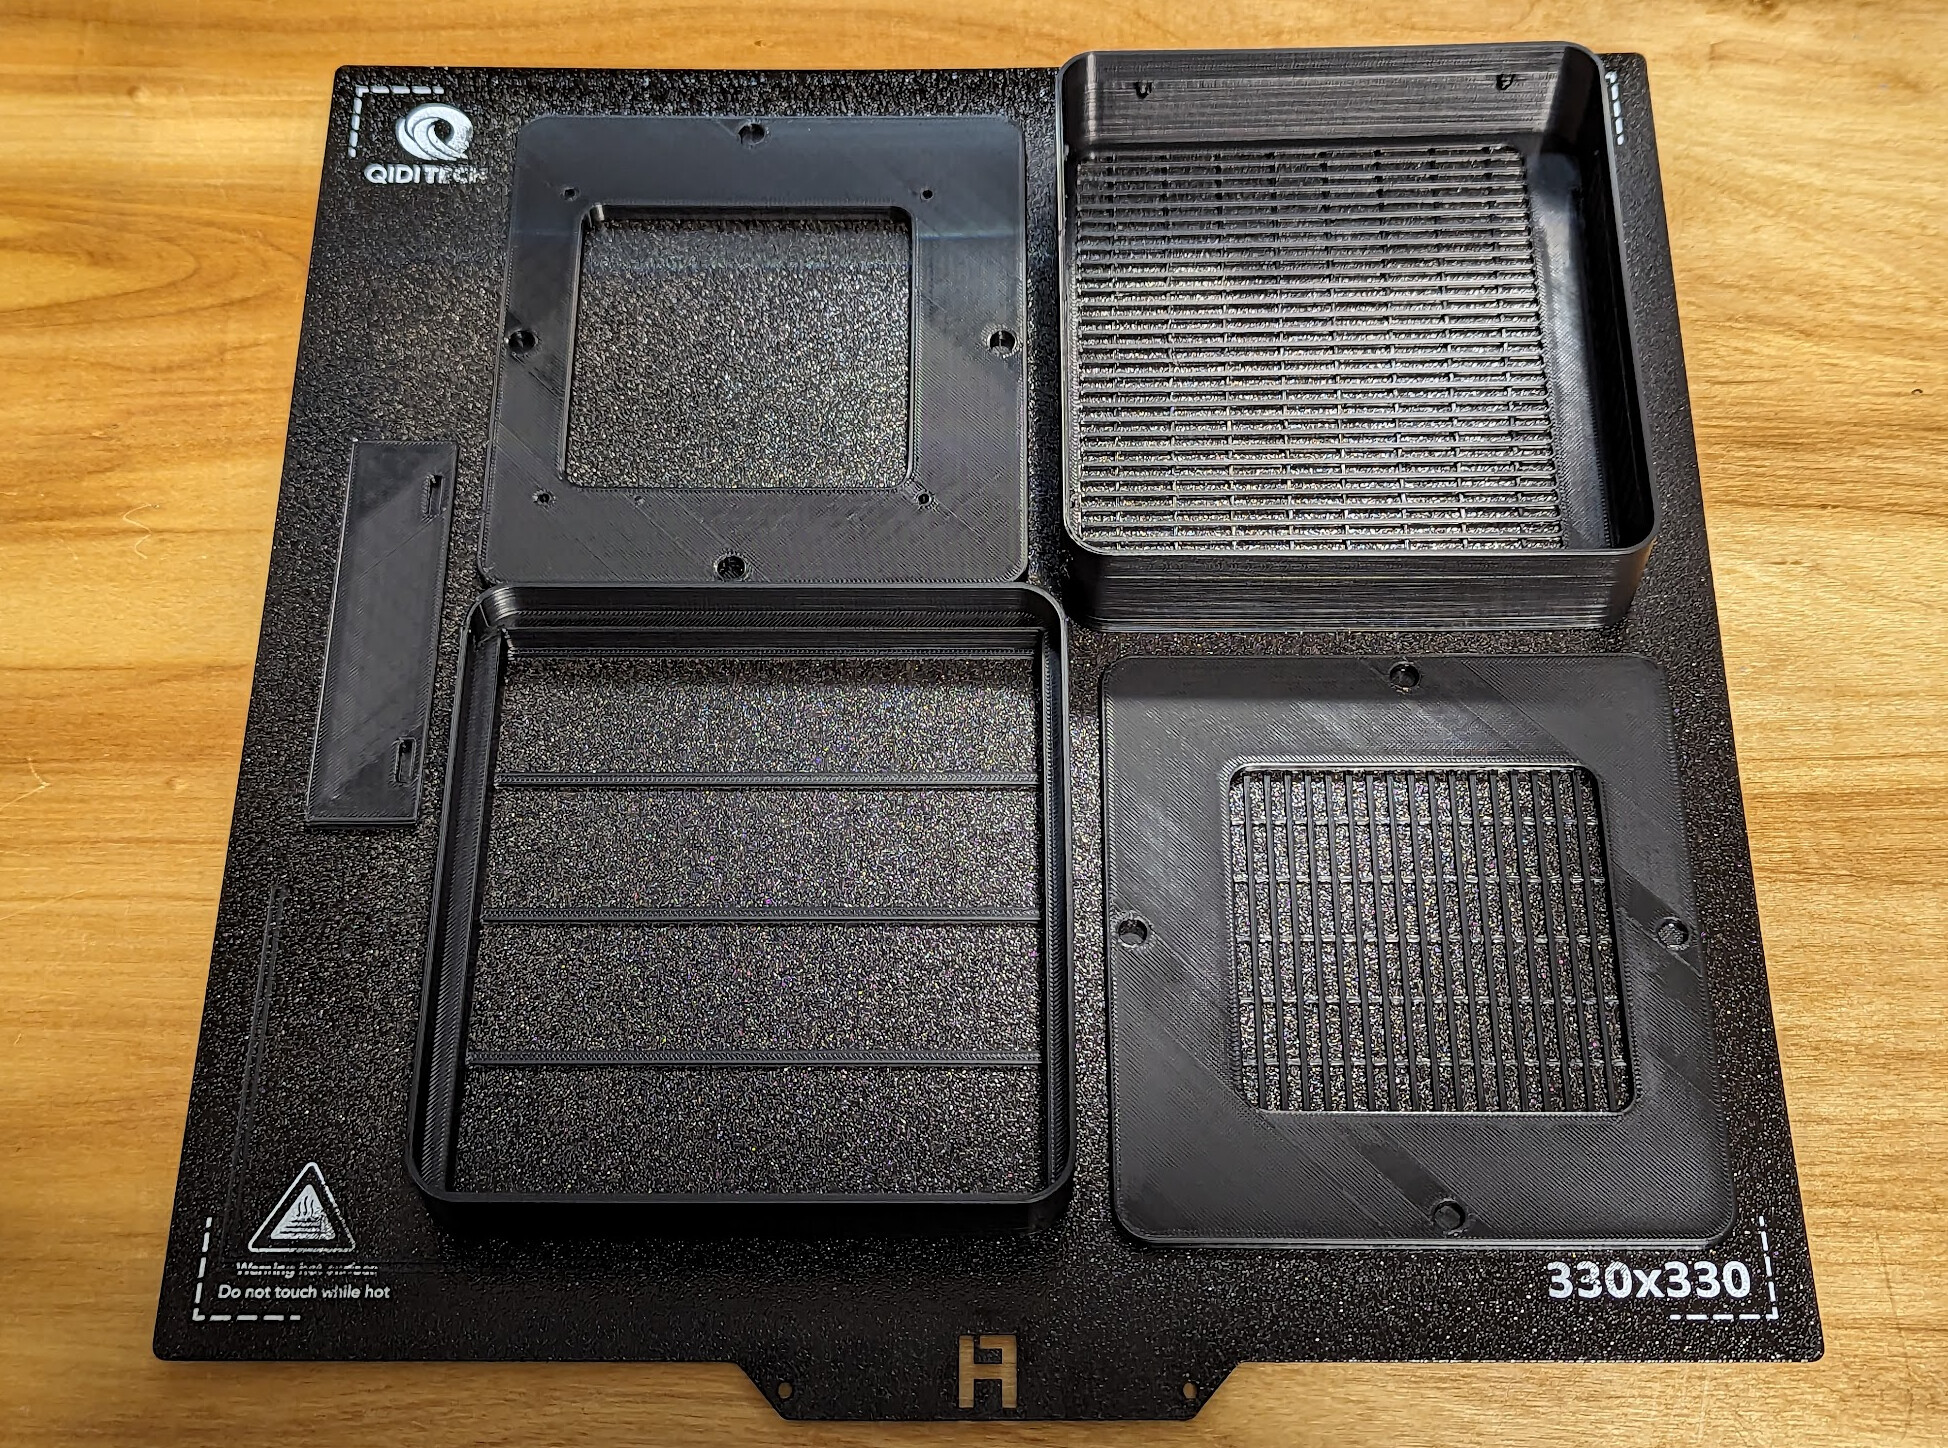
All the parts just barely fit on the X-Max 3 bed.
This 3MF file comes from QIDISlicer and is set up for Qidi’s ABS Rapido:
FilterBox.3mf (537.6 KB). This is not a print that benefits enormously from the “Rapido” filament; generic ABS will slow down the print by only a few minutes (6 minutes in over 4 hours).
Alternatively, you can download the five parts and slice them yourself. Pay attention to their orientation on the image of the bed.
MountingBracket.step (3.3 MB) is placed with the magnet holes pointing up
InnerCage.step (1.6 MB) is also placed with the magnet holes pointing up
OuterCage.step (4.3 MB) is placed with the grill down. It is the only part that needs support, and it should have support only from the build plate.
Door.step (64.4 KB) should be placed with the two notches pointing up
FilterHolder.step (150.1 KB) is place with the bars down.
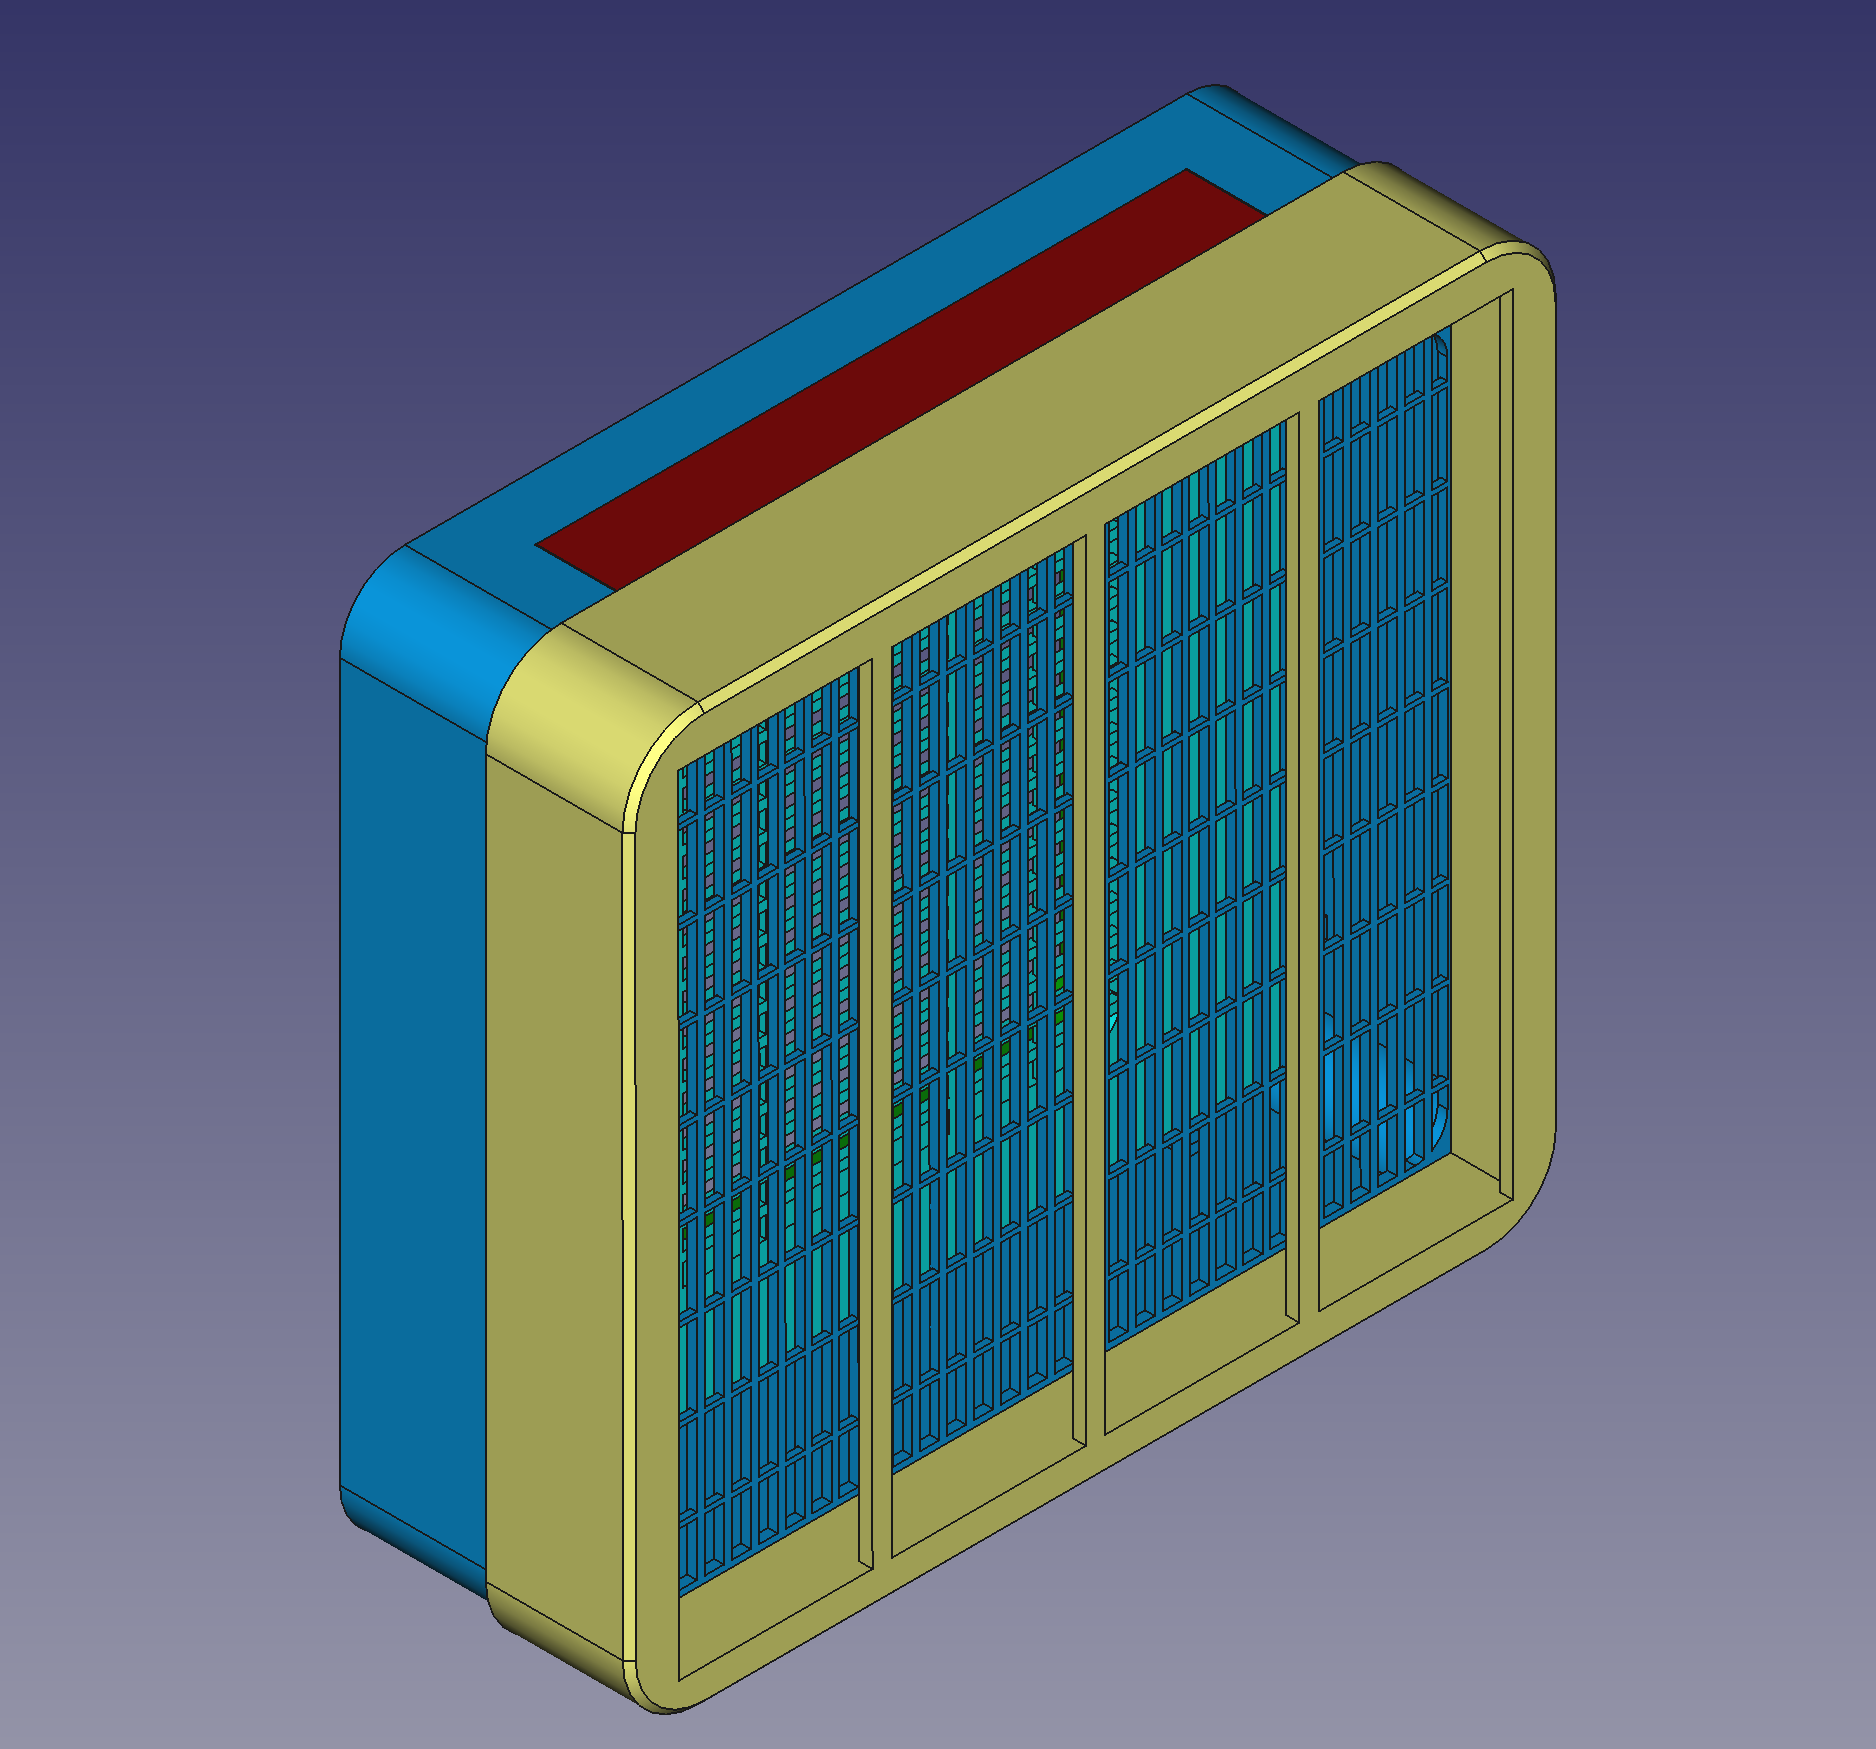
If you want to see how the assembly fits together, you can download
QidiXMax3ExternalFilterBox.step (9.7 MB)
Removal and Cleanup
Sorry for the black-on-black. I chose black to match the printer case.
Let the build plate cool, and consider using isopropyl alcohol to help release the prints. A spatula may help remove the grids without damage.
Carefully clean up the support from the outer cage.
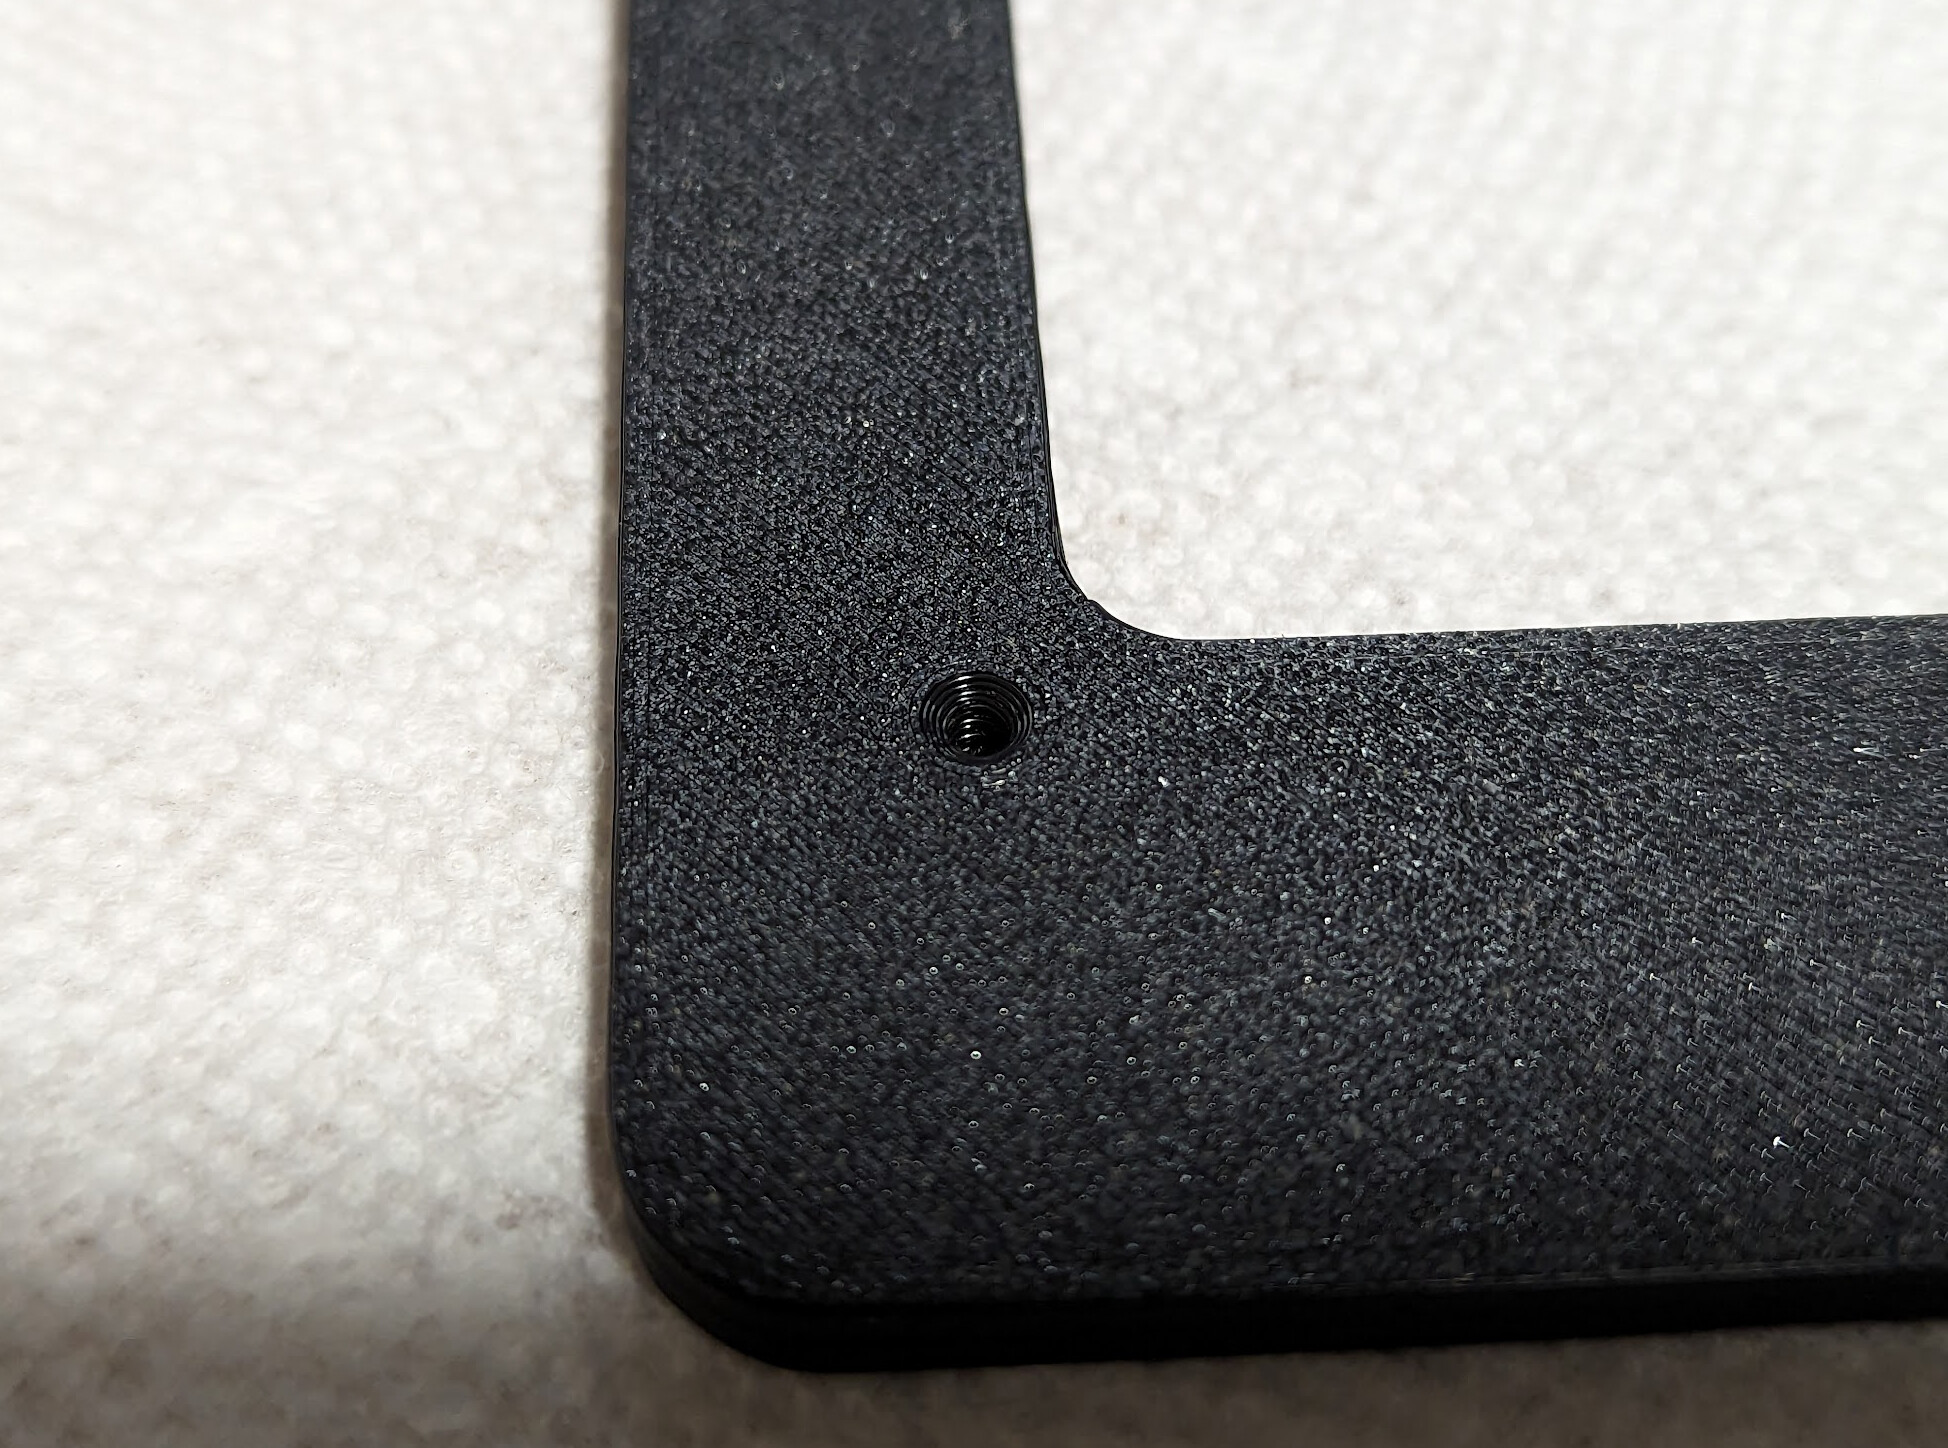
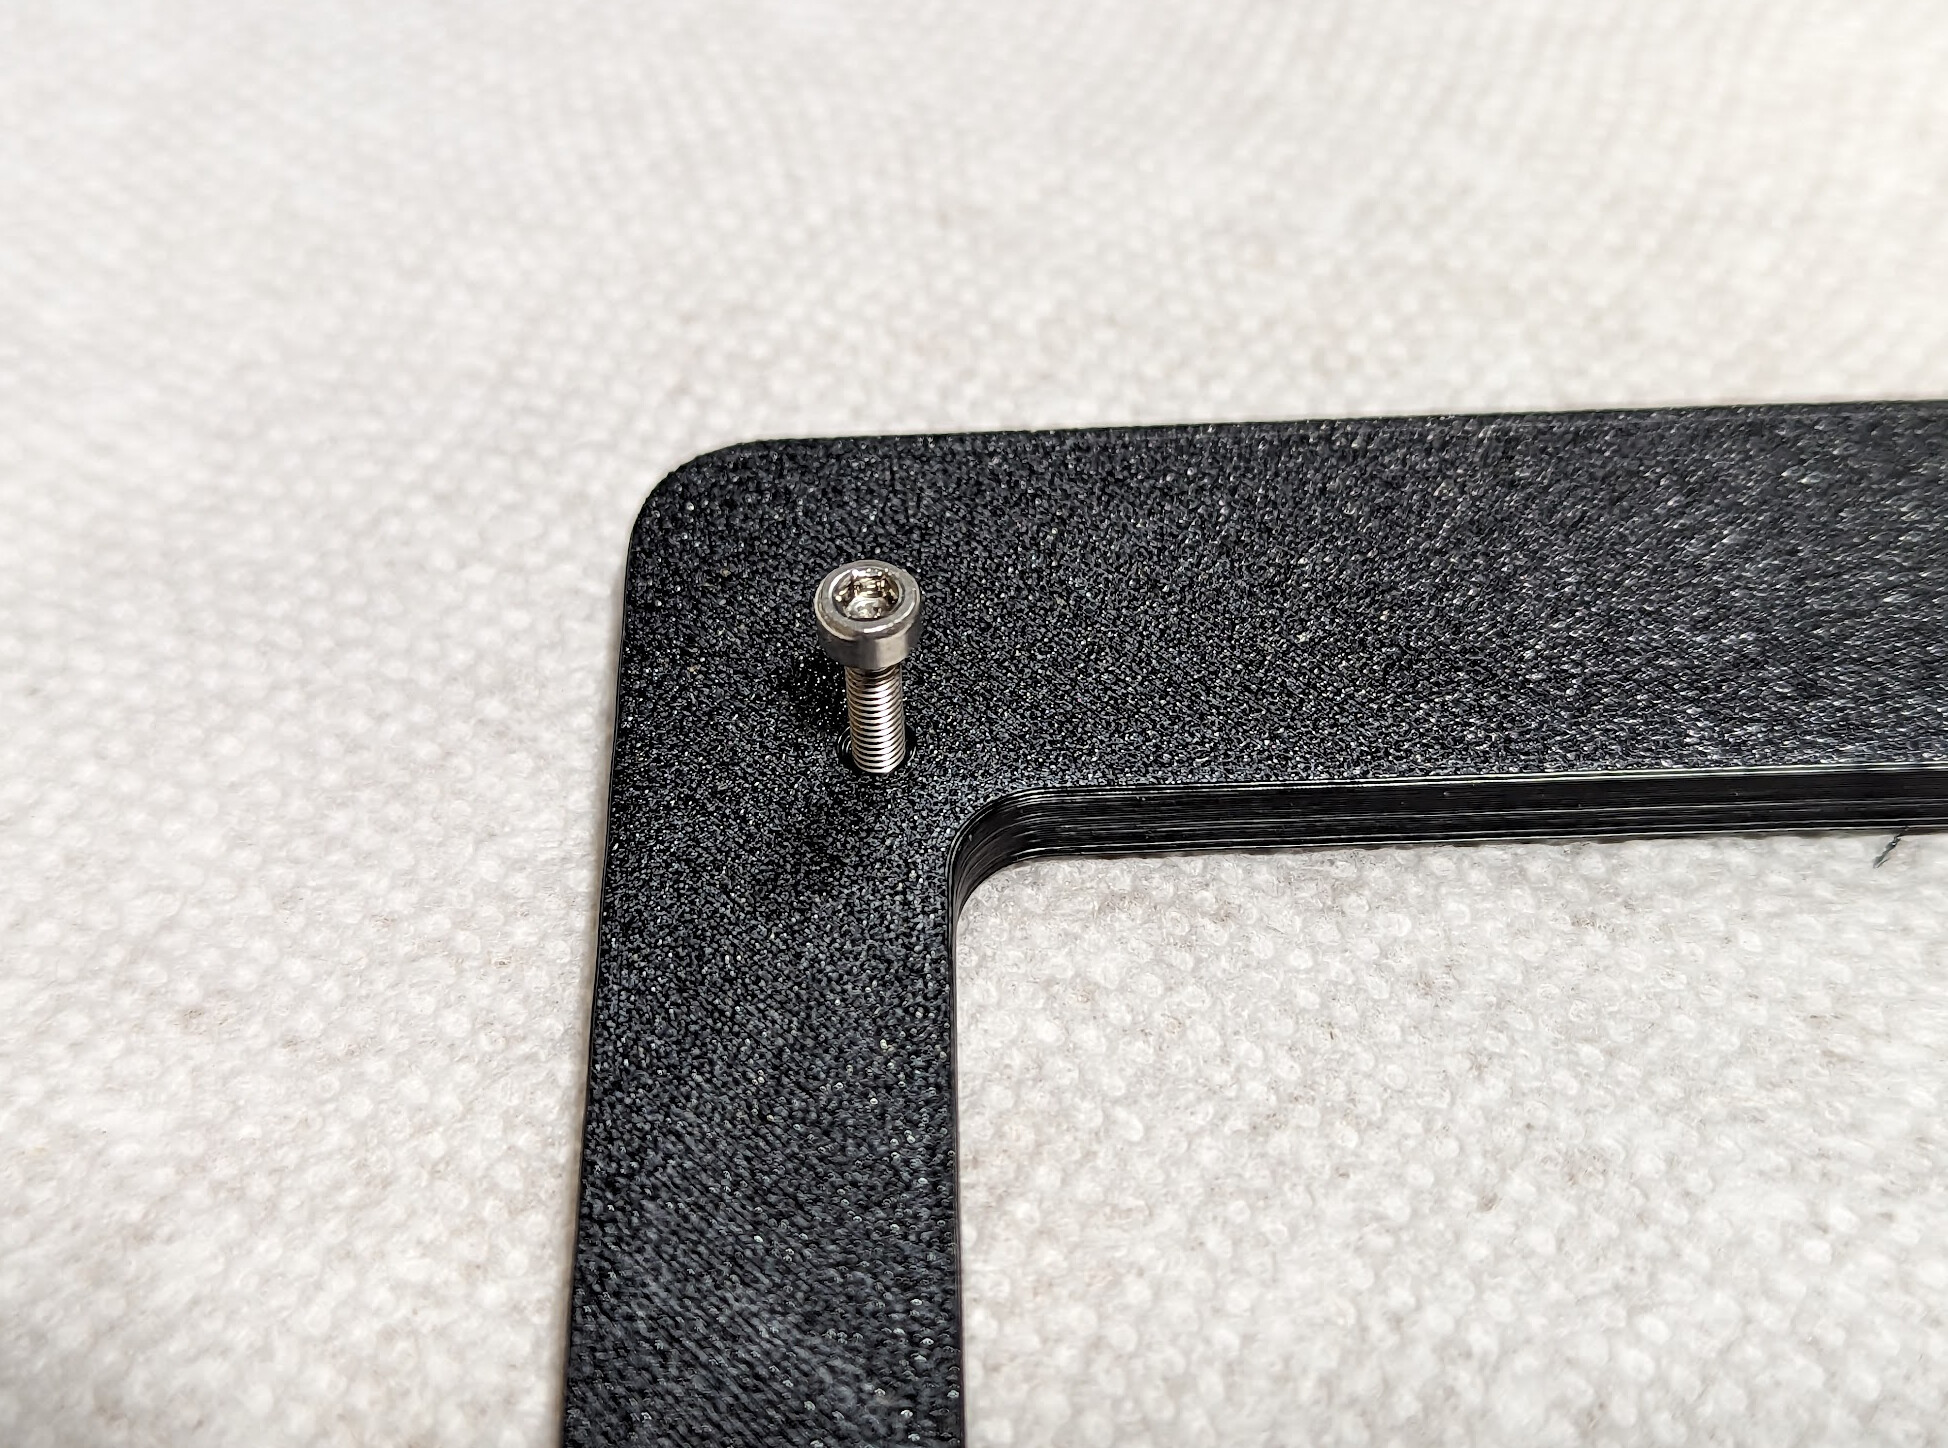
Place the mounting bracket bed-side-up, and screw an M3 screw into each threaded hole to clean up the threads to prepare for mounting, then remove the screws, which will be used for mounting.
Assembly
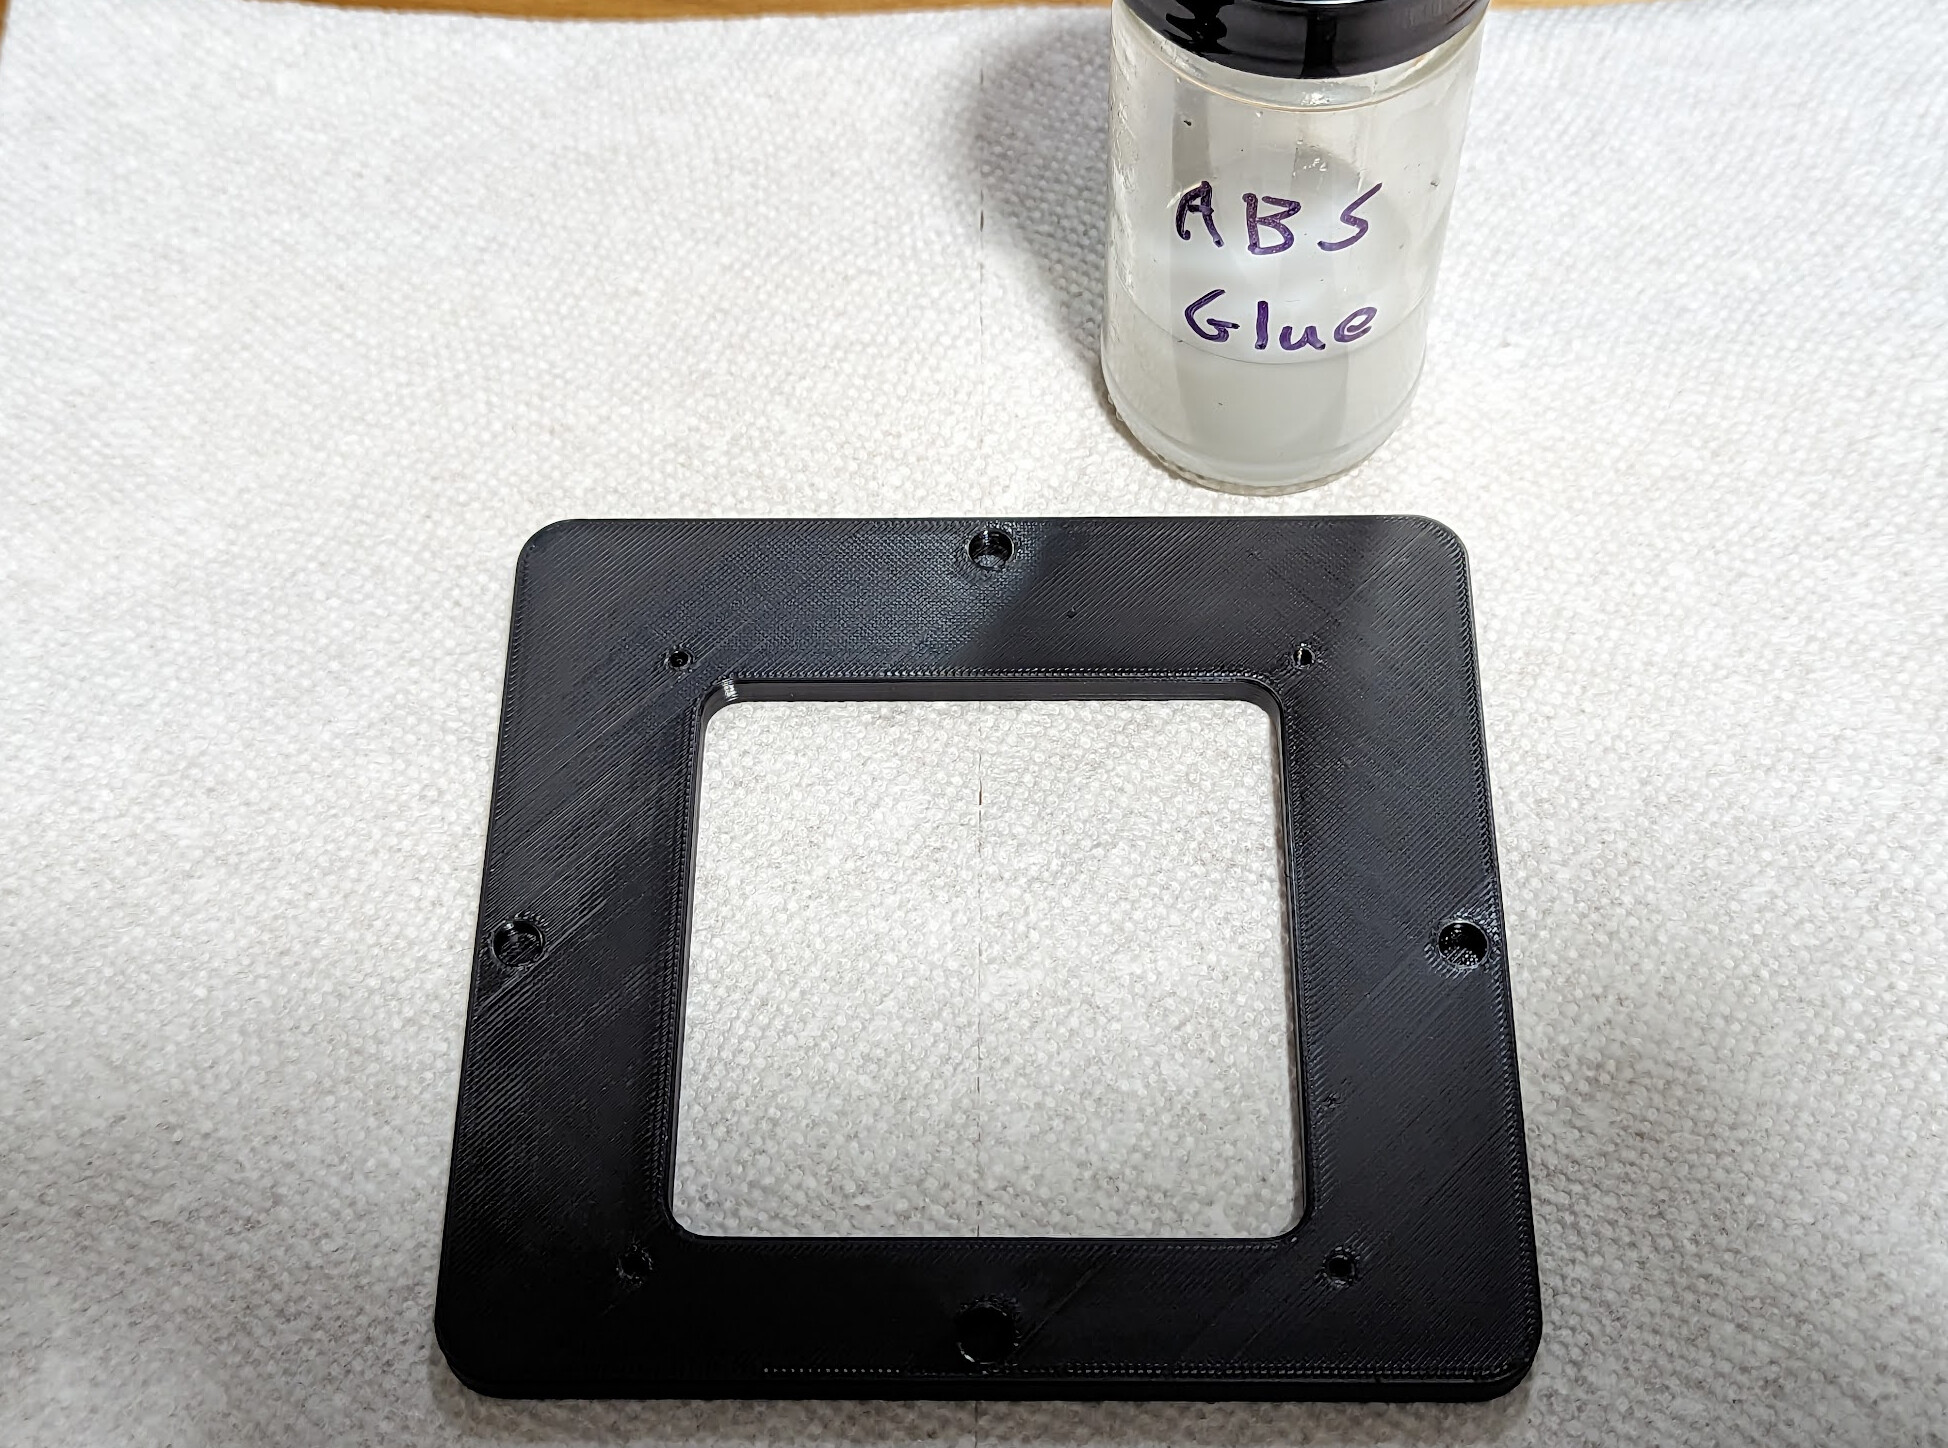
Place the mounting bracket bed-side-down, magnet-hole-up on your workplace. Using a sparing amount of the appropriate glue of your choice (I chose ABS glue made from acetone and clear ABS), put a small amount in each magnet hole. Install the magnets, making sure to install them in the same polarity. Wipe off any excess glue.
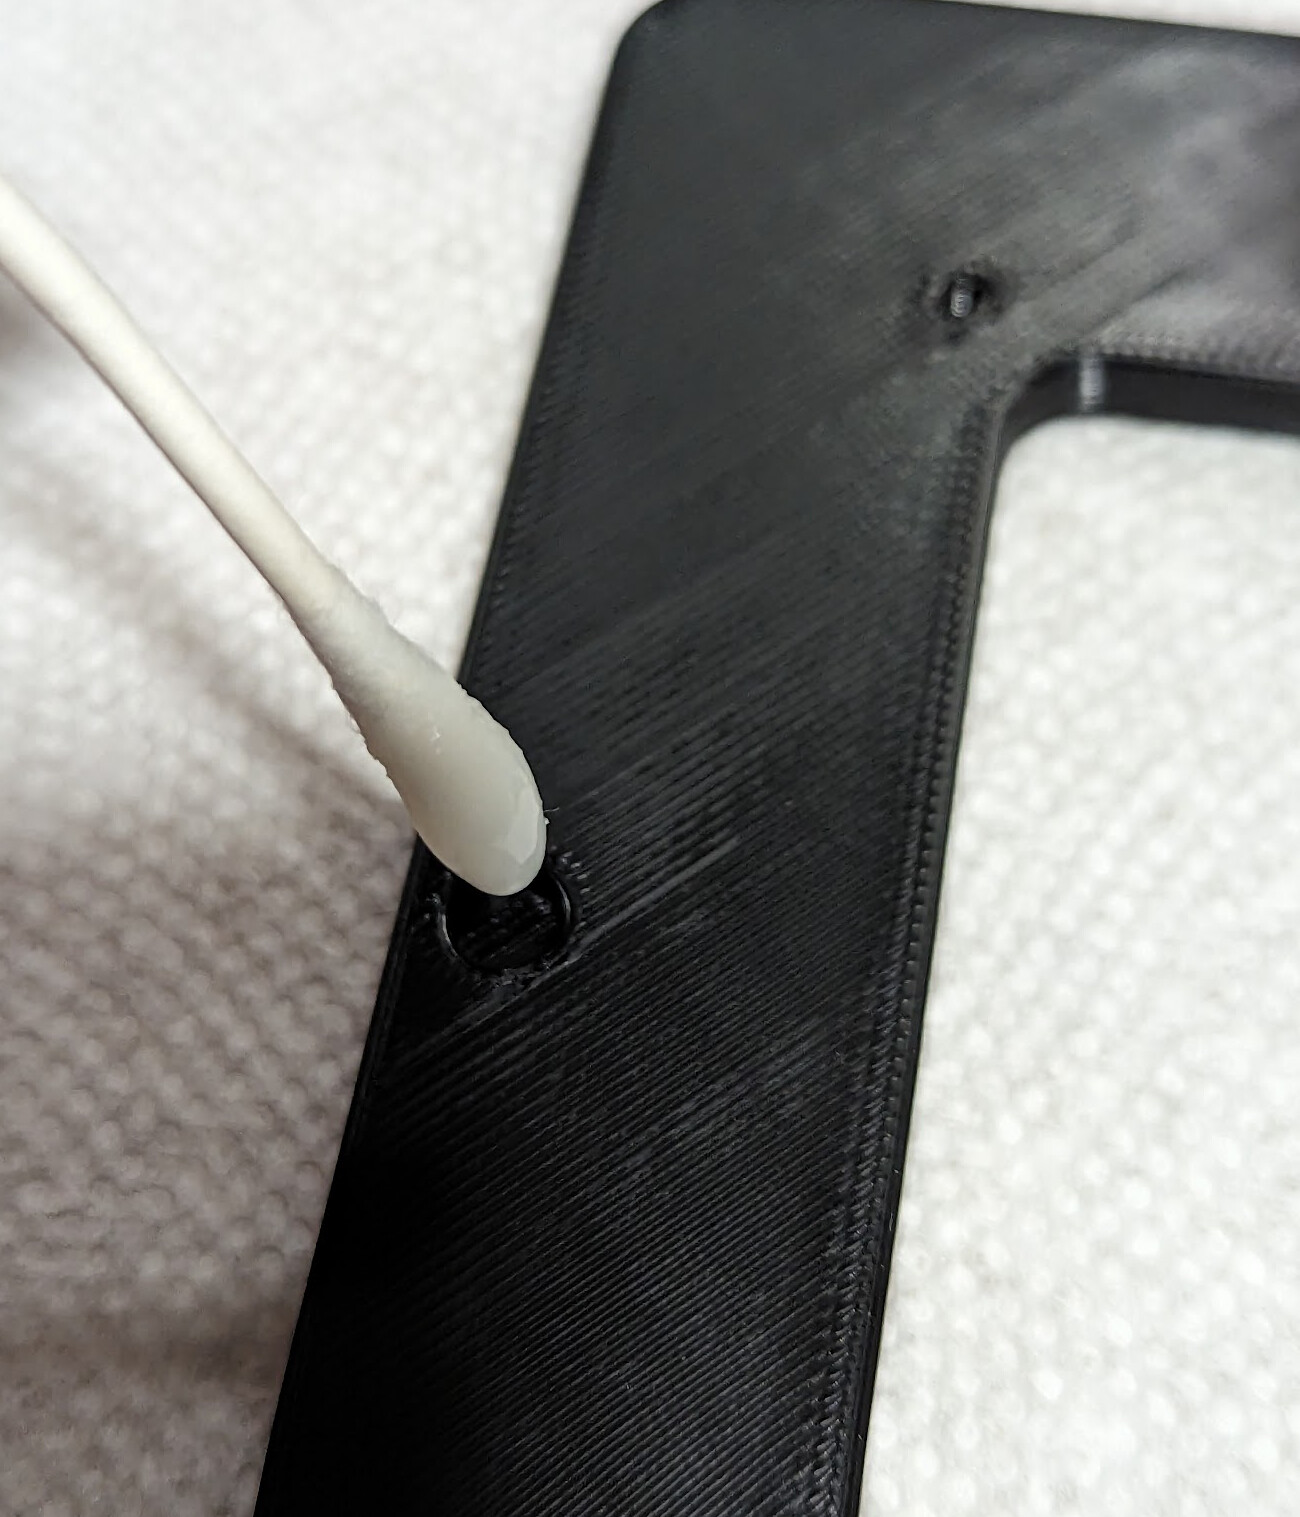
Now place the inner cage next to it, magnet holes up. Again add glue, and install the magnets. They should be in the reverse polarity, so that when the magnets are placed face-to-face later, they stick together.
Hold the remaining magnets in a stack of four. Let them hold to one of the magnets in the mounting bracket. Slide them off that magnet, and turn the stack upside down. Now, holding the stack that orientation, press a magnet into each of the four holes in the inner cage. Again, wipe off excess glue.
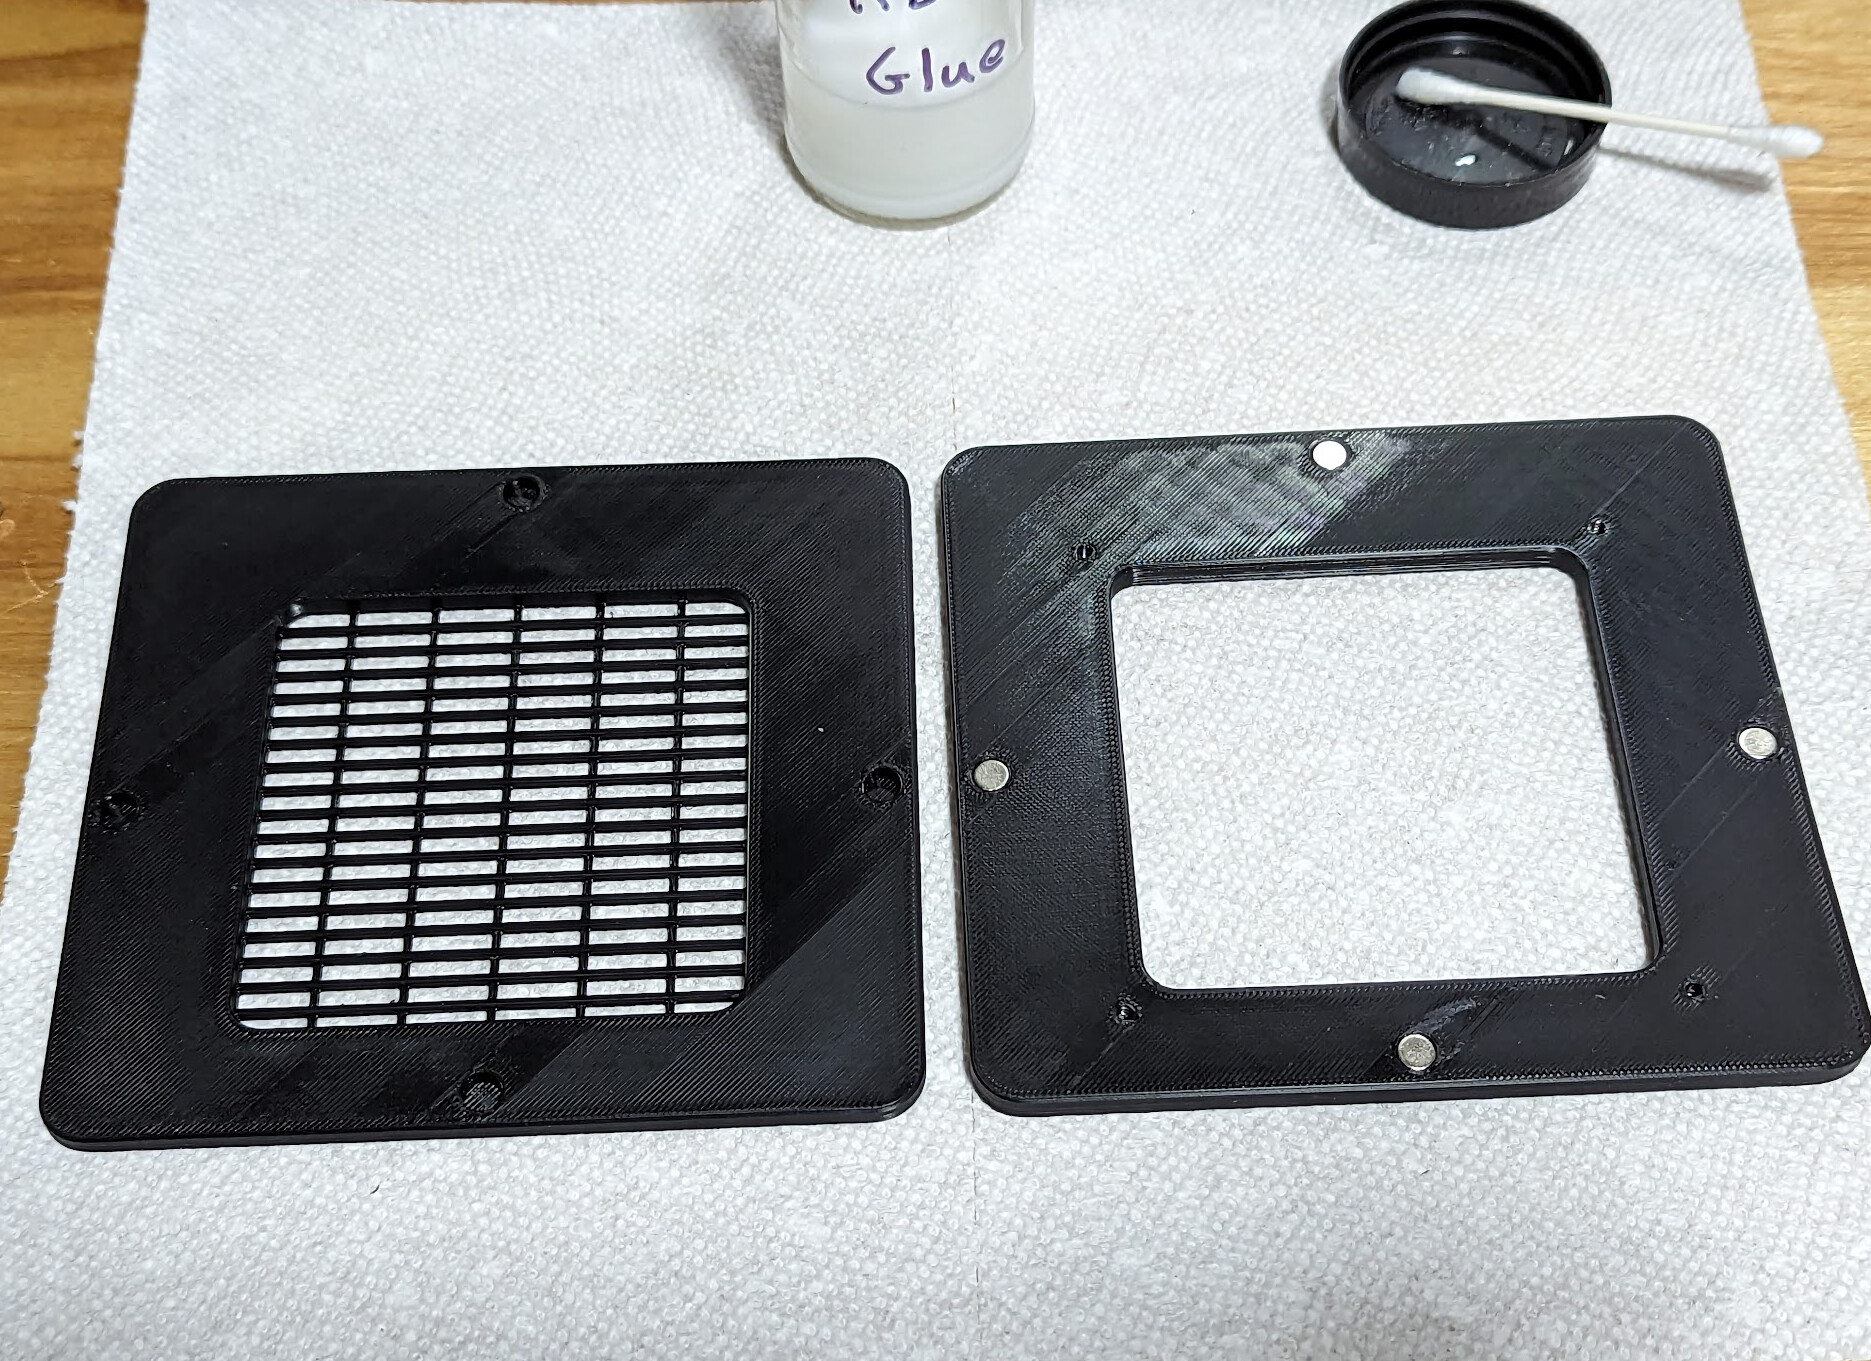
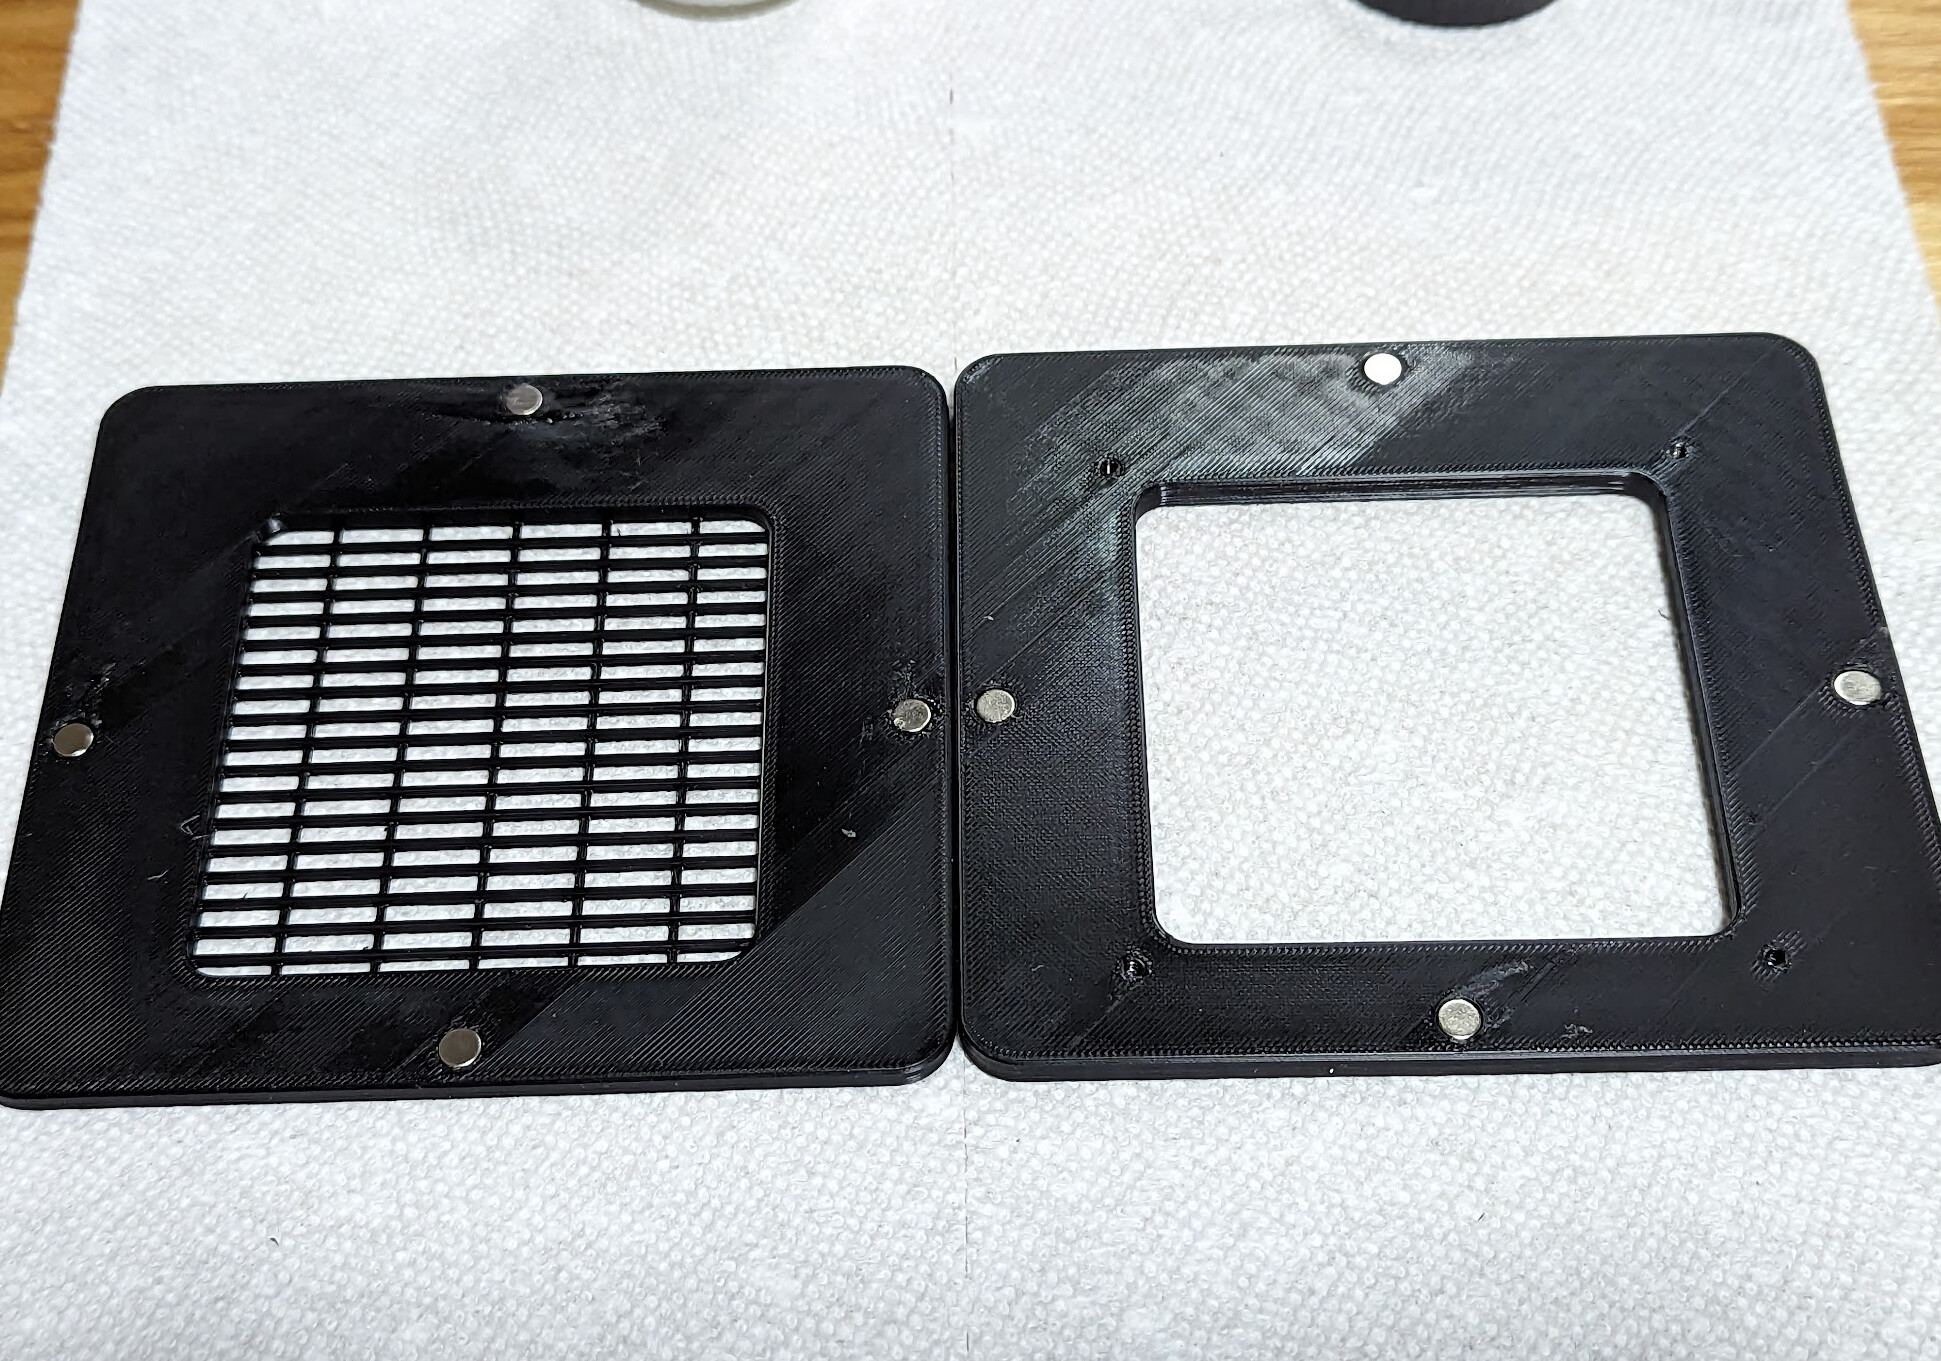
Set the mounting bracket aside and set the outer cage next to the inner cage. Make sure that the door is facing away from you, and the tall side of the frame on the inner cage is likeways facing away from you. The parts are not keyed, but must be assembled in this orientation for best air flow.
Dab glue on each of the six tabs around the side of the case and just above the bottom edge of the door
Place the inner cage in the outer cage, and hold it together until it is set. In particular, the side of the outer cage over the door opening should be glued to the inner cage. As before, wipe up any excess glue, both around the inside edge of the inner cage and from the door opening.
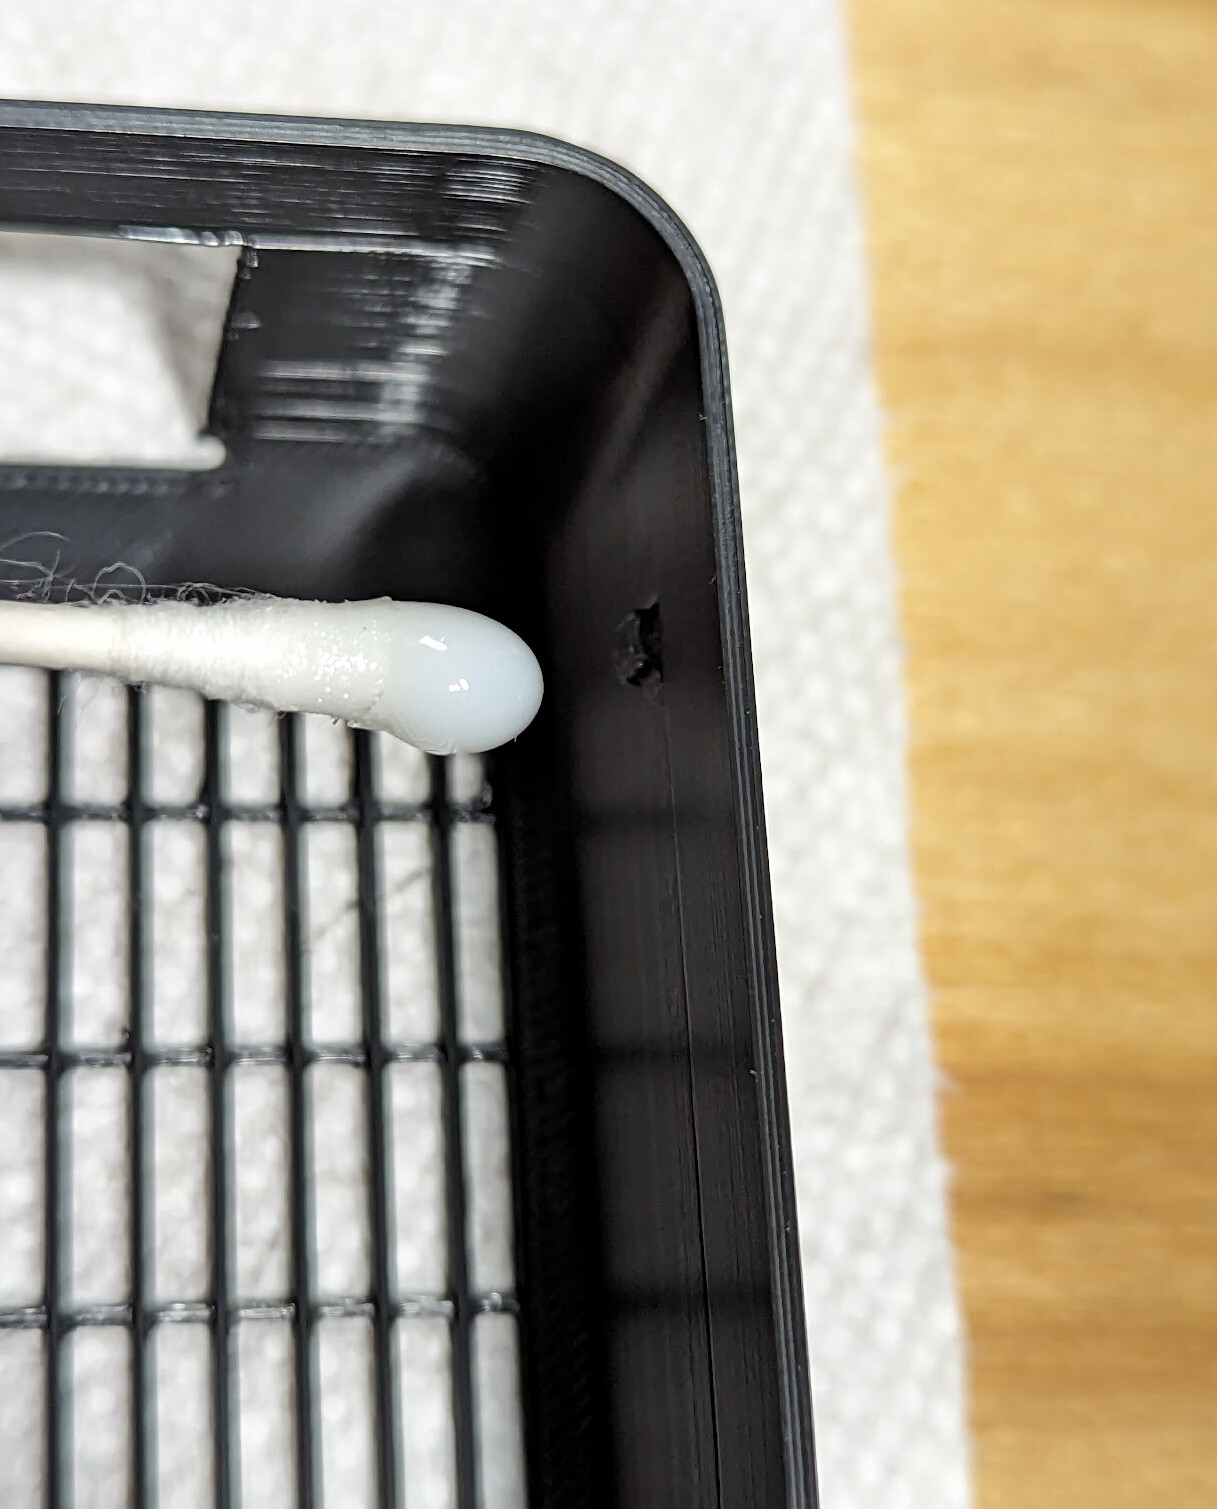
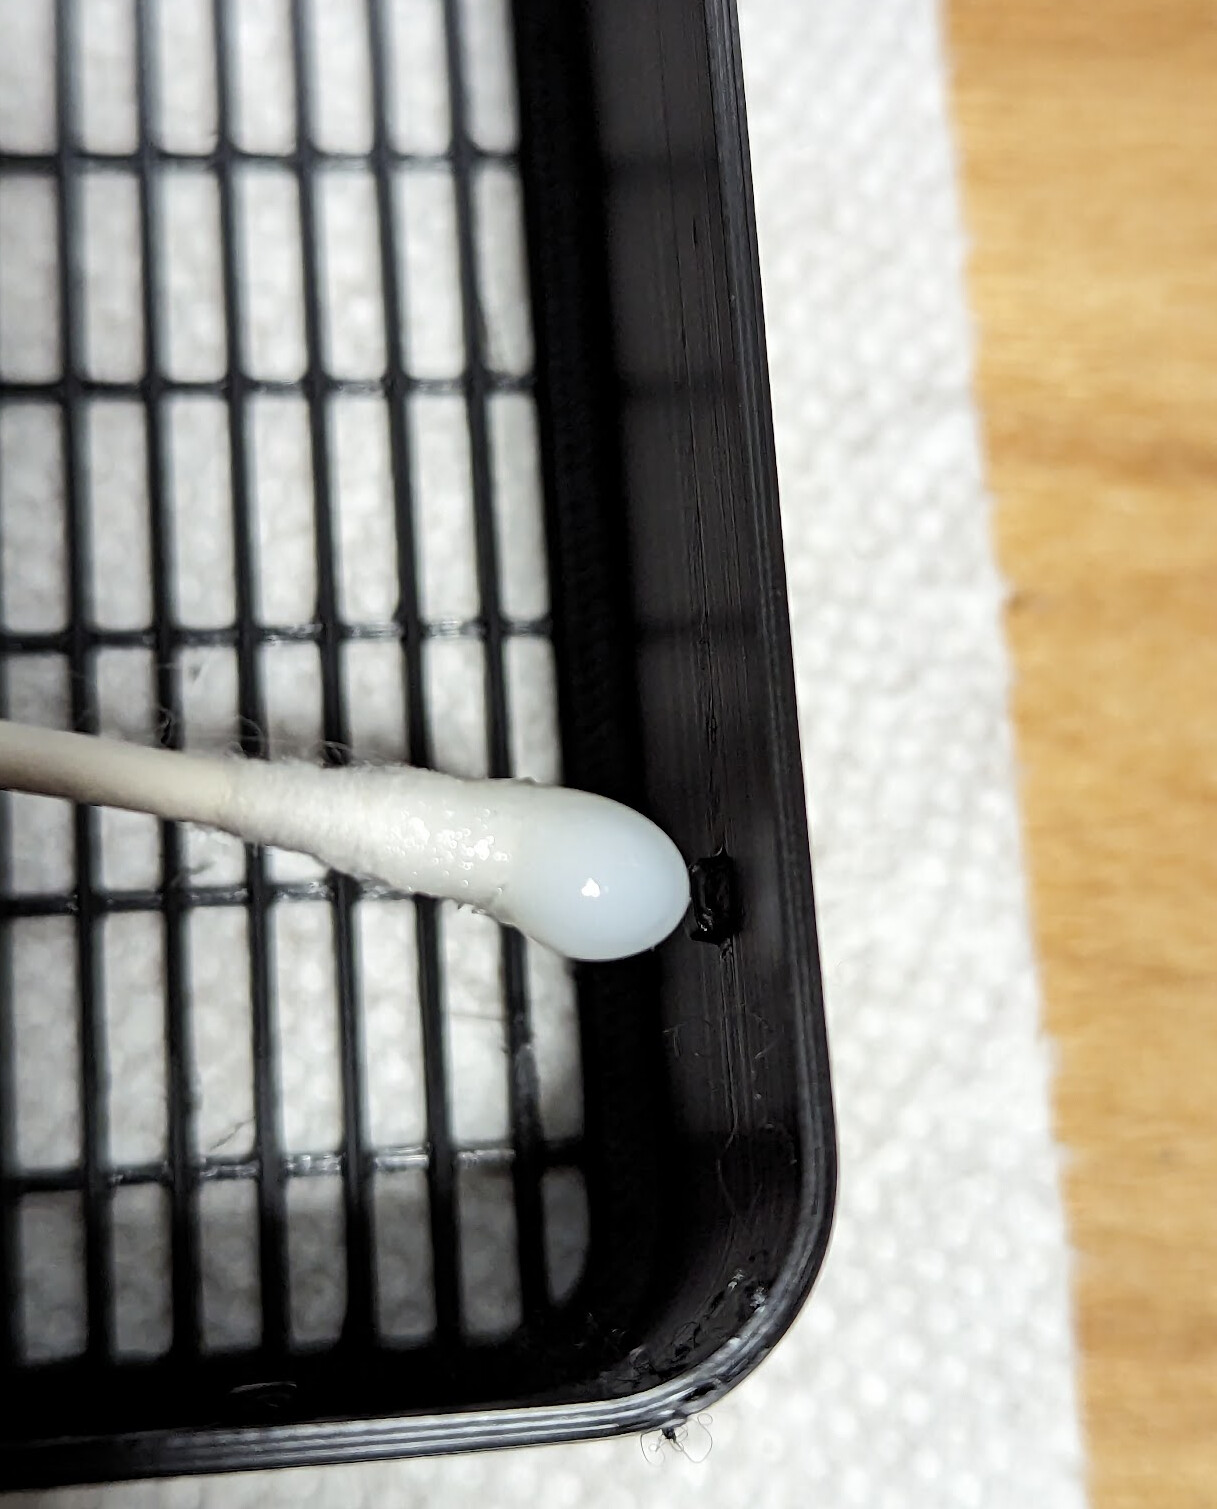
Now make sure the door fits. It fits in bed side inwards, with the notches toward the outside, as pictured. It should be a smooth sliding fit. Trim carefully if it isn’t.
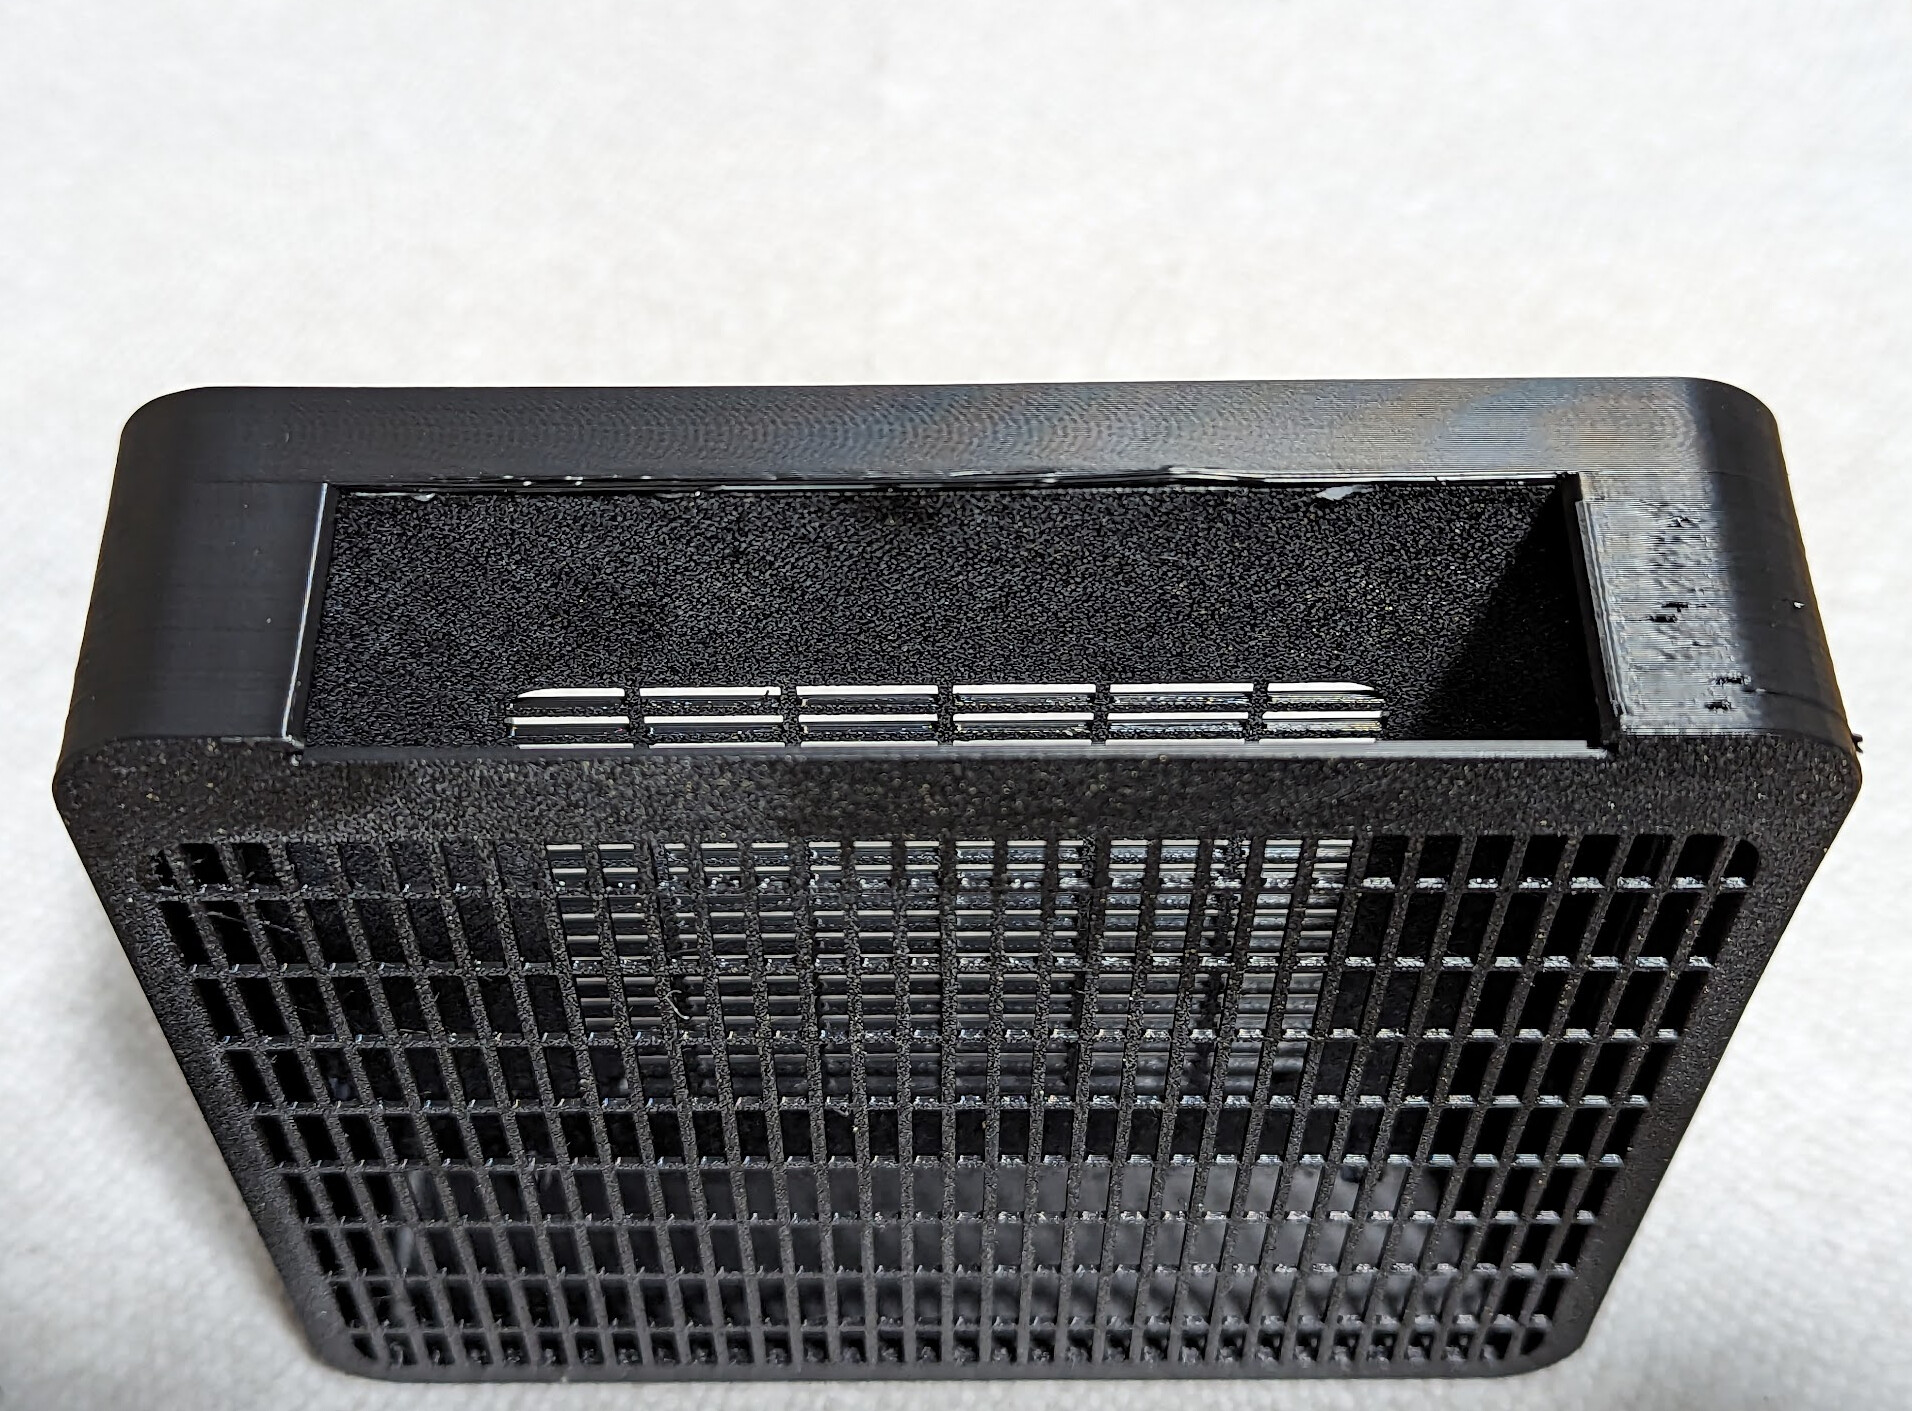
Remove the door and fill the assembled cartridge with carbon pellets. A few may fall through the grid. Just put them back in at the top…
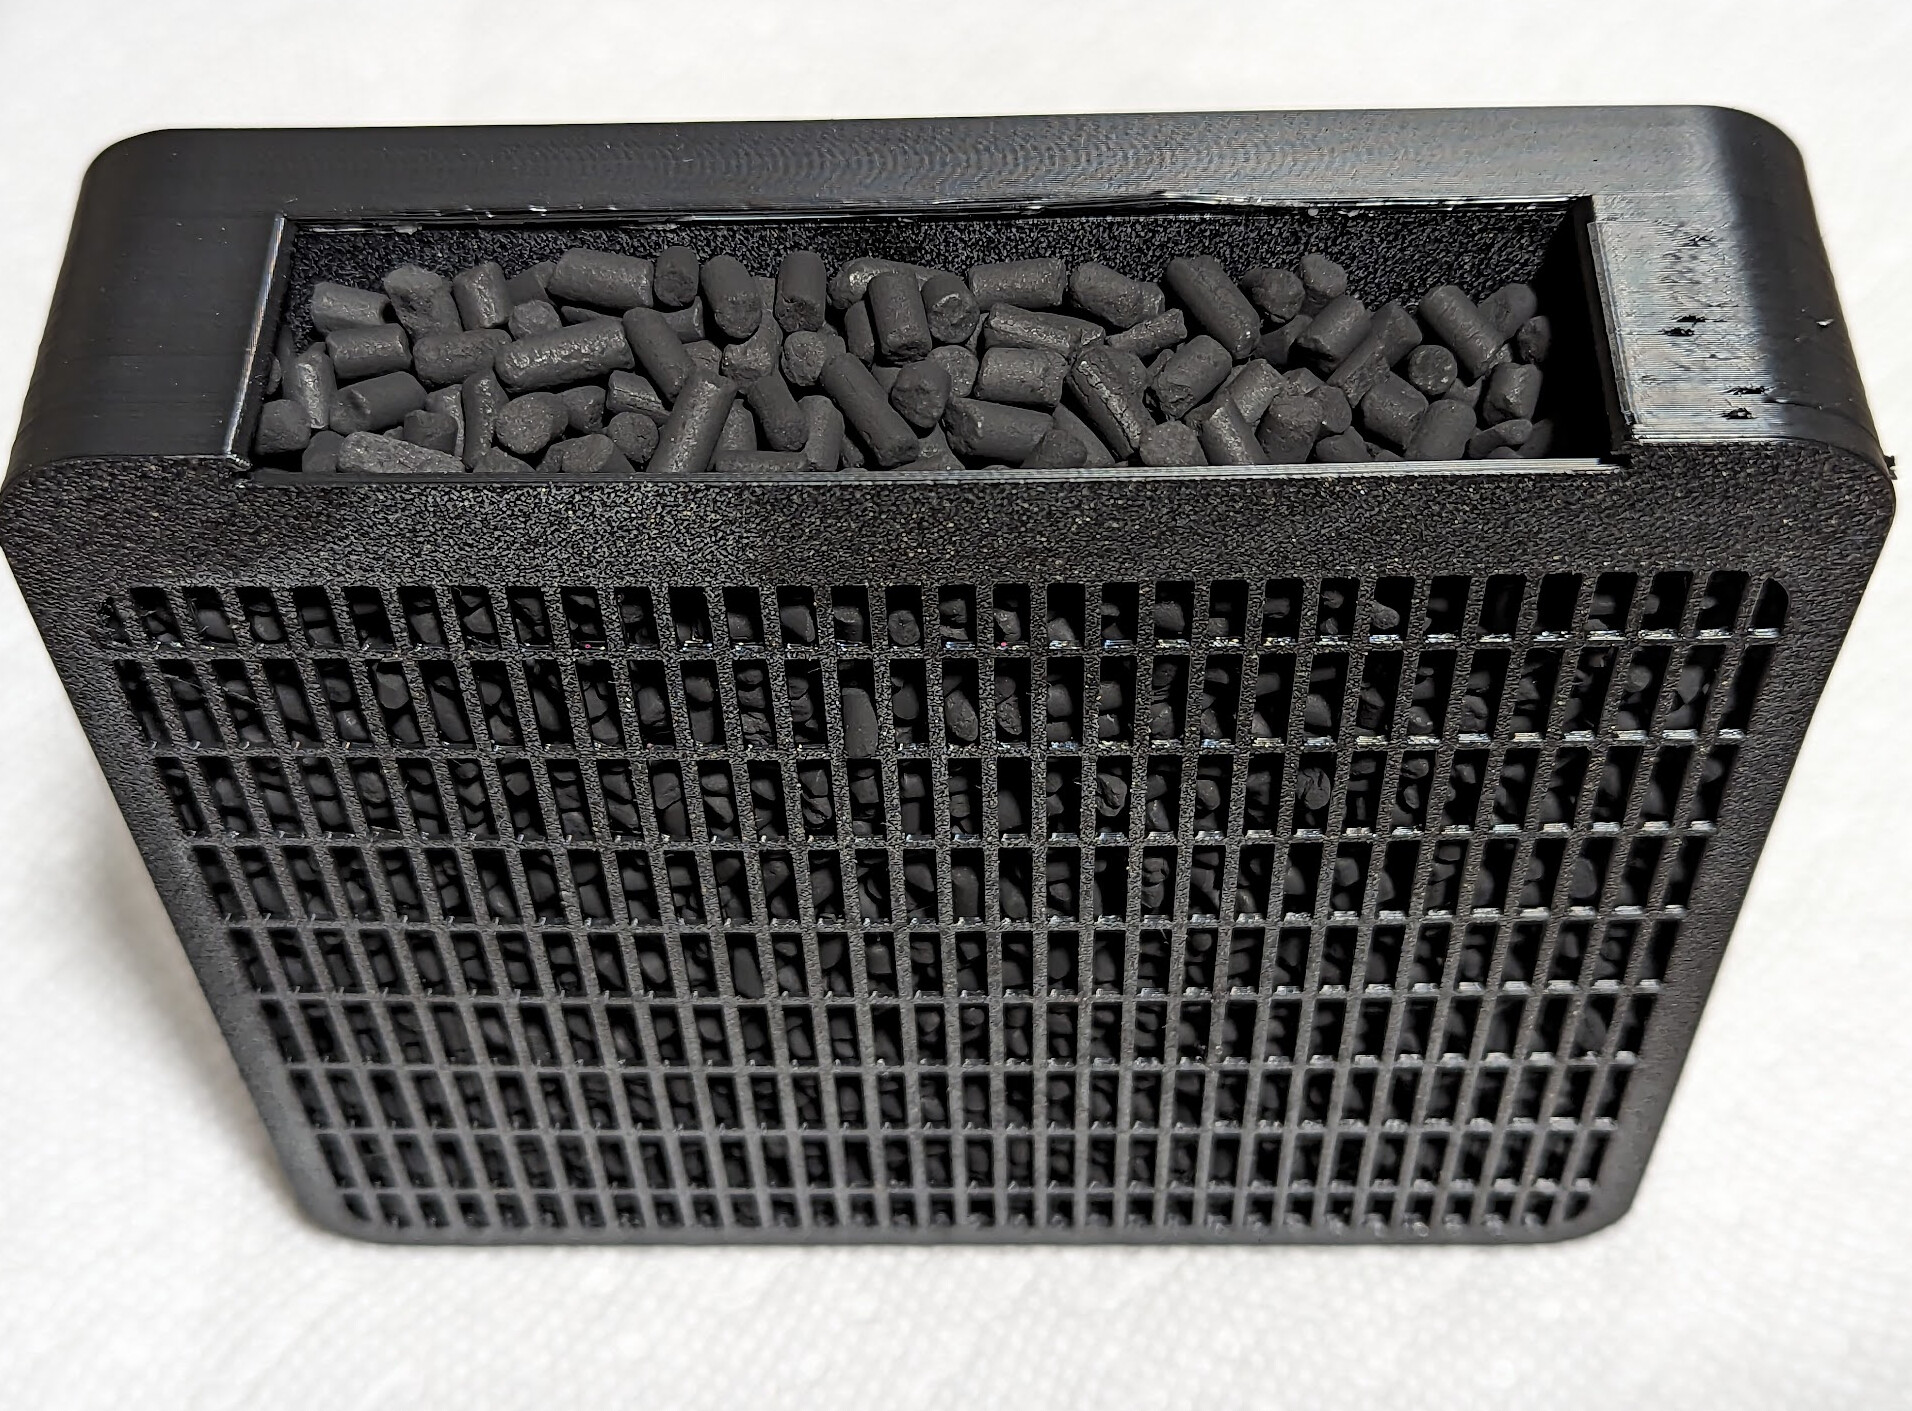
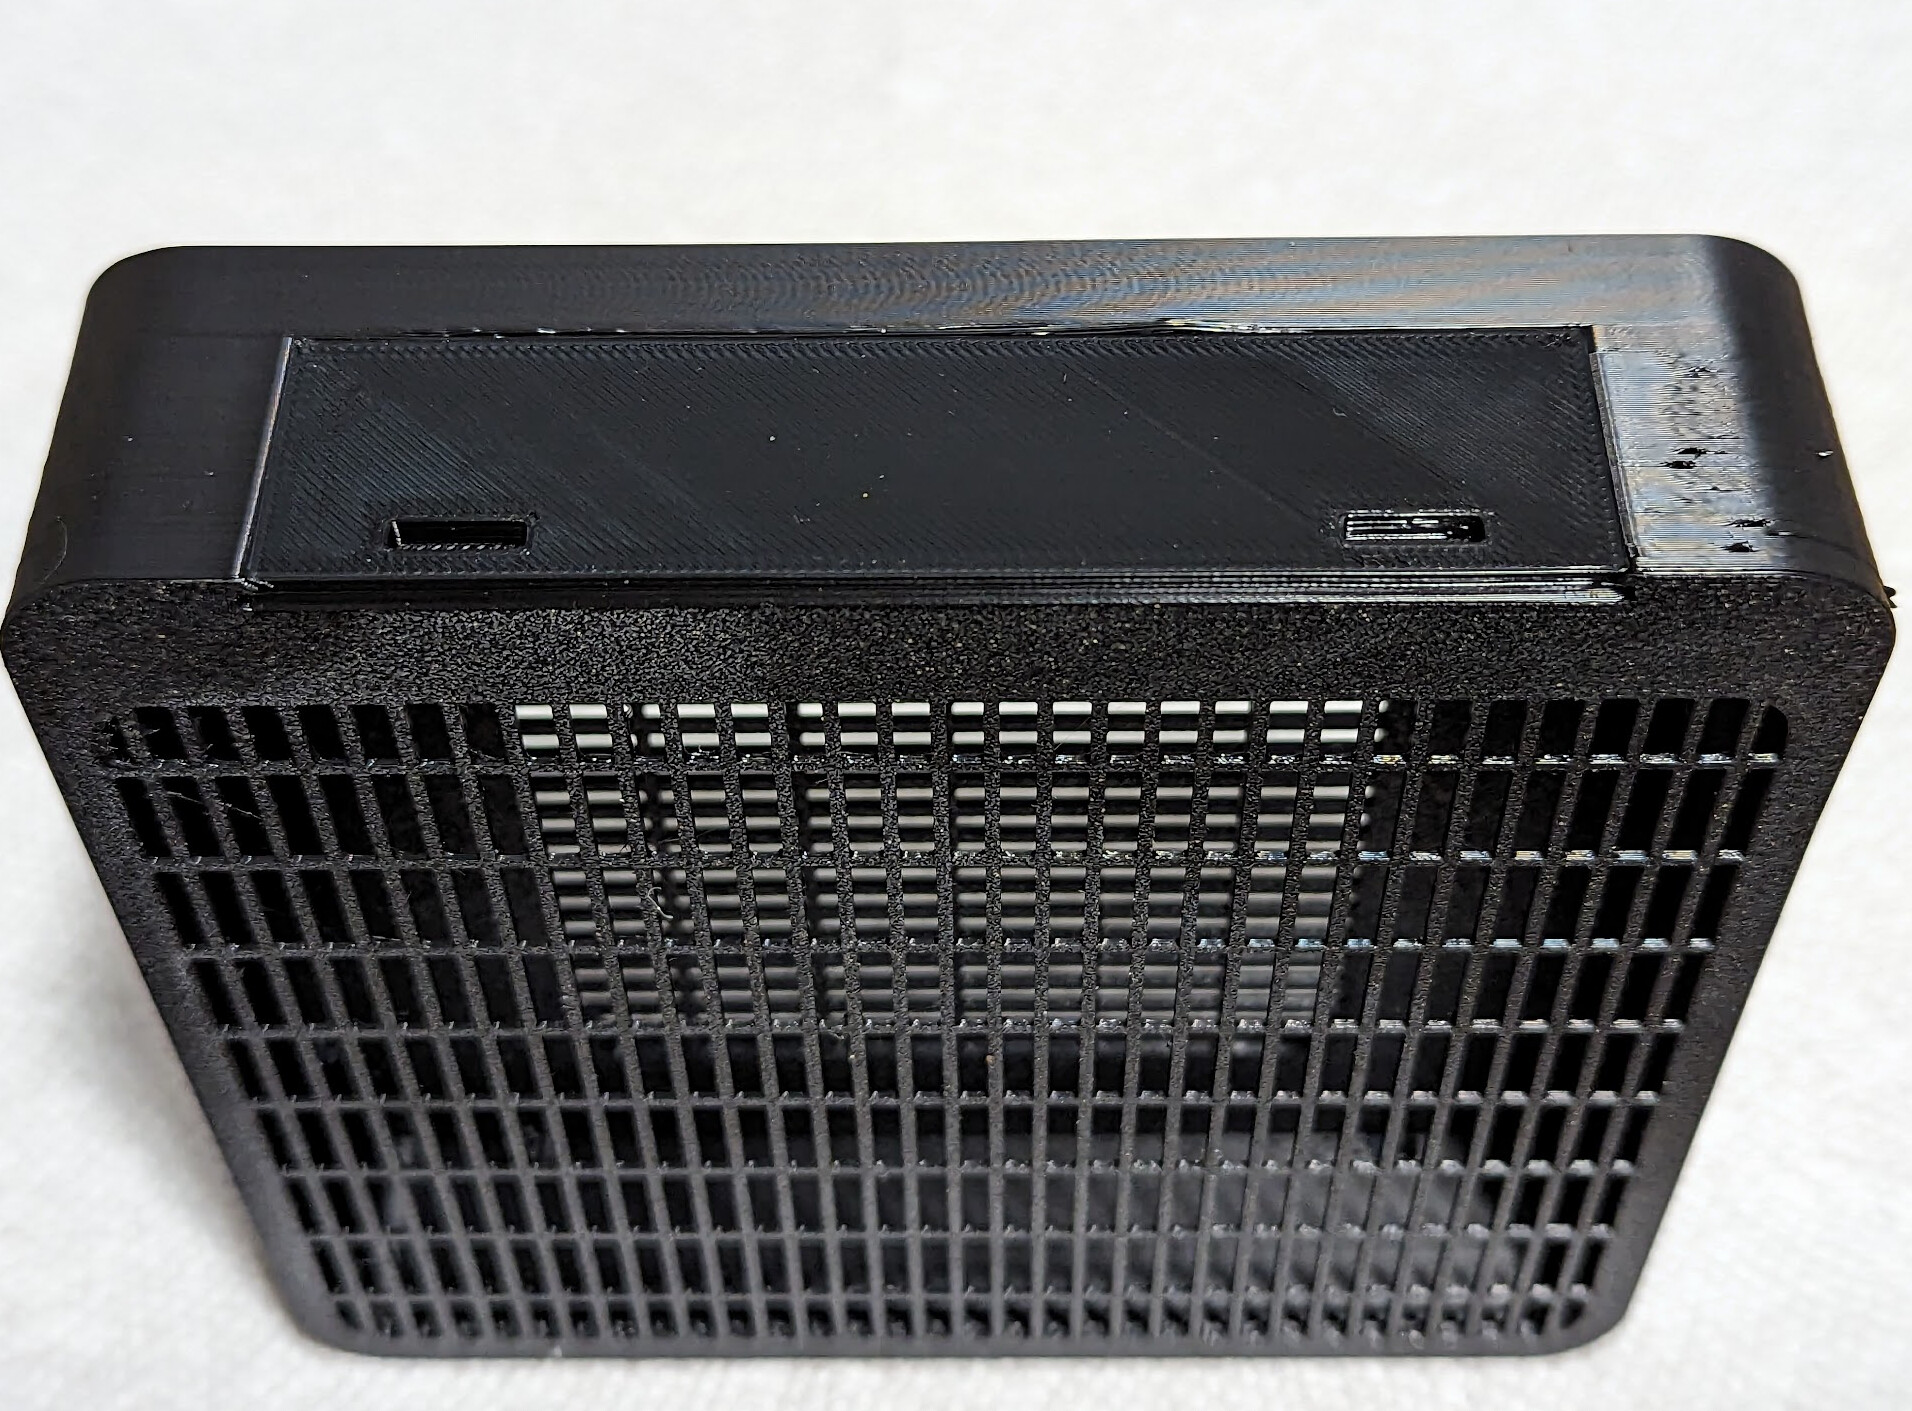
Replace the door to seal the cartridge.
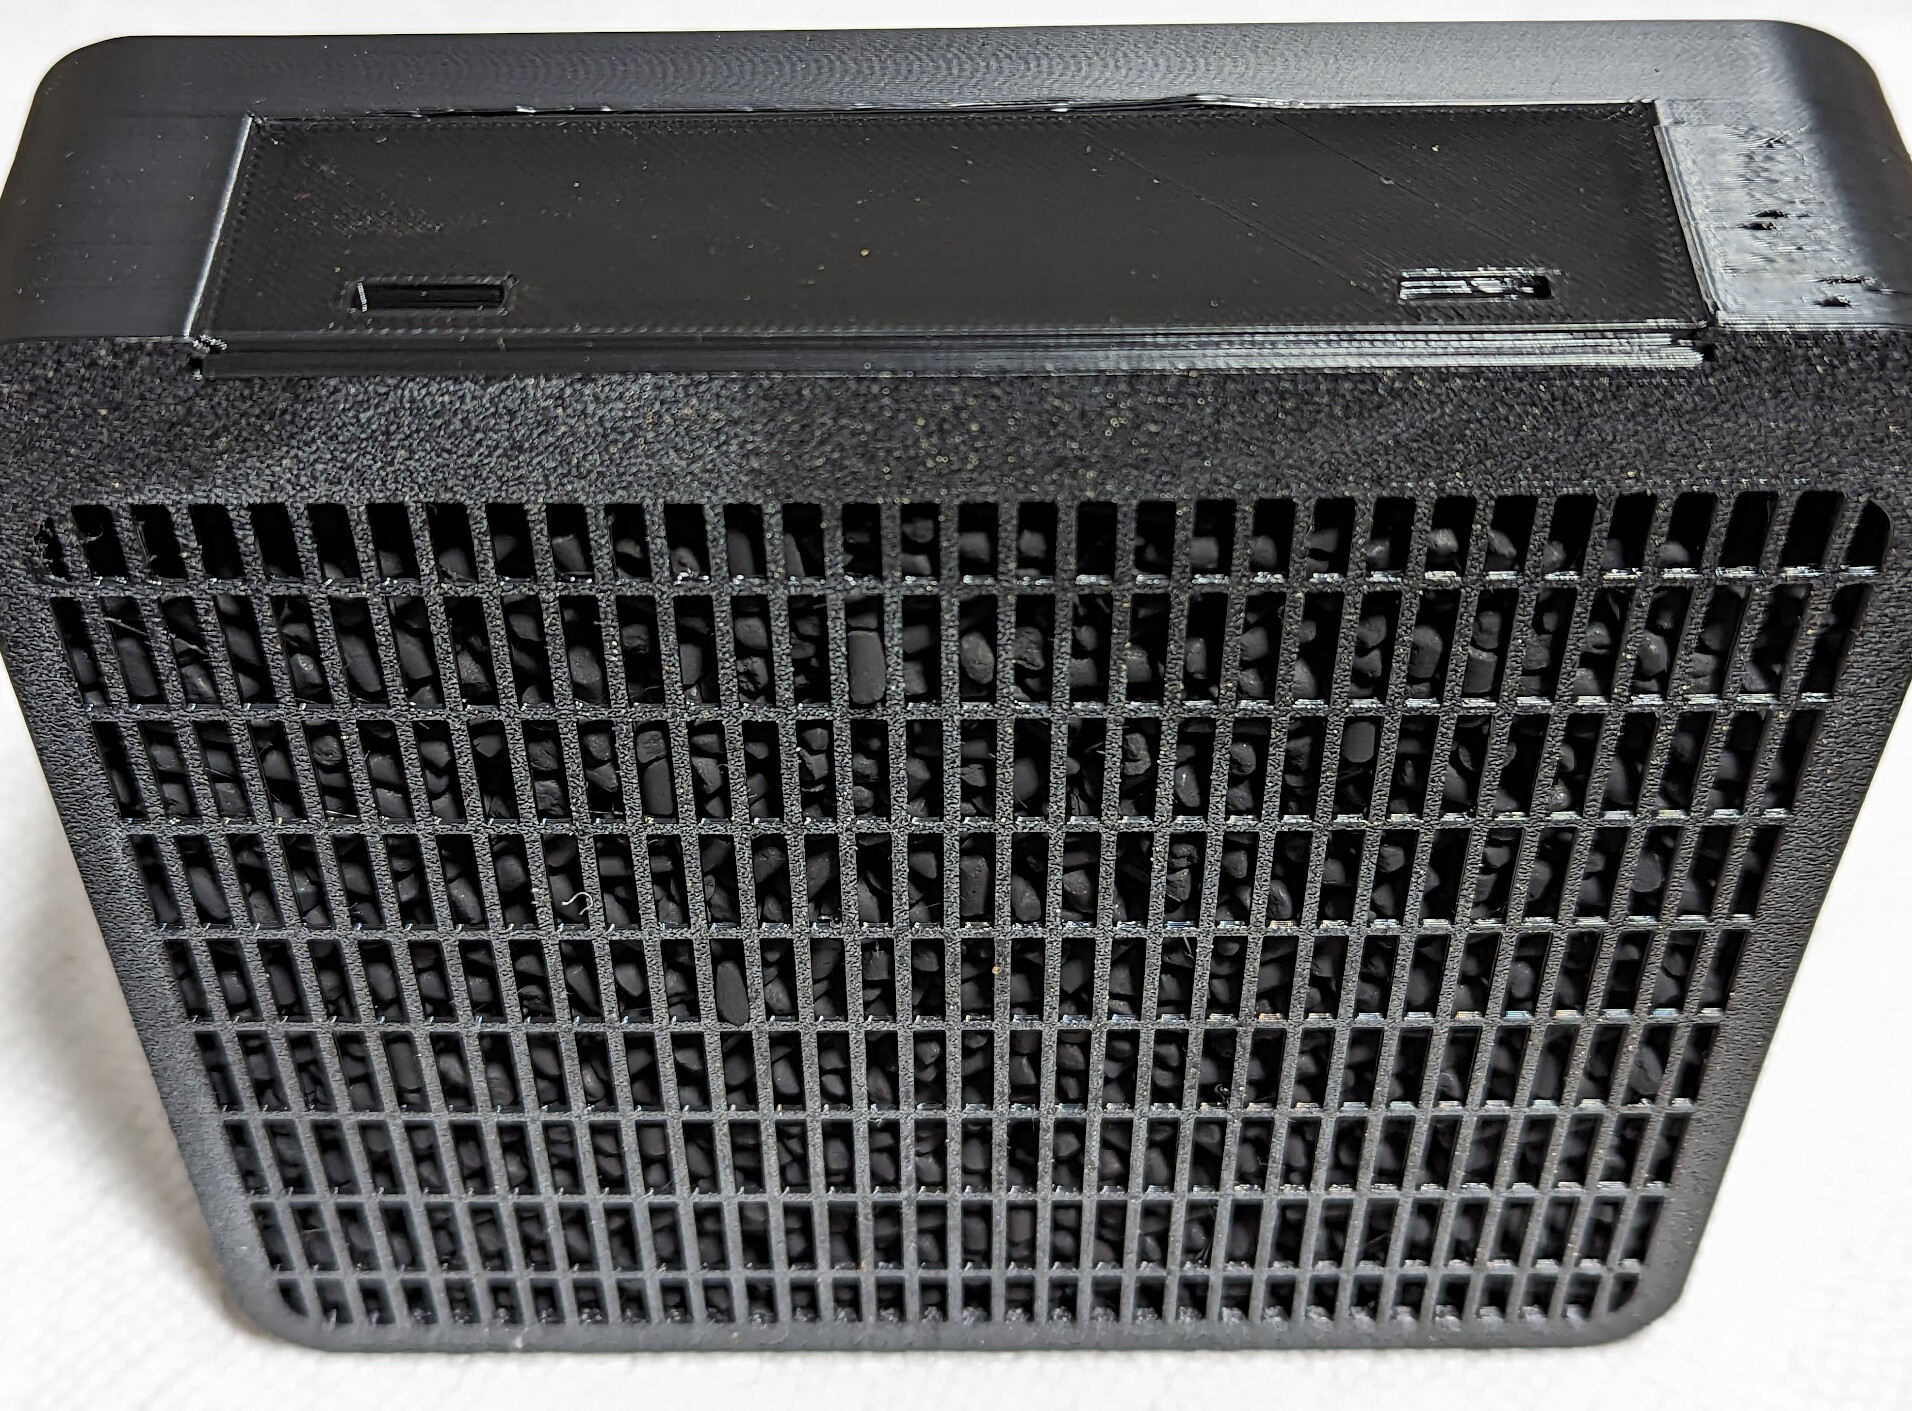
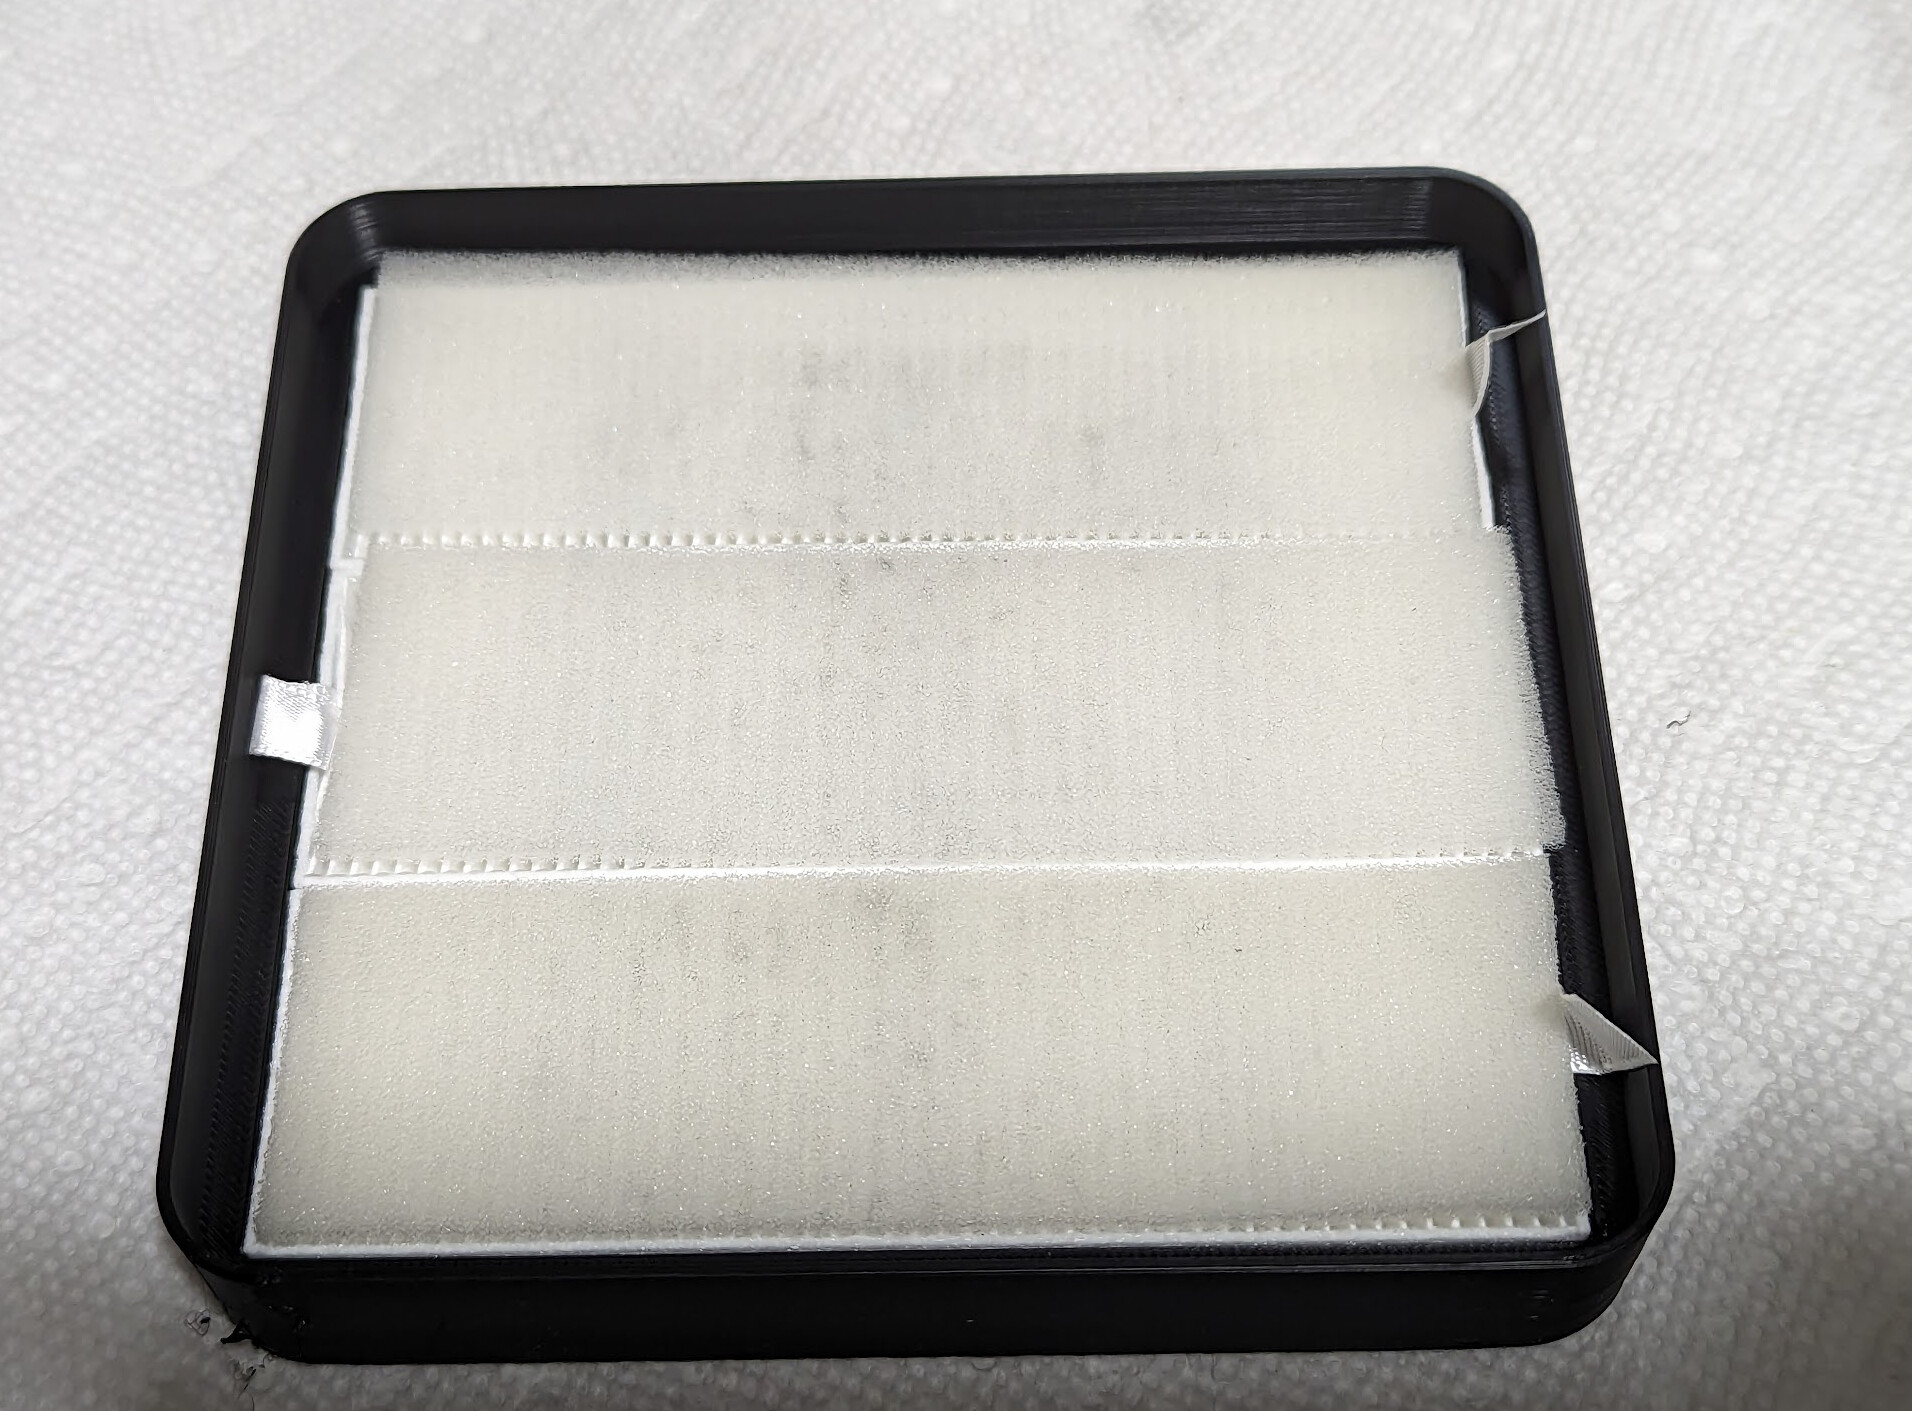
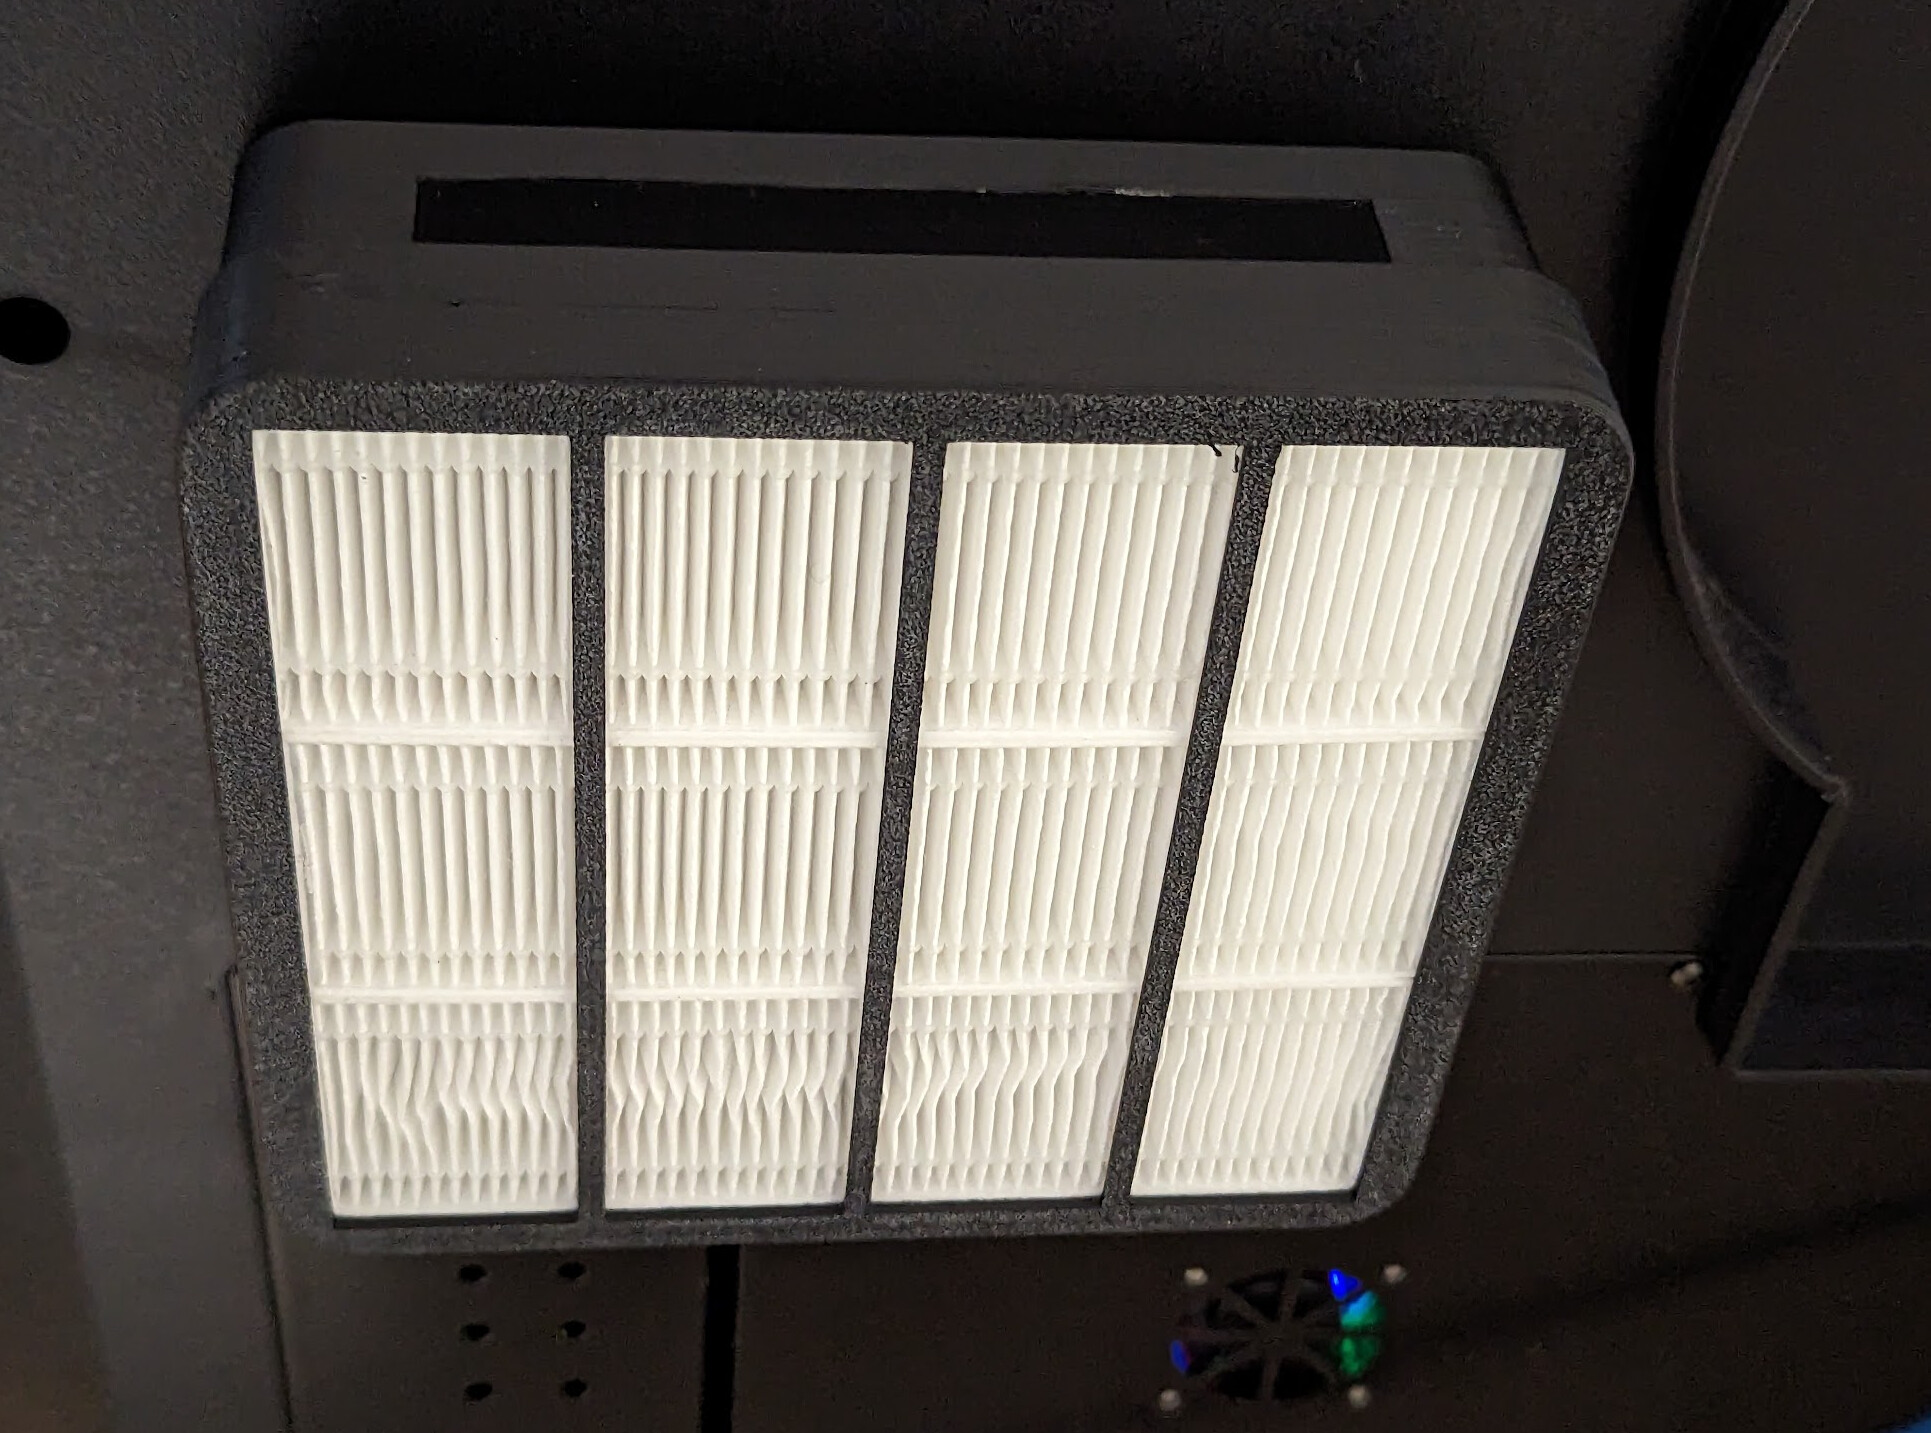
Set three of the HEPA filters in the filter holder. They fit in only one direction:
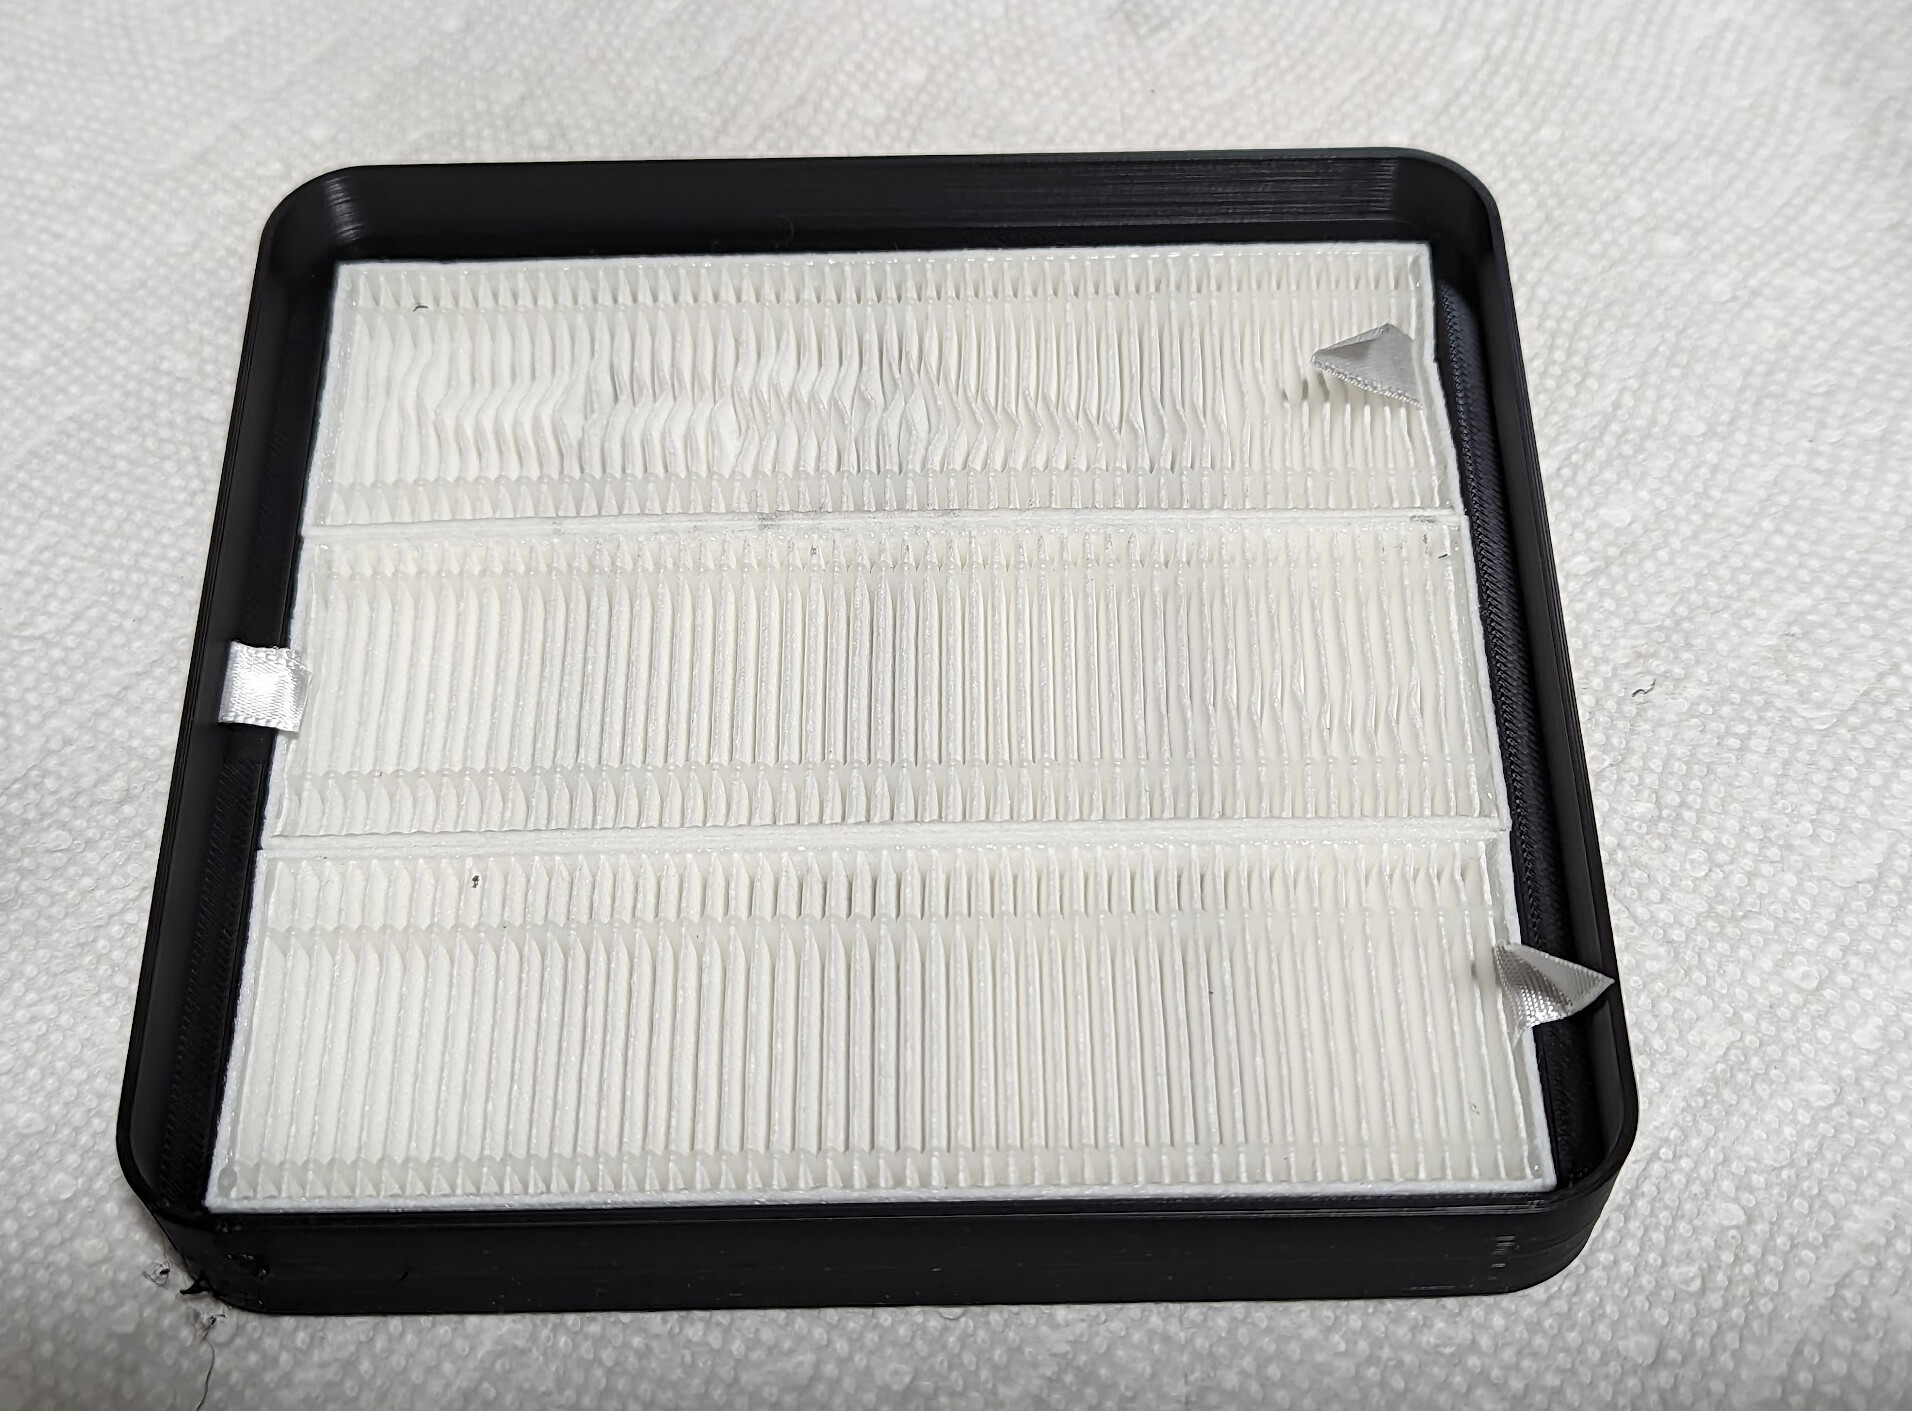
My HEPA filters came with thin foam inserts as pre-cleaners that I used to keep carbon dust out of the HEPA filters;
Slide the filter holder over the inner cage assembly from the side with the door slot. It should be a friction fit.
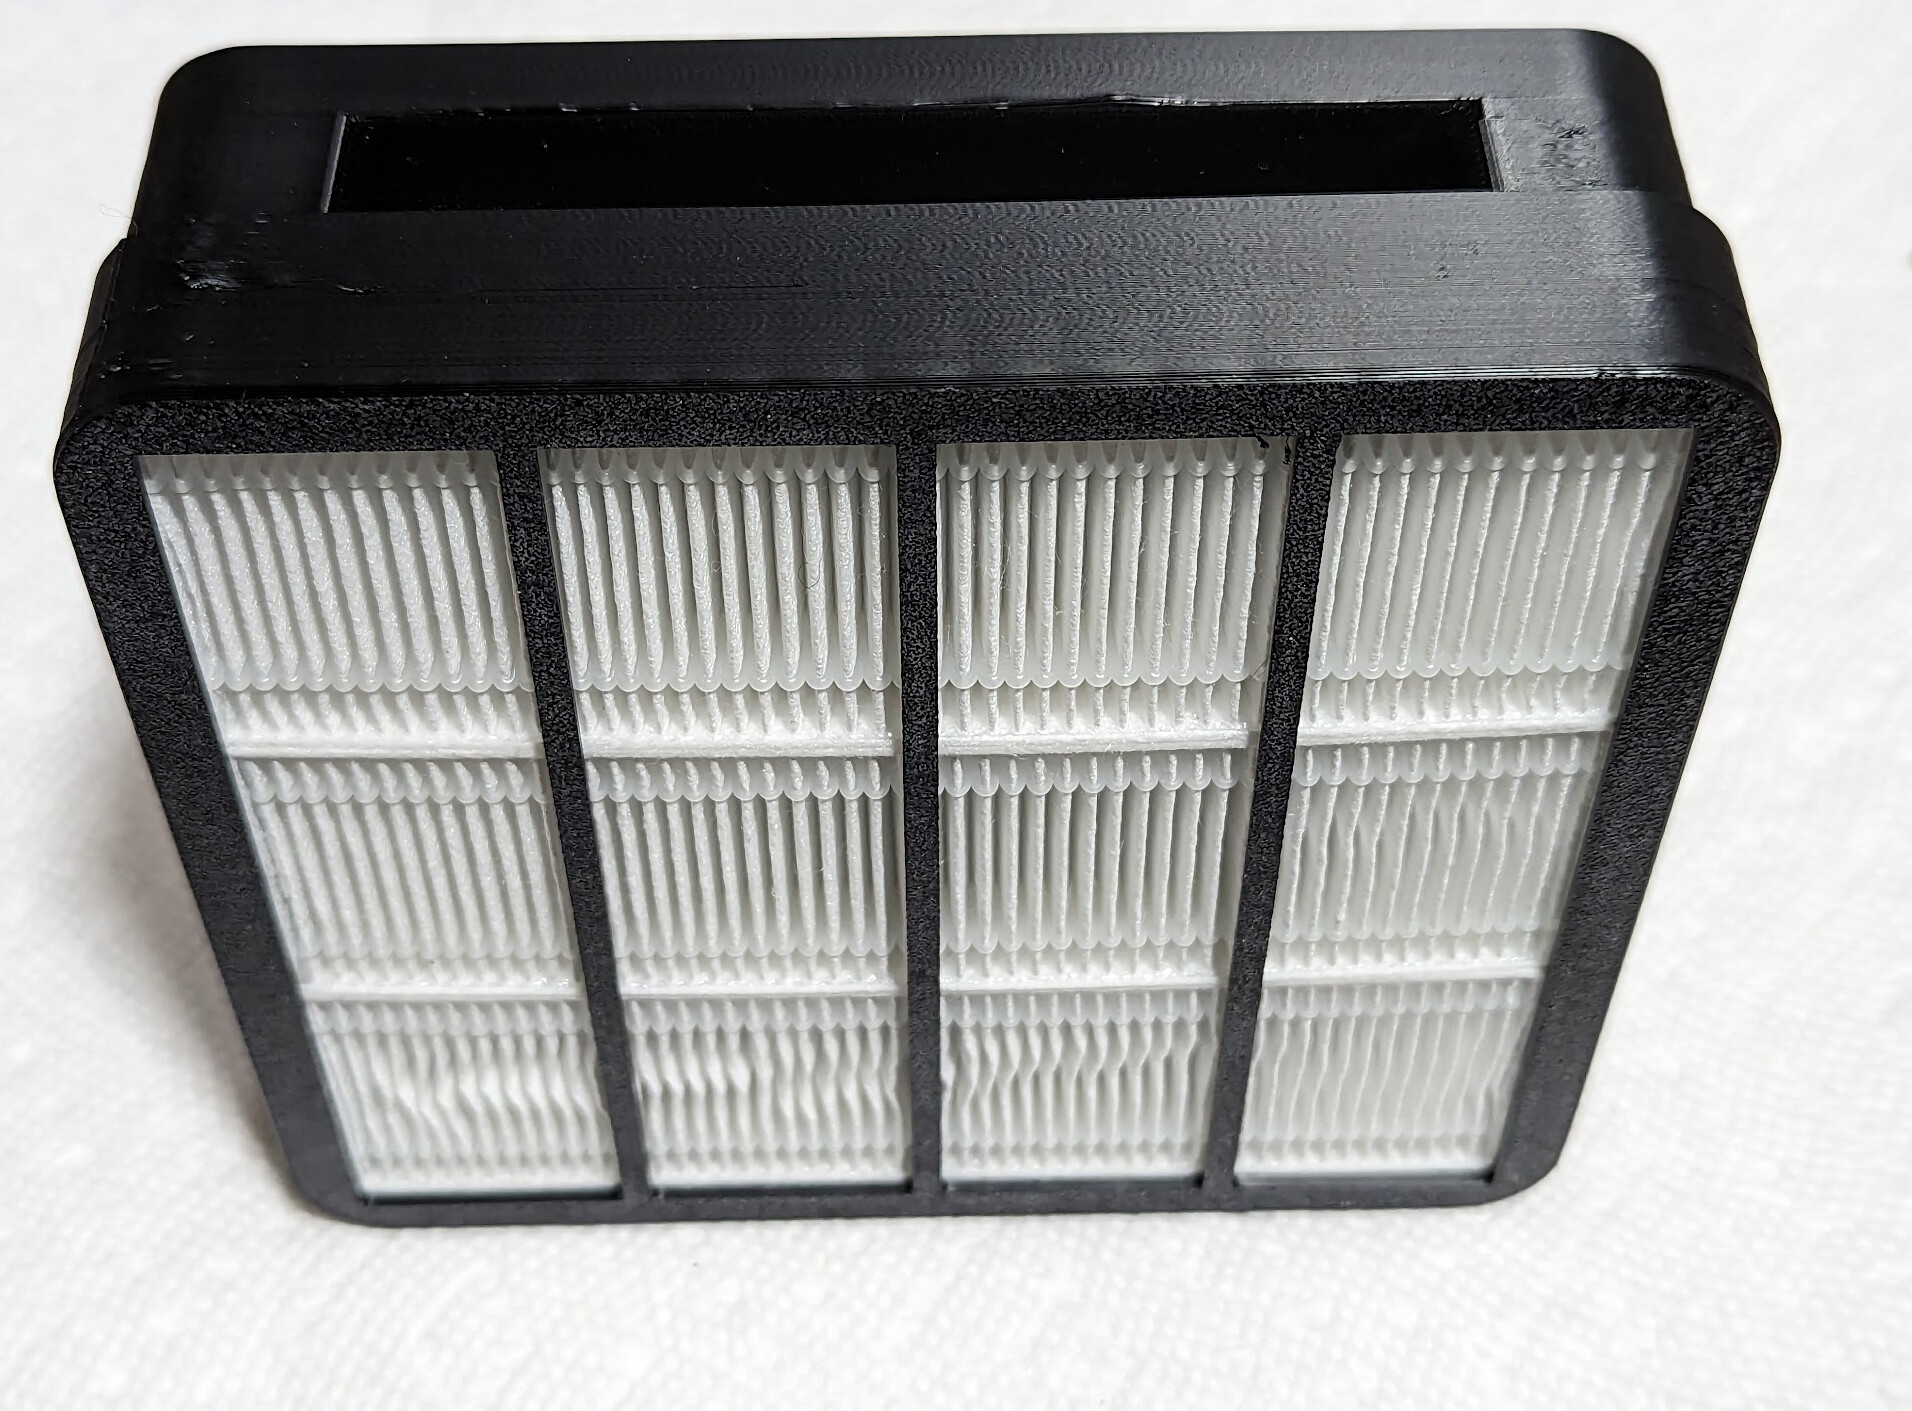
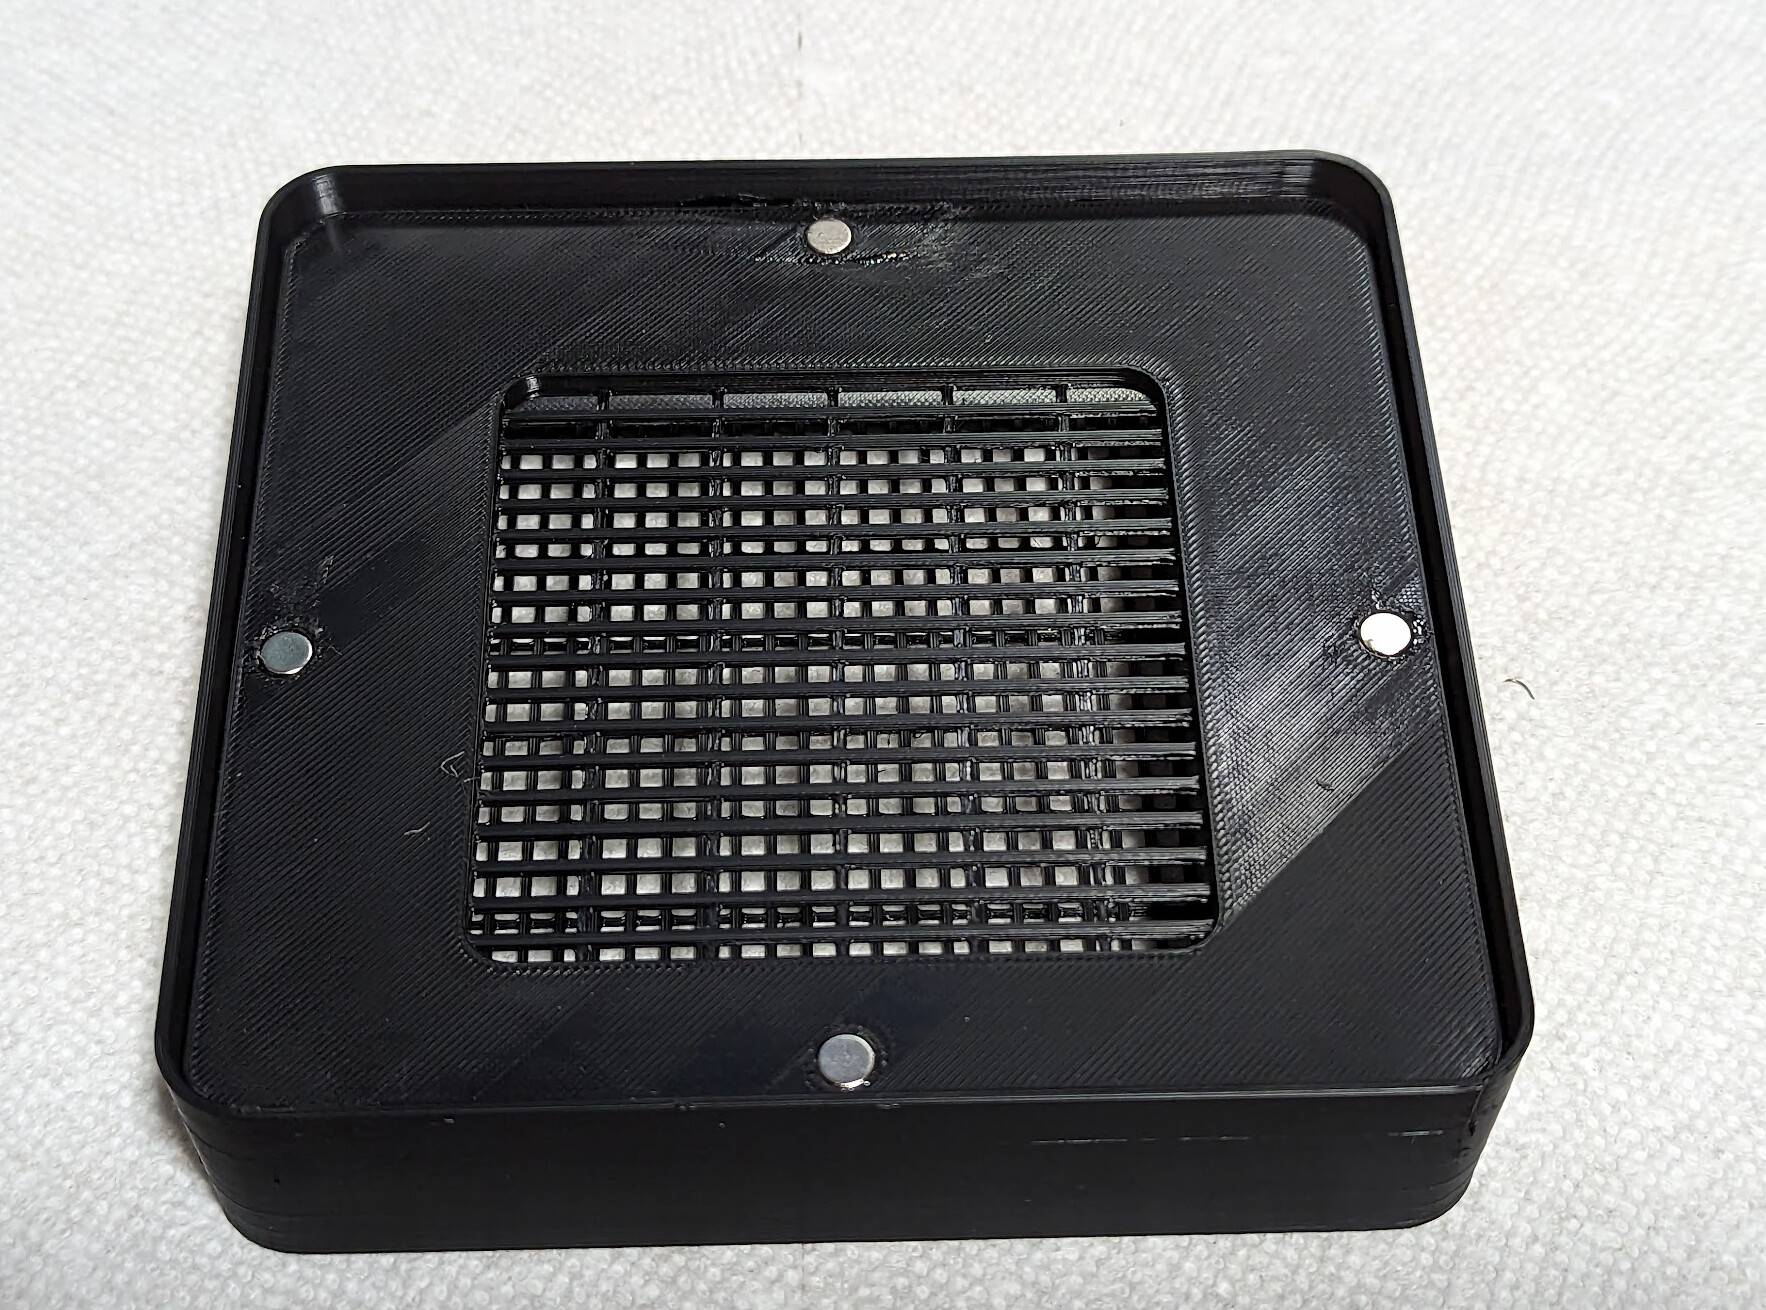
The complete cartridge is now assembled.
Installation
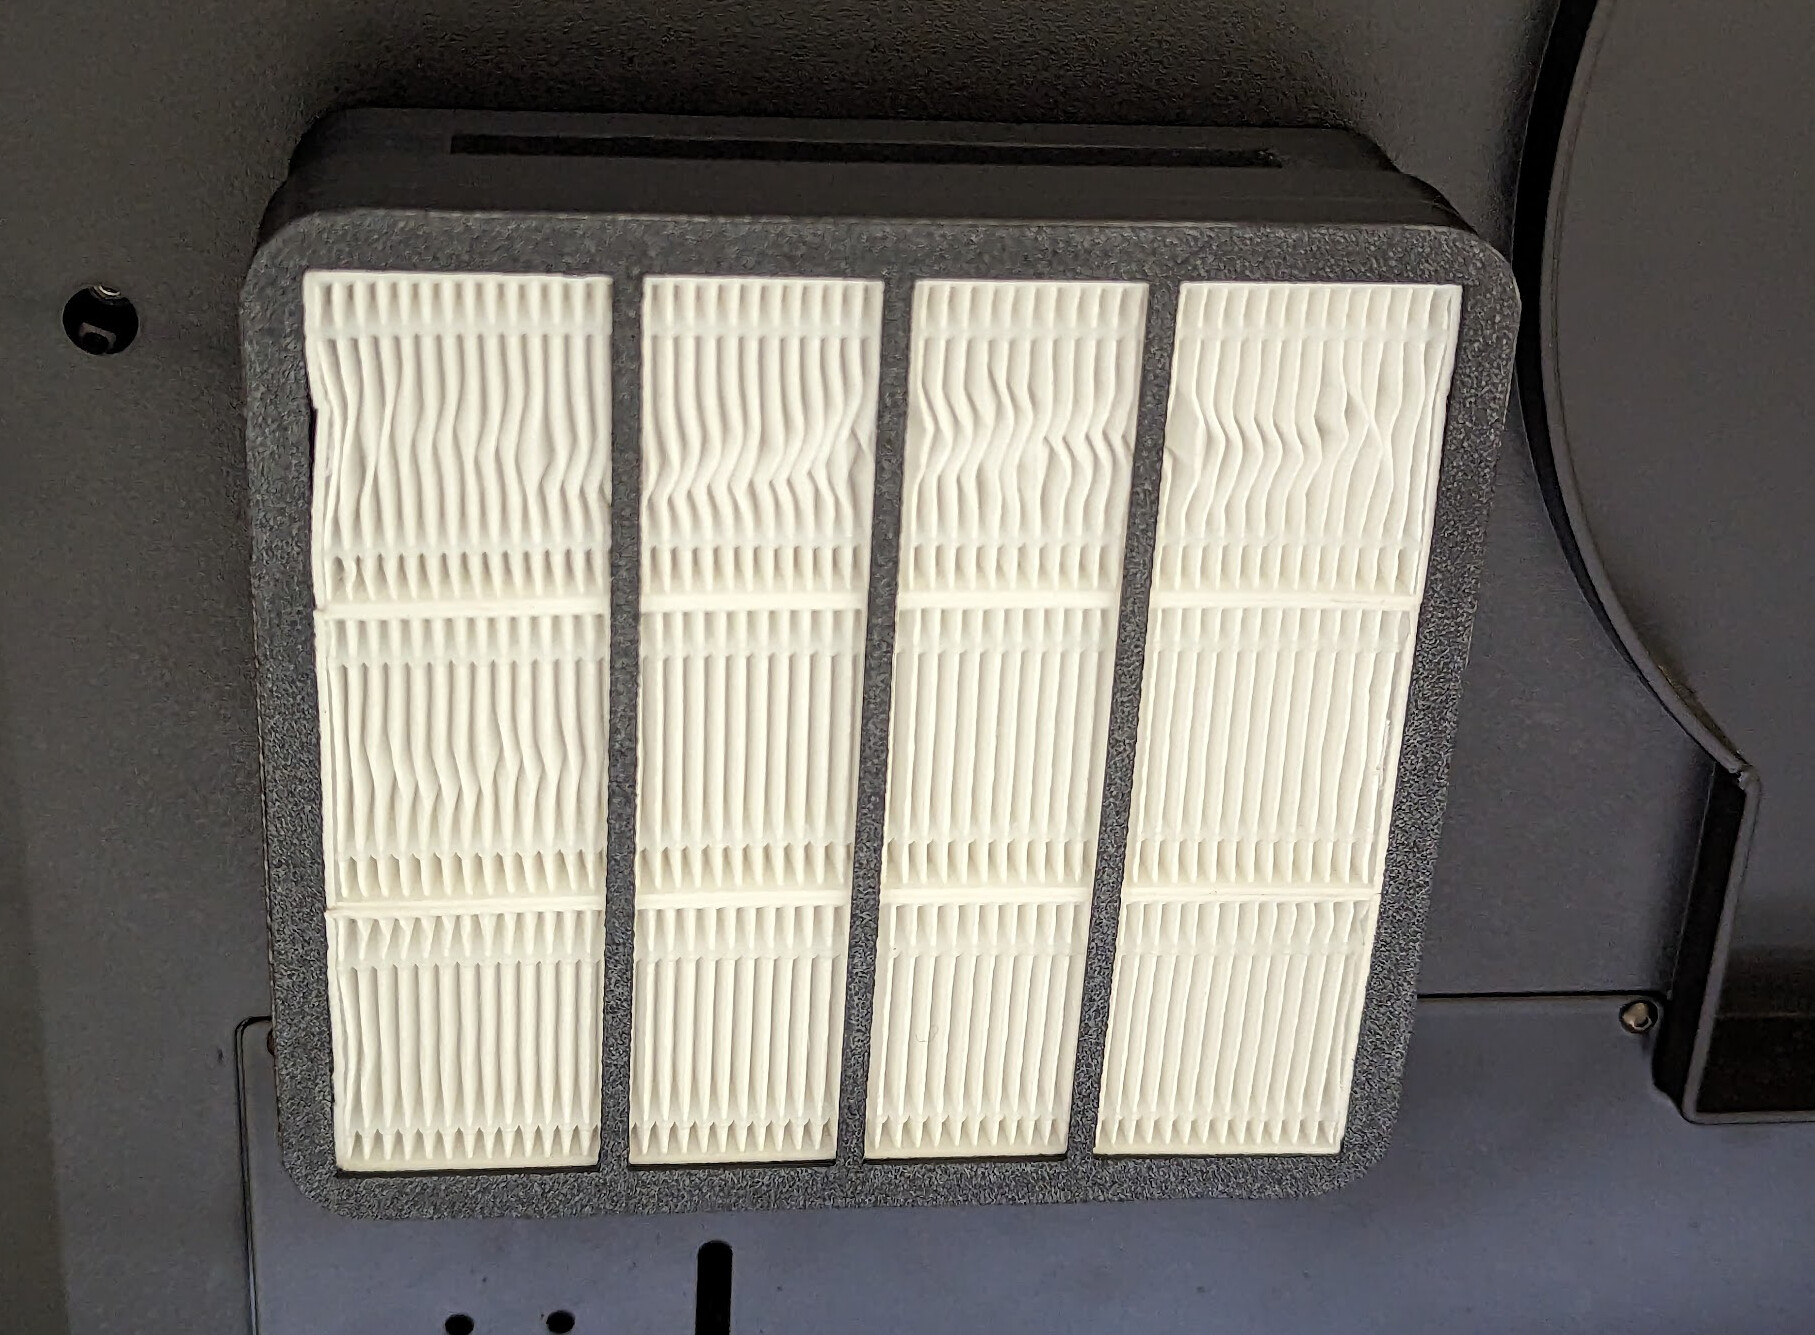
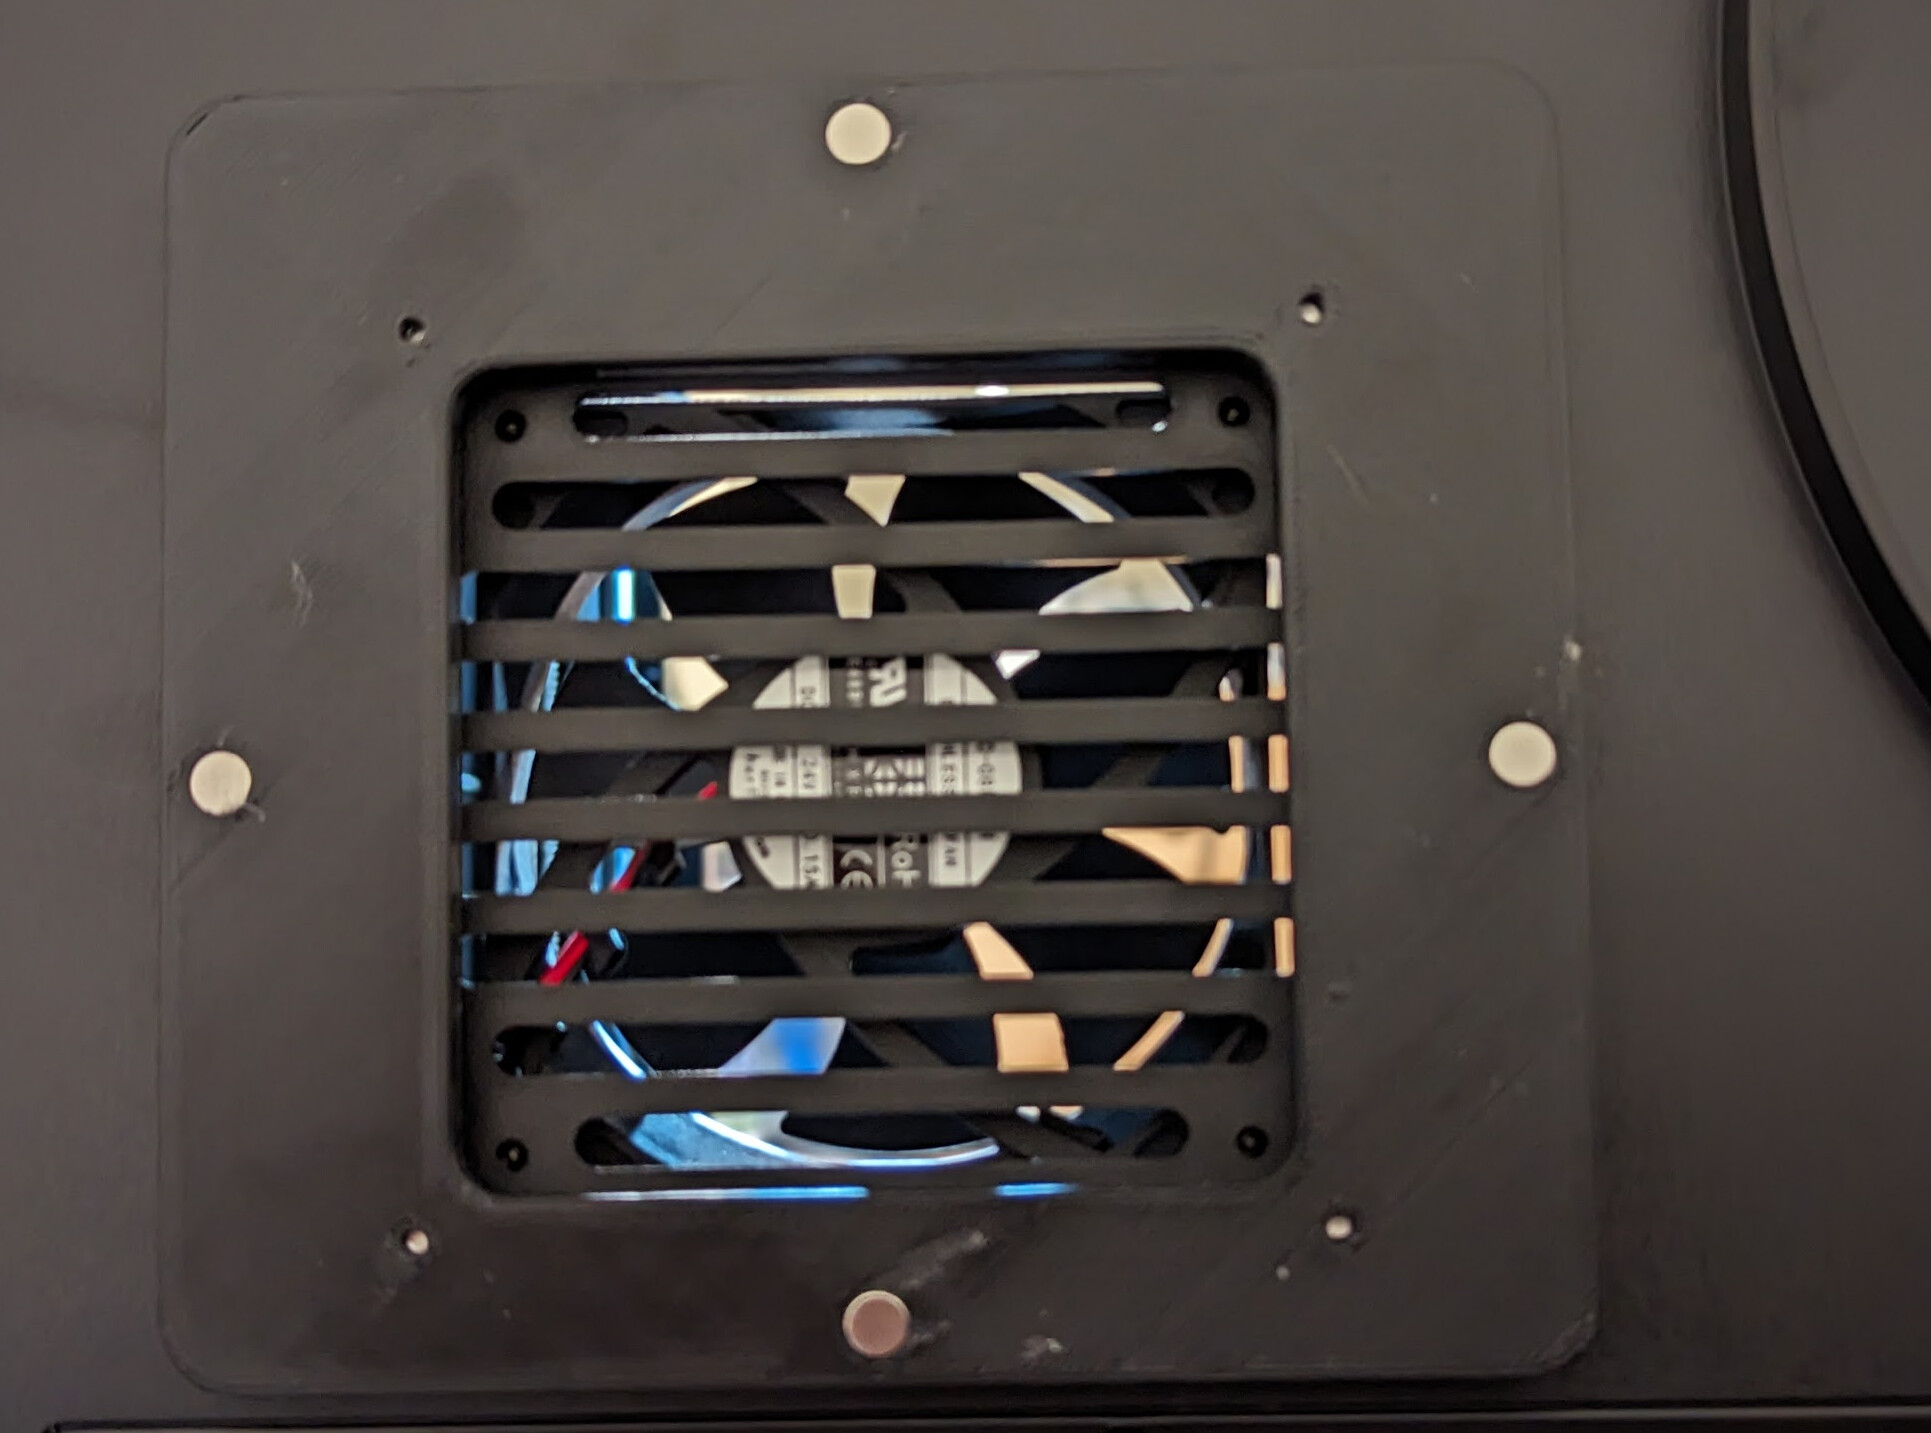
On the back, remove the four screws surrounding the exhaust blower fan just above the control board bay. The lower right screw is already removed in this picture:
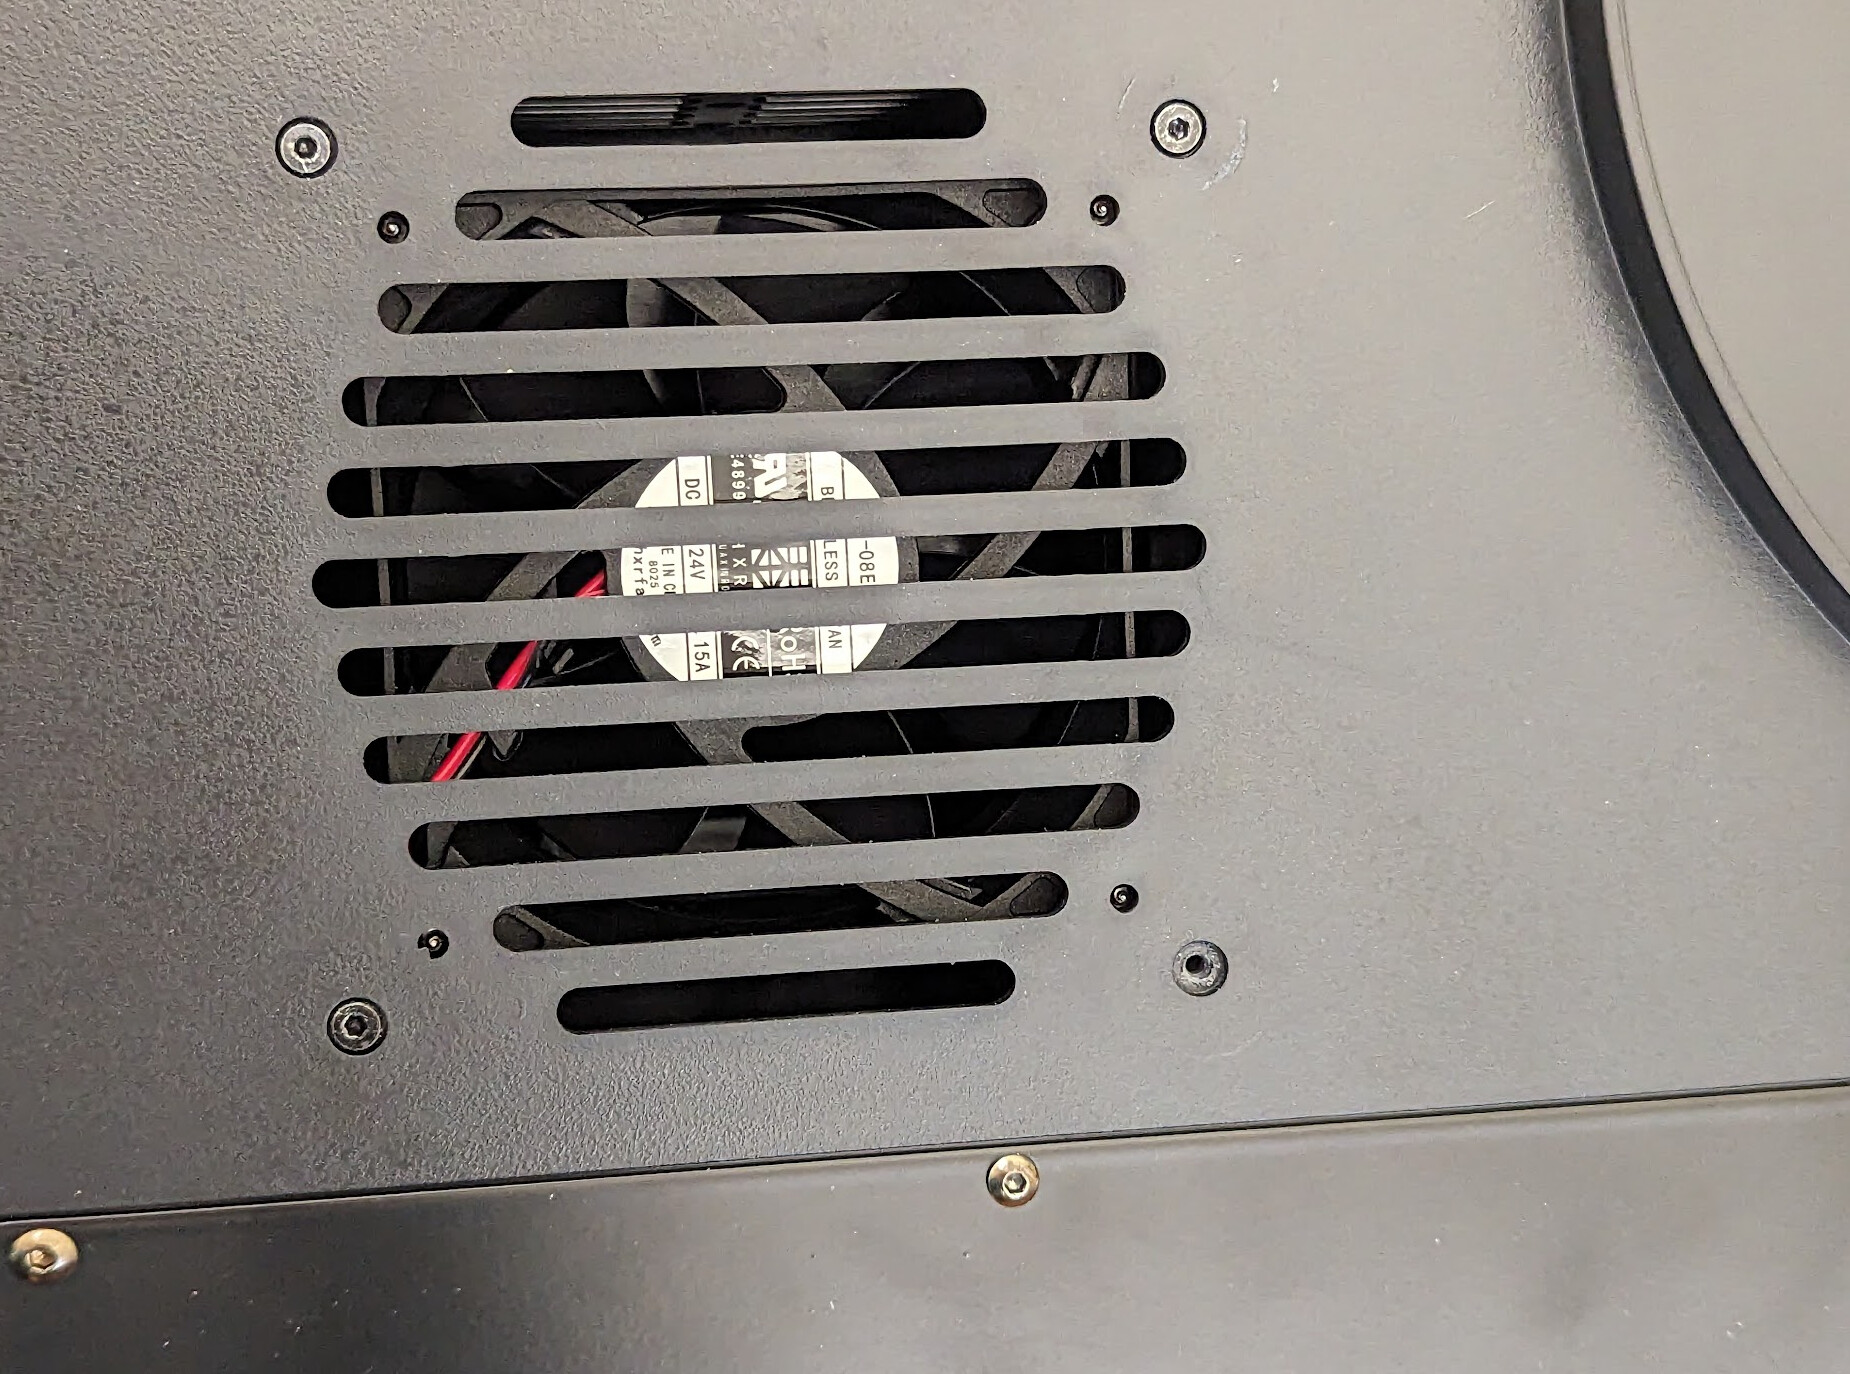
The entire filter box on the inside will come loose:
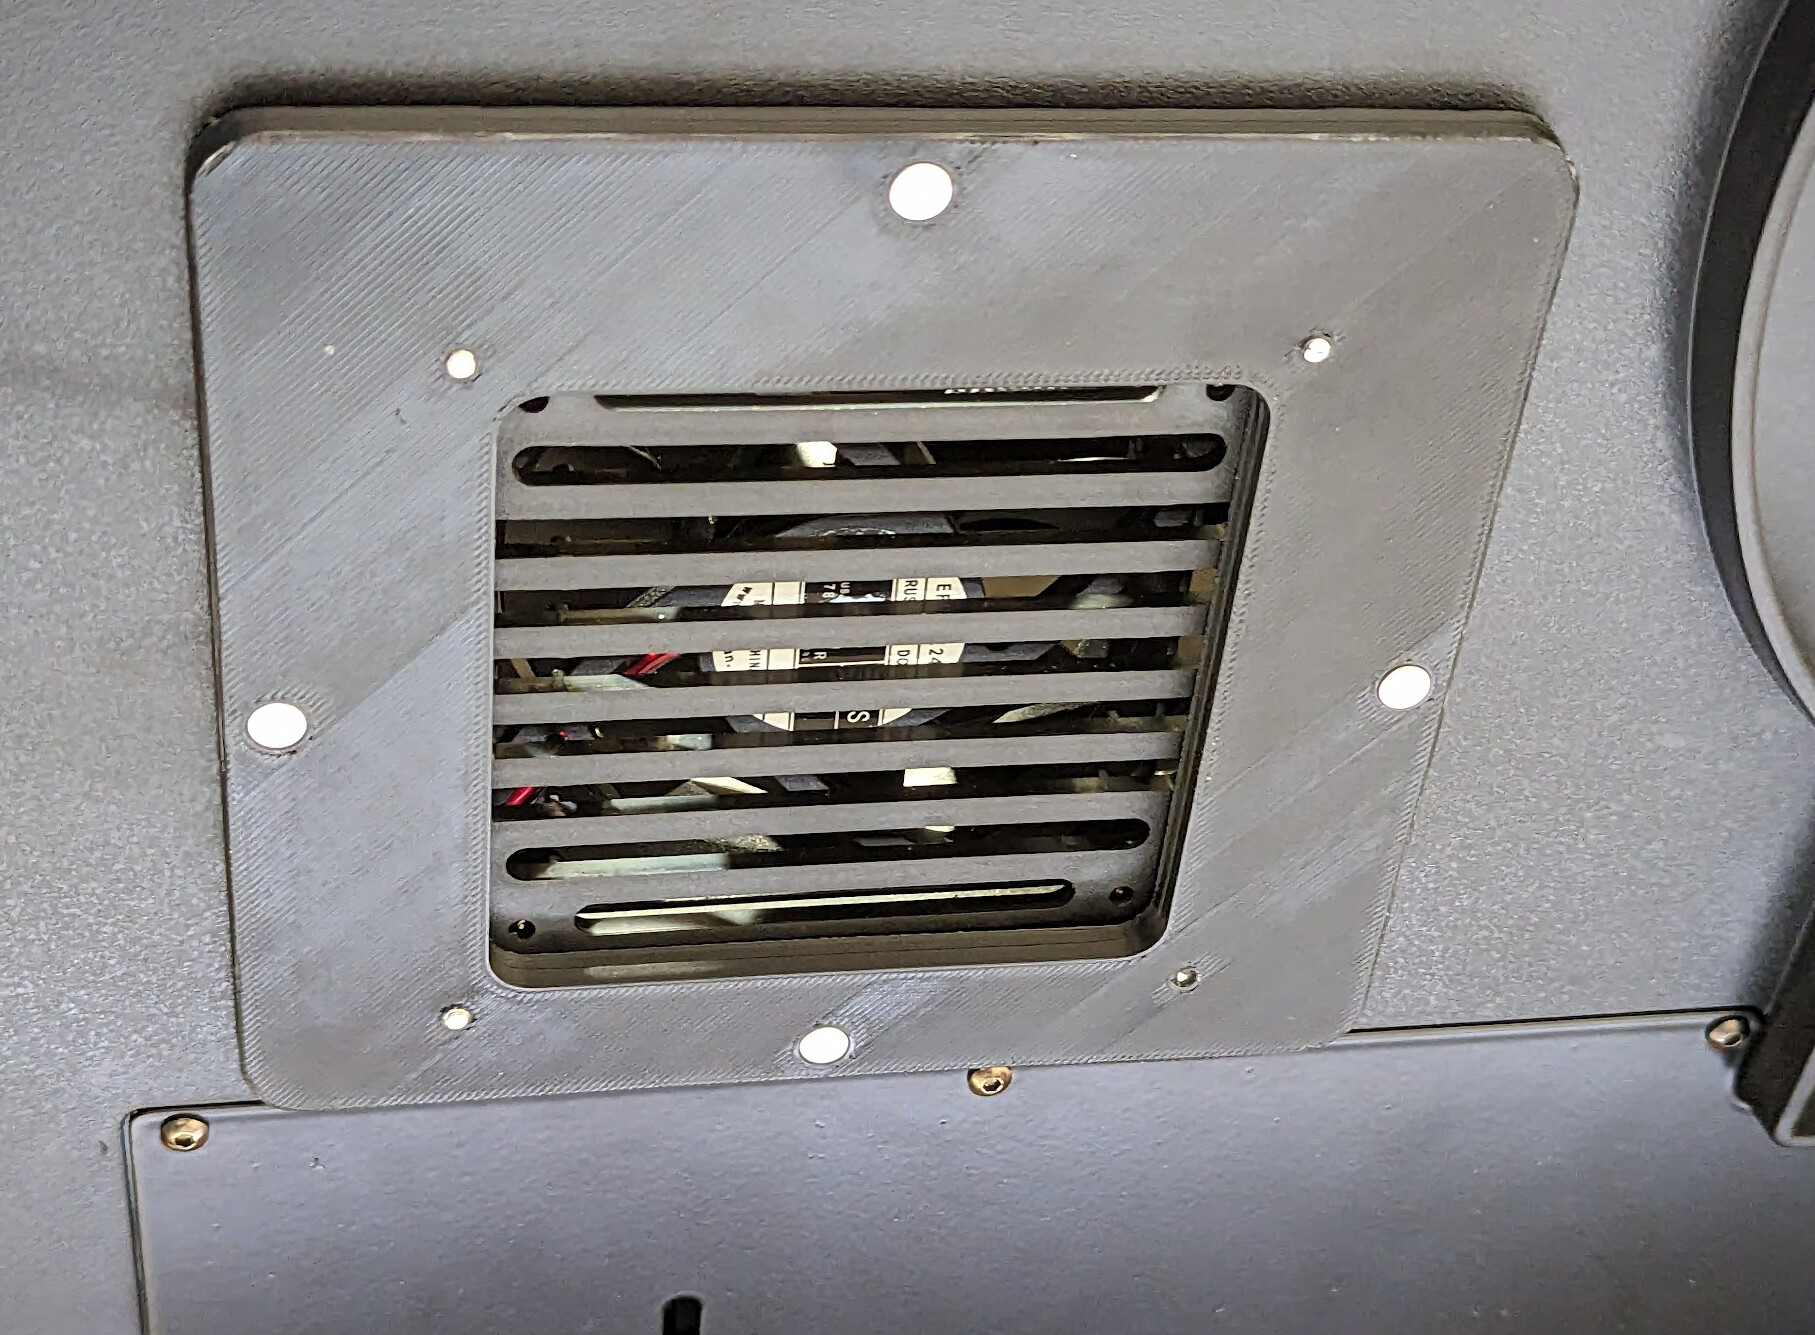
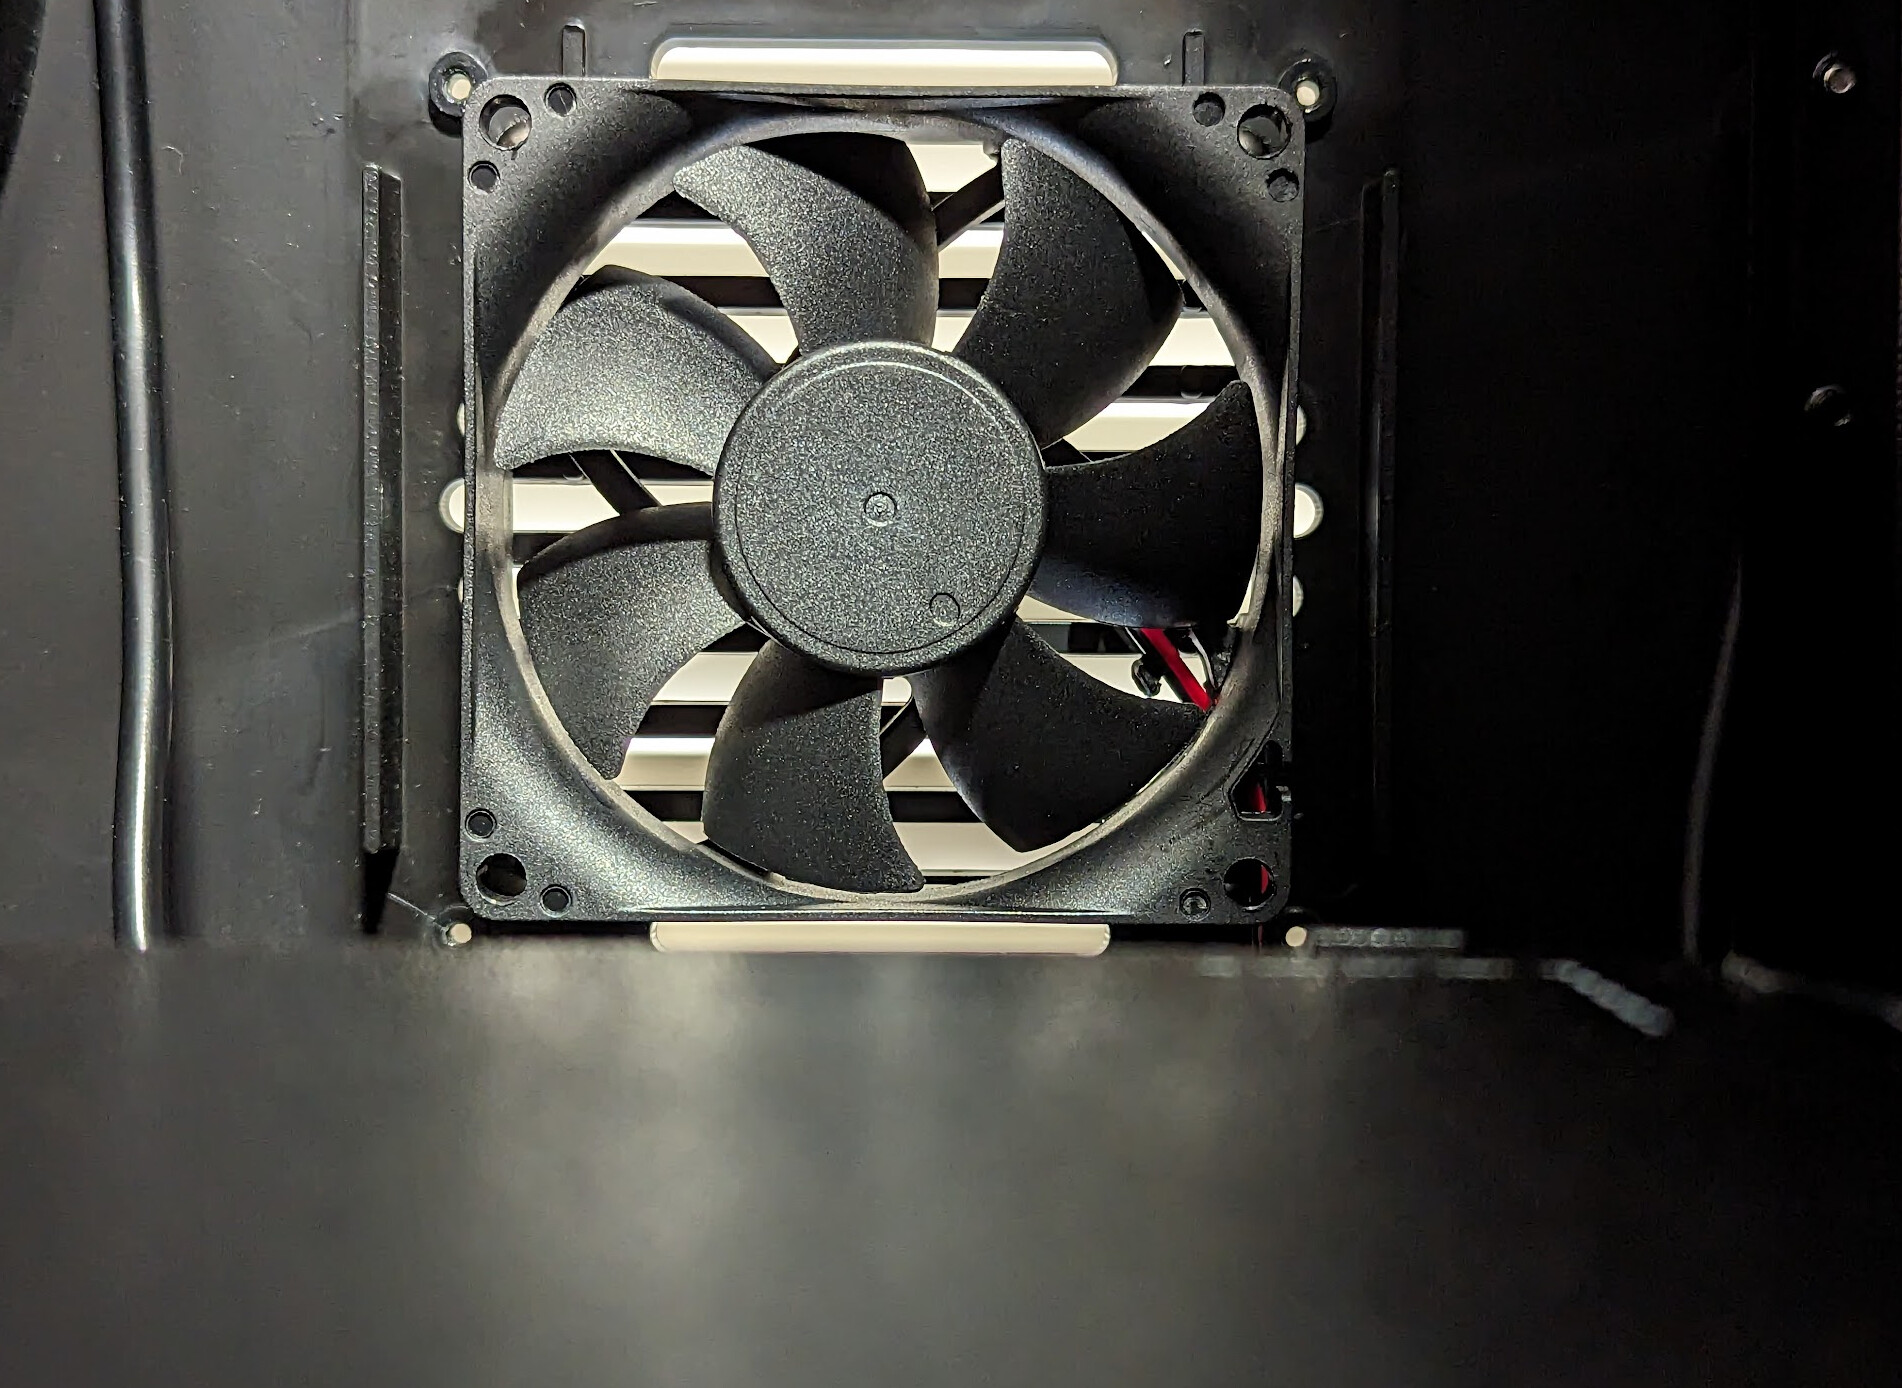
The fan will now be visible in the back of the case. (Notice that the slots in the back are a poor match for the installed fan.)
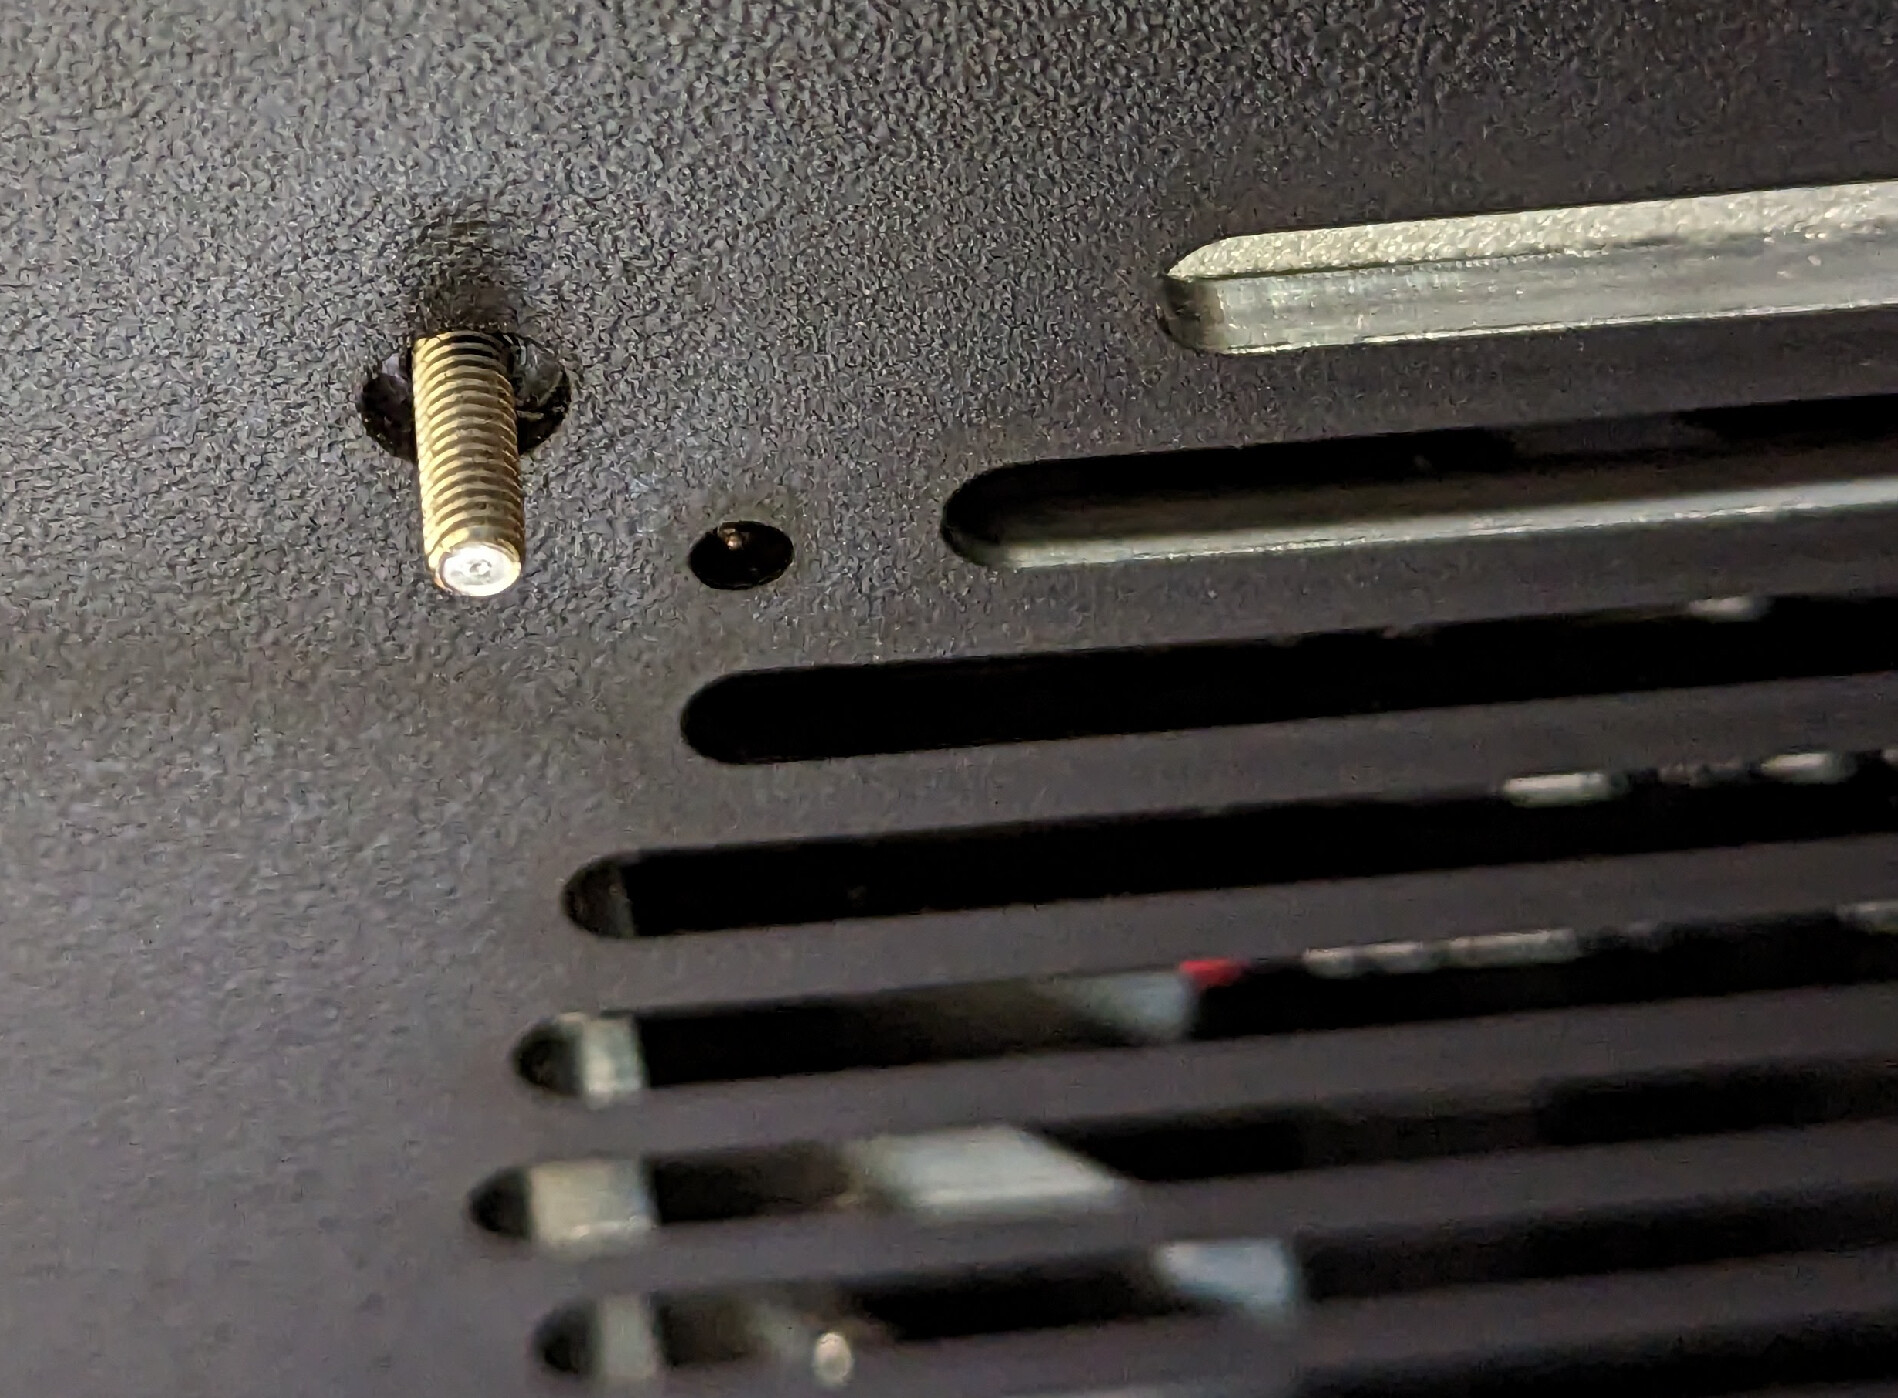
With a 1/8" drill bit (or 3.2-3.5mm metric drill bit), drill out each of the four holes from which you removed the four screws:

The M3x12 screws insert from the inside to the outside, like this:
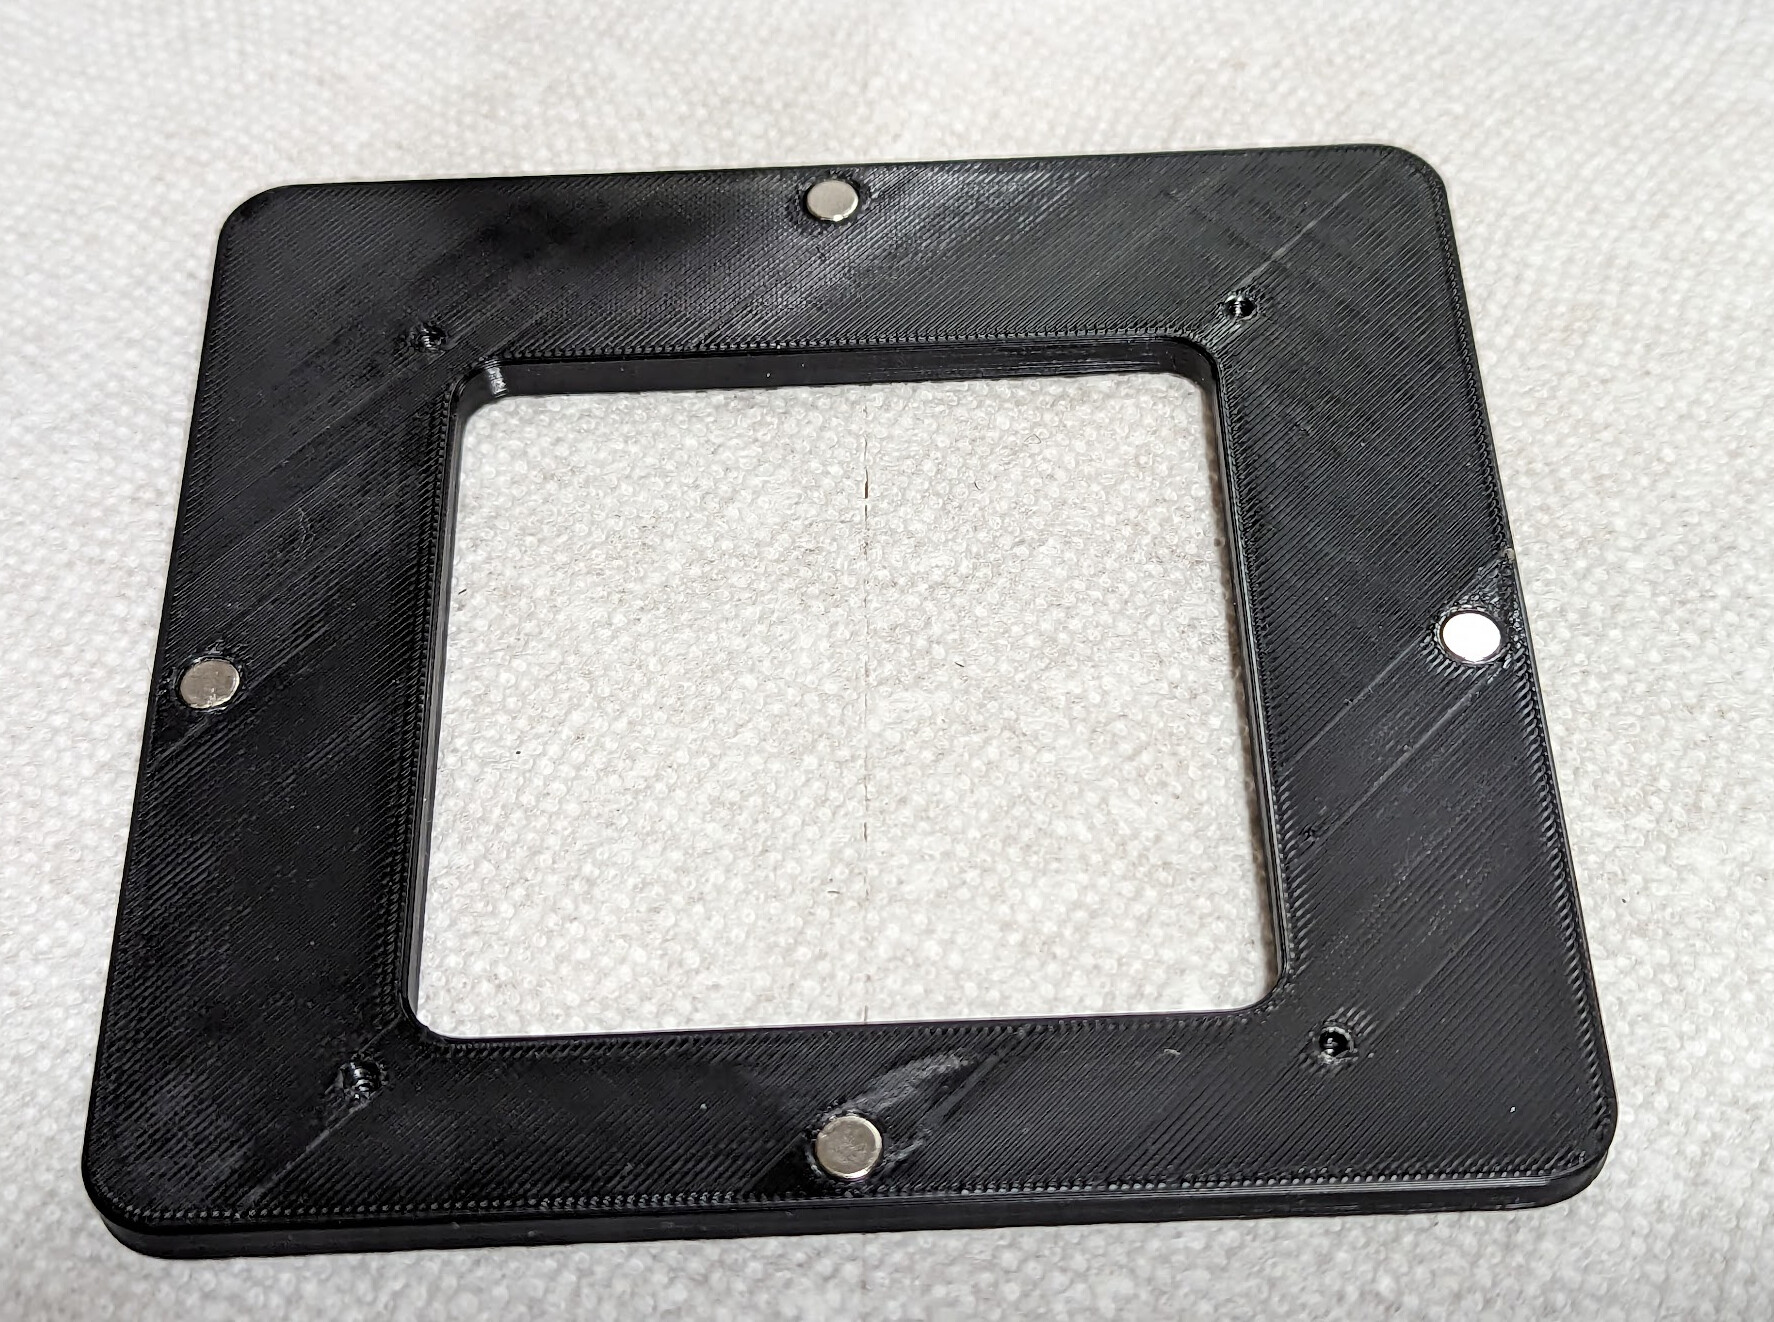
Place the mounting bracket over the exhaust fan, magnets out, and thicker side up, like this:

Note that if properly mounted, it will not overlap the metal plate beneath which covers the control board.
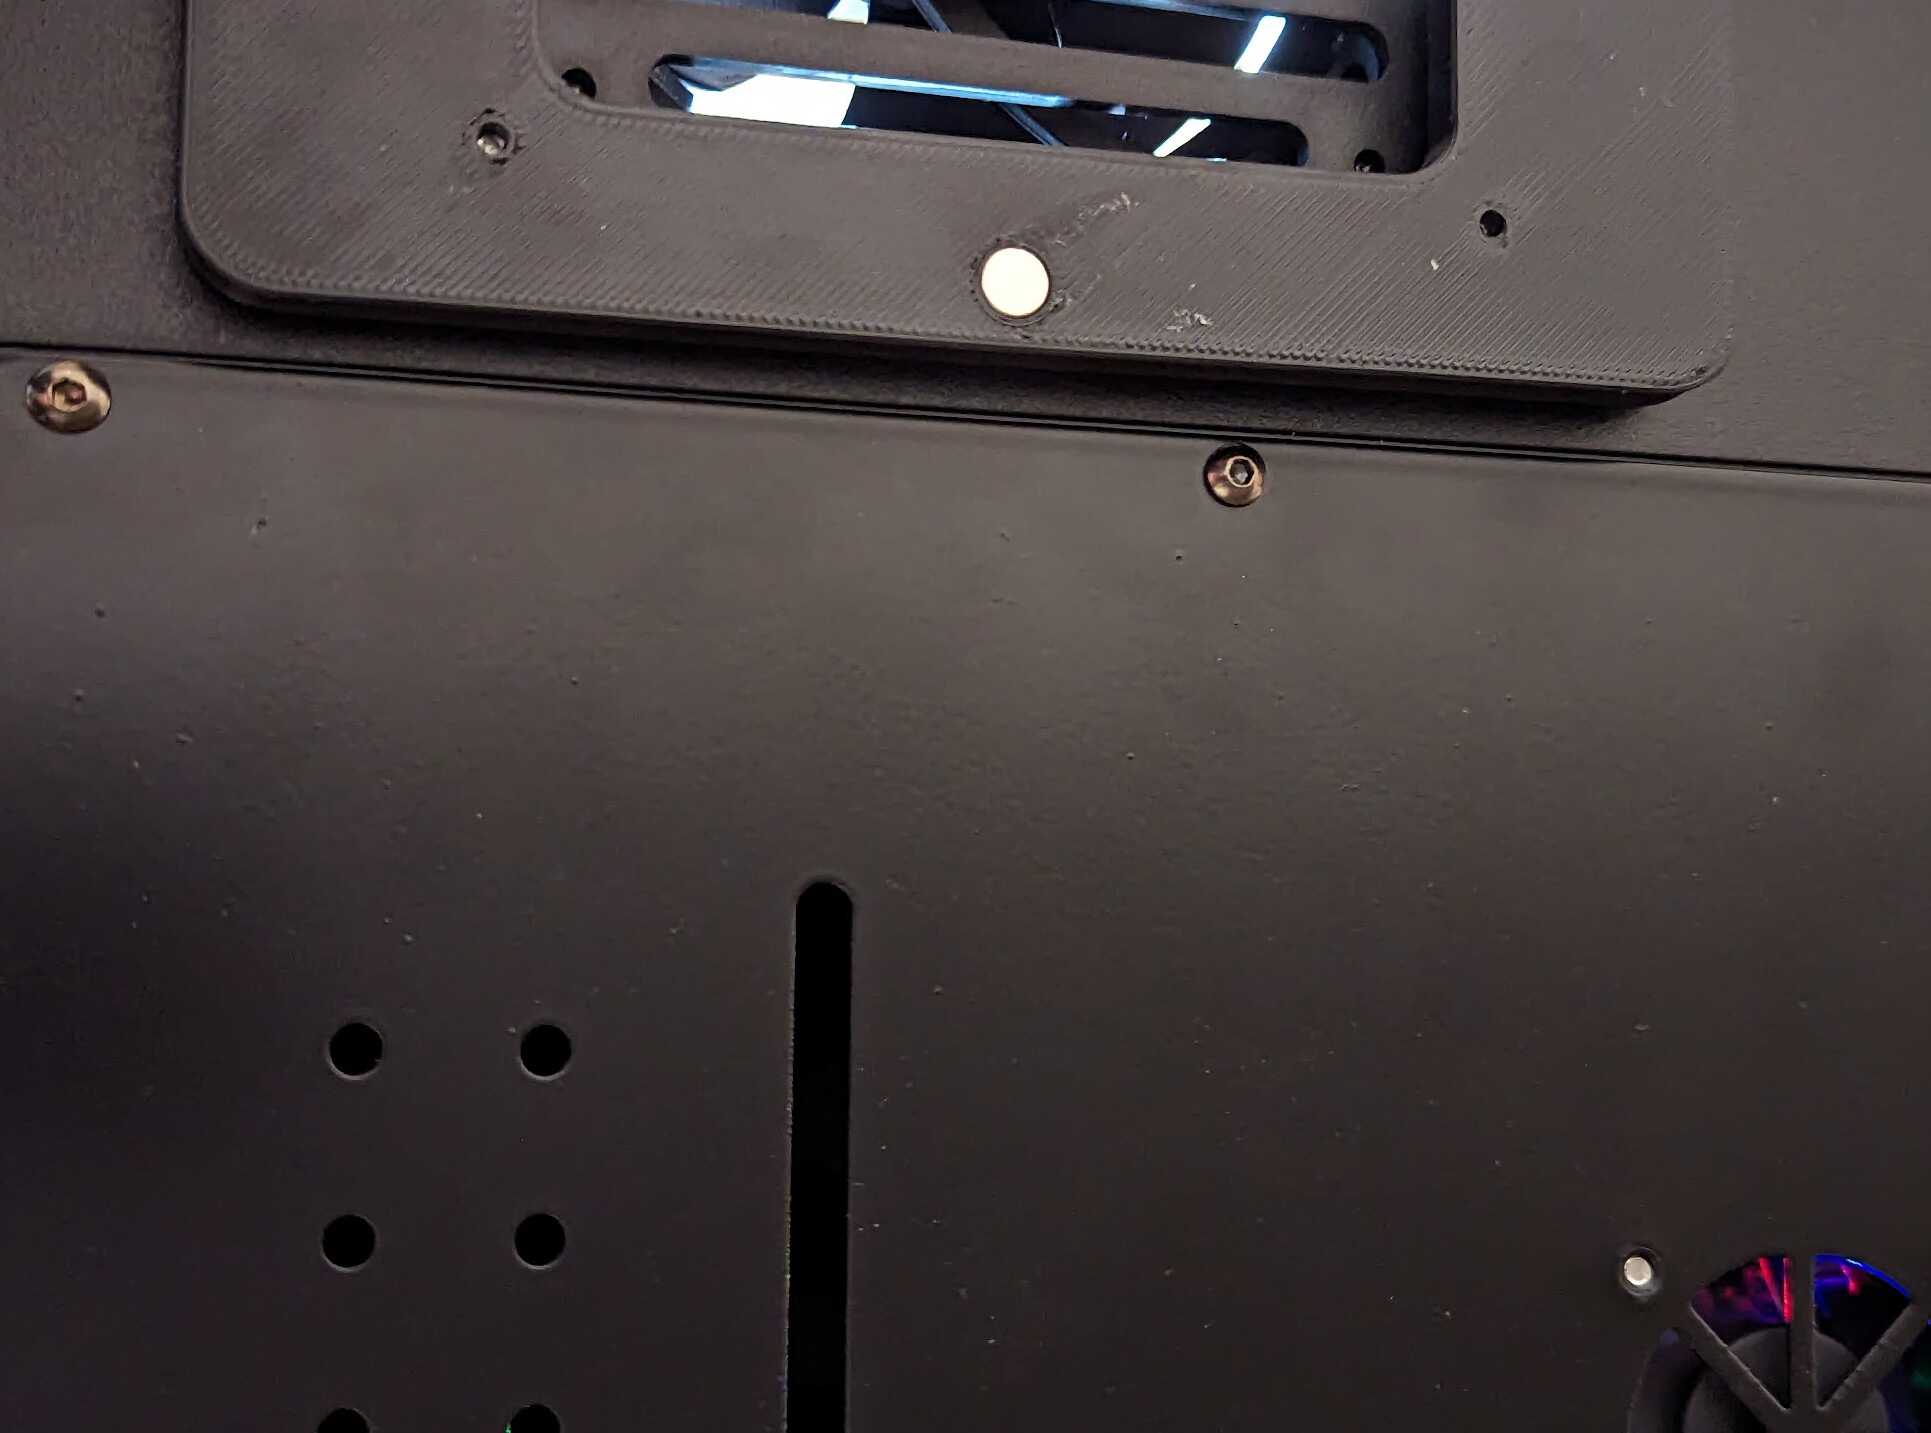
Make sure that the thicker end is up, and that the fan shows evenly. The top and bottom slots that are outside the fan will be covered by the mounting bracket. This is intentional.
Starting from the top, start an M3x12 screw in each screw hole of the mounting bracket. Insert all four only part way:
Tighten the M3x12 screws. Be careful of over-tightening them, since they screw into plastic threads. This does not carry much load, and is not intended to be removed, and the plastic acts something like a nyloc nut, so screwing directly into plastic is OK in this case; no need for a heat-set insert and loctite.
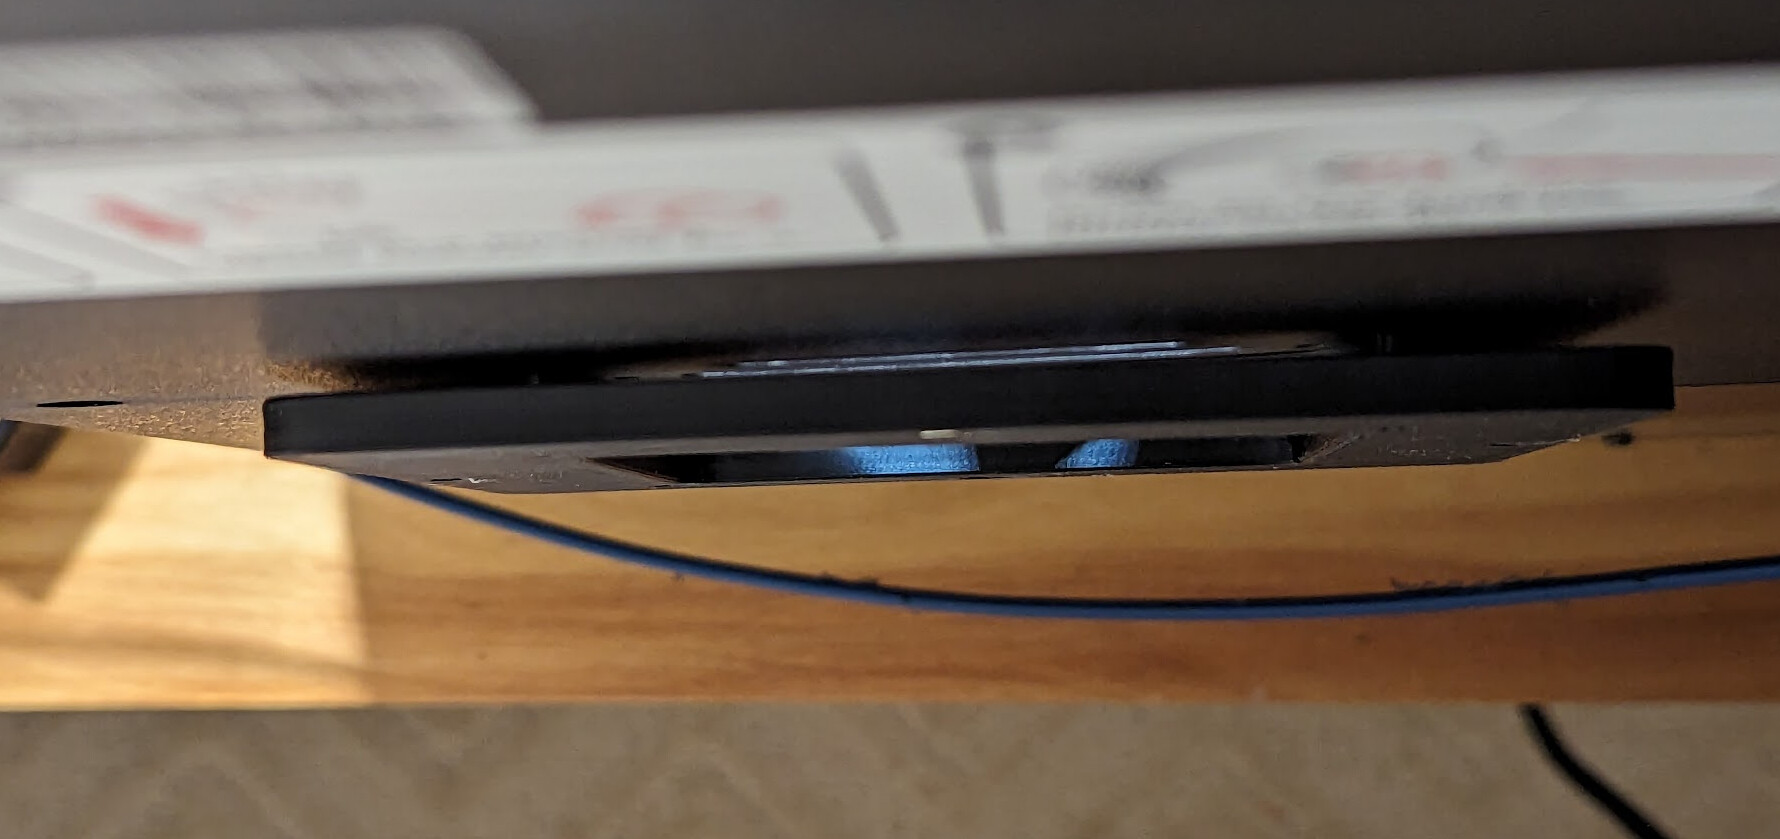
Place the assembled cartridge, door side up, over the mounting bracket. The magnets should hold it in place.
Turn on “Fan 3” on the front panel or in the Fluidd interface, and ensure that you have airflow through the filters.
Recharging
Remove the cartridge from the printer, leaving the mounting bracket permanently installed. Pull the filter holder off the cartridge, exposing the door. Open the door and pour the carbon pellets into a tray. Leave them in the sun, or expose them to heat (but probably not in the oven you cook food in) for a few hours. Pour the carbon back in, topping off if you have lost too many pellets, and replace the door. Replace the HEPA filters if they are dirty, and put the filter holder back on the cartridge.
Modifications
I recommend against adding heat-set inserts to the mounting bracket, because the hole positions are approximate and drilling out the holes may not stay perfectly centered. The printed holes have a bit more compliance than a heat-set insert, and the plastic acts more like a lock nut. But you still can if you want… Or you can model the threads with a bit more clearance if you want, though don’t make them so loose that the screws come out!
This design is not easily customizable. I was exploring design ideas as I worked, and the design tree shows it. I found it fairly fragile when I made changes, and had to rebuild it several times. But just in case you still want to try, you are welcome to the FreeCAD source.
QidiXMax3ExternalFilterBox.FCStd (3.7 MB)
Alternatives
For a recirculating filter, consider this bento box remix instead.