My First Print!

So, after a couple of delays, I have printed the sample part included on the SD card supplied with my printer.
The printer is a Tronxy X5SA Pro, and I am quite pleased with this result. Thus was printed direct from the SD card, using the settings that were incorporated in the slice. I have not updated firmware yet, and so this almost an out of the box print.

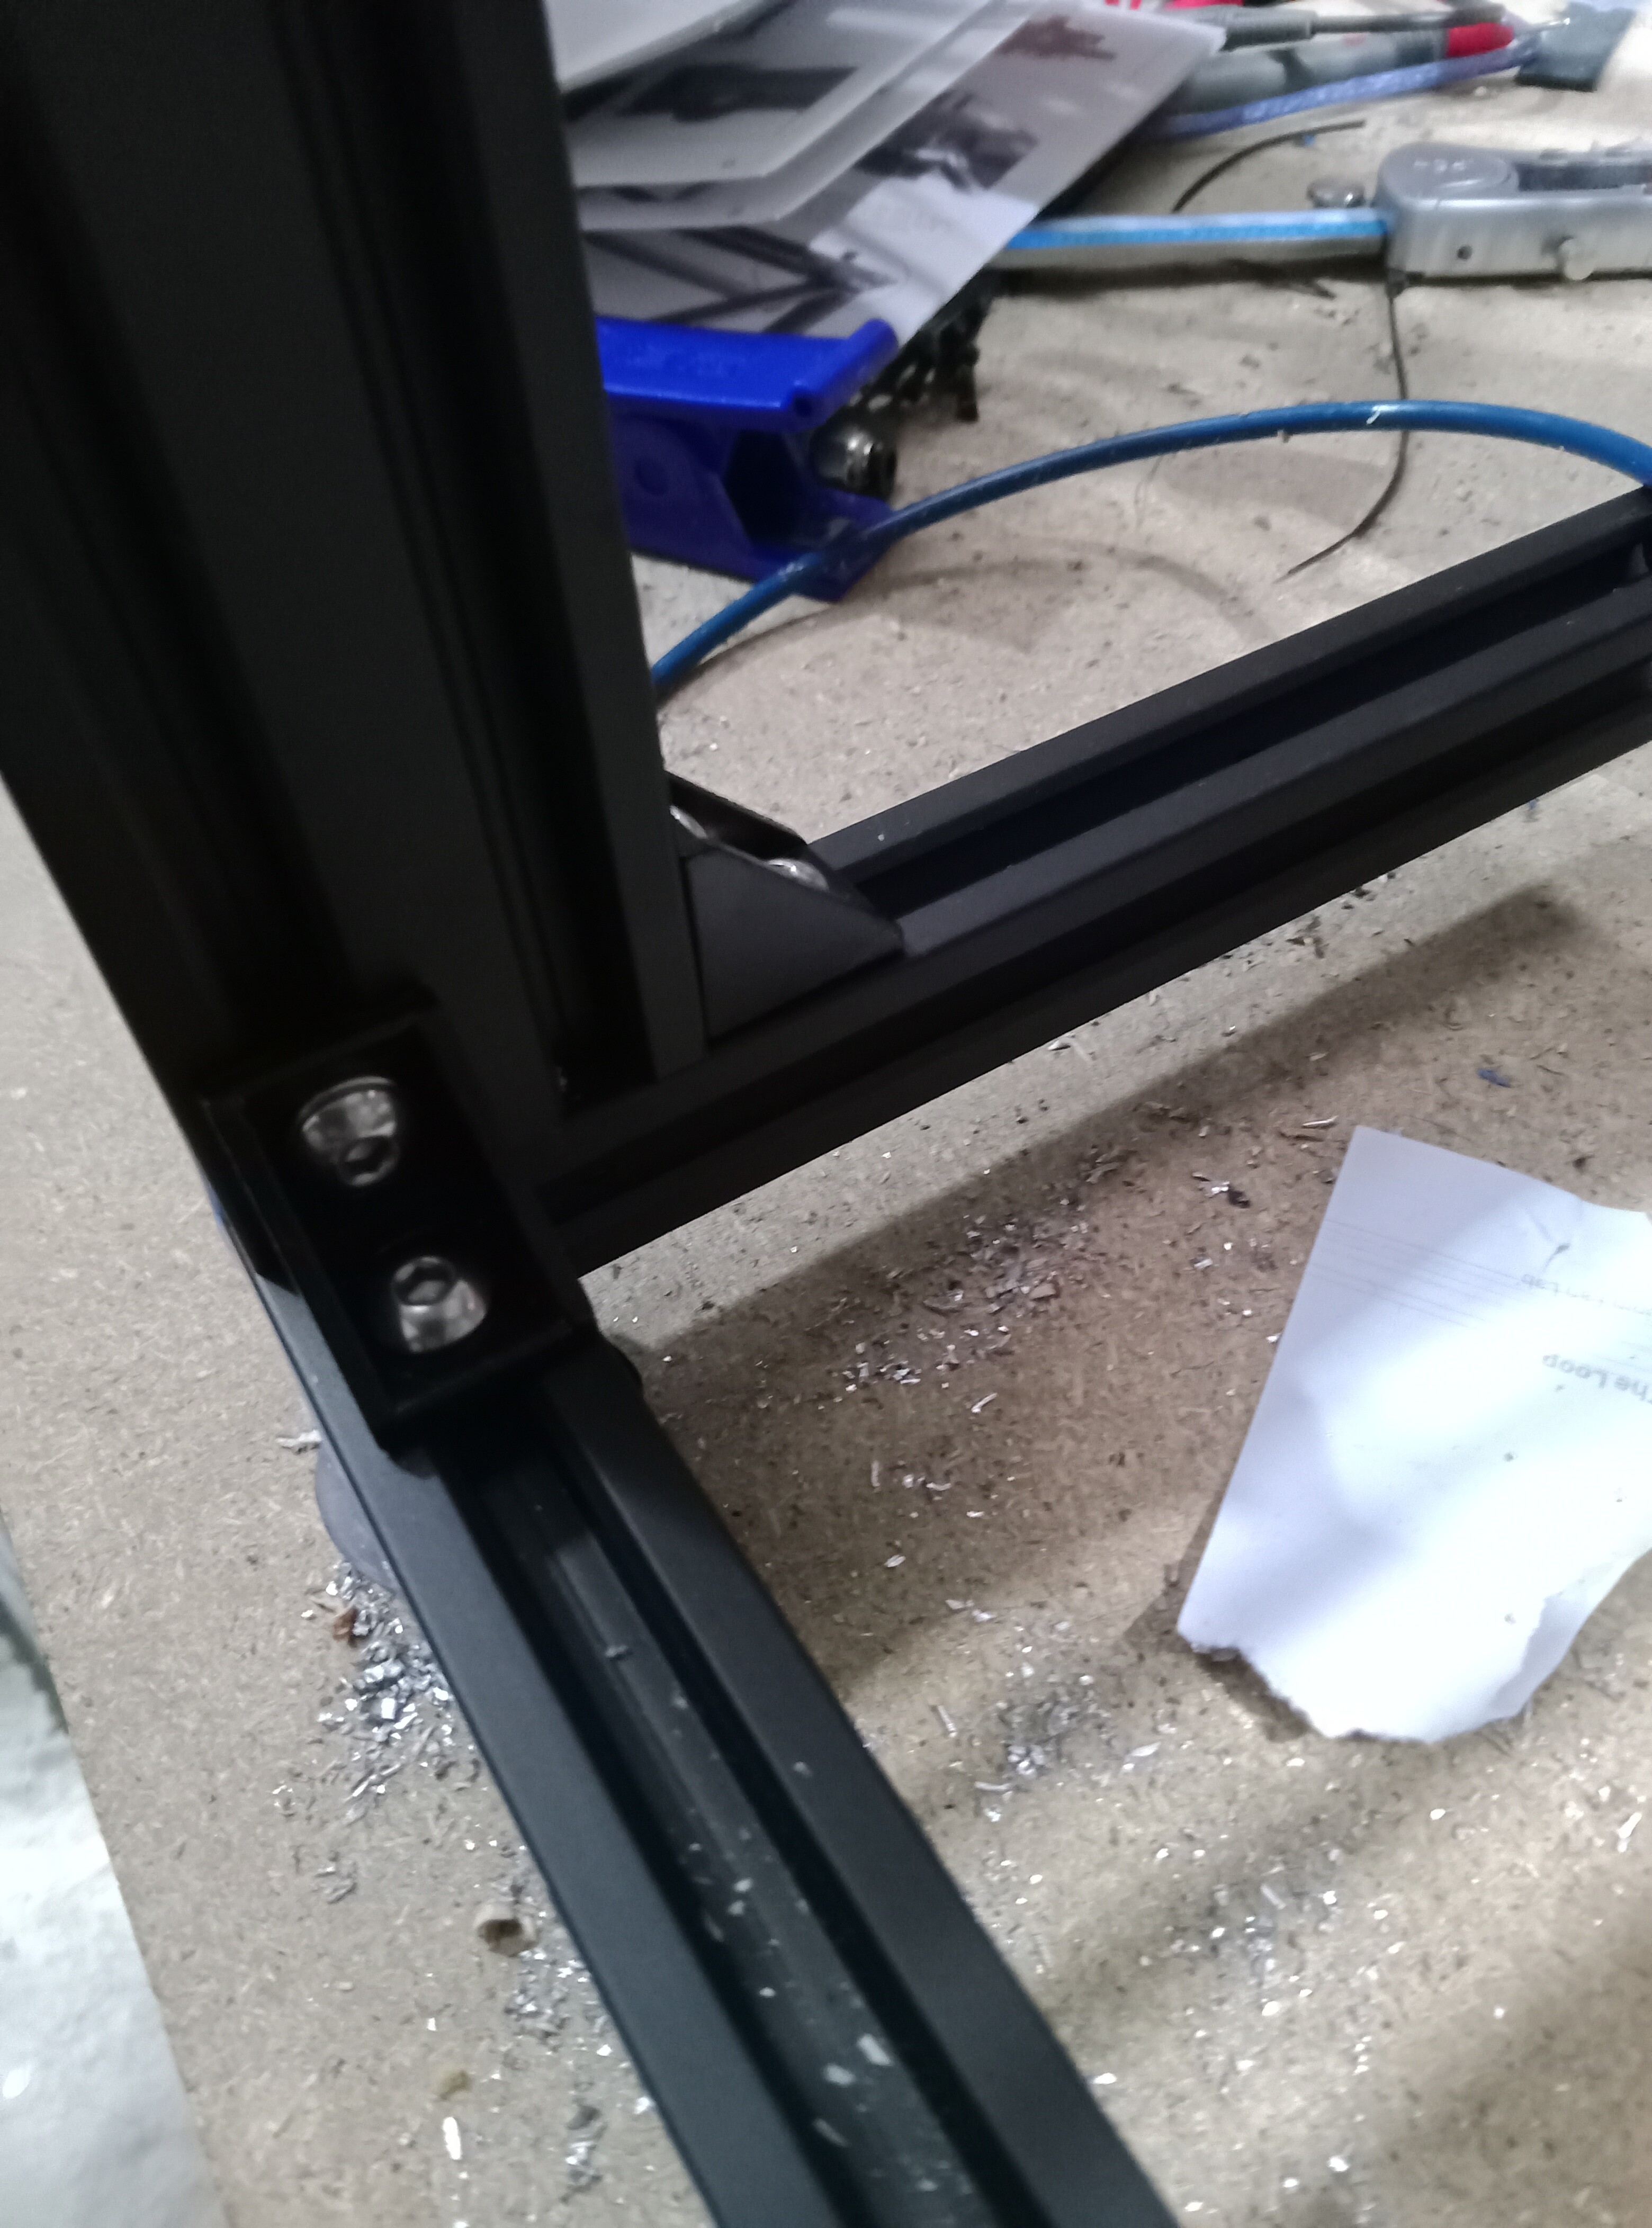
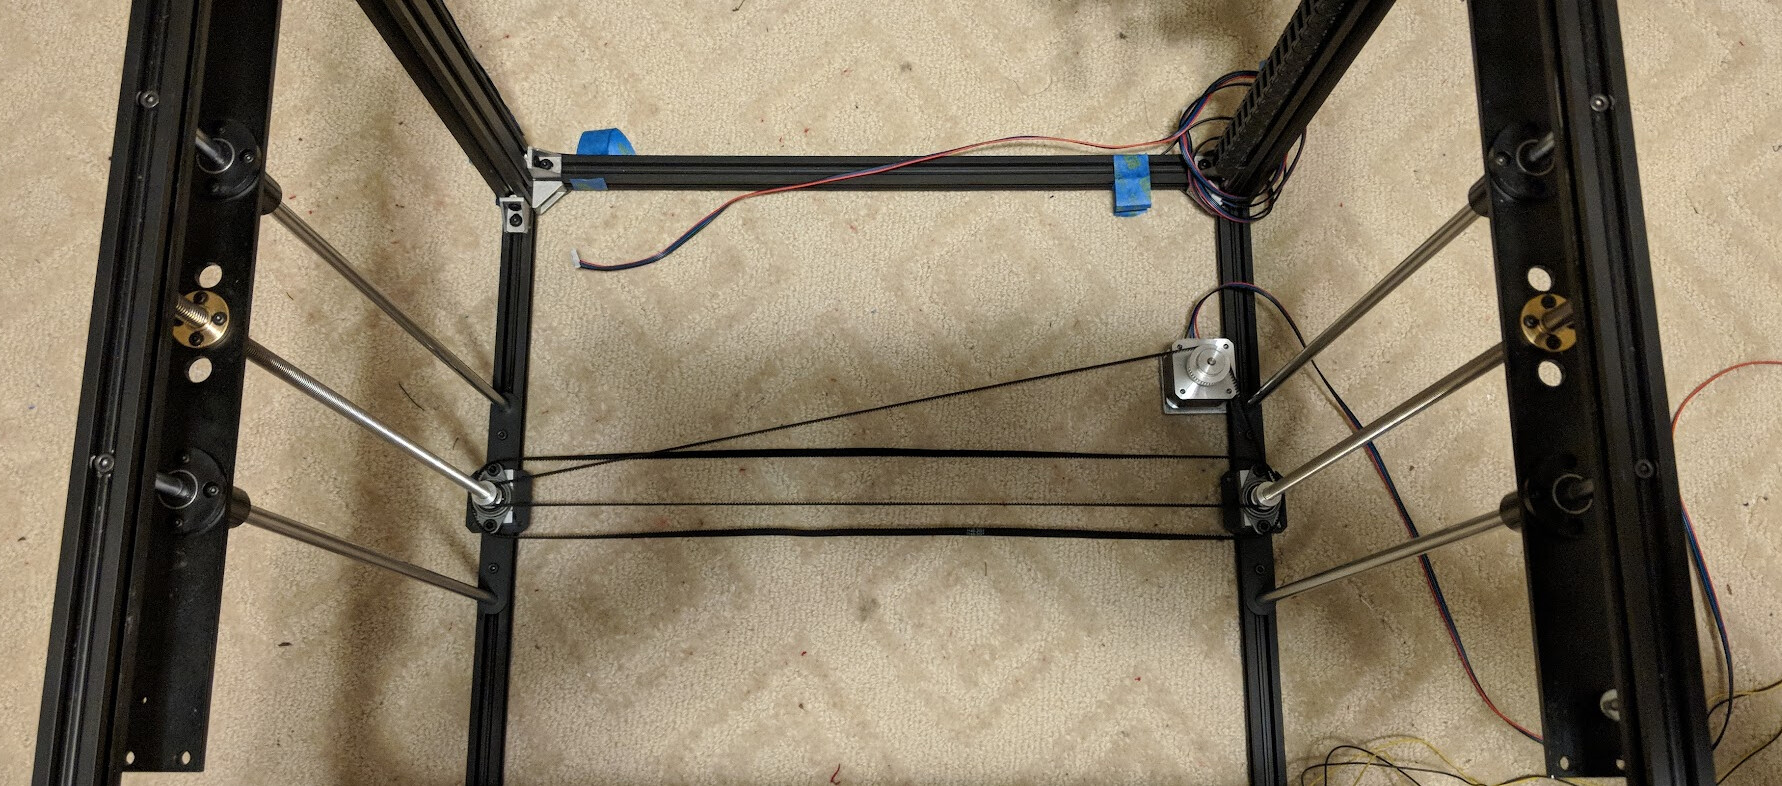
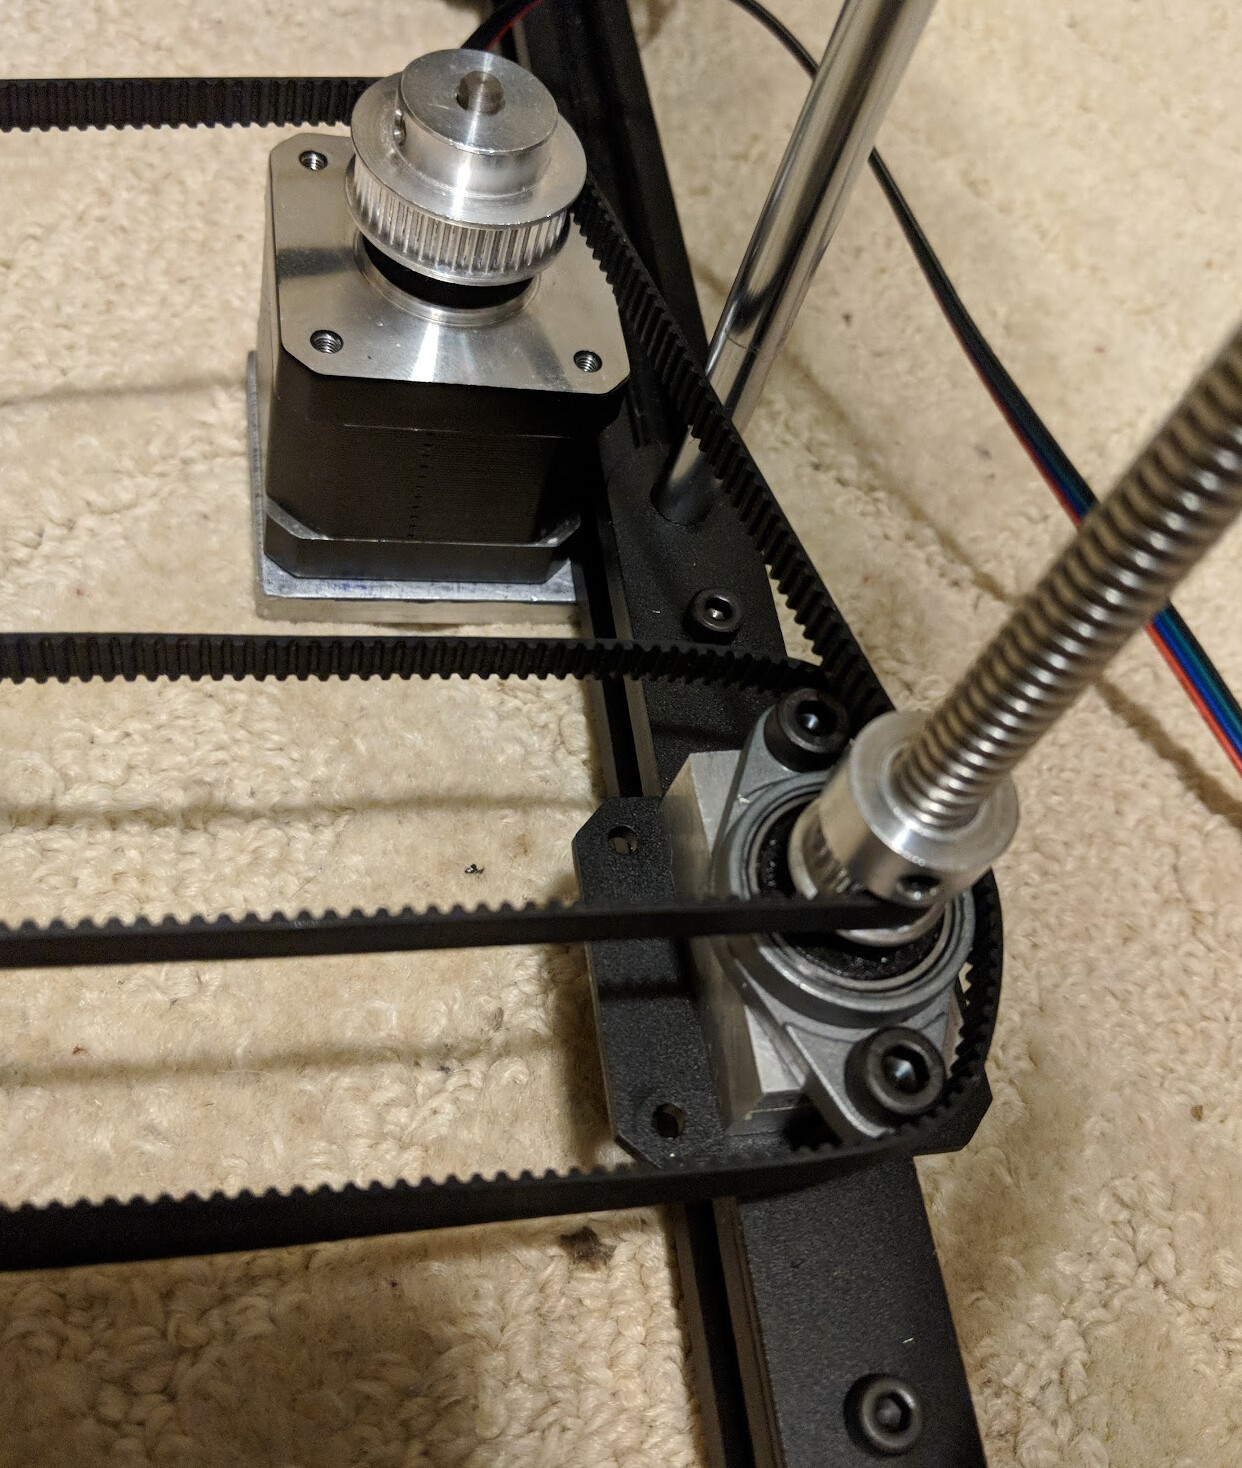
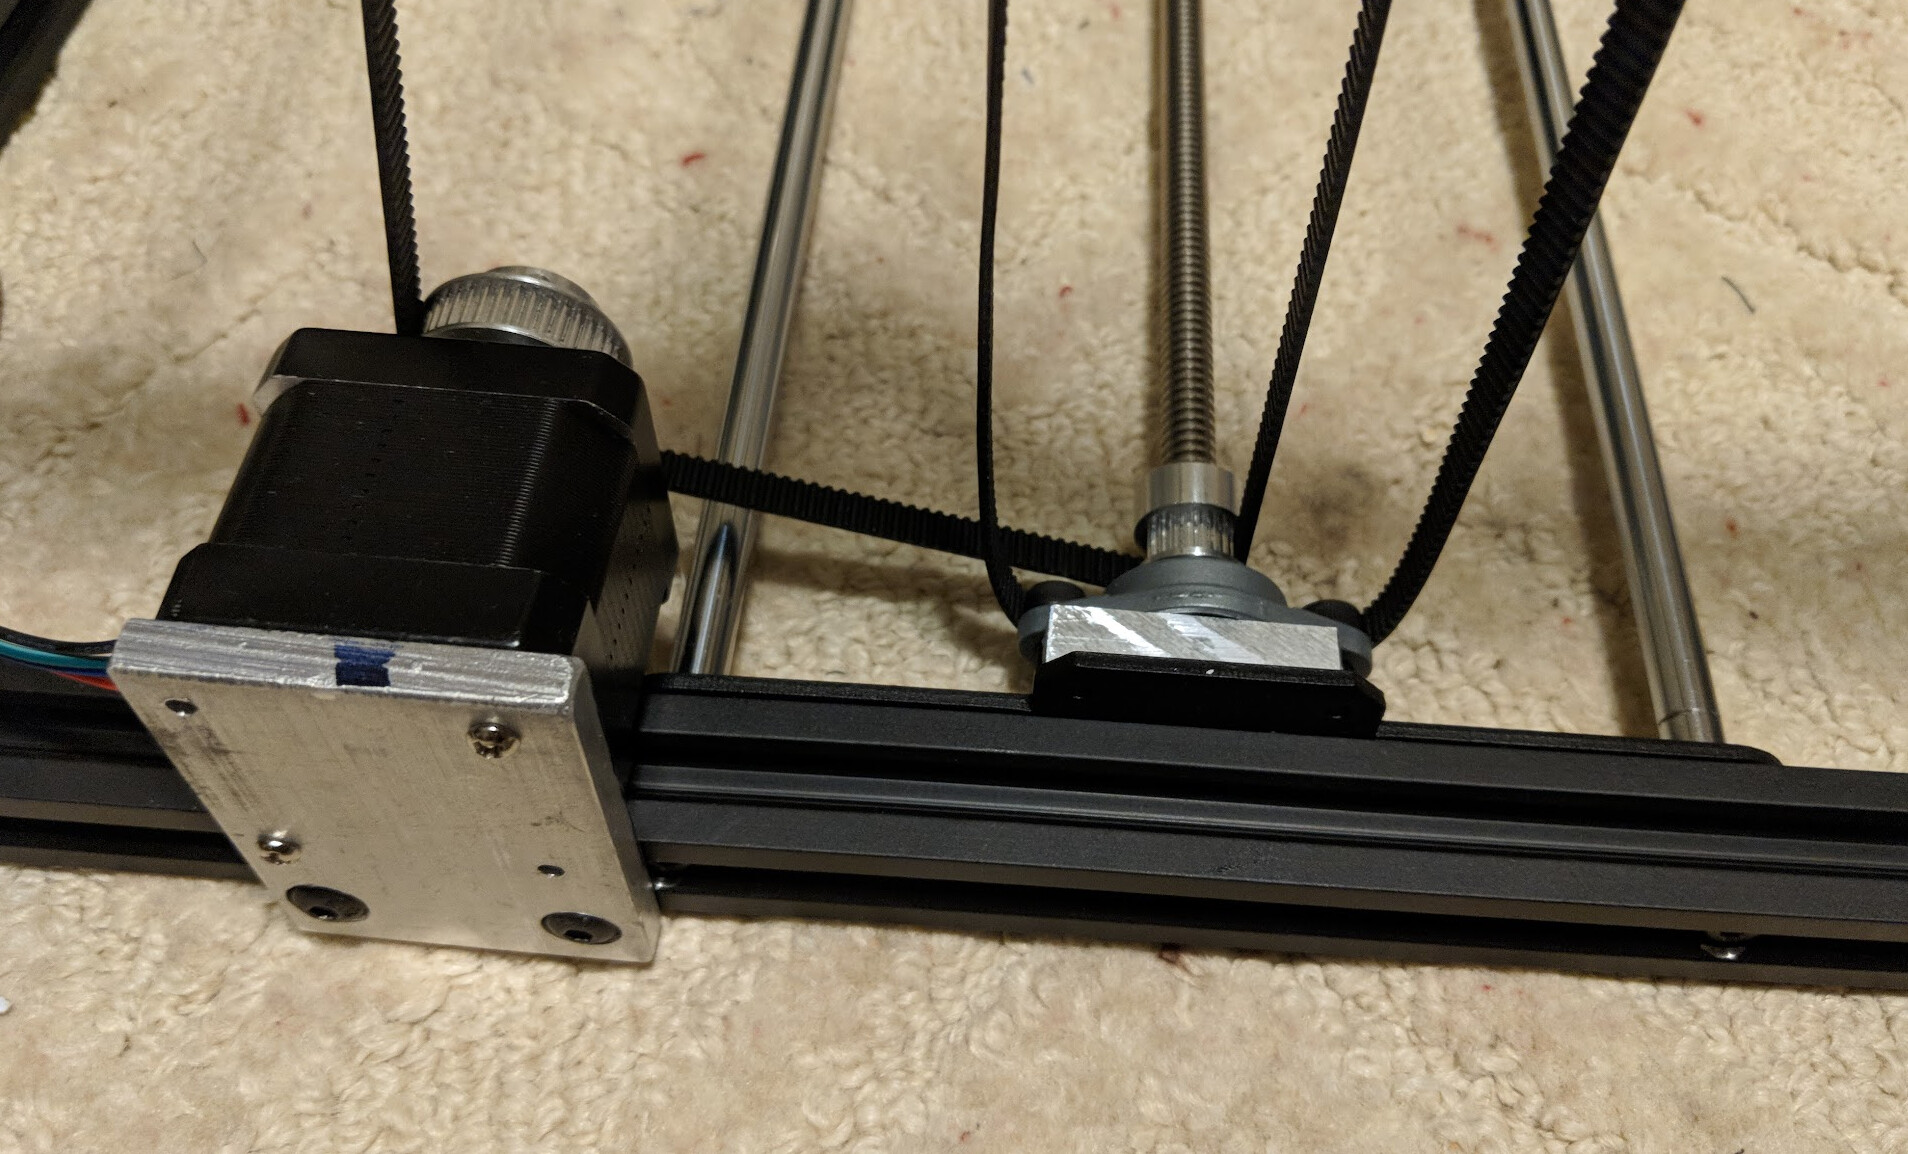
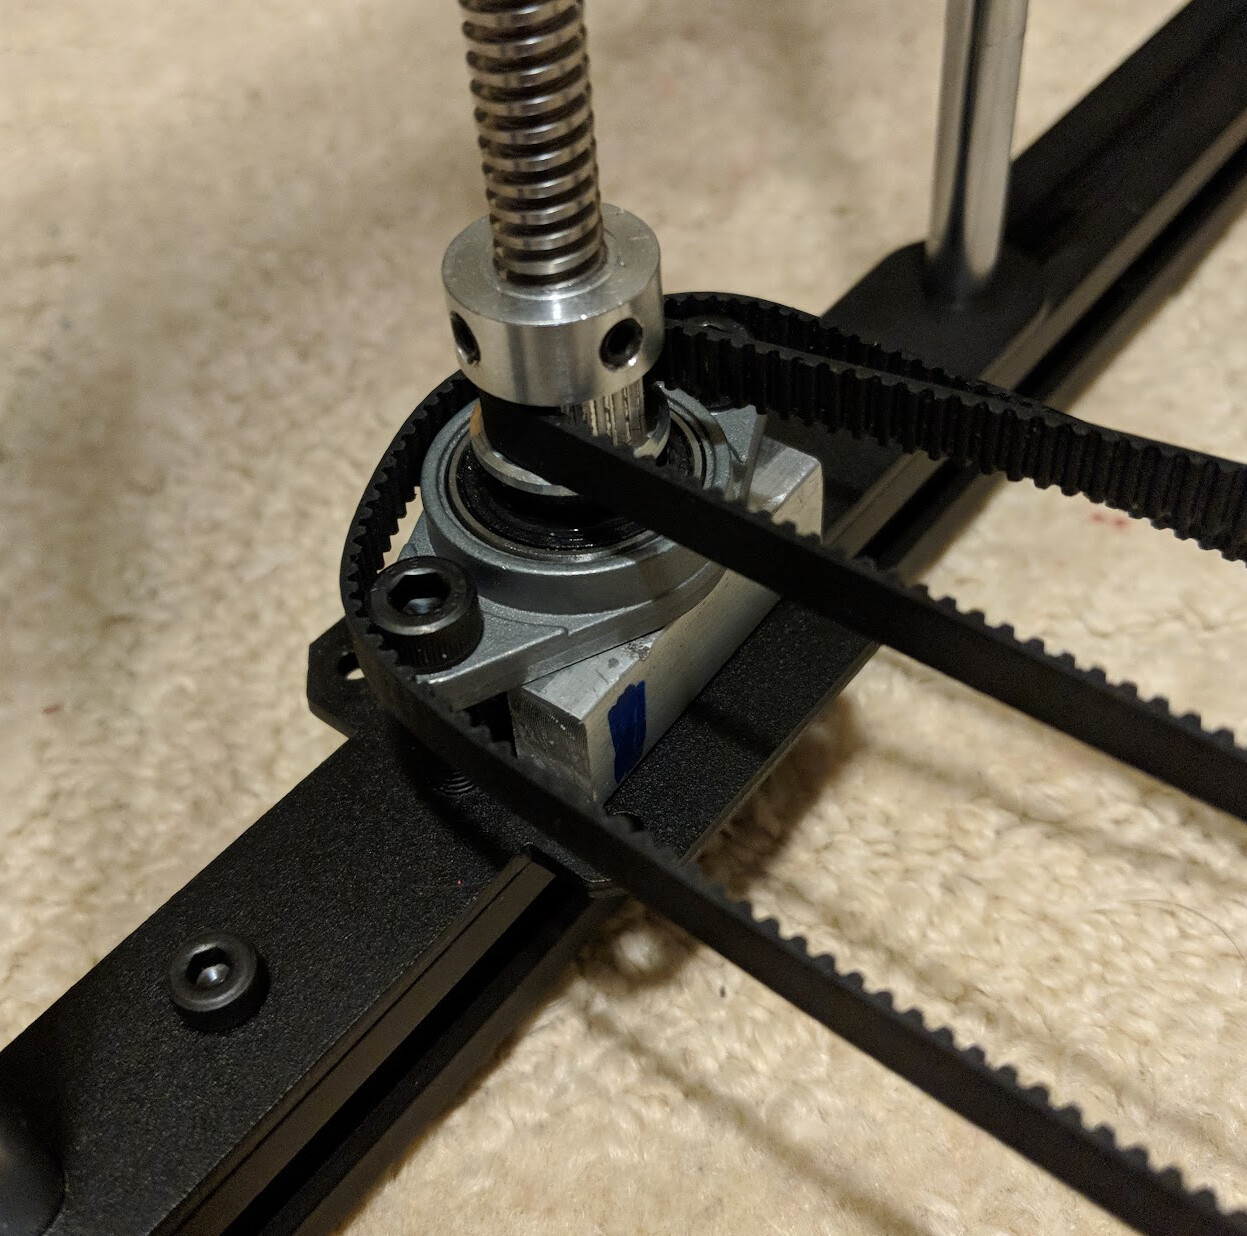
I say almost out of the box, as I made a couple of modifications while I was building the printer. First I added some corner brackets to add some much needed stability to the frame. I also found that there were some terrible feeding problems when I first tried to load filament. So I changed the PTFE Bowden tube to a Capricorn tube…

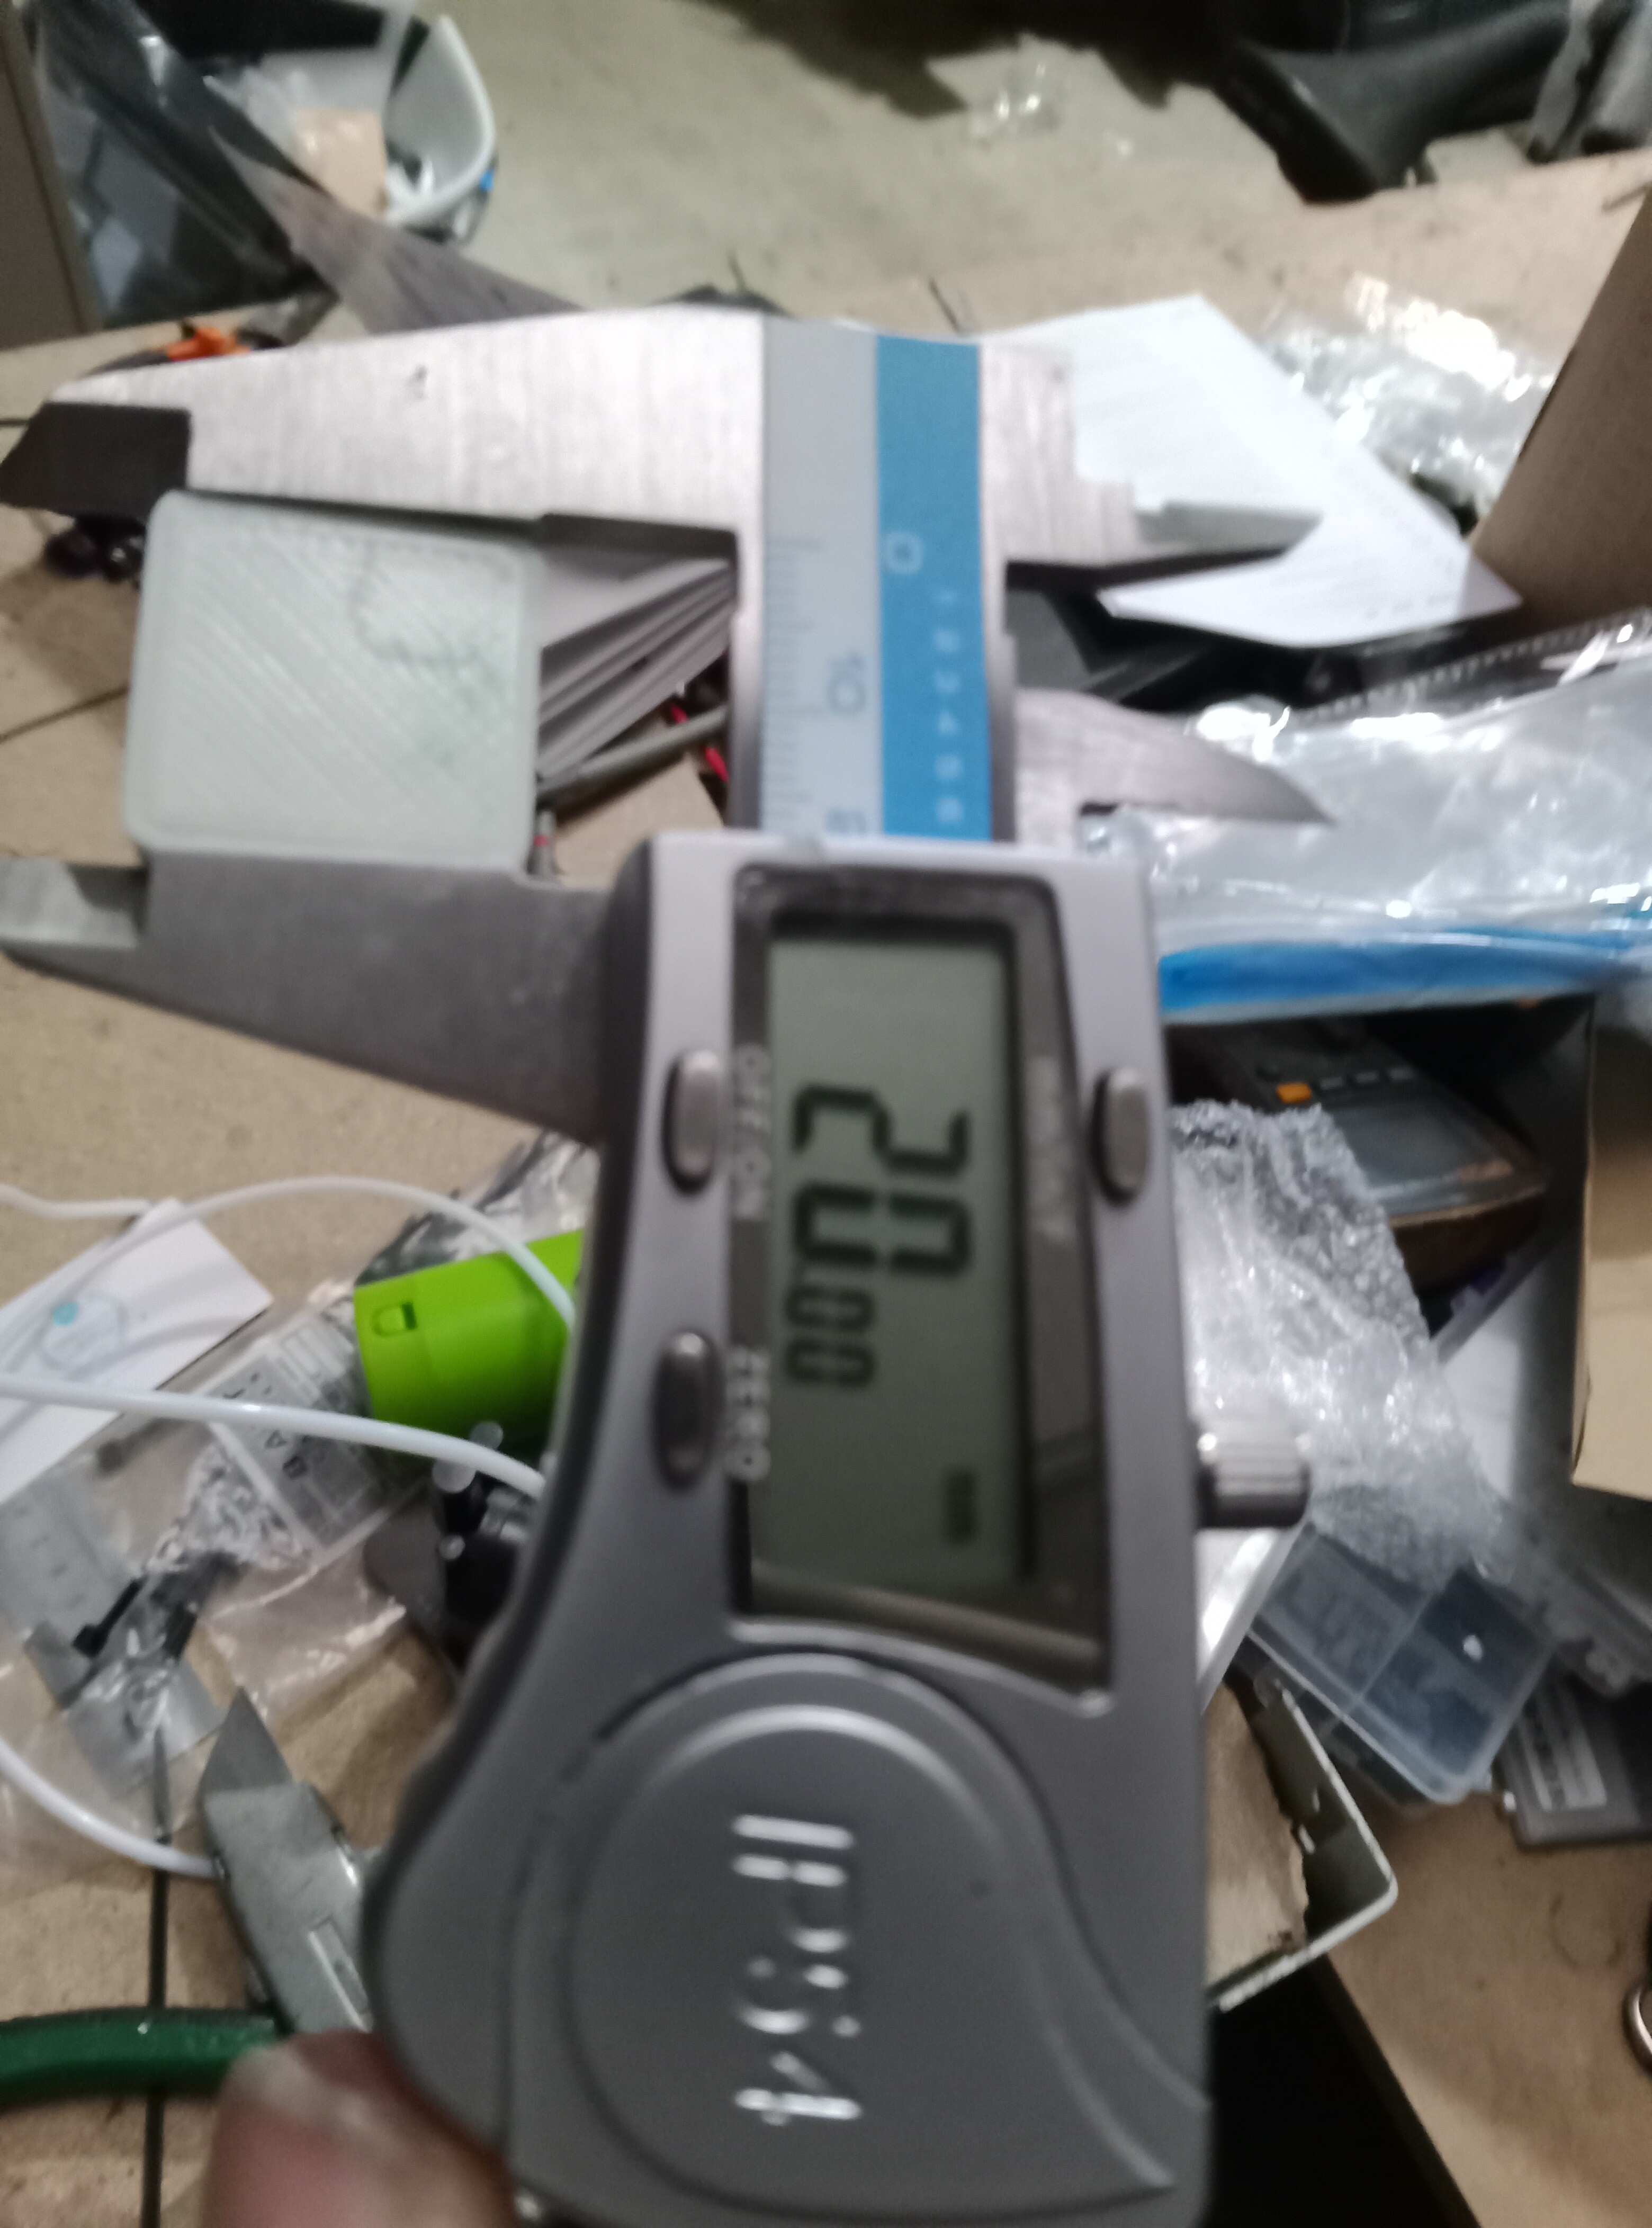
I then took real pains to ensure every strut was square, before fitting the corner brackets. I used a Vernier to ensure the left and right axis were at the same height.

I then manually levelled the printer bed and got it within 0.2mm before I ran the auto level.

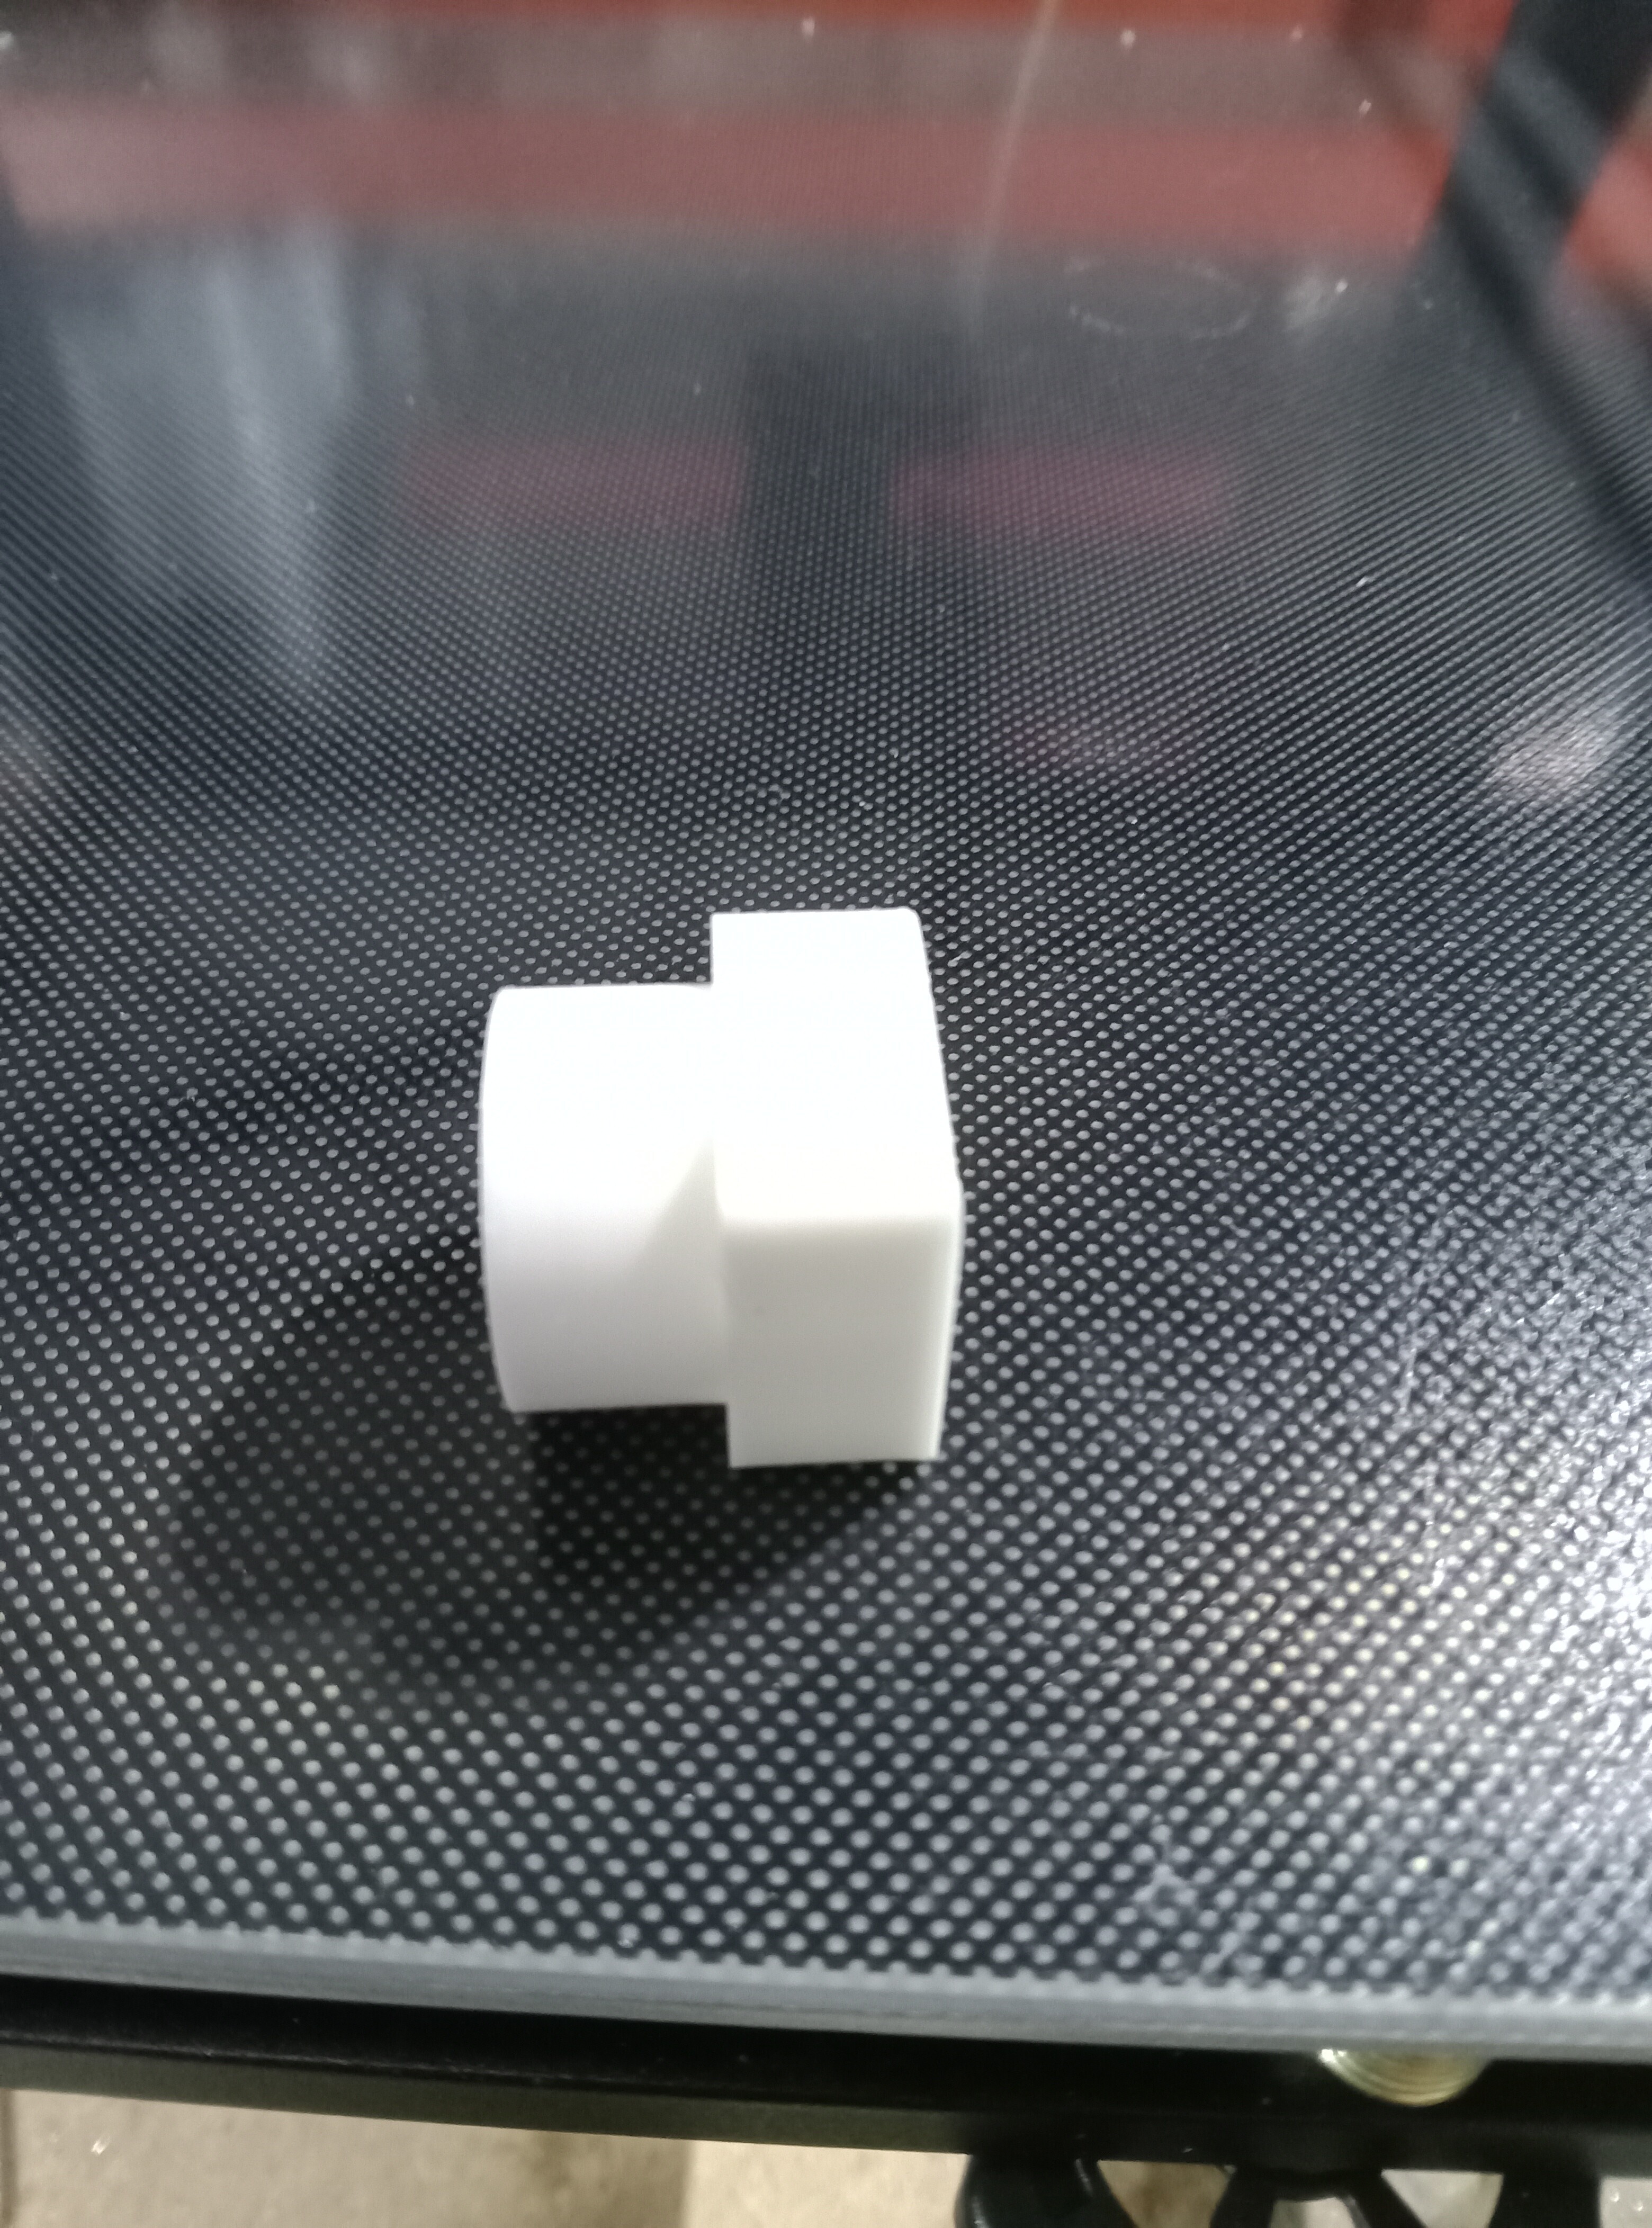
And lo and behold I printed a cylinder stuck to a cube :rofl:.

But this is genuinely the very first print. And I am quite pleased. The cube section is supposed to be 20mm and on one orientation it was, the other orientation was 19.95. I was also impressed with the finish because my workshop was a cold as a witches t!t today. There was no delamination, and the surface finish was quite good as well.

Going forward, I believe I need to update the firmware, I was not Impressed with the lead screw for the z axis, and I will be changing them for ball screws in the next week. But here is print #1

I have also seen some really nice modifications that required me to have a printer that was up and running, such as a belt tensioner. I will be printing these over the next few days (along with my personal project that made me buy the printer

I will also be building an enclosure for it to help mitigate the Baltic temperature in my workshop. Maybe I will be able to soon afford a decent heater for the workshop as well, but I cannot print one of those :grin:


3 Likes

Even many quite high end printers use lead screws. What about them didn’t impress you?

I see quite a lot of potential for friction, wear and drag. Certainly with the small motors…

I also helps that I have a selection of ball screws and nuts in stock, so it would just me a more efficient drive method.

It’s normal to grease them with standard lithium grease. As a matter of practice, they do not wear out in the life of the printer under normal use. If they wear, they use brass nuts with stainless steel screws, just like a lead screw in a manual mill, and the brass nuts are a cheap wear item.

The one thing that will actually cause meaningful wear is racking, and ball screws really don’t do well when racked, as you probably know since you have them in stock. Furthermore, ball screws back drive; you can get lead screws that don’t.

If you do one thing with your Z stage, I strongly recommend that you change from two motors that are driven separately to a single motor and a timing belt connecting the two screws. That will absolutely prevent racking.

I changed to single-start screws to avoid back-driving, but with the screws synchronized it really doesn’t matter; you can use the original screws and if you don’t mind back-driving, the sides will at least stay in sync and not rack.

I was already looking at synching the two axis… I have used a dry graphene lubricant on the lead screws… just so any dust does not stick to them.

But currently the G-Code is causing me a larger problem…

I bought new 500mm lead screws (single start instead of the quad start that came with the printer, because I wanted to avoid back-driving) and mounted the motor on the chassis. I used pillow blocks top and bottom. I still had to make a mounting spacer out of some 1/2" scrap, top and bottom, to make up the difference.

I think the largest closed 2GT belt I was able to find was 1100 teeth, and it was just long enough. I bought two of them, and looped the second one around loosely so that if the first one was damaged, I could switch belts without disassembling the printer. This was silly, and I wouldn’t do it again, but it explains the extra belt in the pictures below…

Of course, if you change the pitch of the screws in any way (different lead screws, ball screws), you’ll need new firmware that knows the new steps/rev for Z.

When I bought mine, Tronxy refused to provide the Marlin source code they had used, in violation of the license terms for Marlin. Made me want to never buy anything from Tronxy ever again, and I believe I’ve succeeded in avoiding them ever since.

I have no idea what they are shipping now for control hardware and software. You might have to start from scratch a bit, if Tronxy haven’t had the fresh new idea of actually honoring their license obligatoins. I ended up doing my own build of Marlin, and ultimately moved to an entirely new control board as I rebuilt the printer almost entirely out of higher quality parts. If I hadn’t retired it when I bought my Qidi X-Max 3 a few months ago, I would have switched to using Klipper.

So, if we ignore the sample print, and the test print to sort out the G-Code

Then my first print will start tomorrow morning.That is a print of several components drawn up by me in SOLIDWORKS, sliced by me,

Then that is my first job tomorrow…

I have invited my friend to join this group, be cause I would be very useful, and all aspects of this forum will appeal to him. Also we can work in tandem, as we work close together. So if you see an insane polish guy called Luke hanging around, please welcome him :grin:

.

1 Like

Hello,
I have a Tronxy VEHO 600 2E and I have upgraded the Z axis spindles to ball screws. The difference in design and material is notable compared to the brass of the original spindles, now I have a higher resolution in the Z axis, with guarantees of success in printing with layers of 0.16 mm or even 0.08 mm and not I have to worry about the wear of the brass.

A post was split to a new topic: Please help me choose a new, cheap 3d printer