A few weeks ago, I posted A Mathematical Valentine's Day gift: Intransitive Dice about machining dodecahedral intransitive dice. But there were at least two problems:
- I have no reason to believe that the dice I made are sufficiently fair for their intransitive character to be apparent in actual use.
- Even if they are actually fair, their win ratio is so close that you’d have to make hundreds of throws to have any confidence you would see it in practice.
This means that they are really just decorative objects.
But when my wife first asked whether I could make her some intransitive dice, she had six-sided dice in mind. I was just absorbed by the machining challenge of the dodecahedron, and thought that there wouldn’t be a meaningful challenge making normal six-sided dice with pips to mark the numbers.
Reader, I was wrong.
This seemed like a simple project.
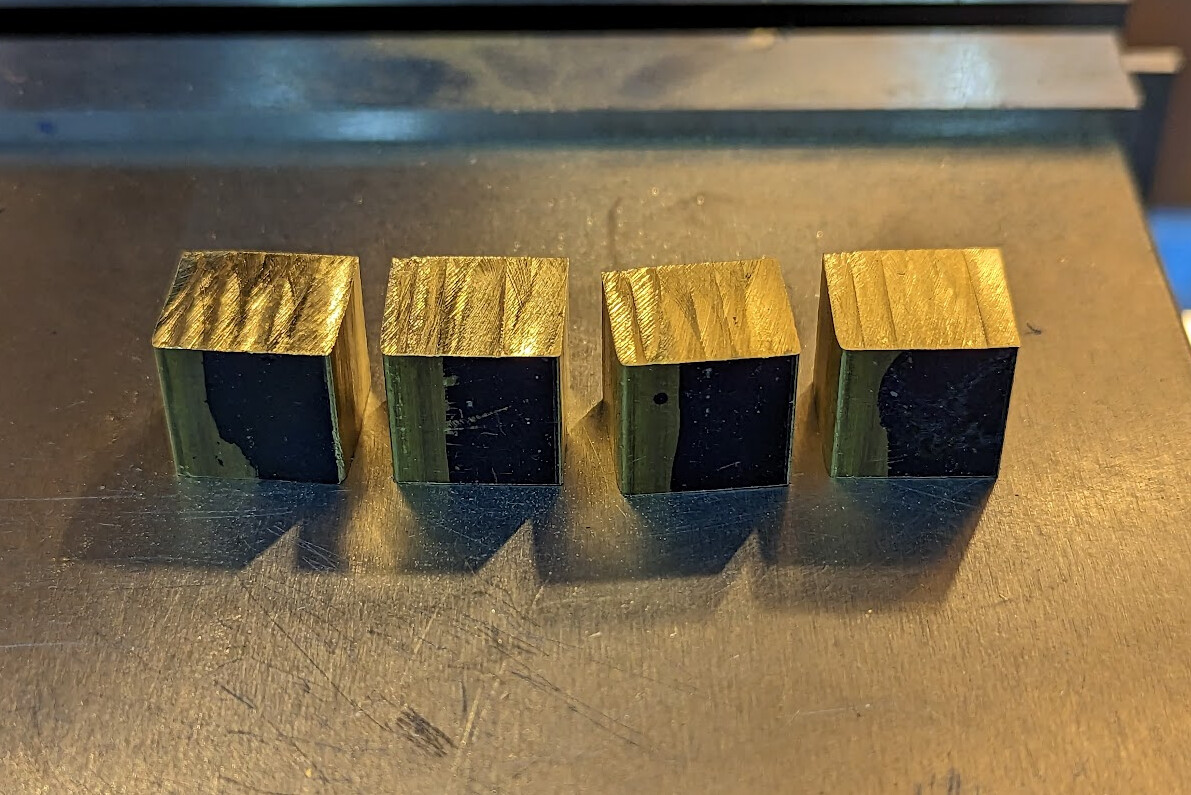
- Square three pieces of stock into exact cubes
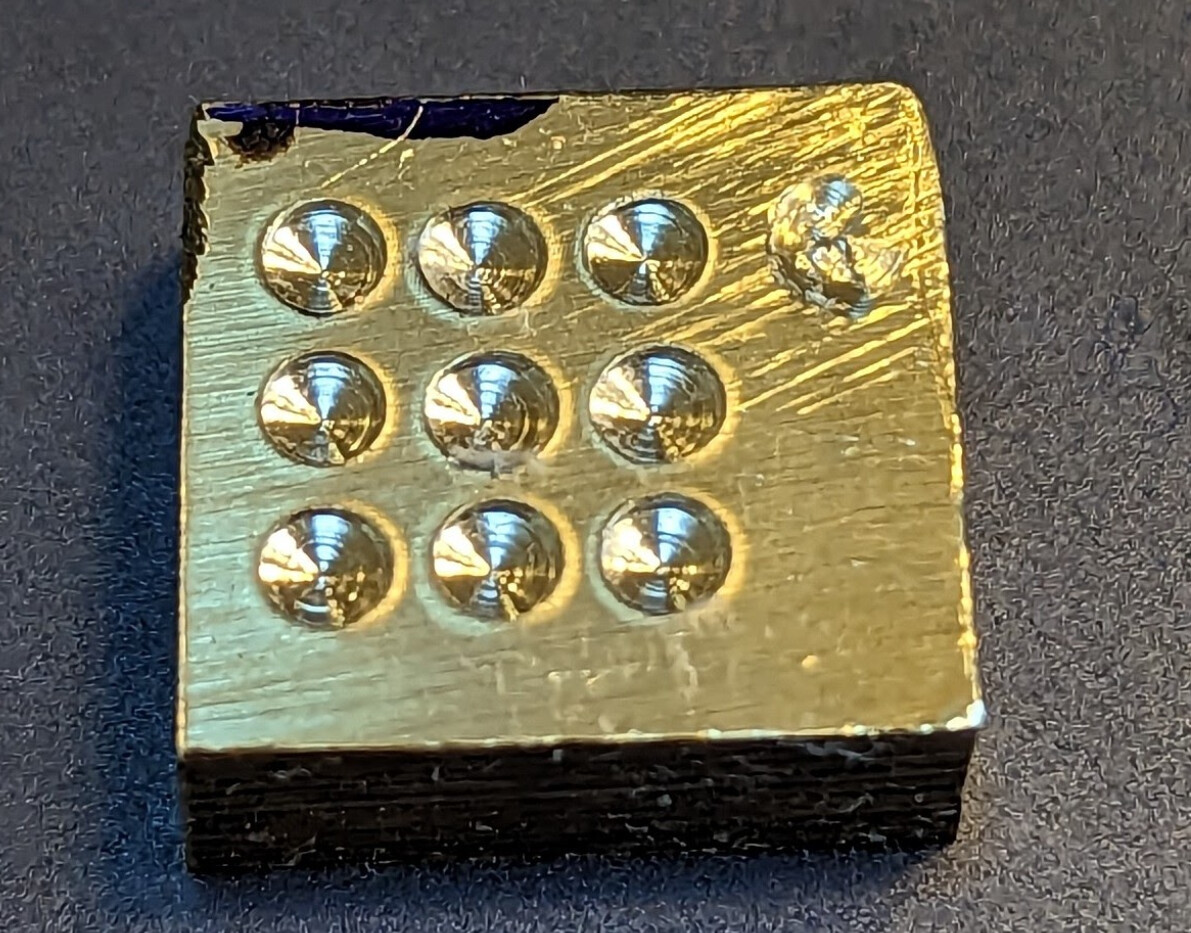
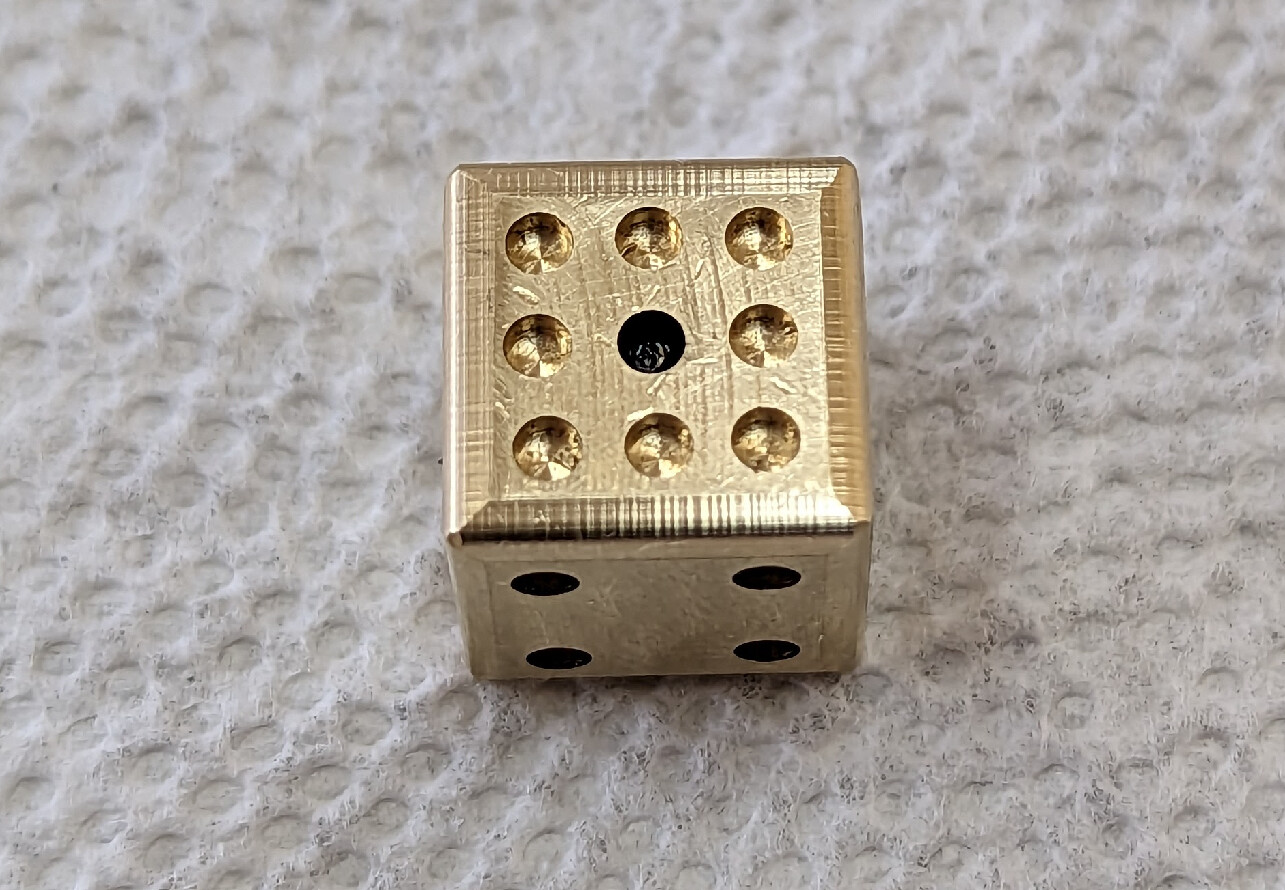
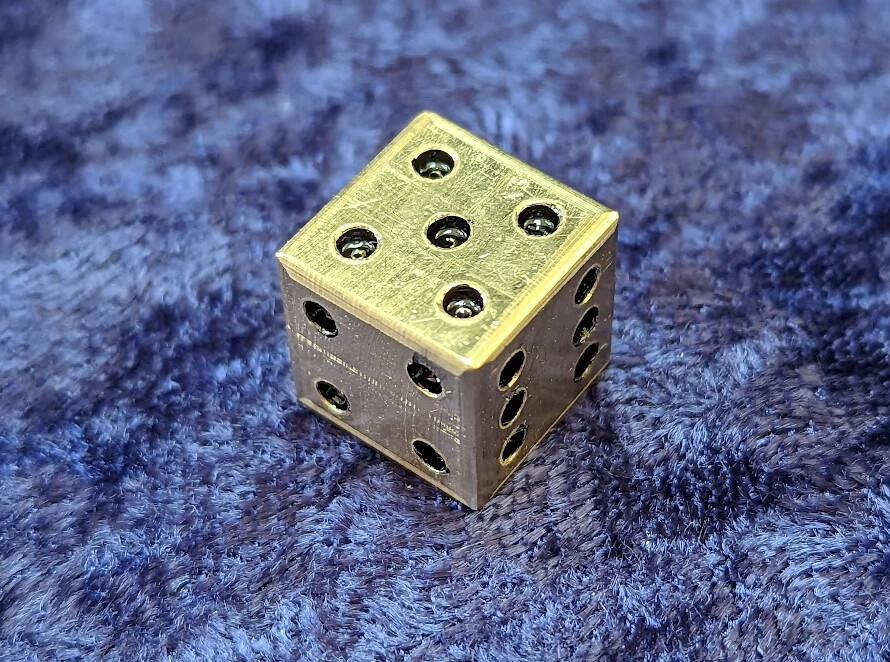
- Plunge 1mm deep holes with a 2mm end mill at 3.25mm spacing to create pips showing face values
- Use a roundover bit to round the edges to make the dice more comfortable and help them roll more (be more “live”) when rolled.
Easy, right?
Even cutting them in a careful setup with a fly cutter locked to the same height, I discovered that they varied in thickness from one side to the opposite by up to .04mm. I finally worked out late in the project that brass dust sticks everywhere and is practically invisible, and it’s easy to occasionally miss a tiny piece even when trying to clean thoroughly. So I’m pretty sure that’s the primary reason for the variance.
I used sharpie to mark my cutting plan on the three dice, so that I could keep track of which faces were which and where the pips would need to be cut.
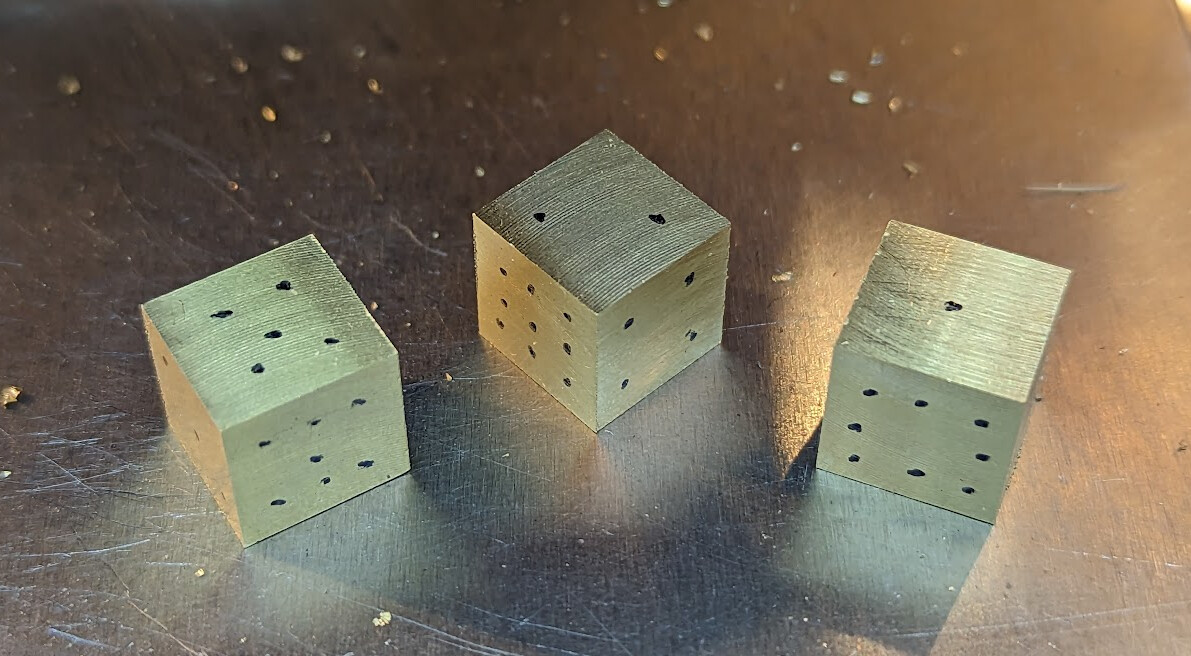
I set up a stop on my vise and used only three table positions to cut all the pips. I found the center, cut all the centered pips, then moved X to -3.25mm and cut all the edge pips, then moved Y to -3.25mm and cut all the corner pips. Some of the pips are not perfectly aligned, and I believe this was because I missed cleaning some chips that got in between that die and the stop at one step. I guess it makes these look hand made. Accurate!
Being not quite perfectly cubes means that the roundover bit is visibly differently asymmetric on some cuts unless I were to adjust it individually for each cut. My solution was to cut each of the 36 edges four times:
- Conventional cut
- Climbing spring pass
- Rotate the part 180° to present the same edge to the cutter but swapping which face was against the vise jaw and which was facing up
- Conventional cut
- Climbing spring pass
This made each individual roundover close to fair between its two faces, I think. Mostly. Every time I repositioned a die for its next cut, I swept chips away; I think maybe three quarters of the time I spent rounding over the edges was cleaning between passes. However, there were a few places where the roundover cut in more at one end than the other; some speck of brass dust clearly lifted one end.
Even after rounding them over, the corners were still sharp. I very lightly sanded each face the same amount with 1200 grit sandpaper to reduce tool marks, and then sanded each of the corners the same amount to soften them.
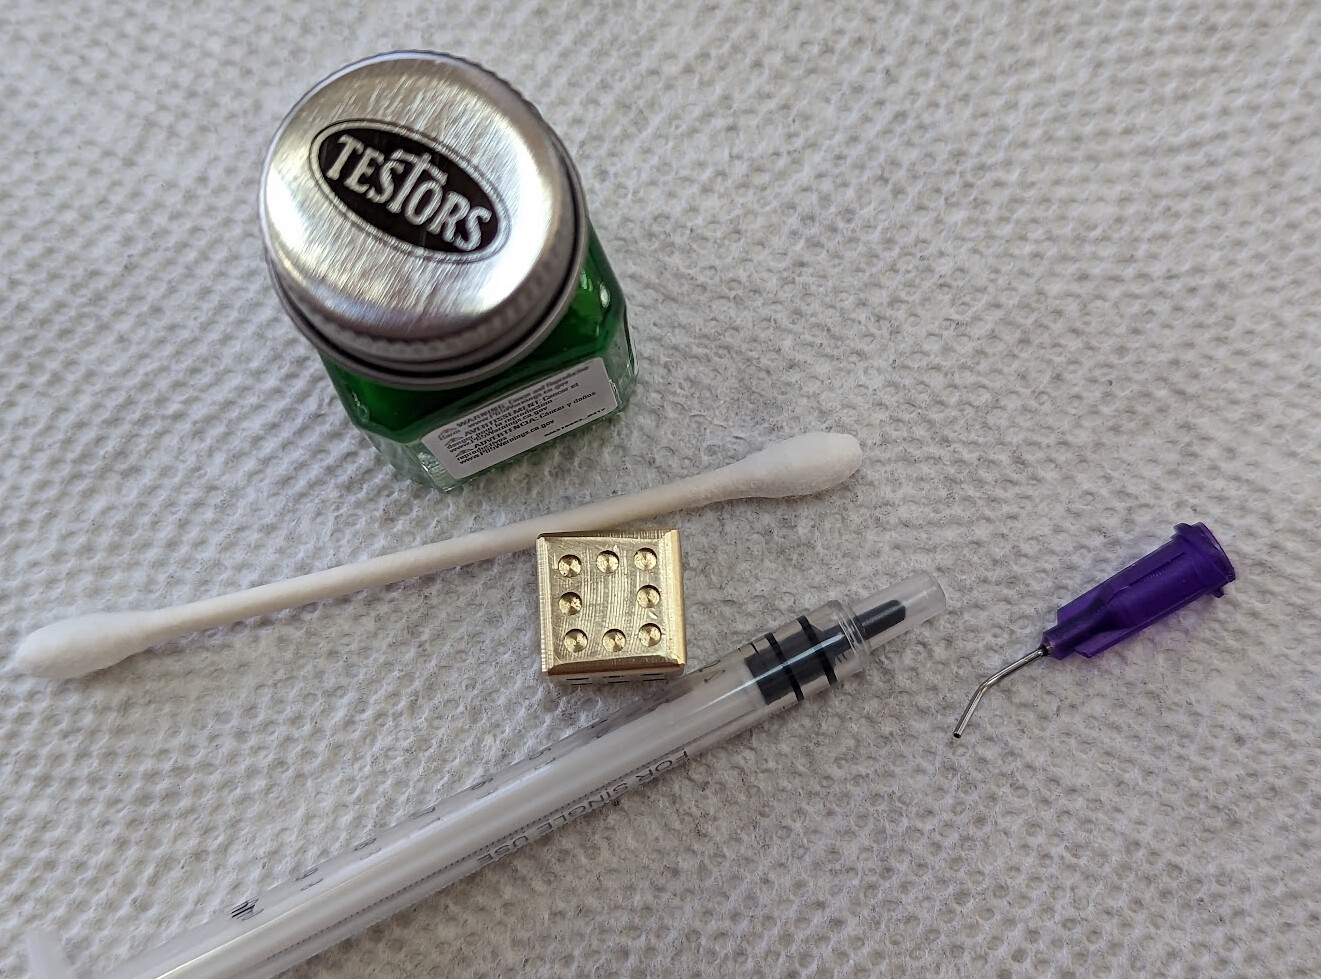
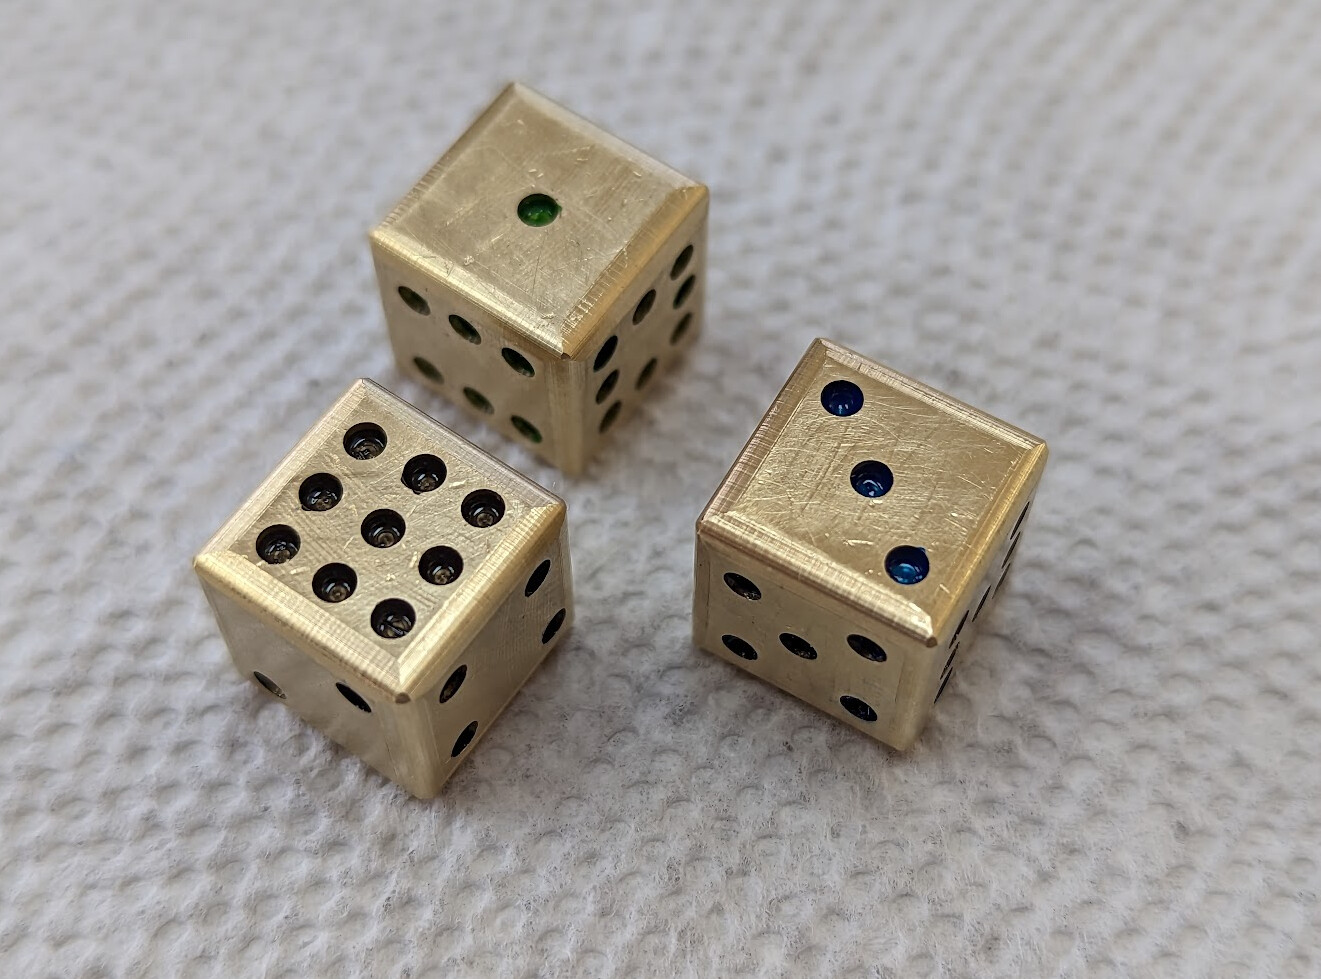
Once I was done with the machining, I used 1ml syringes with fine blunt needles to apply Testors enamel to the pips. I used up about .01ml total (including waste) of enamel in each of black, blue, and green to color the pips and make them easier to read. There are 30 pips on each die, and about 2/3 of the enamel I did use was waste, so there’s about .0001 ml — .1µl — of enamel in each pip! The viscosity of the three colors was substantially different, which kept me on my toes.
I started by roughing out four cubes initially in case I scrapped one. Turns out I scrapped it even before I was finished cutting them down to cubes. I used the lightly-damaged cube to make a more standard 1-6 D6 as a test article, and used what I learned from making it to help improve the intransitive dice I was really trying to make. (I made it different so it wouldn’t accidentally be confused with an item in the set.)
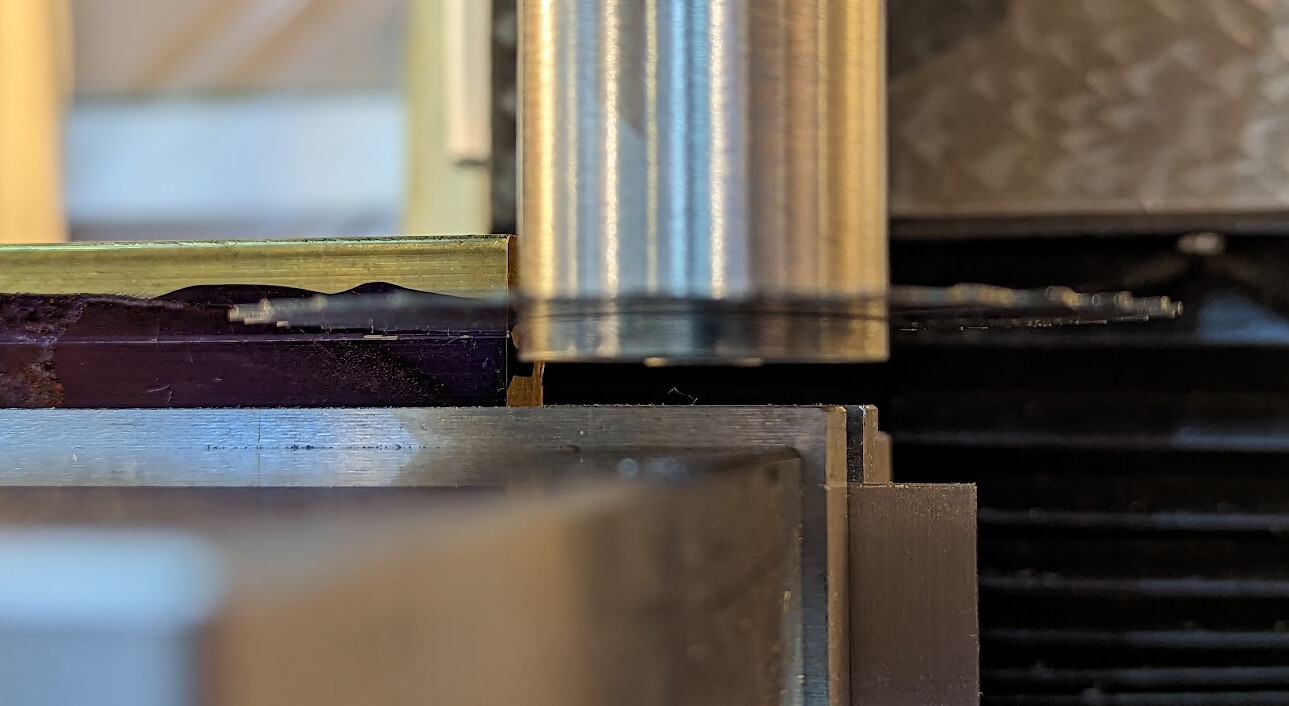
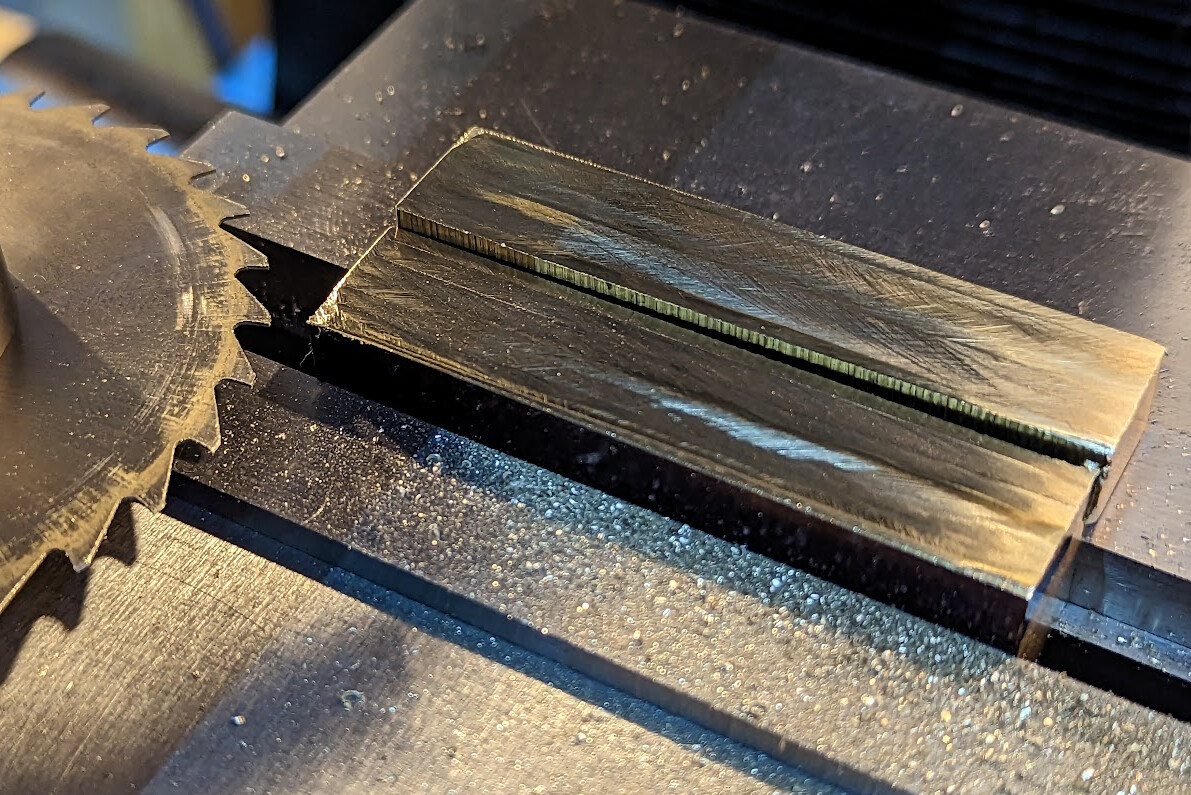
Making those four items took me somewhere between six and eight hours in the shop, not counting all the hours I spent looking things up when I discovered fine details I needed to learn, and also not including making the fine depth stop for my mill that allowed me to plunge the pips to the right depth easily, or the saw arbor for using the slitting saw to cut the brass down to size without making as many wasteful chips. (Those will be their own threads when they are fully complete.)
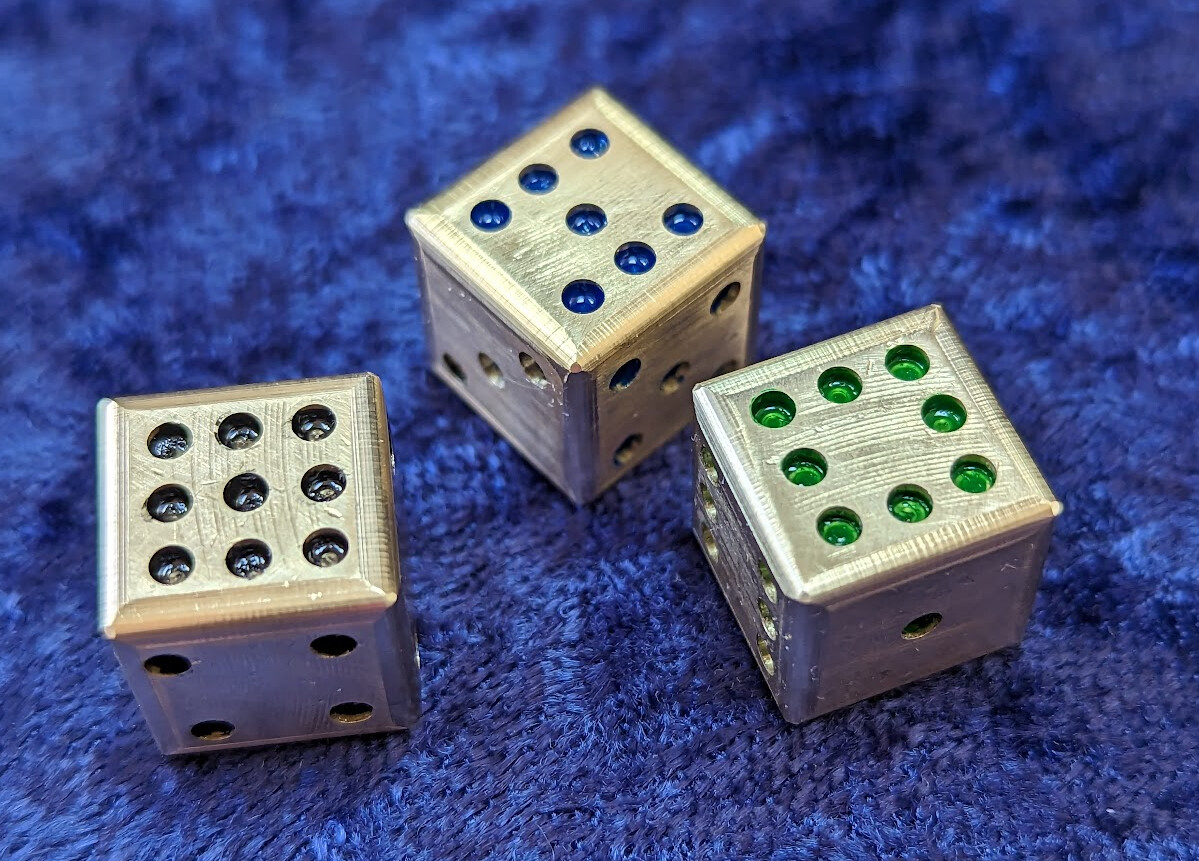
I’ll post more build details and pictures in comments, but first here’s a family photo of all the dice I’ve made together: