We have friends with a set of old KROMEX containers, and the flour container lid was broken irretrievably when they last moved house. They wondered whether I could help.
TL;DR? Yes, though imperfectly…
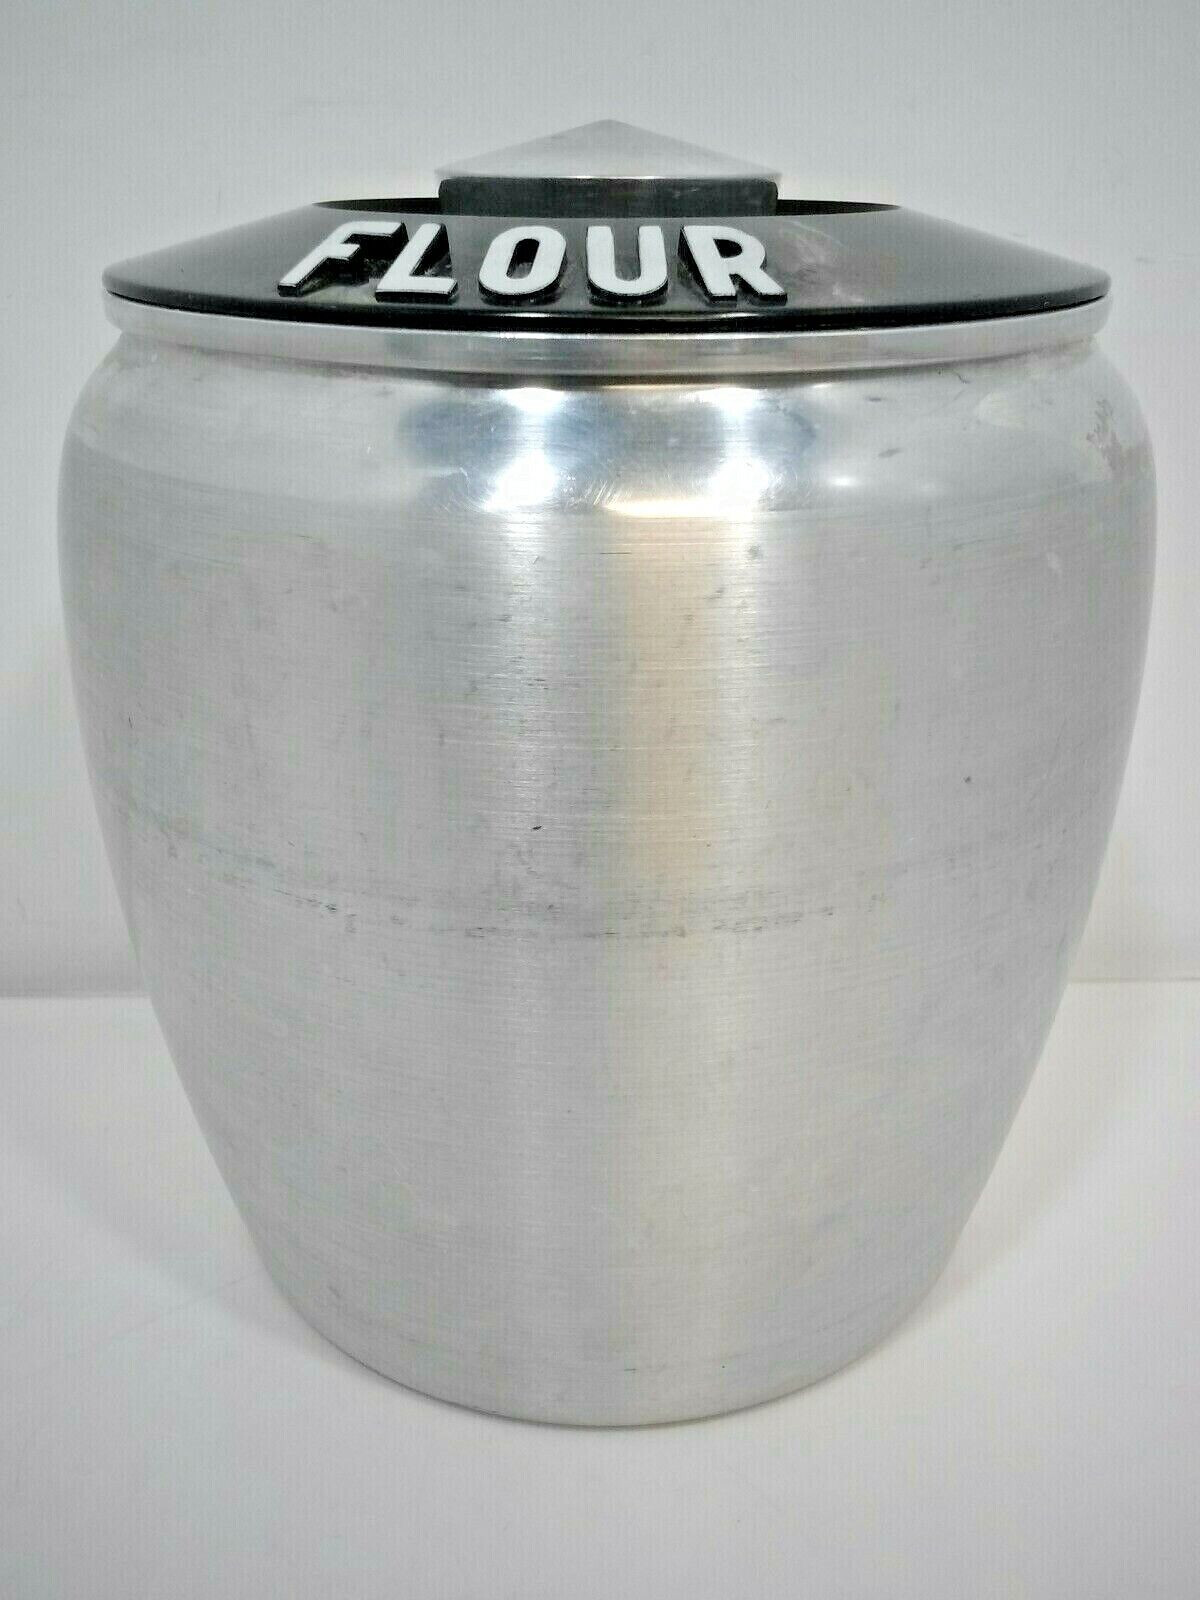
There are a lot of KROMEX flour containers and lids on eBay, but none that look exactly the same. Here’s an example container with lid that wouldn’t be an exact match.
It appears that the plastic was molded around the metal handle, and the handle has some draft, so I couldn’t just 3d print a single piece into which the handle would go. I thought of various ways including printing a base with a hole in it and two collar pieces that would glue it in place, but ended up deciding to just print the handle and paint the top.
I printed a prototype in PLA. The gridded support for the lid was horrible to remove, so I decided that the next version would use organic supports. With feedback on the fit, I tweaked the model. My new printer arrived, and never one to shy away from leaping straight into the unknown, the first thing I sliced was the (hopefully) final version of the lid, to print in ABS now that I finally had an enclosed printer.
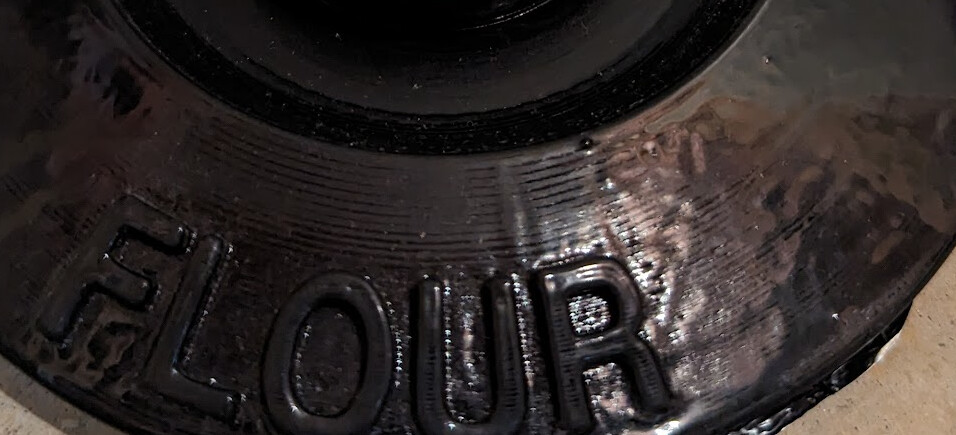
In the model, I had tried to mimic the original as best I could, though optimized for printing by having a flat bottom instead of the molded shell of the original. But since the top was curved, the layer lines were really obvious when I’d finished printing it.
So I sanded it down. First, I sanded it by hand with 220 grit paper for a while, until the lines weren’t so obvious. Now the surface was matte, and the original was shiny, so I decided to try acetone smoothing for the first time. However, the lines were just as visible after about half an hour in the vapor. I let it dry, and this time I loaded a 220 grit belt onto the belt grinder, ran it really slow. I used mostly slack belt technique and some back pressure on the belt to really grind across the layer lines. Now it felt smooth.
I left it for almost 40 minutes in the pot the second time, which definitely resulted in a shiny surface, a bit blobby so I probably left it in slightly too long, though the layer lines still show through the gloss.
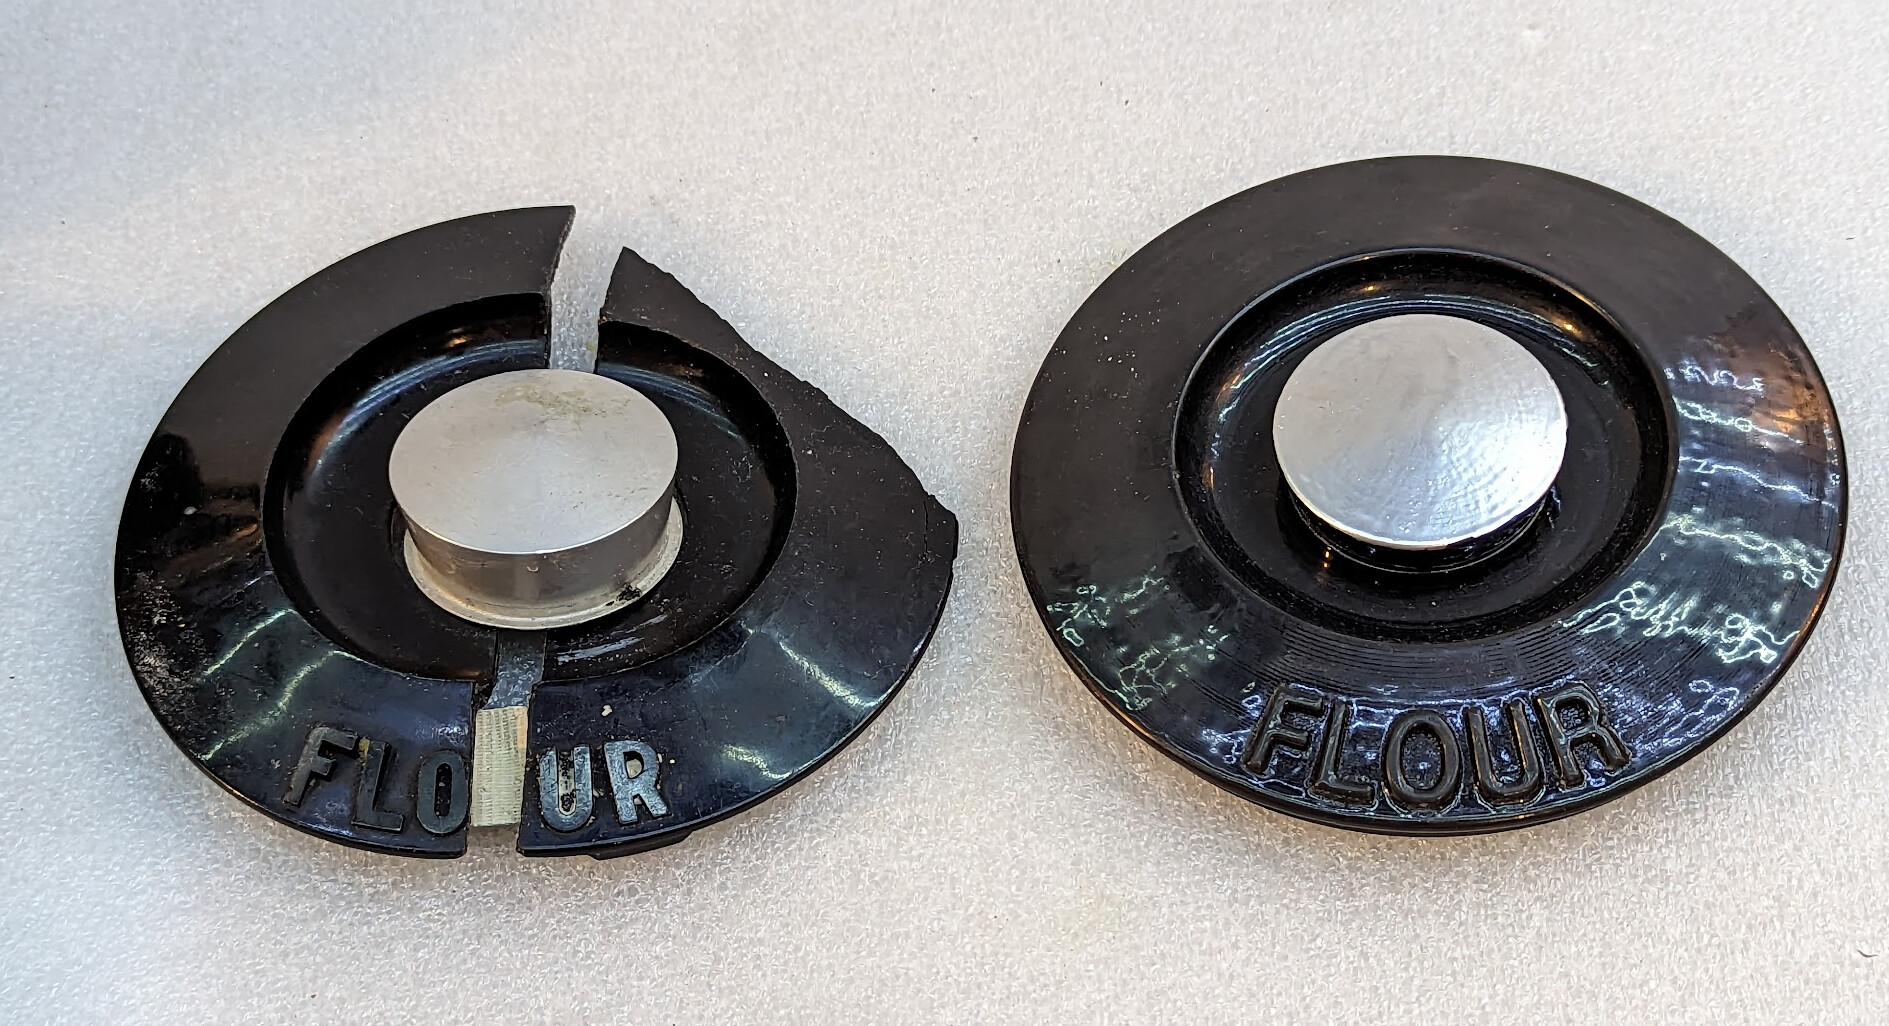
Since center handle of the original was aluminum, while the plastic was still tacky from the acetone, I painted the top of that part with “silver” testors enamel meant for ABS models. I used a little too much of it (a little goes a long way) and wasn’t as careful about the edge as I had intended to be. And even with a thick coat of model enamel, the layer lines still show through.
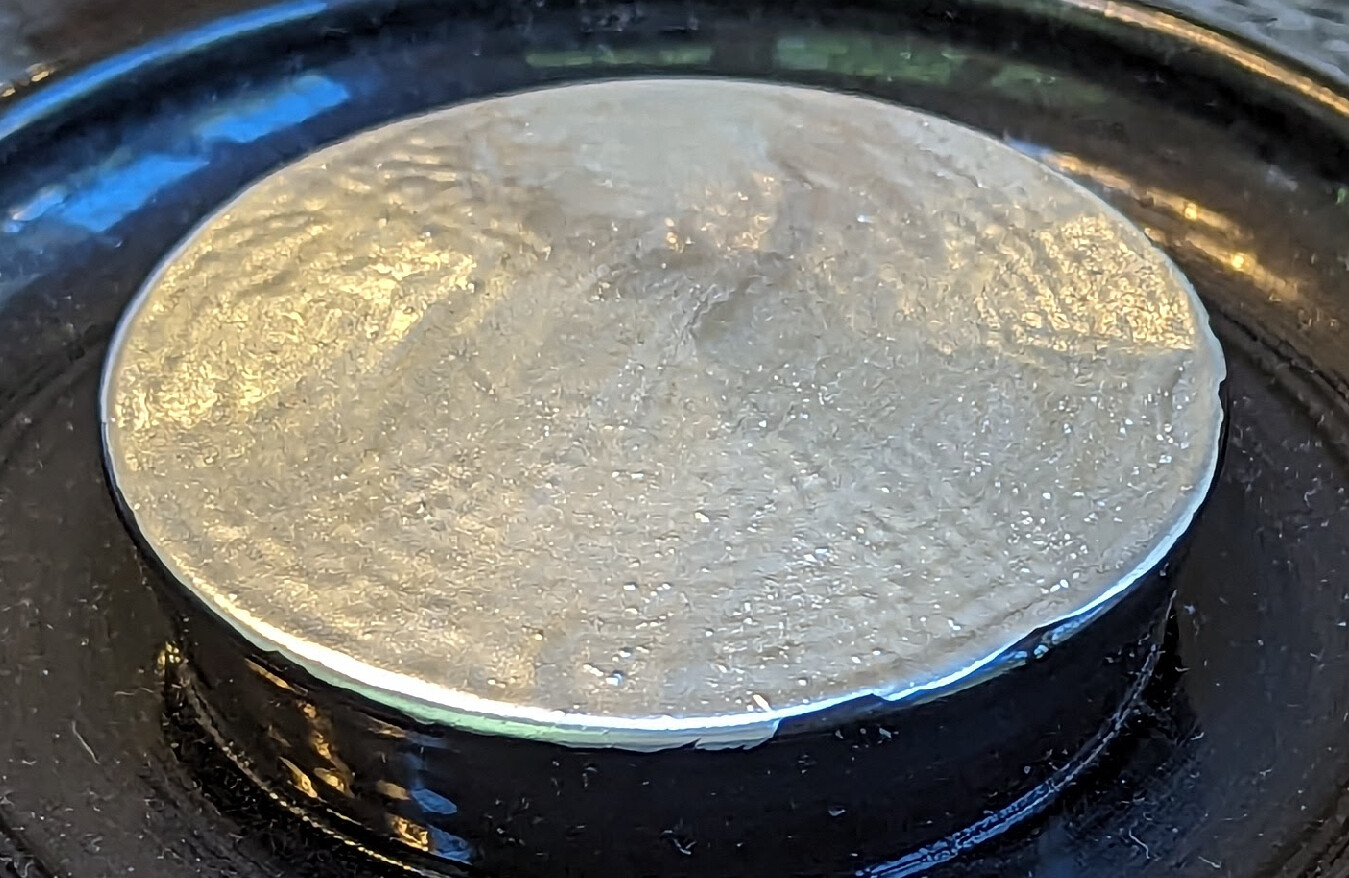
I didn’t paint the sides of the handle because I didn’t think I’d do a good job of avoiding the parts that were supposed to be black. Painting is not my forte. Well, maybe patience isn’t either? In any case, it’s way better than a lid that is broken into four pieces, only three of which are even known as this point.
In case you are reading this because you, too, are trying to replace one of these lids and a search landed you here, I modeled it using the Part workbench in FreeCAD, and you are welcome to it. Maybe you’ll do a better job than I did of finishing it! ![]()
FlourLid4.FCStd (377.6 KB)
FlourLid4.obj (2.8 MB)