Hey Everyone. A member of the community decided they wanted to build a Eustathios Spider V2. So it was finally the kick in the teeth I needed to update the model, documentation, and BOM for the most recent community upgrades and the most recent parts people tend to be using. I call it V2.5. It just went live today, and I am sure there are issues in the documentation, Github, and models. But I think it is a vast improvement over the last model and drawings. If you see something that needs correction let me know.
Hopefully it can be useful to people, and even if they don’t plan to build one perhaps it can act as an inspiration. Similar feel free to cannibalize the model if you find bits useful for your own project.
I appreciate that someone else finds it interesting. I was really fortunate to be able to work with so many of the great original rep wrap printer designers who came before me. I still need to add details about the contributors who provided the community modifications. But it’s a nice day out and the kids want to go swimming
Thank you for putting this together Eric! I’m excited about starting this build! Also wanted to add how appreciative I am of your efforts and your assistance to me. =)
Glad to help, and I’m excited to see your build come together. as always feel free to hit me up if you run into any issues. I’m going to be making recent build of Marlin that will use the layout of the new printer. I have an older version that I’ll use as a base and then start adding in the new features. But it’ll be a little bit before I get that wrapped up, cuz I’ll have to do some testing.
Looking at switching the z axis on my v2 to the 2.5 setup with dual motors. Do you know if the spacing on the original z axis bed supports changed between versions? Would be great to not have to reprint those parts and just swap out the motor mounts.
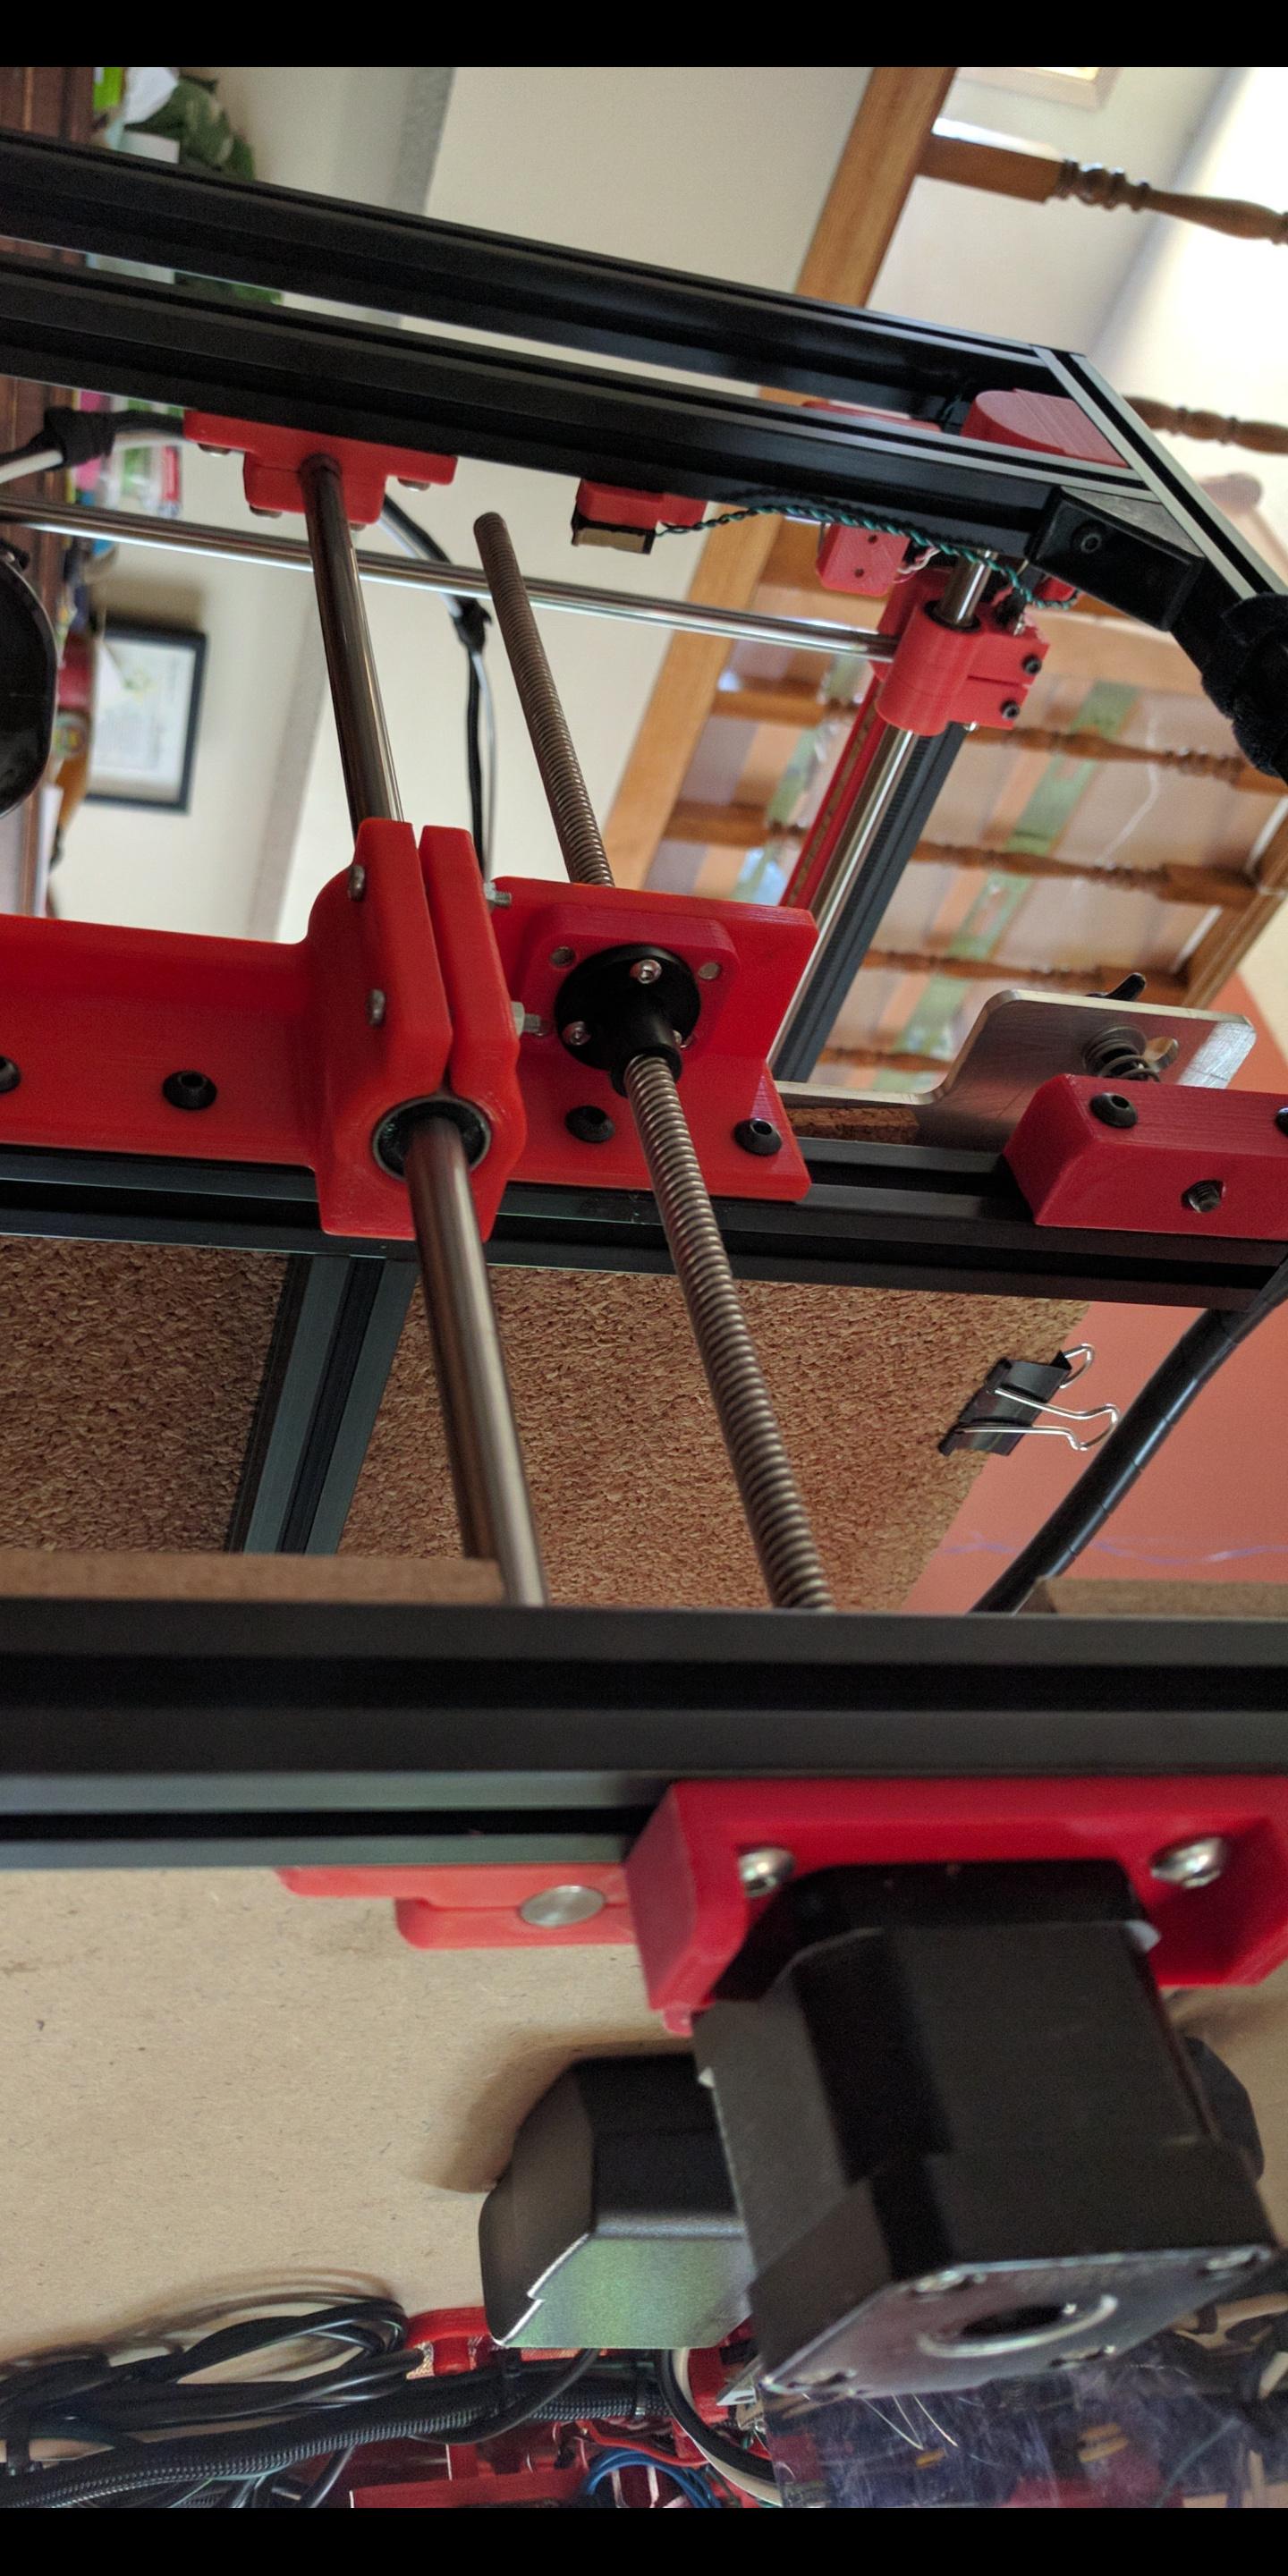
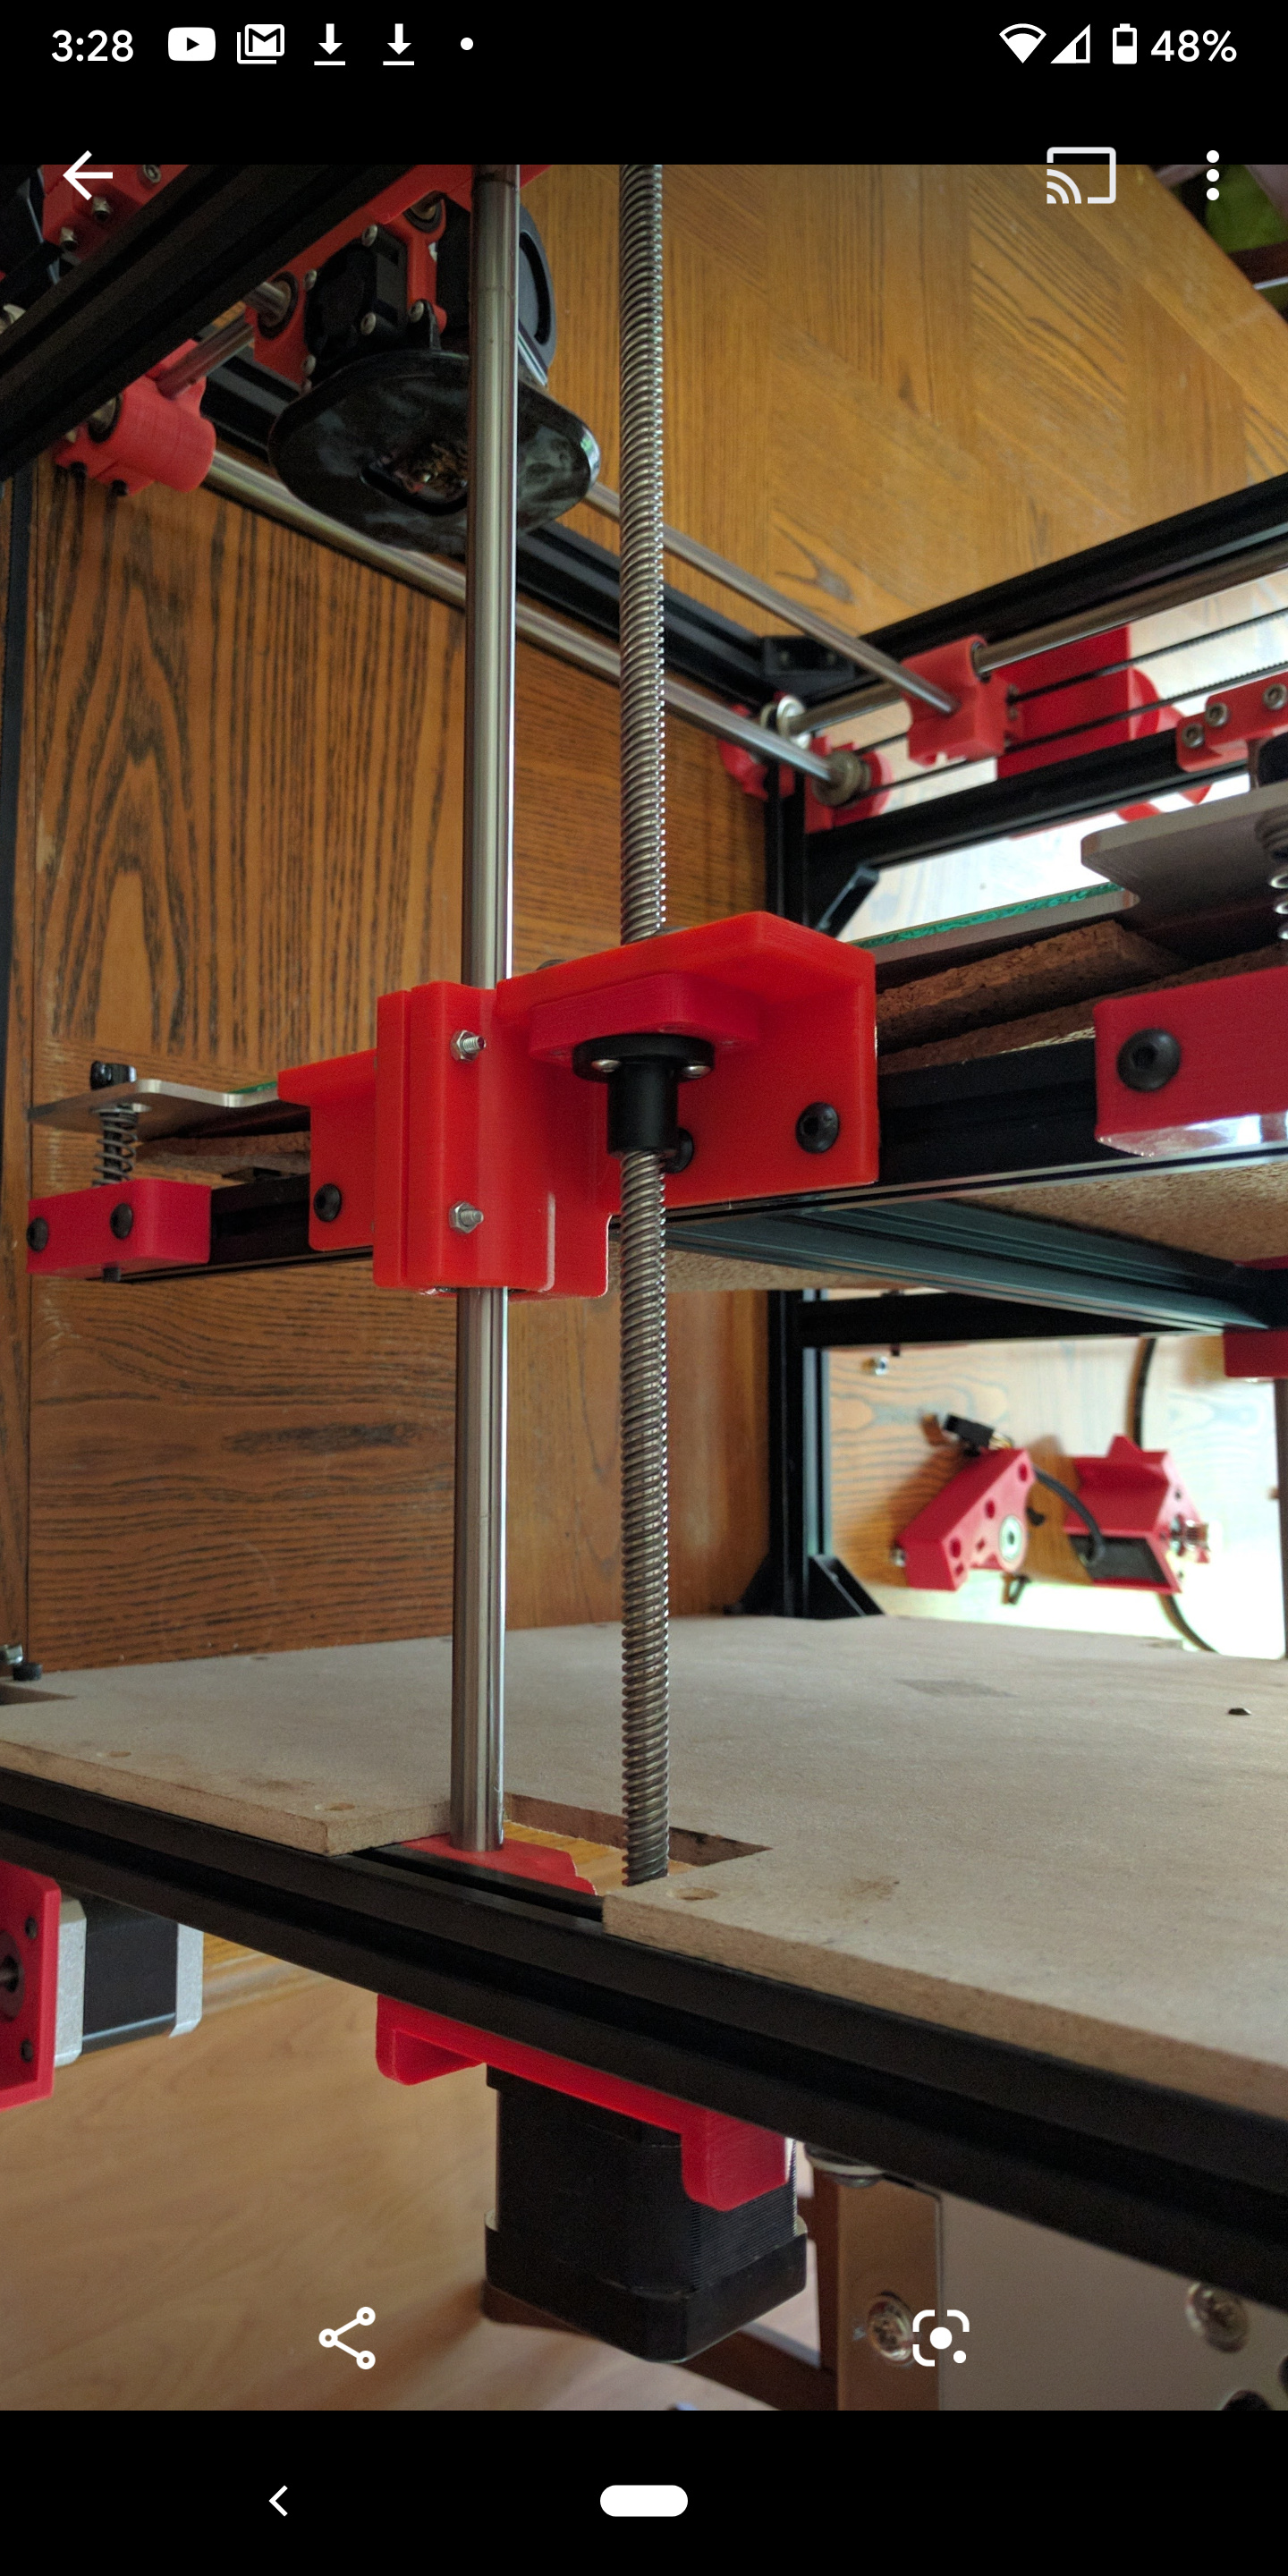
Bed support rod locations didn’t change. The only two things that changed are adding the independent motor mounts for the two z motors and those even kept center line with the old lead screw locations. And another z rod mount below that is identical to the top one. On mine I didn’t even originally change the bed side supports, I just printed an adapter from the misumi lead nut, to the new style lead nut.
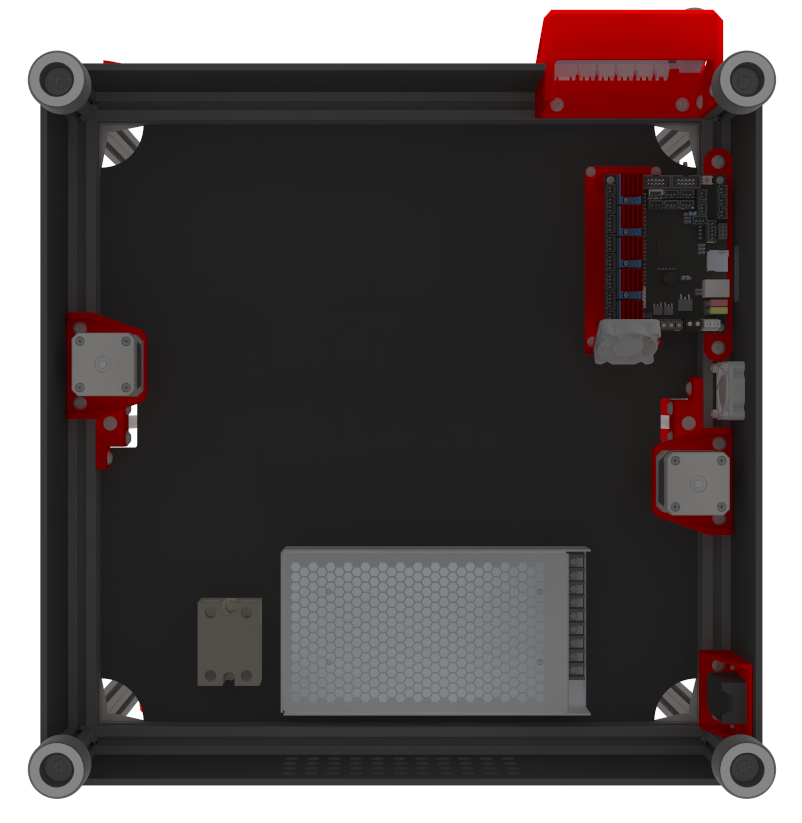
I also changed the bed extrusion supports to add an extrusion on the front and back, versus one in the middle which locks the dimension side to side. I wanted the adjustability on the front and back in case extrusion cuts or printed parts weren’t perfect. Don’t want things over constrained. Along with that I switched to just a square cut quarter inch thick cast plate for the bed. Easier for people to source and manufacture themselves.
Nice ok should be an easy upgrade then. I’m hoping having the direct motor mounts for the acme rod will give me a bit more adjustability and I can finally iron out the z ribbing I’m getting.
Go with tr8x8 on the z motors. Makes zhop fast and there’s plenty of the resolution still. And in Marlin you can do independency z motor leveling now. So you can either put an endstop switch on each side, or just use a BL touch and it will go up, then level on one side, then move to the other side and then level there so you can have it trammed side to side and then you can do mesh leveling on top of that.
Hi, I remember seeing a post about this but can’t find it now, for the cross bars am I able to use 8mm instead of 10mm. Pulleys are expensive for 10mm and I can get 8mm locally.
I don’t have the side carriages designed for the 10mm bar yet. But I can make the changes so the V2.5 has the carriage options designed for that. Give me a few days to get around to making that option. Nothing else needs to change but the side carriages because the central carriage has been designed to allow 10 mm rods to pass through it.
You mentioned 10mm did you mean 8mm, the side carriage already takes 10mm bar. The idea is too replace all 10mm round bar with 8mm. The other option would be to get an 8mm pulley and drill it larger not sure if that’s the best idea.
Ahh, yes I got it backwards. Yes all parts are compatible with going to 8mm. You would just need the smaller bushings, and smaller bearings in the side bearing holders.