Yes, if you’re ever going to do custom pulleys or custom idlers it’s best to start with the raw timing pulley stock because then you can get concentric around the actual pulley. The pulleys out there are made by pressing/glueing the pulley stock into the pulley flanges. If you try and chuck up the lathe onto the flanges of an existing pulley the likelihood of getting it perfectly concentric is tricky to say the least.
1 Like
If you use a 4-jaw chuck with soft jaws to hold the flanges, and indicate off the bore, you should be able to re-bore an existing pulley and stay concentric with the teeth. And the number of people with that skill who are currently building a from-scratch 3d printer is… probably fairly small? 
Using the size rods you have locally feels like the smart idea @BlackSheep!
1 Like
I will definitely do that 
1 Like
Do you have that lead nut adapter STL handy?
For those adapters I made those kind of temporary when I first made that adjustment. But I could model them up really quick if you let me know the bolt hole pattern of the lead nuts you’re using. there’s a few different standards out there so I don’t want to give you the wrong file for the wrong lead nuts.
No worries. I broke down and fired up solidworks and transferred the pattern from the old model and the new model and made an adapter. Printing now.
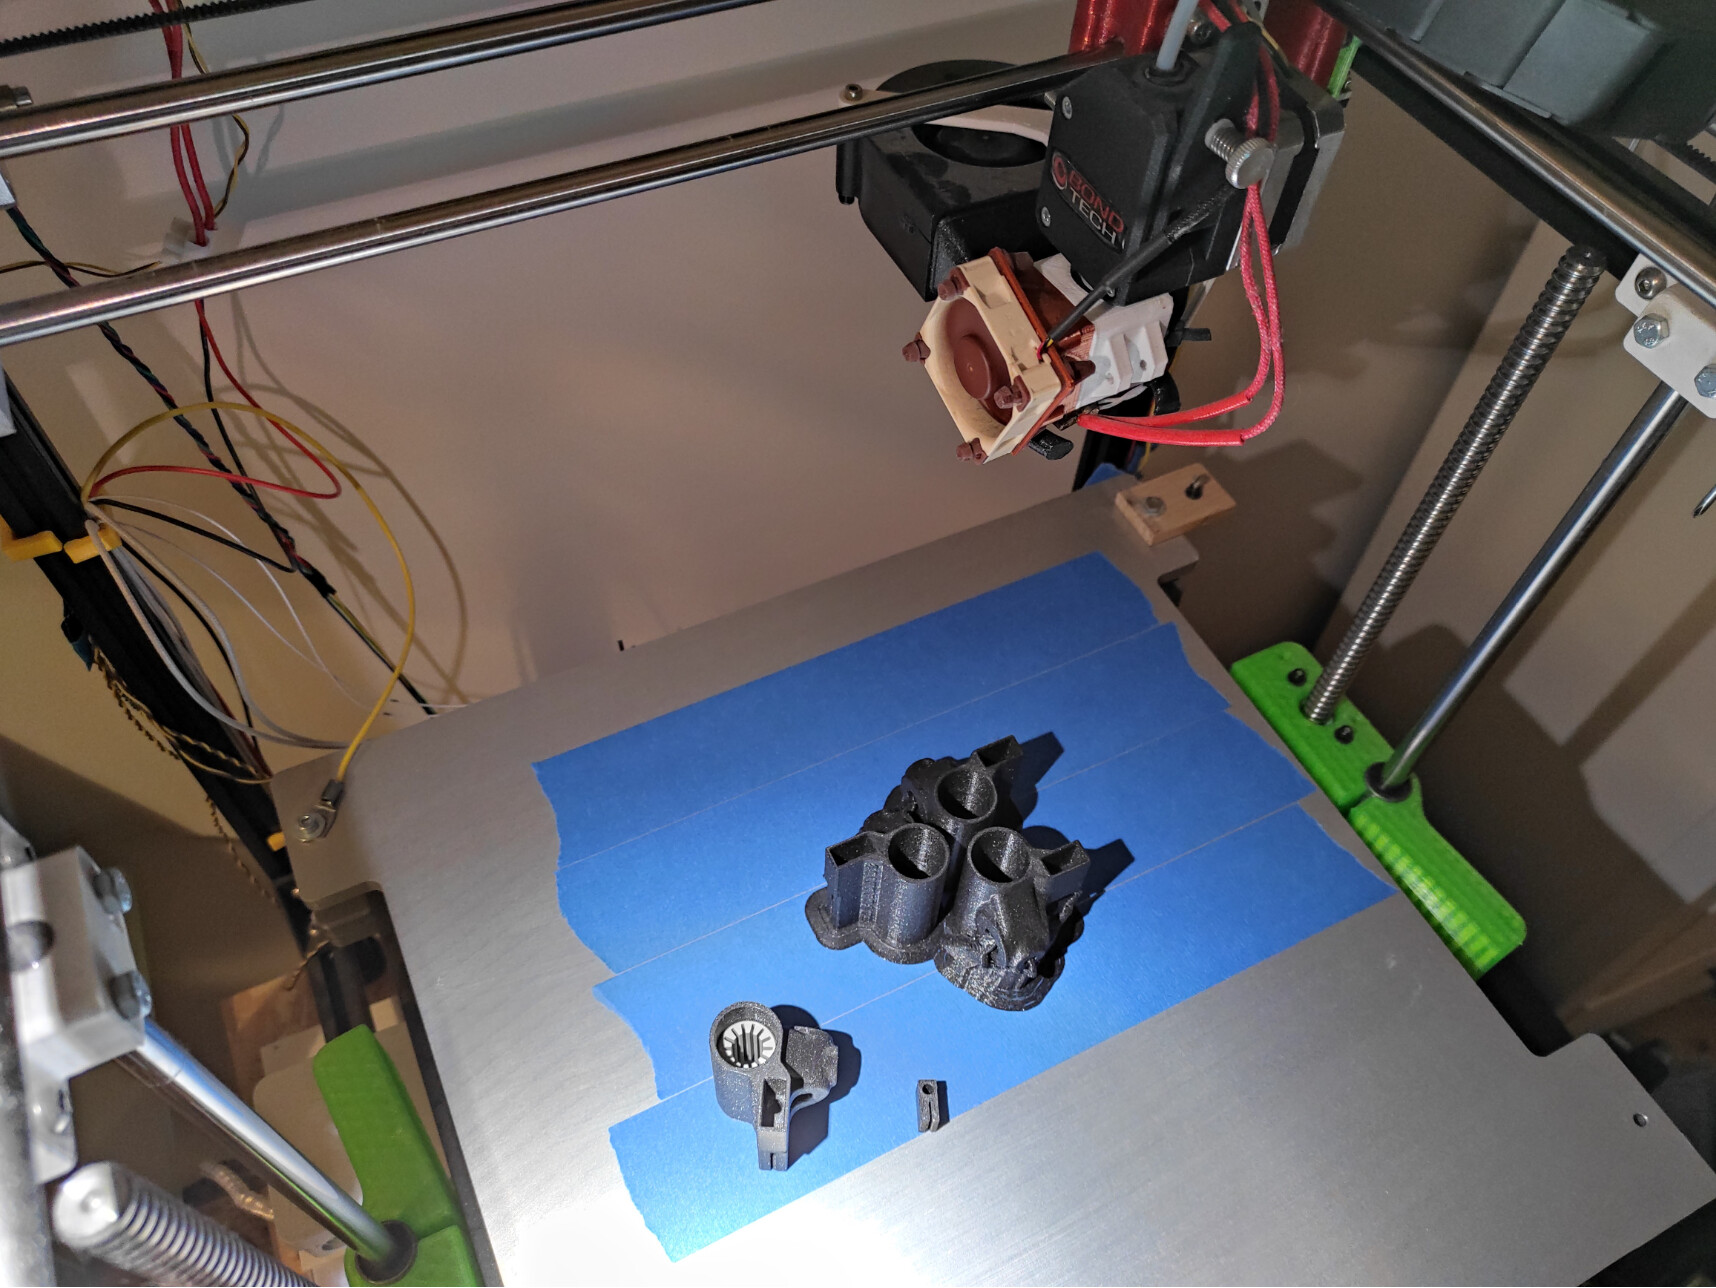
Finally getting around to this rework. Two new motors with integrated lead screws. Also finally getting around to putting the whole thing into a cabinet so I can start doing longer prints. I always forget just how big this printer is!
1 Like
Will upload the adapter once I’ve confirmed it works since I used the new 2.5 bom link for the pom nuts from Amazon.
2 Likes
Glad to see you on here again and getting back on the machine. I think you’re going to like the integrated lead screw setup. It lets you do faster z hops and the bed is a lot more reliable. It’s been a long time, hows everything going on your end?
Ah yes been a while. Work has been insane and covid made me oddly demotivated despite having oodles of time to work on things.
Looking forward to ironing out the print quality finally and the zhop I think might help with that too. I really want to start taking advantage of the size of the bed, my wife wants a Boba Fett’s Sister costume sometime next year! So long quiet prints are the order of the day.
Just ordered a smoke alarm and an iot relay to do auto disconnect on smoke, and I’ve almost finished hammering together a cabinet from…parts of an old cabinet. Not too pretty but it should do!
2 Likes
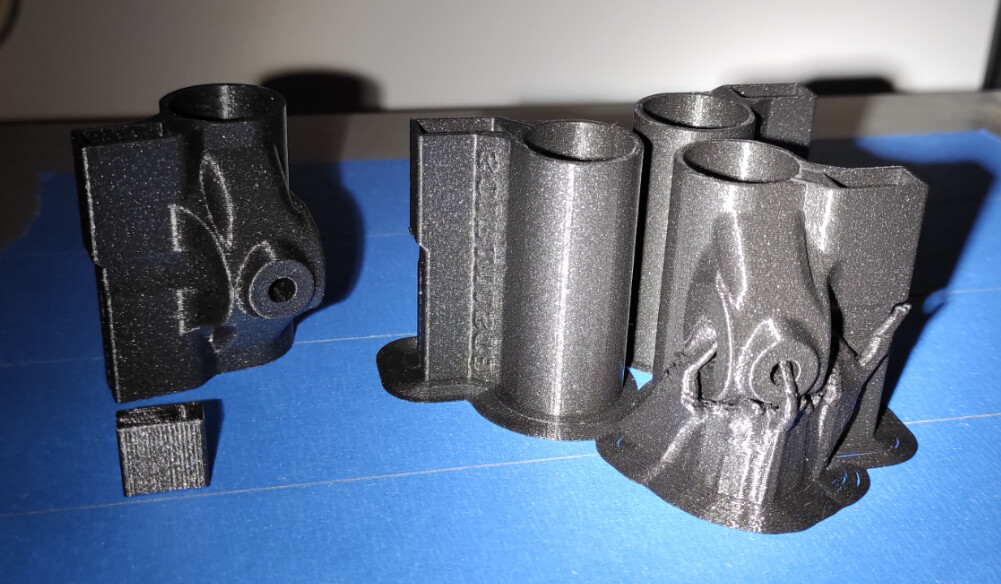
How do you print those complex parts like XY Side Carriage Zane? I am trying to adjust them for igus bearings but its a pain.
The side carriages print standing up (circular bearing opening on the build plate). I was able to print mine with no supports in this orientation. But if you printed with supports it wouldn’t hurt it.
2 Likes