I just made a one-of-a-kind, special-purpose handle, and it required some machining.
My parents, who live further north than I do, have a catalytic wood stove and recently had some intense storms that have resulted in a lot of oak firewood.
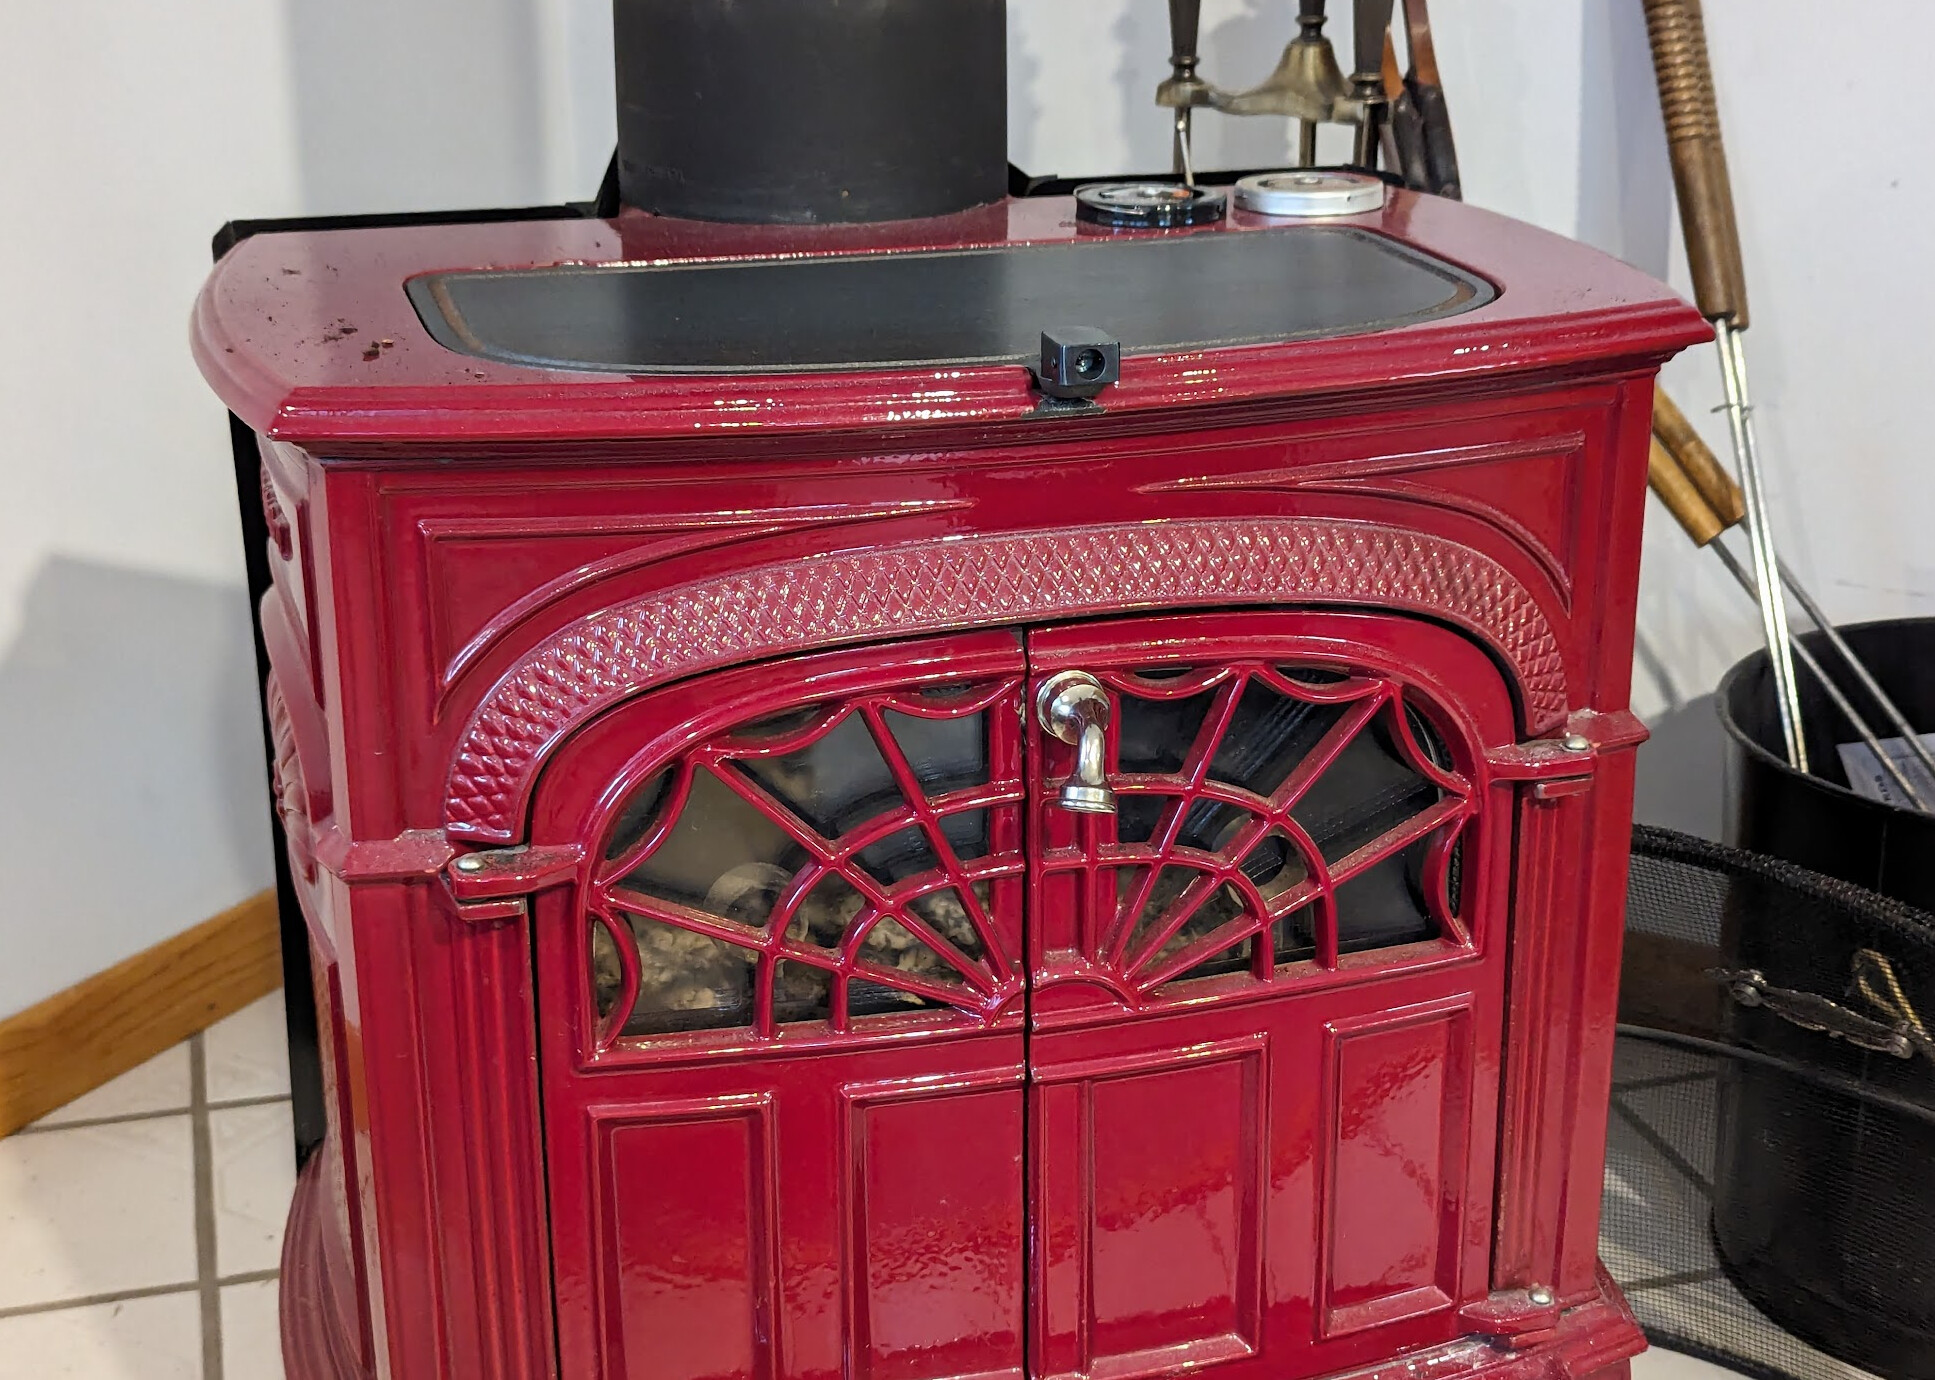
The stove is a Vermont Castings Intrepid II, similar but not identical (it’s about 35 years old) to this Vermont Castings Dauntless:
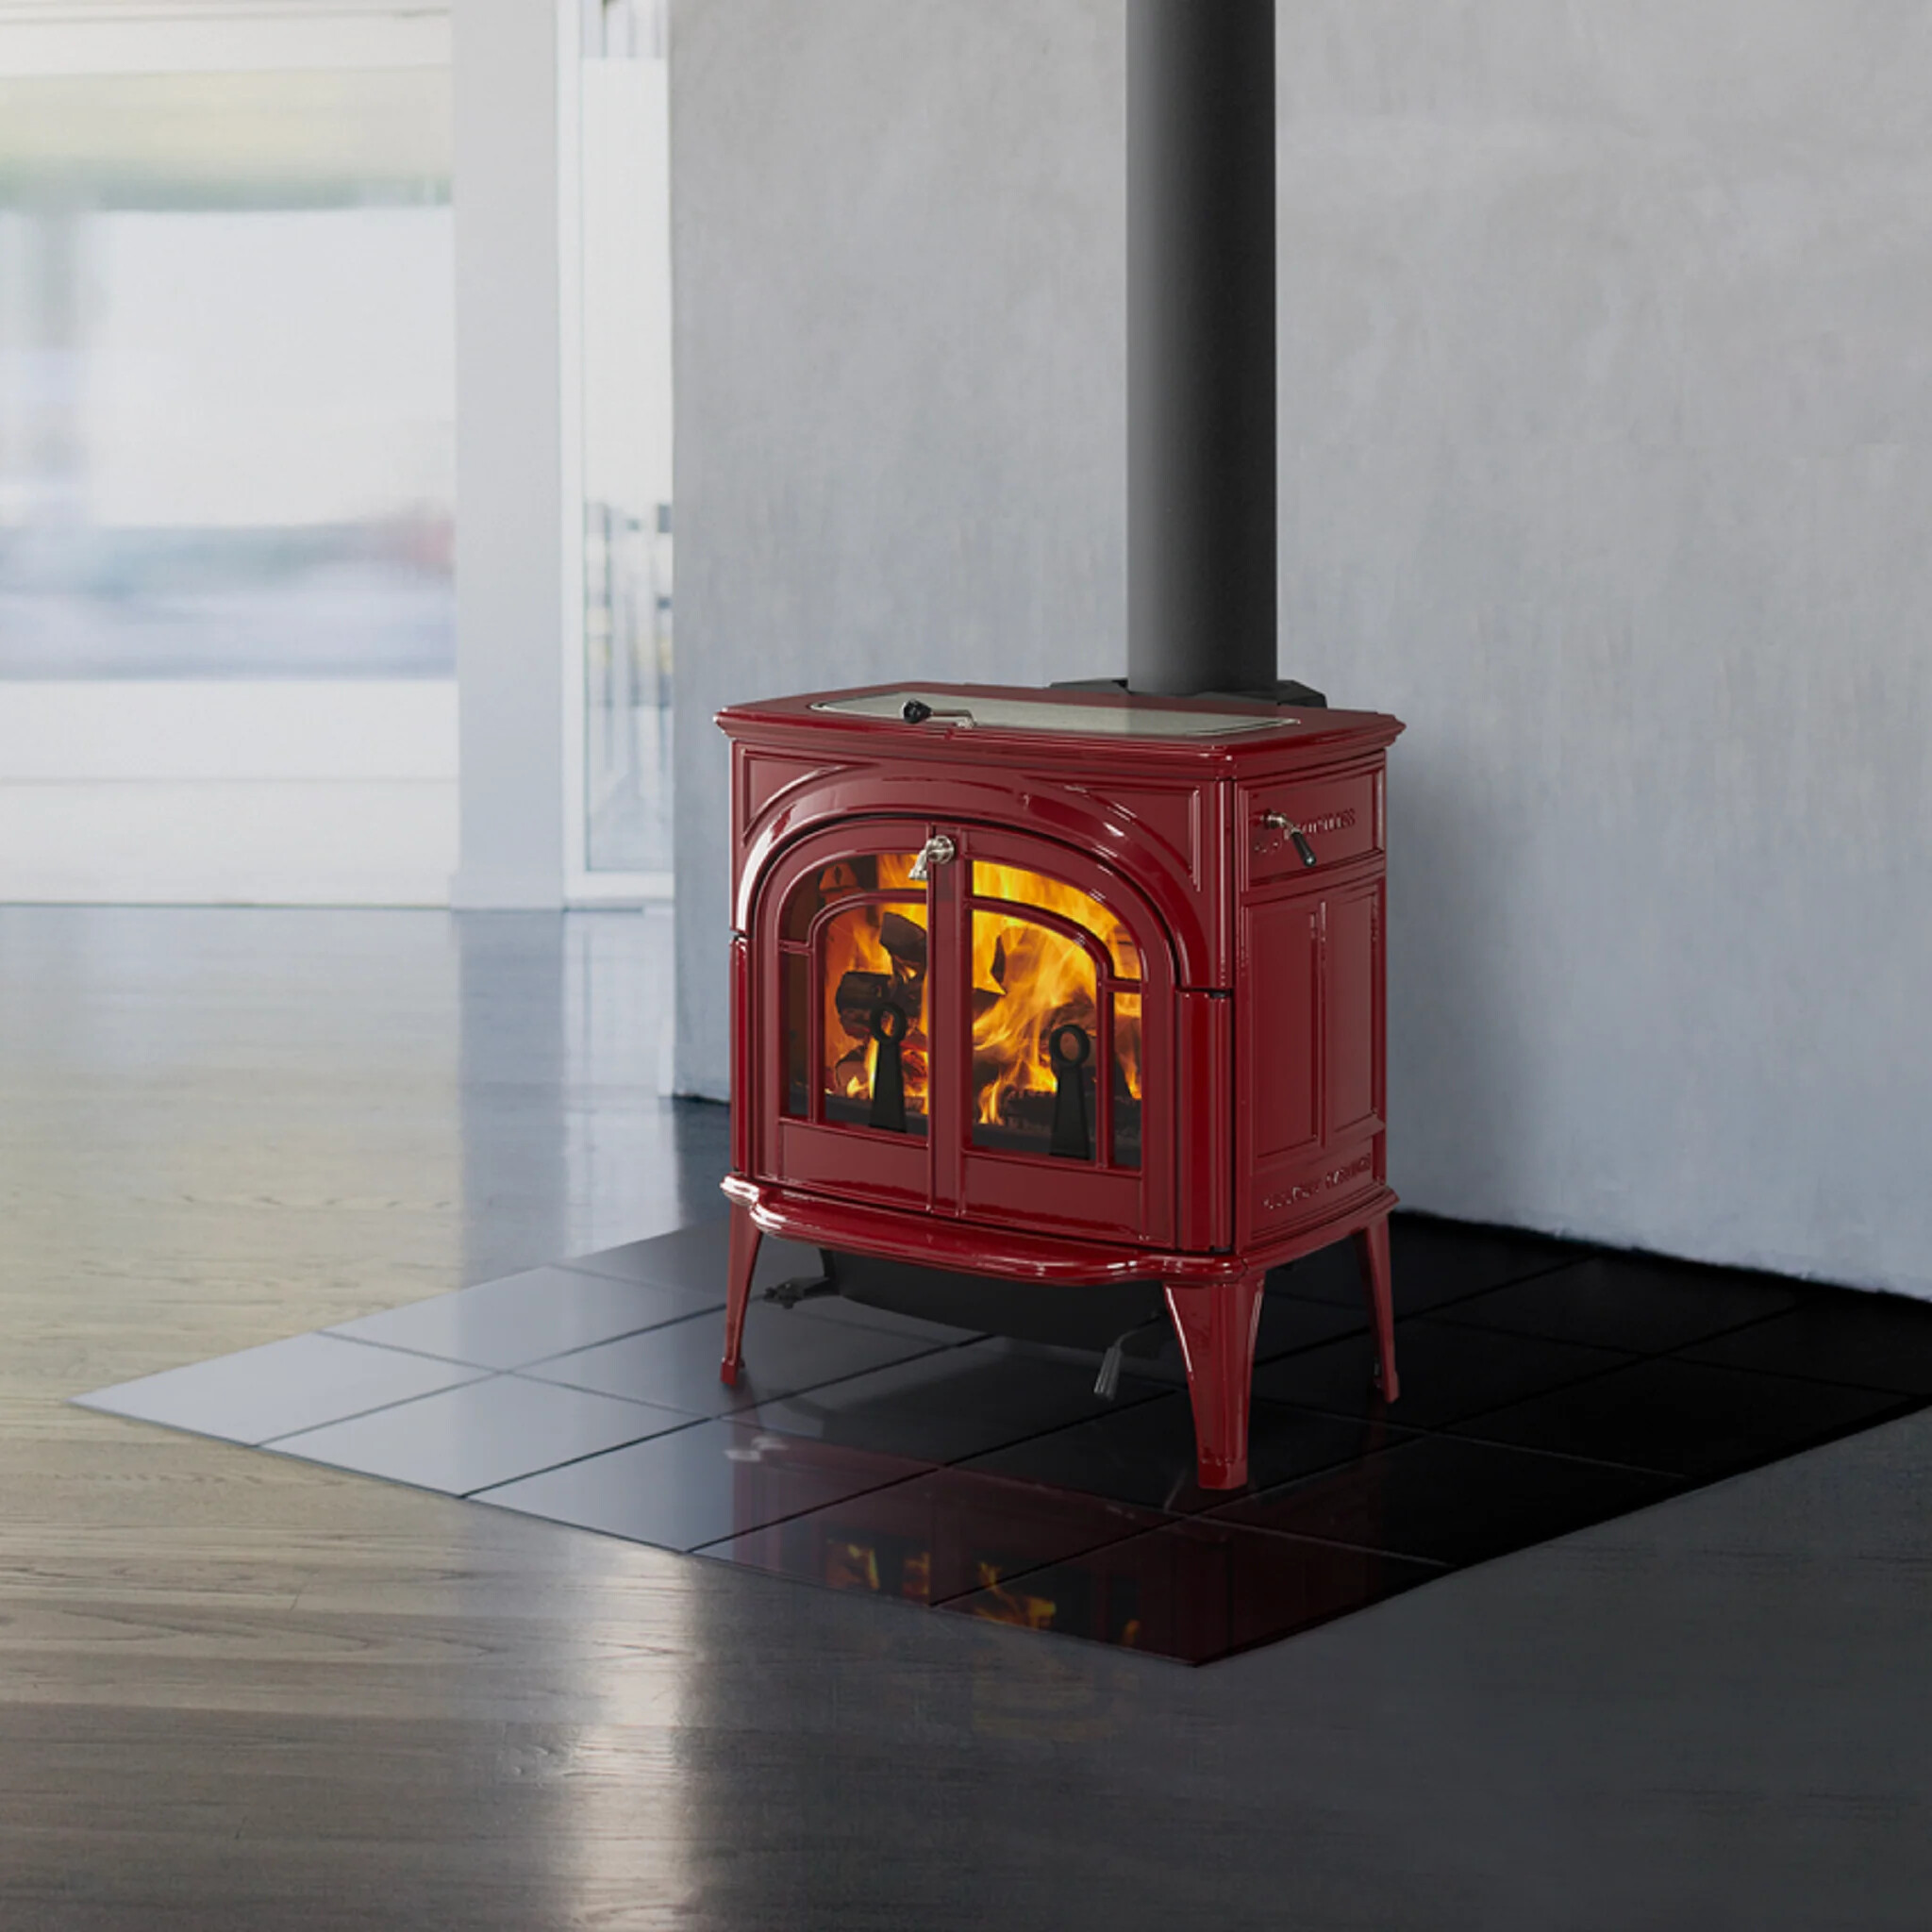
However, my parents’ stove doesn’t have the handle you can see sticking out towards the front from the middle of the griddle top in that picture. Instead, there’s a separate tool that you are supposed to use to lift the griddle, which is the easiest way to add wood. But the tool that the stove came with has chipped the enamel on the stove, and makes it easy to drop the griddle with a bang.
My father bought a handle to screw to the griddle’s tang — the one shown in the picture above, I think — but it didn’t fit, so back it went, and… Did I want a design challenge?
The tang on the griddle is a rough casting, and there’s not really room underneath it for a nut. But it looks like a countersunk screw could attach from underneath into something on top. If I had it at home, I could easily put the griddle on the mill and tweak the tang, but that’s harder when it’s in use a few states away.
Whatever I do has to survive a lot of heat; the top of the griddle regularly exceeds 500°F. However, you have to hold the handle to operate it, so it needs to stay somewhat cool. Wood sounds like a good choice. I found a file handle on Amazon that looked OK, so I ordered it for that part.
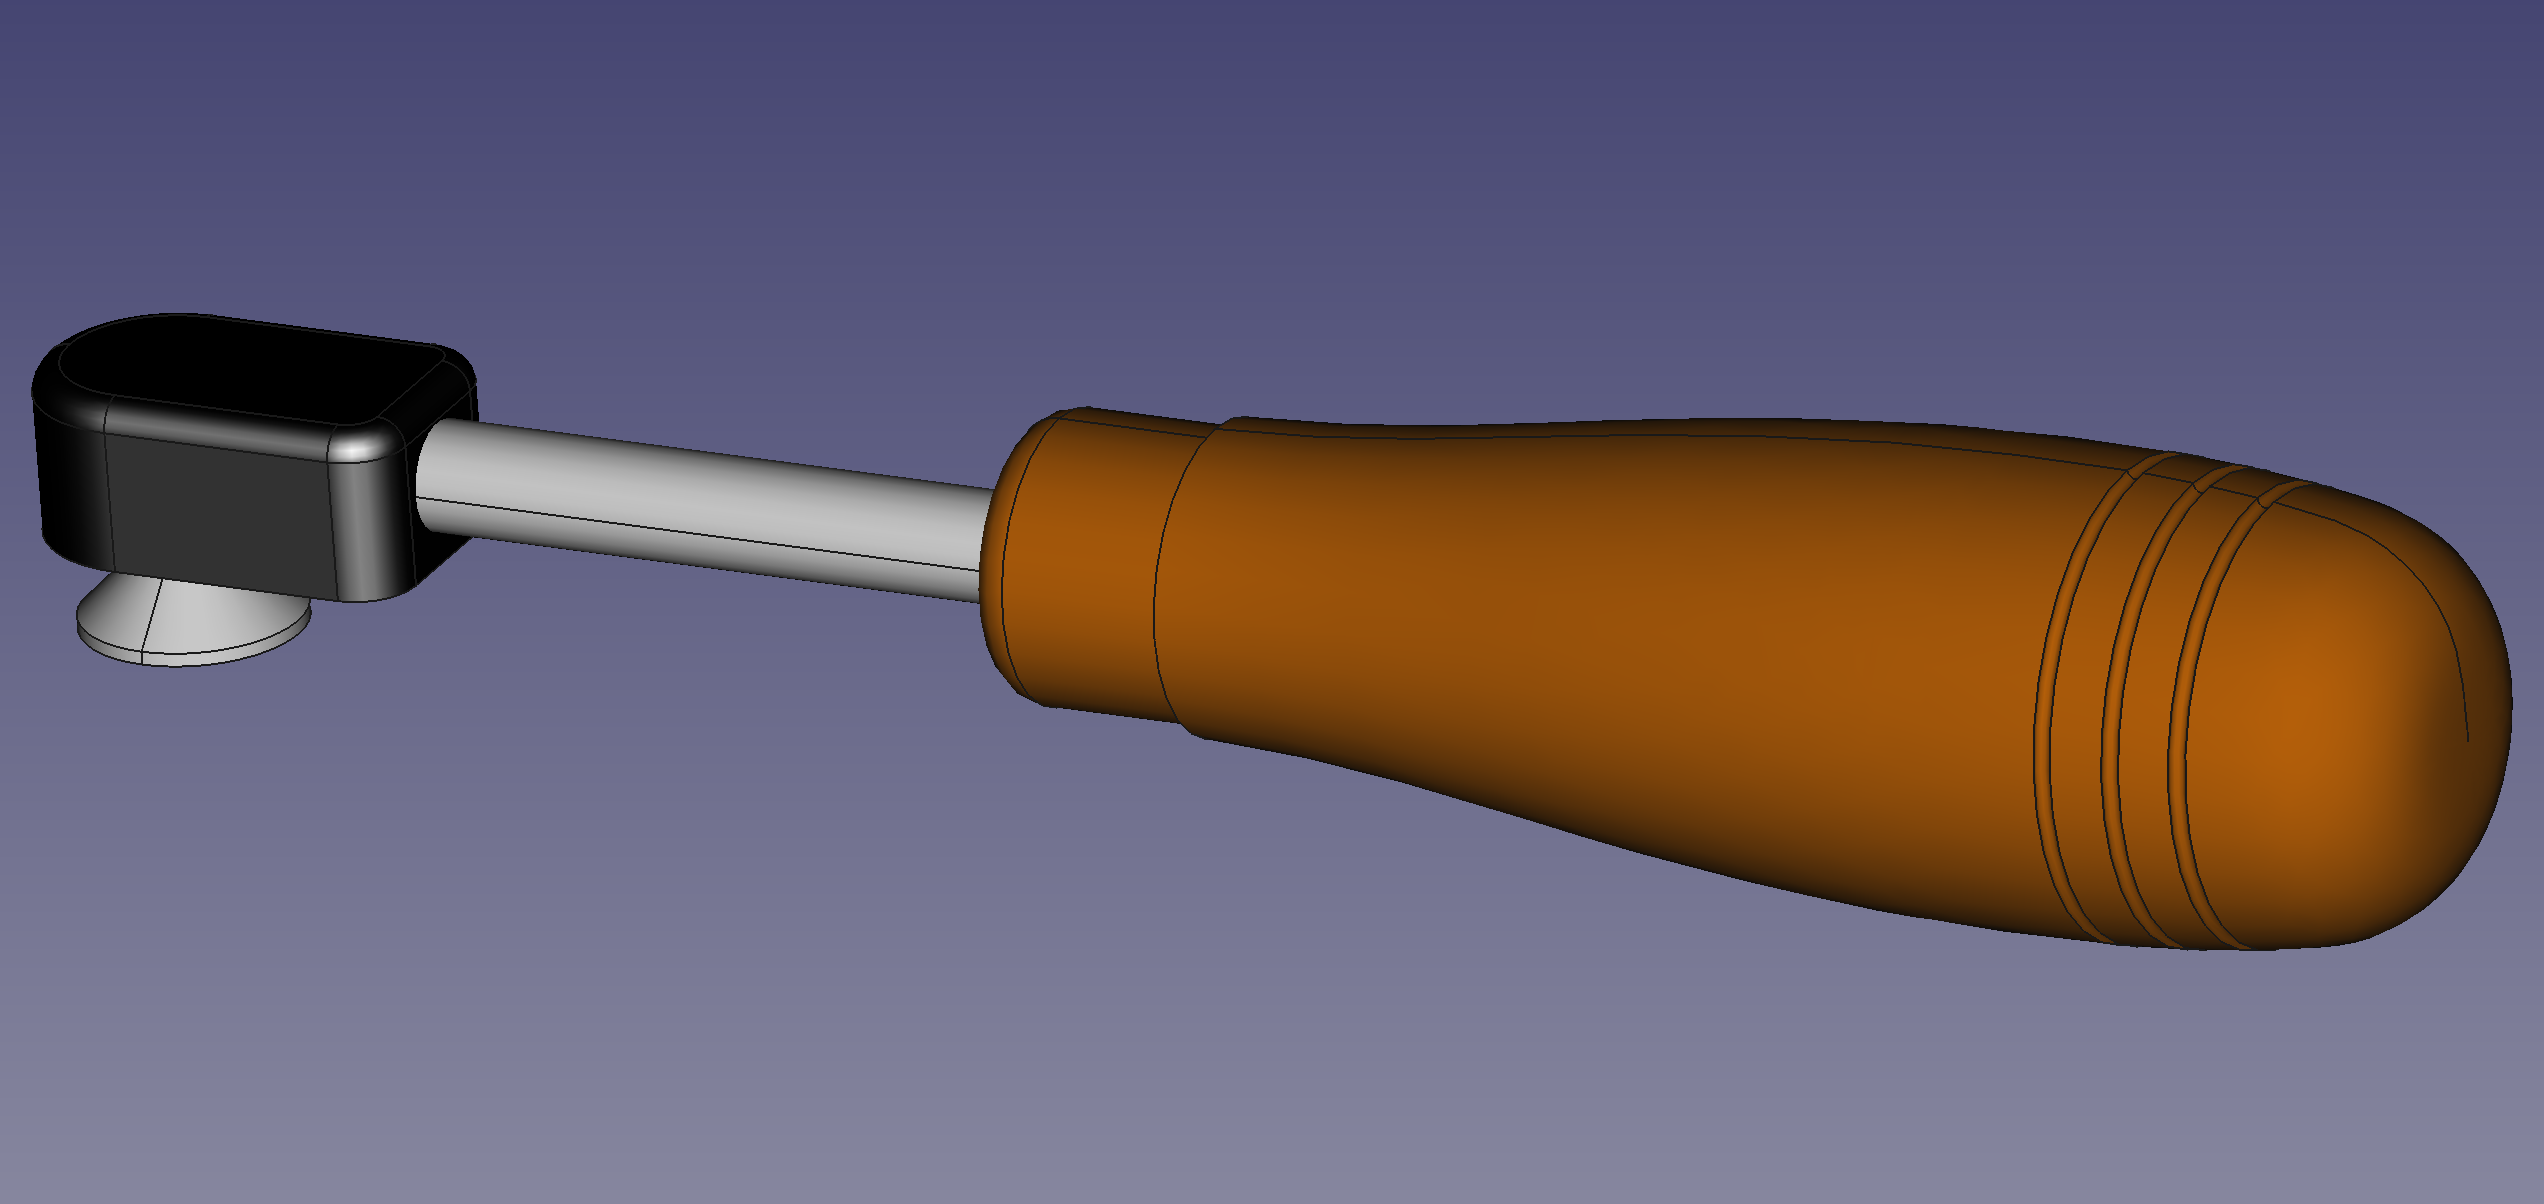
I figure that I need a screw of the right size, a small block on the top of the griddle to screw it into, and a short metal rod sticking out of the block onto which the handle can be mounted, something like this:
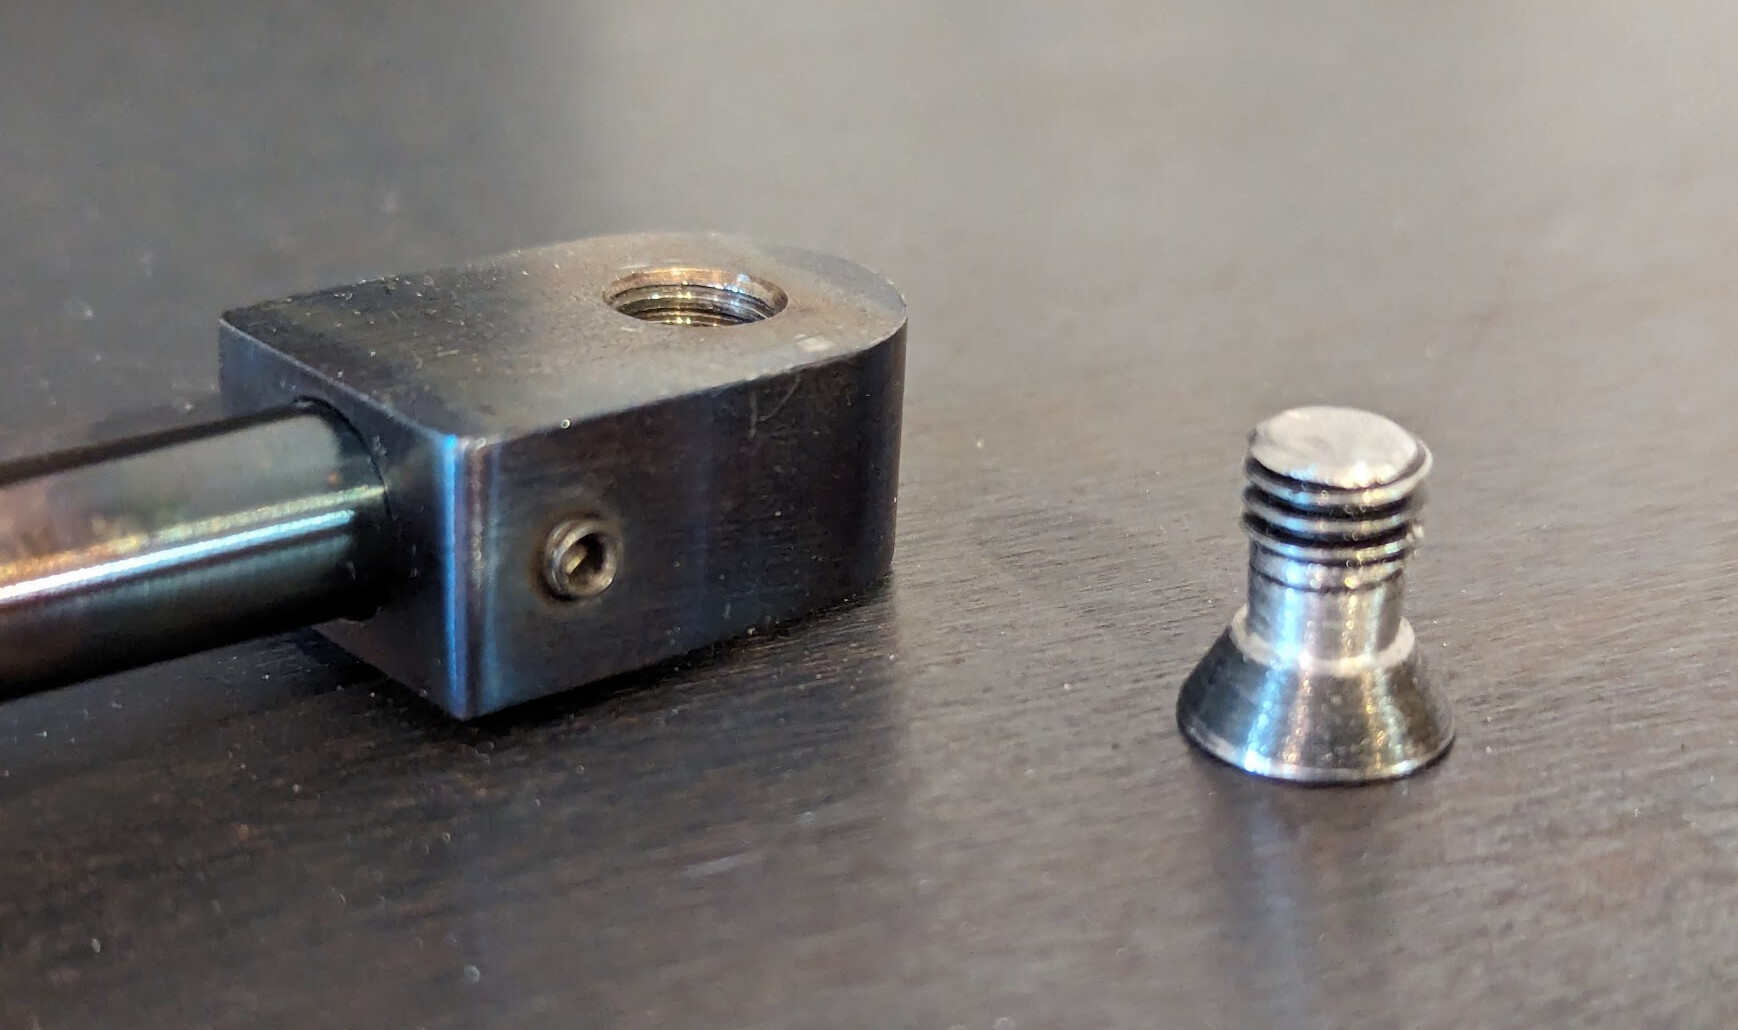
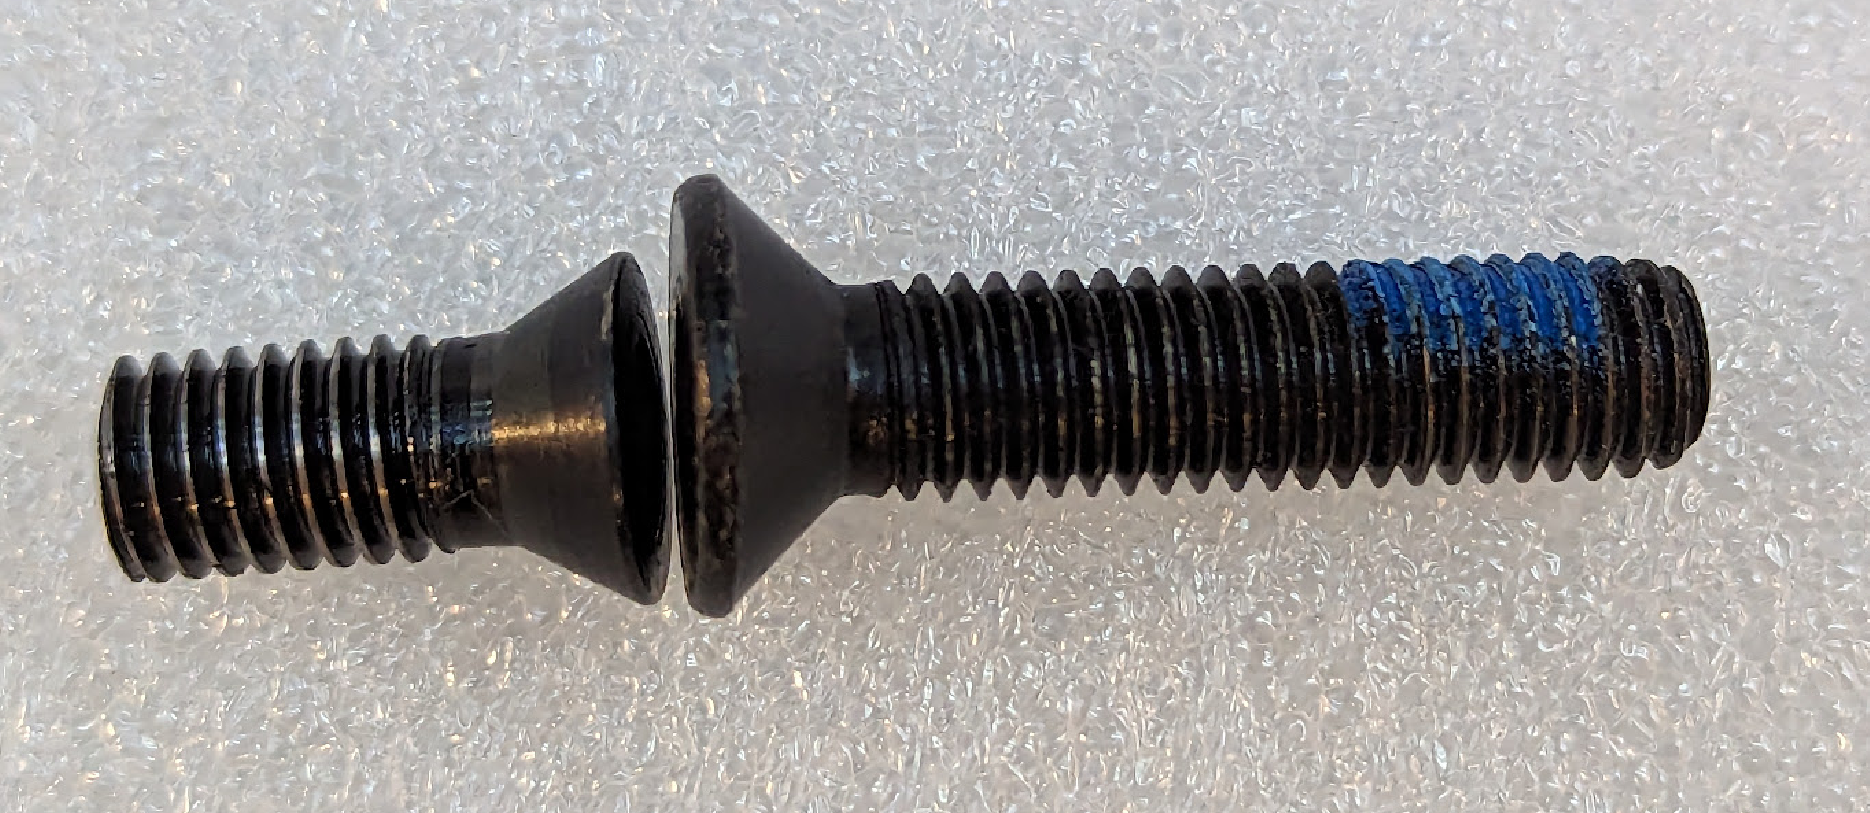
A normal M8 screw head won’t fit in the tang on the griddle. I put an M8 countersink screw in the lathe and turned the head down to have a 60° instead of 90° angle for the head cone, and a max diameter of 12mm instead of the normal 16mm. Then I cut it to length and blued it to protect fro rust.
I started making the block (black in the model above) from a length of 1"x0.5" cold-rolled mild steel stock.
I set up my rotary table on the mill table, and mounted a piece of sacrificial aluminum plate on top of it. I carved a 1mm-deep groove the actual width of the stock, and used superglue to hold the stock in place. Then I milled to width (20mm), first moving the mill table for the straight edge, then turning the rotary table for the rounded end, and moving the mill table straight again for the other edge.
Leaving the stock still in place, I drilled a hole almost all the way through at the origin. (My DIY Depth stop for my mill helped me nail this depth perfectly.) Then I tapped it M8 with a bottoming tap.
I drilled and reamed the end of the block 3/8" (.376 loose fit) for the rod of the handle to fit in. I drilled it through the sides near the end and tapped M4 for some M4x6 ball detents to hold the handle in place when it is inserted.
I grabbed a piece of 3/8 1144 stressproof rod (it was what I have in stock that fits the hole already in the handle, chamfered one end, cut a retaining groove for the ball detents to engage with, and made sure that the block fit nicely on the rod. Then I knurled the other end of the rod.
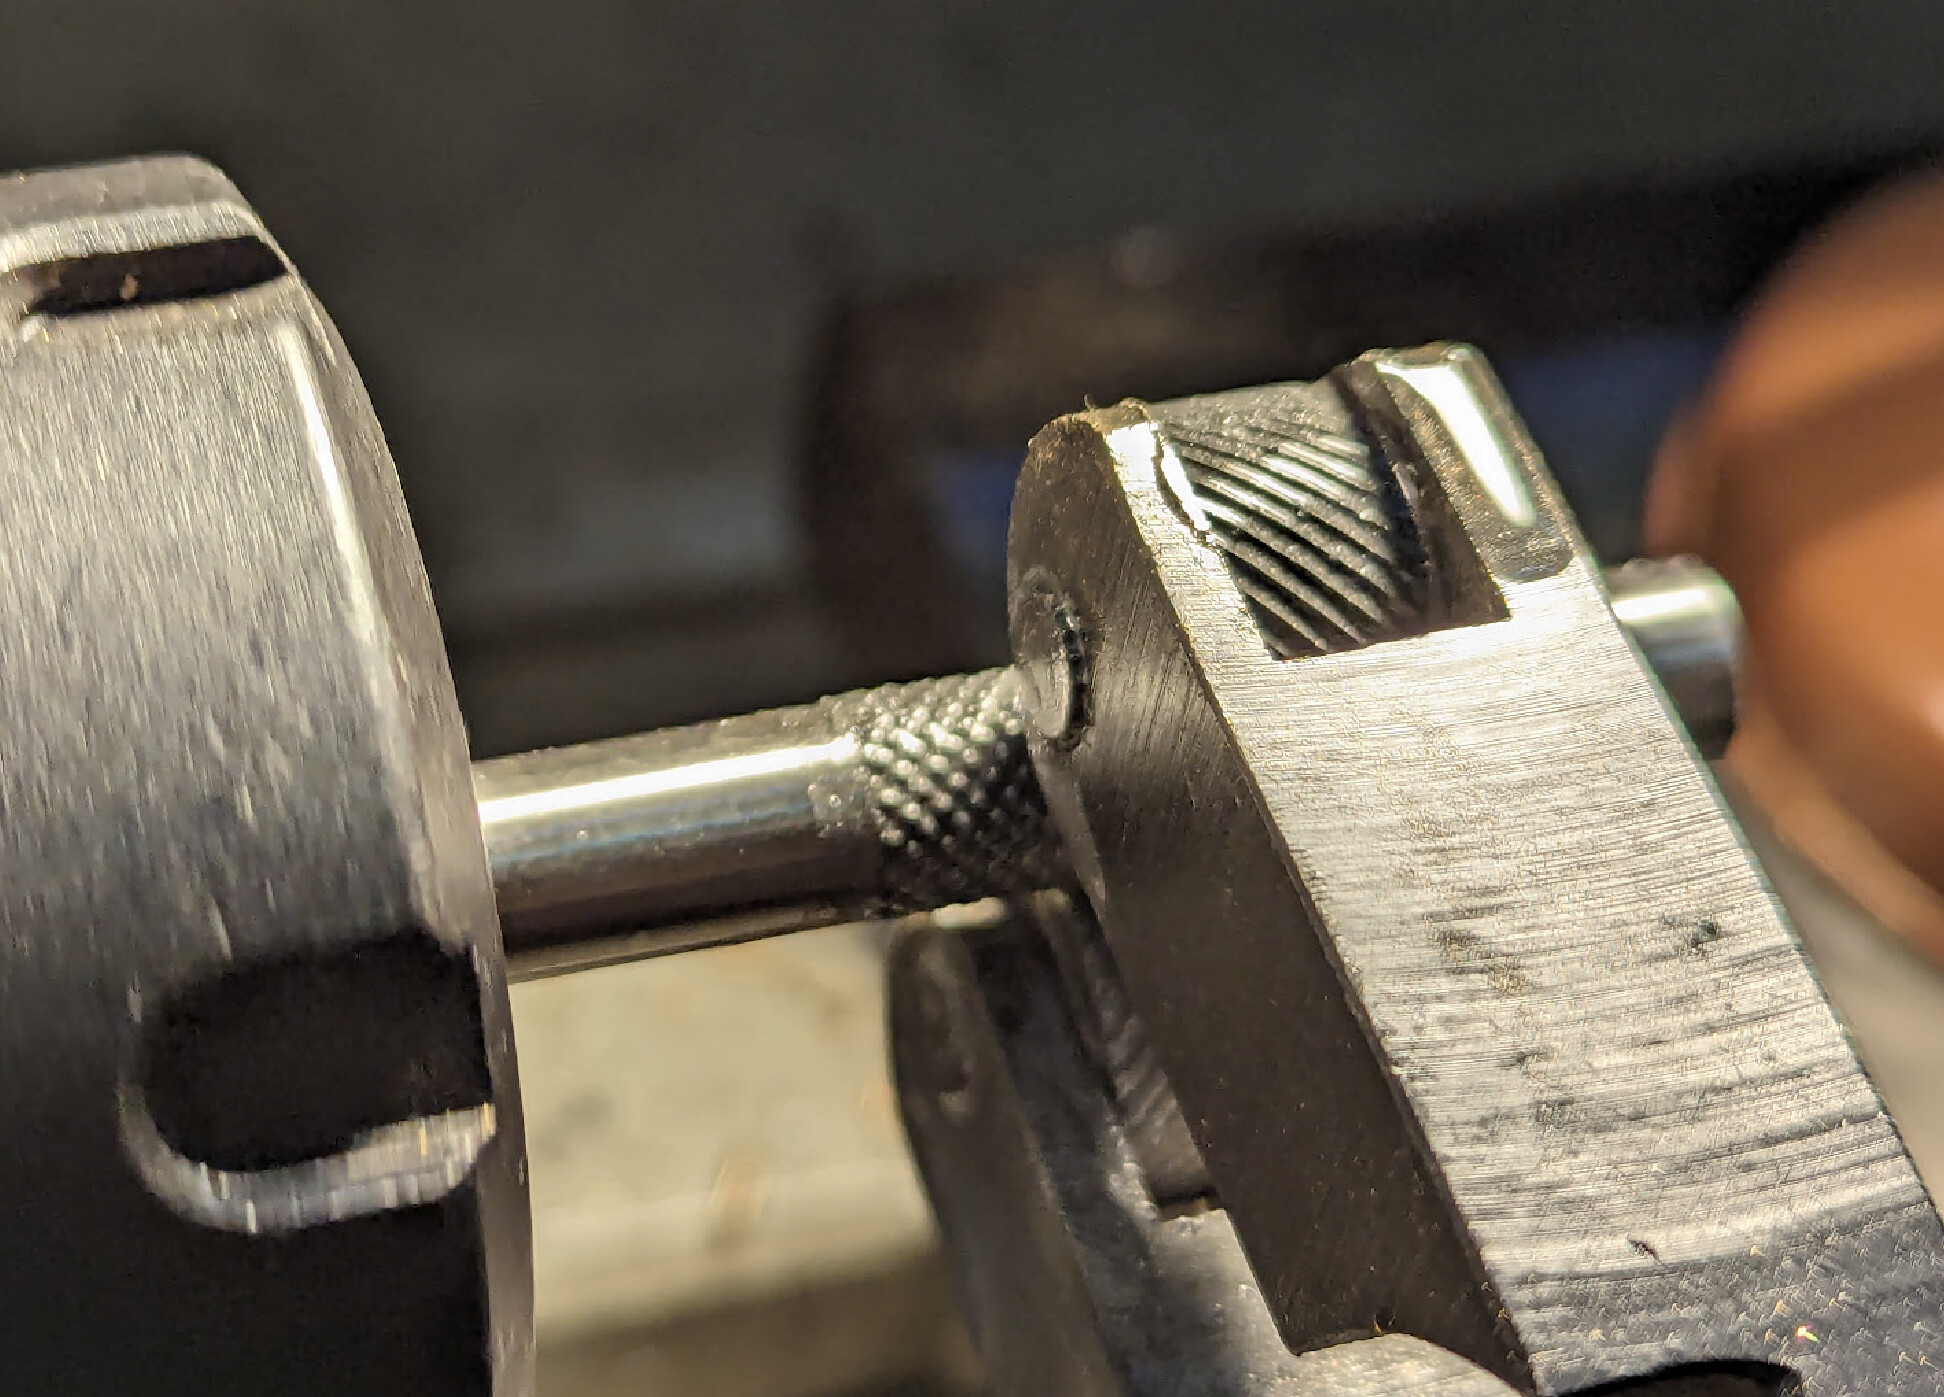
I got a really perfect knurl on the rod. Nice straight deep pattern.
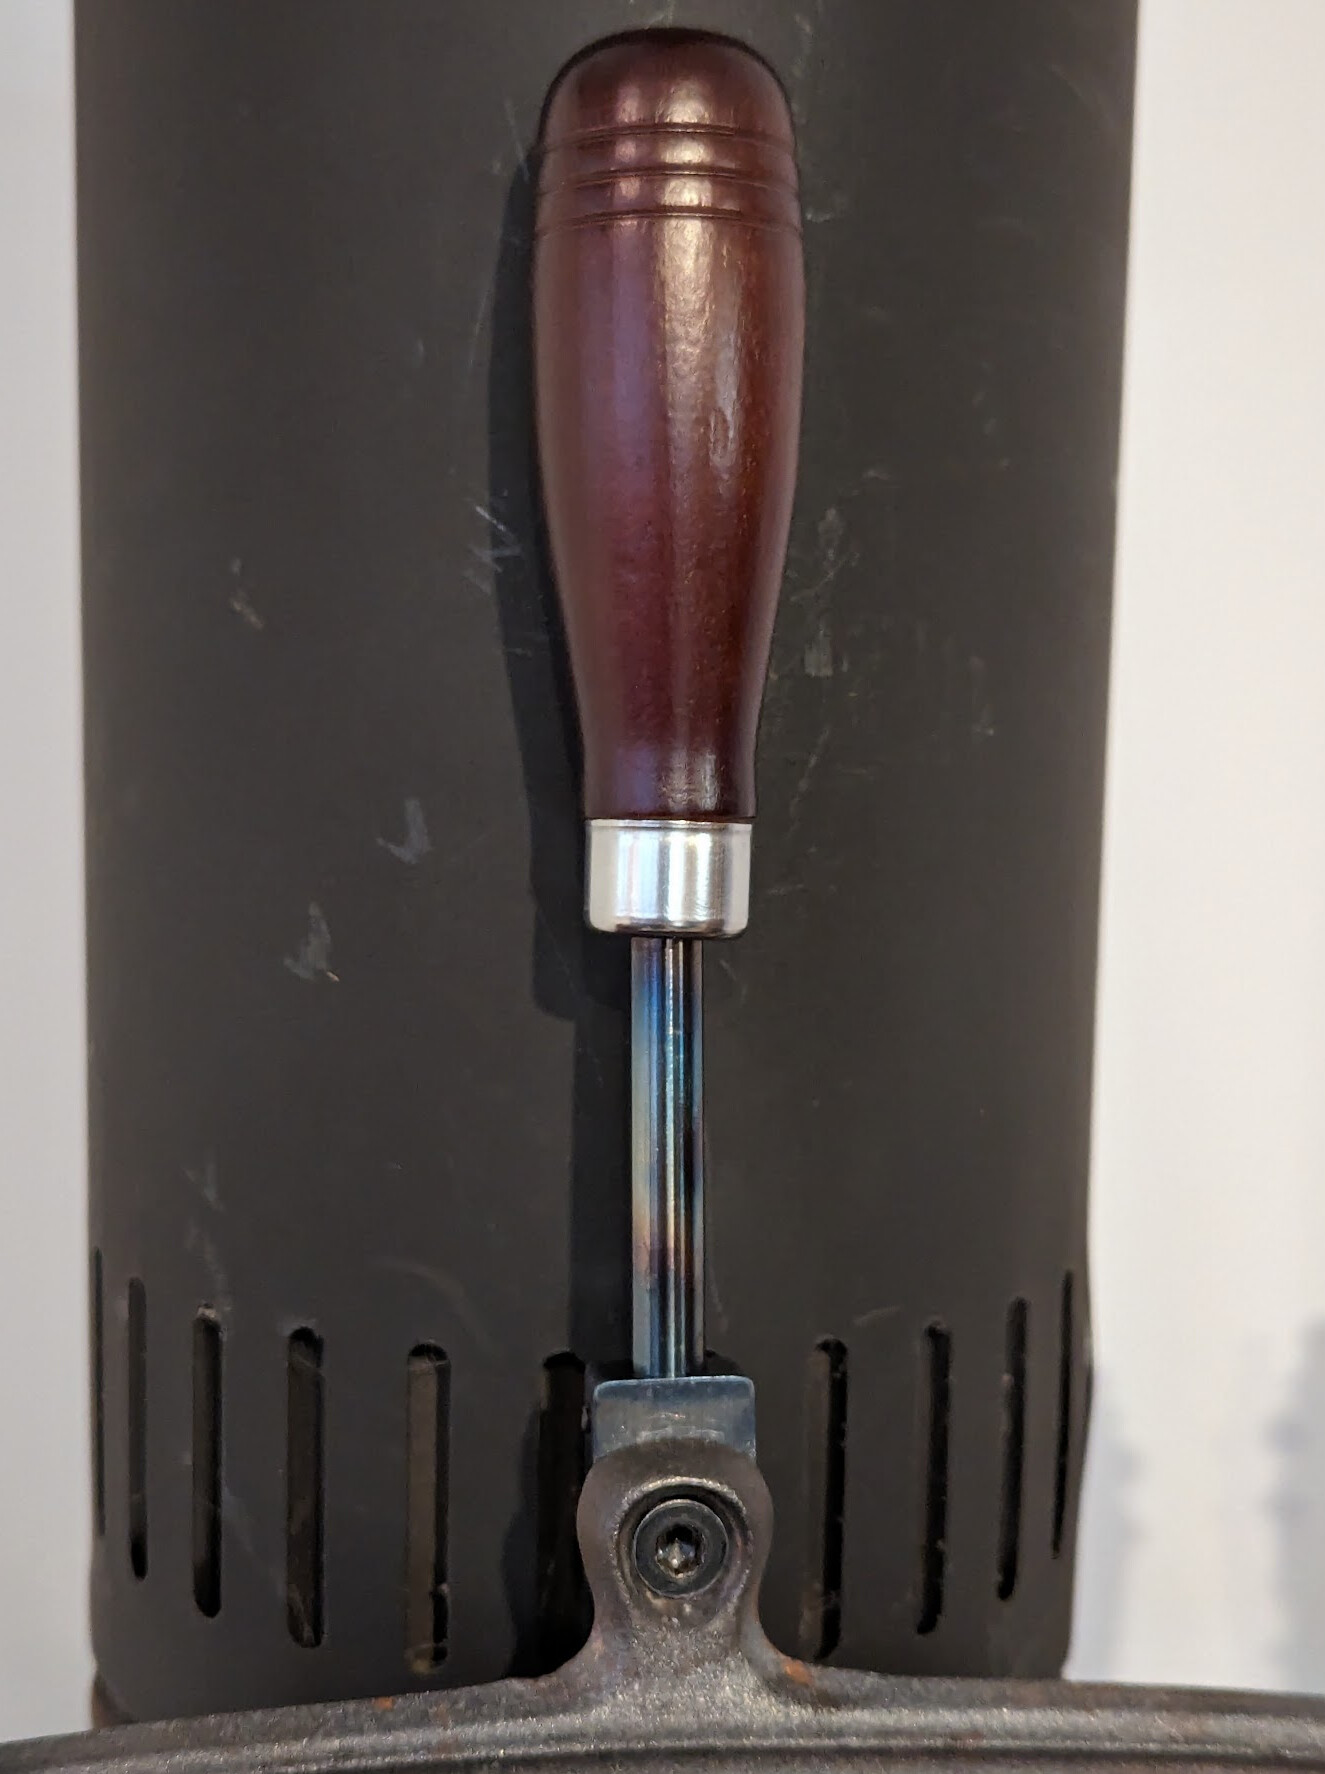
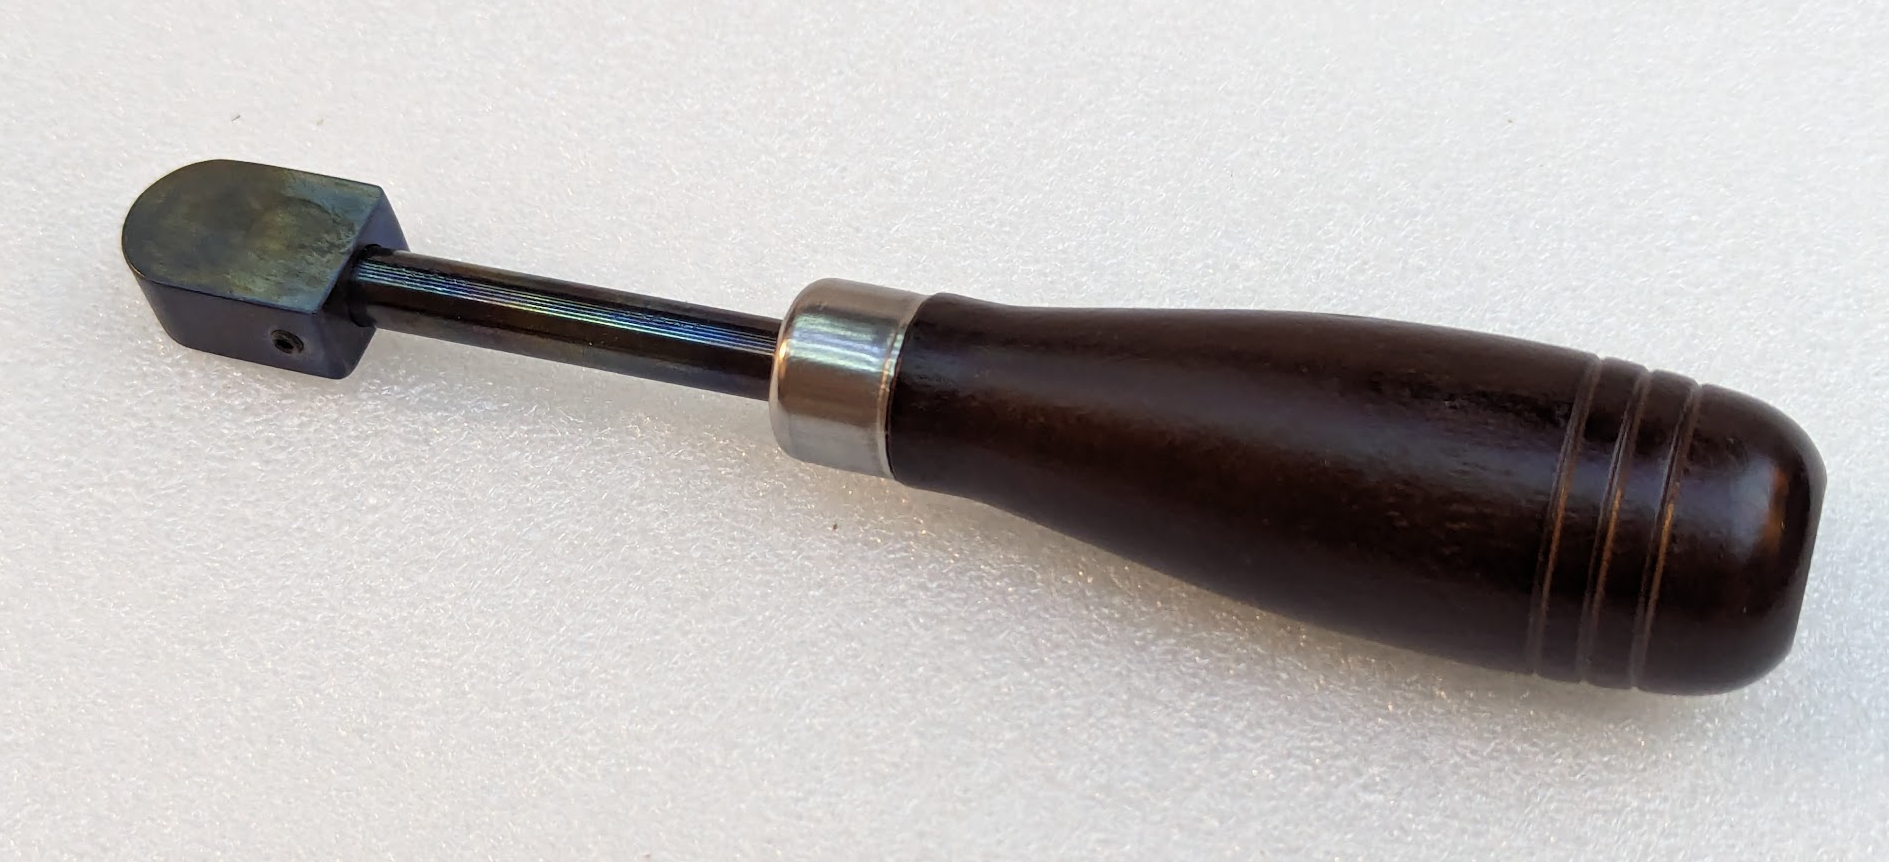
I heat-anodized and hot-oiled the rod and block to protect against rust. I heated them with a propane torch until they turned blue, then rubbed them with oil until they quit smoking. I used a soft deadblow hammer to hammer the wooden handle onto the rod, and the knurling holds it securely. I’m only a little sad that my perfect knurling isn’t visible! ![]() (I drilled the hole deeper into the handle than it came with; if I were doing this again, I would just make a shorter metal rod and not bother drilling the handle deeper.)
(I drilled the hole deeper into the handle than it came with; if I were doing this again, I would just make a shorter metal rod and not bother drilling the handle deeper.)
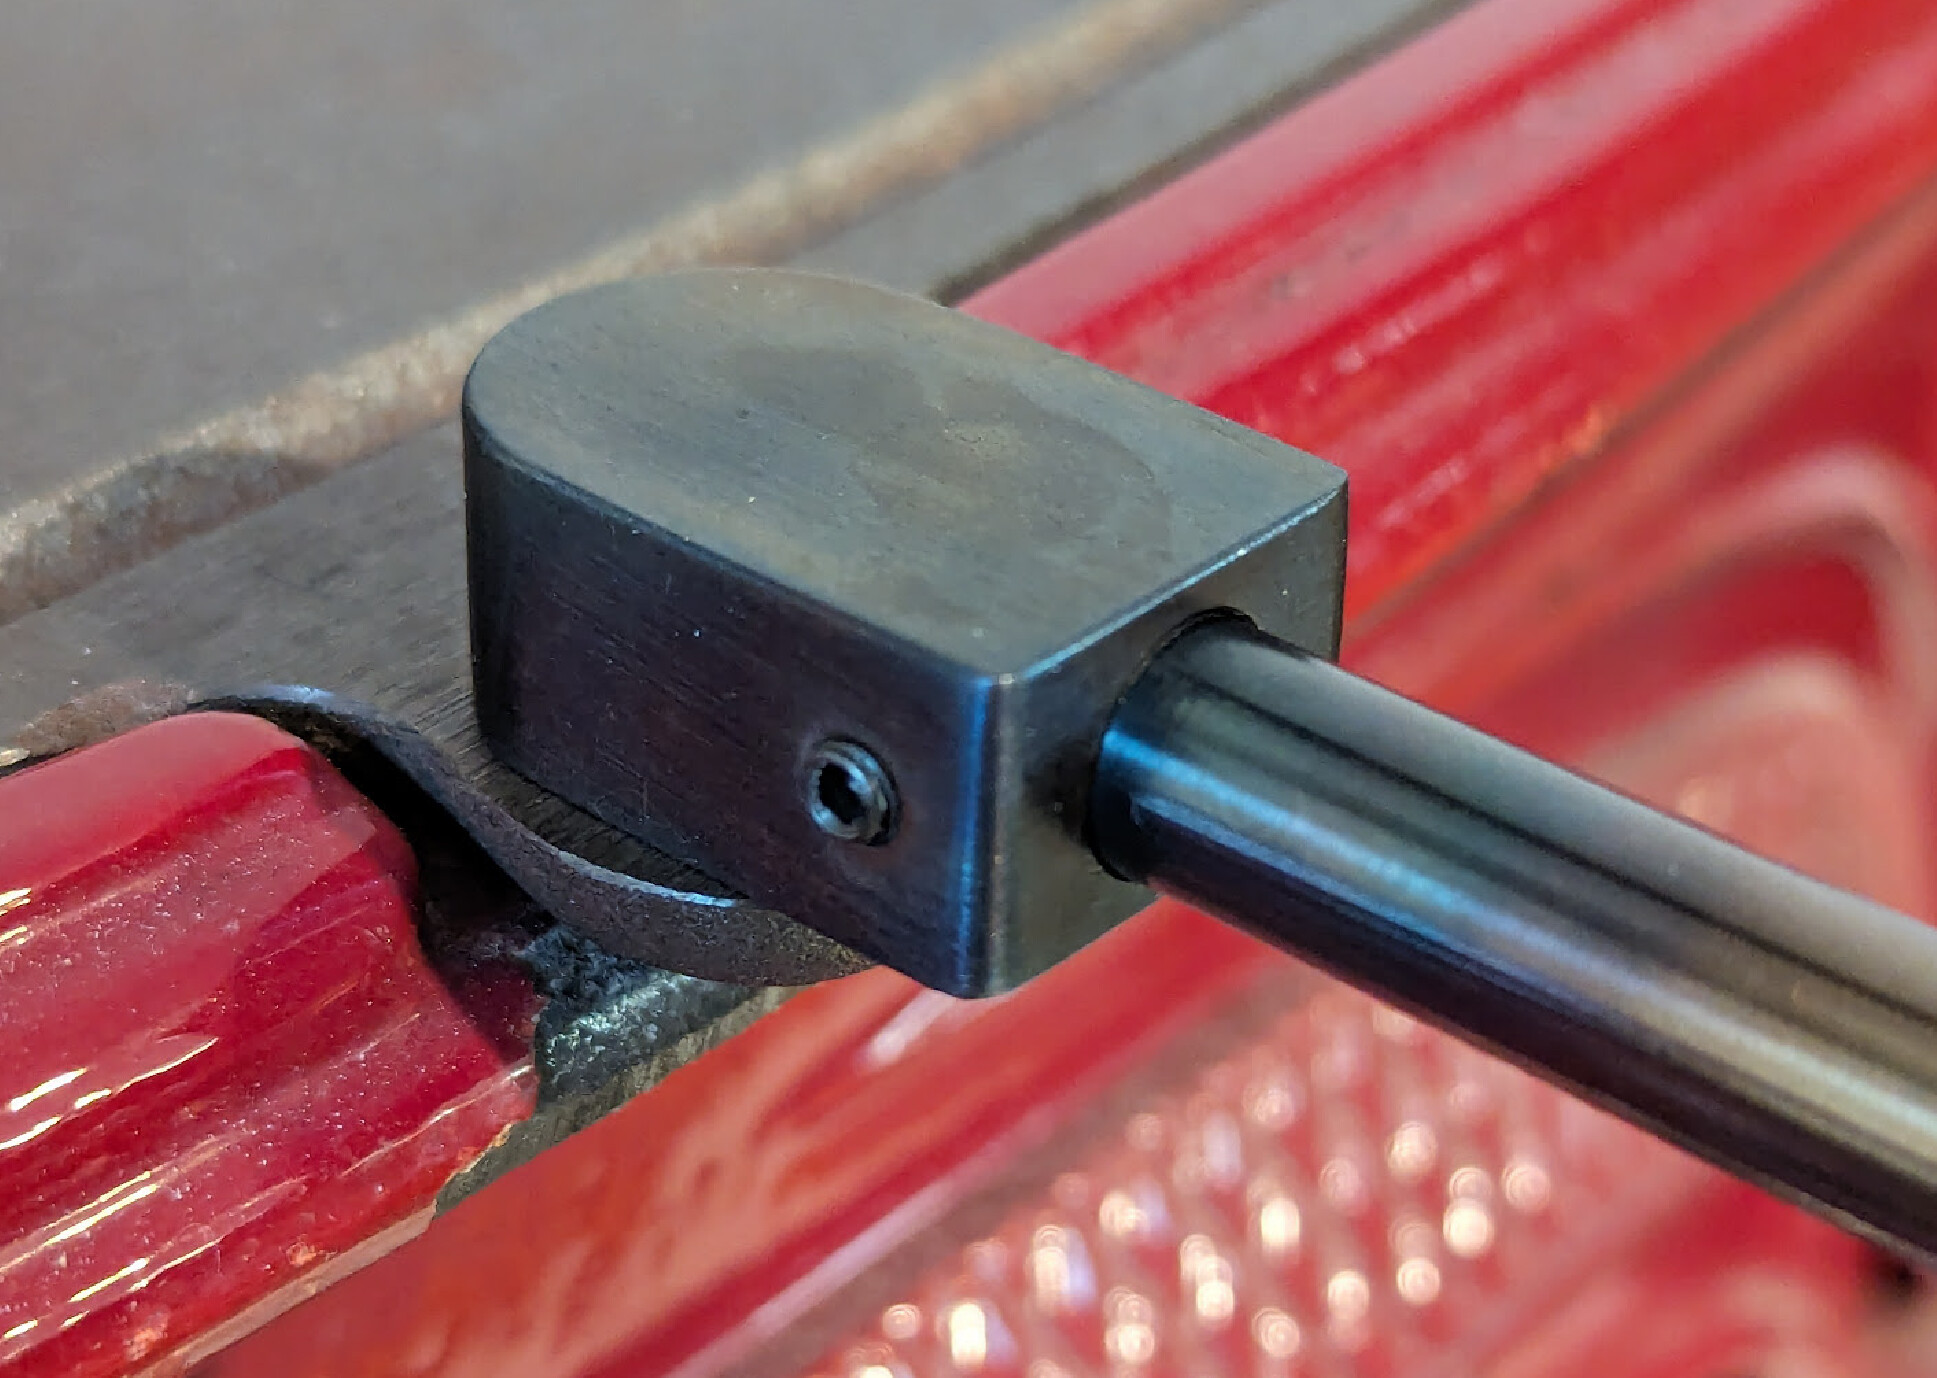
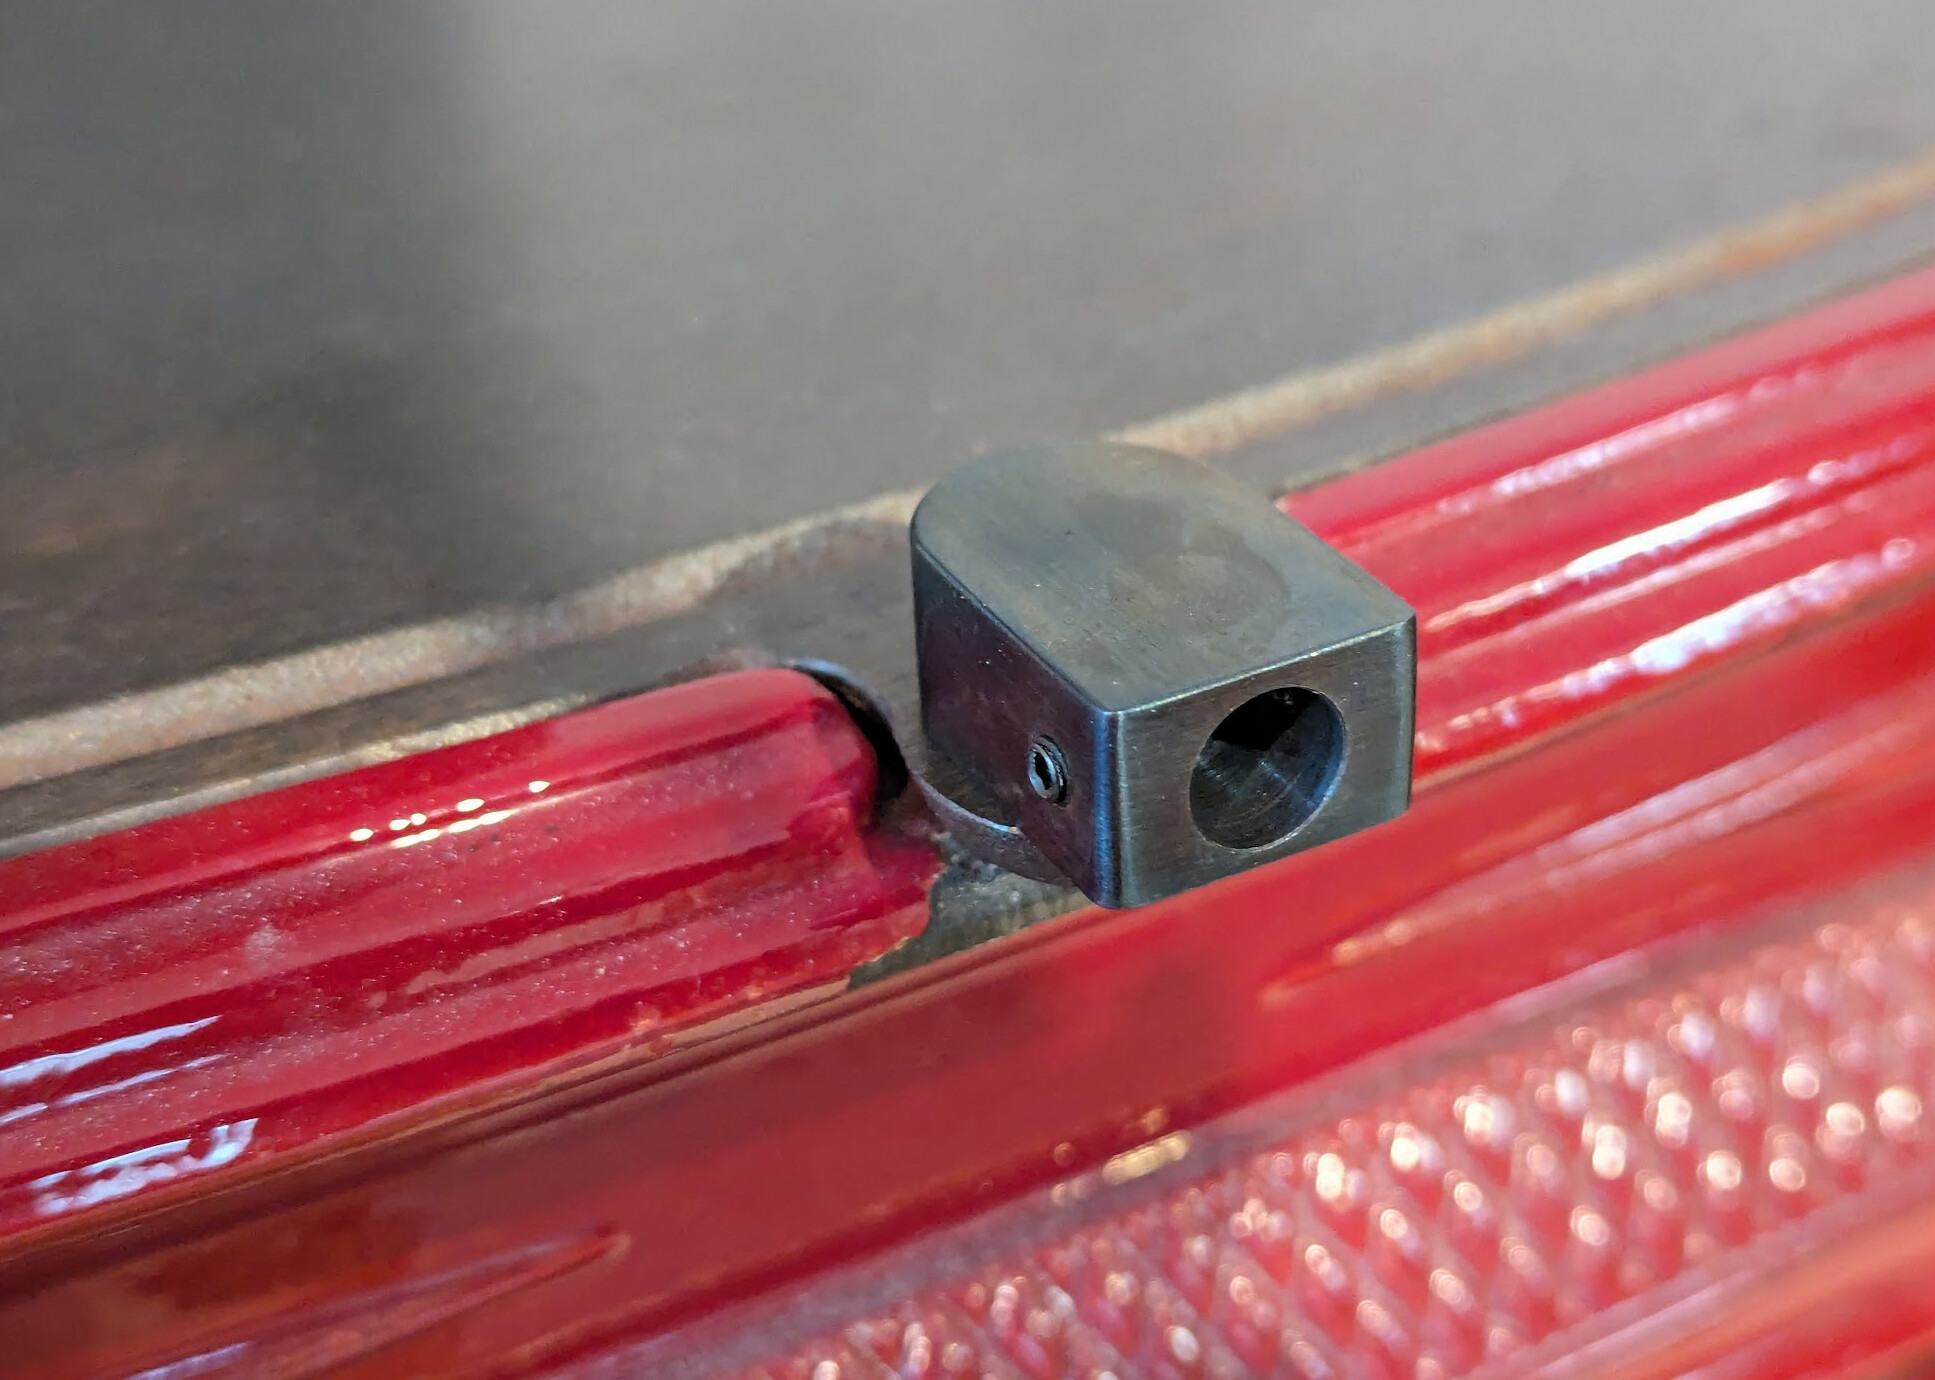
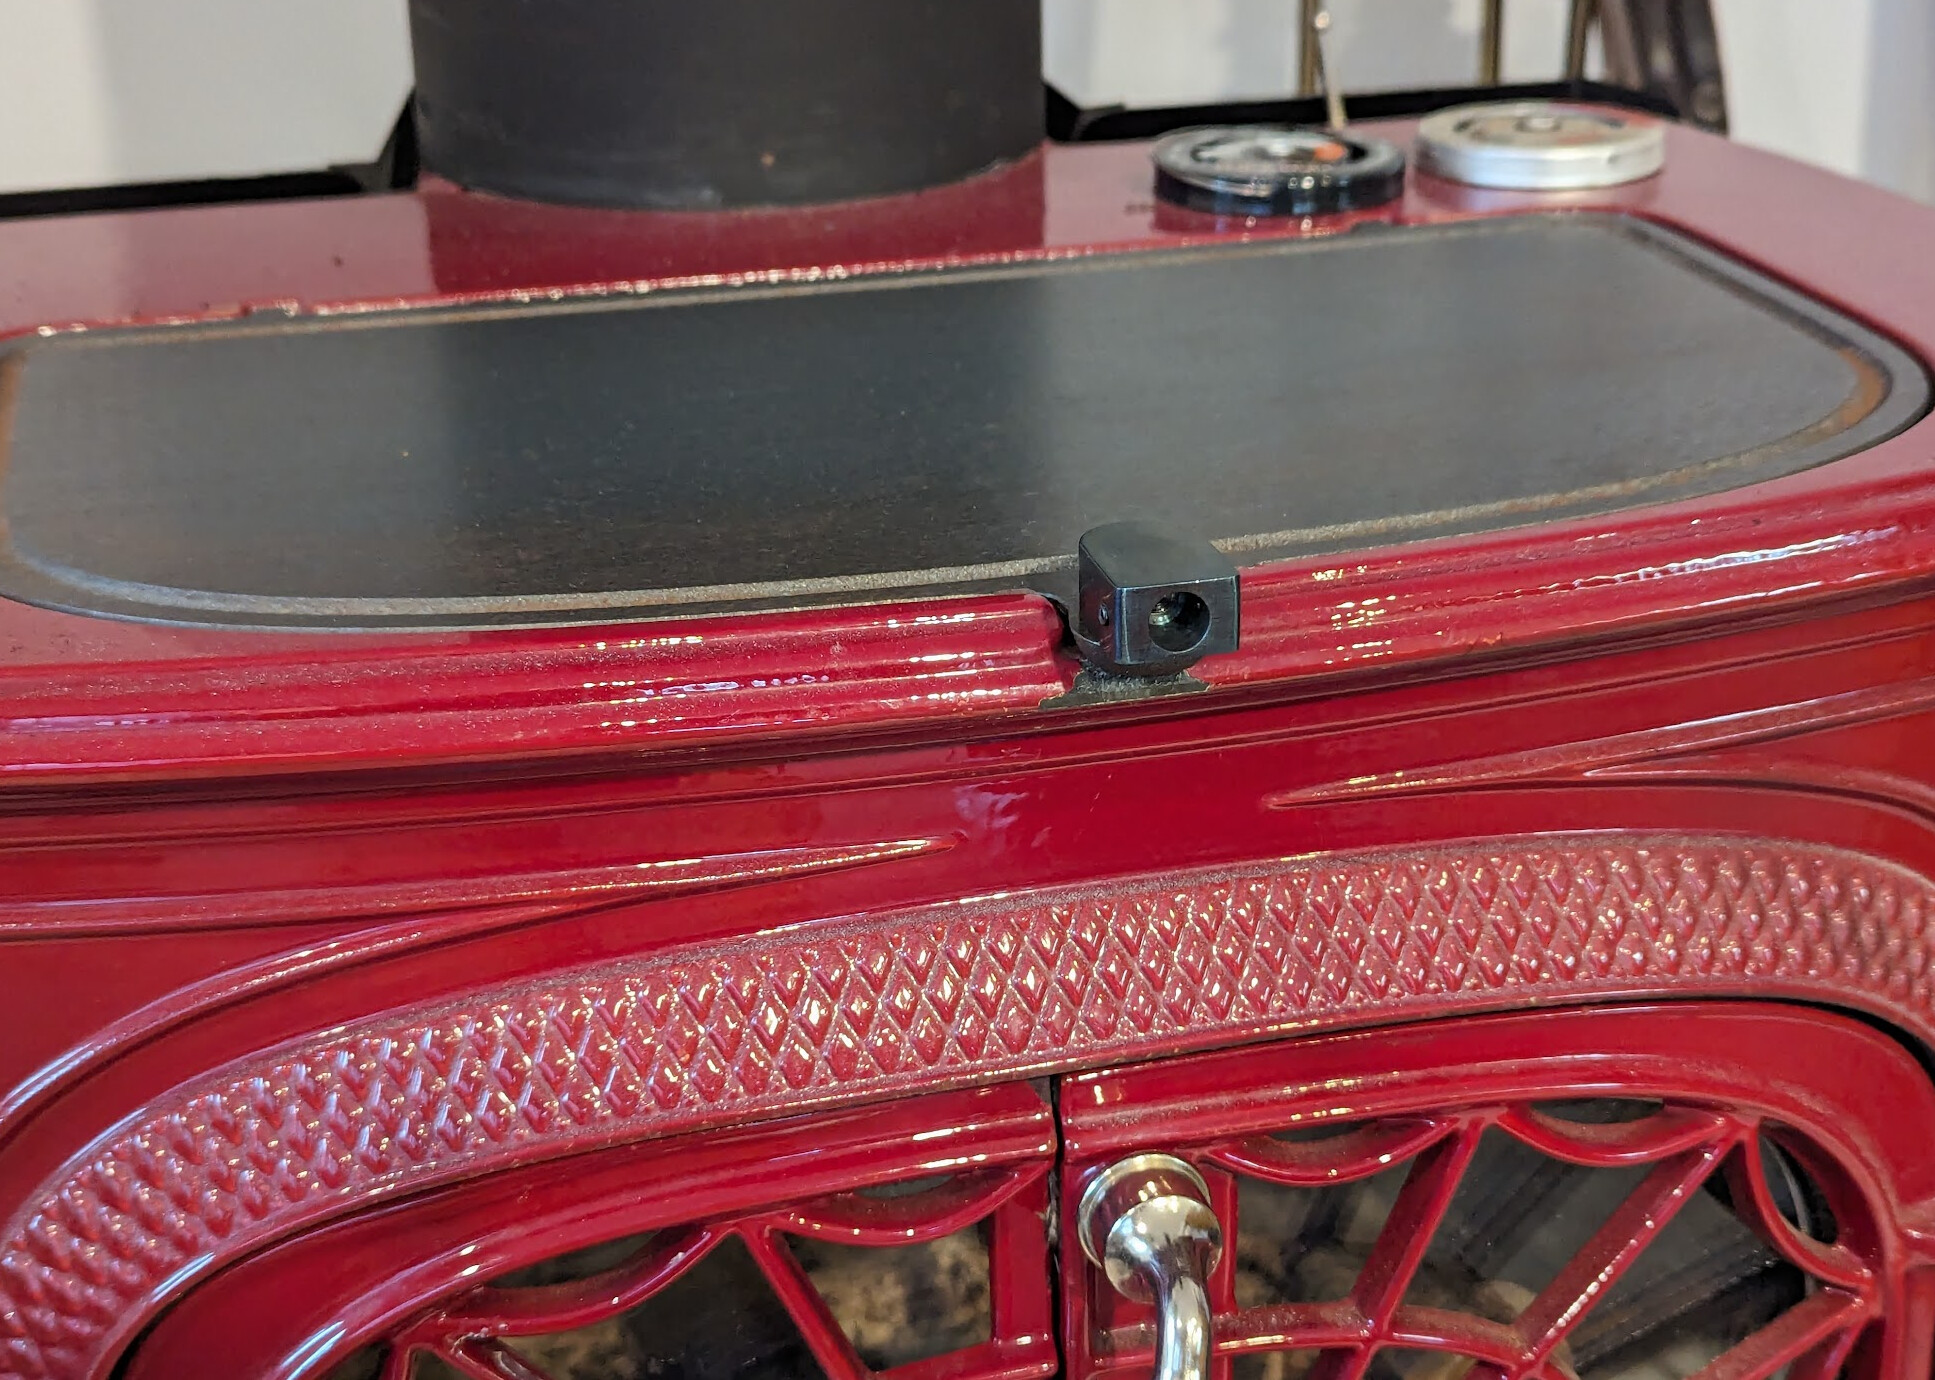
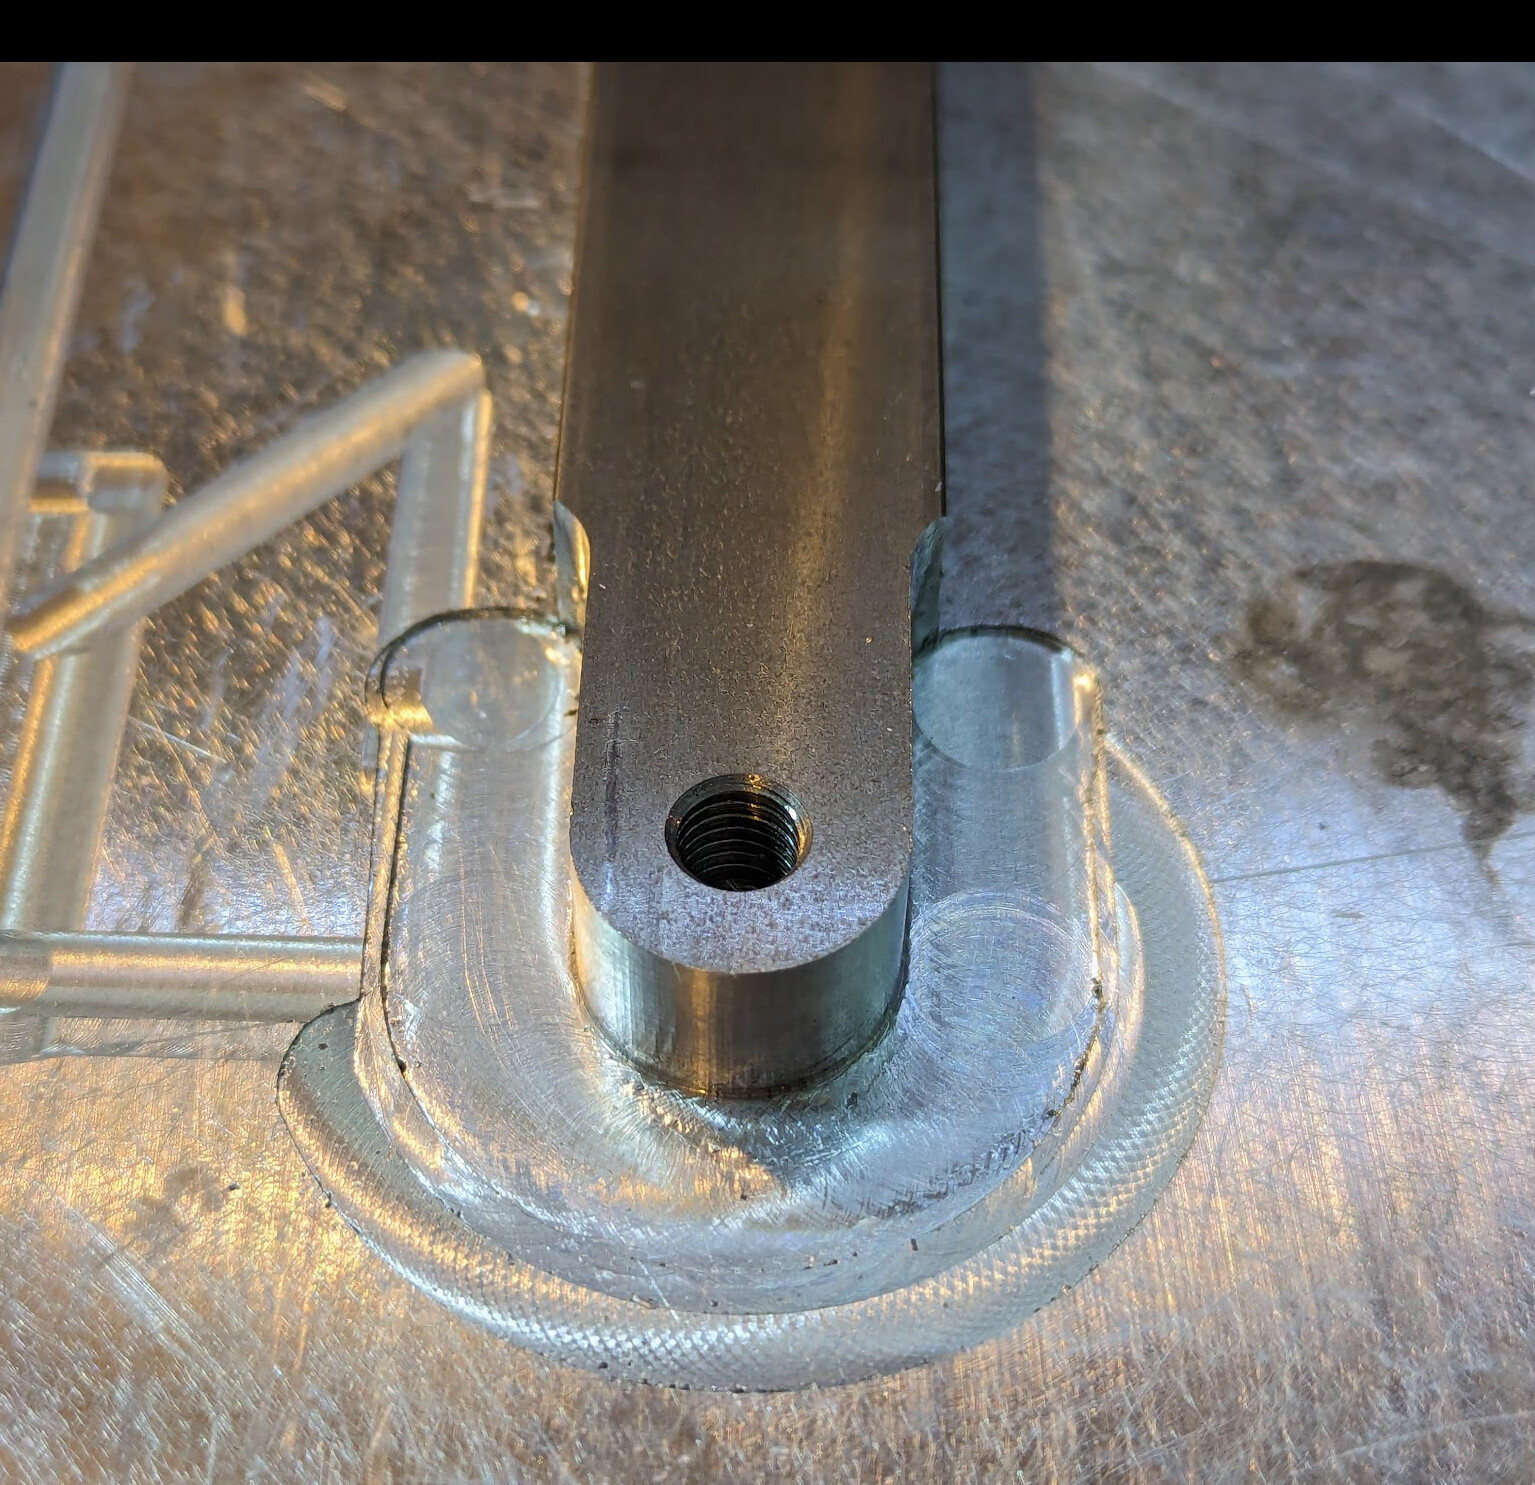
Here’s the finished block. The hole in the end receives the rod with the wood handle. The screw on the side is one of the two detents; there’s one on the other side opposite it too. They have less than 0.5mm of total travel, so having two is probably more secure. (I know the picture looks like it has brown rust, but only blue and straw are visible to the eye. This piece will probably spend lots of time at or above 500°F because it’s permanently connected to the stove, so the color will probably become a deeper blue over time.)
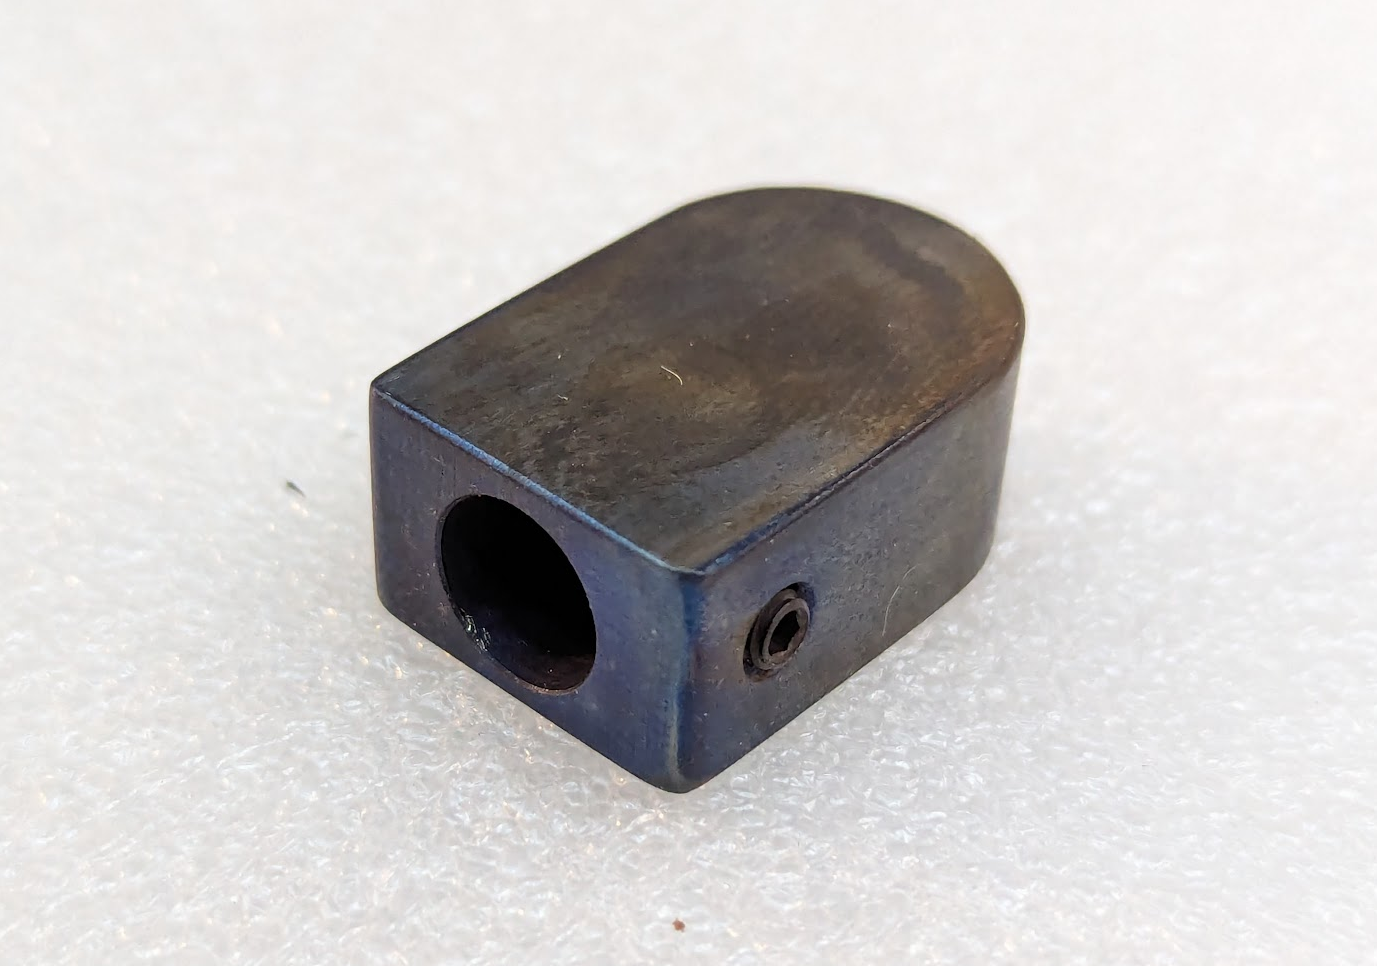
Here you can see the retaining groove that the detents engage, and the play of different colors of heat anodizing that I think looks really cool.
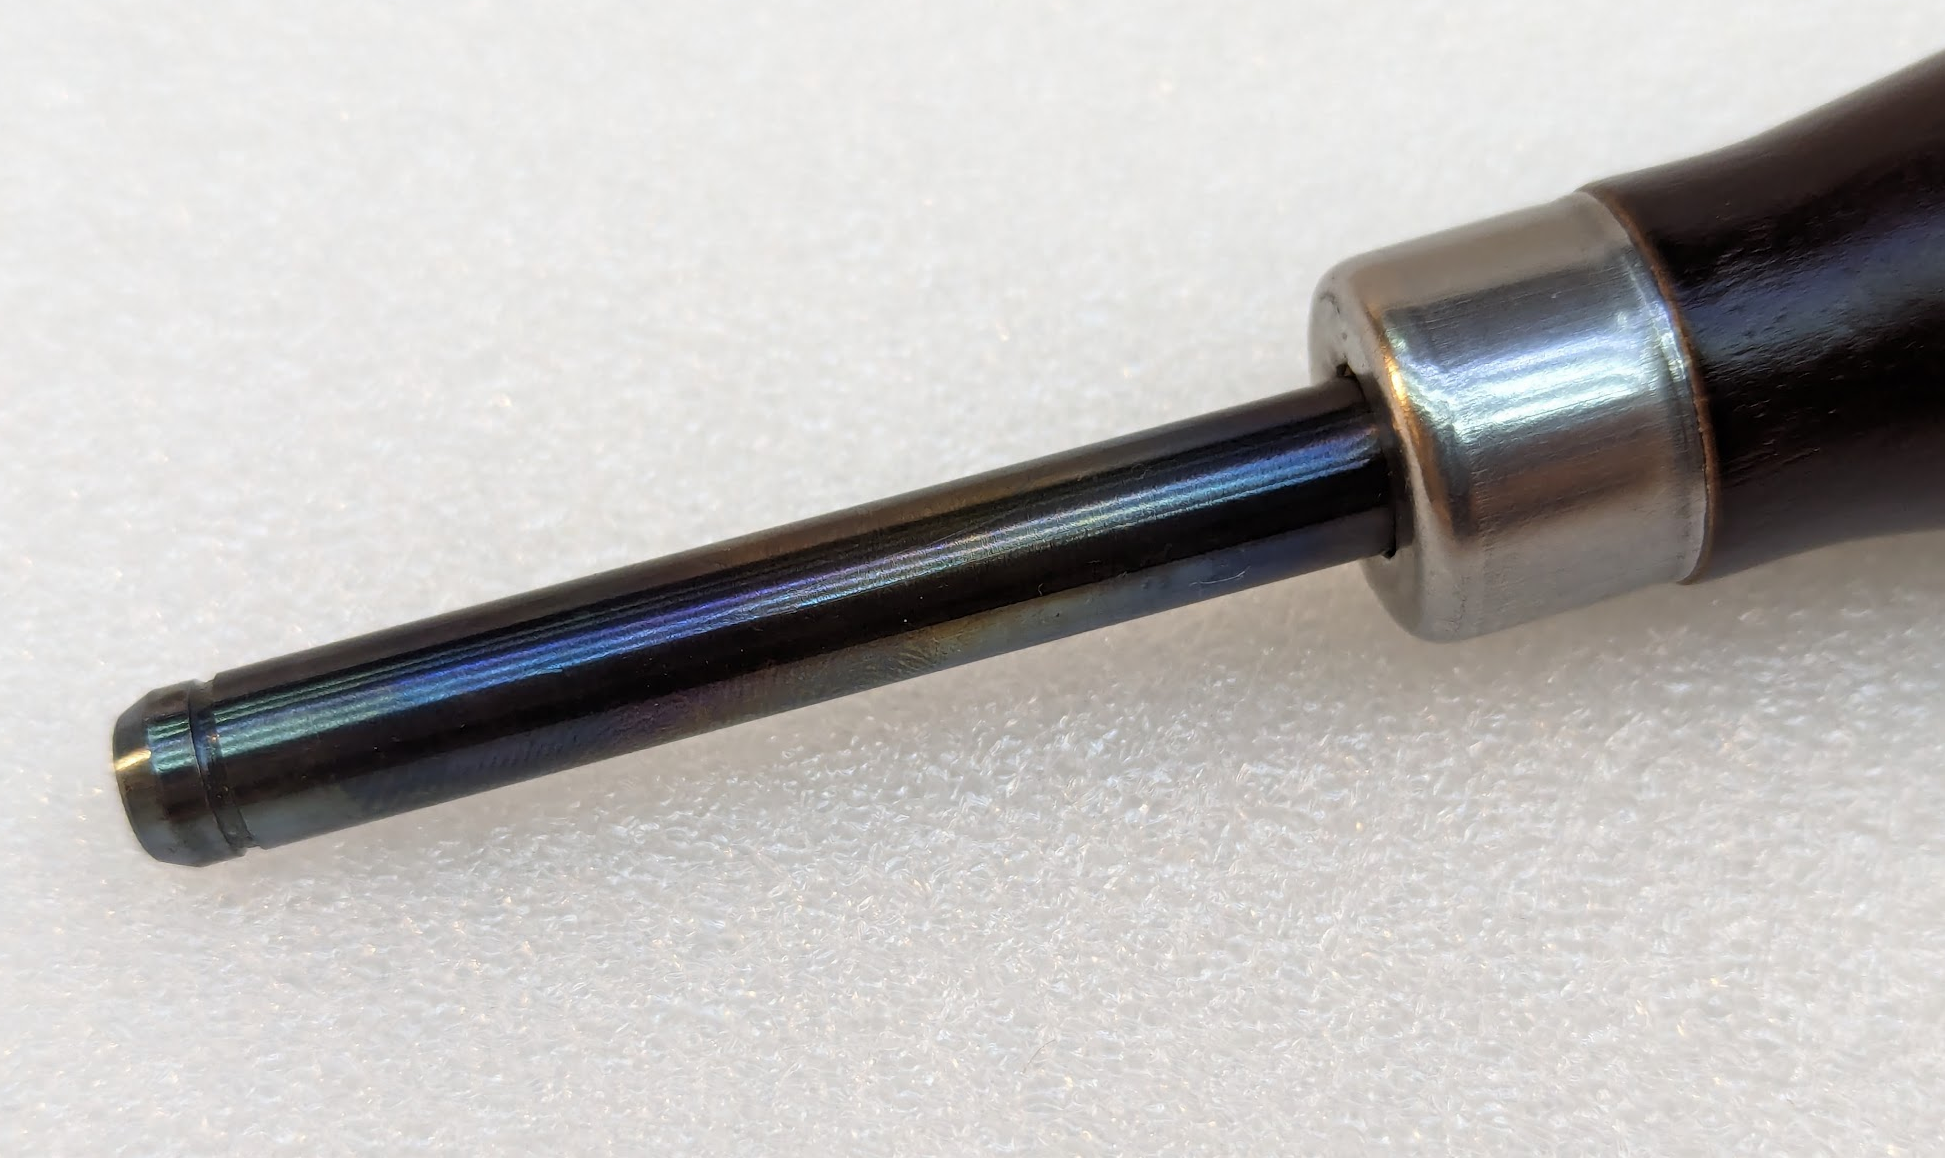
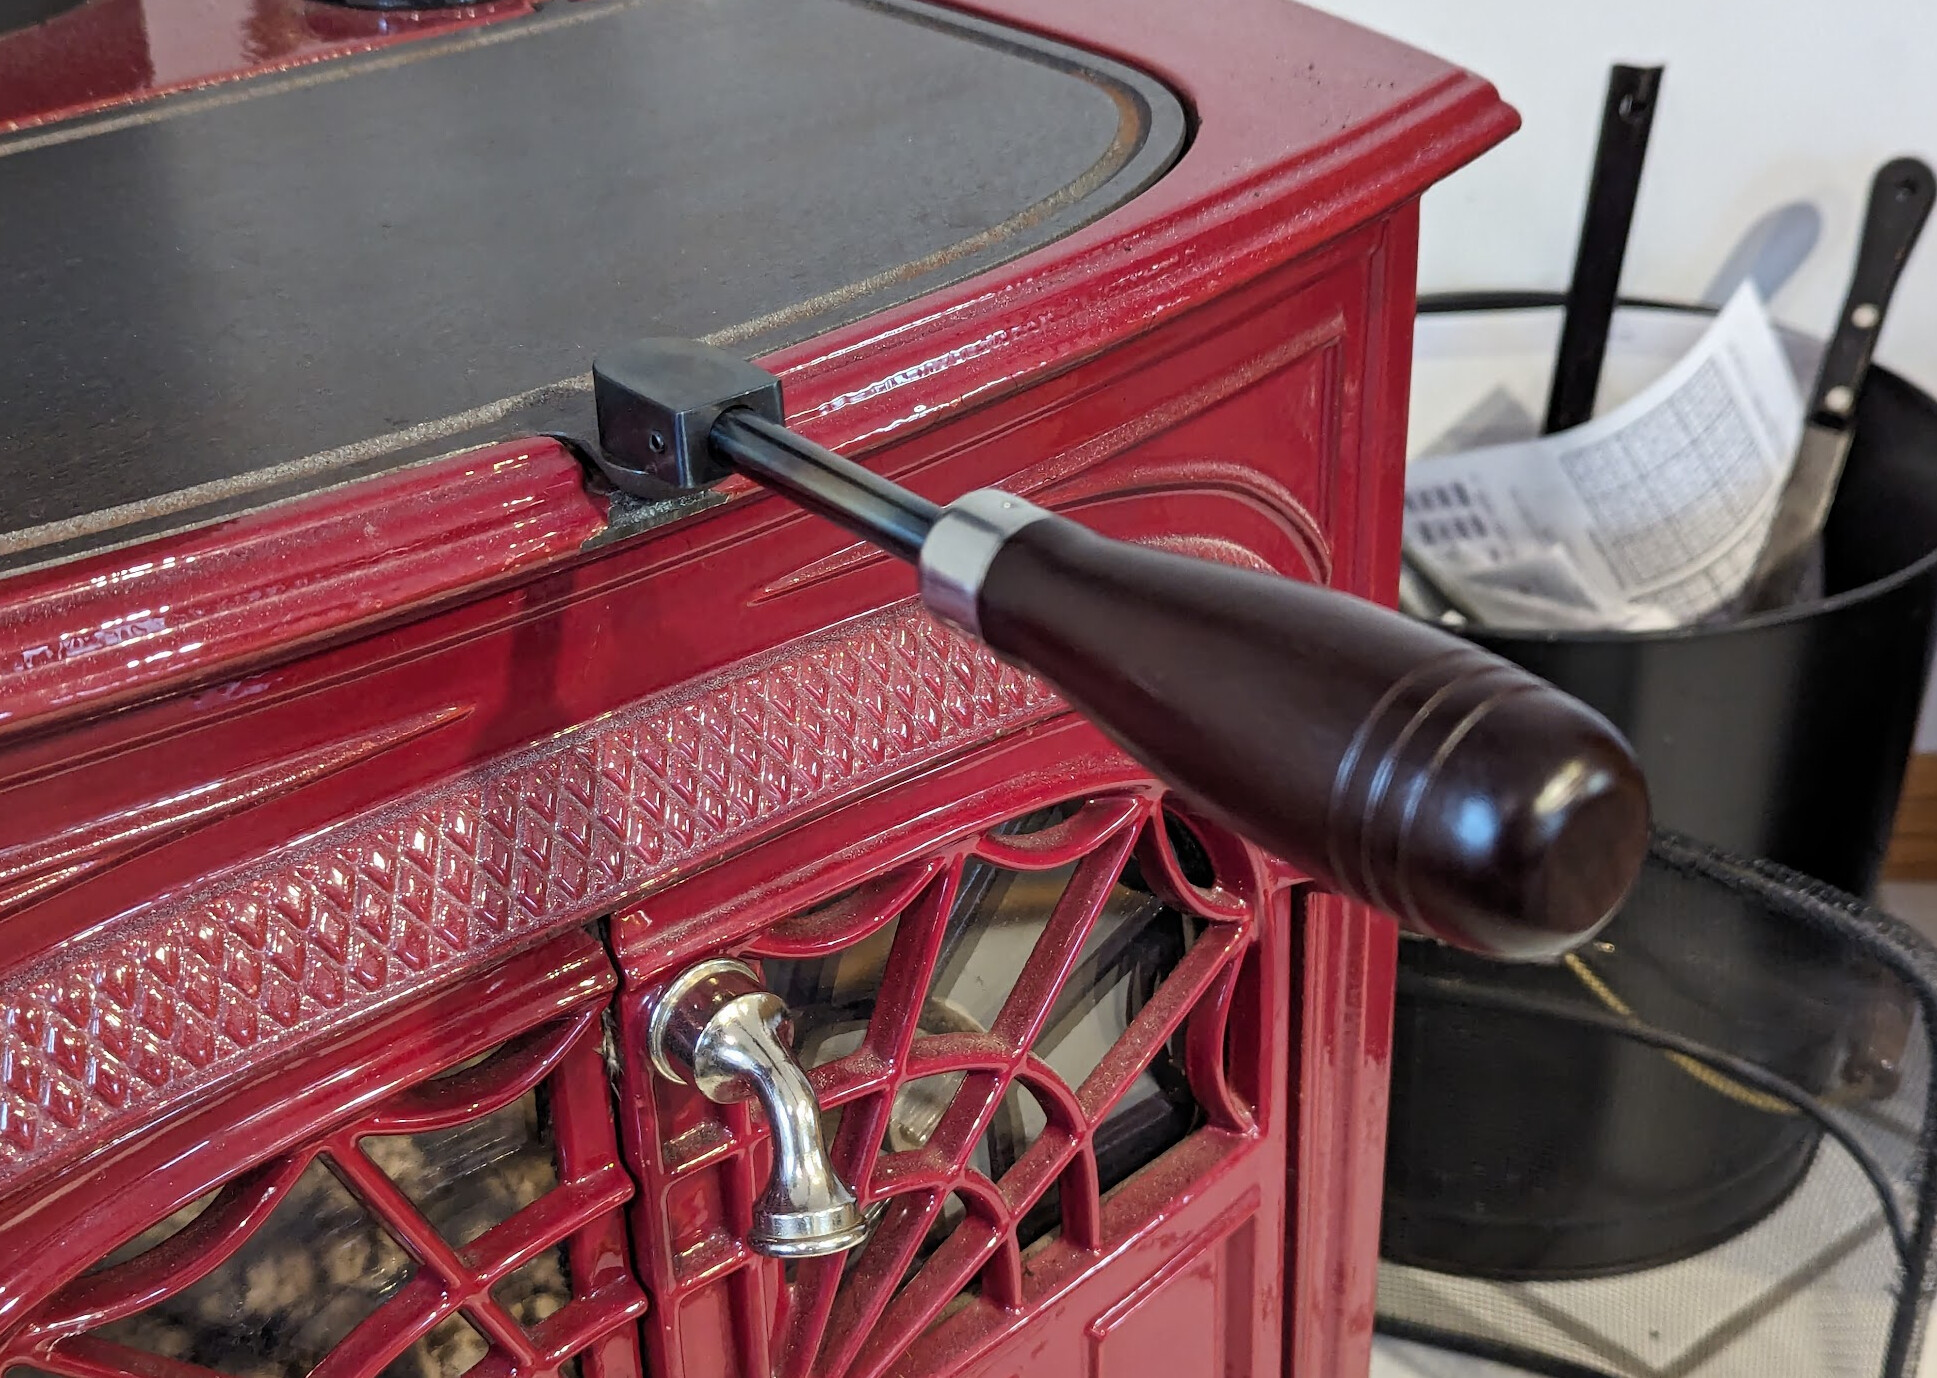
The handle clicks nicely into the block, but isn’t hard to remove. I think I got this right.
Looking forward to giving this Christmas present! ![]()
![]()