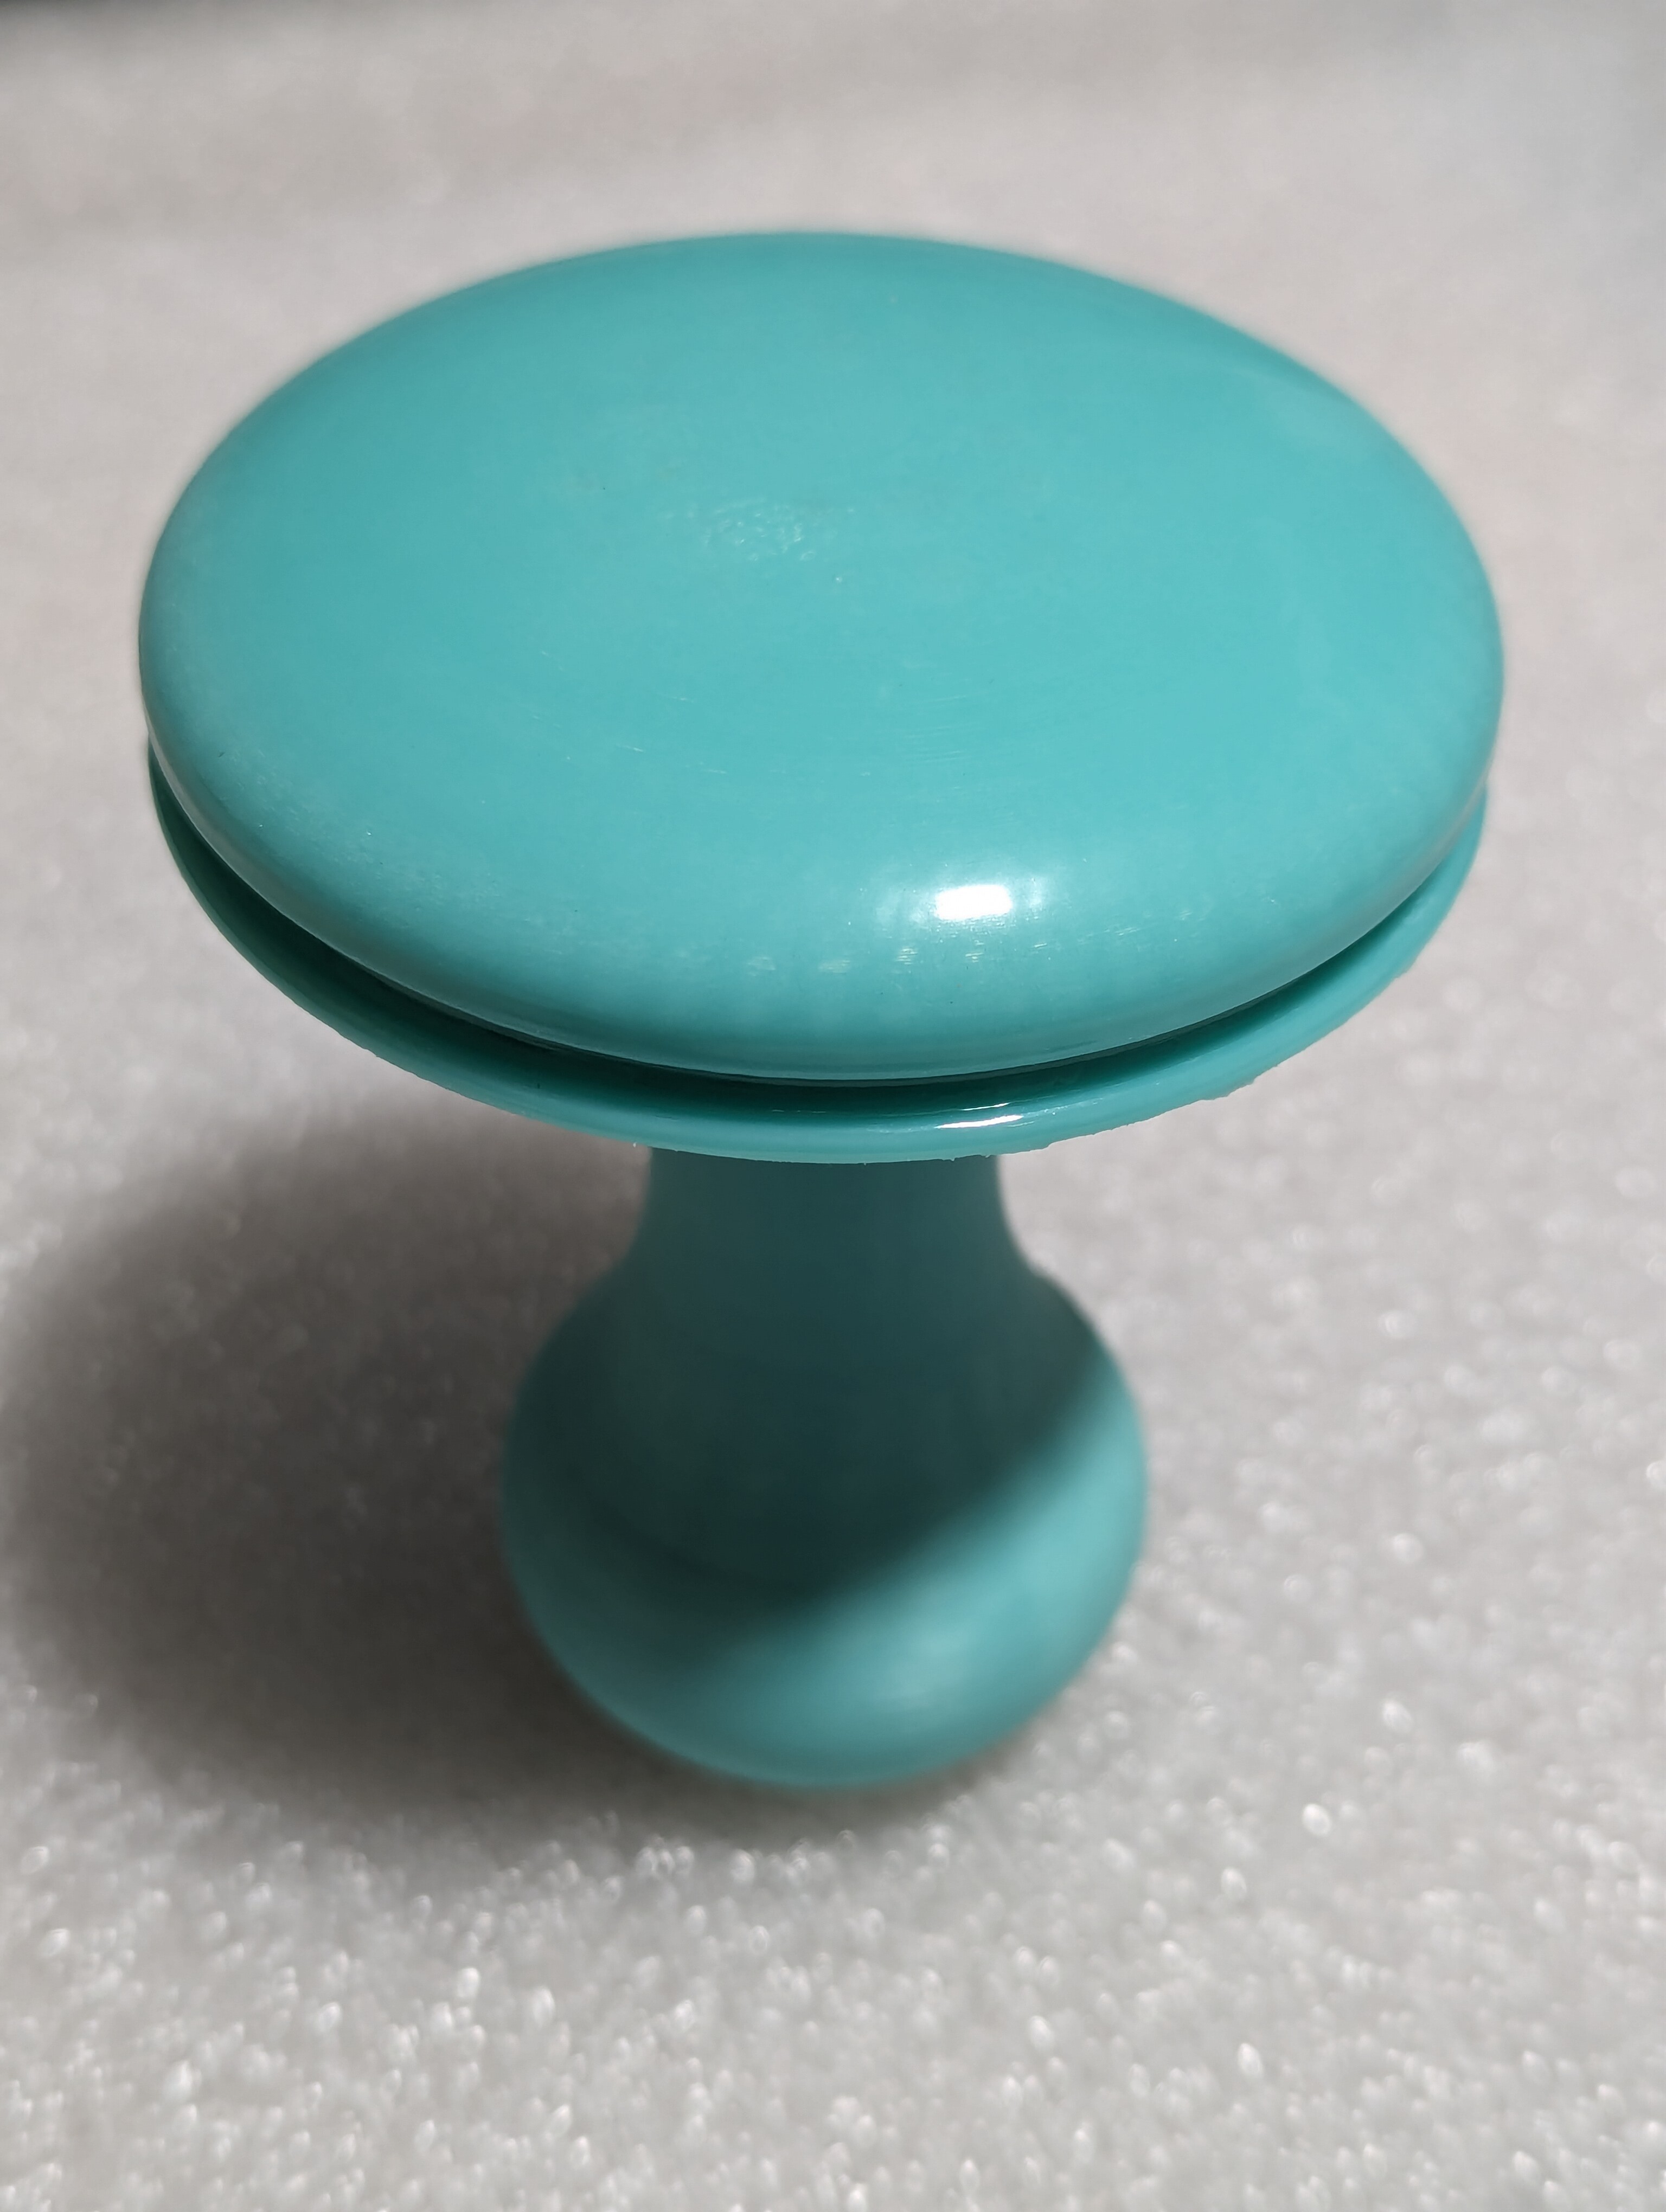
One of my kids likes to do “visible mending” and after borrowing several household objects as darning eggs, asked that we print a “darning mushroom.” I didn’t think to search Yeggi, and part of the fun was to design it together, so we sat down on the couch together with FreeCAD open and lots of pictures of different darning mushrooms for inspiration.
We quickly came to the conclusion that we wanted to print it in two pieces. Taking the mushroom as the model, as a “cap” and a “stalk.”
On the first design, I used FreeCAD to model a threaded hole in the cap, and a piece of threaded rod embedded in the stalk, to screw them together. But the default tolerance was too tight, and it broke when I tried to screw it in.
I increased the hole tolerance and tried again. This time, it did screw together properly, but I heard a crack as I screwed it together, so I glued it together permanently.
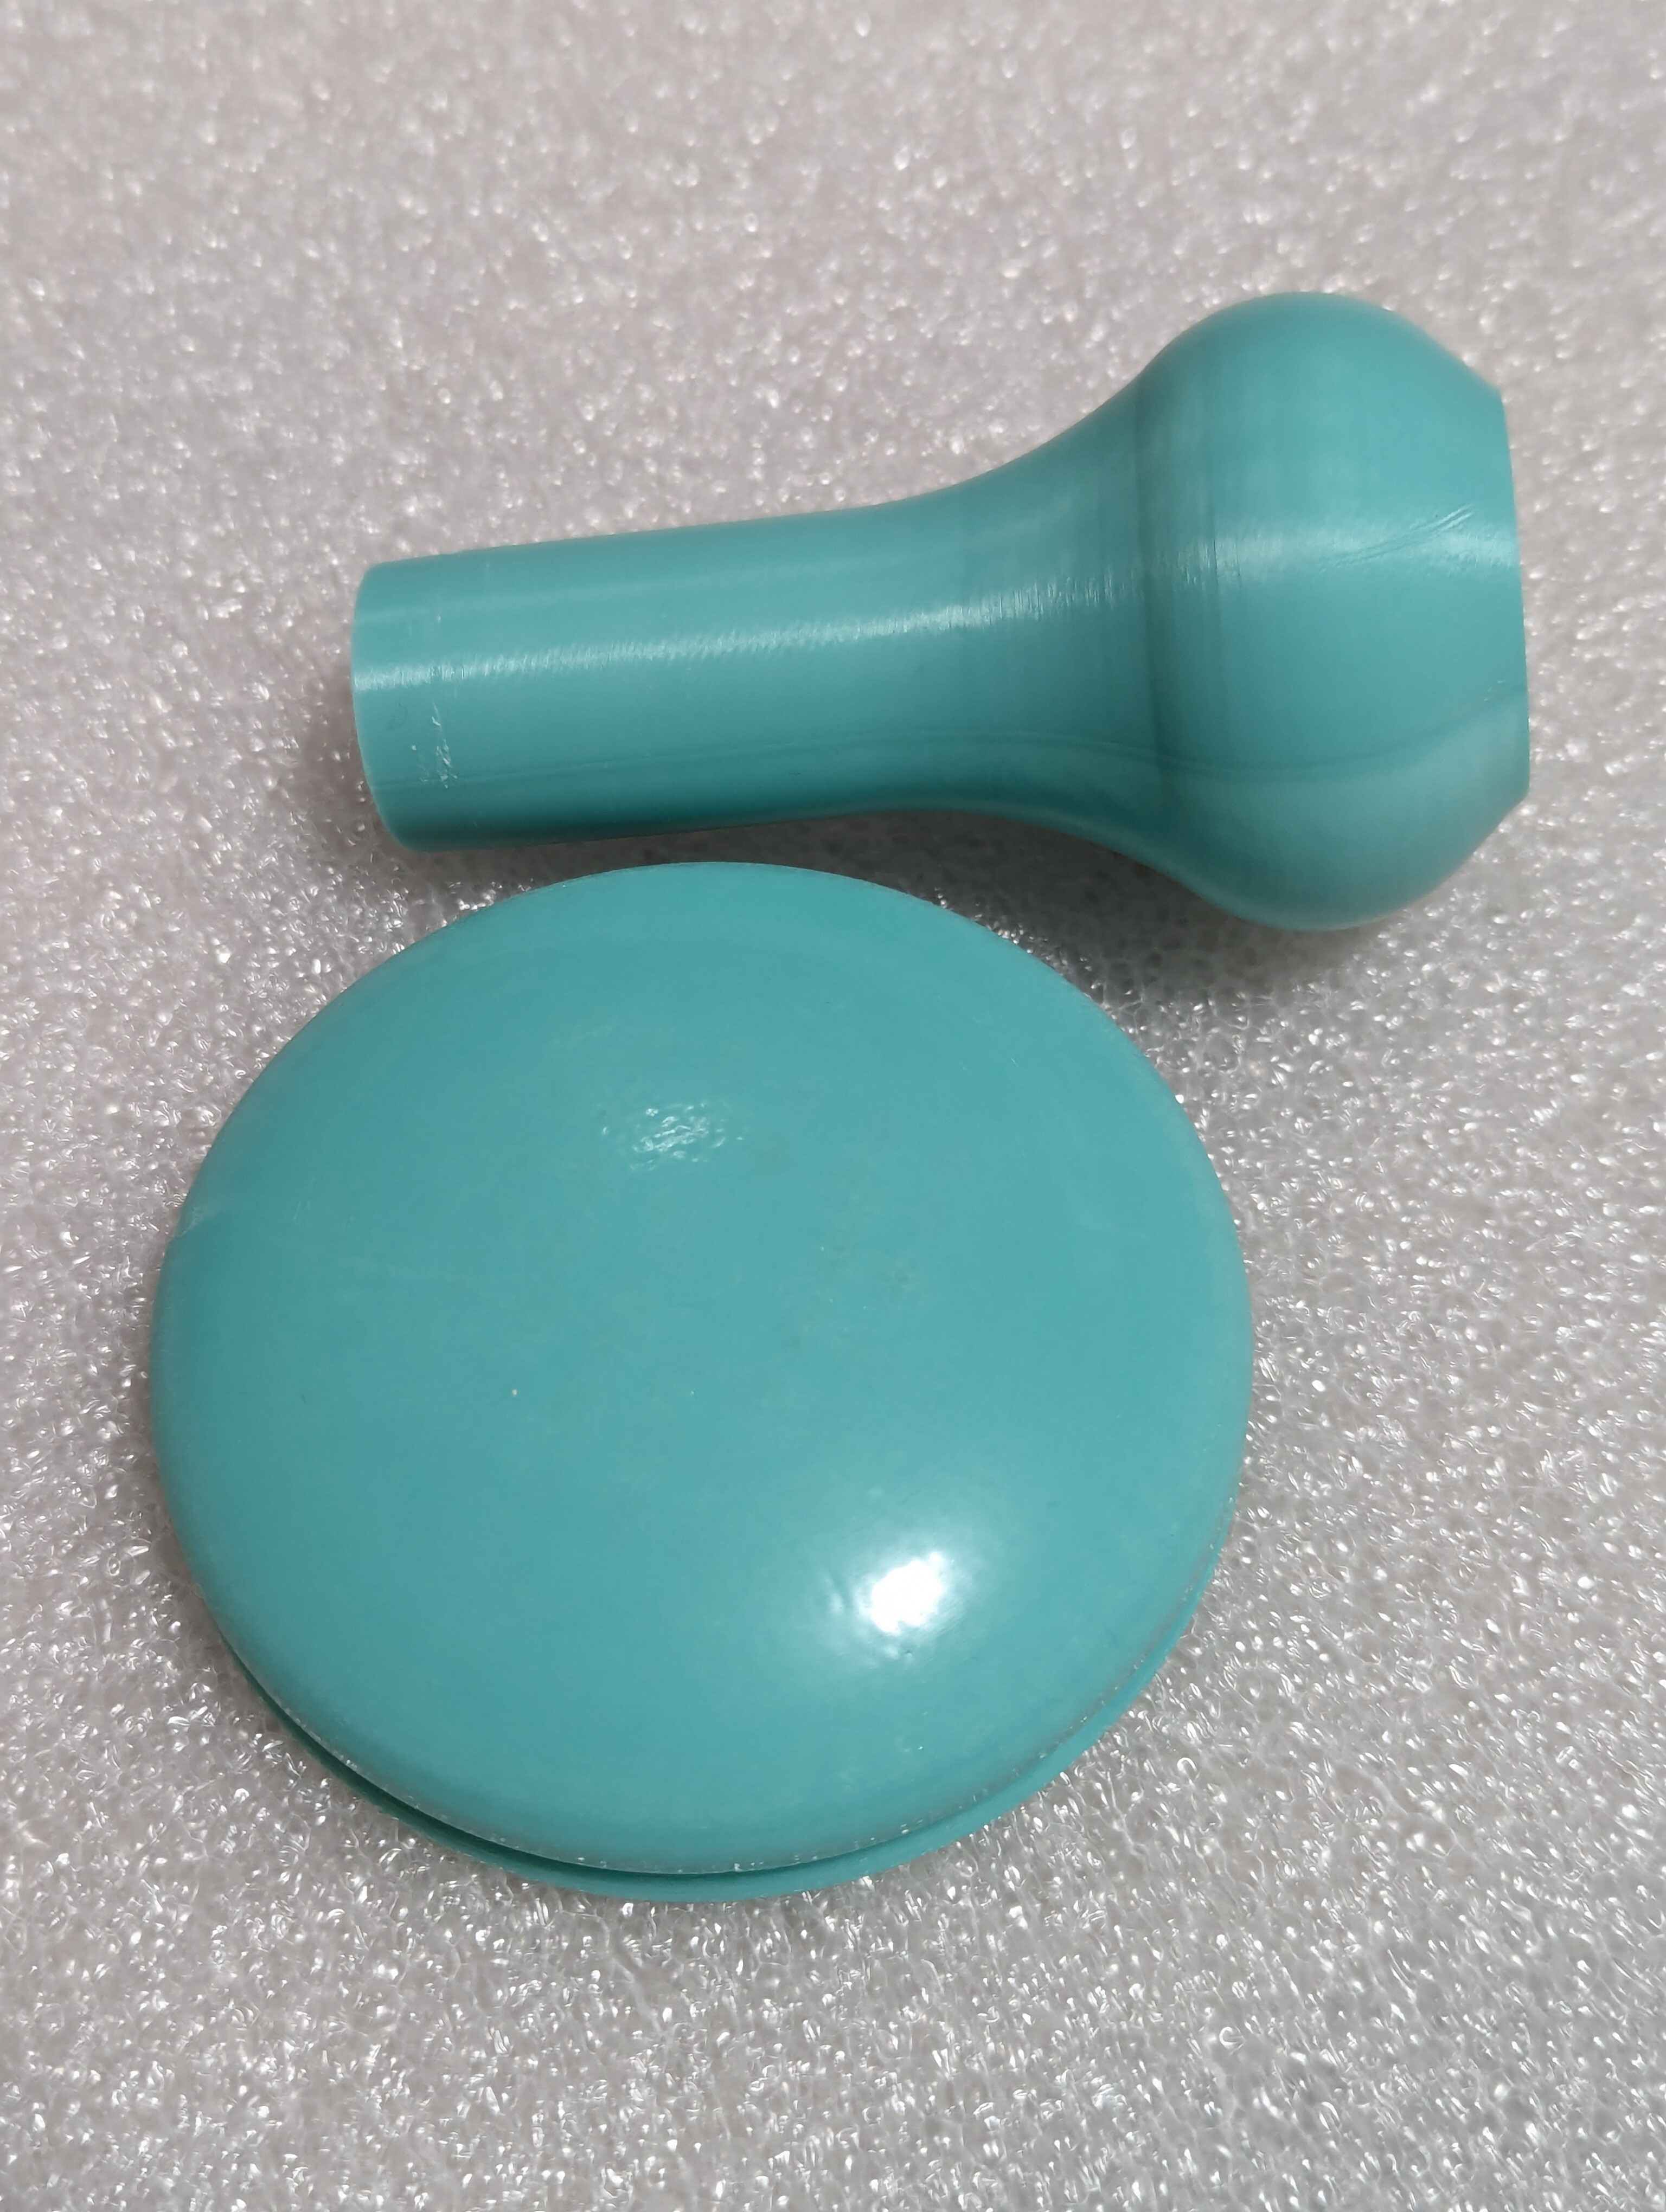
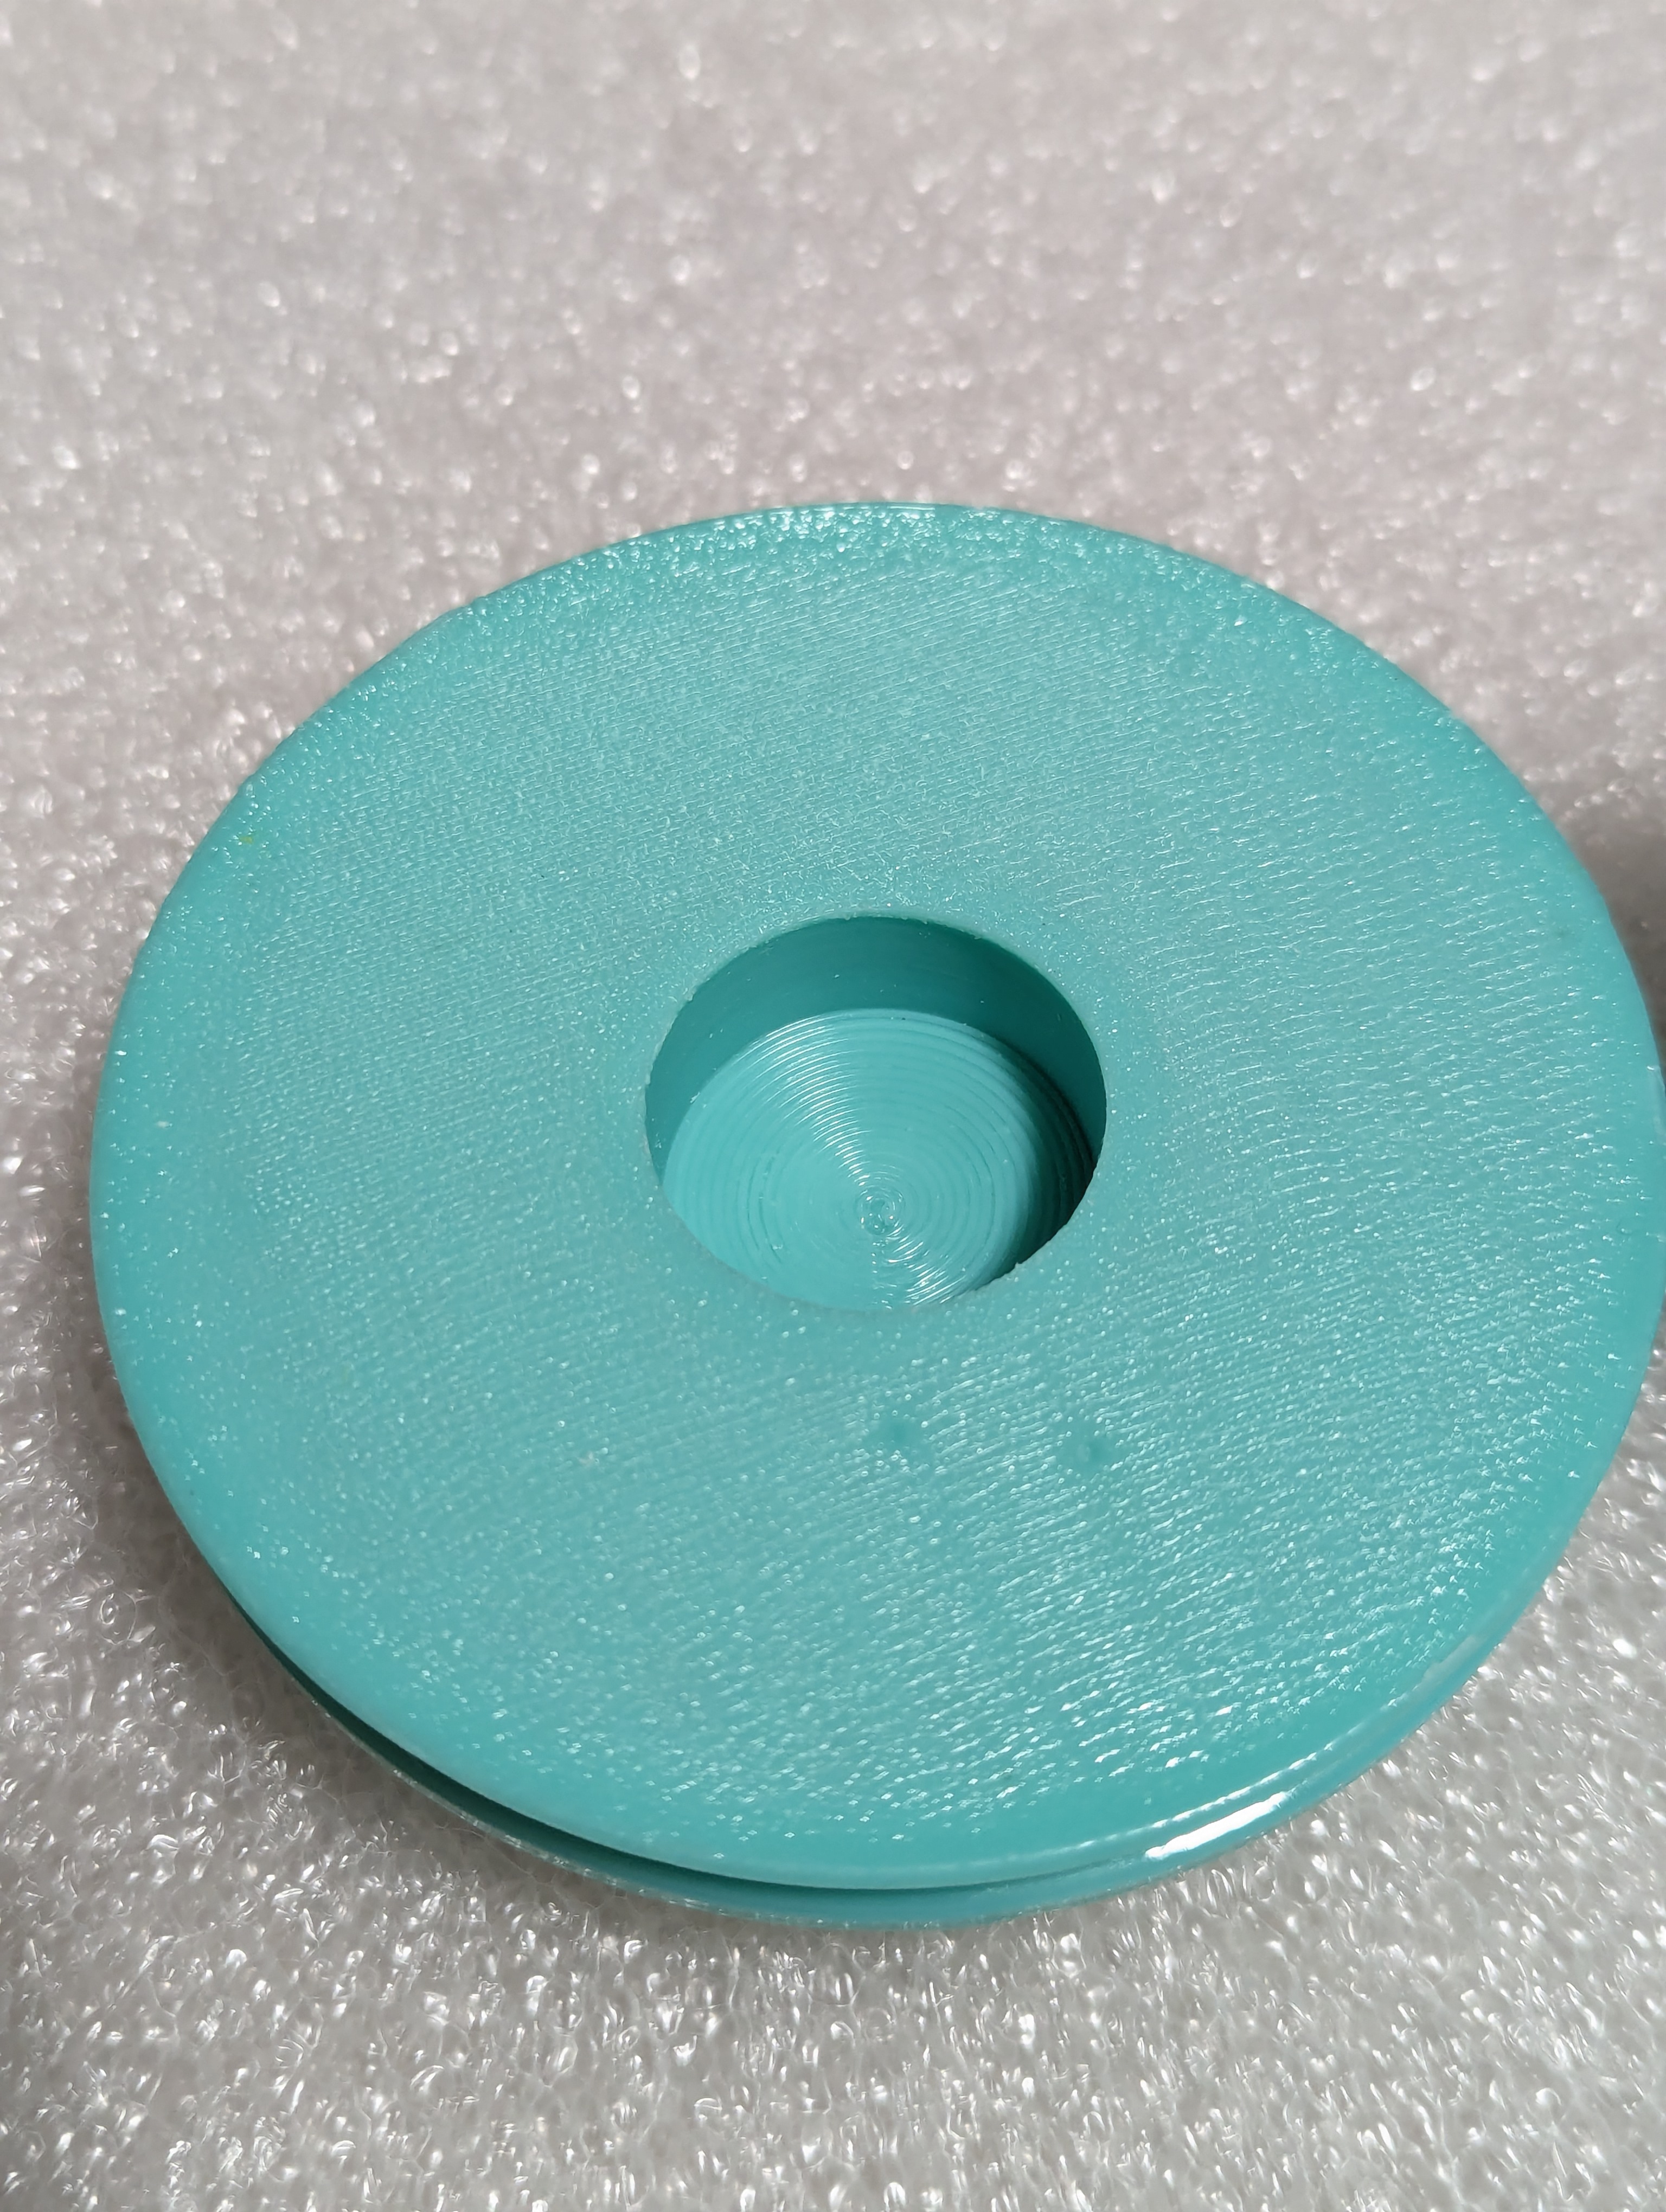
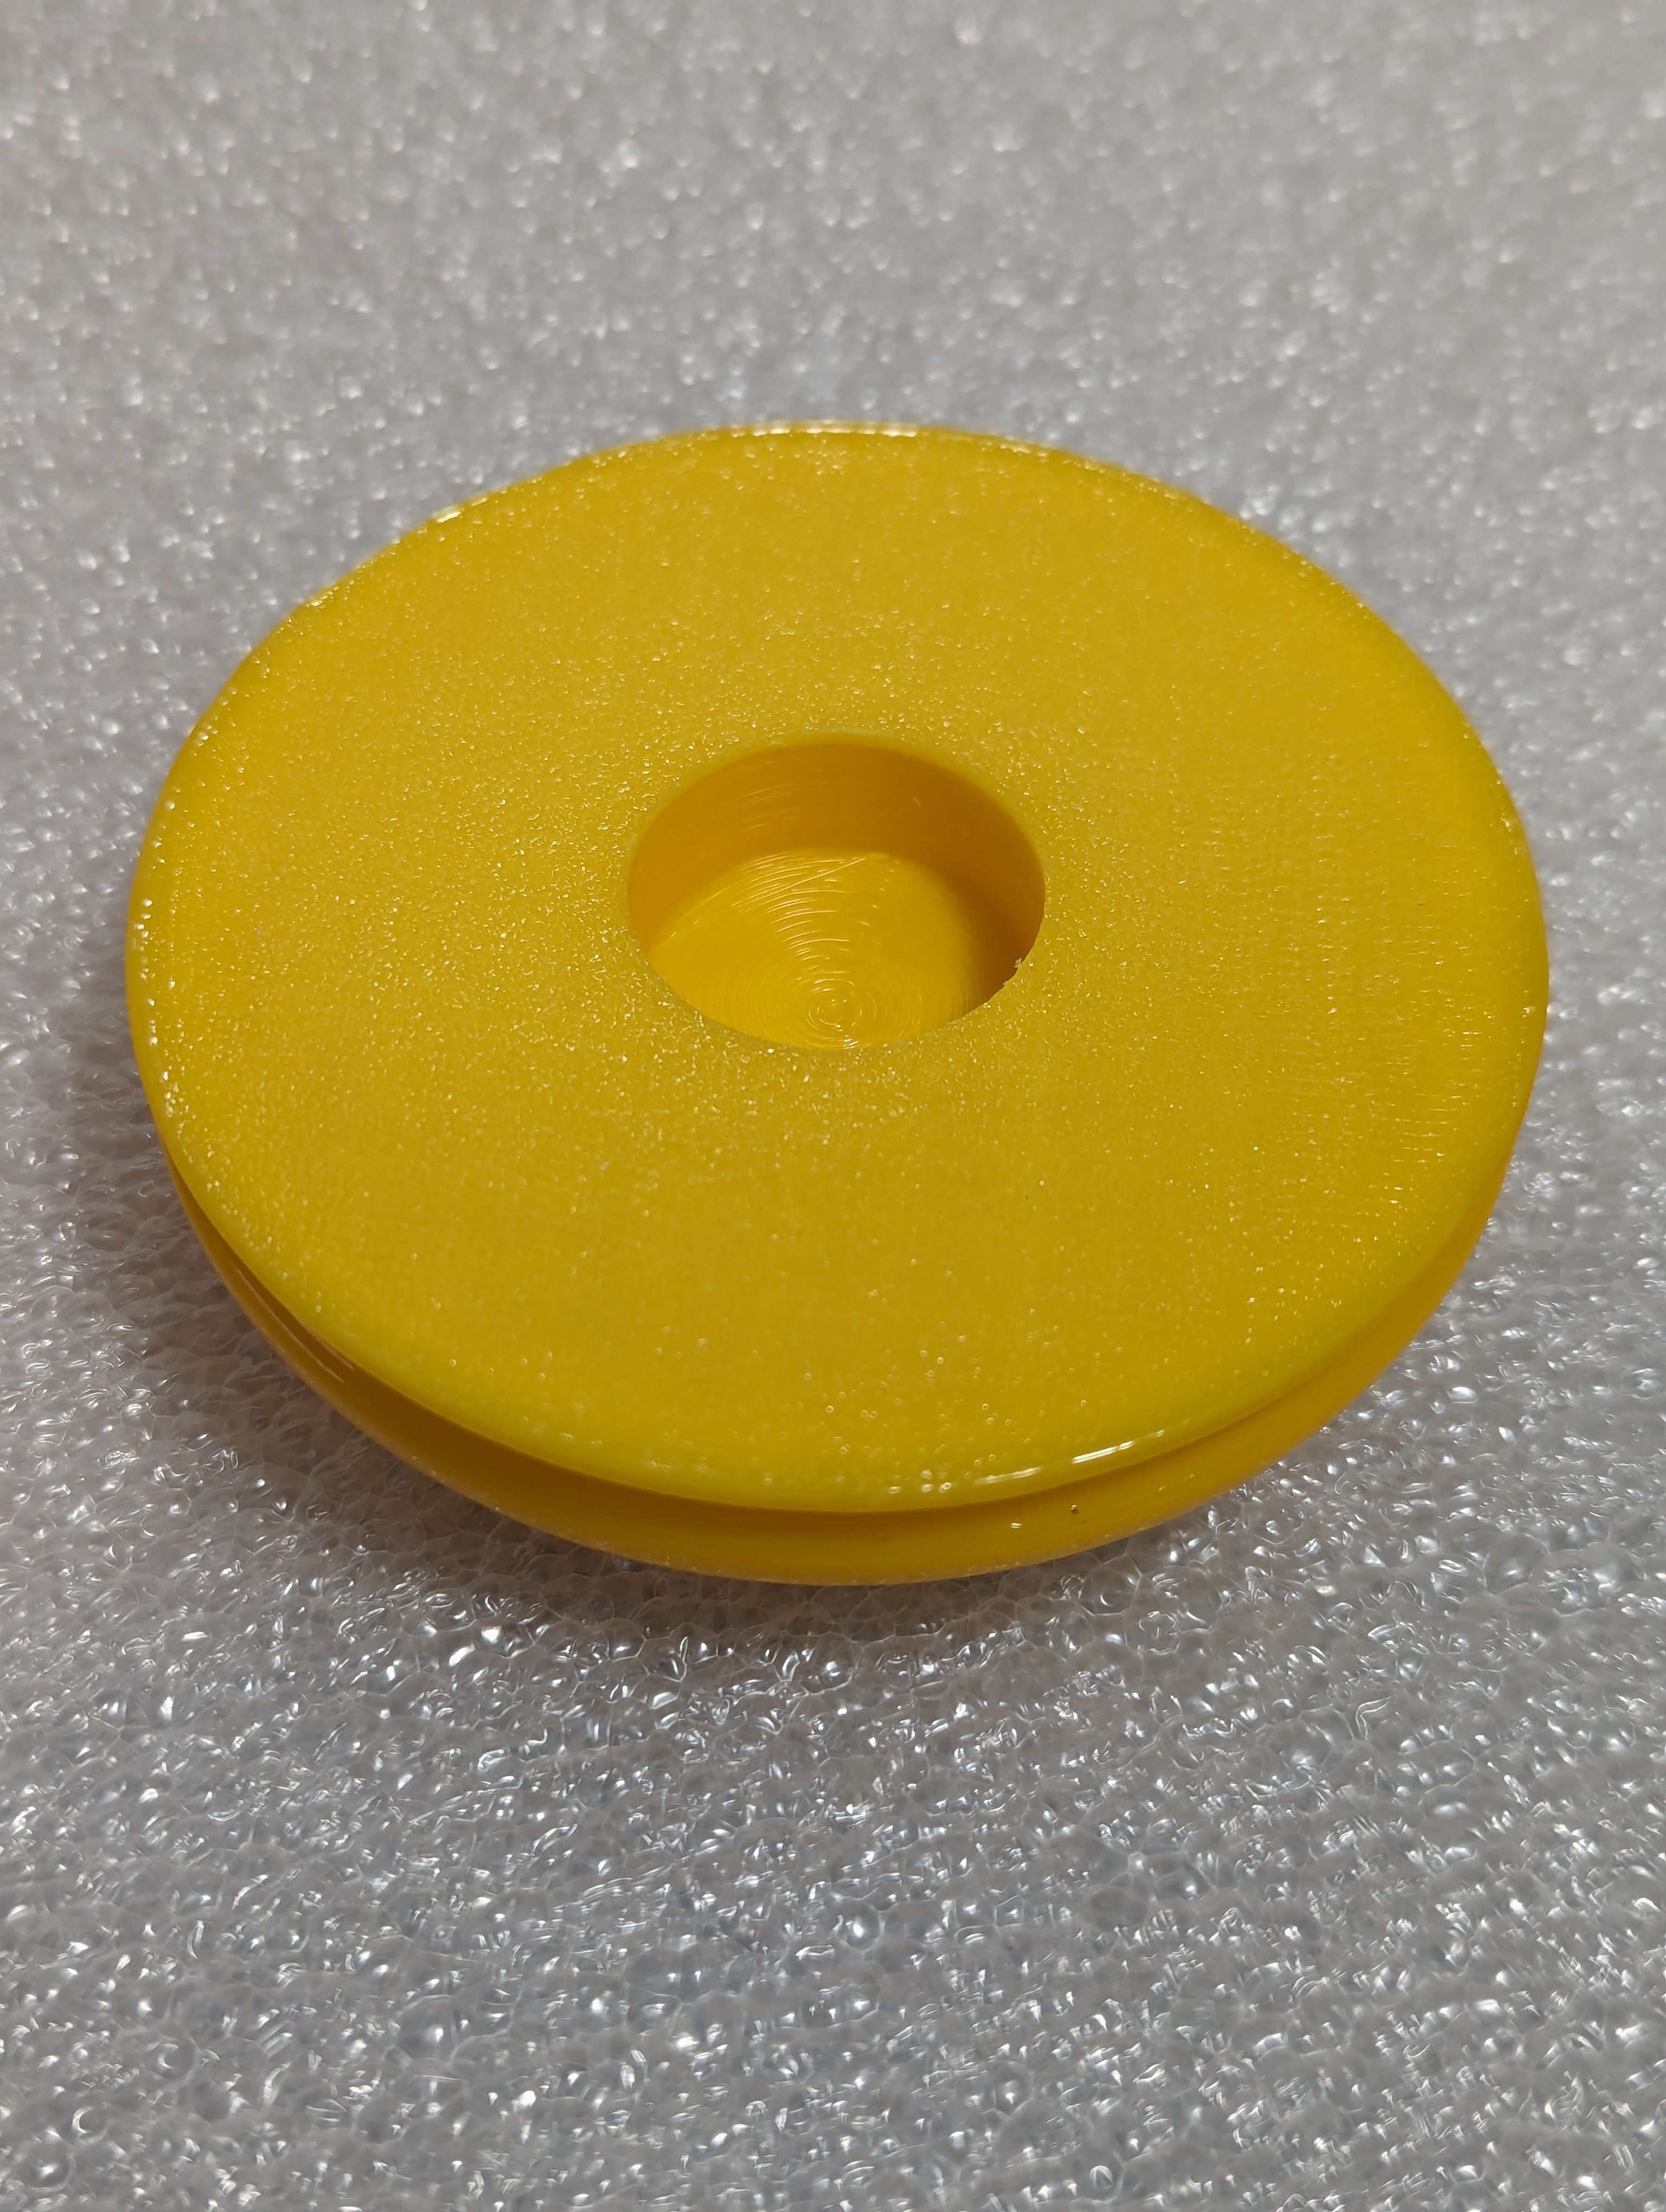
I realized that it would probably work a lot better if I used a taper to fit. A 2° taper angle seems to work well for 3D printed parts, so I changed the model and printed a third time. It’s a solid fit, but can be pulled apart. Success!
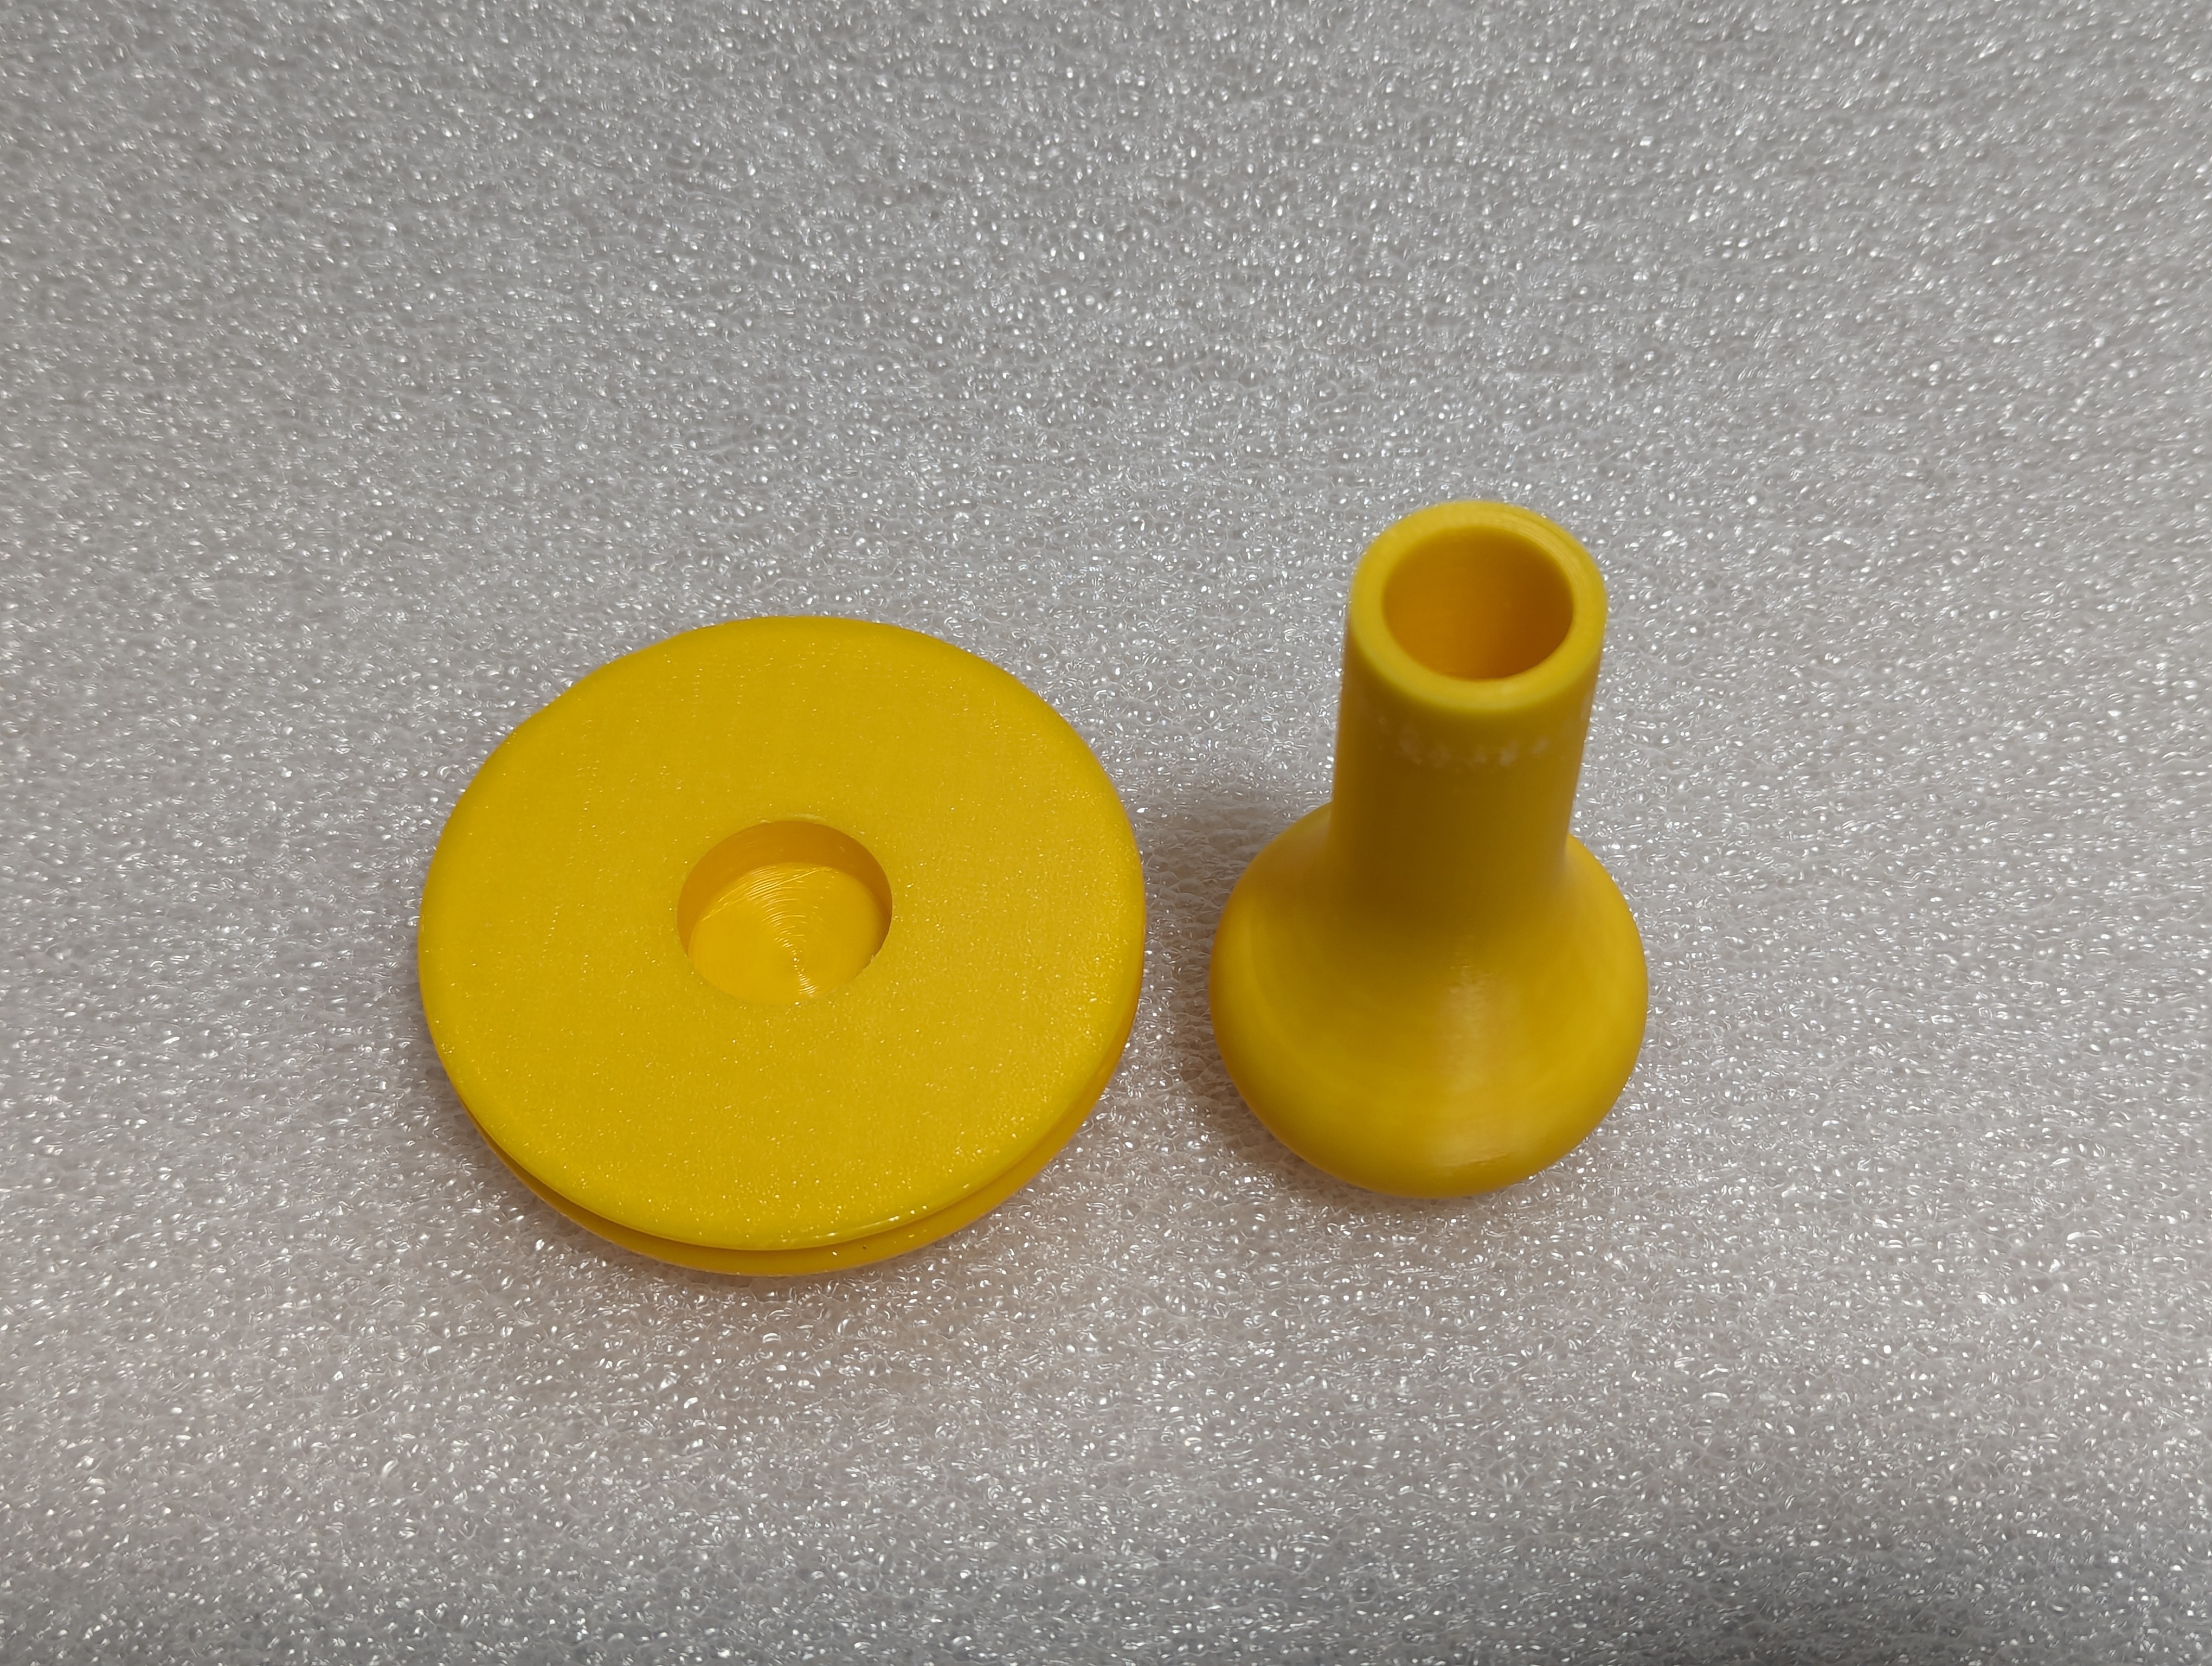
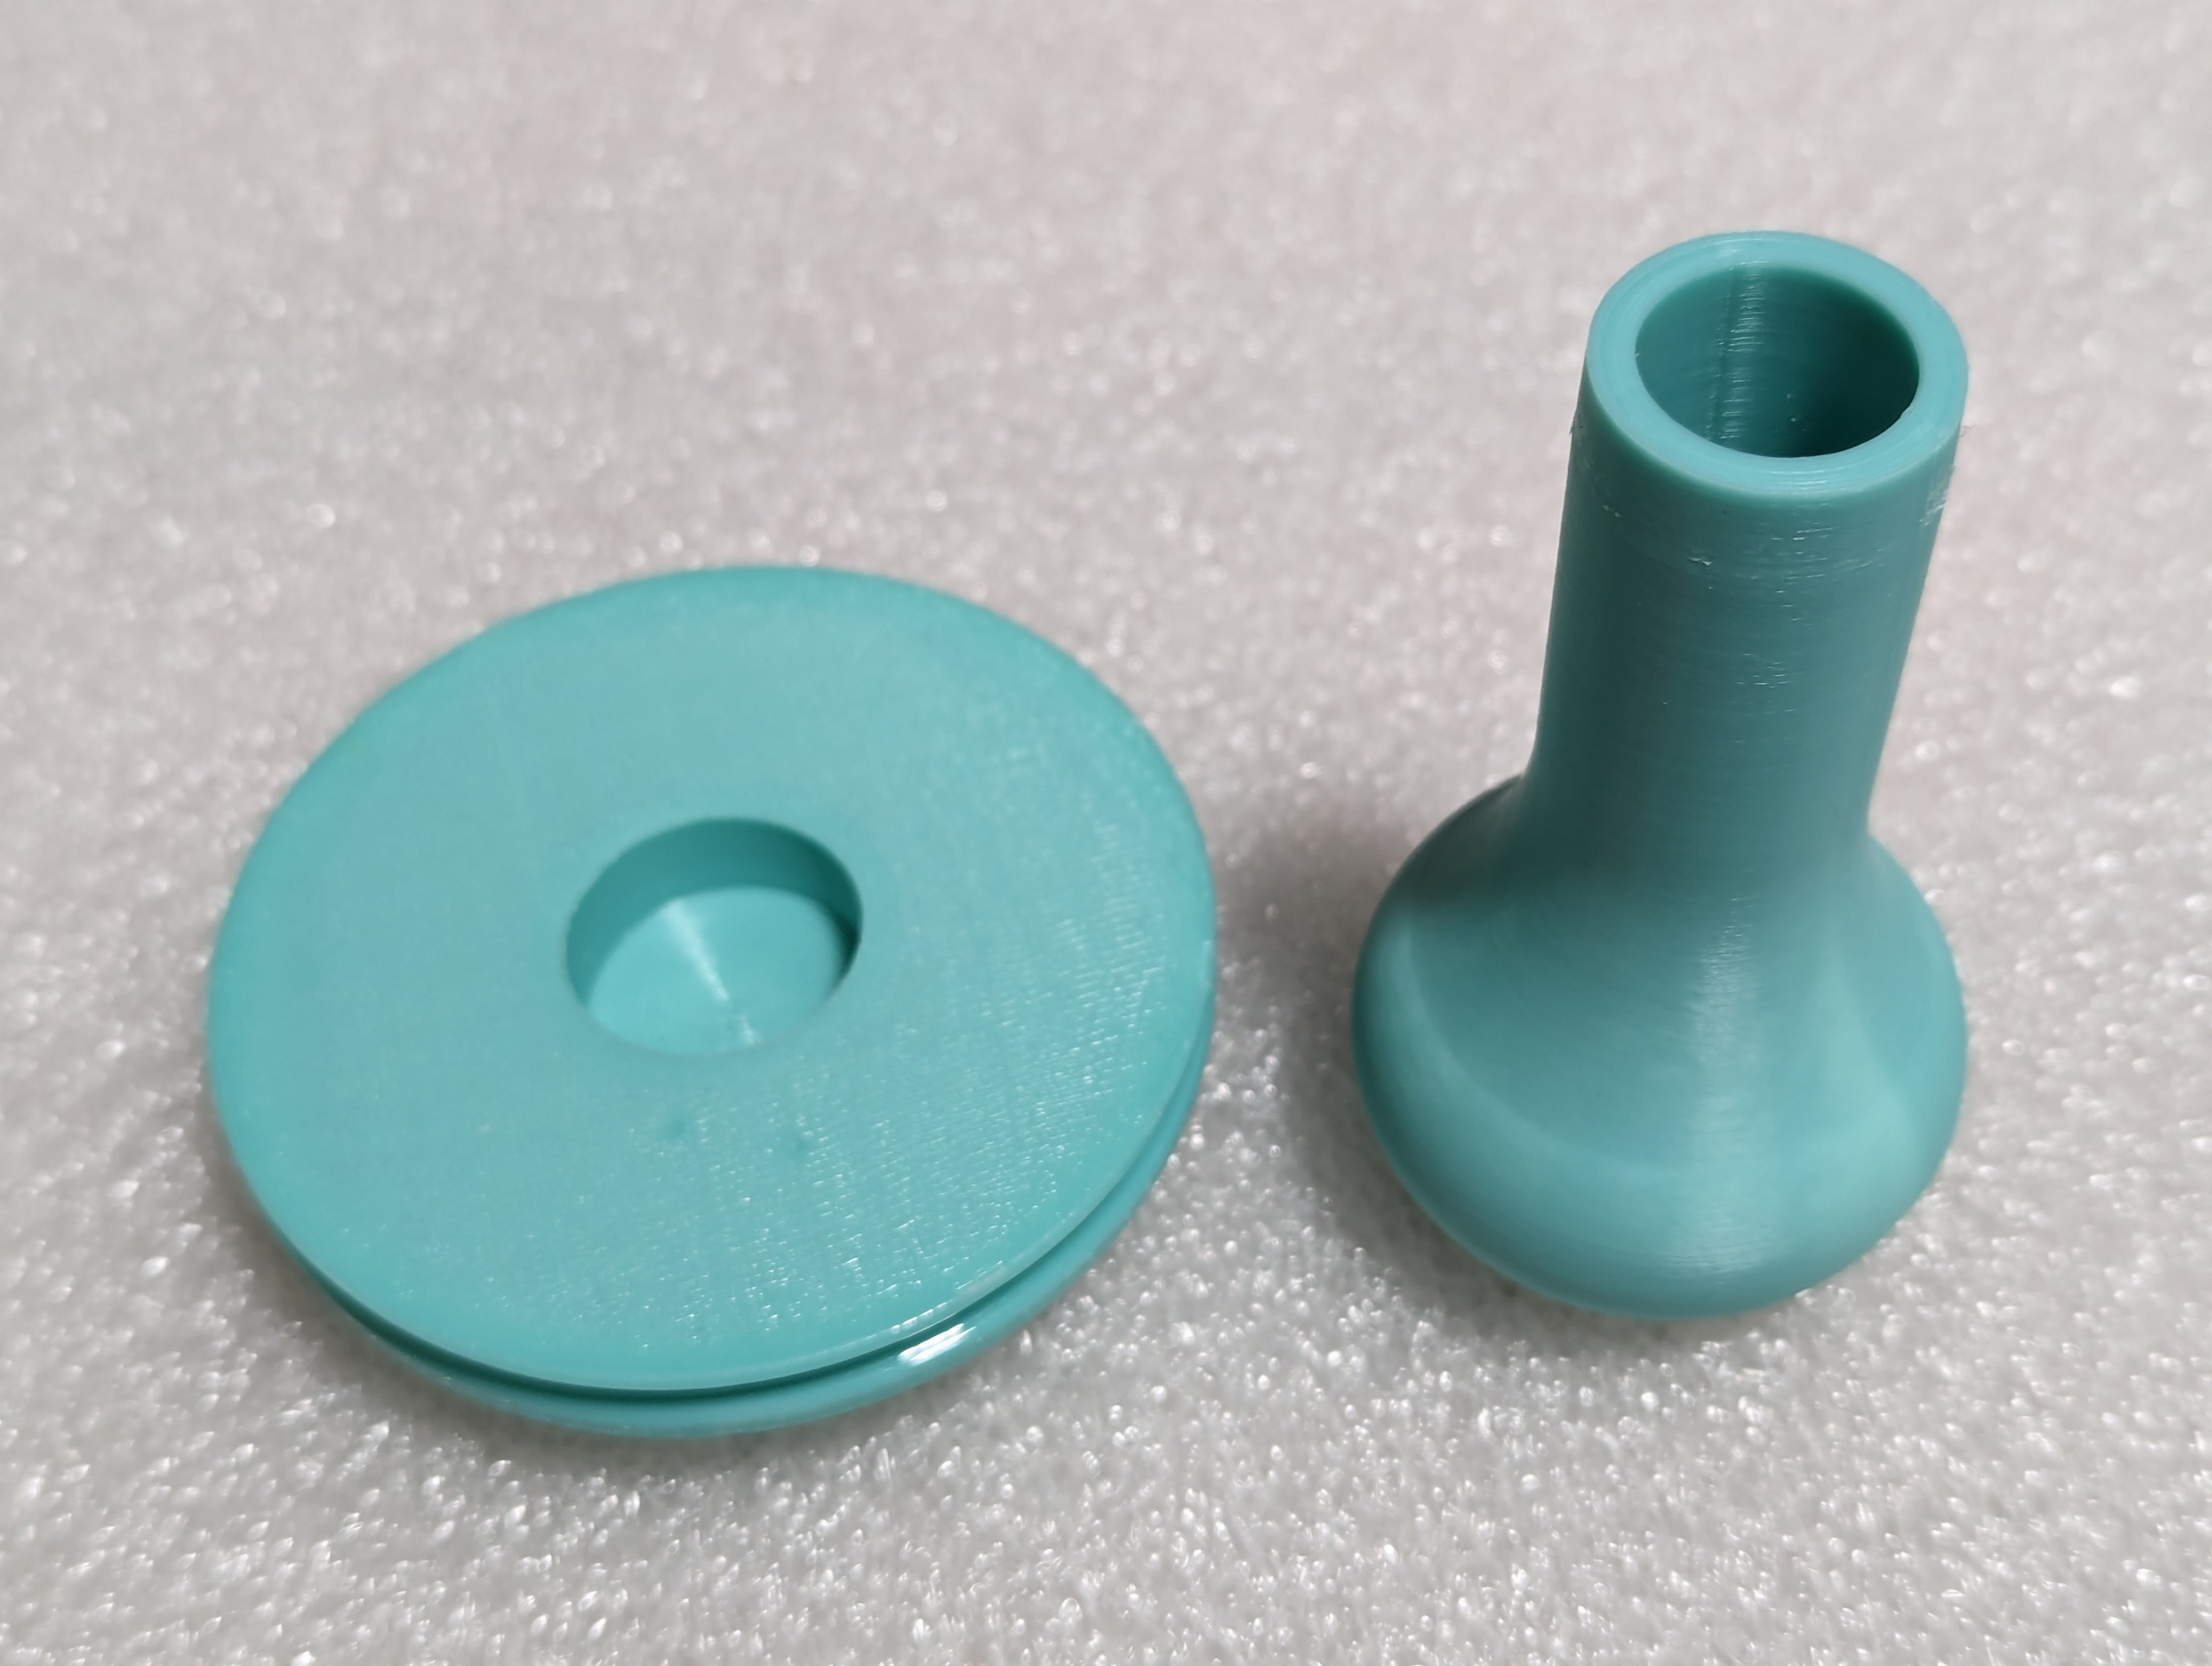
Now I finally remembered to do a Yeggi search. I found several designs. None of them matched the preferred stalk profile. Some of them were threaded, and others were tapered. But there was one thing I’d missed: Many had a hollow stalk, intended to store needles, floss, elastic bands, and such.
So I redesigned the stalk to include storage space inside it.
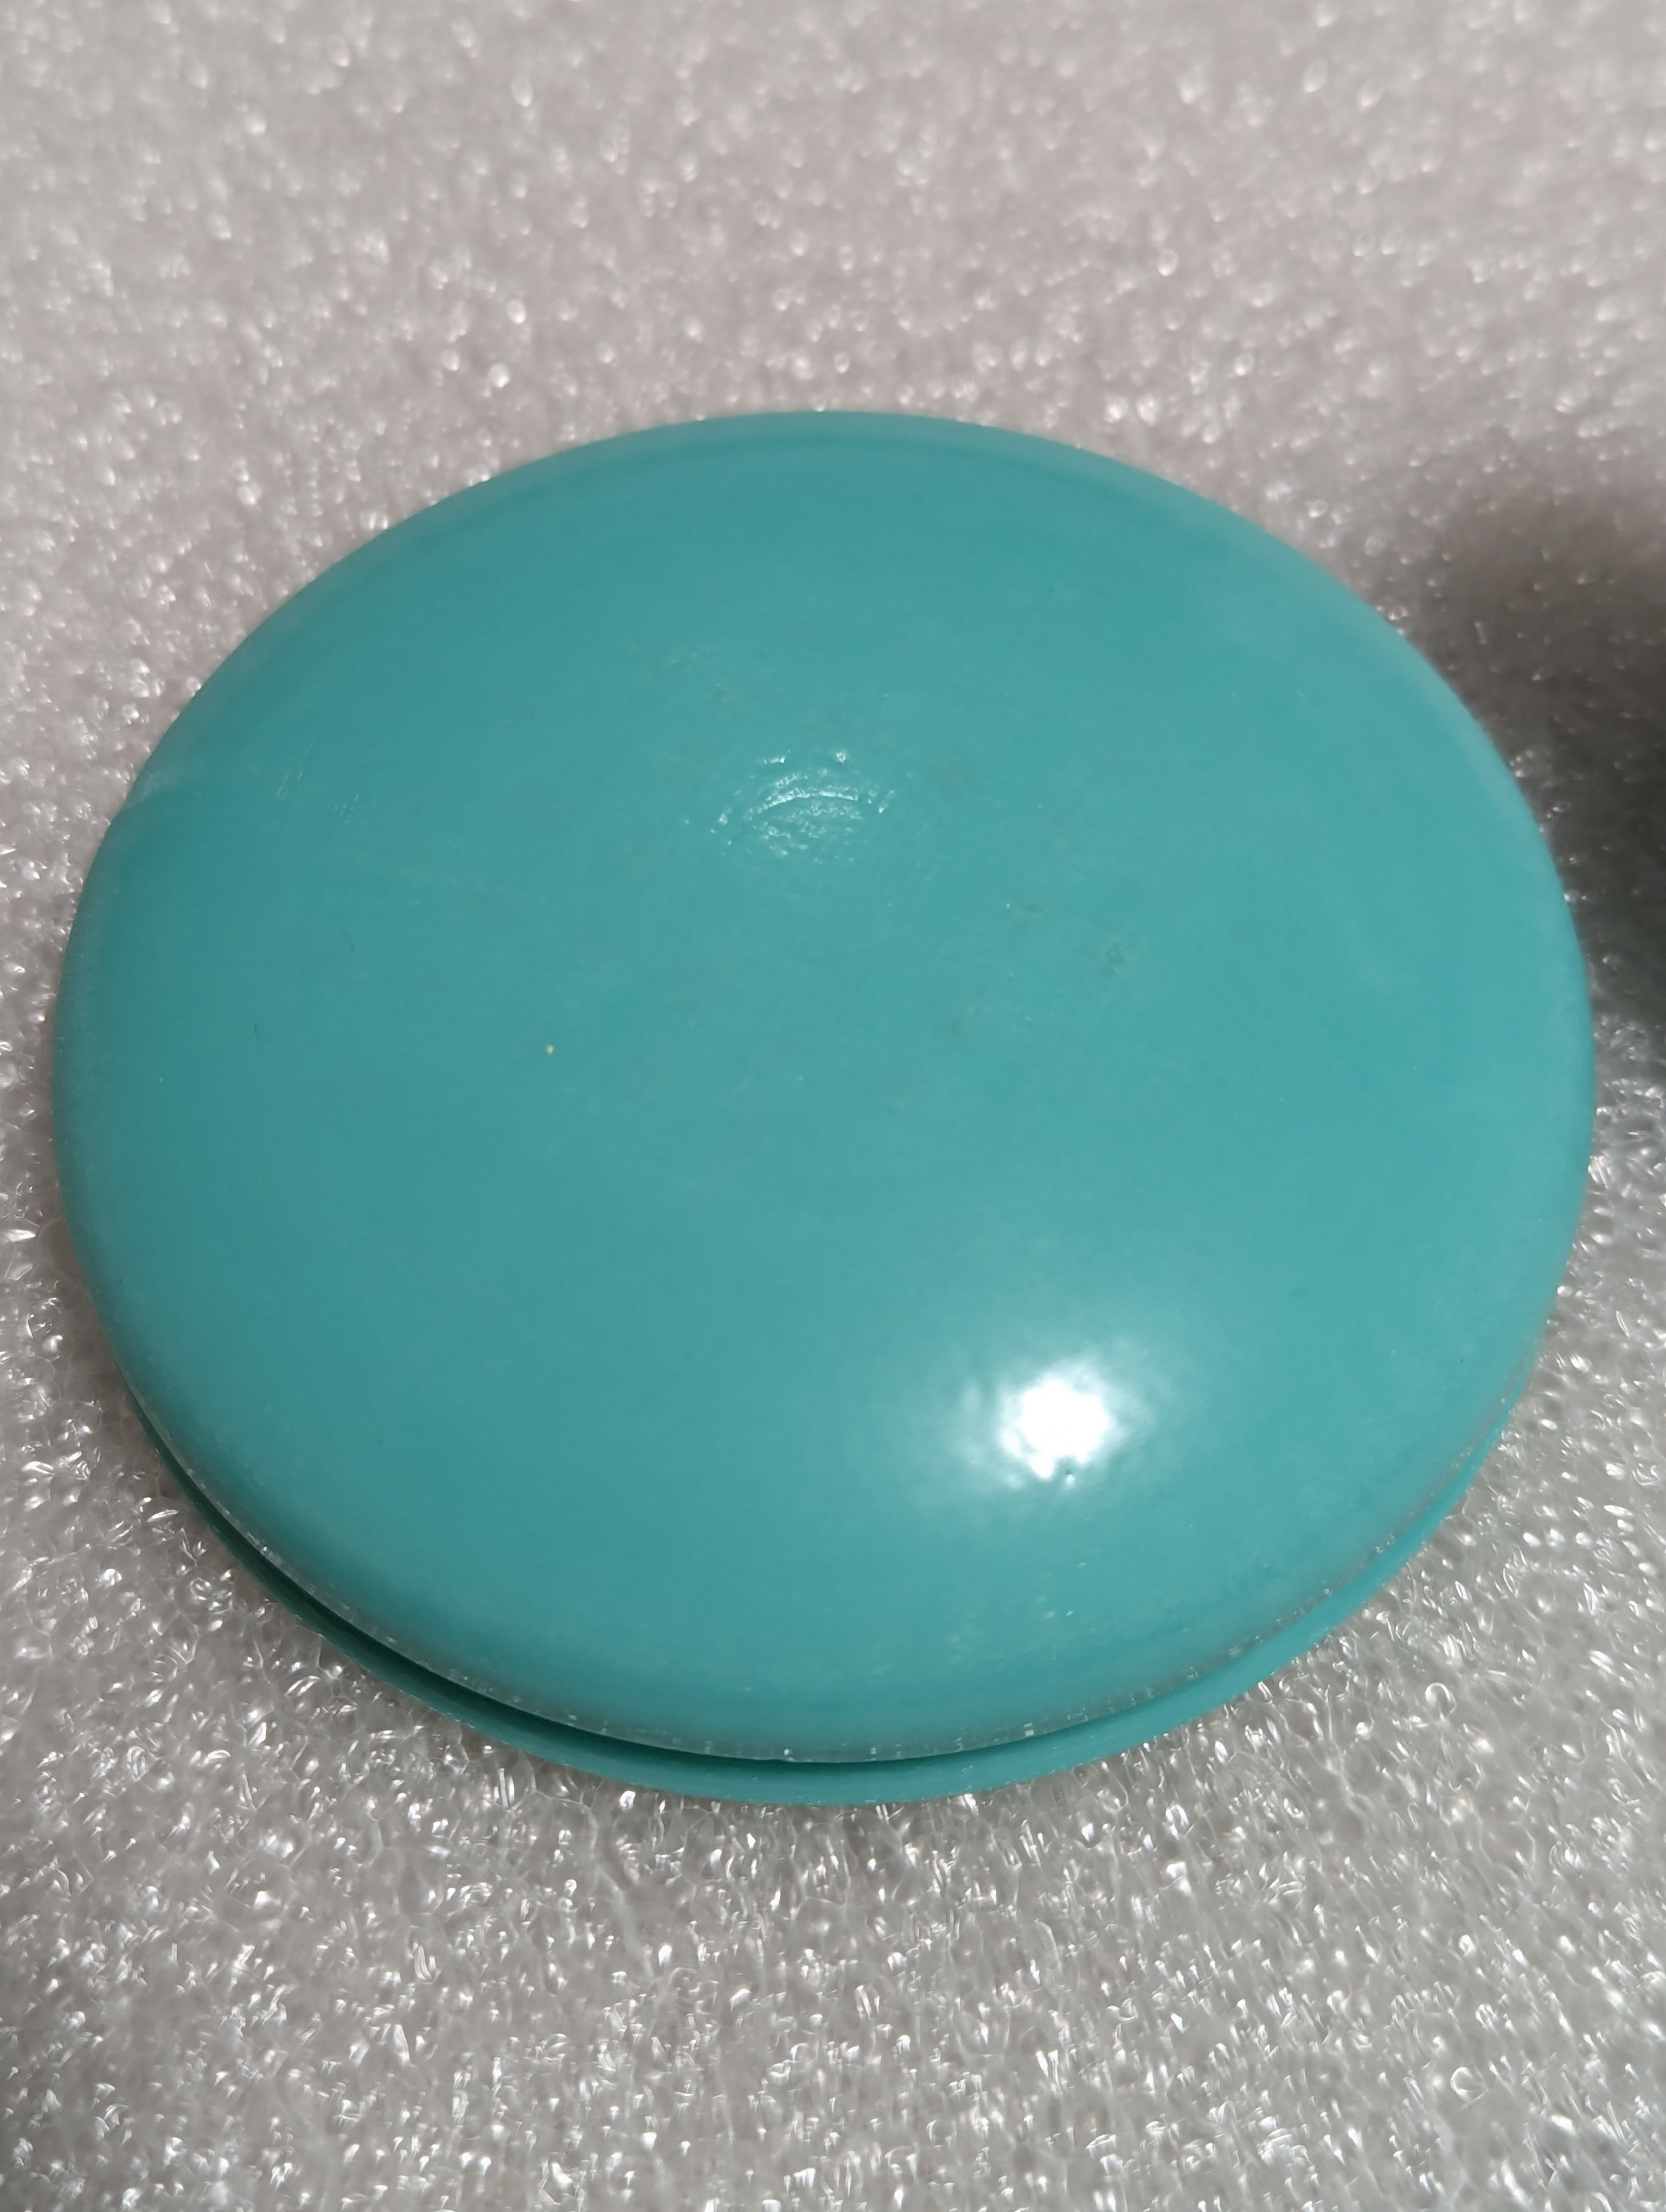
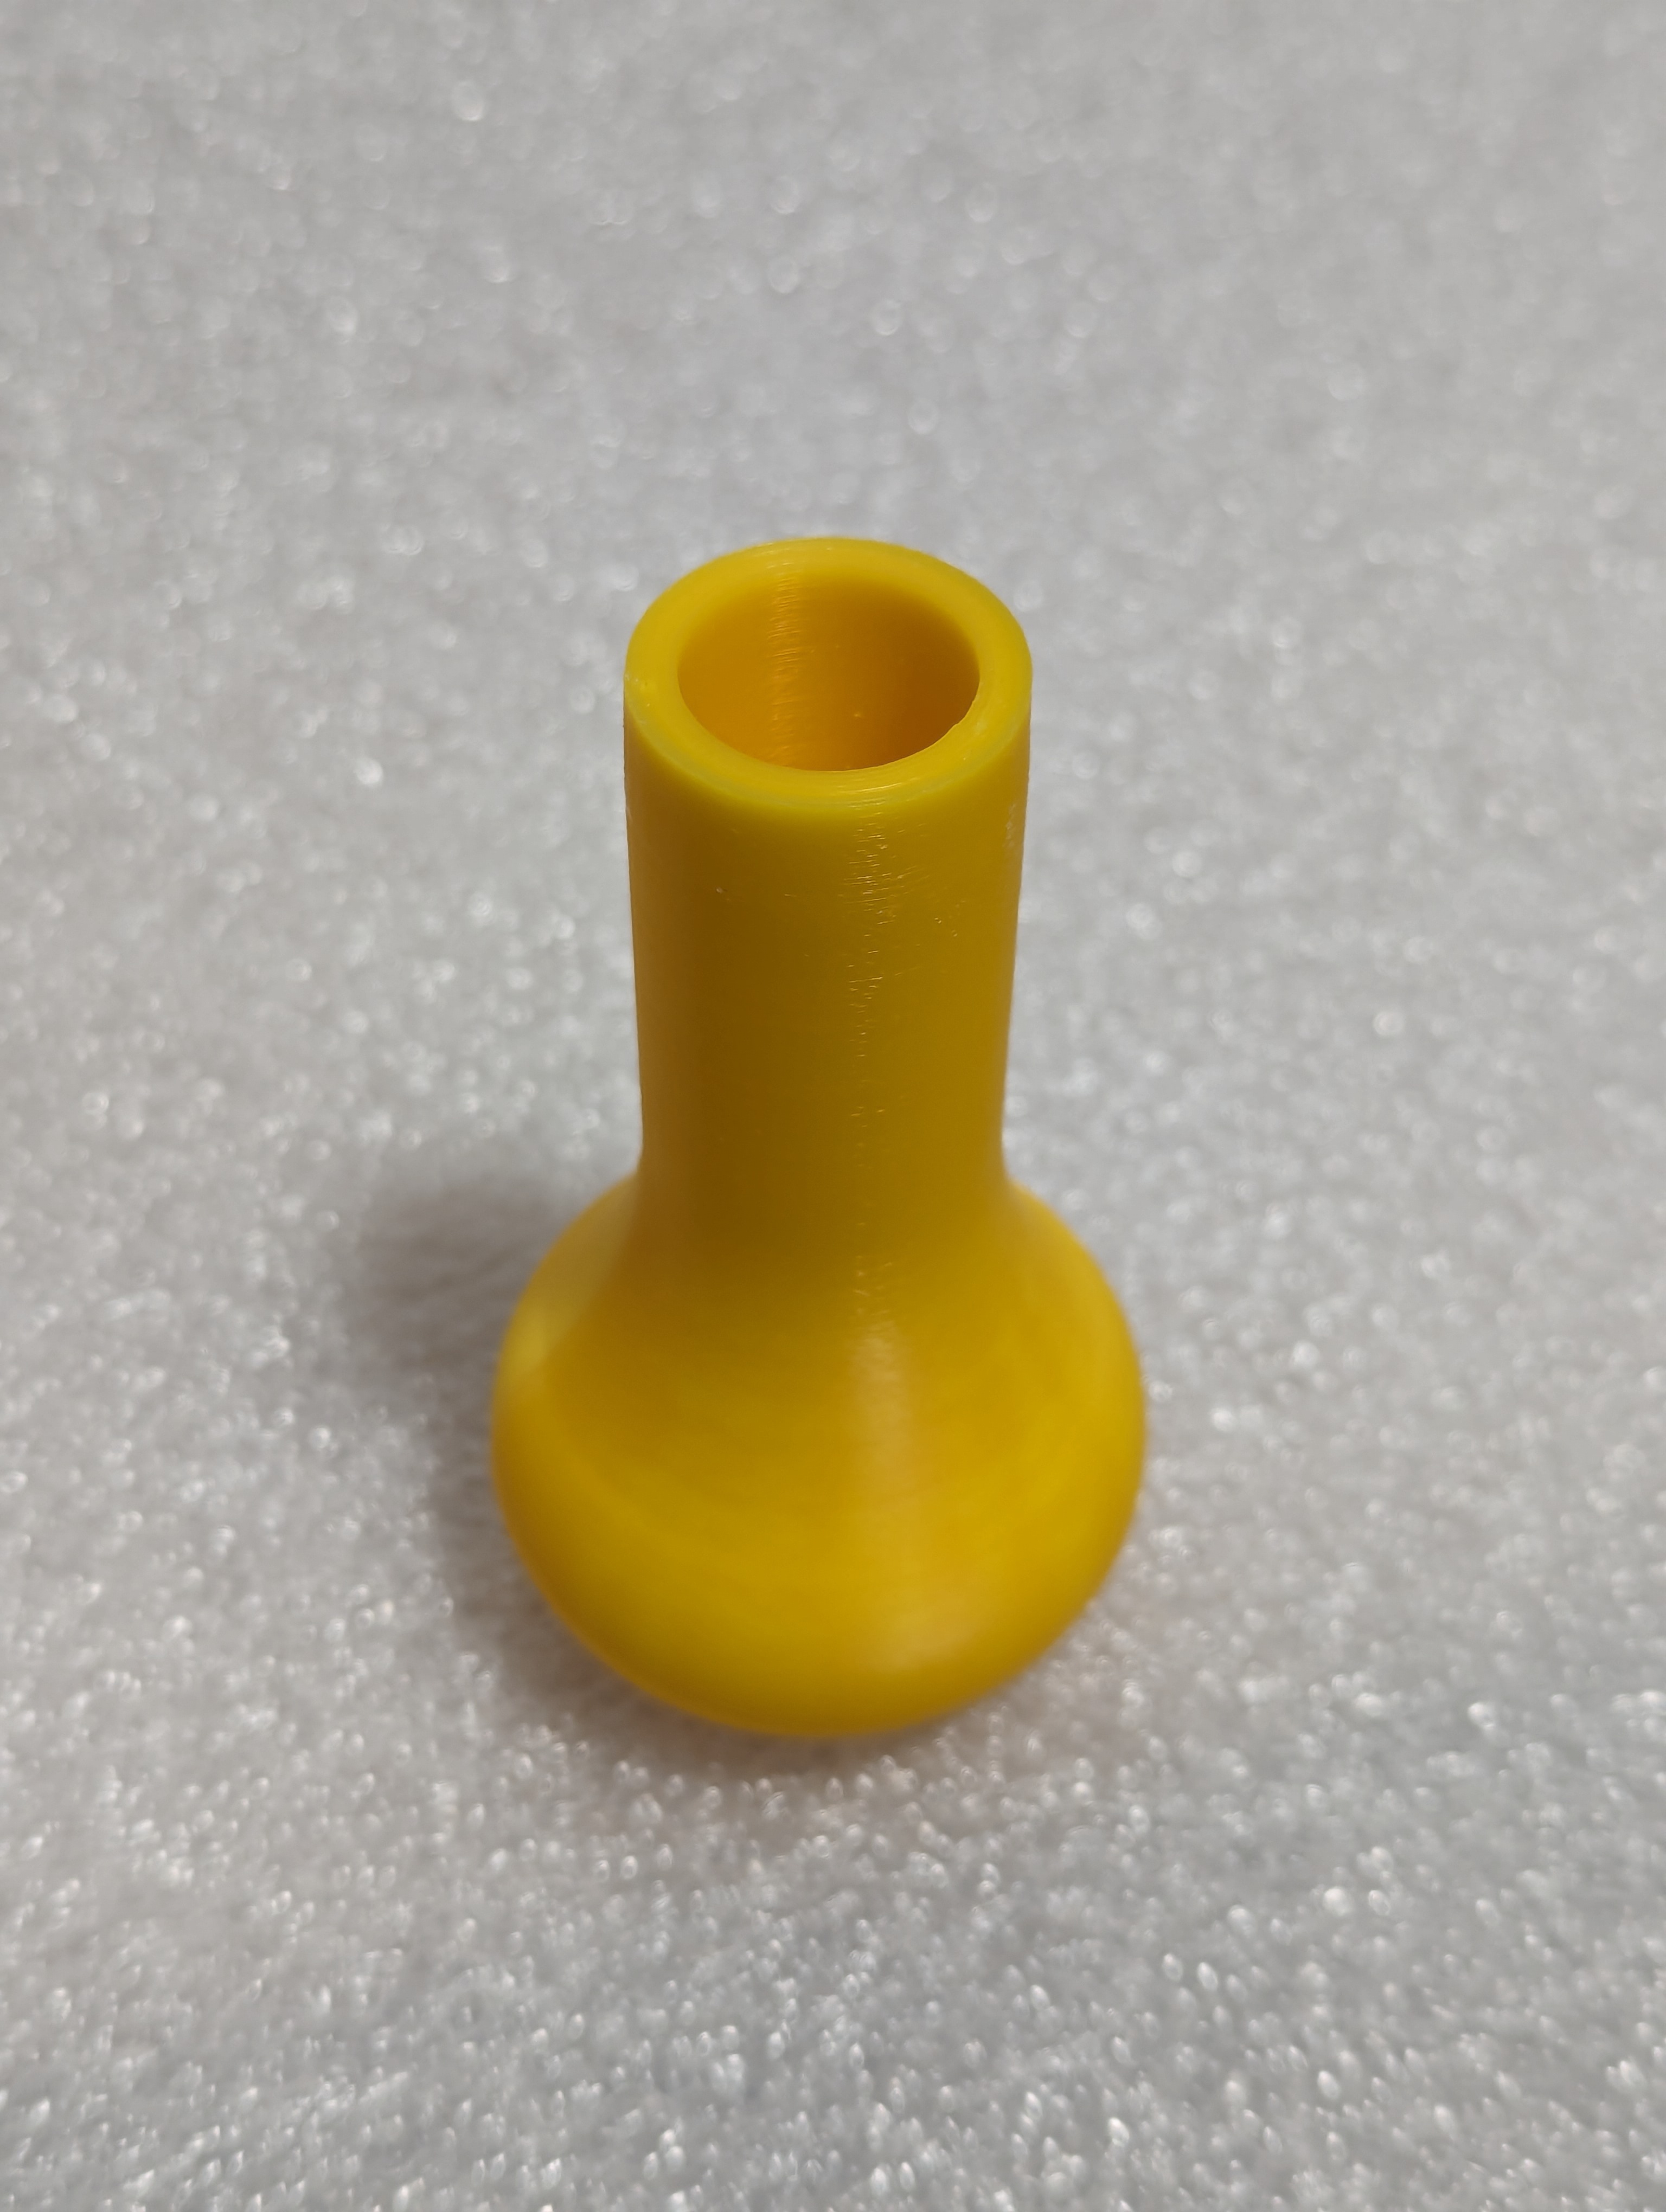
I sanded the top down with 60 grit, 220 grit, and 500 grit on top of foam to help conform with the eliptical cross section, and then vapor smoothed the top in acetone vapor for about 40 minutes.
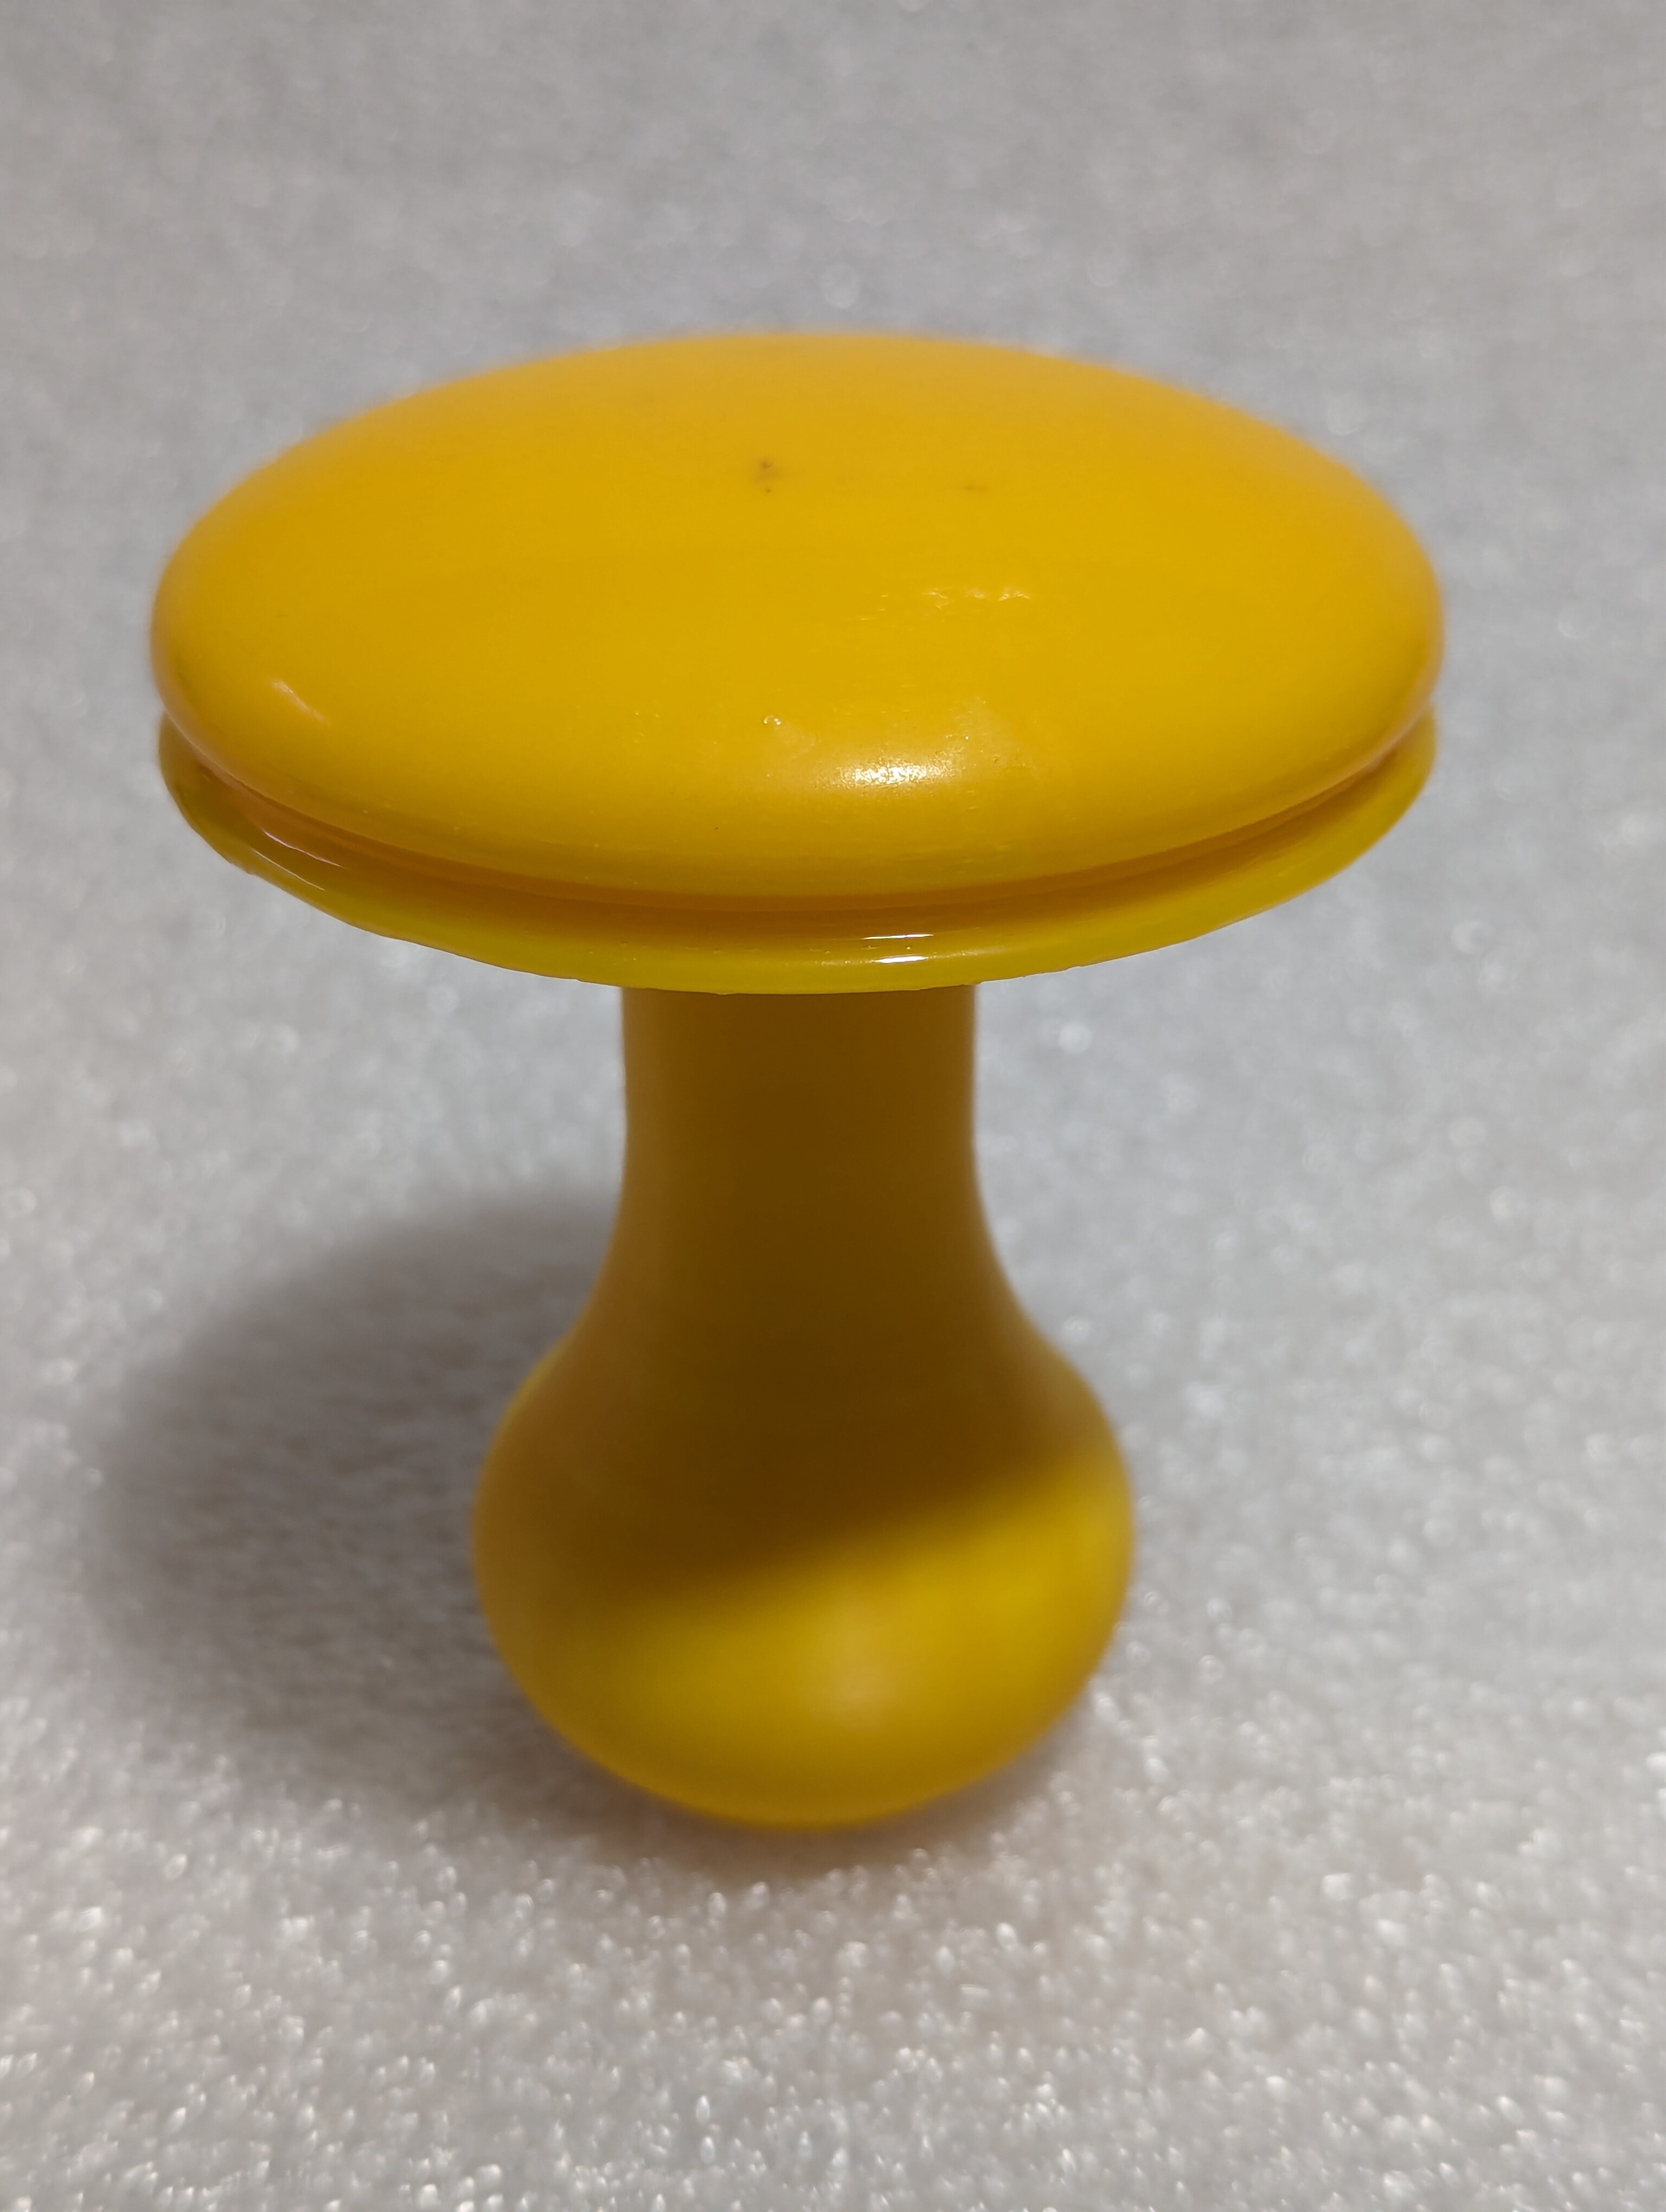
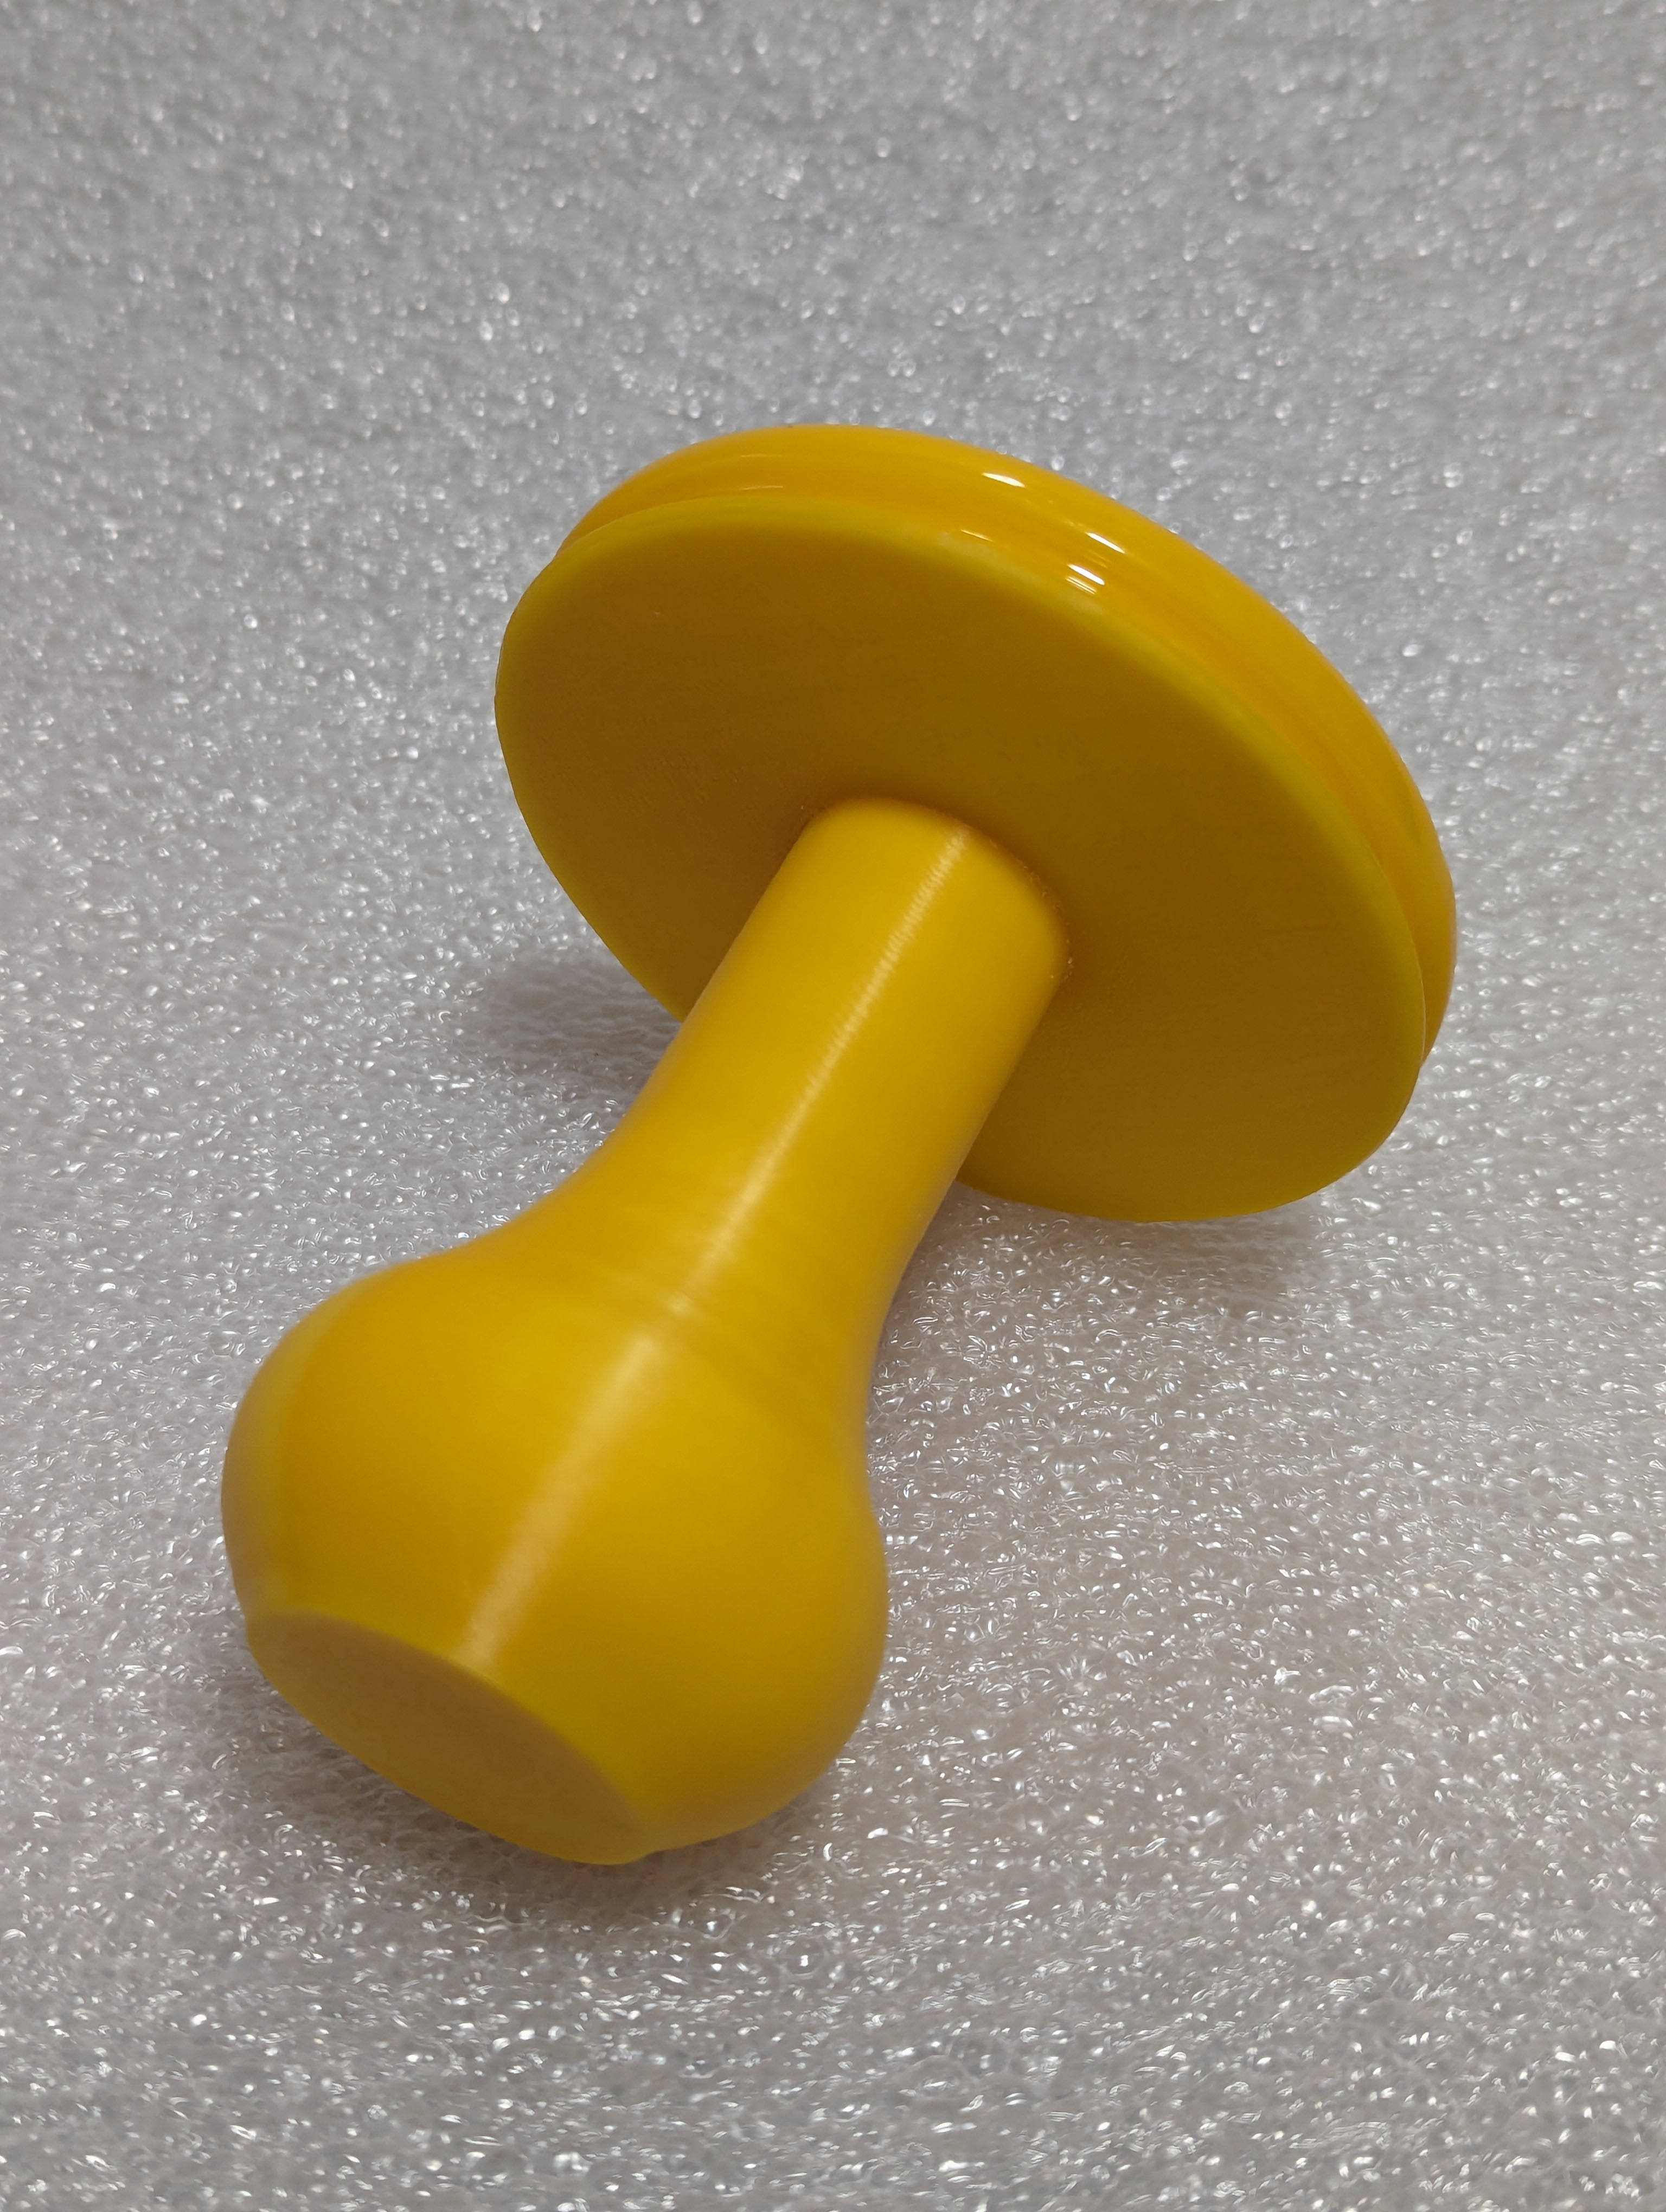
I’m not sure whether I then made two so that one is to give away or so that there’s always a contrasting color available, but in any case, I did.
https://www.printables.com/model/724160-darning-mushroom-with-storage-and-wide-stalk-base
DarningMushroom.FCStd (24.3 KB)