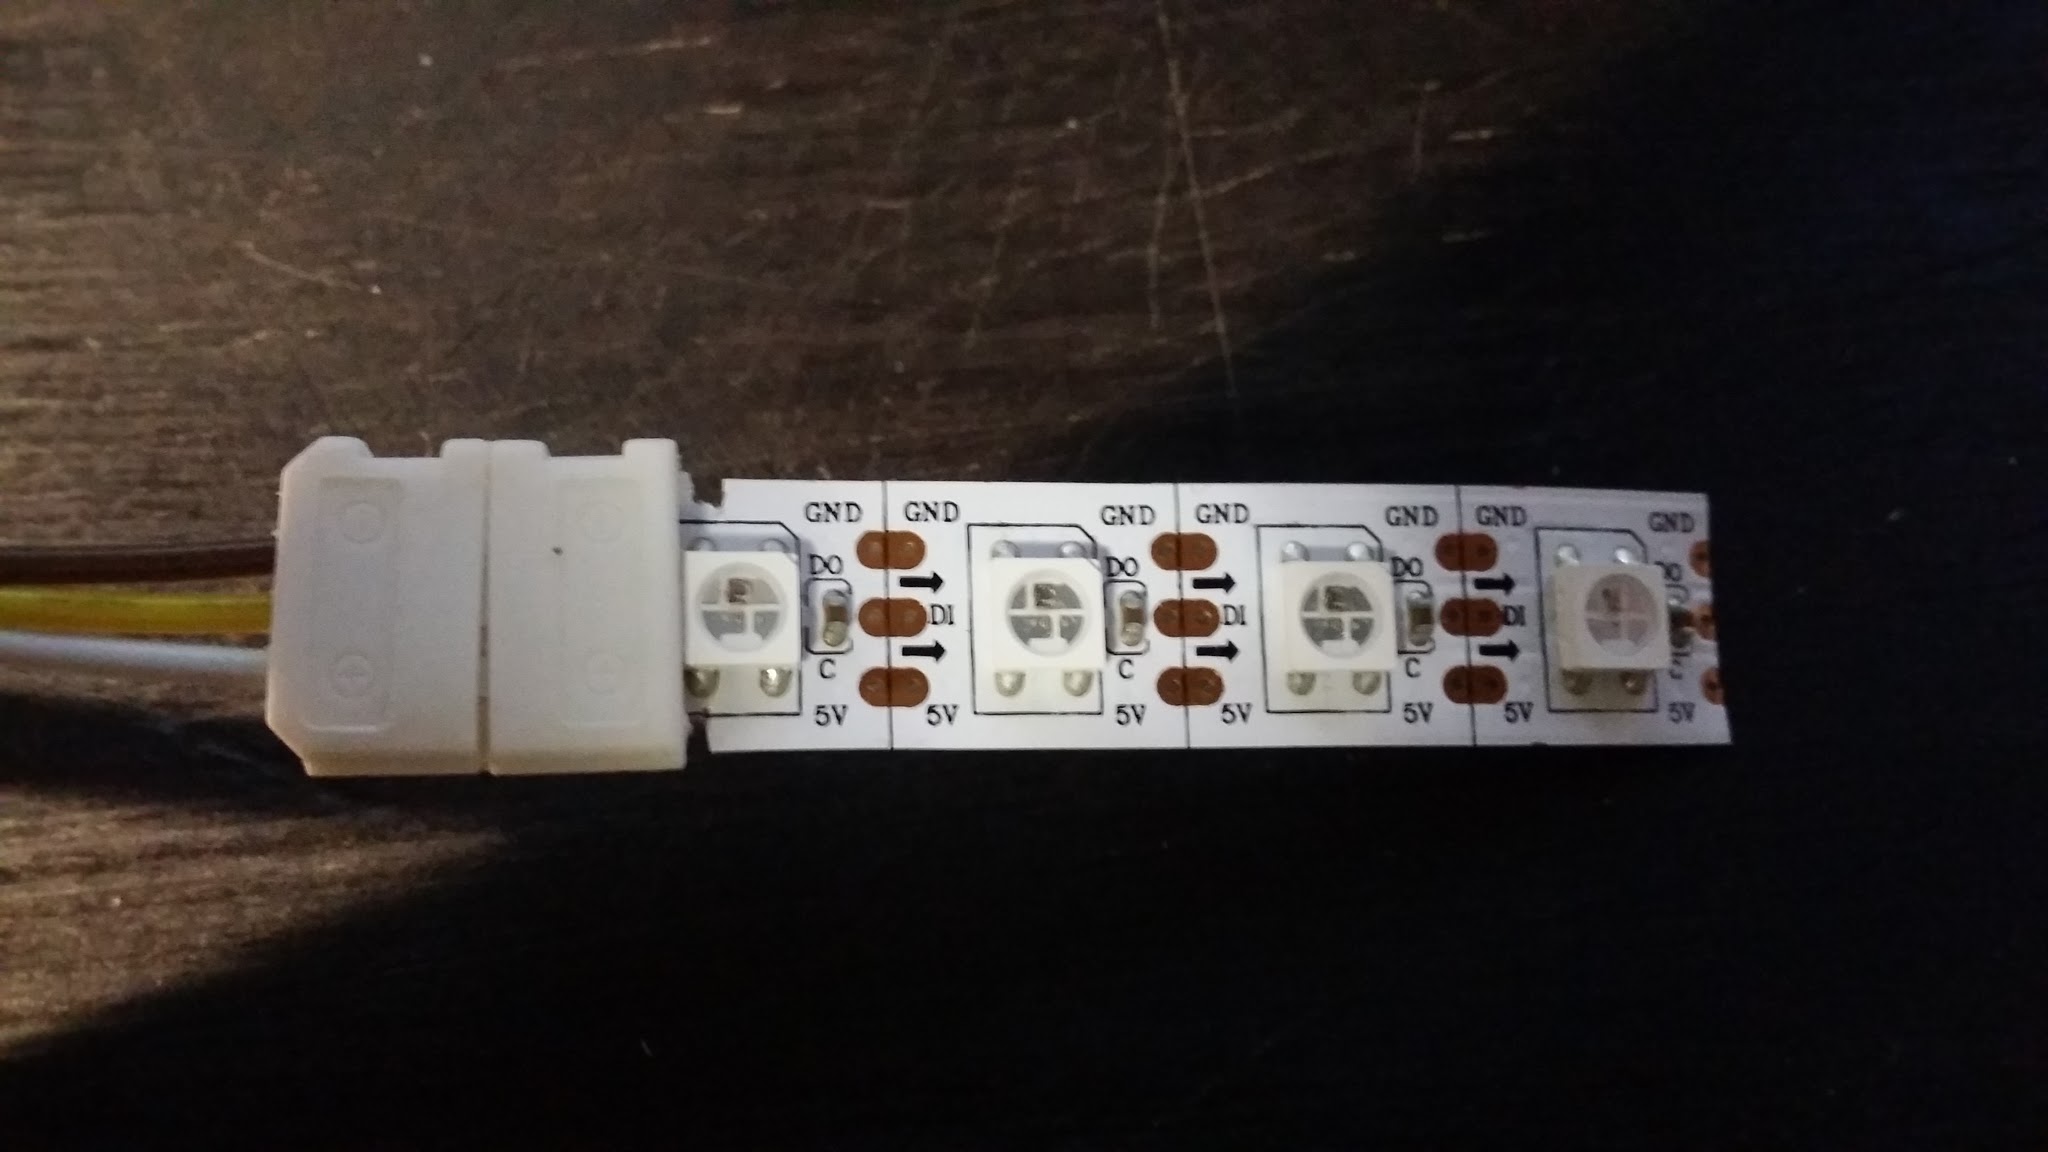
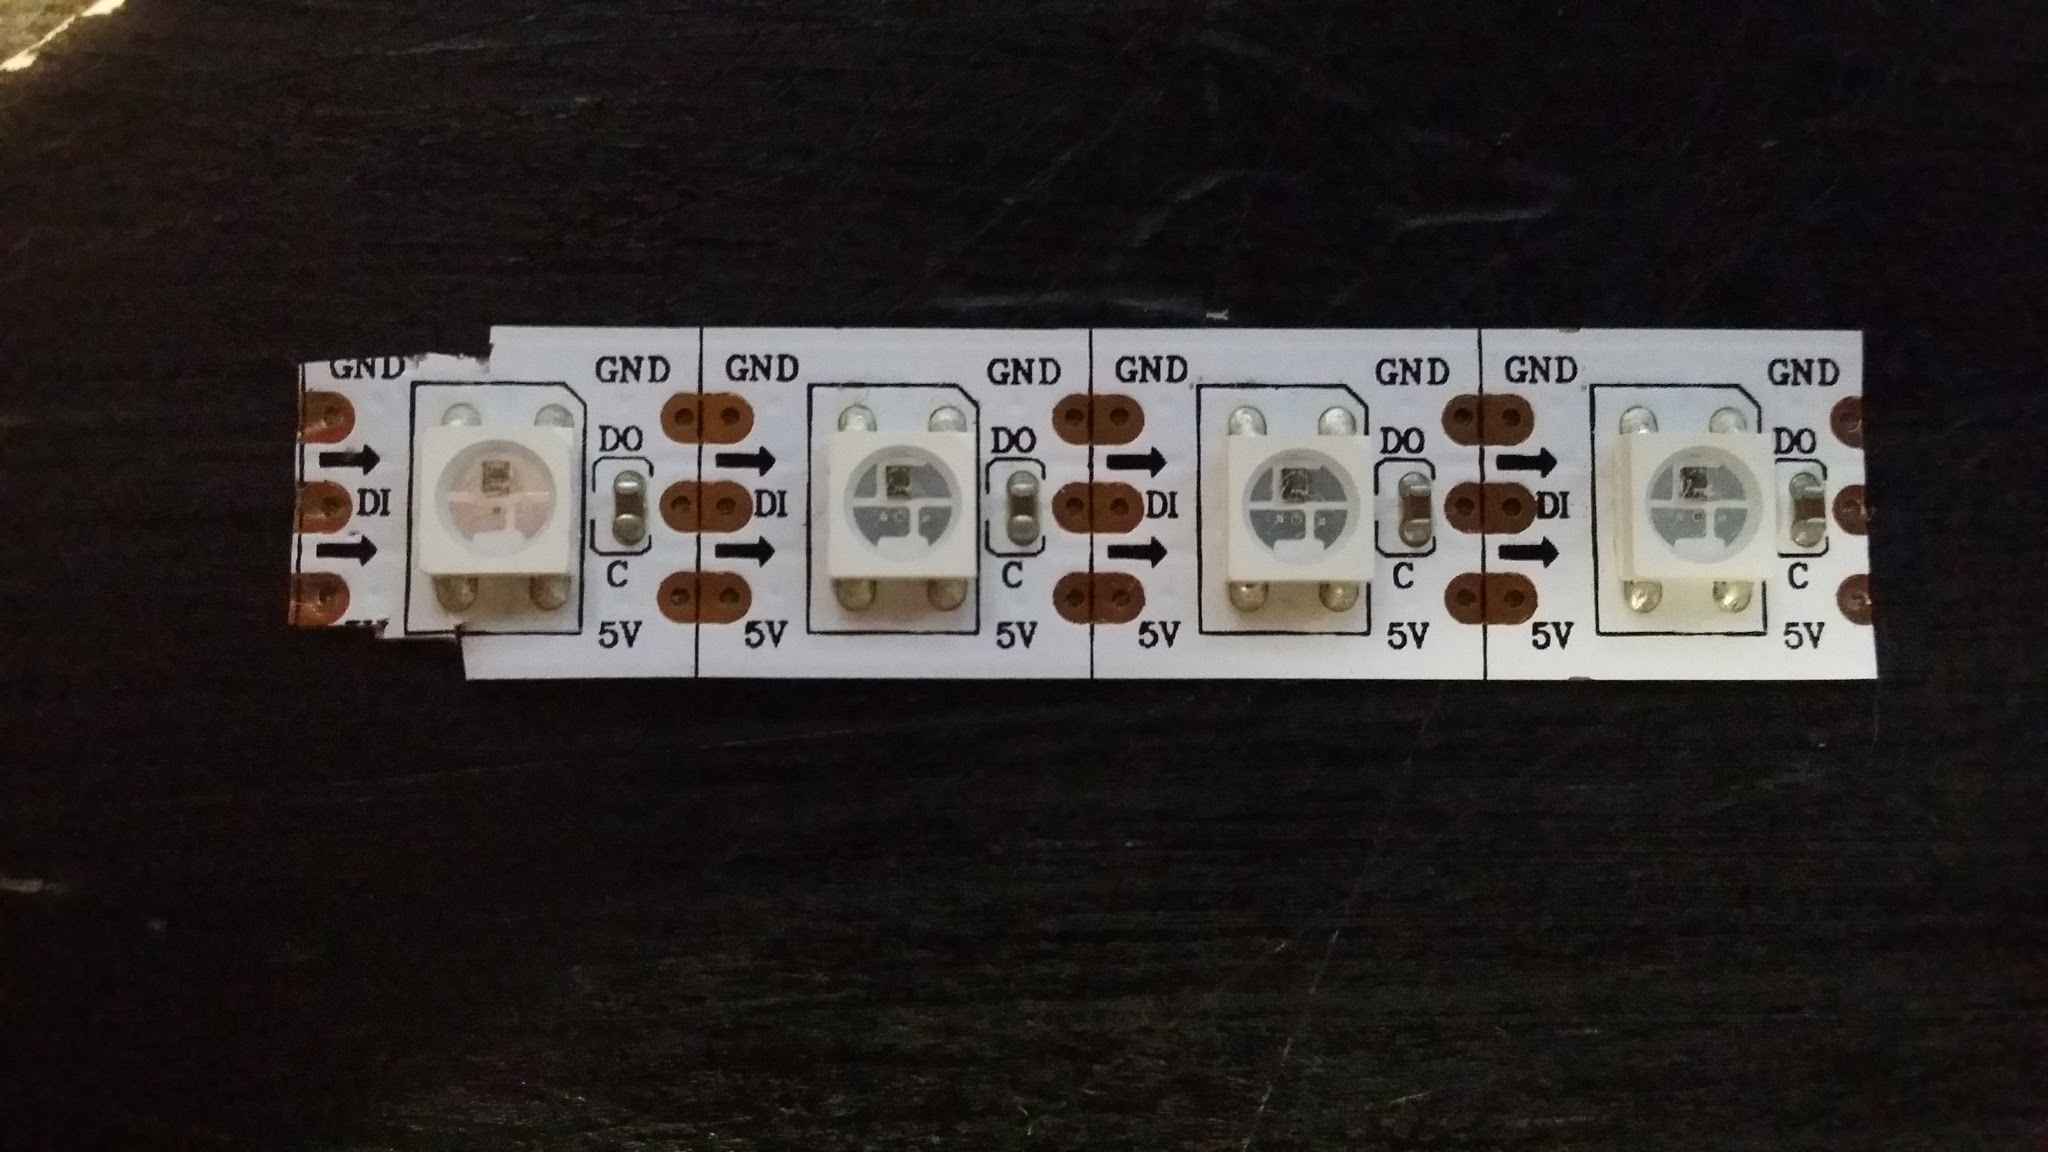
So, I may have made an uhh ohh. I’m trying to use these clips here. However to make the strip fit I had to trim the sides down a little. Now they will not work. I checked continuity through positive and negative those are fine. Also I’m getting 5 Volts at the end of the strip so it is getting power. Any Thoughts? Can these be trimmed like that?
As to your question, sorry, don’t know. In the meantime, that looks too tight and will probably (definitely?) be flaky. I’d be soldering and use heat shrink instead.
Thank @Andrew_Tuline However I tried Soldering and heat shrink tubing but the solder Keeps breaking because I have to bend the Wires at an awkward angle to get them to fit where I need them.
those connectors suck and you are probably getting a lot of noise on the data line.
put a blob of solder on each bad, then get some 22awg solid wire, reheat the solder and push the wire into the liquid solder.
@Erin_Jordan I do a lot of cutting and Joining in my projects. Best practice based on my experience:
- If you have naked copper joins on the strips, prepare them 1st by putting a small amount of solder and flux on to them
- prepare the cables you are planning on using by adding a small amount of solder on all ends.
- solder the cables onto the strips
- After its cooled off, to secure the connections, use either Hot Glue or E6000 Glue
@Erin_Jordan This http://www.elec-tron.org/wp-content/uploads/2015/06/wpid-20150627_225950-1.jpg is an example of what I mean
I think my soldering technique is the problem. most of the time my solder just wants to stick to the tip if the iron and not what I’m trying to solder…lol

Thats what I try to do… the solder doesnt ever stick to the pads. or the wire… it either just runs up the solder strand or sticks to the Iron tip without leaving any solder behind…lol
Hi @Erin_Jordan , I have never worked with strips myself before as I only work with standalone devices like the WS2812b or the WS2811.
But from other posts, I understand there is an insulating film on the pads (it prevents them from oxidising etc…). Try to very very gently scrape off that film from the pads to expose the bare, shiny copper then you will probably be able to solder to these pads. But again be very careful with the soldering to these pads as I understand they are easy to peal off from the strip. Good luck !
Thank you all for your help so far. So far I have a fw soldered. So now i will glue them to reinforce them and see how it goes… Thanks for all the help and Tips all. I only have a week to finish…lol
You ARE using additional flux aren’t you? I apply a little dab to the wires and pads before soldering. Works wonders. Here’s an example:
http://www.ebay.com/itm/New-Burnley-Soldering-Paste-Flux-57g-Pine-tree-resin-/260913568211
So, get your soldering act together and ditch those flaky connectors.
I’m actually just using the thin solder that came from the hardware store… lol I don’t think its too fancy…
@Erin_Jordan the secret to successful soldering, is having everything clean.
There are many household items you can use to help get things clean for soldering. E.g “scotch brite” style pan scrubs, ballpoint pen eraser,very fine glass paper, but avoid abrasive creams/pastes.
Flux is your friend. I prefer a flux pen, so i can apply extra where i need it, but its available in lots of different forms.
Do not use flux that is intended for jewellery making or plumbing for electronics!
Use a good quality solder (while you are a beginner, seek out some tin/lead solder and avoid the lead free, you’ll find it more forgiving), that has a flux core.
Flux comes in a few types. Water soluble, which washes off with water, while others will come off with isopropyl. Either way, clean off the flux residue when you are finished soldering.
Keep your soldering iron tip clean.
And use just enough heat. Too much, and you’ll lift the copper tracks from the substrate, too little and the solder wont flow, and you’ll get “dry” solder joints.
Oh, and practice 
Excellent suggestion here from @James_Smirniotopoul1 !!
You can search for ‘micro drill bits’ on eBay, they are really cheap and will do that job easily.
If I were to repair a strip, I would definitely try his approach to get a more solid mechanical connection. I would also definitely encase the finished soldered joints in some glue that would prevent any ‘flexing’ of the soldered connections.
Confession time! In a pinch, I’ve used plumbing flux. Just make sure you clean off ALL the residue since the plumbing variety uses acid. I have electronics I soldered years ago with no ill effects. But proper electronics flux is much more worry-free! And you only need the tiniest amount per connection.
I agree with all the above who advise ‘tinning’ the two pieces to be connected with solder first. Make sure your soldering iron tip is tinned as well.
Whenever possible, a strong mechanical connection (wire through a hole, or twisted to another wire) makes for a strong soldering connection. I have wire soldered just to the surface of the pad on strips, but only in places that the strip itself is fastened down and won’t move. If you need the joint between two strips or components to move, make sure you have slack in the connecting wire.
Also, don’t let the two components move until the solder completely solidifies.
Oh, and when I do use connectors, I always solder leads from the strip to the connector. That gives me some flex when connecting and disconnecting, without the strip or the soldered joint having to move. Also makes it easier to change connectors later, or easier to connect it to something else, or easier to recycle the strip for something else.
Sounds like your soldering technique is a little flaky if you’re trying to drag solder off the tip of your iron to “leave some behind”. The solder on the tip should only ever be used to conduct heat easily. If you’ve properly tinned both parts that are to be joined, you use your soldering iron to melt the two halves together. You shouldn’t be trying to drop more solder off the end of the iron. By all means hold the iron tip in place and introduce more solder onto the joint - but dragging the tip away and expecting it to “leave behind” solder sounds like a very poor soldering technique to me!
Another thing I haven’t seen anyone mention is the type of solder. If it’s not lead solder, it can be more difficult to make good joints. The lead free stuff is pretty much worthless as far as I’m concerned. It is way harder to work with and is less consistent in consistency and can lead to dry joints. I can’t find any hardware store that sells lead solder around me and I need to order it online. 60/40 is the norm.
I switched to lead-free and didn’t notice much of a difference. At my age the switch isn’t going to have any health benefits, but I’m also introducing my kids to electronics. If I can give them a little less lead exposure in life and, at the same time, they have to hone their soldering skills, so much the better!
I’ll fess up here and say that despite all the helpful advice I got over the Internet (written, as above; YouTube; even in comic book form), I had to have someone show me how to do it before I got it right. If you’ve got a local hacker space, they’ll have a weekly “open house”. Wander in there and I’m sure you’ll find someone who can sit you down and sort out your technique.