Following a farmers market trip, my youngest was making dehydrated apples today, when two of the three prongs on our apple peeler/corer broke off in an apple. After removing the snapped prongs from the apple, he finished up cutting the apples by hand, and I brought the broken pieces down to the shop.
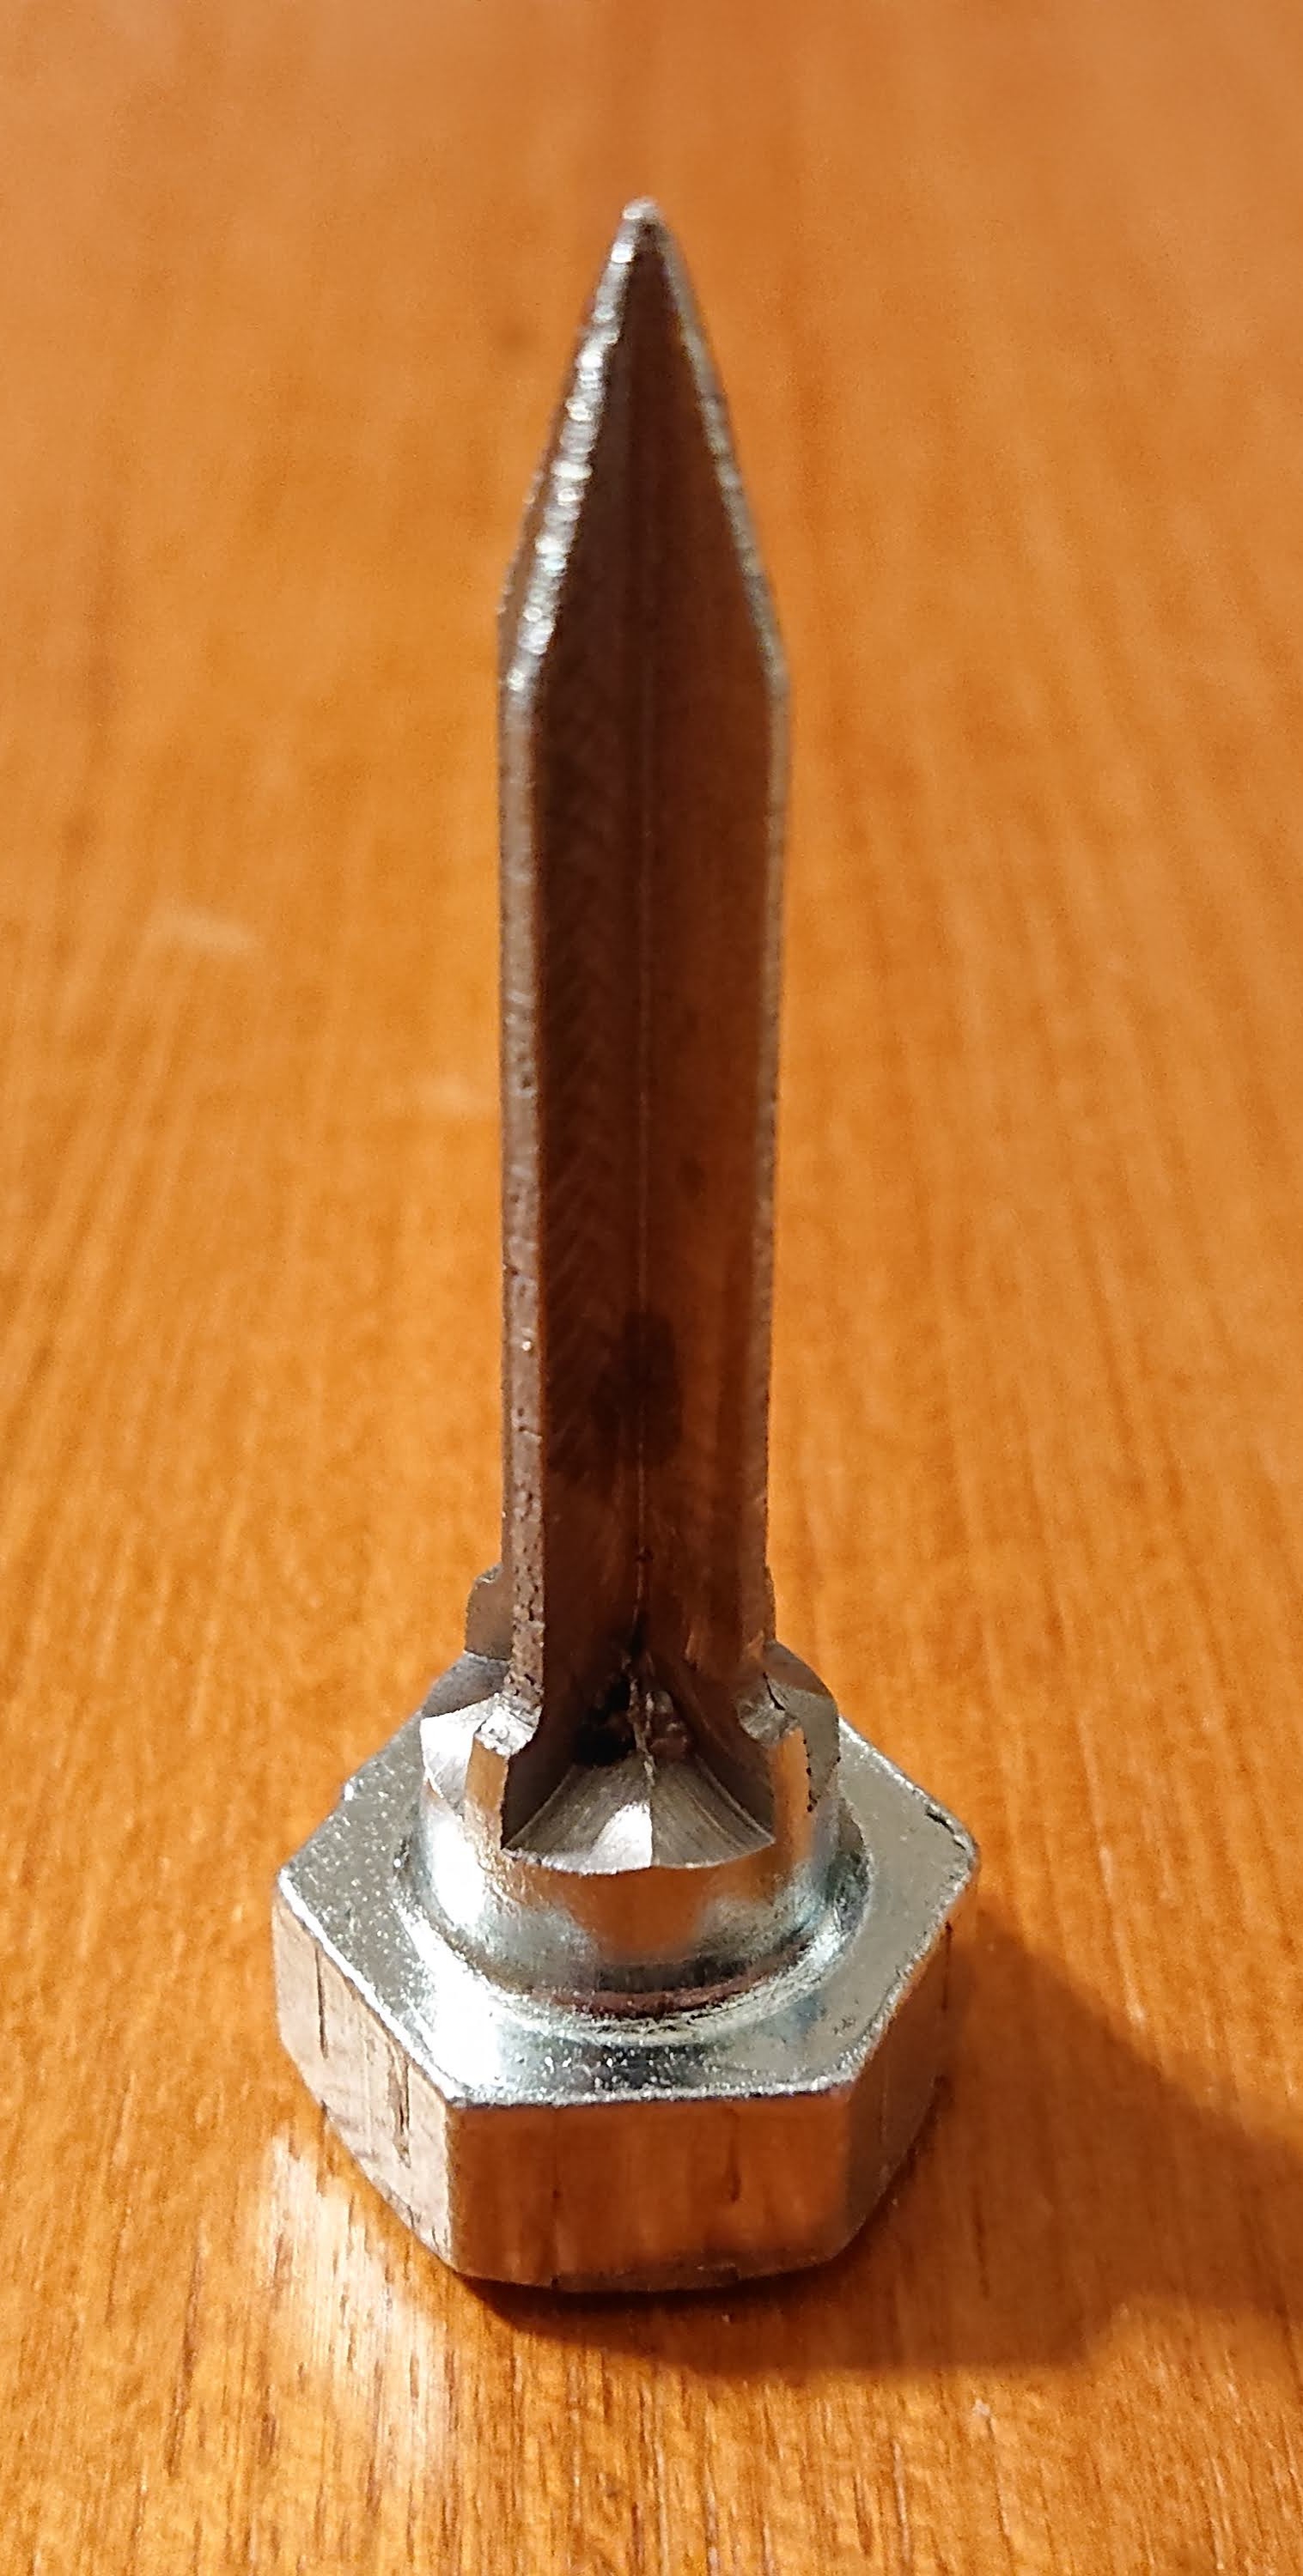
The prongs were attached to a separate part that screws to the end of the lead screw. First thought was to turn a couple new prongs from some ¼" stressproof, thread them M4, drill holes where the old prongs broke off, tap them M4, and put them together with threadlock. But then I thought that I’ve really never liked the prongs and would rather have a X-cross-section stake to drive into the apple core. That seemed feasible. I measured an M6 thread 10mm long on the end of the lead screw. Awesome, this thing looks like an old piece of Americana but it uses sane metric measurements. I’m on board with this. I rummaged around and found a ½"x2" lag screw (chromed, not zinc) to use as the basis for this new part.
We had planned to spend the evening modeling another element of the Cloudray Series C laser optics set for Project Monocle, but instead we modeled a stake machined out of that screw. He learned how to rearrange the design tree, use power trim, create an asymmetric chamfer, and to wish that Solidworks had the symmetric constraint that comes in so handy in FreeCAD. Instead, he had to draw extra construction lines for midpoint coincidence. Life is hard.
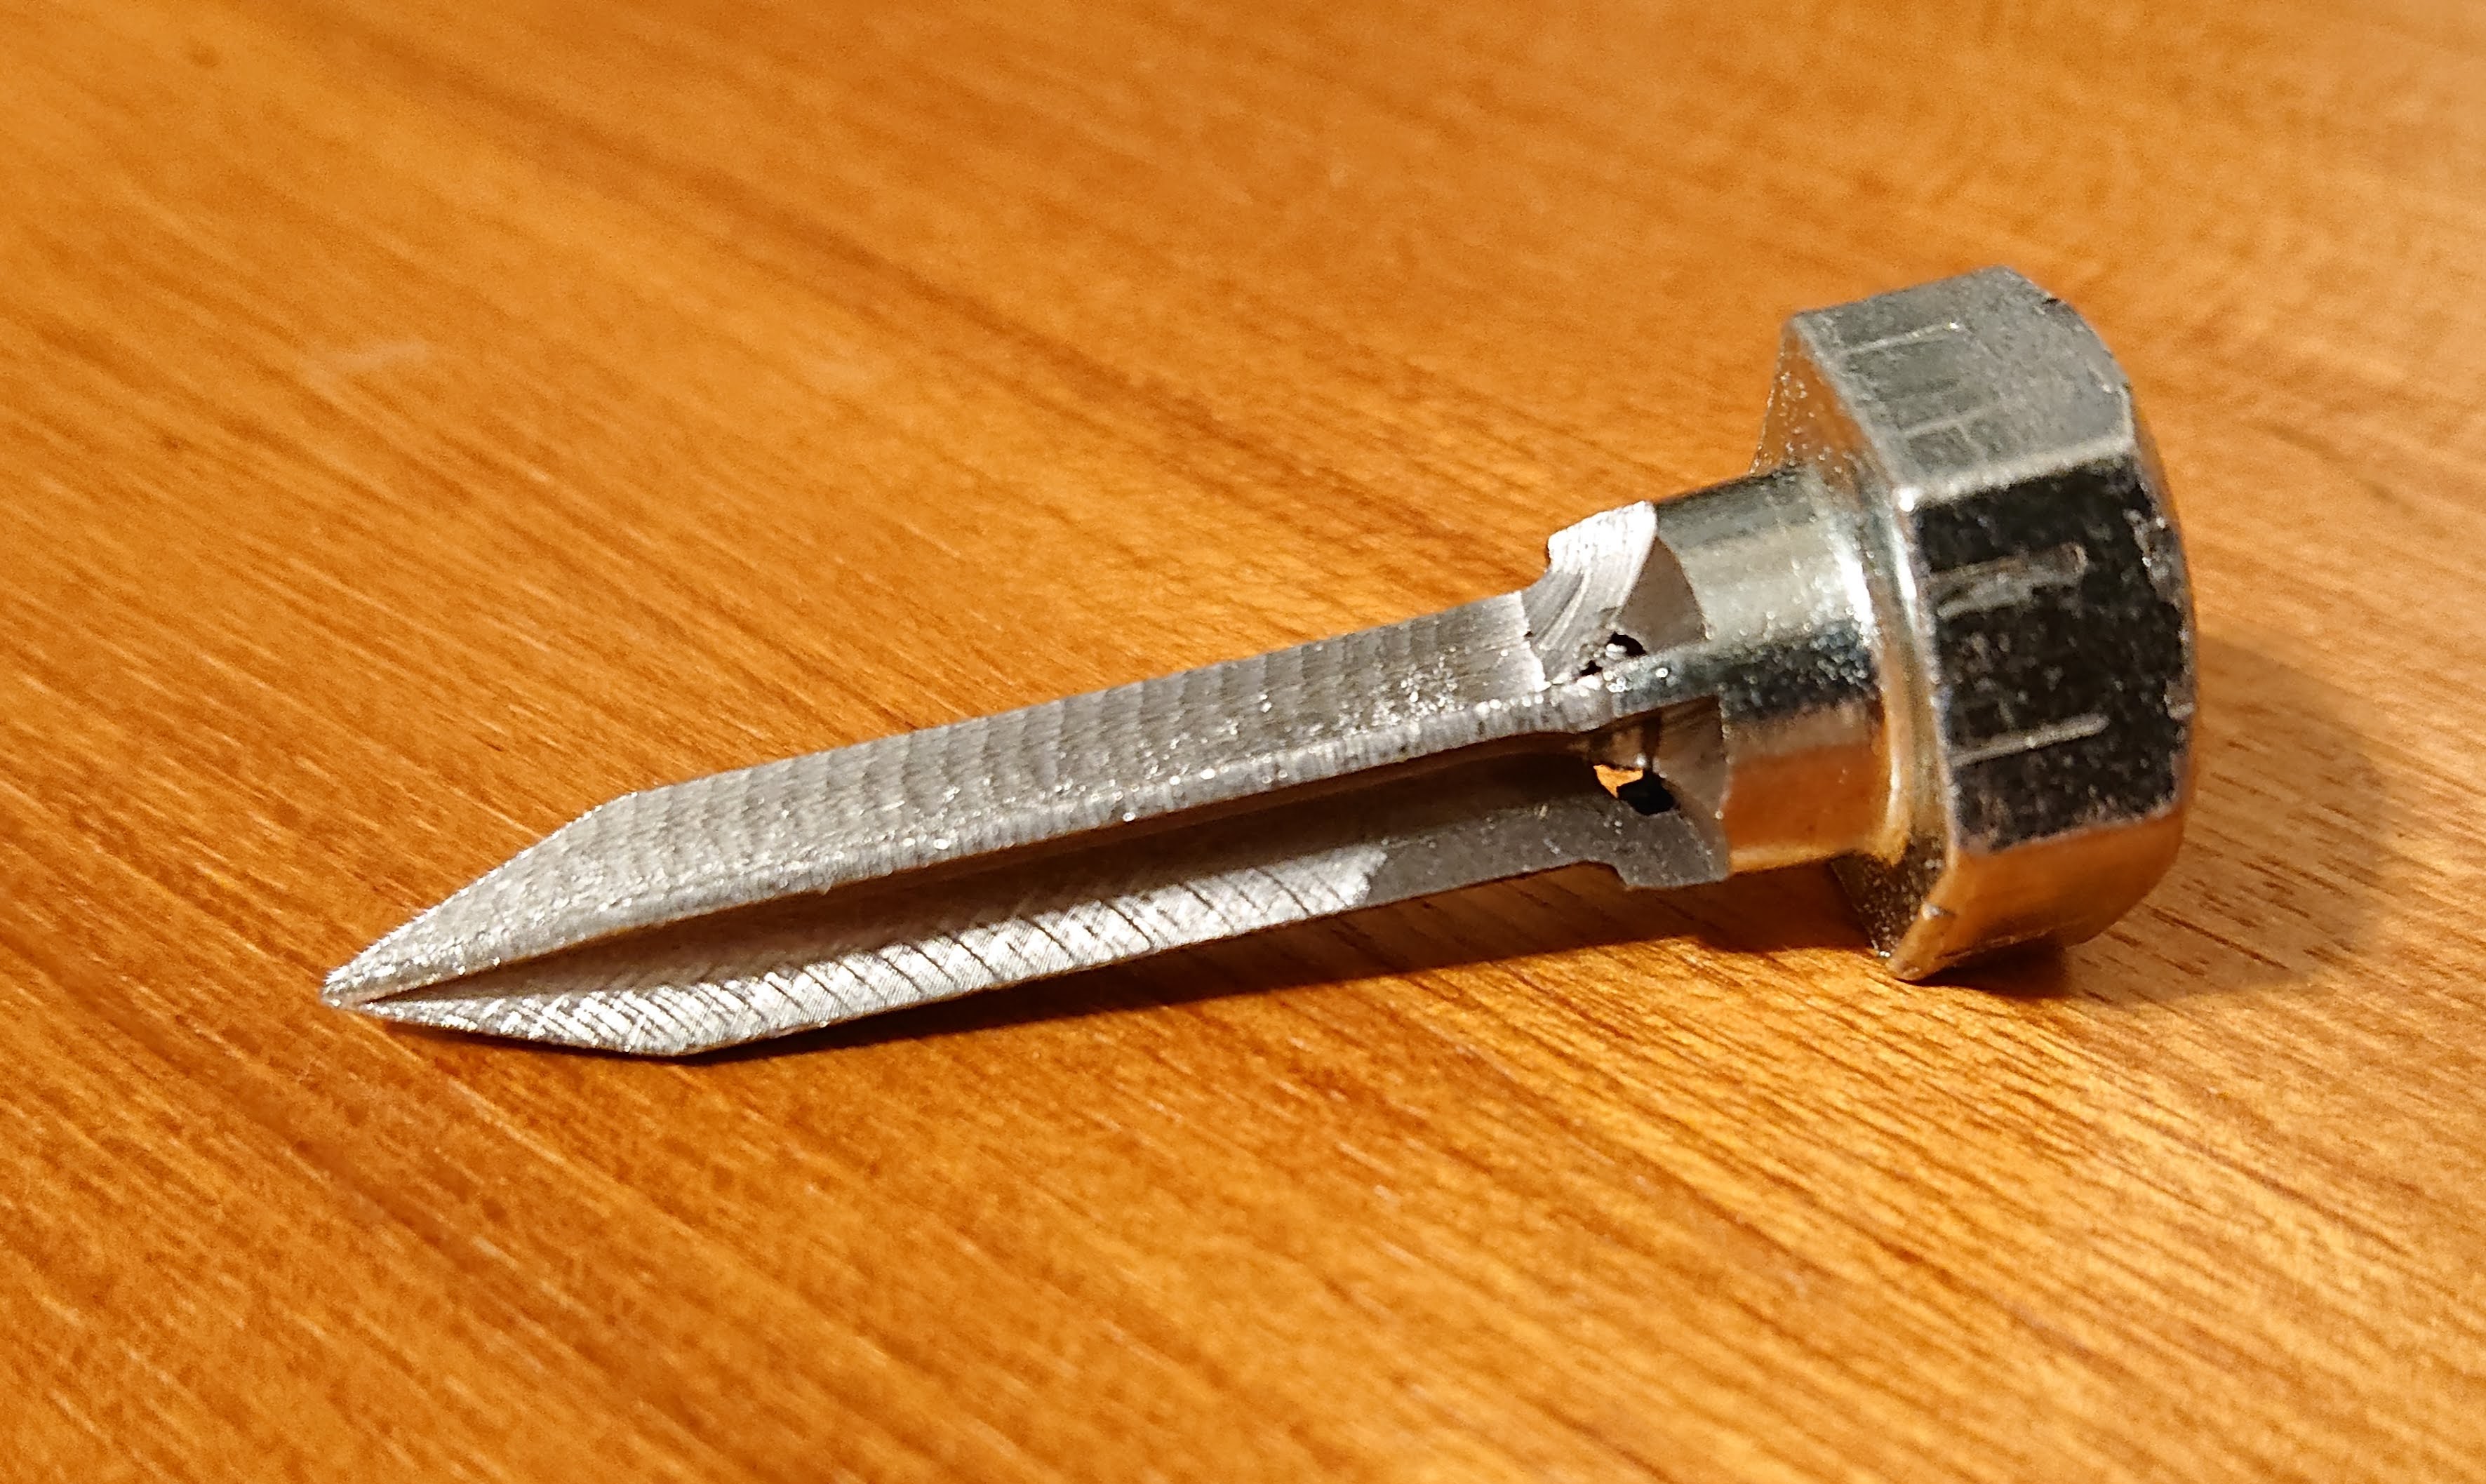
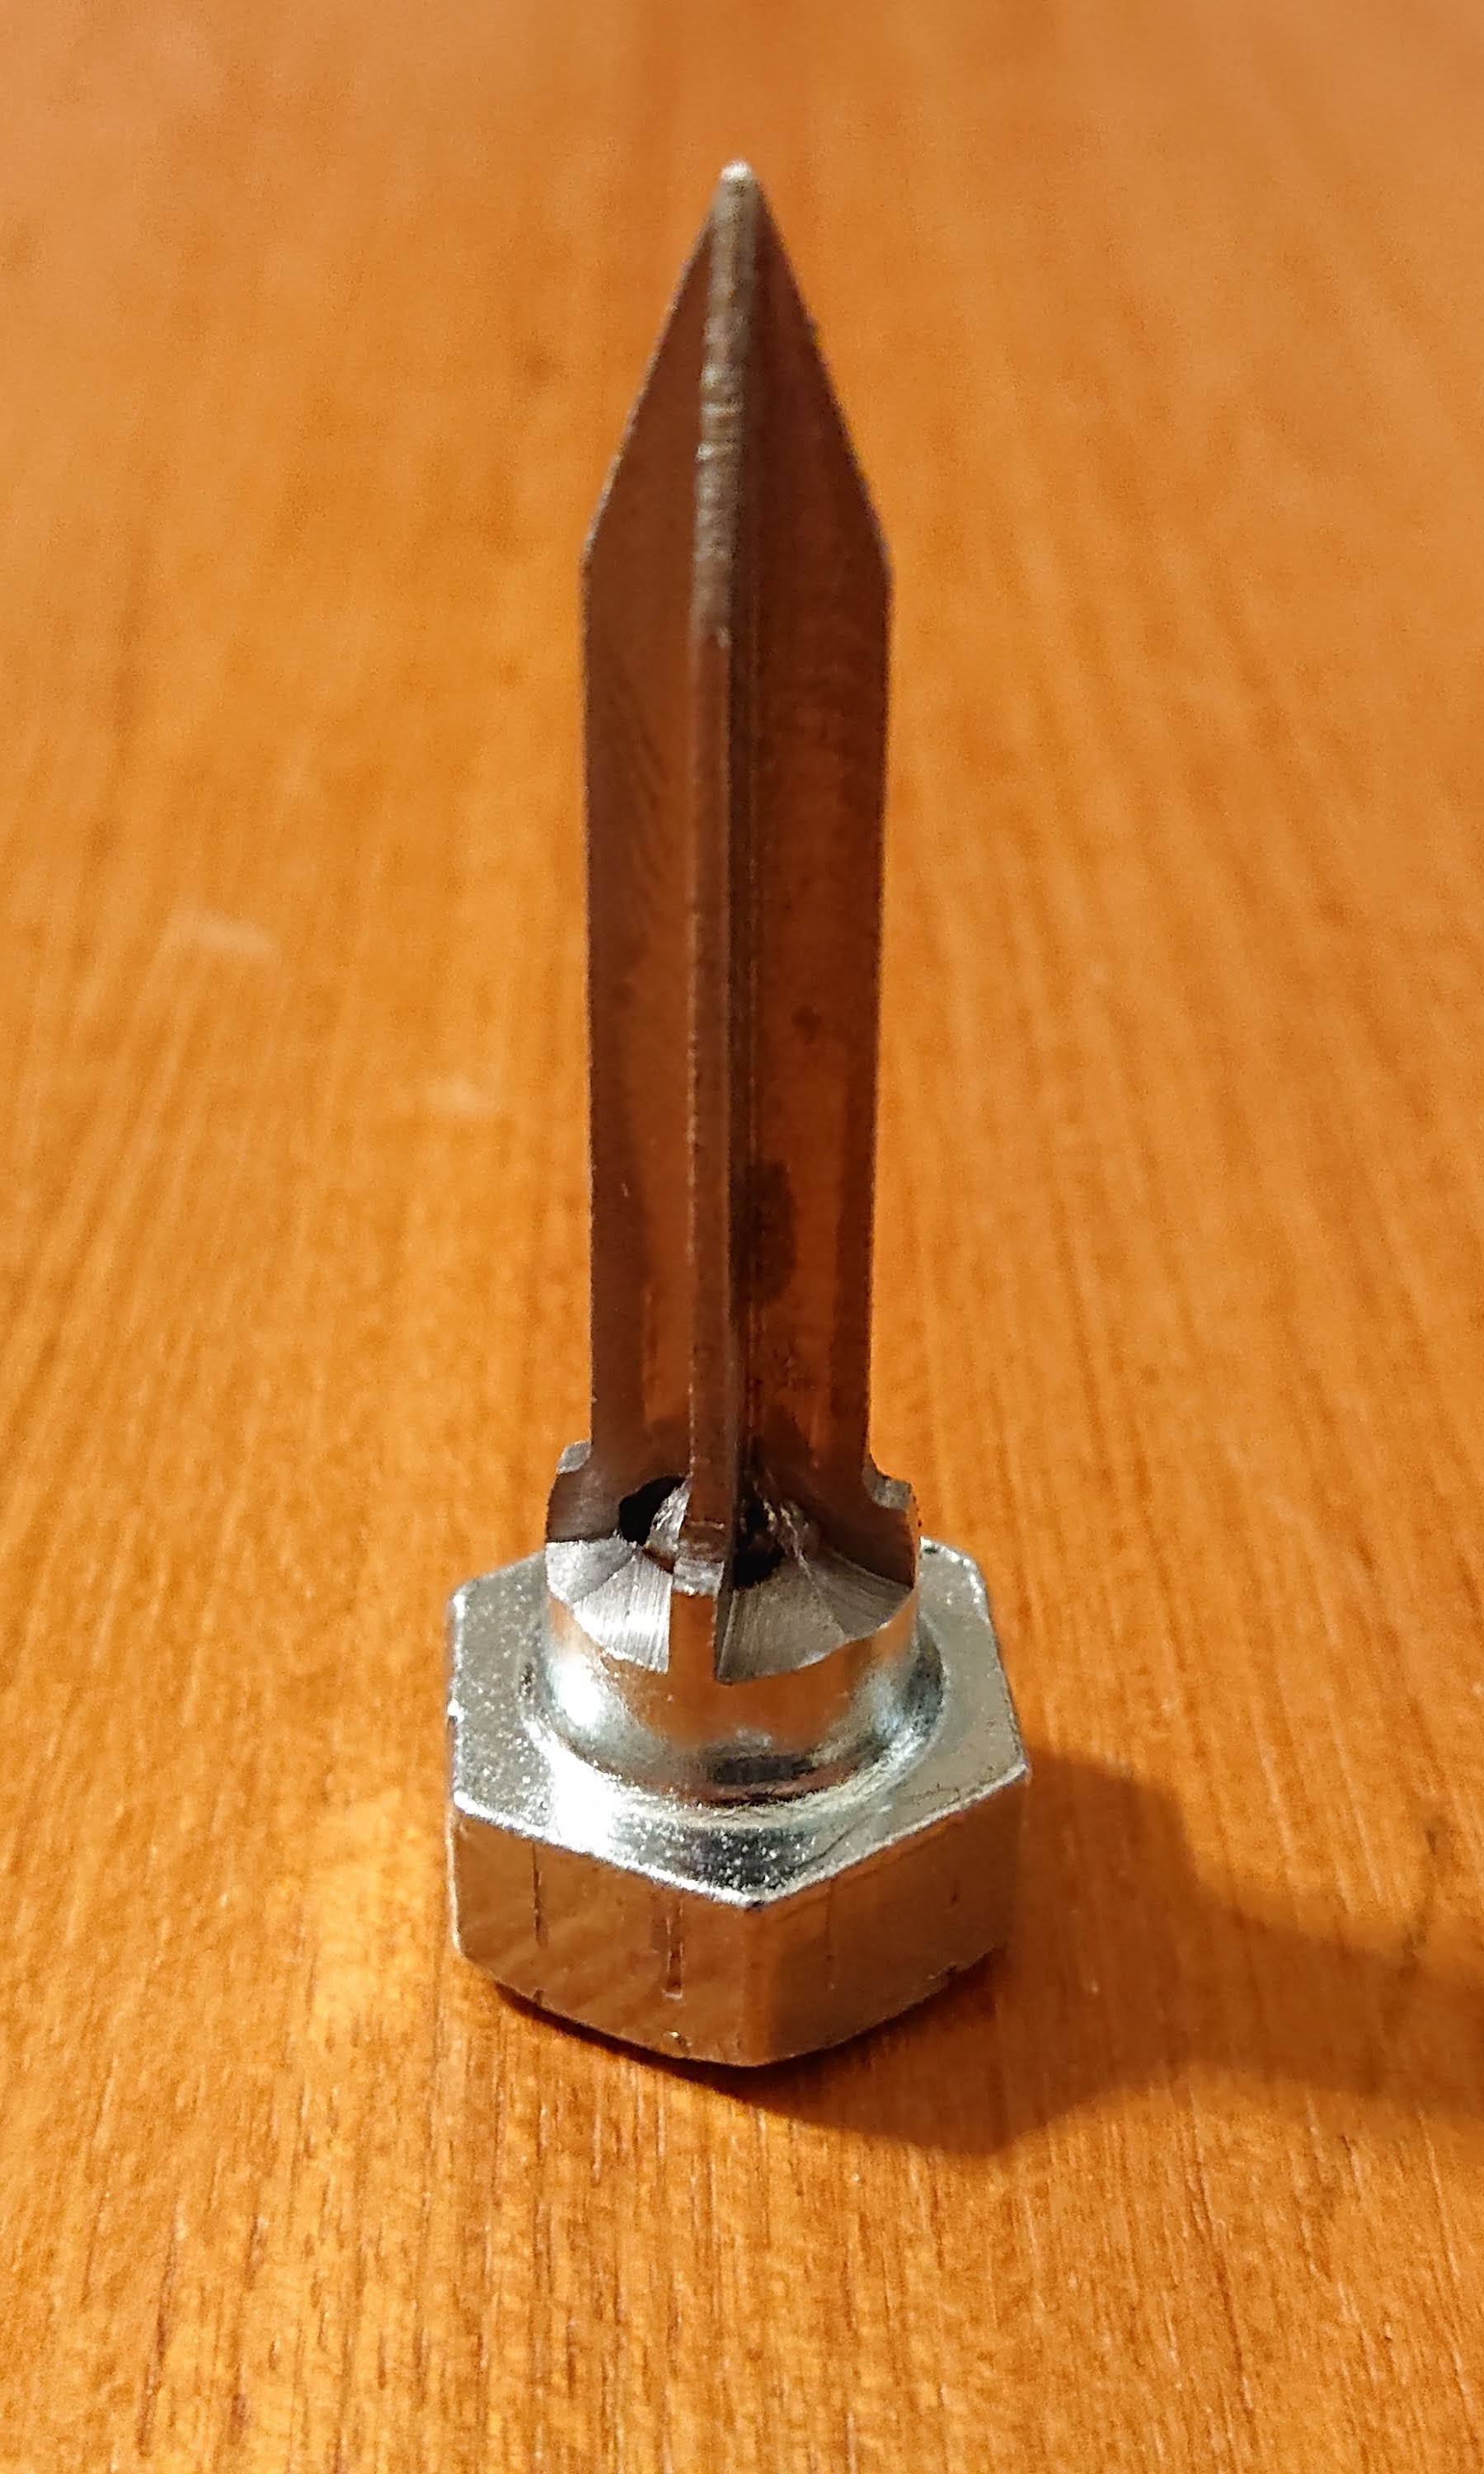
Got the screw lined up in the six-jaw chuck and tapped it into place until the tip quit wobbling while it ran, then used a carbide insert to take off the threads, and put a 20⁰ taper (40⁰ included angle) tip on it. Then to the mill, and put it in the dividing head; there we couldn’t turn it fast enough to see wobble, but we could use a height gauge to get it within 0.1mm of level. Good enough for this purpose! Used a ½" end mill advanced about 1mm in Z per pass to mill out the x shape. Slow work with 1.75" of stick-out from the dividing head and no support, but that’s OK. The result looked very good, and was almost done. Just need to be able to screw it on to the corer!
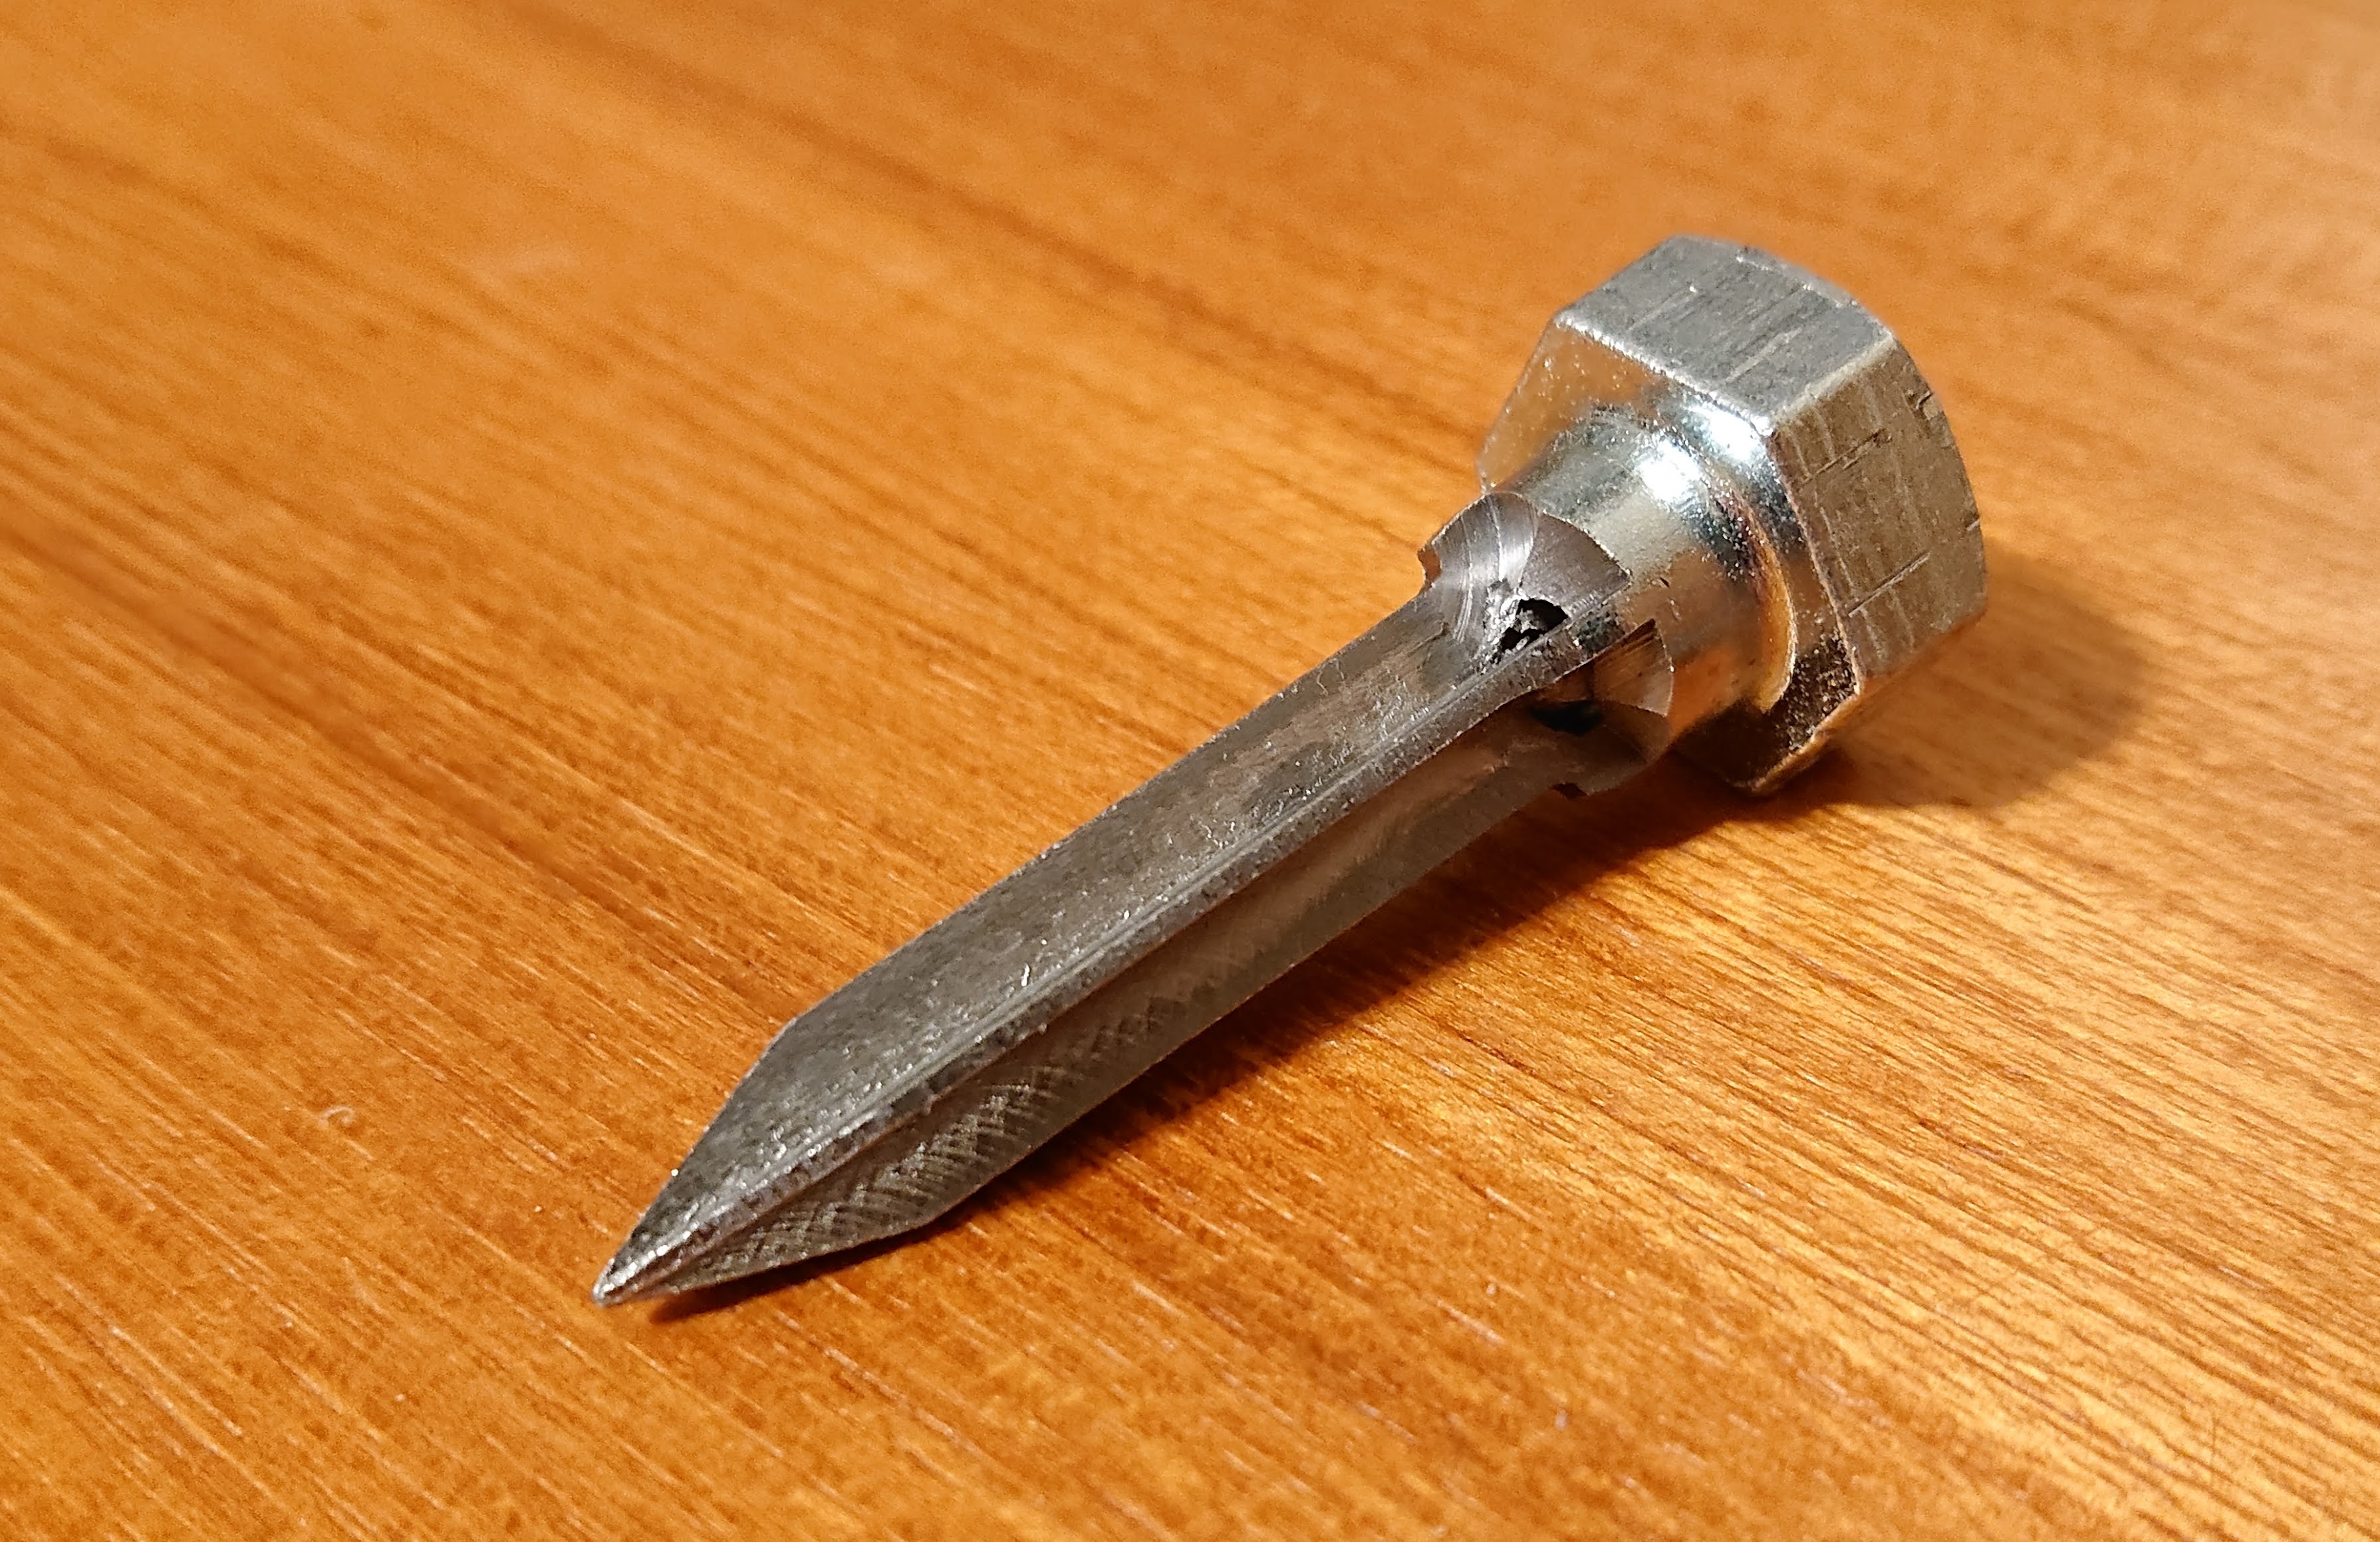
So, back to the lathe to drill and tap the screw head to be able to screw this new beautifully-executed stake onto the end of the apple peeler. First a #4 center drill up to the shoulder, then drill 14mm deep in order to be able to easily tap at least 10mm deep.
Somehow, M6 transformed in my mind into “let me grab a 6mm drill bit,” and I realized what I had done immediately after drilling a 14mm deep, 6mm diameter hole that will never be tapped M6.
We plan to try again tomorrow or so.