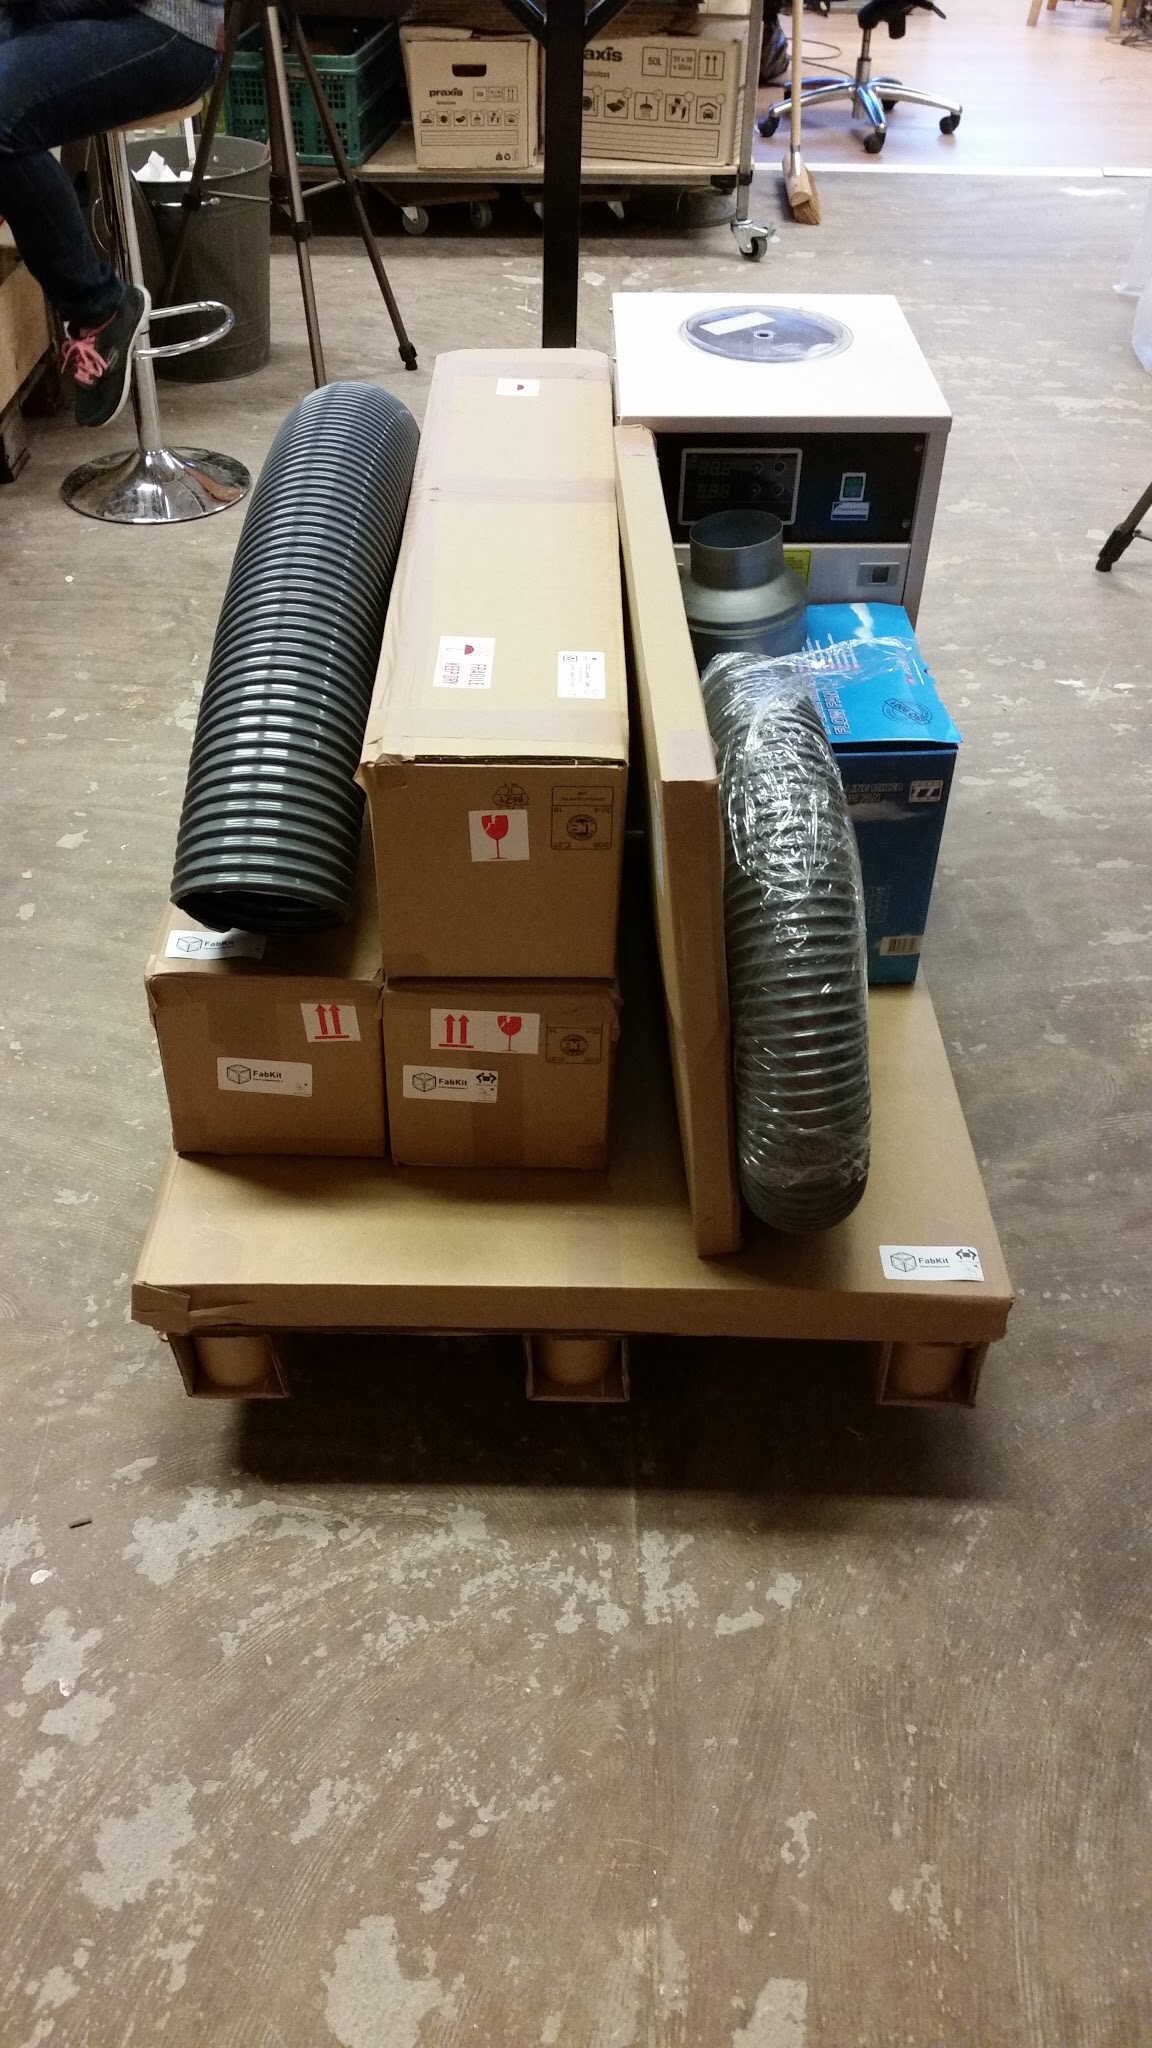
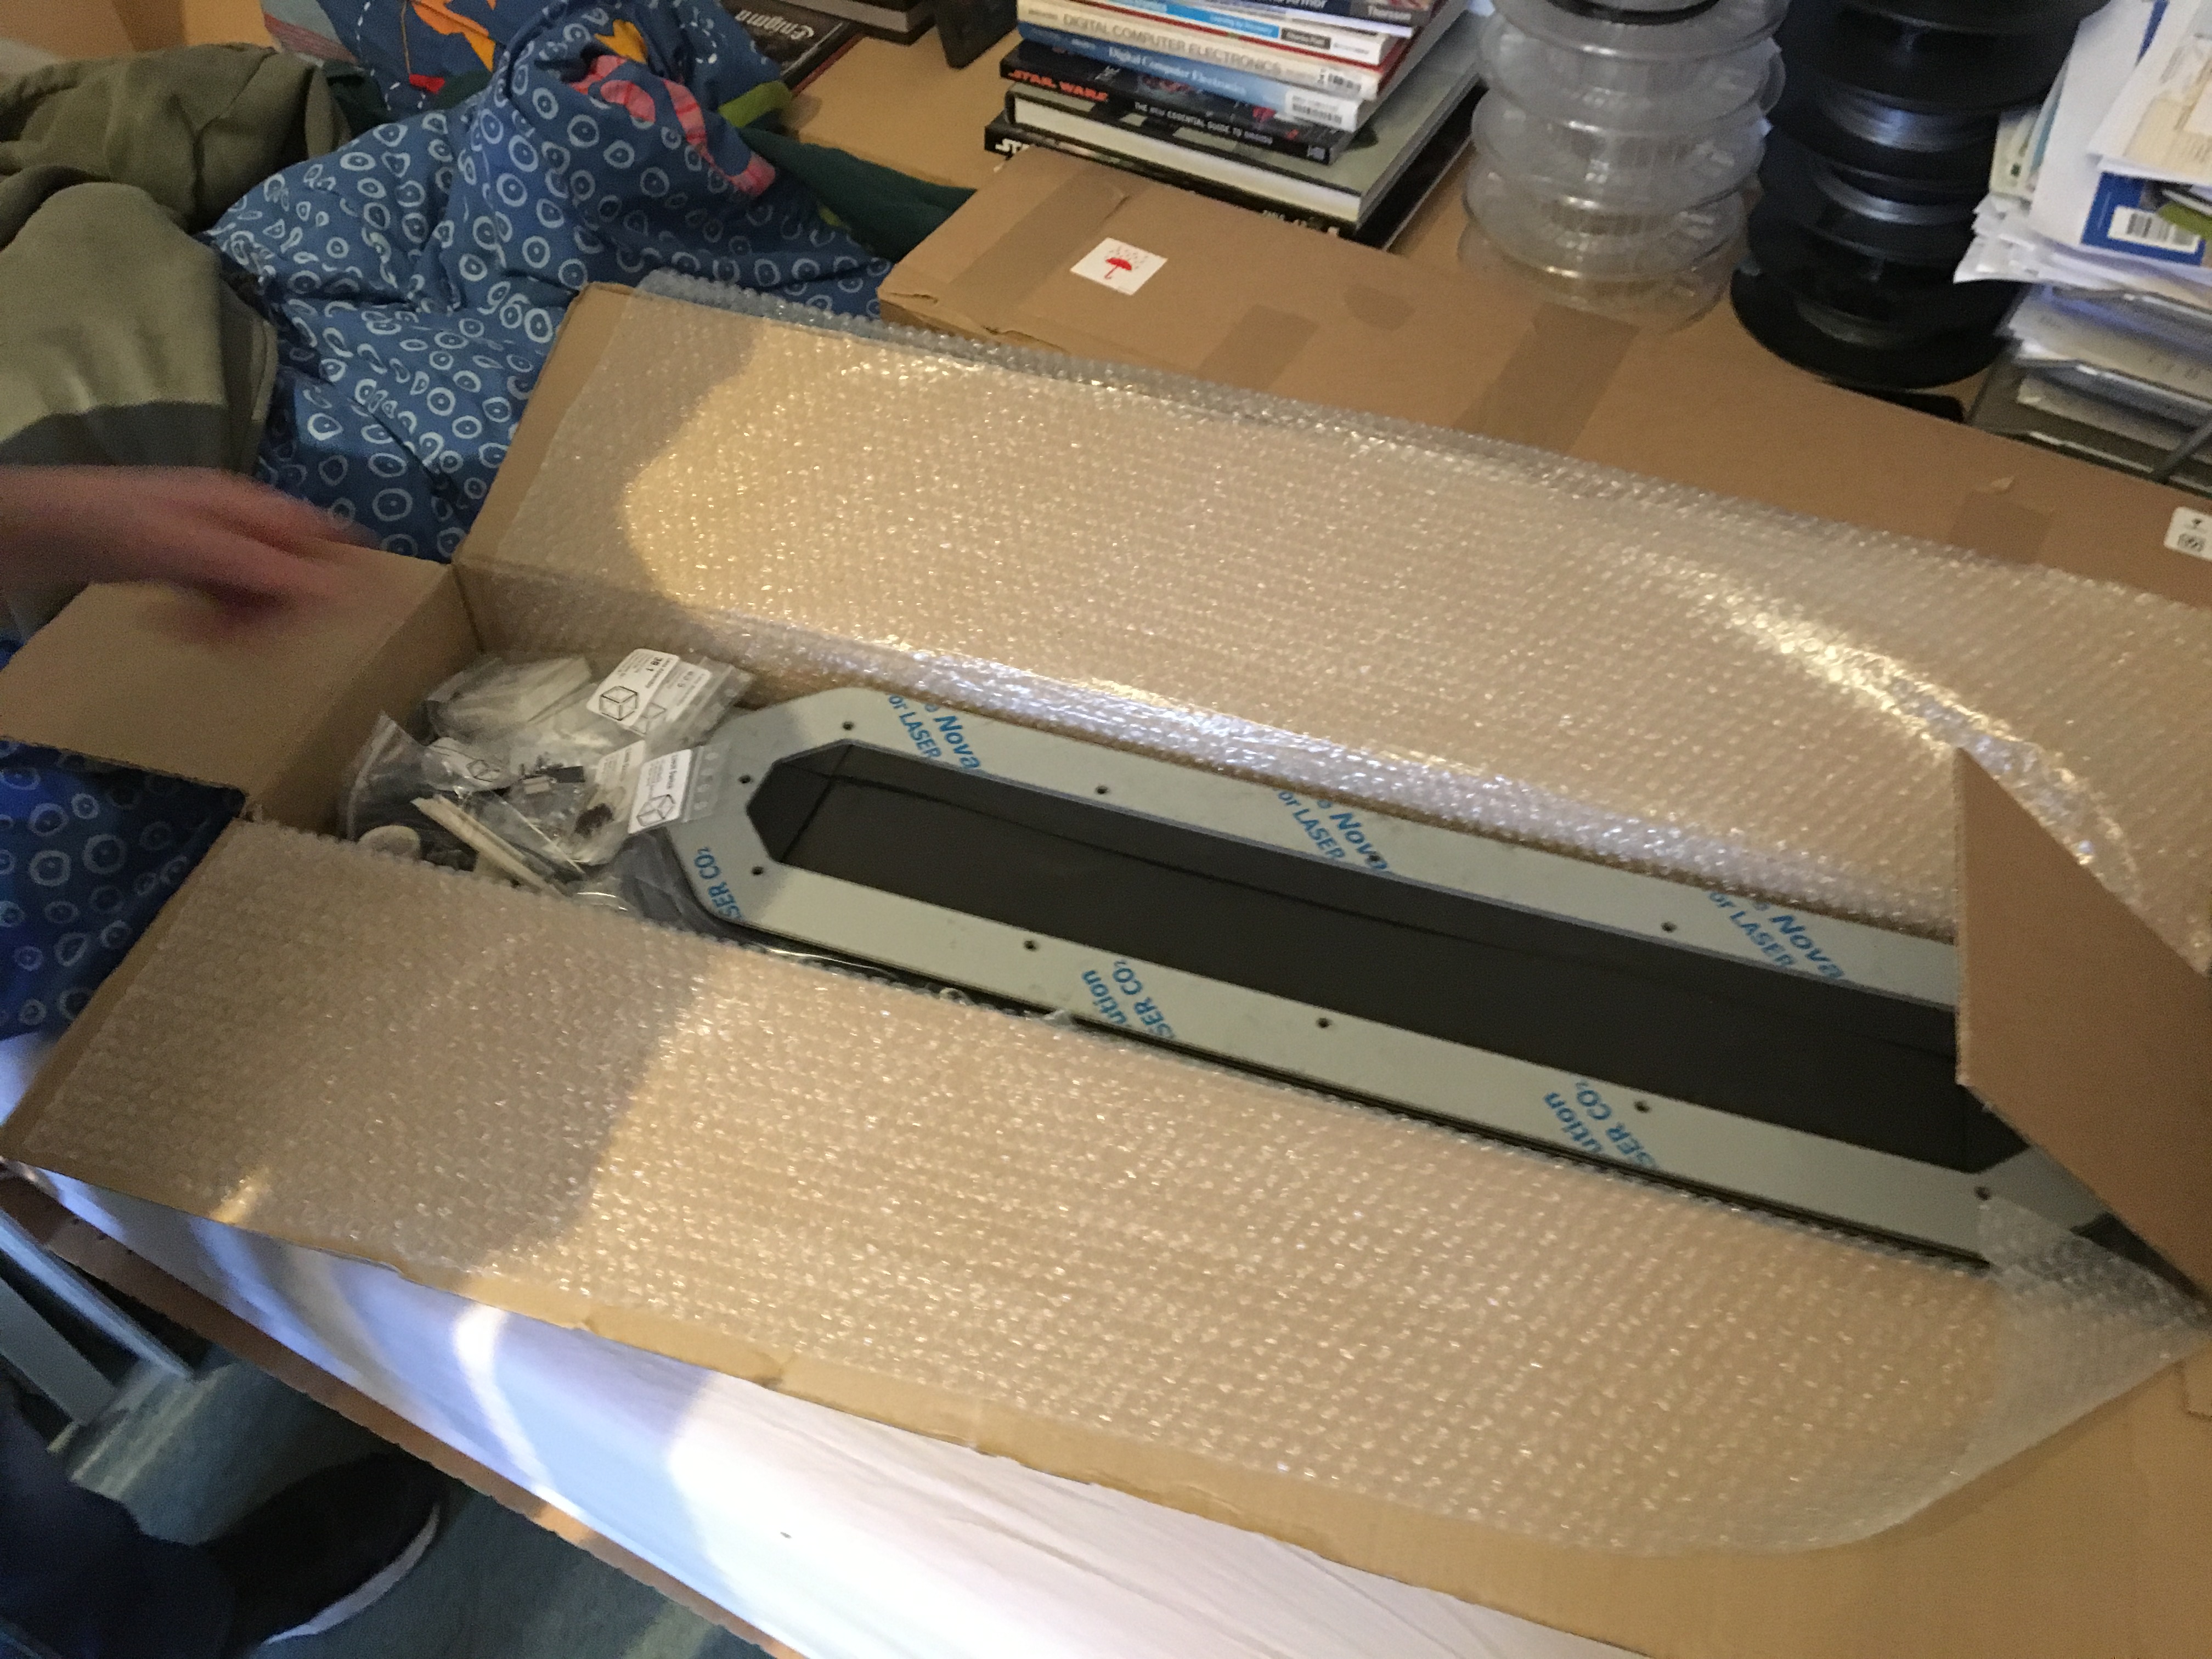
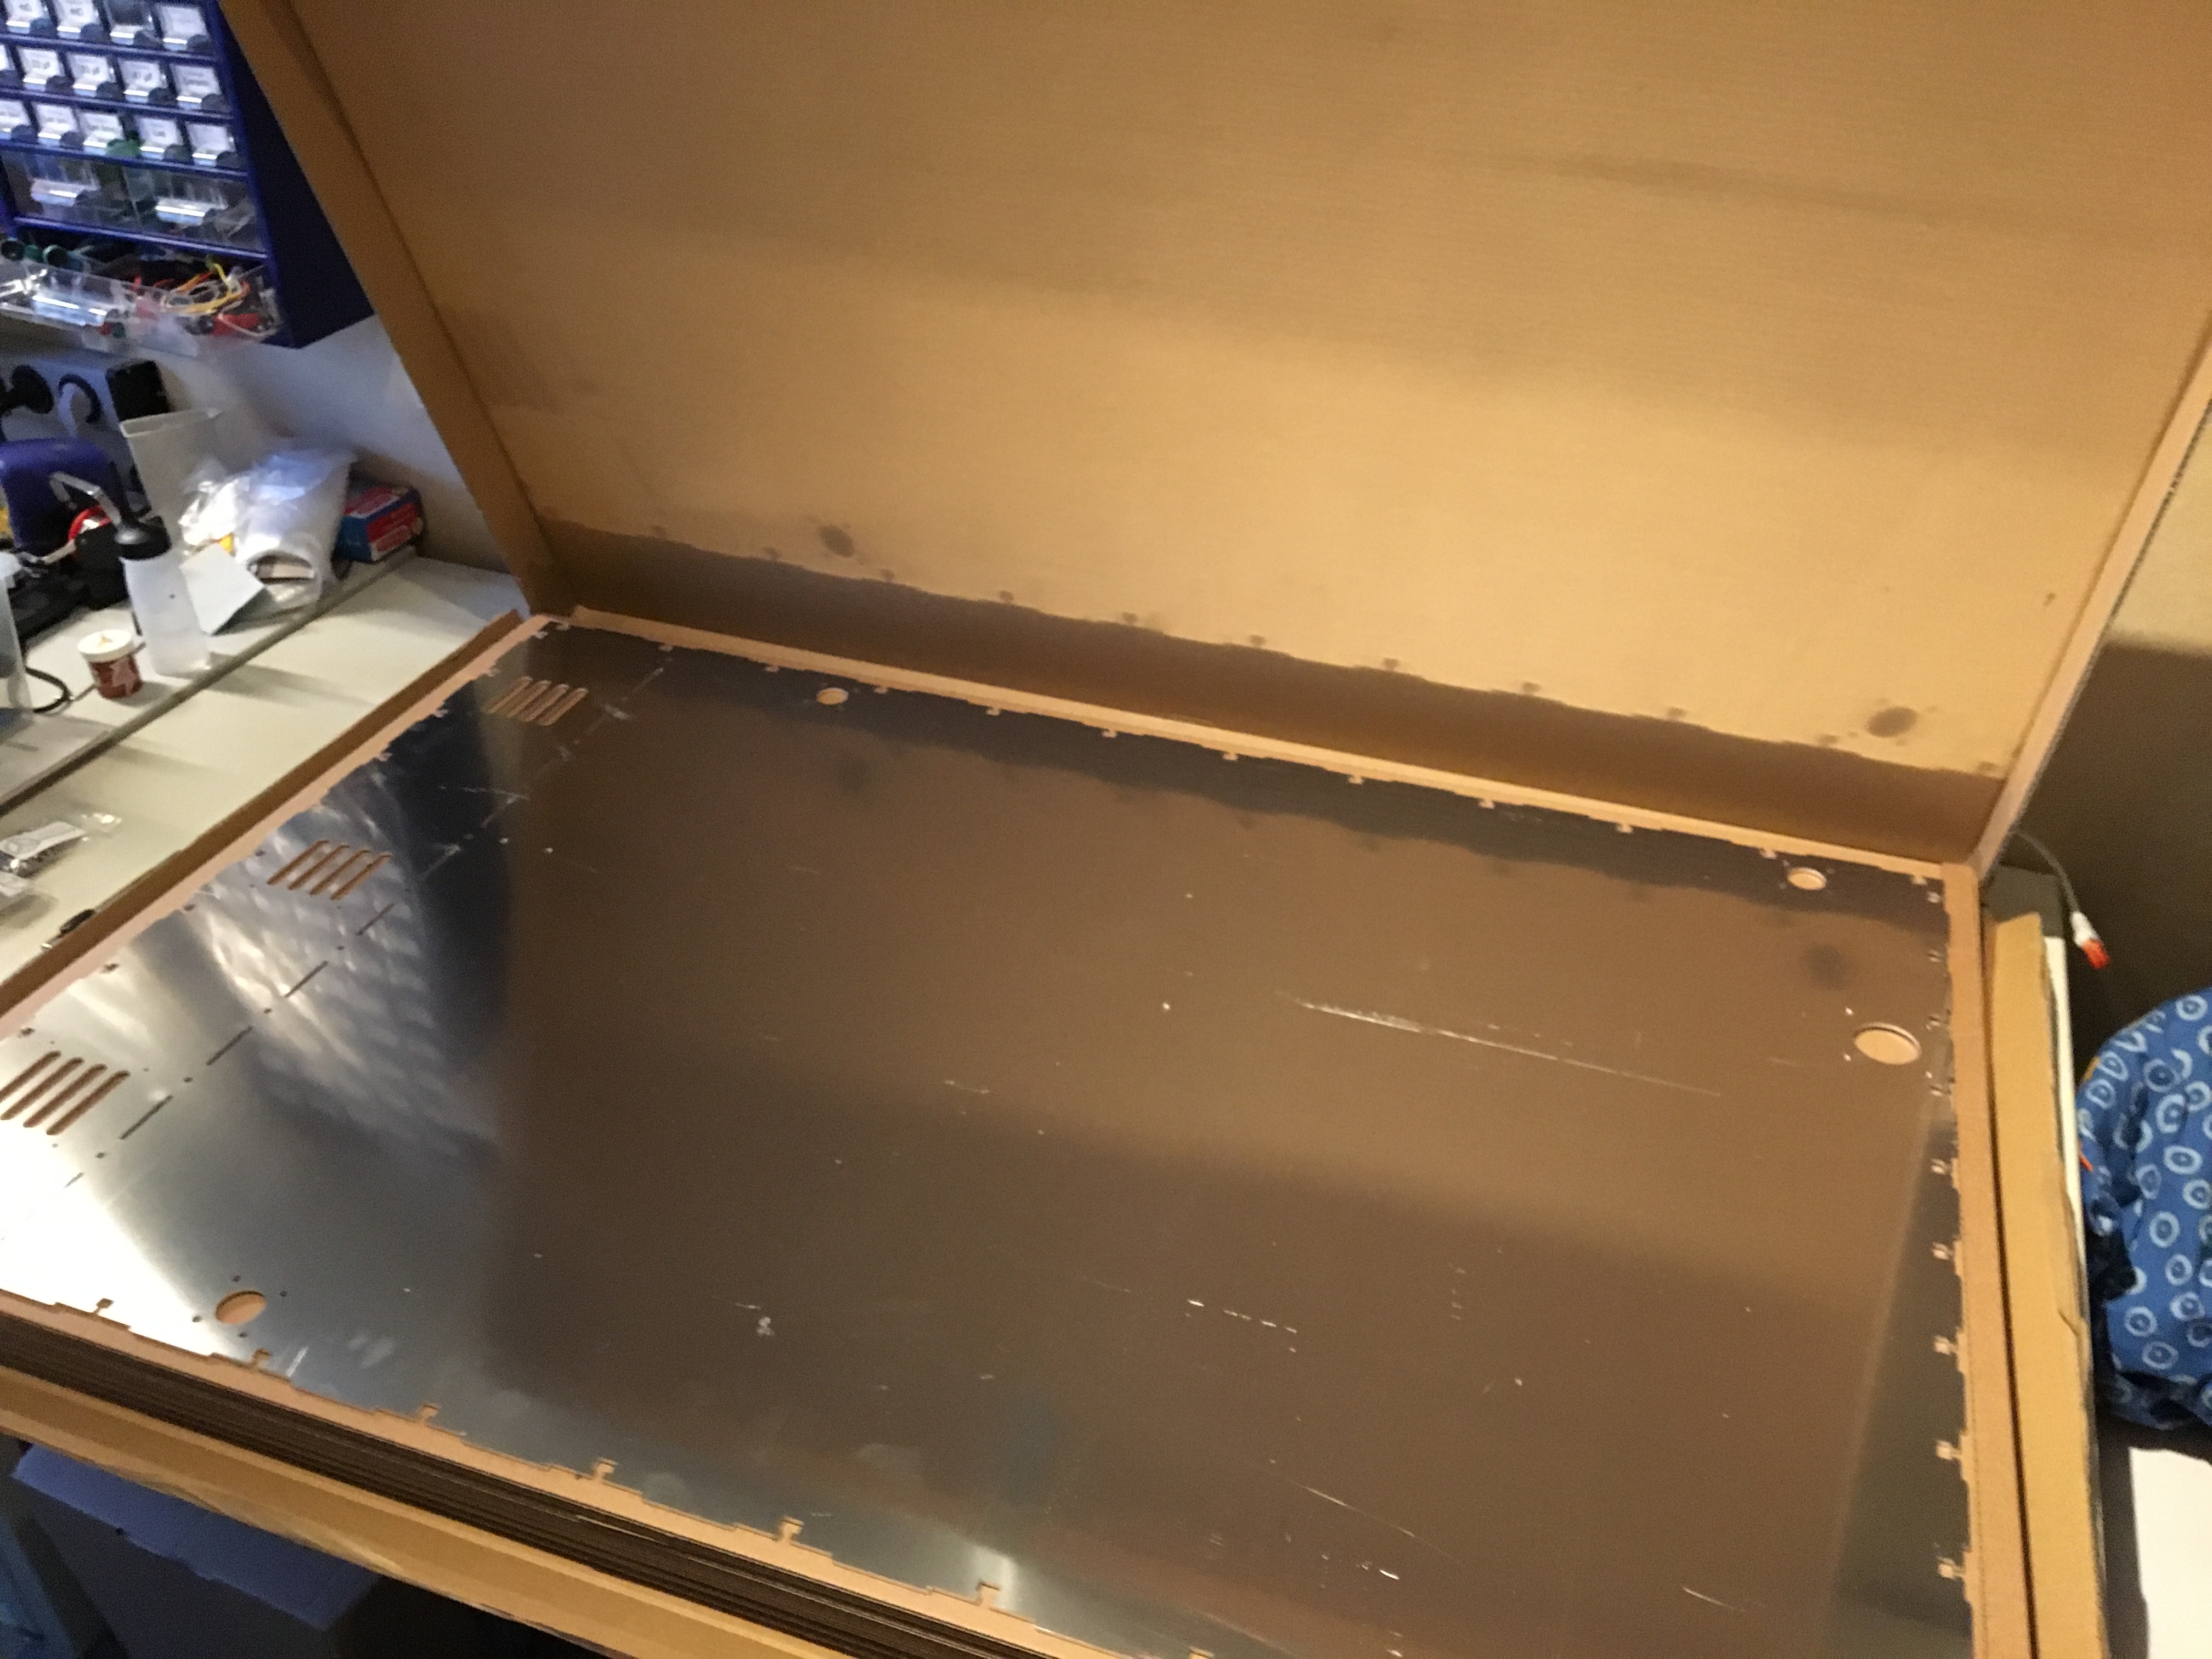
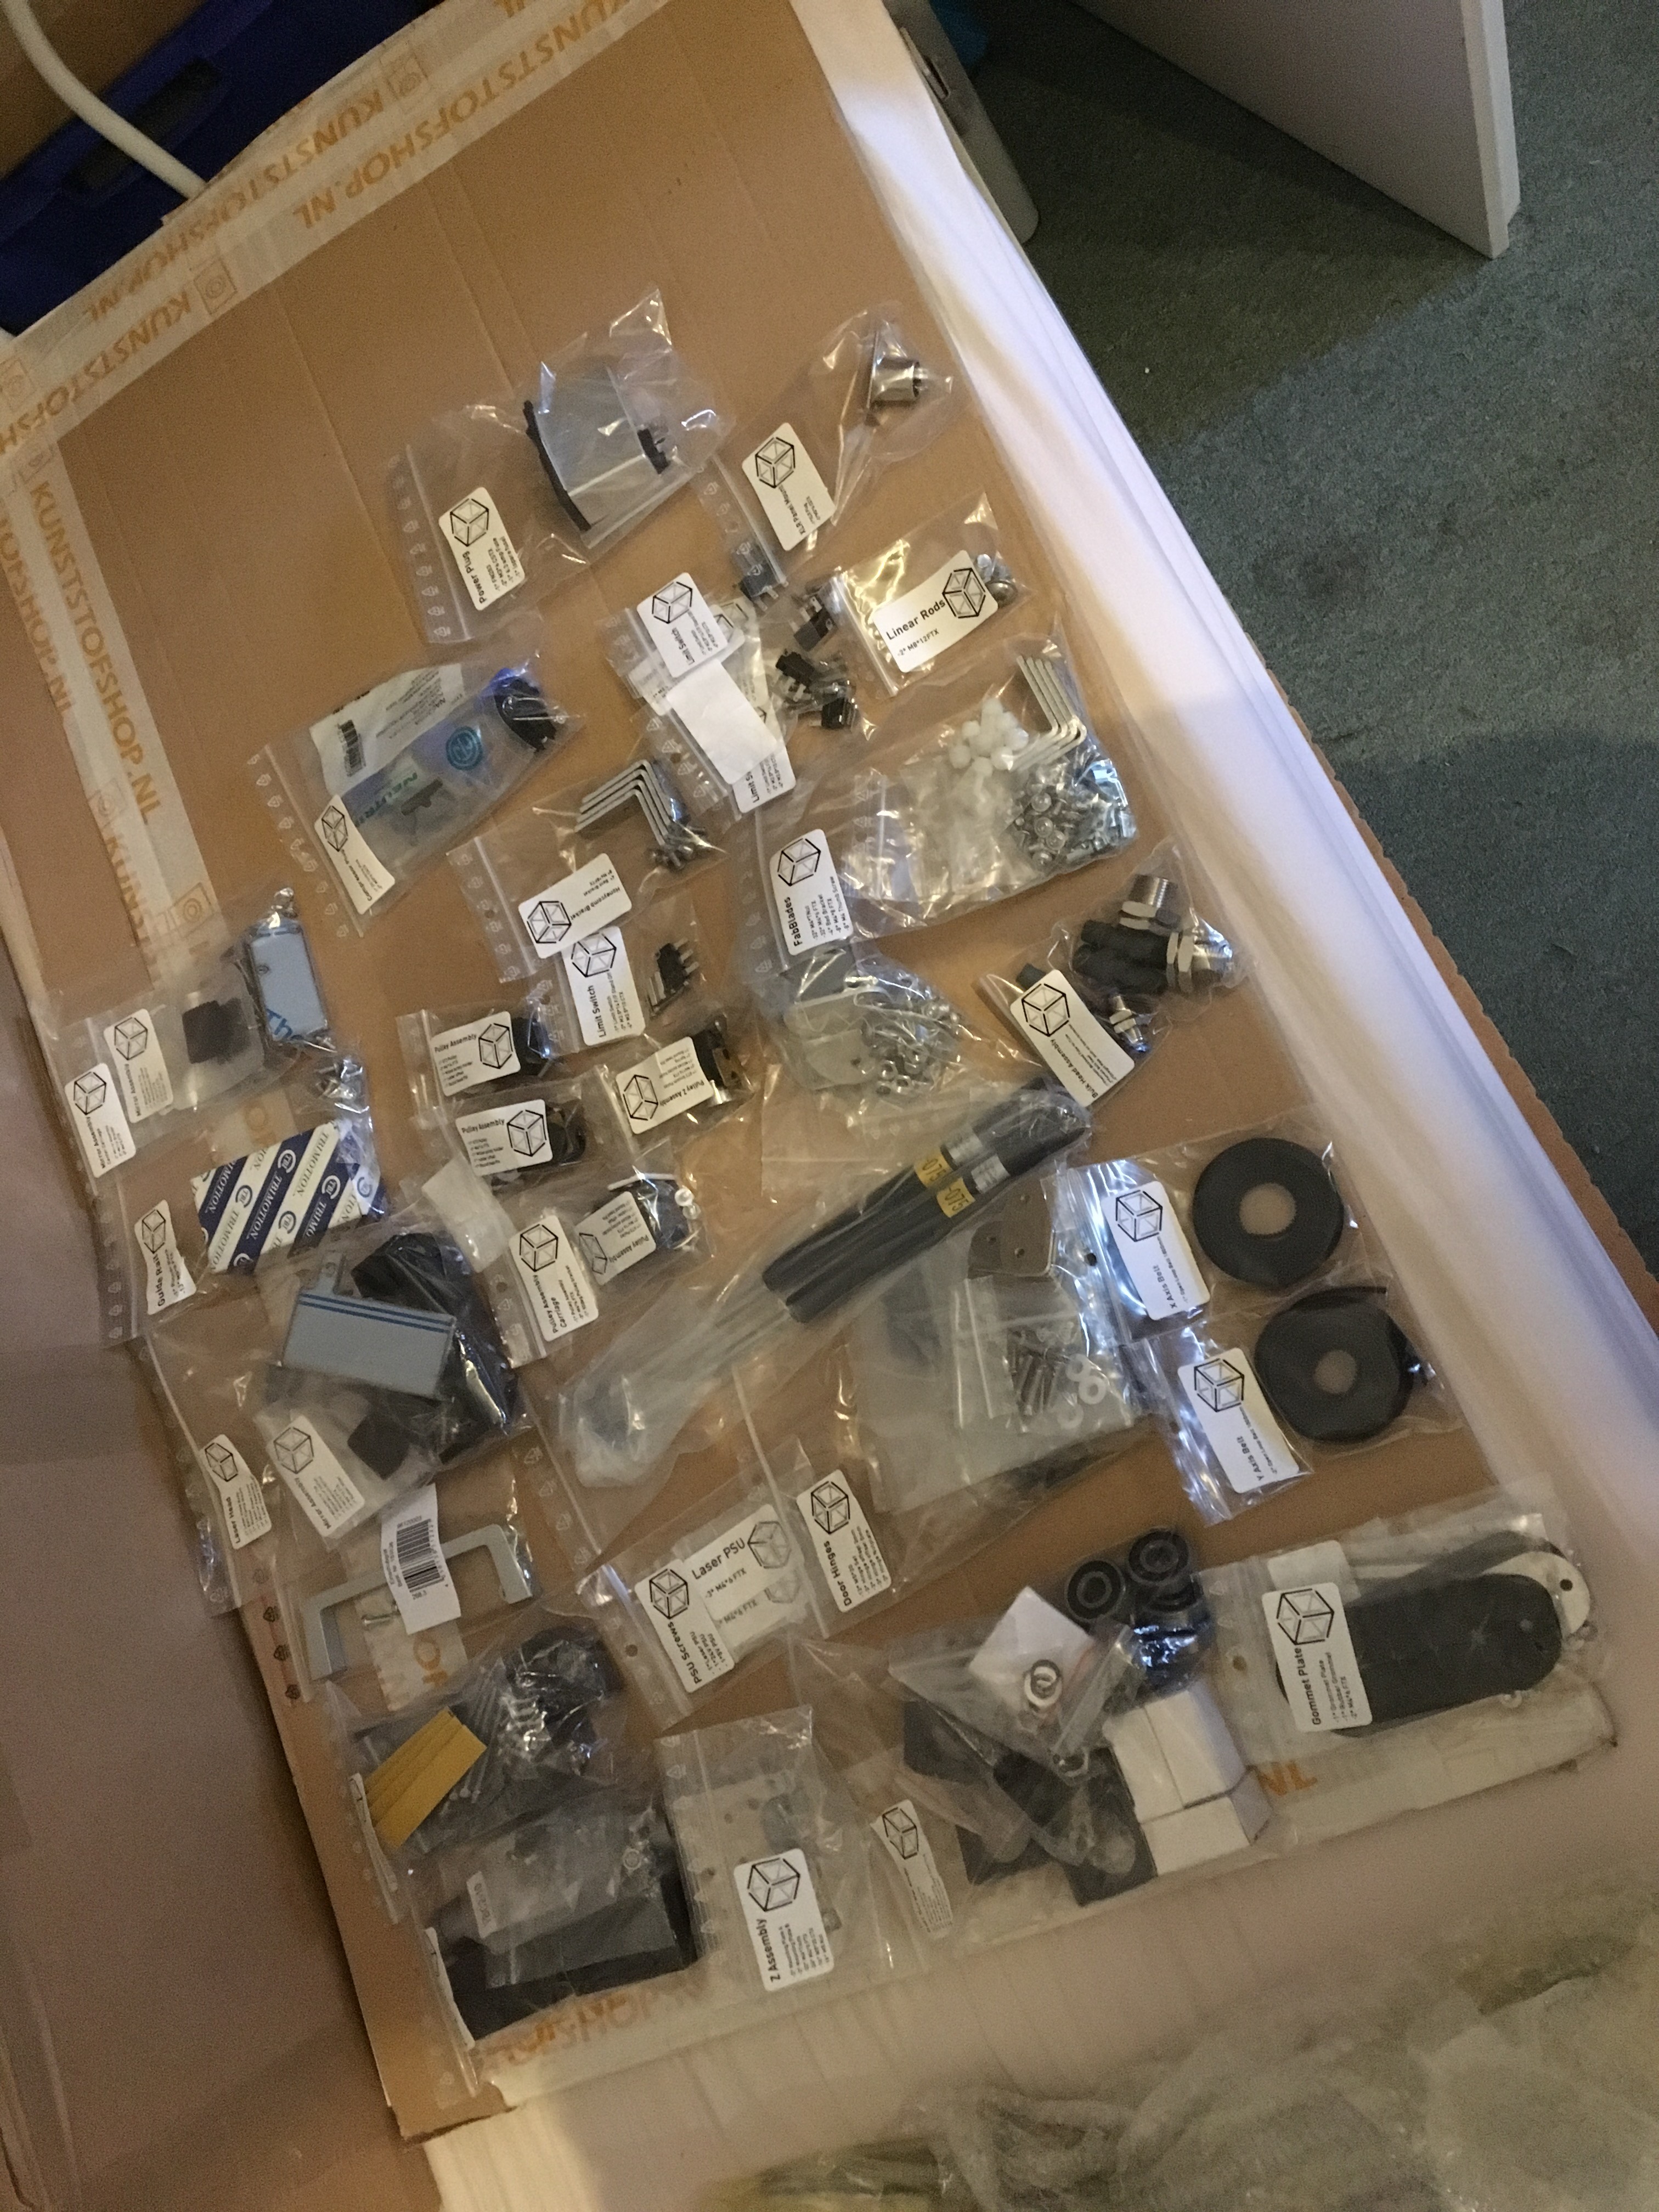
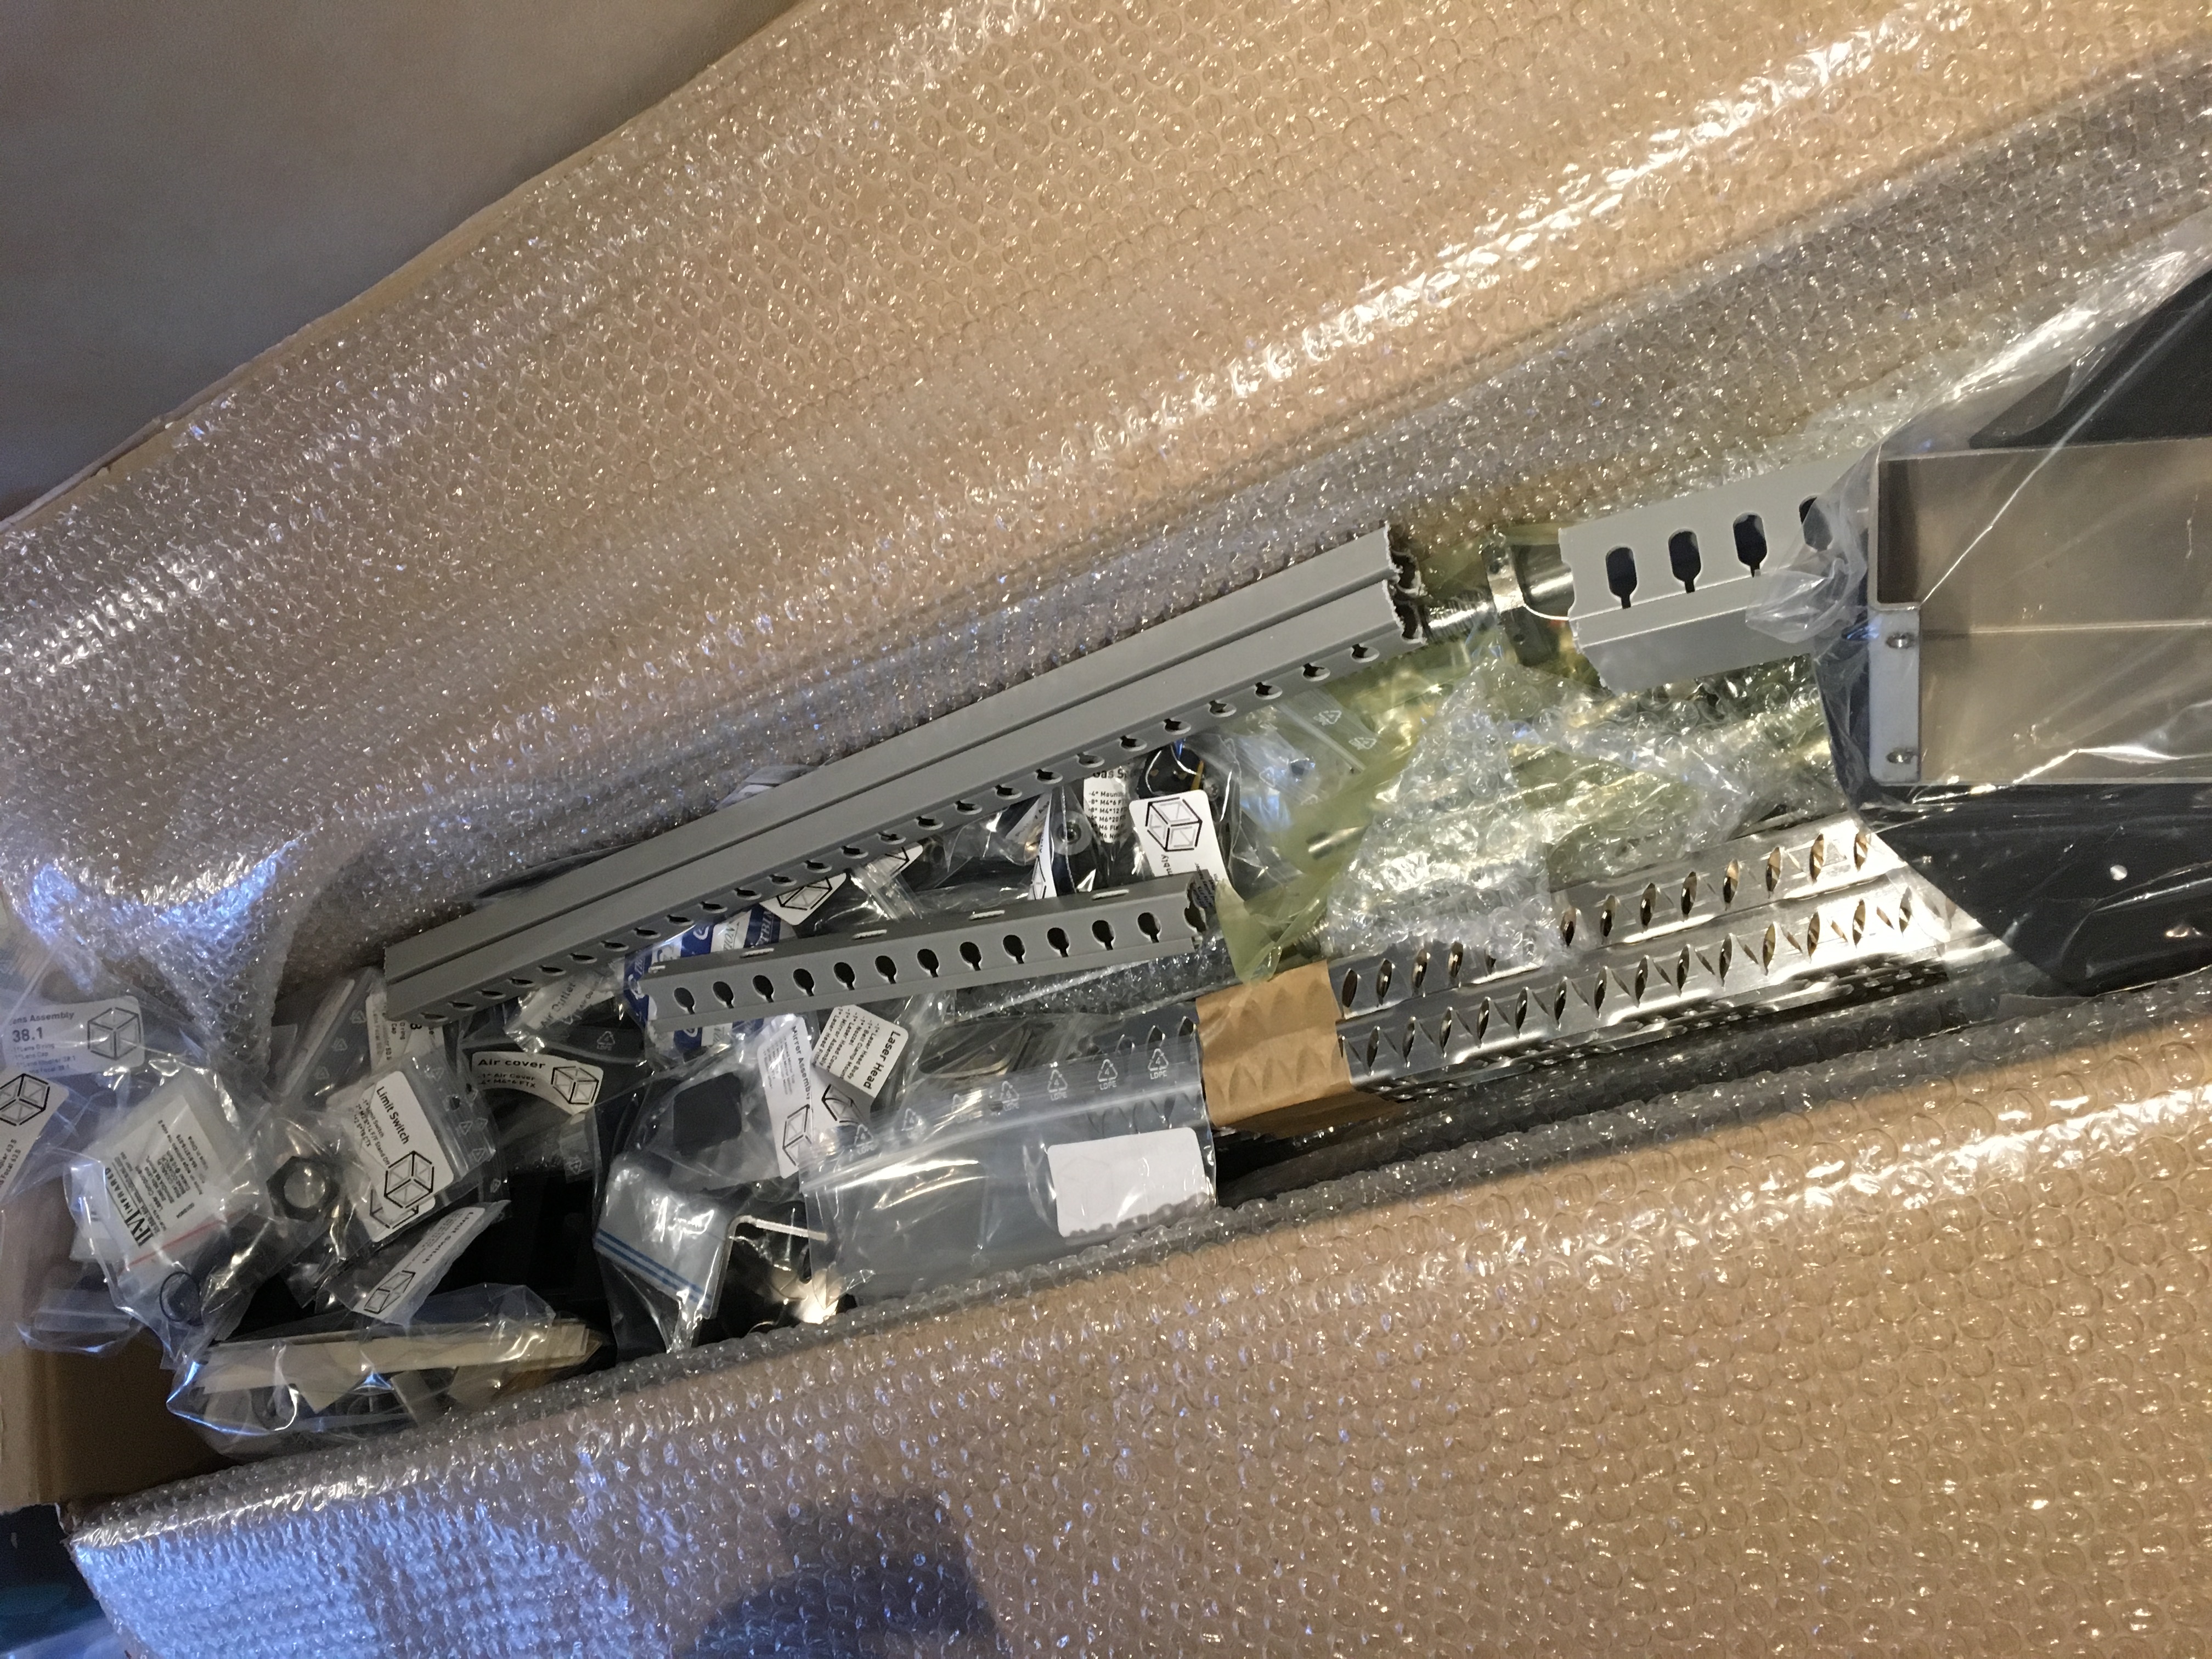
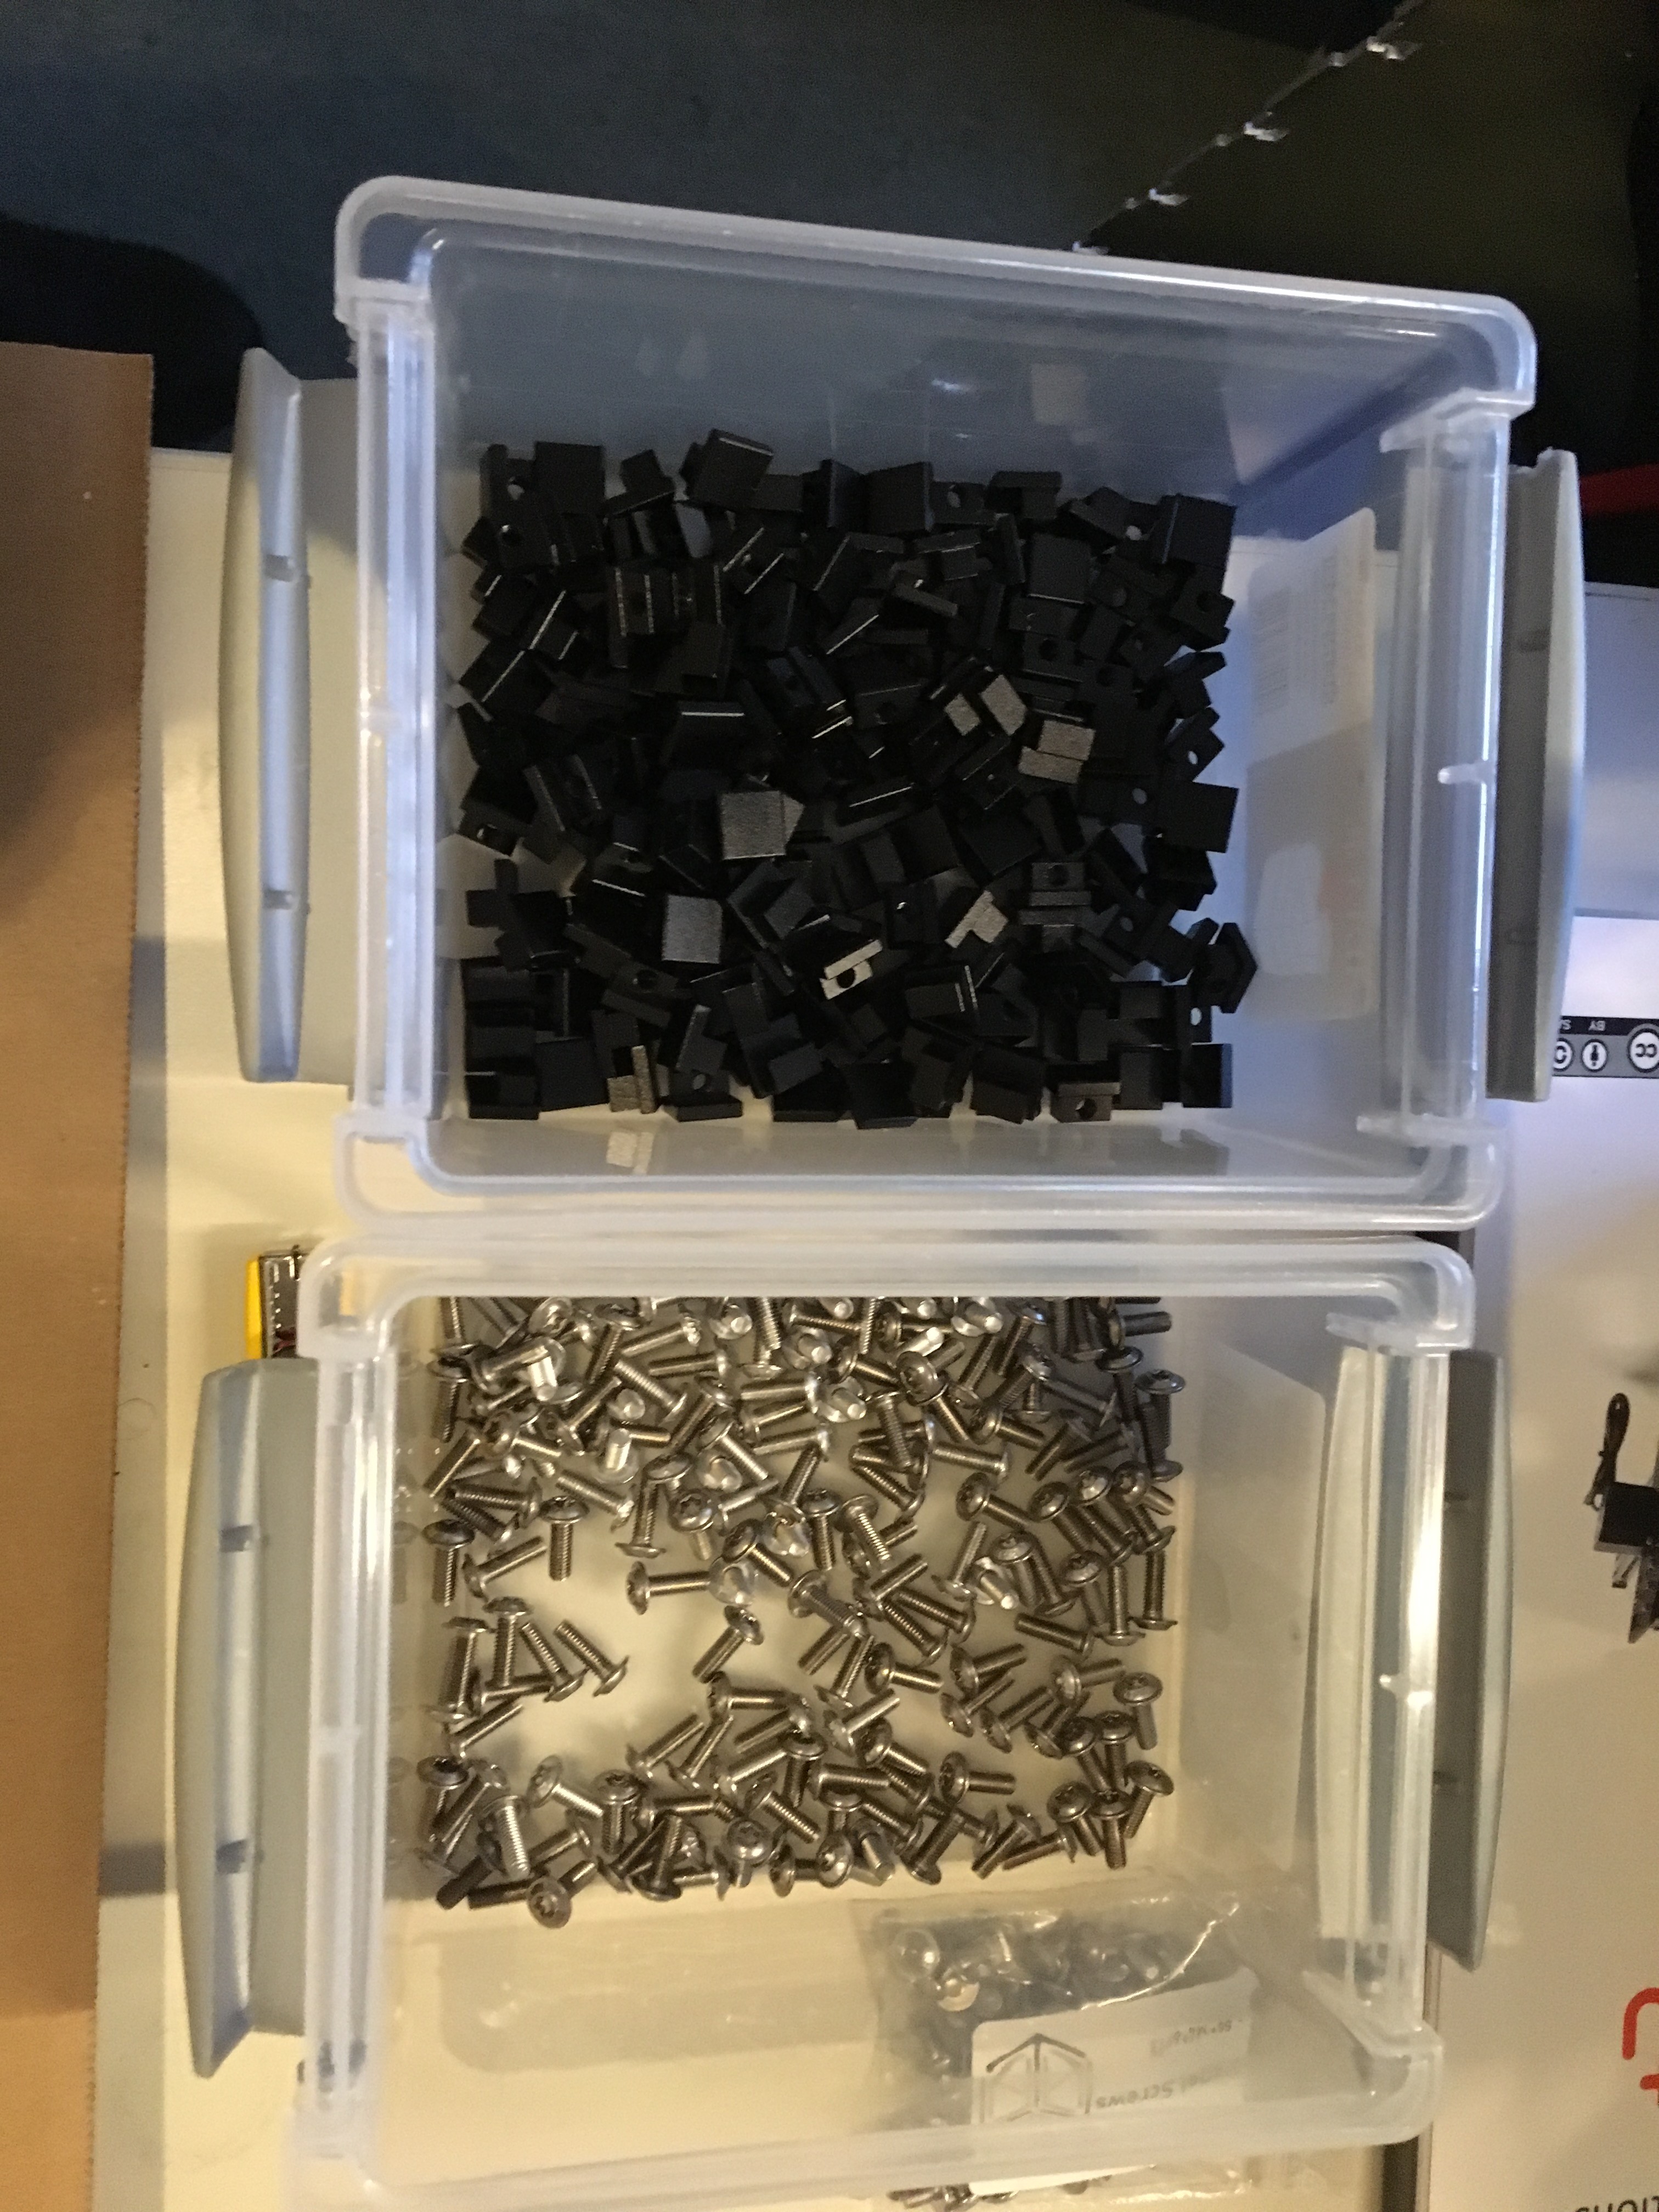
Pictures of my unpacking and assembly. For the frame build it is usefull to have a helper as the frame does get heavy at some point.

Great pics ! Enjoy your first cuts 
Need a few cleanup actions in my electronics compartment first, then laser alignment … But, not far off indeed
I have a minor problem with the z-belt, looks a bit to long, i will dril an extra hole in the bottom to solve this issue, anybody else got the same issue?
missing/deleted image from Google+
Damn, i think i found it already  , the pulley next to the stepper should be in the other position.
Did the same thing. But yes, needs to go on the other side
Damn, i think i need a break, the routing for that belt was wrong, now its correct.
missing/deleted image from Google+
Looks like the picture in the manual now  but taking a break doesnt hurt. There is a ton of stuff left to do after thismissing/deleted image from Google+
supper stuff nice to see the community already working together Have just added a new Fabtip to that section in the manual.
@Danny_Brandt if you notice any other things like this give me a shout
That no problem Bonne.
Last foil to remove. Time to close her up. missing/deleted image from Google+
empty the boot and fold the seats down and you should be good
I think there is a little error on page 58 wiring the Limit x switch on the left side, manual says its x-max, but that cable is short, so i think it should be x-min?
you are indeed correct that should be the X min
Thanks Bonne, next question, there is not much information about the smoothieboard in the manual, limit switches i can find somewhere else, but which motor is which connector?

M1 is x, M2 and M4 are Y, M3 is Z
Whow… Nice jobs looks good.