I did a test today, and the result is… weird at least.
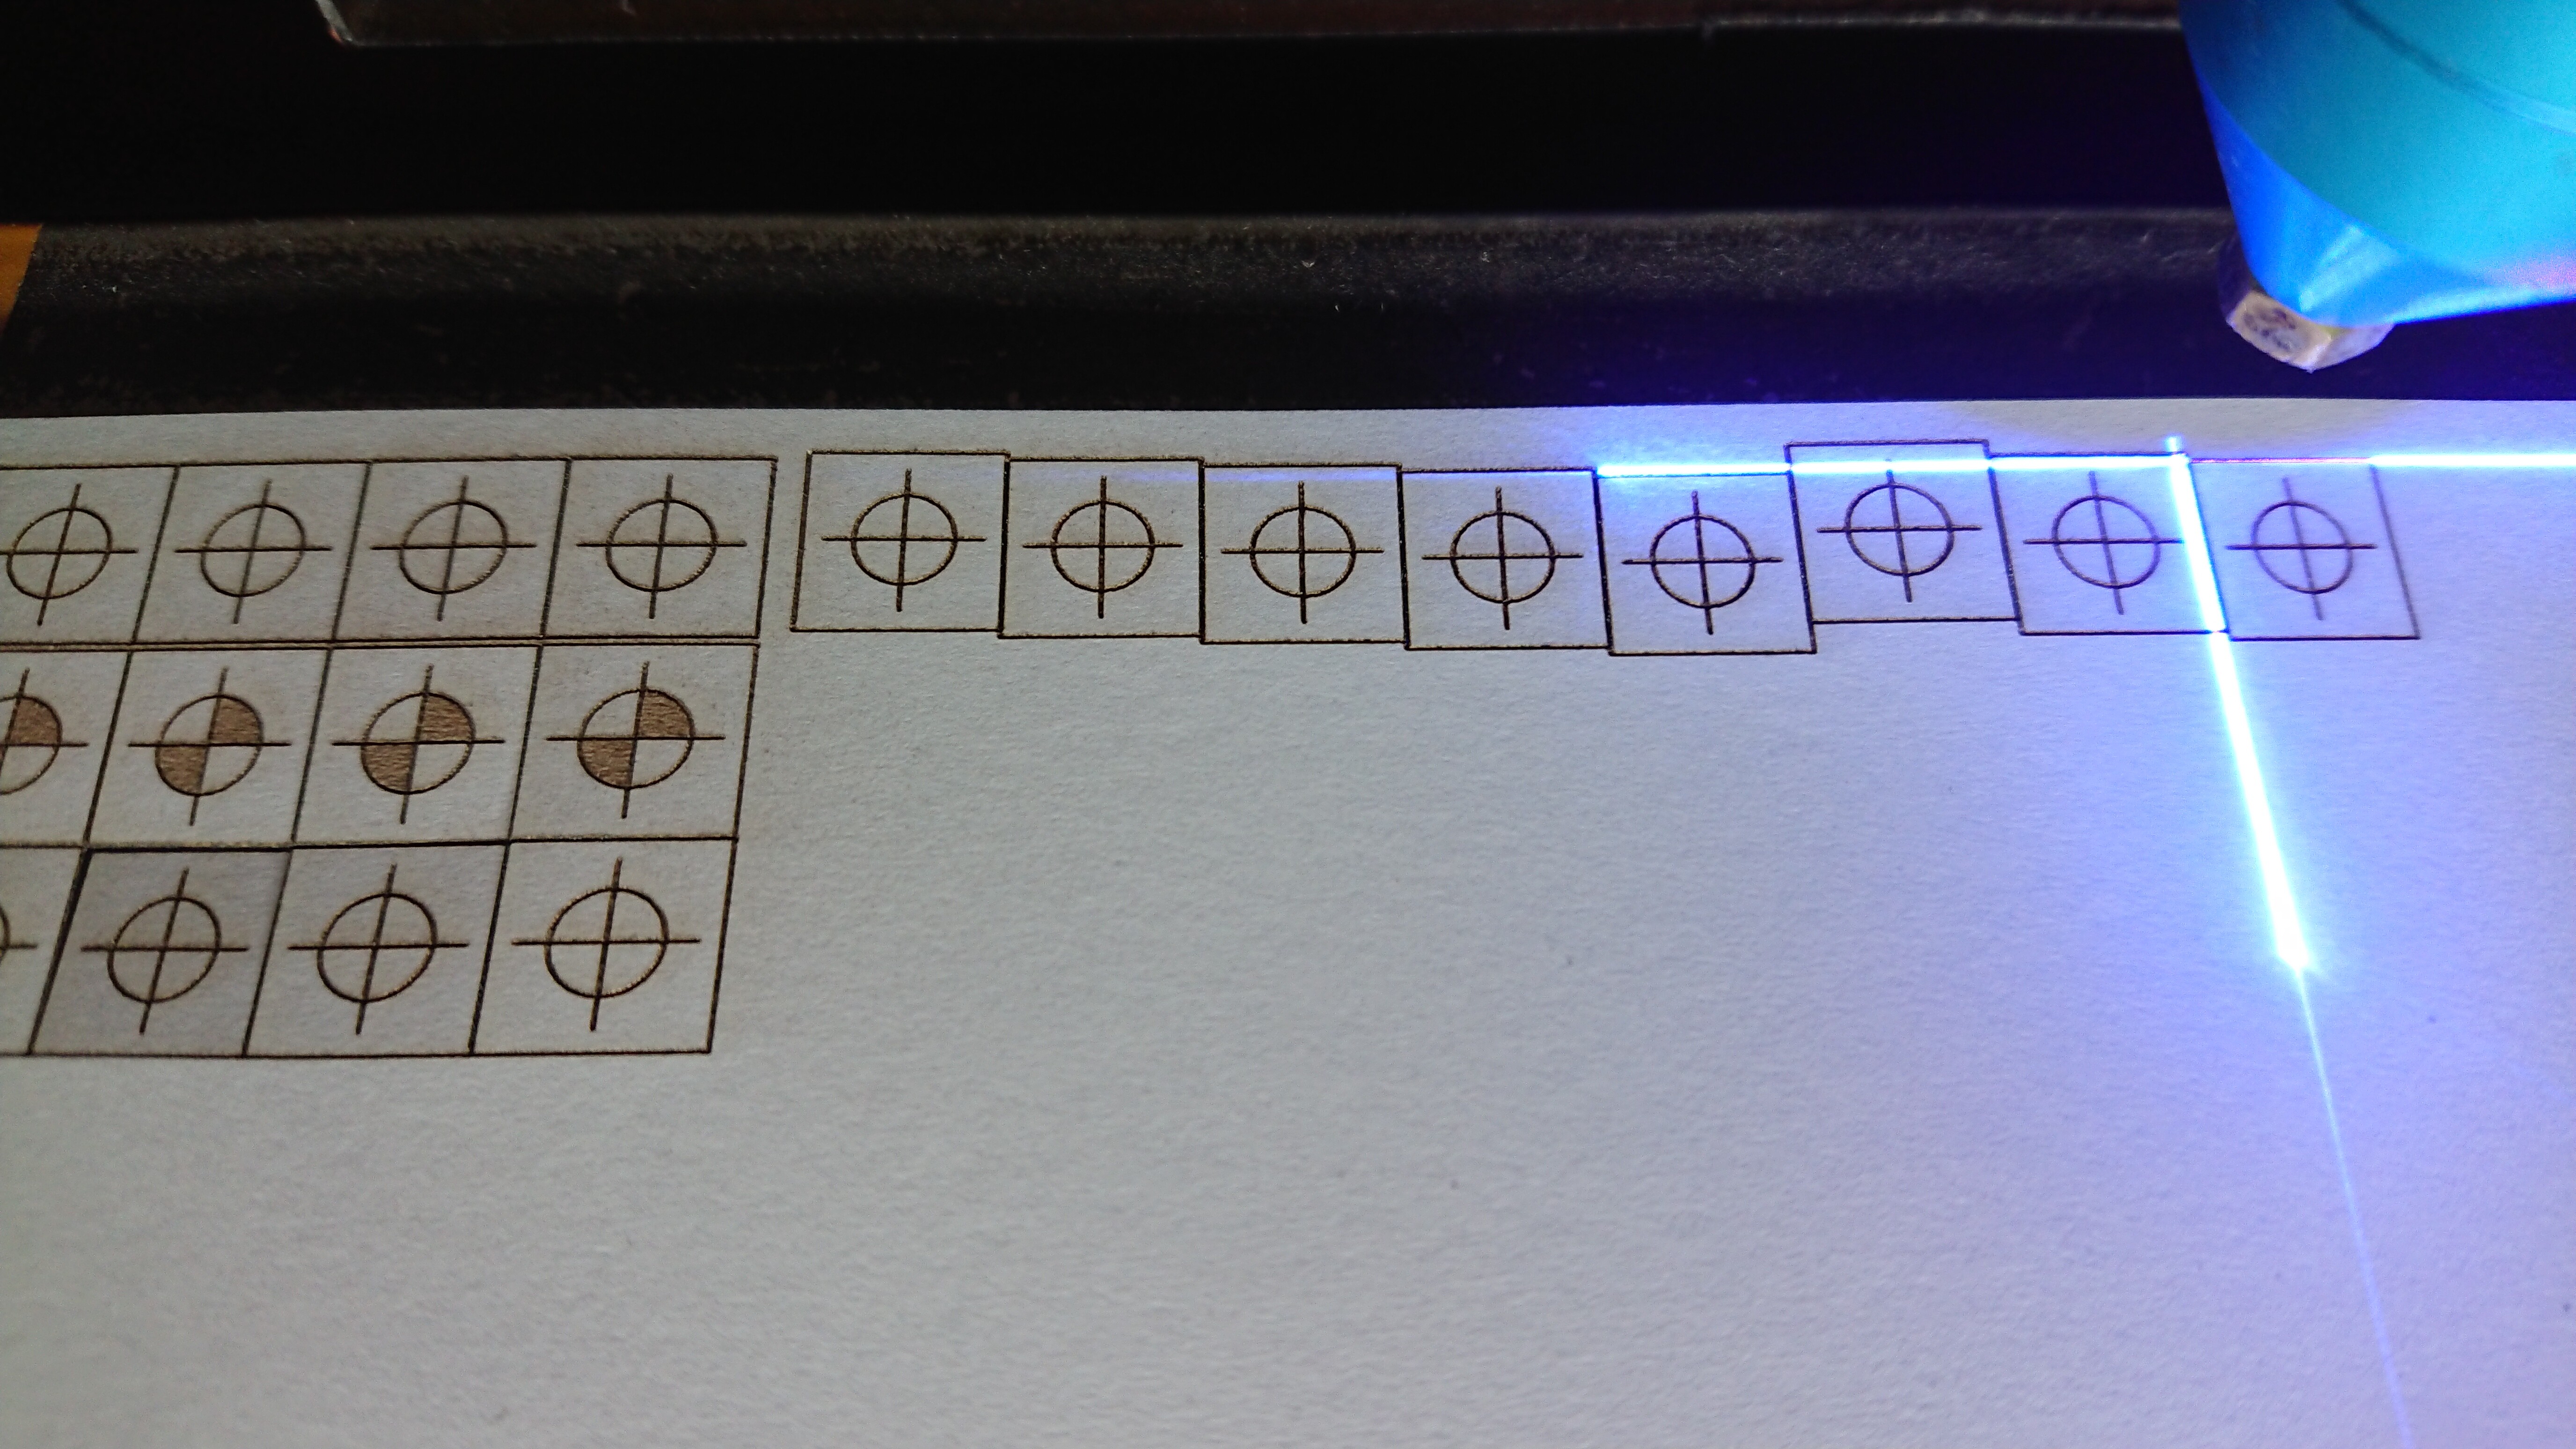
I used a 10x10mm rectangle as test image, the jog distance was set 10mm as well. After every task I could clearly see, that the head moved a tiny bit downwards after going back to the 0:0 position of the image. However, the laser kept the y-position for the row of 5 images perfectly. I then moved down the head by 10mm and THAT was not exact. The head moved a bit to far. But again, the row kept the y-position for all images. I moved down another 10mm - this time the head matched the exact distance an kept the row in line again.
Then I homed the head in, moved 5x10mm the right and - booom: the head went at least 1mm to far and started a tiny bit to high. from then on, every following rectangle was drawn a bit lower in the y-axis.
Homing in again and moving in 10mm steps to the right, caused the head to find the correct y-position.
I forgot to mention, thead this movement in y direction after going back to start position was larger then at the beginnen when the rows were in line.
Want to post a picture of the result to help interpret?
I recorded a video, but have to reduce the file size before uplading. For now just an image of the result:
Reduced the video to 60MB, which exceeds the limit nevertheless. So here’s a link to the file via wetransfer:
OK, I still think that the theory that @easytarget and I share that this is due to disabling the steppers is likely.
I do wonder if you started trying this with different size boxes whether some sizes might cause it to wander up instead of down.
But there might be a contributing factor. You said you bought this used.
The timing belts on K40s are not exactly the same as the ones used on 3d printers. Most 3d printers are set up for working in metric and use 2mm metric timing belts. K40s are set up for thousandths of an inch and use imperial 0.08" MXL belts, which have a 2.032mm pitch. They look a lot alike, and sometimes folks have replaced a worn belt with a 2GT belt that seems right, but isn’t. See more:
What boothers me, is the fact that the first rows of squares are perfectly placed. The hazzle started only after the first homing in of the head. Therefore I think ist’s not hardware related.
If you start without homing, the steppers will have started at a full step. Homing is more likely than not to leave them on a microstep that will “relax” to a full step when the stepper driver is disabled. The difference between the two axes is easily explained by change differences in relative placement of the microswitches. It’s also possible to have a similar reason if an almost-the-right-pitch belt settles into place in a pulley.
You might consider trying this with Meerk40t as well; it’s a completely different open source implementation that can also drive the K40 — if you see the same thing there you know it’s in hardware somewhere. These are friendly projects implemented differently that share information.
Is there an acceleration setting for the homing cycle and/or the travel moves and if so try reducing it by 500mm/s2. Also look at the speed settings for these two moves and try slowing them down to see if things get more consistent.
No, there are no such settings in K40Whisperer. The tool is really straight forward (though very nice in its simplicity).
I will give MeerK40t a try. Hopefully I’ll find the time to do so this weekend.
Thanks for all your suggestions so far!
On the Advanced Settings page there is an “Initialize Laser Cutter” button and on the General Settings page this is a Home on Initialize flag so not only can you get the machine to automatically set the home position(0,0) when you first connect to the laser you can also force a reset of the 0,0 position before you run the file again.
This will reset anything like lost steps after a file is run due to motors being powered down. So if it still keeps shifting I would look at belts labels to see if there’s inaccurate tooth interfacing going on and look more closely at motor powering or even overheating. You can always gently try to move the laser head to see if motors have powered down or not.
Thanks. Will have a look at this too.
I had that issue and solved it by removing the metal lever arm that triggers the endstops (both X and Y). If you go that route, you’ll have to do some adjustments and print some parts to make sure the switches get triggered.
The lever arms bend and don’t always trigger on the exact same position. After I modified that, I can confidently run several cuts/rasters even after fully stopping the job in progress.
So didn’t removed them completely but replaced them with some other parts?
The interesting fact in my case is, the offset only starts with the first homing in, but then keeps happening if the head is NOT homed in after every task. Homing is the the cause and the cure, so to speak.
Hahaha…solved the issue! I had the option “unlock rail after job finishes” ticked. Unchecked it and: boooom - everything’s fine now!
Nevertheless thanks for all your suggestions.
In the end the answer from dougl pointed me the right way to look for.
And I will give MeerK40t a try soon.
I will be back as soon as I find the time to experiment with the COMGROW rotary I got with the laser; already replaced the stepper of it. The original one didn’t move and I roasted the controller by playing with the stepper axis while the stepper was connected…
Awesome ![]()
When you get the time to achieve those improvements:
- remove the level on the switches
- get some TL-Smoothers
I’ve been using MeerK40t for a few months now and it has some kinks that need to be ironed out, but is quite a useful software. Specially the feature of controlling power (or DPI) as some materials don’t like continuous power when cutting/engraving and lowering the firing rate achieves the same result while depositing less heat on the material.
Have fun ![]()
Note: Don’t use TL-Smoothers for M3 Nano, because the Trinamic drivers don’t need them and they might hurt. They are meant to work around a design flaw in a few older stepper drivers like the A4988.
Also note that in many K40s the stepper wiring doesn’t match the smoothers and so requires making custom cables.
Edit: Only the the M3 Nano Plus has trinamic drivers: M3 nano status with MeerK40t? - #25 by Tatarize
@prototipo:
what do you mean with: “remove the level on the switches”?
typo for lever?
Multiple people have found in testing that microswitches are slightly more repeatable from one actuation to another without the lever. Of course something has to be aligned to press the button under the lever on your particular K40 (they are not all alike).
Some microswitches are more precisely repeatable than others:
Some folks here have chosen to modify their K40s to use optical rather than mechanical endstop switches. But just like TL-Smoothers this involves rewiring — and if you aren’t comfortable with electronics work, you might not want to do either. (And if you are considering TL-Smoothers for smoother movement, compare the cost to instead moving to an M3 nano plus board which uses trinamic stepper drivers that are far better; more or less all 3d printers sold today have moved to them.)
Yes, the lever. Apologies for the confusion.
In my case, going for a second pass or doing different cuts on the same material had a repeatability variance of about ~0.5mm. It was a PITA for the production of some keychain designs I was running for a client and my last resort was to test that theory. I removed it (the lever) and used CA glue to hold an old piece of 3D print that fit right in place where it would hit the switch. No more random positioning. I did the same for the X carriage later on.
Edit: forgot to mention, that didn’t seem to be an issue with other micro switches I’ve had on 3D printers, maybe is the position at which the lever gets pushed, but I did notice that the lever was kinda weak or flimsy in contrast to how rigid the other switches were. Maybe there’s a quality problem there.