Noob - list of K40 mods - how to proceed for maximum return over the short run?

So, I just bought a K40 yesterday and found this forum this morning. Yay! Lots of peeps here from the old G+, which is nice.

Laser isn’t here yet, but planning upgrades.

I need to get this thing up as quickly as possible so I can get some engraving done, but I’m willing to put some work in to make it better right away if the upgrades are worth it.

I know I’ll have to do the basic setup of the machine - does replacing the mirrors, lenses, mounts and head make sense at this point? If I have to calibrate everything anyway maybe I should just bite the bullet and replace all the stock stuff? If so, should I just get the air assist kit from k40laser.se? Looking at this lens and these mirrors from amazon.

Replace the pump seems to be the default option. Maybe with this one? I have a radiator and fans to add to the cooling loop as well.

I have a cohesion Remix board I got from @raykholo years ago lying around waiting for something to do - should I go for it and rewire the whole thing or leave this for another day?

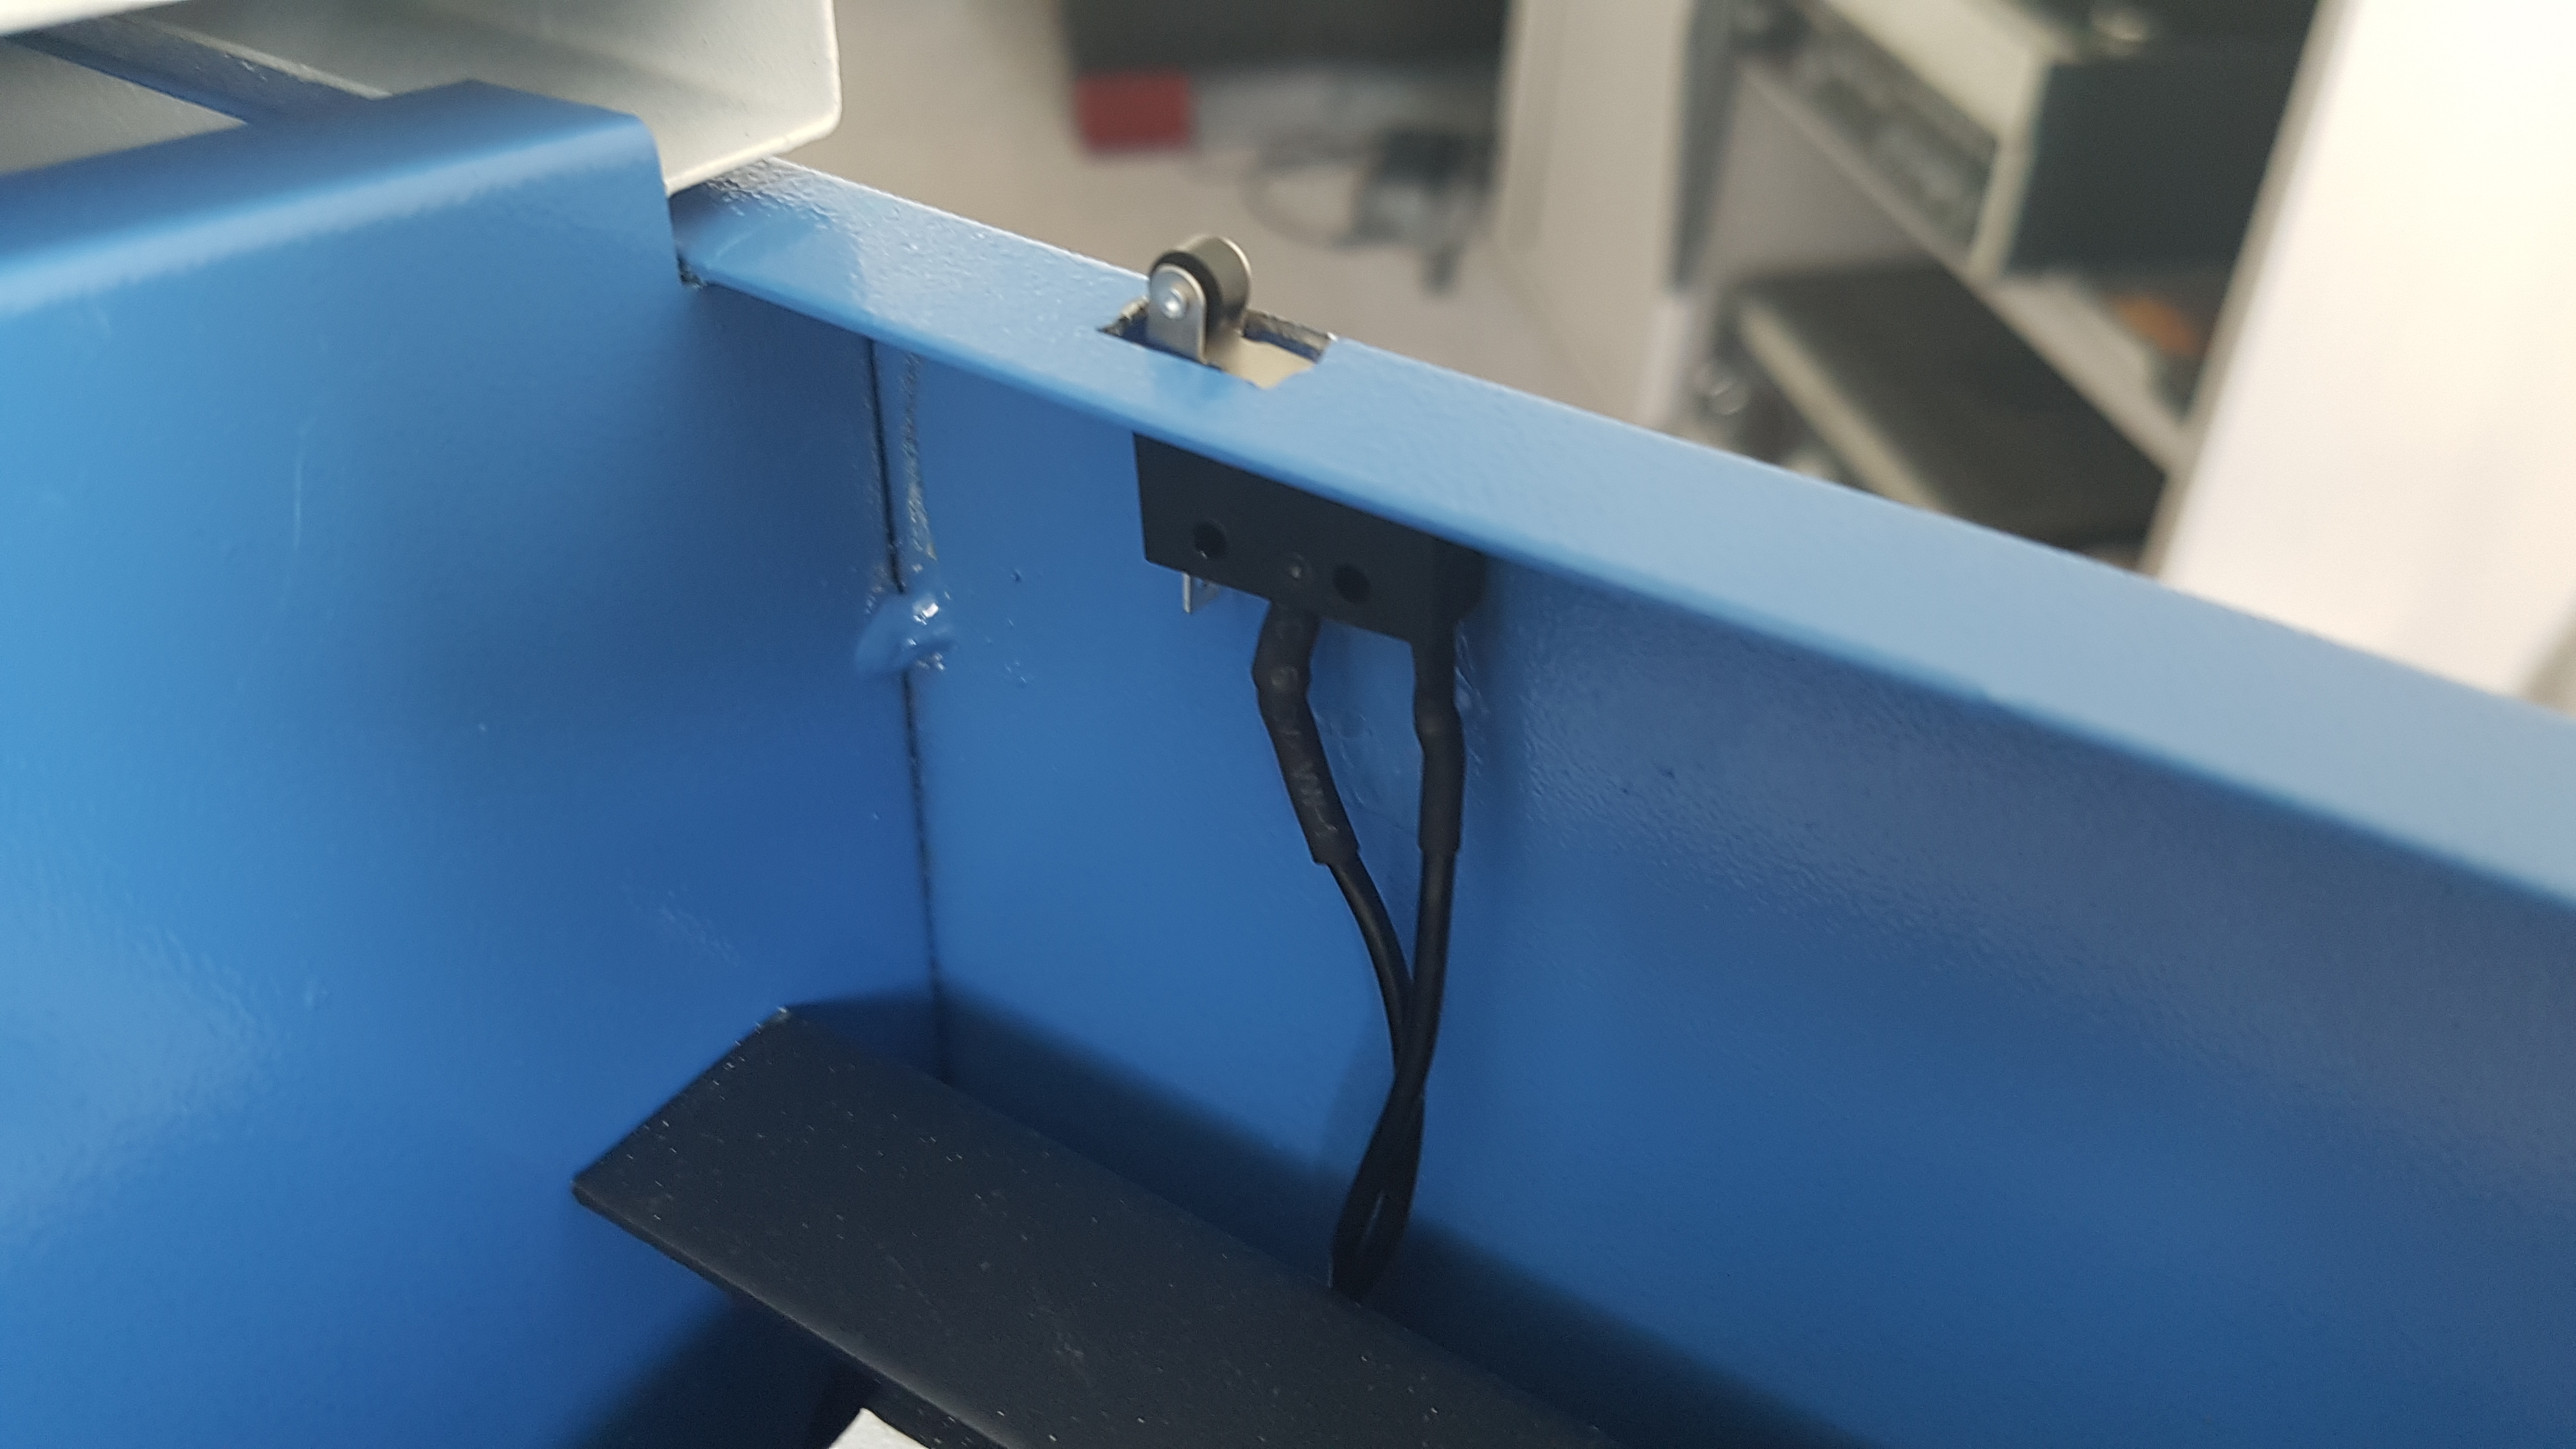
Interlocks - I like my eyeballs, but I’ve gotten some laser glasses from McMaster coming. Can I skip the interlocks for now and get to them later?
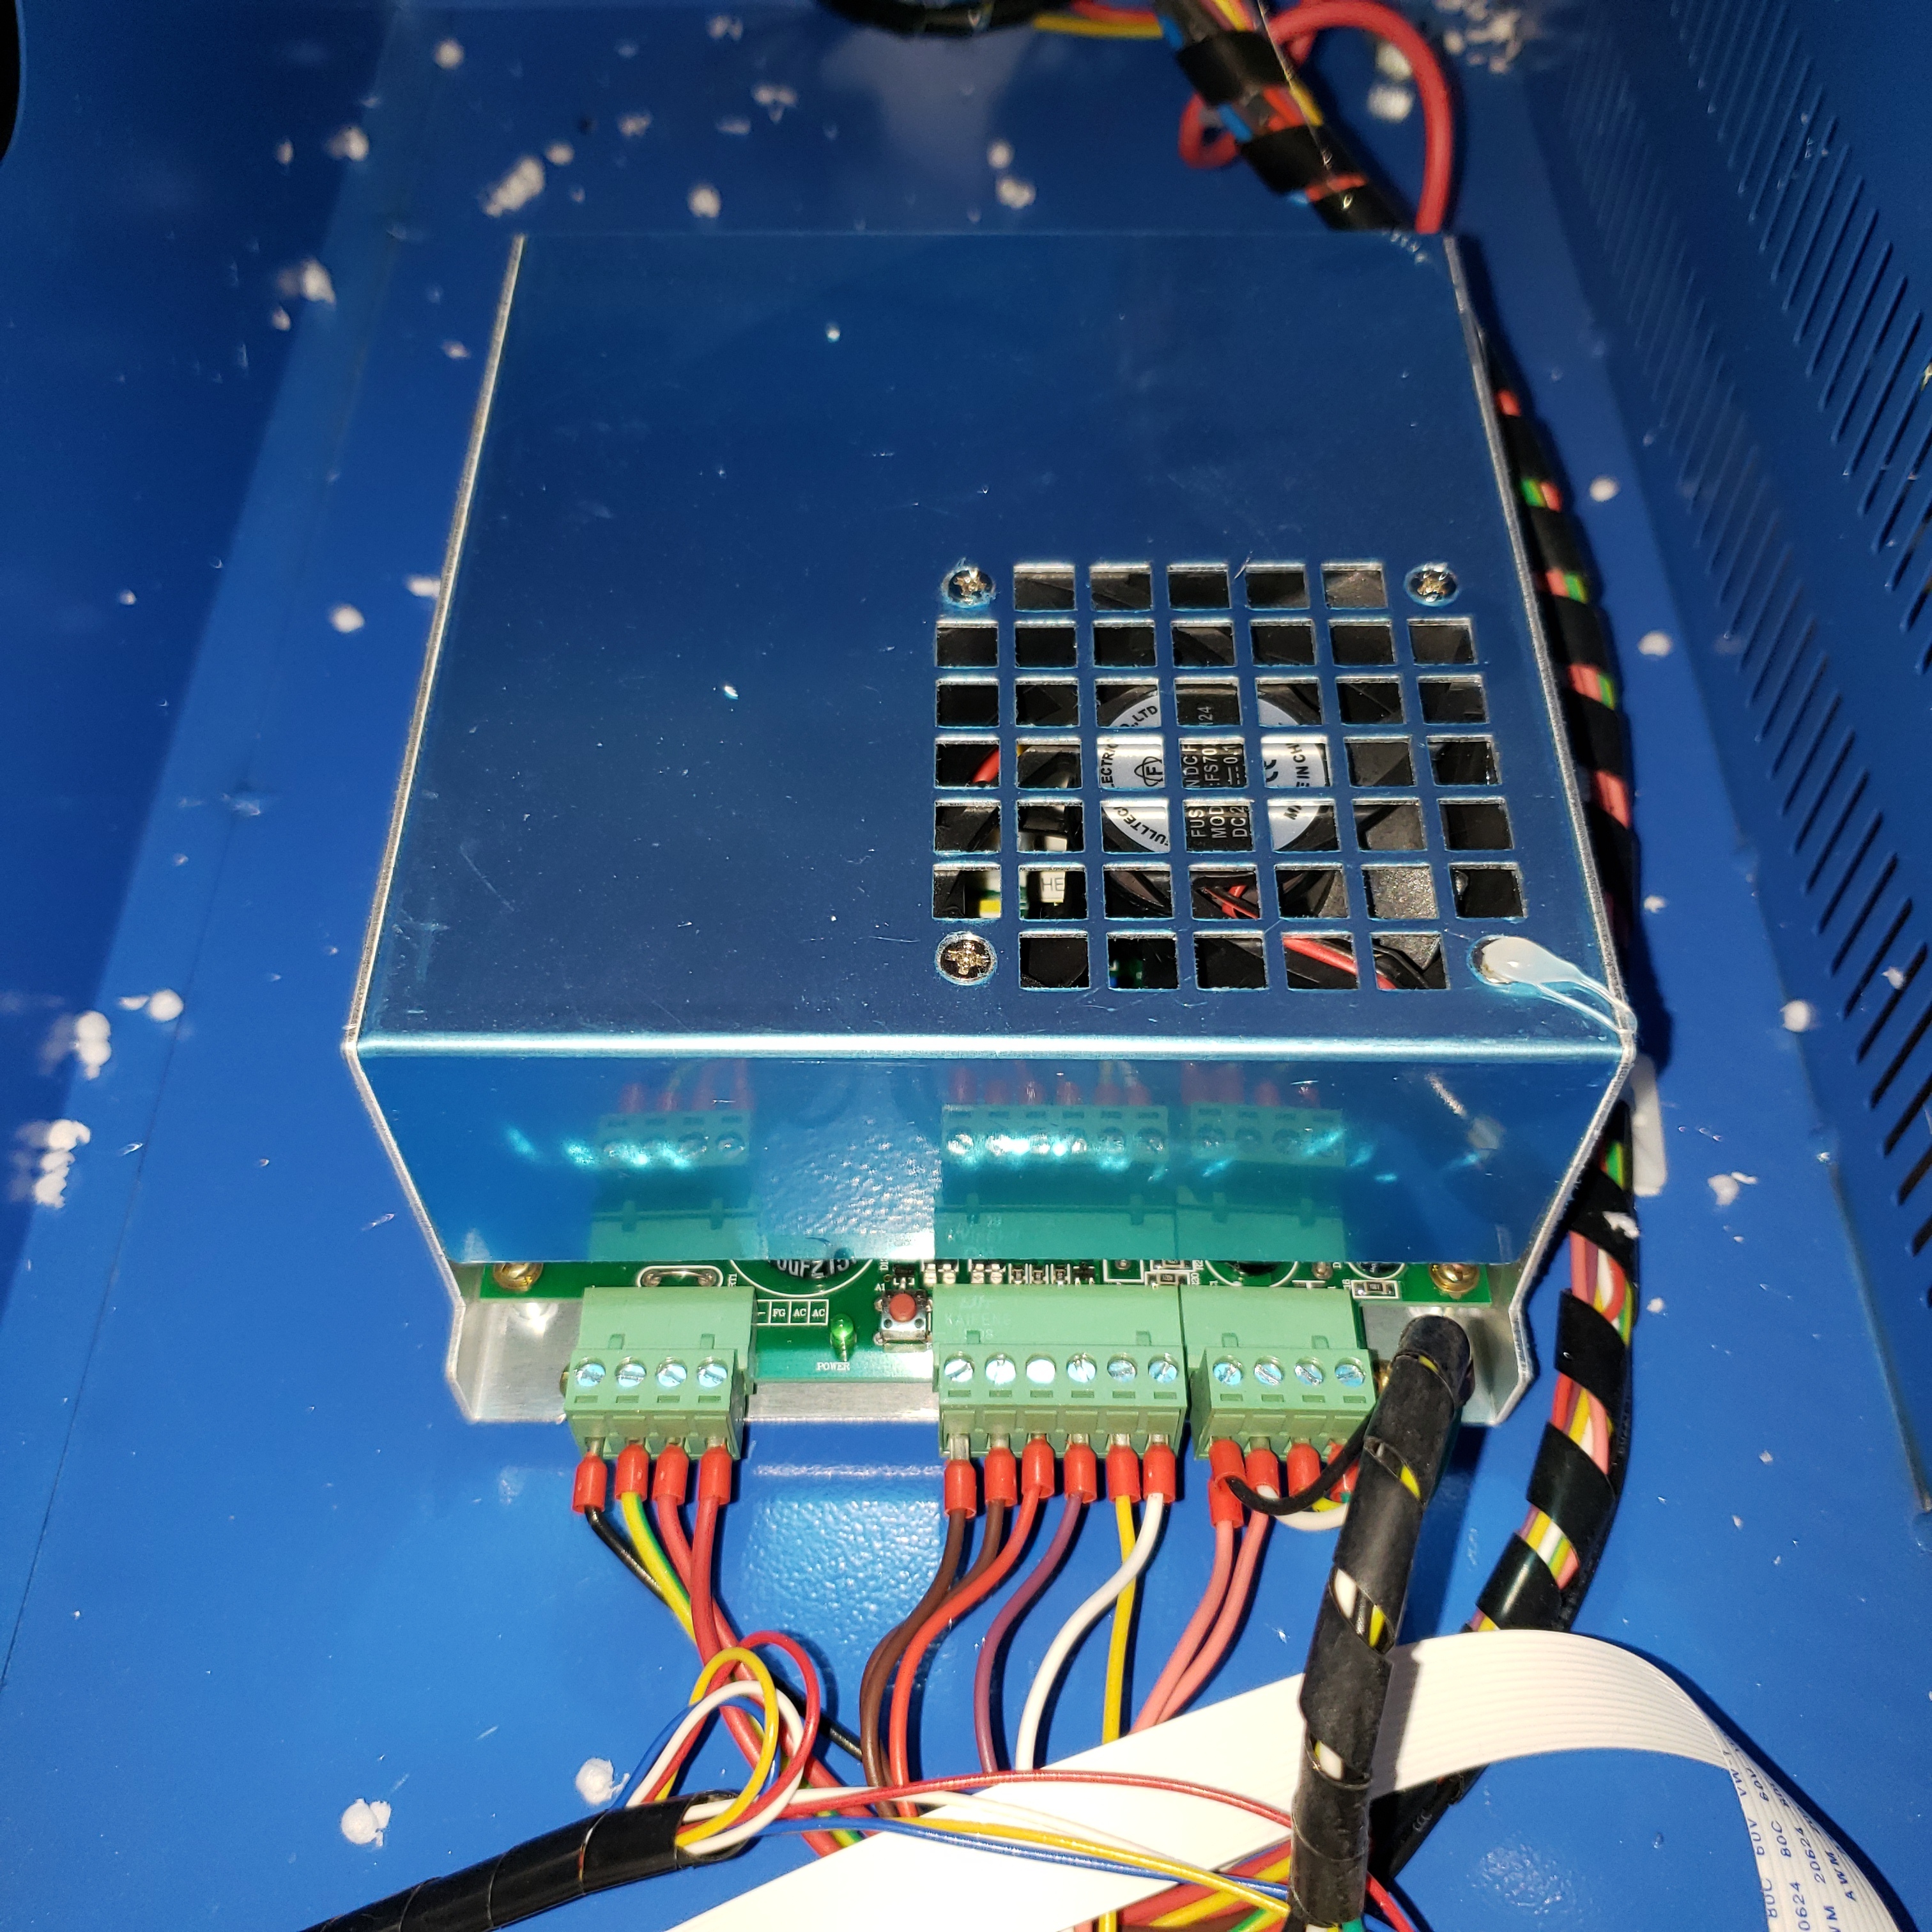
PSU?

Steppers? Gantry? Mechanicals? Adjustable bed?

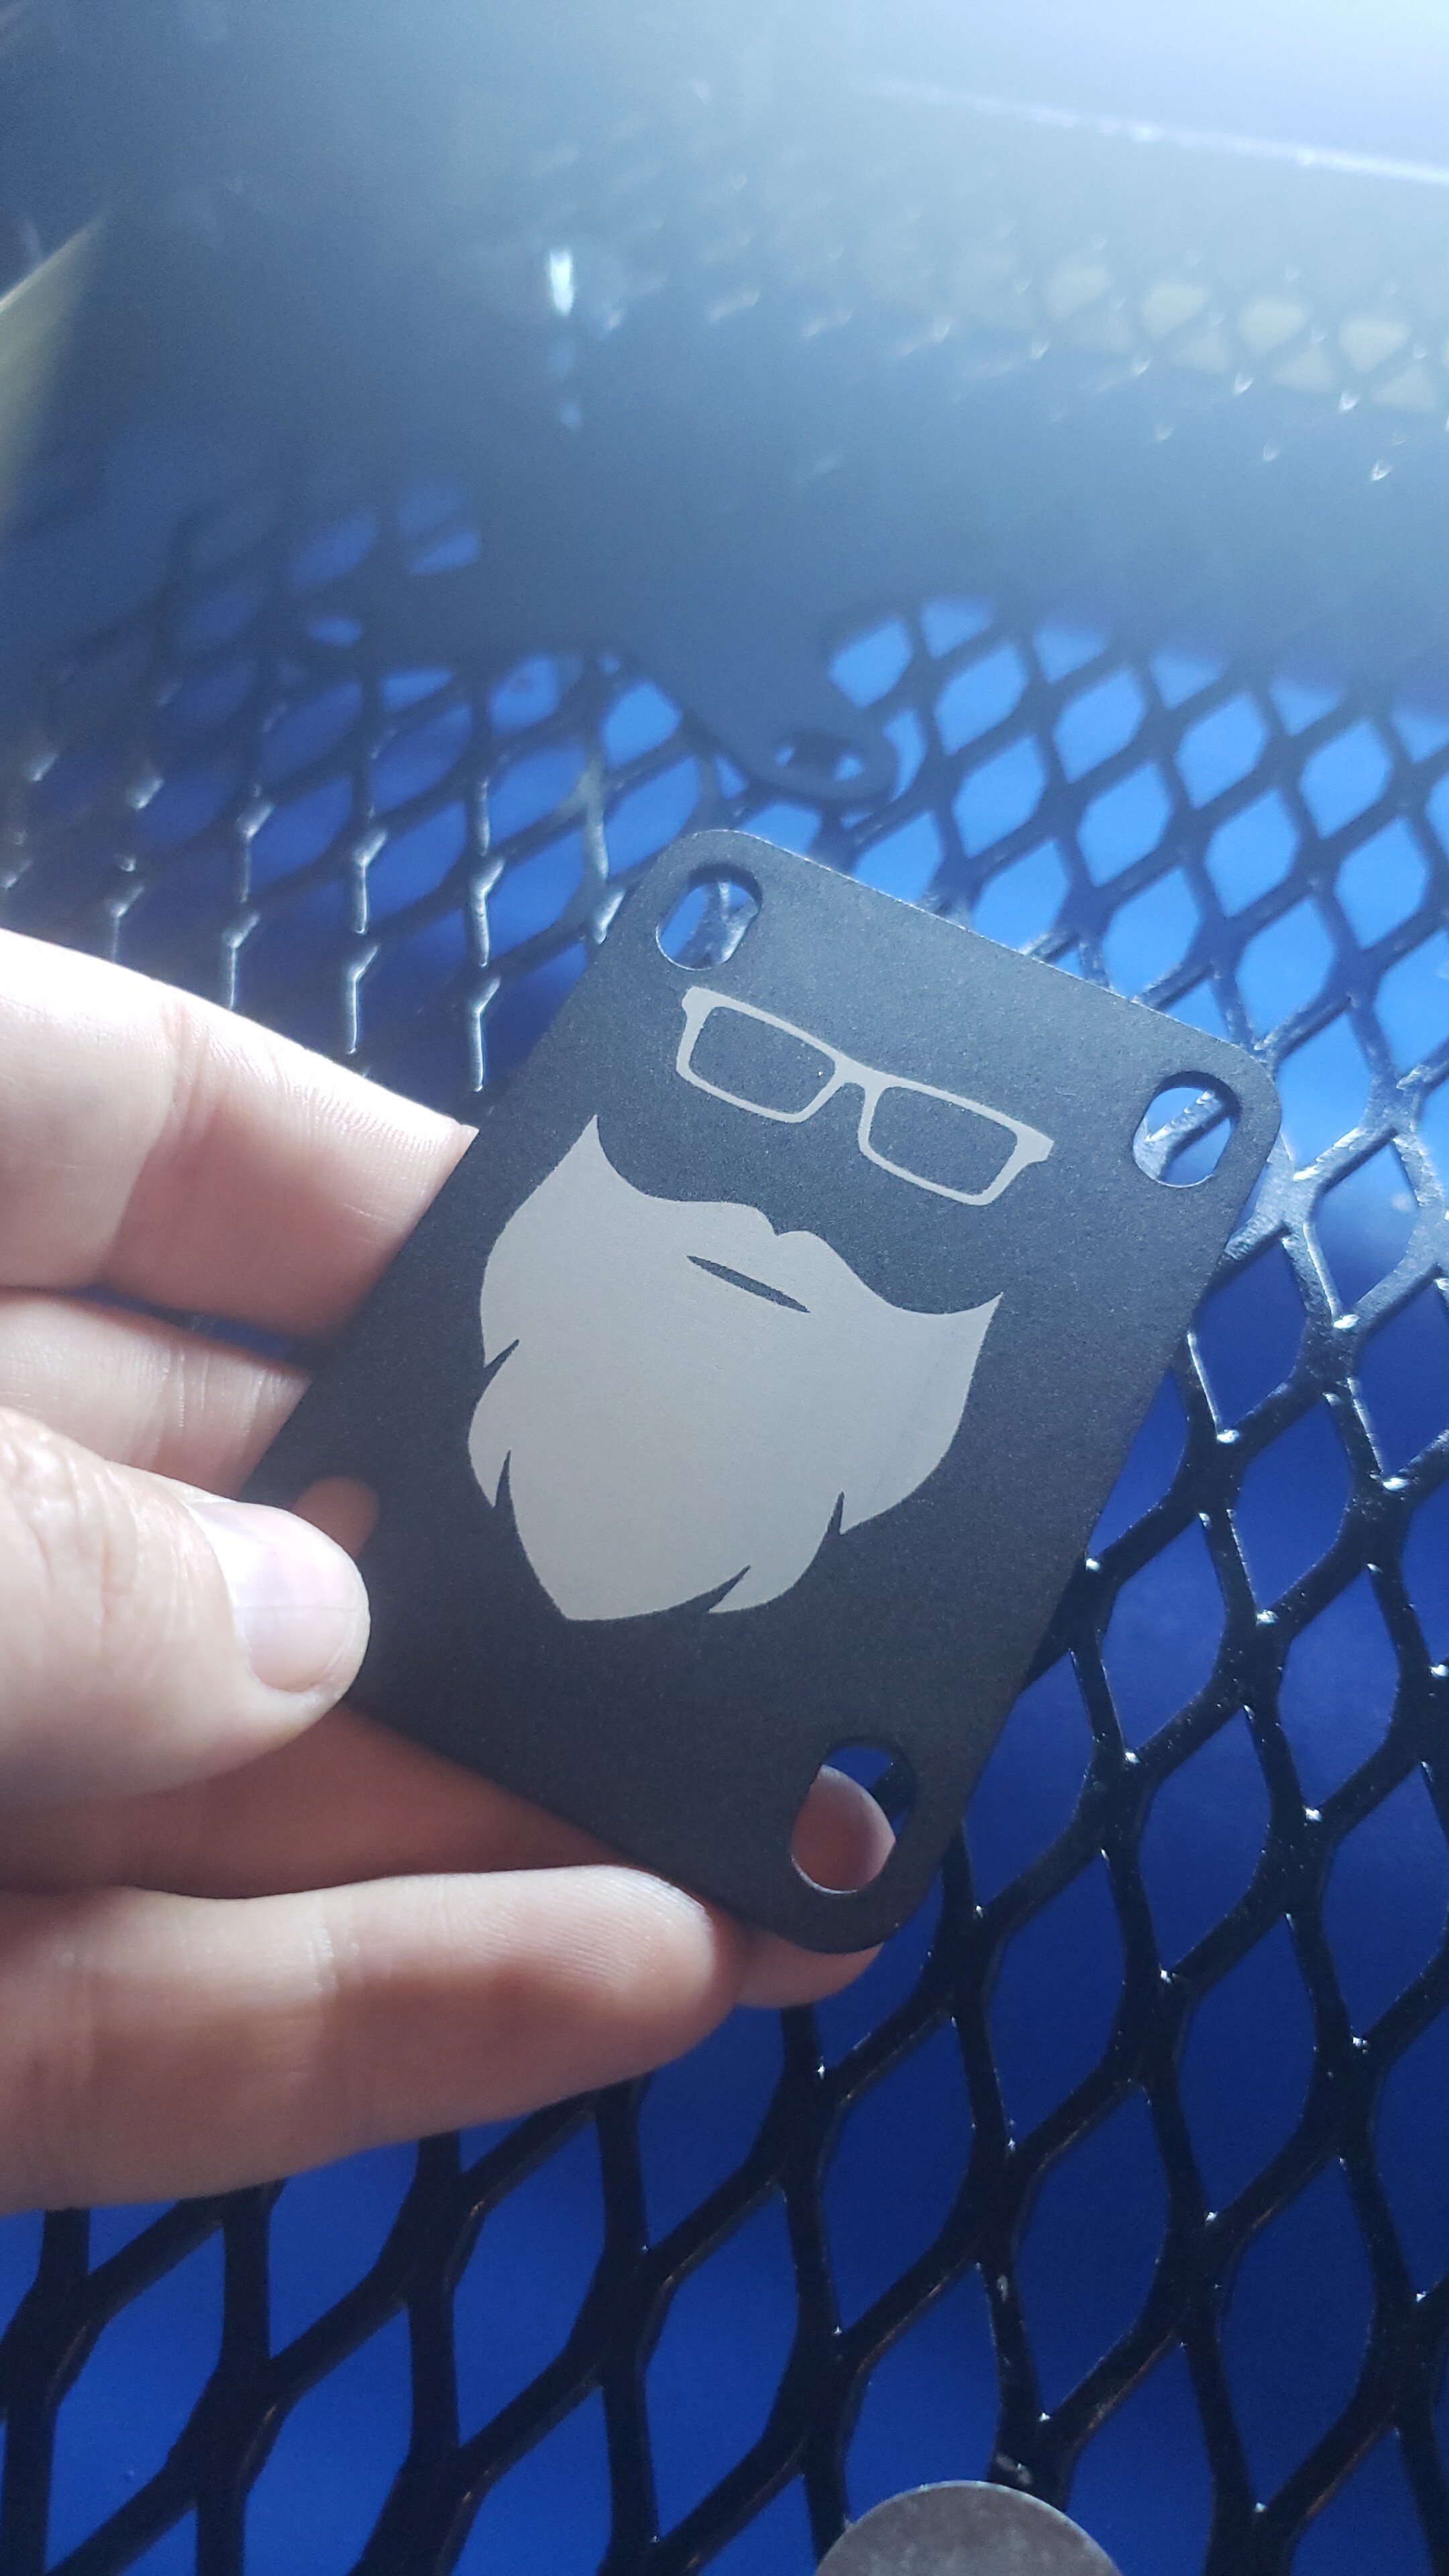
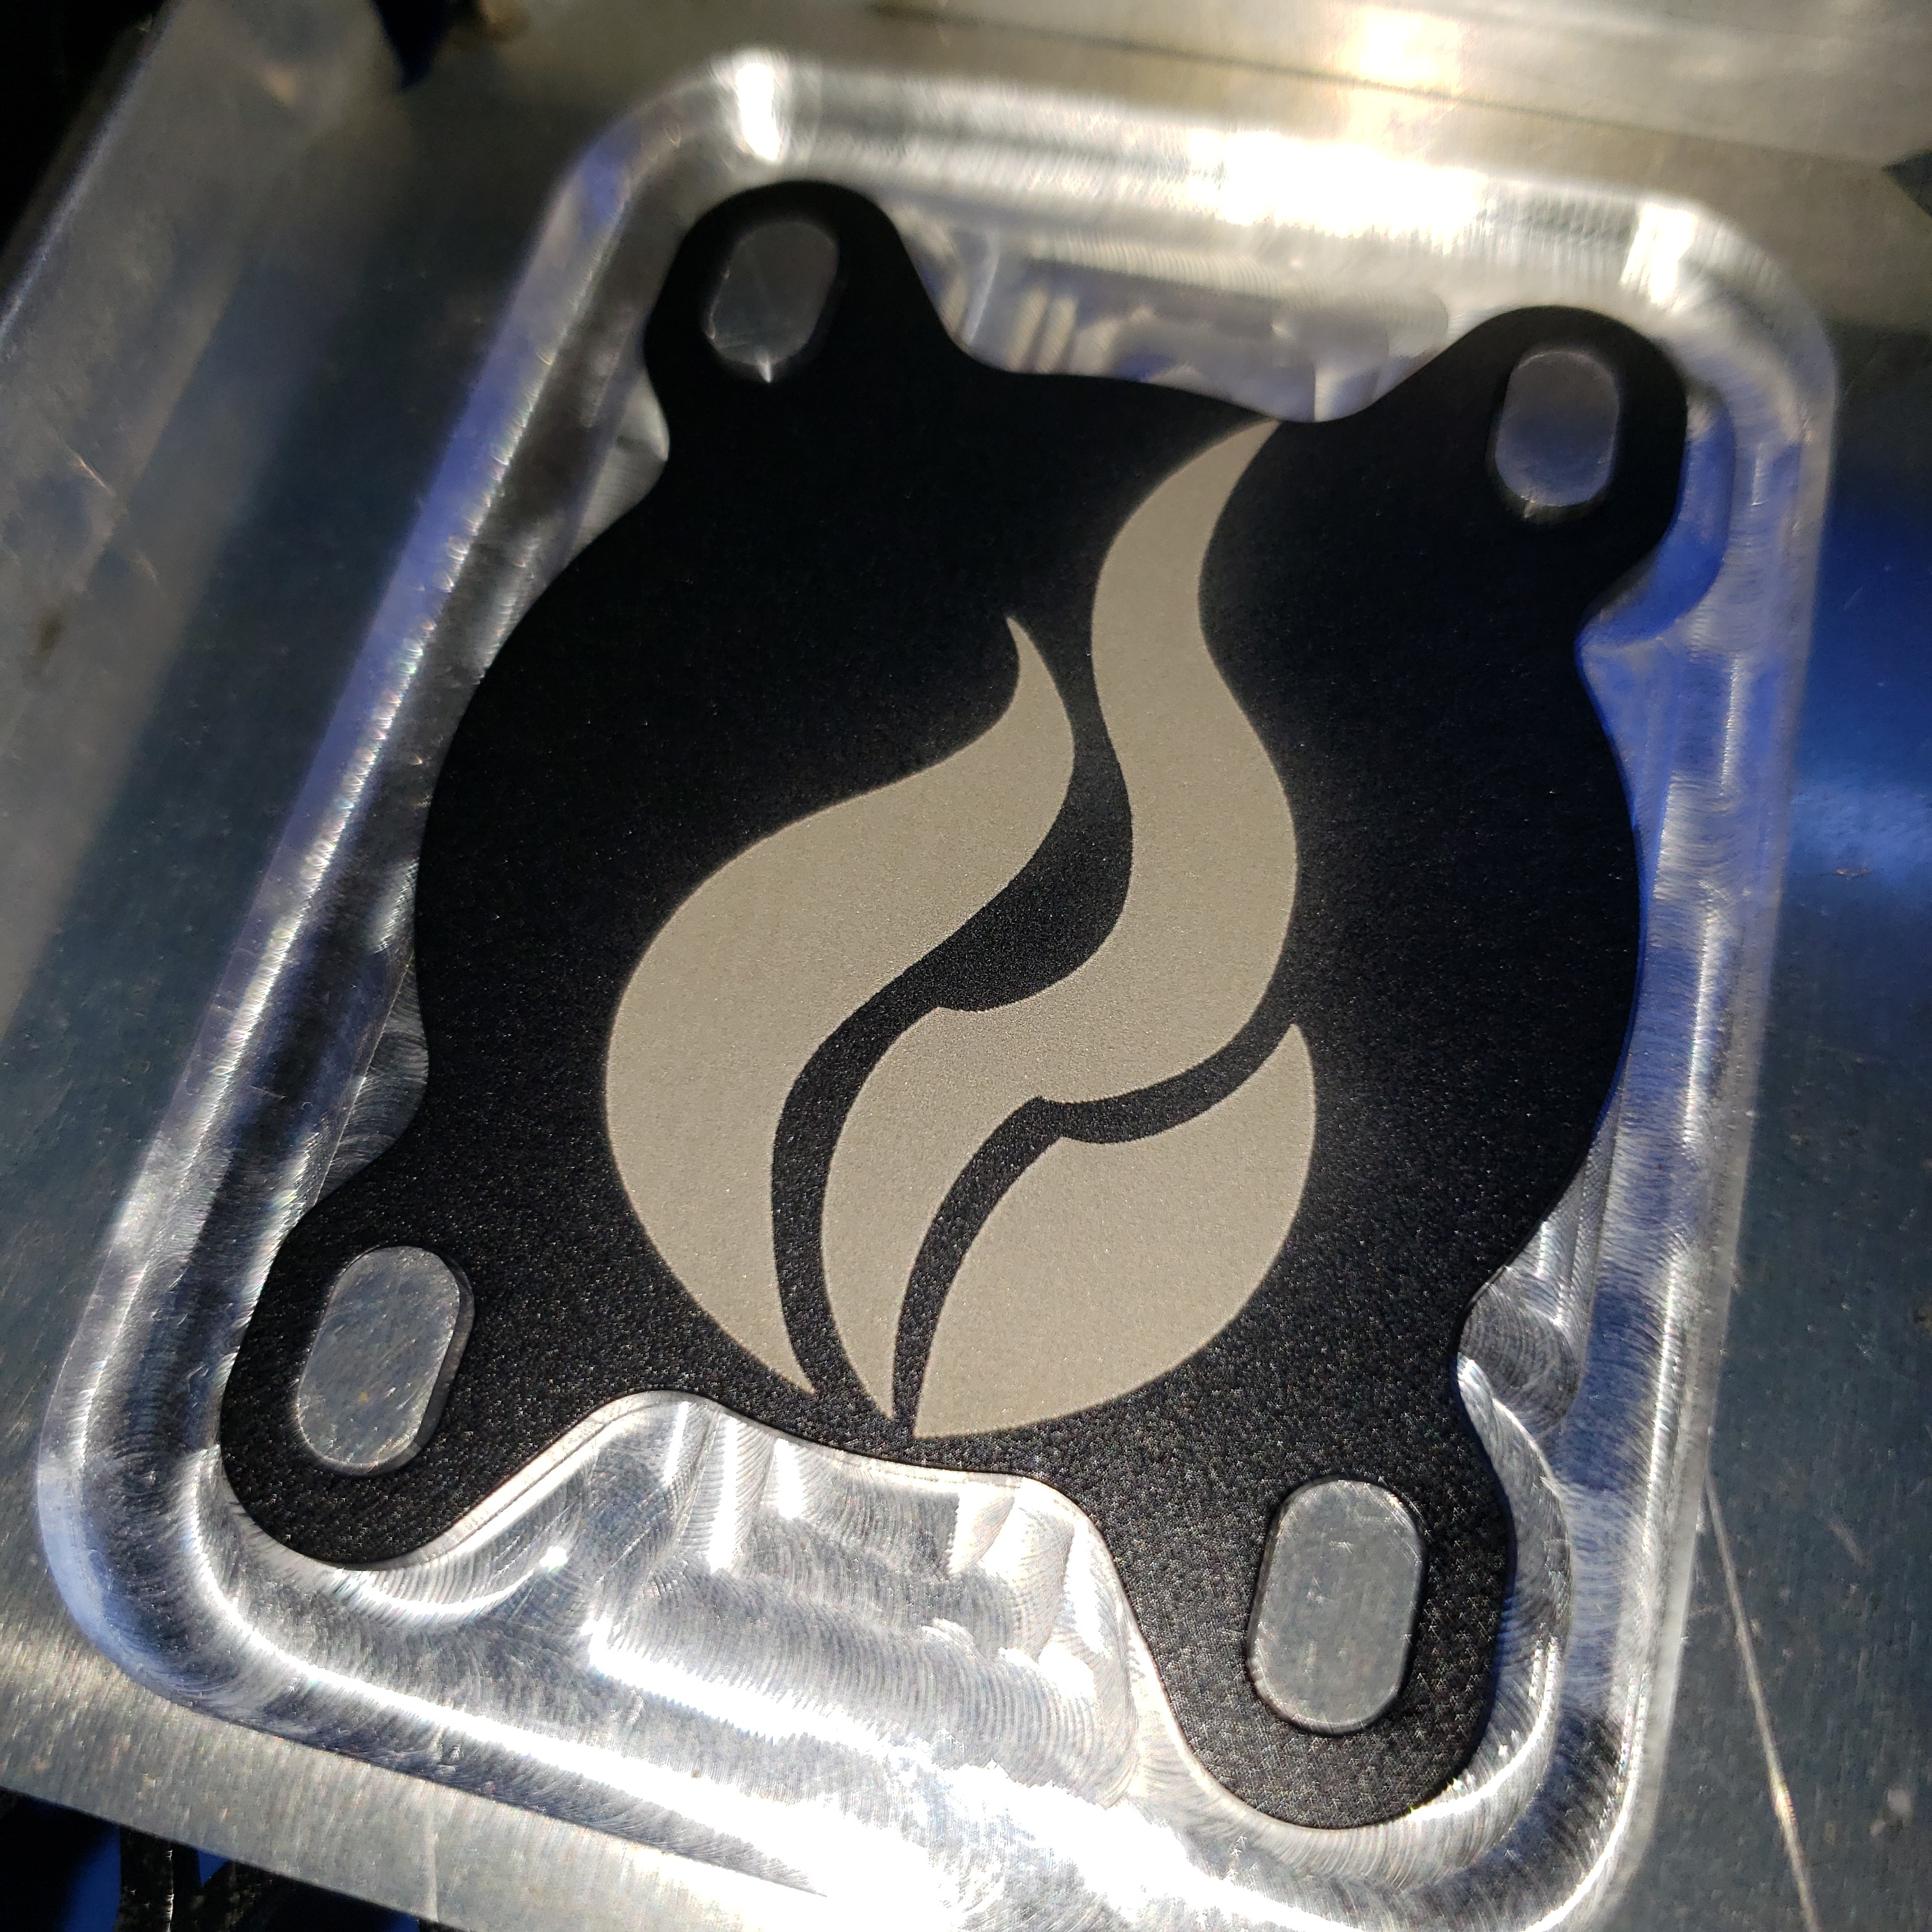
I’m not trying to do anything fancy, just engrave anodized aluminum parts I’ve made instead of 3D engraving them with an engraving bit.

About me: I was a long-time member of the G+ herculien and 3d printing communities. Also spent a lot of time on the shapeoko forums. I’ve designed and built 3D printers and CNC routers.


Comfy with CAD/CAM/GCODE.

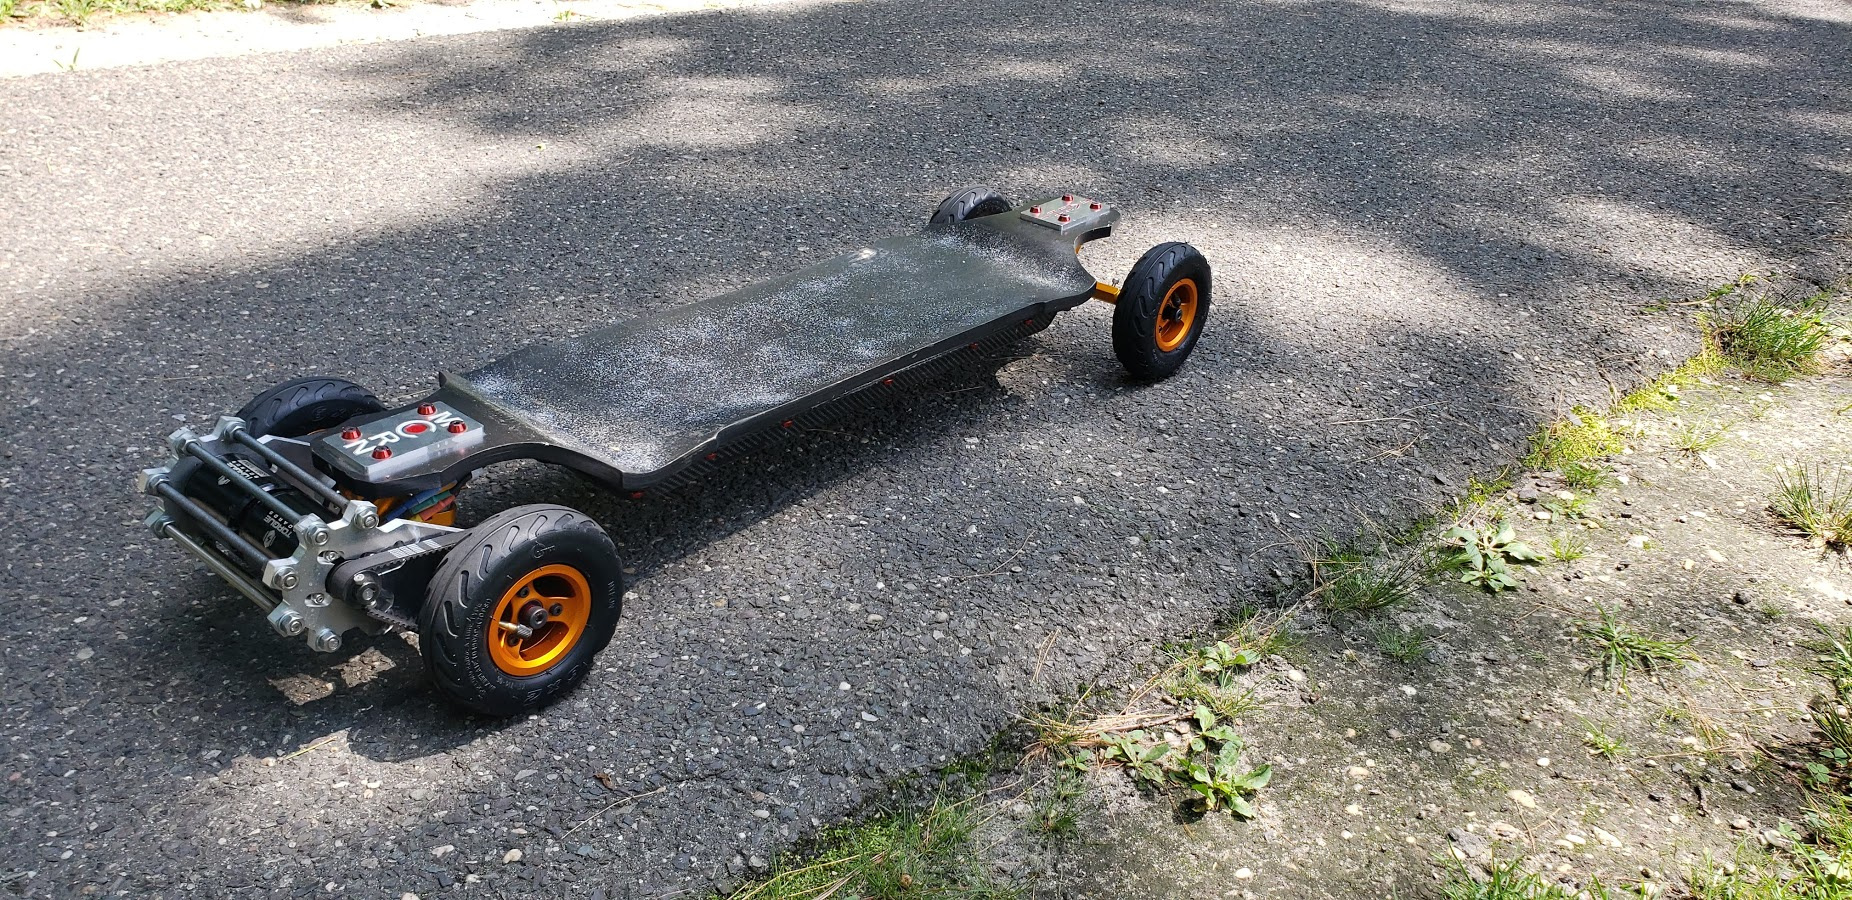
Now I build electric skateboards for fun.

Thanks in advance for your sage wisdom!
Matt

5 Likes

Hey and Welcome to the Forum.

In my opinion these are the top mods to start with:

  1. Replace the mirrors. The stock mirrors, while not totally unusable, are usually pretty much junk. You will get much better laser transmission efficiency with better mirrors. I would recommend molybdenum (Moly) mirrors as they are almost as good as gold coated and are much more resilient to scratching. Cohesion3D is a good place to buy them https://cohesion3d.com/product-category/optics/

  2. Replace the lens. Same as the for mirrors, the stock is usable but you will get a better focus with a good quality lens. Most people go to a 18mm lens over the stock 12mm as it’s less sensitive to alignment. Cohesion3d also sells good lenses. A 50.8mm focus is common as it’s a general purpose focus distance for cutting and engraving.

  3. An air assist is also a typical must have mod as it helps keep your lens clean and keeps flair ups from happening if you are cutting/engraving burnable materials. The kit you referenced from K40laser.se is a good one. Having the adjustable focus will alleviate some of the need to have an adjustable bed, but you may be sacrifice some height for engraving bigger objects unless you cut the bottom out of your laser and raise it up on a platform. I personally use this one from light object https://www.lightobject.com/Mount-Fixtures/20mm-18mm-15mm-Laser-Head-wAir-Assist-Ideal-for-K40-Machine. You will also need an air pump to run the air assist. I’ve also seen some people using small computer fans to function as an air assist.

  4. Adjustable bed height. As you put items of different height in the laser you will need to be able to adjust the distance from the lens to the item surface as you want the items surface to be at the focal point of the lens for the best engraving. So you either have to change the height of the item or control the height of the lens. Adjustable beds can be as easy or complex as you want. A general search of this forum will find you many examples.

  5. Cooling. You will need some way to cool the tube and a straight air exchange may not be sufficient. Depends on how much you will be running it continually. Need to keep the tube below 30C and preferablely below 25C. Most people use a five gallon bucket with distilled water and frozen water bottles added in. DO NOT USE ANTIFREEZE! Replacing the water pump is not a bad idea but it’s not really a most have to start with.

Those are generally the most popular mods first mods to worry about. Interlocks are always good to have. To control the laser with the stock controller we recommend using the free K40 Whisperer software over the software that will come with the machine. Thnk that covers it. Let us know if you have any question

3 Likes

Not indifferent to what @NedMan sugggested I would get the basics of the machine running in stock configuration so that if something is wrong you can go back to the vendor for replacement. This would also help you start from a known configuration.
In addition, check the grounding before you power it on.

3 Likes

@NedMan @donkjr

Good advice all around. I’ll give the stock config a go and make sure everything (esp the tube) works before mucking about.

Thanks again! I’m sure I’ll be posting on here trying to pick your brains in the near future!

Matt

2 Likes

welcome and definitely do an air assist mod ASAP. It’ll help with safety from fires, help cut better by clearing smoke/debris from the cut area and help with keeping the lens clean.

So, nozzle or tube should be your next question and I say BOTH - a small volume of air just to keep smoke off your lens via the nozzle cover and a tub for a small sharp stream cleaning the cut. You can make your own too.

2 Likes

One more thing, if you purchased a non-analog K40( no needle meter showing power ) then you NEED an analog meter. Many have quickly killed their tubes thinking 50%-100% was a good setting on the digital display when in fact they were over driving the tube and killing it. Stock tubes are low end tubes so keep the power < 18ma seems to be a good rule.

Later, when you replace the tube with a good one, you can probably go up to 20ma or so and then you’ll probably be stressing the power supply. Unless you have already moved all stepper motor power off the stock PS and onto an AUX 24V 5A PS.

3 Likes

That is part of the plan. I have a 24v psu to wire in. Just got it today. Trying to get the machine up and running tonight. Did a visual inspection and found a few things. Thermocouple wire was crimped between the laser lid and screw tab, flattening the wire. RIbbon cable cable to the gantry is disconnected and flopping around in the cabinet. Need to get it plugged back in to get the machine moving. Tiny things, but leads me to the conclusion that i need to double check everything before turning it on.

Good call on the analog meter. I’ll get one wired in asap!

Some pics

15675524534165089243384067477893|500x500

The outlets and grounding post are hot garbage.

Control panel

PSU

I need to get all this foam out. :frowning:

…it continues to amaze me that with the volume of these machines sold they cannot get their tooling and labels right to create a decent fit and finish.
How hard can it be to get the correct size punch to use for AC sockets ans switches? Can’t even put labels in the correct direction?

1 Like

It’s pretty bad.

@donkjr you’re blog is a goldmine! Slowly reading through it. Great stuff in there!

3 Likes

Ok! Made some progress!

Removed the xy gantry and removed the exhaust slot. Replaced the gantry and aligned the mirrors.

Upgraded the water cooling by pulling a gallon of distilled water out of the bucket and replaced it with a frozen gallon of distilled water. Tube is running at 18C, way better than the 24C it was at.

Made a tilt test cut to find my focus point. 68.9 mm from the head stage.

Pulled out the stock bed and made a new bed from 13 gauge expanded metal. Painted it black. Screwed it down with some fender washers.

Measured off the head stage to the expanded metal. 6mm below the focus plane.

Engraved a 200x200 box into the painted expanded metal for guides.

Shimmed a part to see how it would engrave.

I’m pretty happy with that! I need to get some aluminum angle to make fences.

Also, any tips on making it come out whiter? It’s kinda grey. I’m running at 35%, 200mm/s

Any help would be appreciated!

Glad to see that you got it running and engraving.

Be careful that you don’t get the tube too cold or you will get condensation on the tube if you reach the dew point, not recommended.

You can create an origin jig by placing a piece of 1/8" ply into the corner covered by the origin point so that it is firmly in the corner. Then create cut lines going along the zero axis lines and cut the ply.

Not sure about the greyness. Haven’t messed much with anodized Al. You can try going up on the power.

1 Like

I wouldn’t wait too long with the interlock, so that all persons in the room are protected, not only the one with the safety glasses.
It can be done very easy with a microswitch in the front:

2 Likes

My lid is shitty. Won’t sit flat on the front edge. Thinking about installing some fans near the vents to get air moving in the case, and will give the lid some weight to help with the microswitch.

Welcome to K40 sheet metal. Is the fit causing you a problem. Pulling air in the front is a good thing. You will eventually get to the point of replacing your exhaust fan with something more powerful.

Is that switch for interlocks … the correct answer is YES! :slight_smile:

Ok! Made a reference jig for engraving my parts. Getting the power and speed settings down.

1 Like

4 posts were split to a new topic: How to wire new display into K40