Would require a lot more work to source compnents and may require some machining or at least profile cutting or ball screw machining that I can no longer do.
(The old man here is yelling at the clouds, it seems. )
I think that today, if I wanted to print really fast, I would consider:
Most importantly: Use one of the hotends designed for this usage; that would have been the volcano at one point, but right now I’d be looking at a Slice Engineering Mosquito, Mosquito Magnum, or Mosquito Magnum+
Then use Klipper and an accelerometer to characterize the printer’s dynamics and compensate.
The faster you print, the more print cooling matters. If you are maximizing print speed, I expect you get to the point that even PETG needs print cooling…
I don’t see three Z-axis motors as a problem. I’m going to be bed levelling every time I turn the machine on (and perhaps between prints). As long as the steppers are on, the bed won’t fall.
The first 3D printer I had, an Ord Hadron in 2013, featured dual z-axis motors and it kept its level well - no bl-touch in those days!
If I ever want to try non-planar printing, three Z-axis motors would be an advantage.
I guess if you want to, it doesn’t hurt anything, it just takes time. I like that I level the bed once and it stays level. ¯\_(ツ)_/¯
Obviously, we come to different conclusions here. I’m trying to understand. Why level between prints? If it’s changing between prints without disabling stepper motors, something is very wrong with the printer (like binding) which will also show up in bad print quality, right?
My original bed-flinger had two Z axis motors on a single stepper, and it mostly stayed in sync. But when it got slightly out of sync, I initially didn’t understand what had happened and would adjust the bed instead of one lead screw. (That printer has since had its parts repurposed…)
Which models have enough degrees of freedom in each bed mount to enable non-planar printing? Using a maxwell kinematic coupling with really long grooves maybe? Have I missed one of this printers actually being reasonably configurable for non-planar printing?
For most printers, I doubt the degree or two you can get before bending things from racking forces will enable meaningful non-planar printing, and having multiple motors just gives plenty of failure modes in which the couplings can be driven out of sync such that mount elements or drive elements (e.g. the lead screw) are bent. I mean, it has to be explicitly designed for non-planar printing, which I would expect instead to do with a five-axis printer like XYZdims (René K. Mueller) has been playing with than with independent control of three Z steppers.
At this point, it’s still looking about for ideas. I need some form of kit should keep me busy while I’m stuck inside during winter.
I want something I can fiddle with and (hopefully) improve rather than a 3D printing workhorse - the Ender 5 I have does a good job at that.
That link re non planar printing was very interesting. The non planar printing I’d seen to date was fairly limited.
So far the Hevort is leading the pack, as far as choice is concerned.
An active and helpful forum plus I’ve found two locals who are building it (local meaning in Australia). having someone in the same timezone to ask question of, is nice.
There are a number of spreadsheets provided to do sizing calculations and produce a BOM. Lots of supplier links for the necessary parts, etc.
Waiting for a few quotes on 3030 extrusion, already have a good idea of the cost of linear rails and ball screws courtesy of Aliexpress.
Final size is probably dictated by where I can actually put it. I live in a small, one bedroom unit/apartment and there’s not a lot of free space.
Well the extrusion has been ordered and paid for so I’m committed to the Hevort now!
Build size will be 350x350x390. XY dimension chosen so I can fit the finished machine in the limited space I have and a Z of 390 so I can order standard length ball-screws and linear rails.
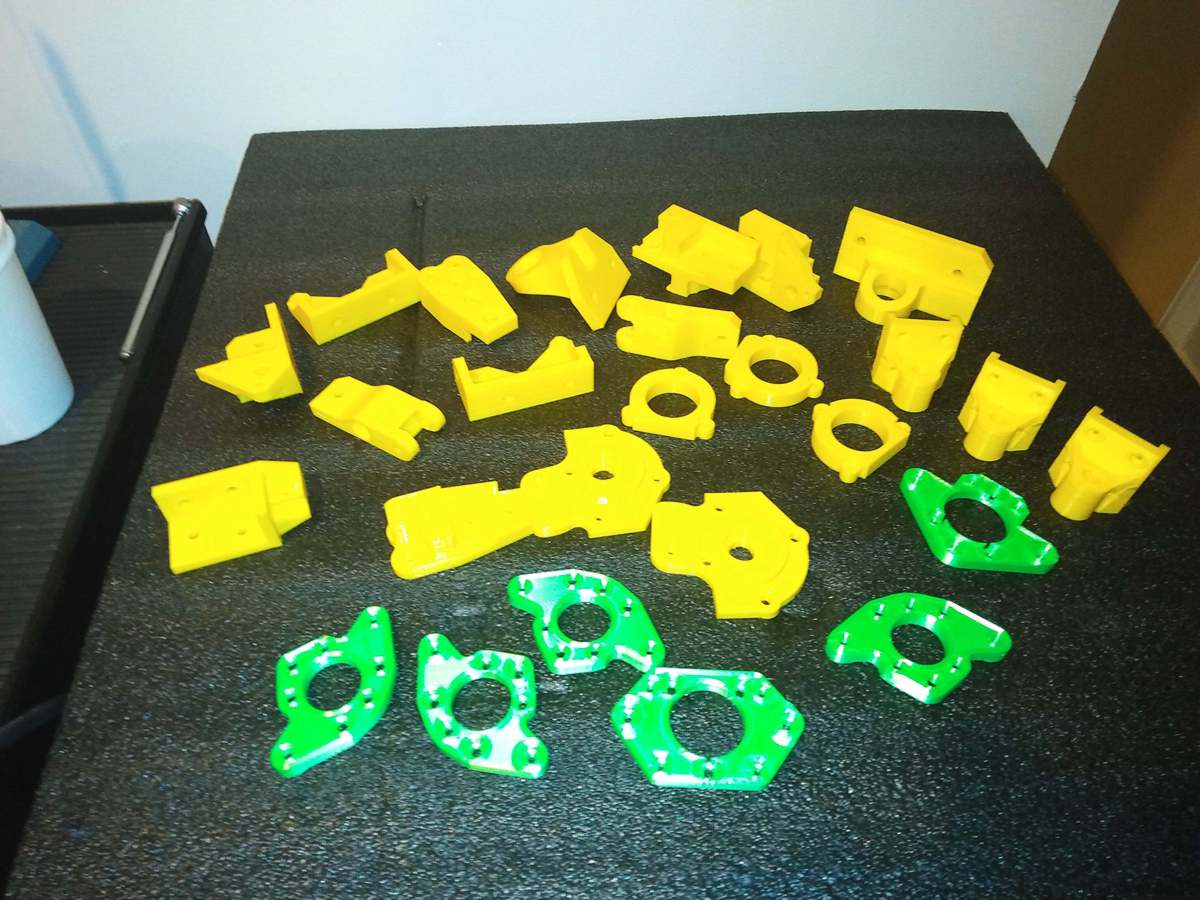
While waiting for parts to arrive, I can get started on printing the necessary parts - once I decide on a colour
Most of the parts are printed but I’ve run out of yellow filament so have to wait until the order arrives for that (1 week or so)
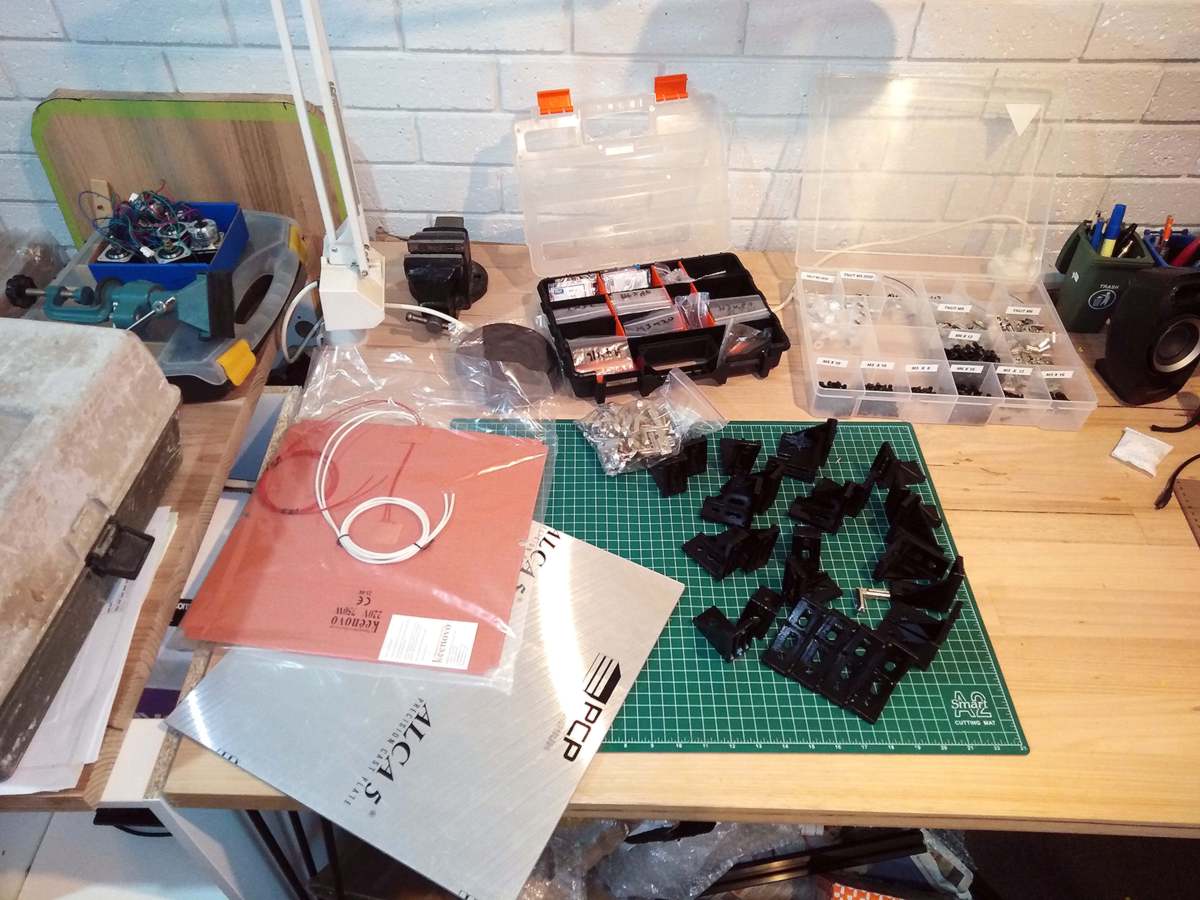
Other ordered parts have started to arrive. I have the extrusion, abll screws and linear rails, bed plate plus 3 more parcels I have yet to get from the post office.
Picking up fasteners and bearings today so hope to start eh build in the next day or two.
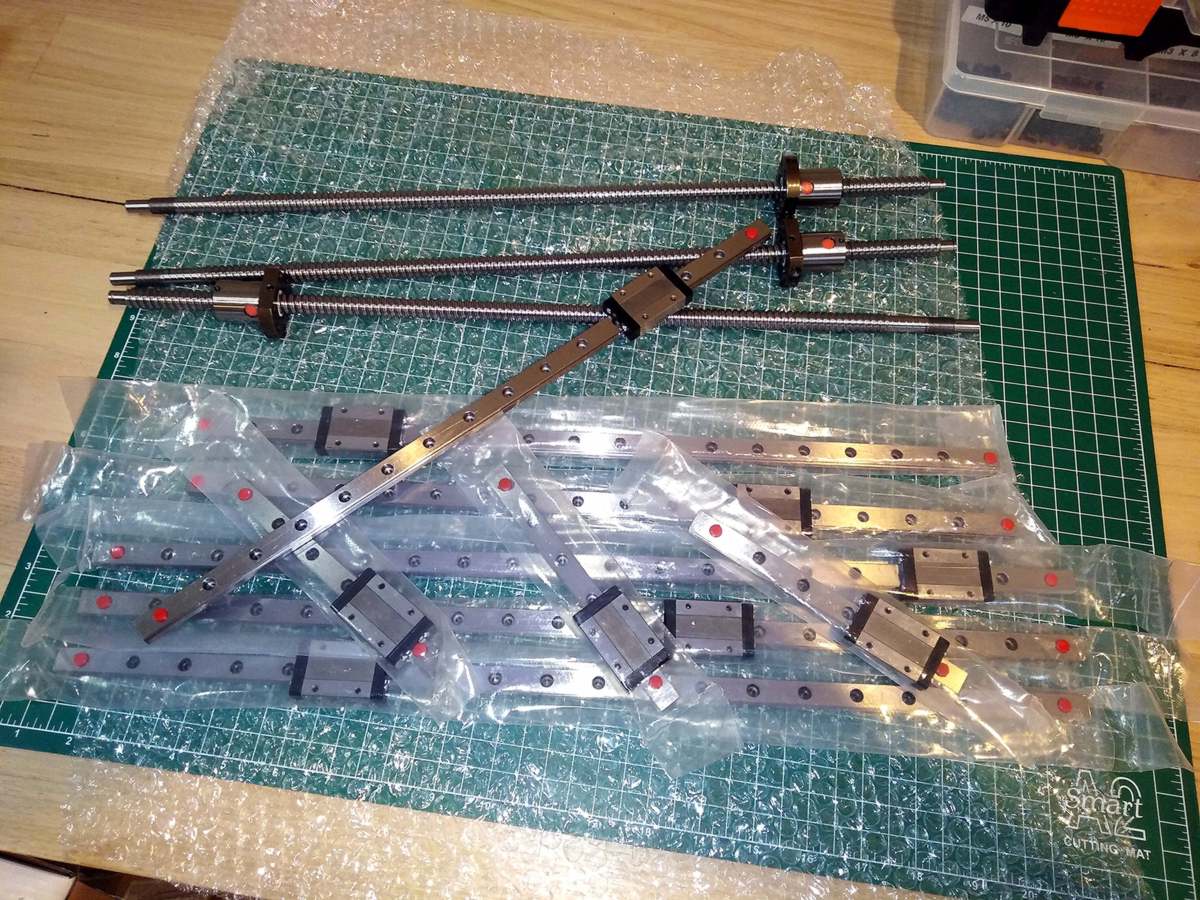
Linear rails and ball screws. I’ll give these a good clean before I use them.
I have a bout 50 screws that I need to ‘adjust’. BOM calls for 14mm but next available size is 16mm. That’s an outdoor job with the grinder - when it stops raining.
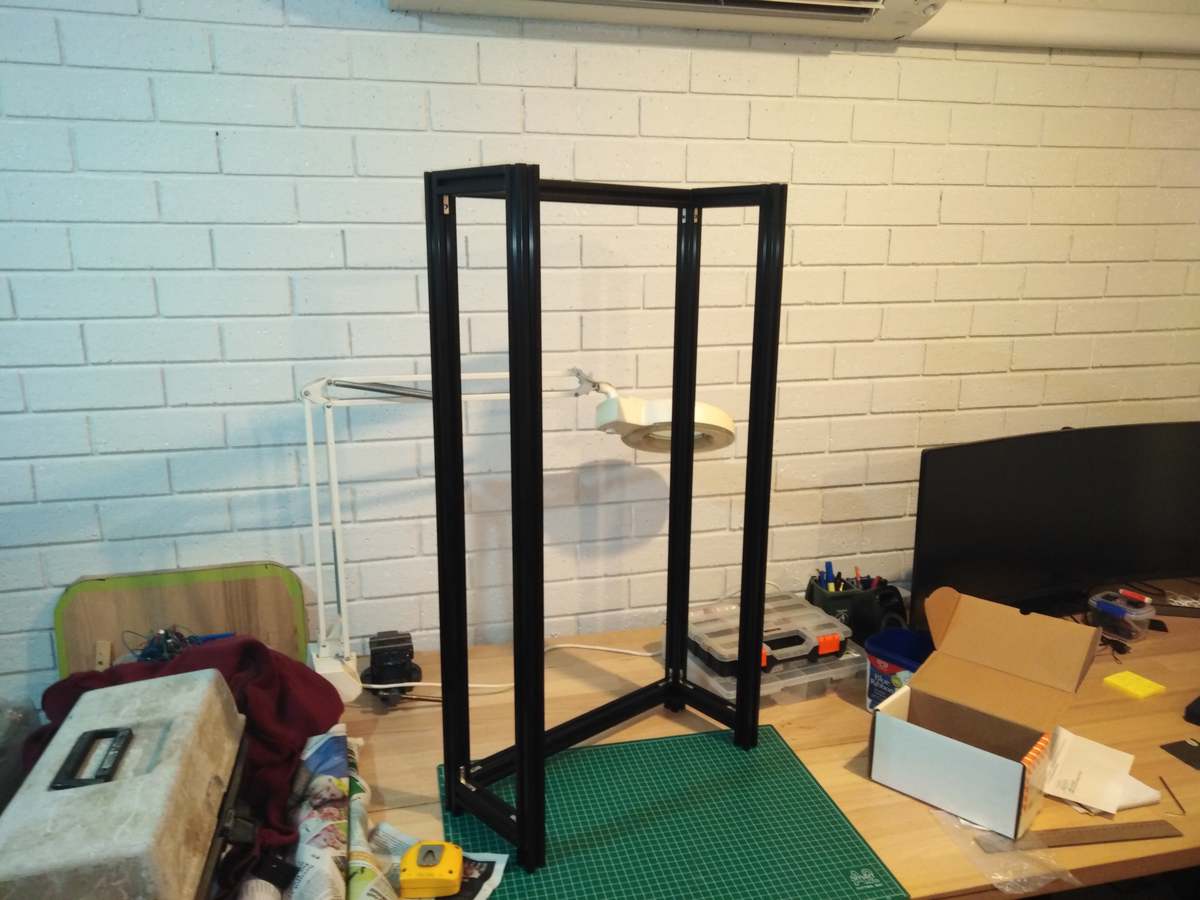
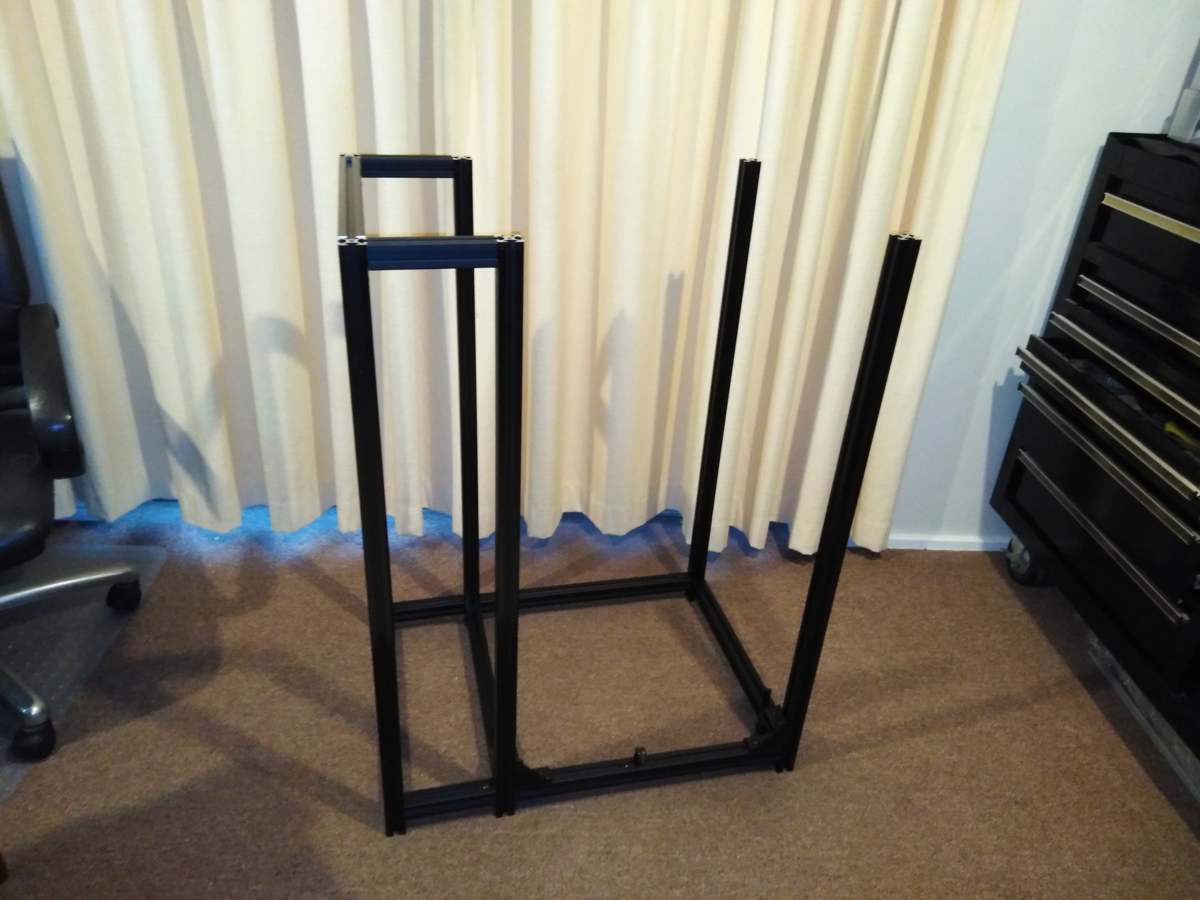
Put a bit of the frame together while waiting for some more filament to be delivered.
This is just the electronics enclosure on the side, stands just on 930mm high.
The full width will be 650mm
Overdue for an update on the Hevort.
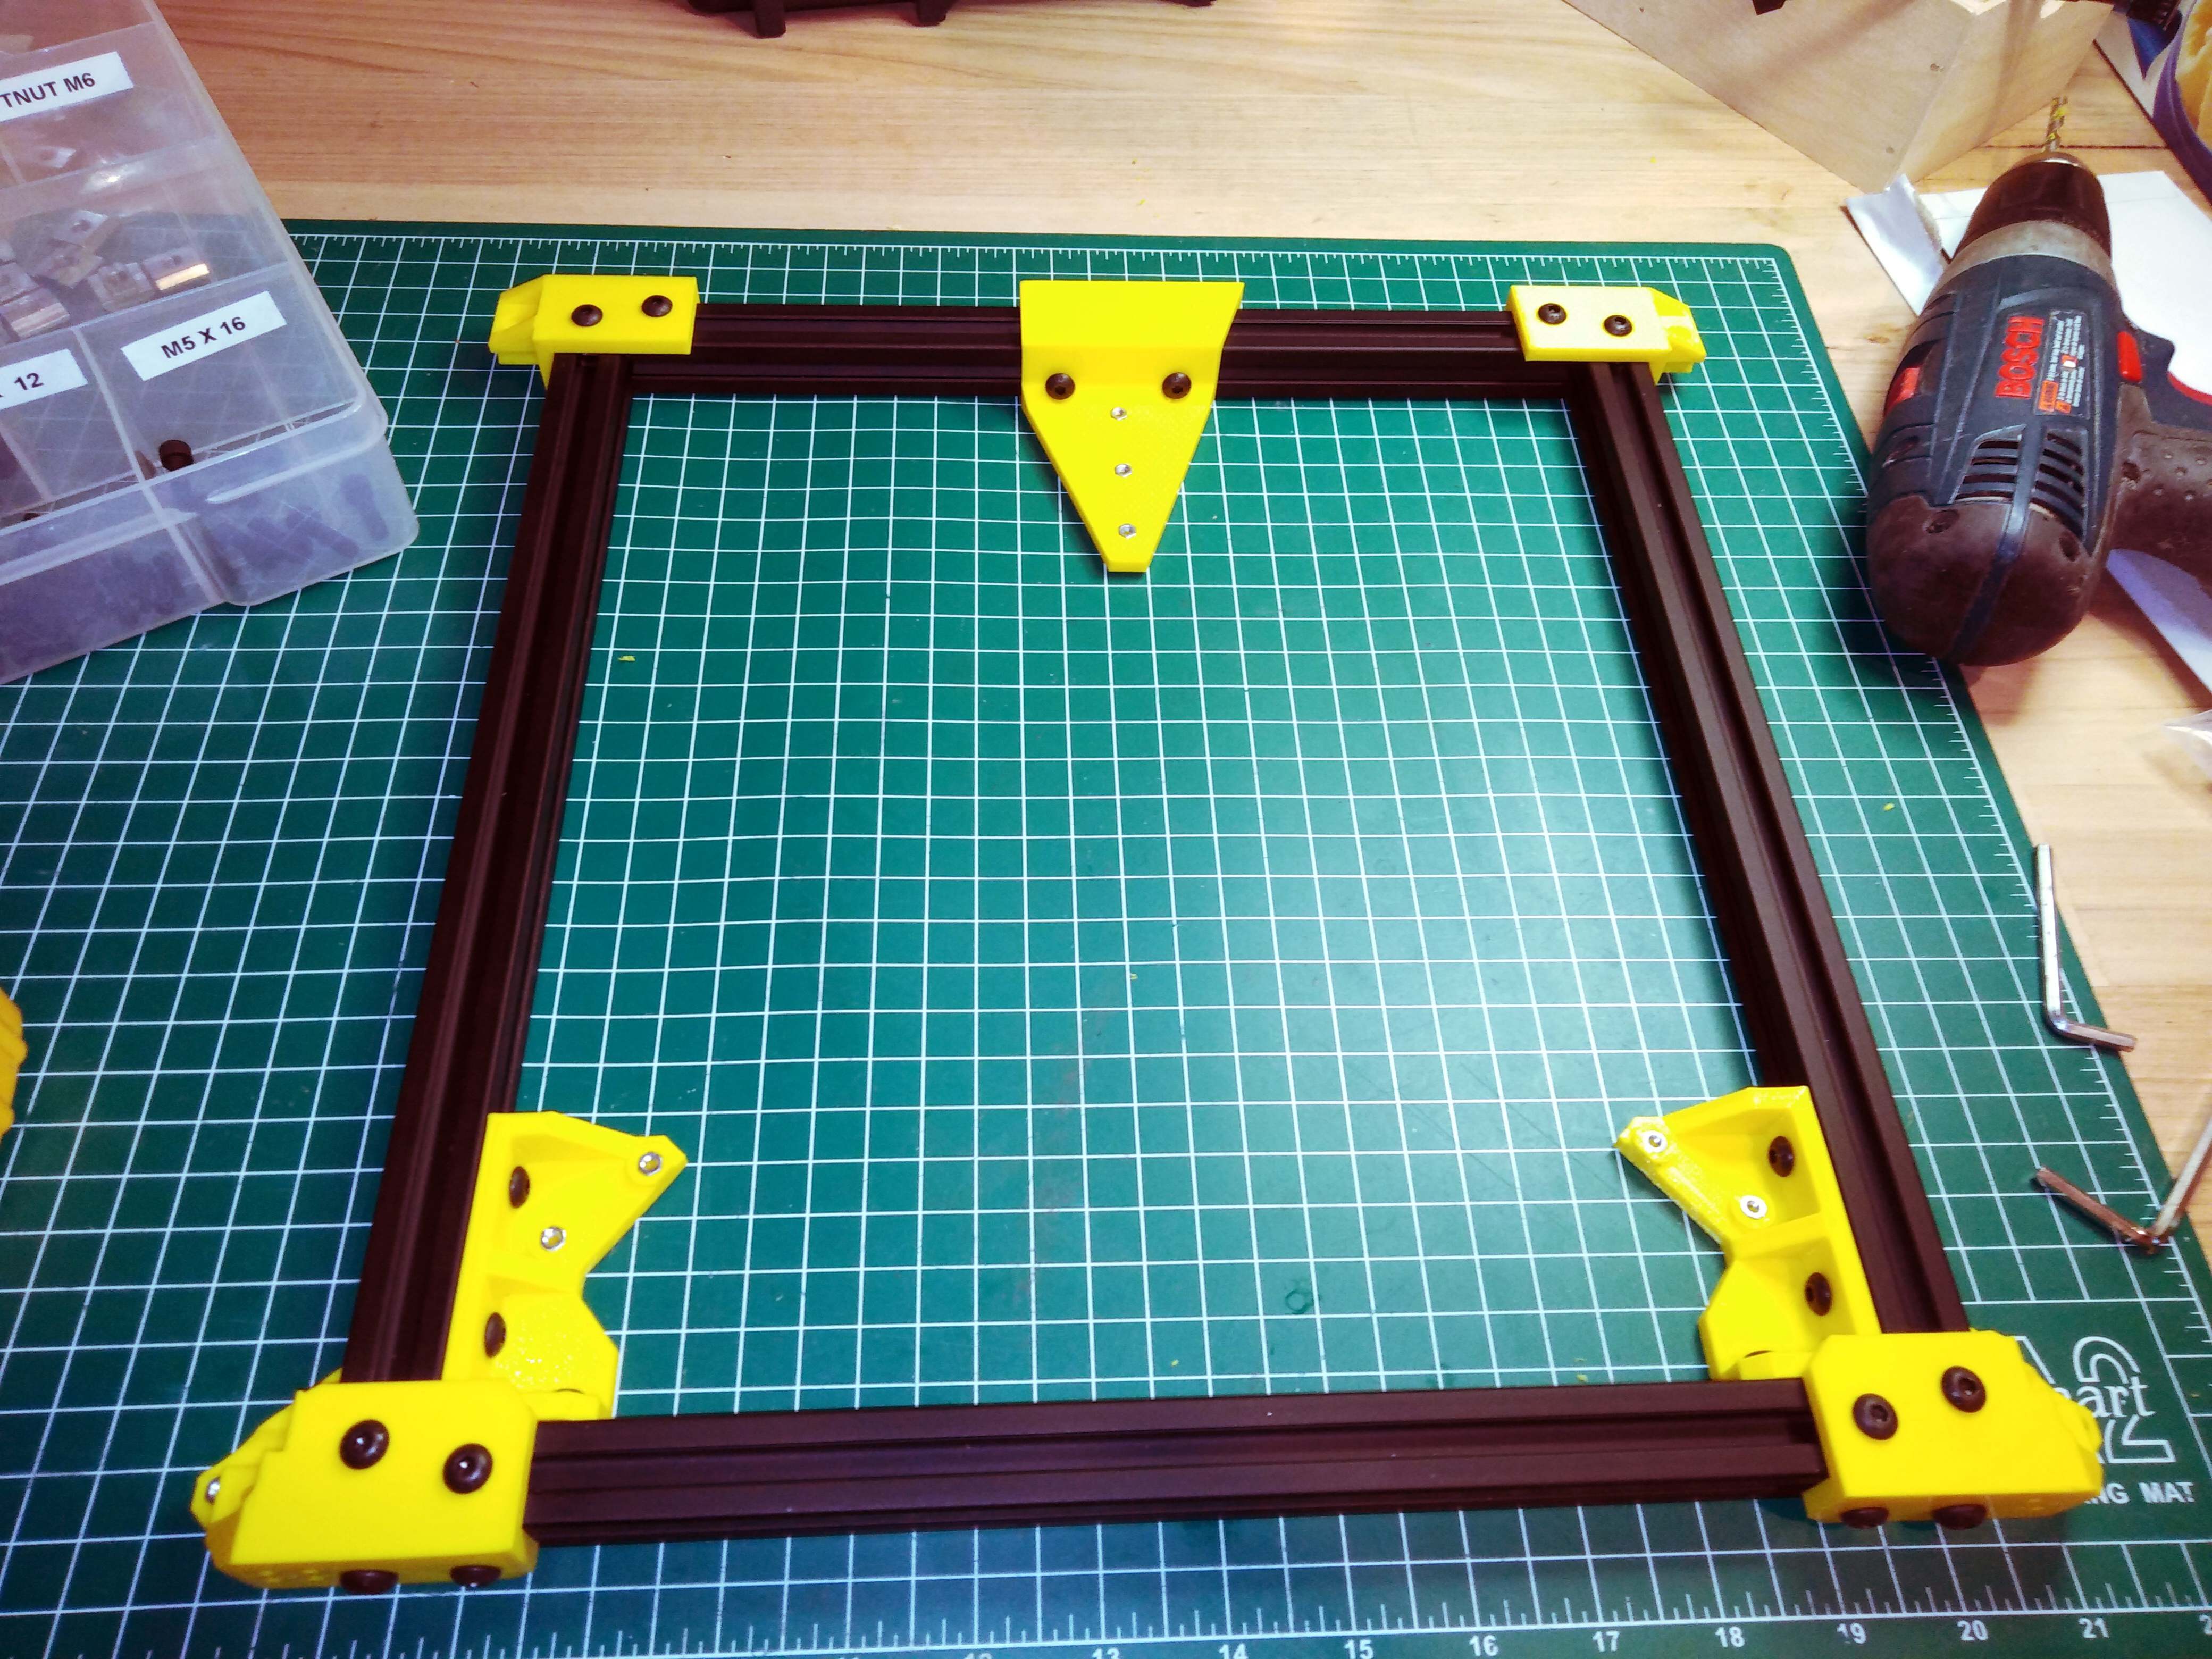
Got the frame assembled (mostly) Note to self: buy drop in t-nuts next time!
Had trouble sourcing the ball-screw bearings so a weeks wait for the remaining one I’ve ordered.
I managed to order the wrong size oldham couplers (changed stepper motor size after I started) so another delay there.
I received the controller the other day BTT Octopus so I’m getting familiar with it and the necessary Klipper configuration.
I still have to design/modify a suitable X-carriage to suit the Orbiter extruder and Mosquito hotend.
I’m good at borrowing.
Thanks for the hint.
The Muldex X-axis has the rail on top whereas the Hevort has it on the bottom so might take e a bit or tweaking.
(I can see a mention of the Orbiter/Muldex on Twitter but nothing on Github.)
Oh, I’m sorry. I’d just been following him on Twitter and didn’t realize he hadn’t pushed the new design to GitHub yet… And didn’t realize the rail mismatch.
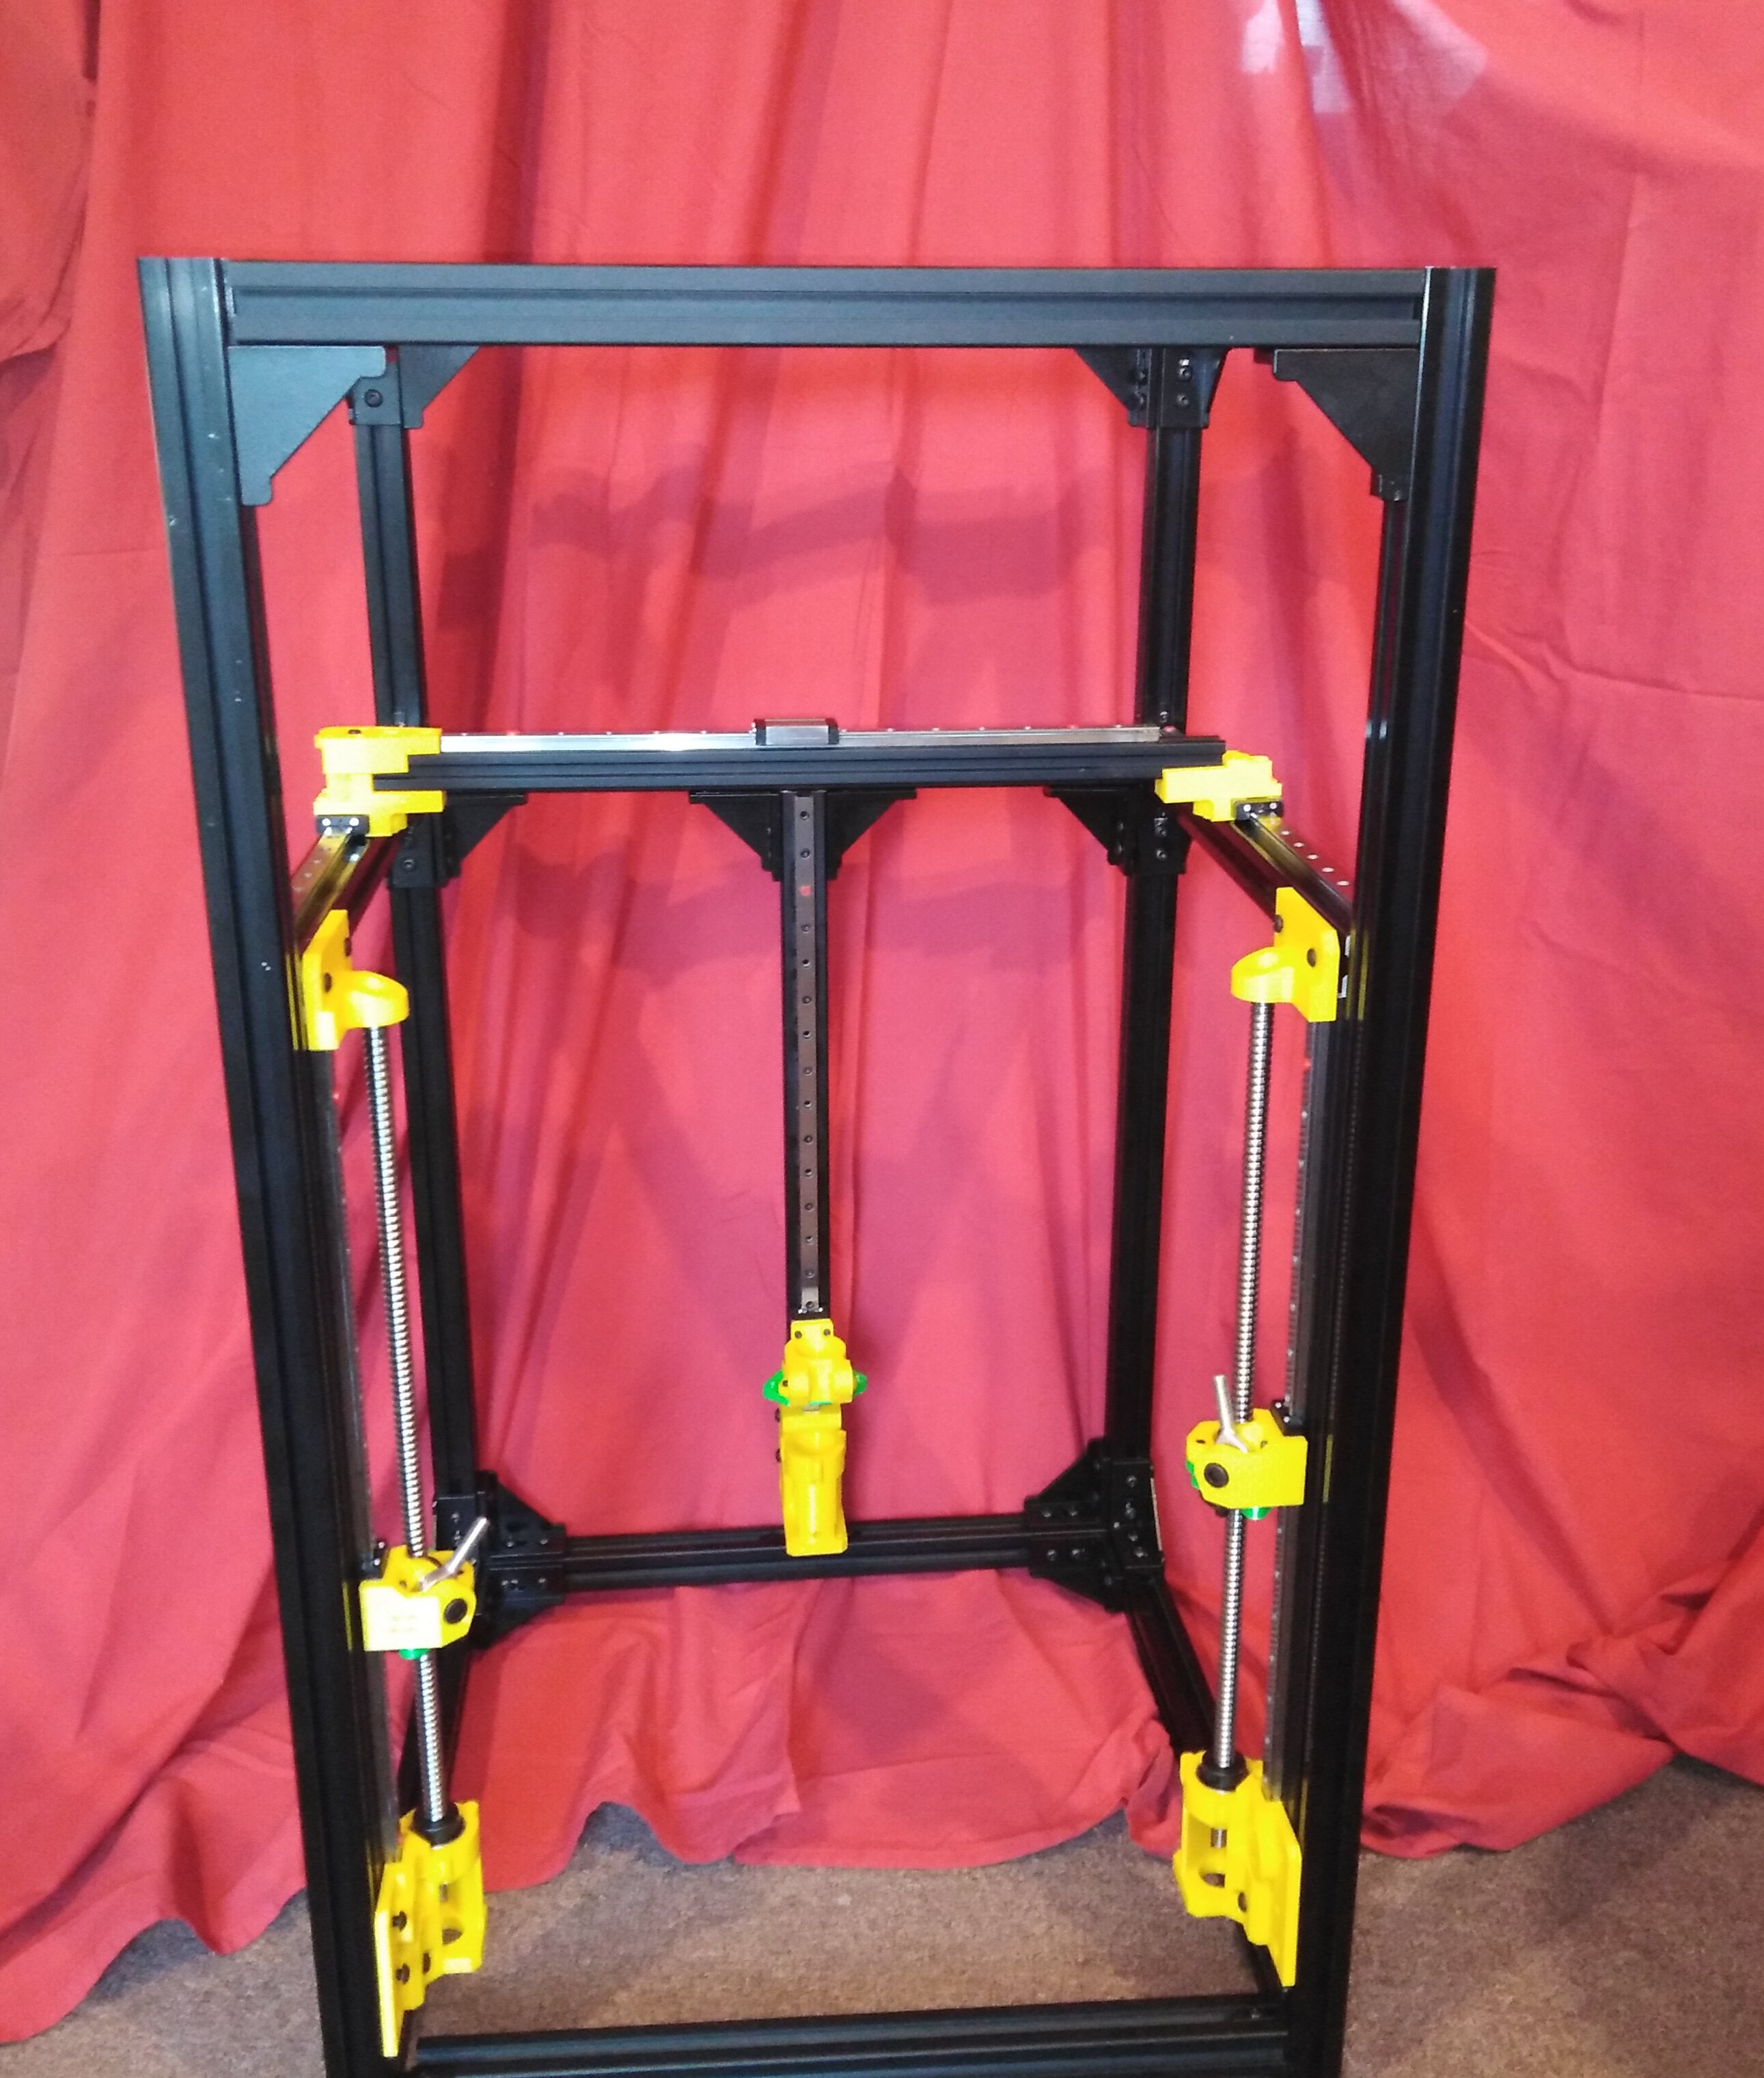
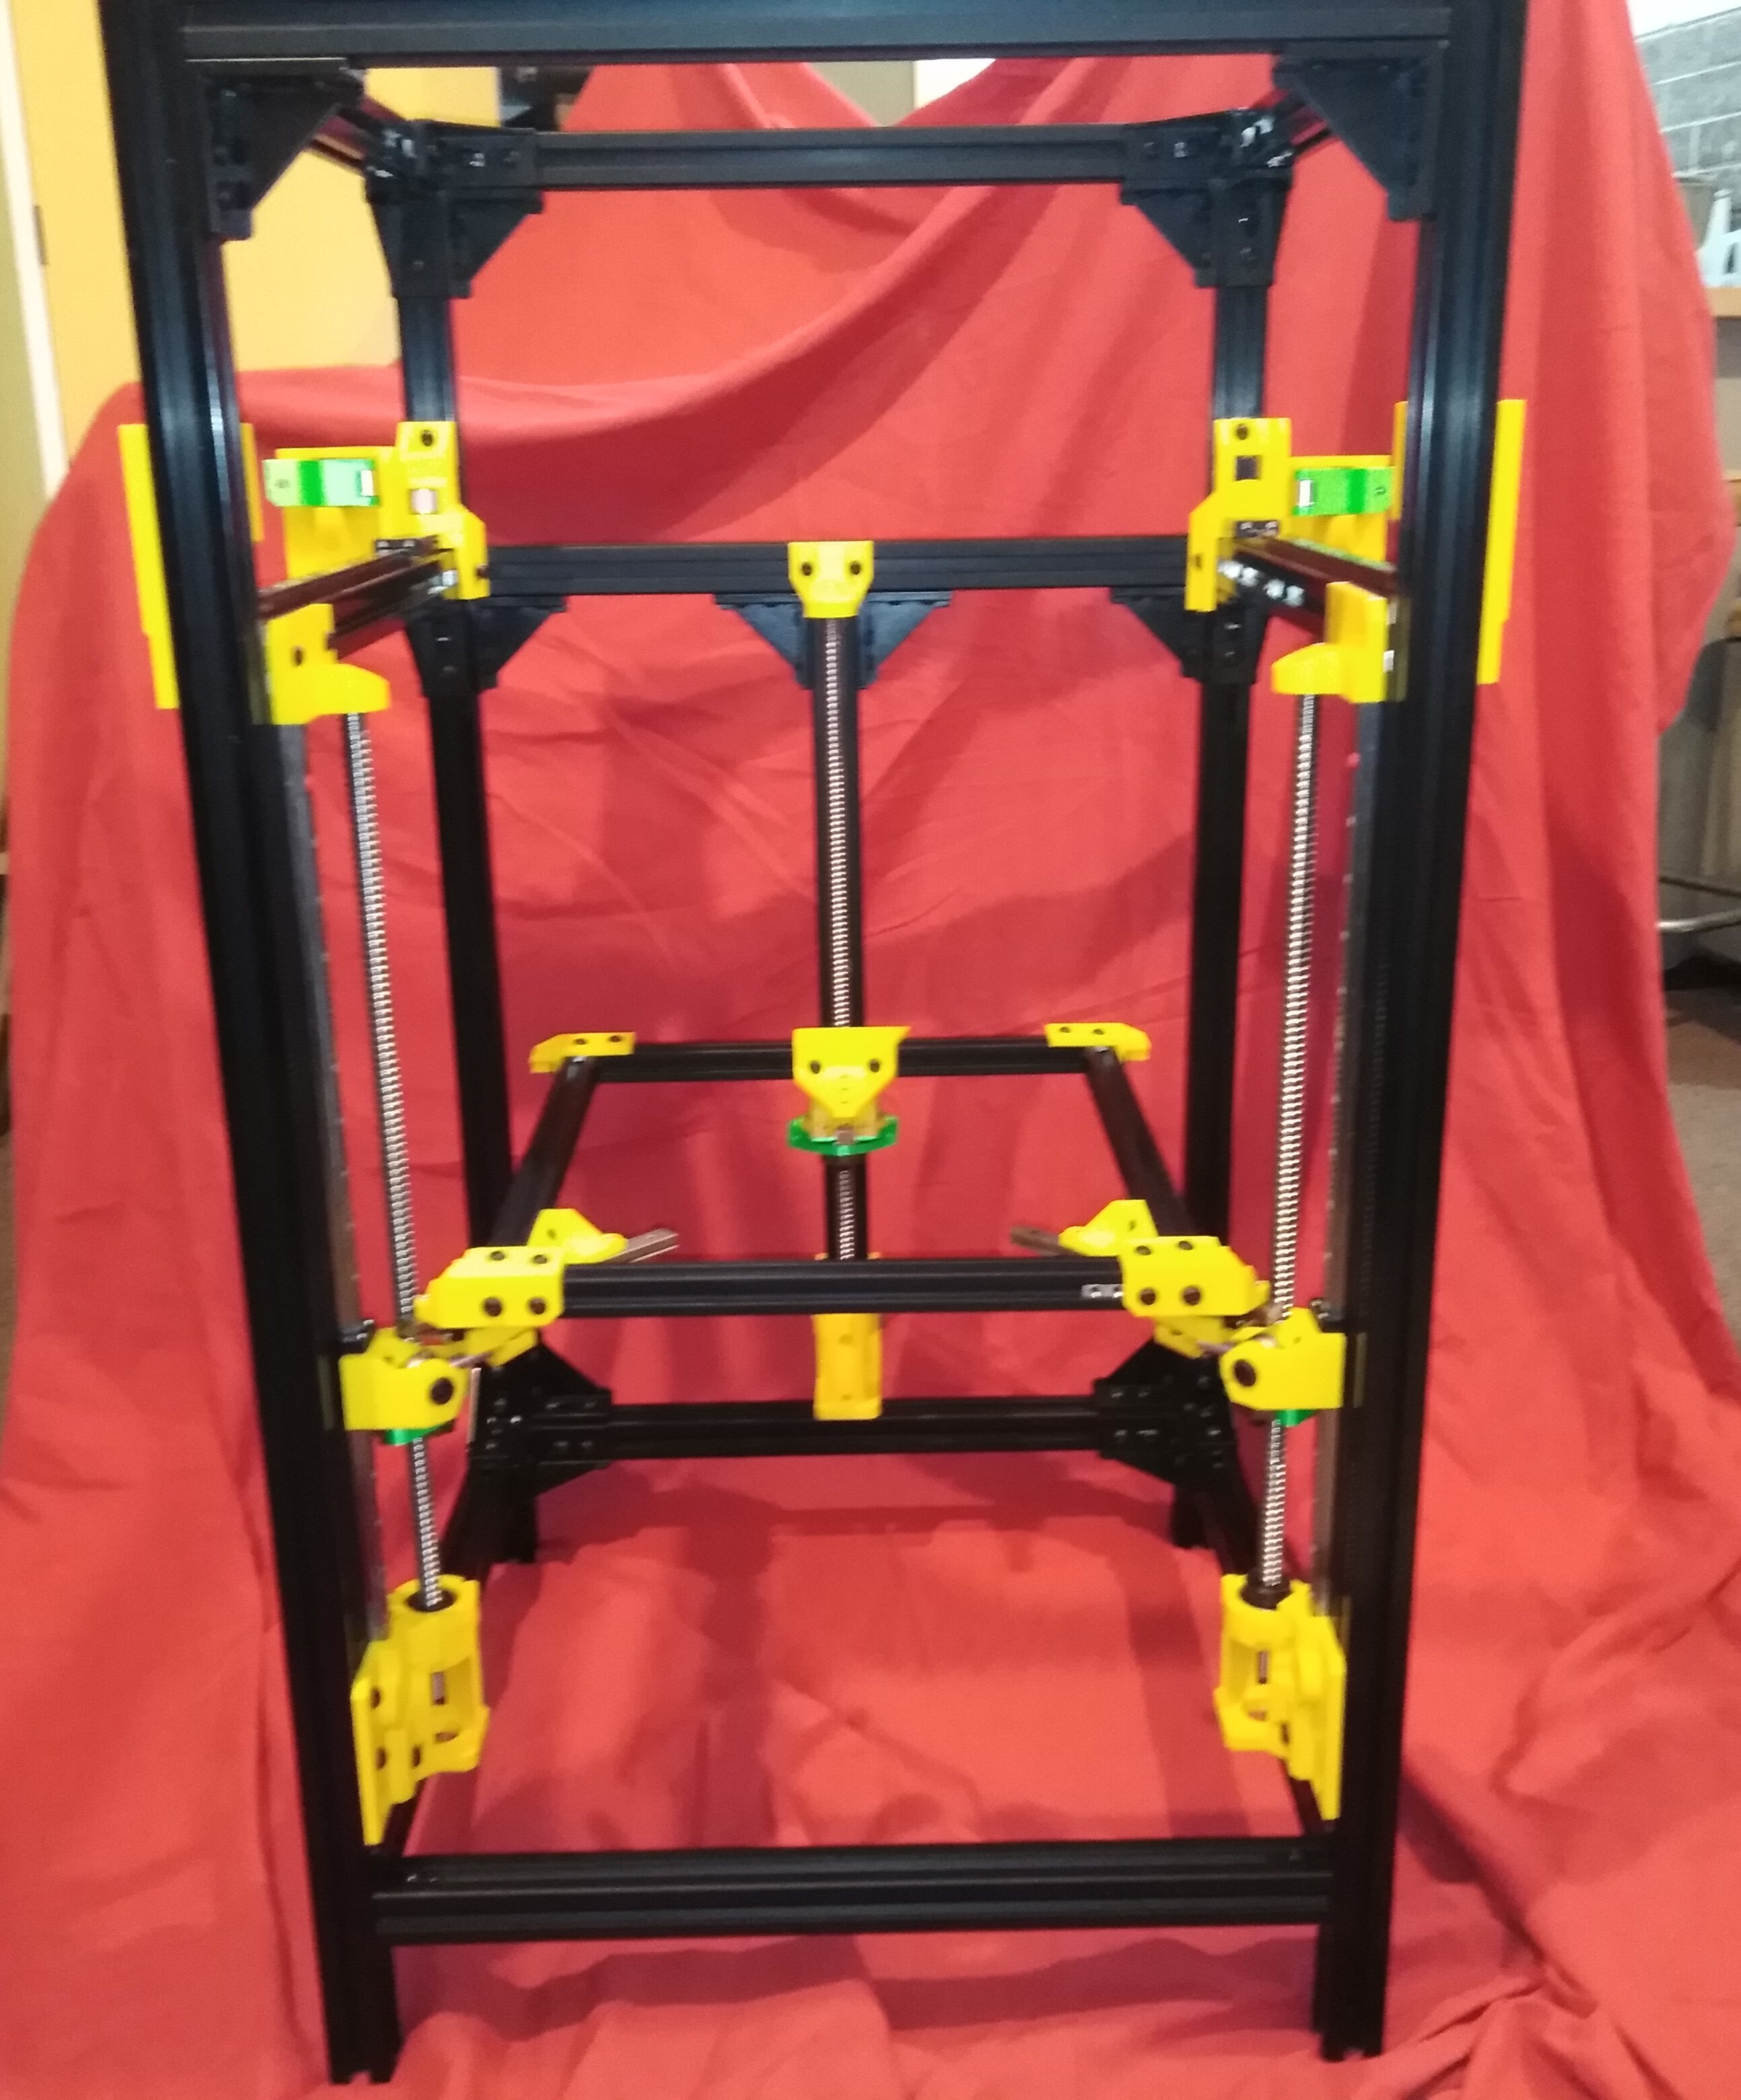
Frame is all finished. Still have to mount the bed plate and the motors. Still waiting for Oldham couplers for those.
Electronics will now go in the base rather than an attached cabinet.
(I’ve been re-reading this because I’ve finally decided that the Cantilever printer design based on leftovers is a failure and I “need” a working second 3D printer that will be reliable for the family; the corexy that I designed around a few parts from a tronxy x5s is wonky enough that I think it would be frustrating for my kids to try to use it directly. And I think I want to buy a printer or kit rather than do another design-my-own. So this thread is super useful to review!)
Build is going rather slowly. A long wait for parts plus life has gotten in the way a bit (not in a bad way)
Finally all parts are on hand or can be sourced locally so no excuse not to get it done
I have spent a bit of time installing and playing around with Kliper on the Ender 5 as I’ll need to know that for the Hevort.
Before settling on the Hevort, I looked closely at the RatRig which is a full kit.
 )
)