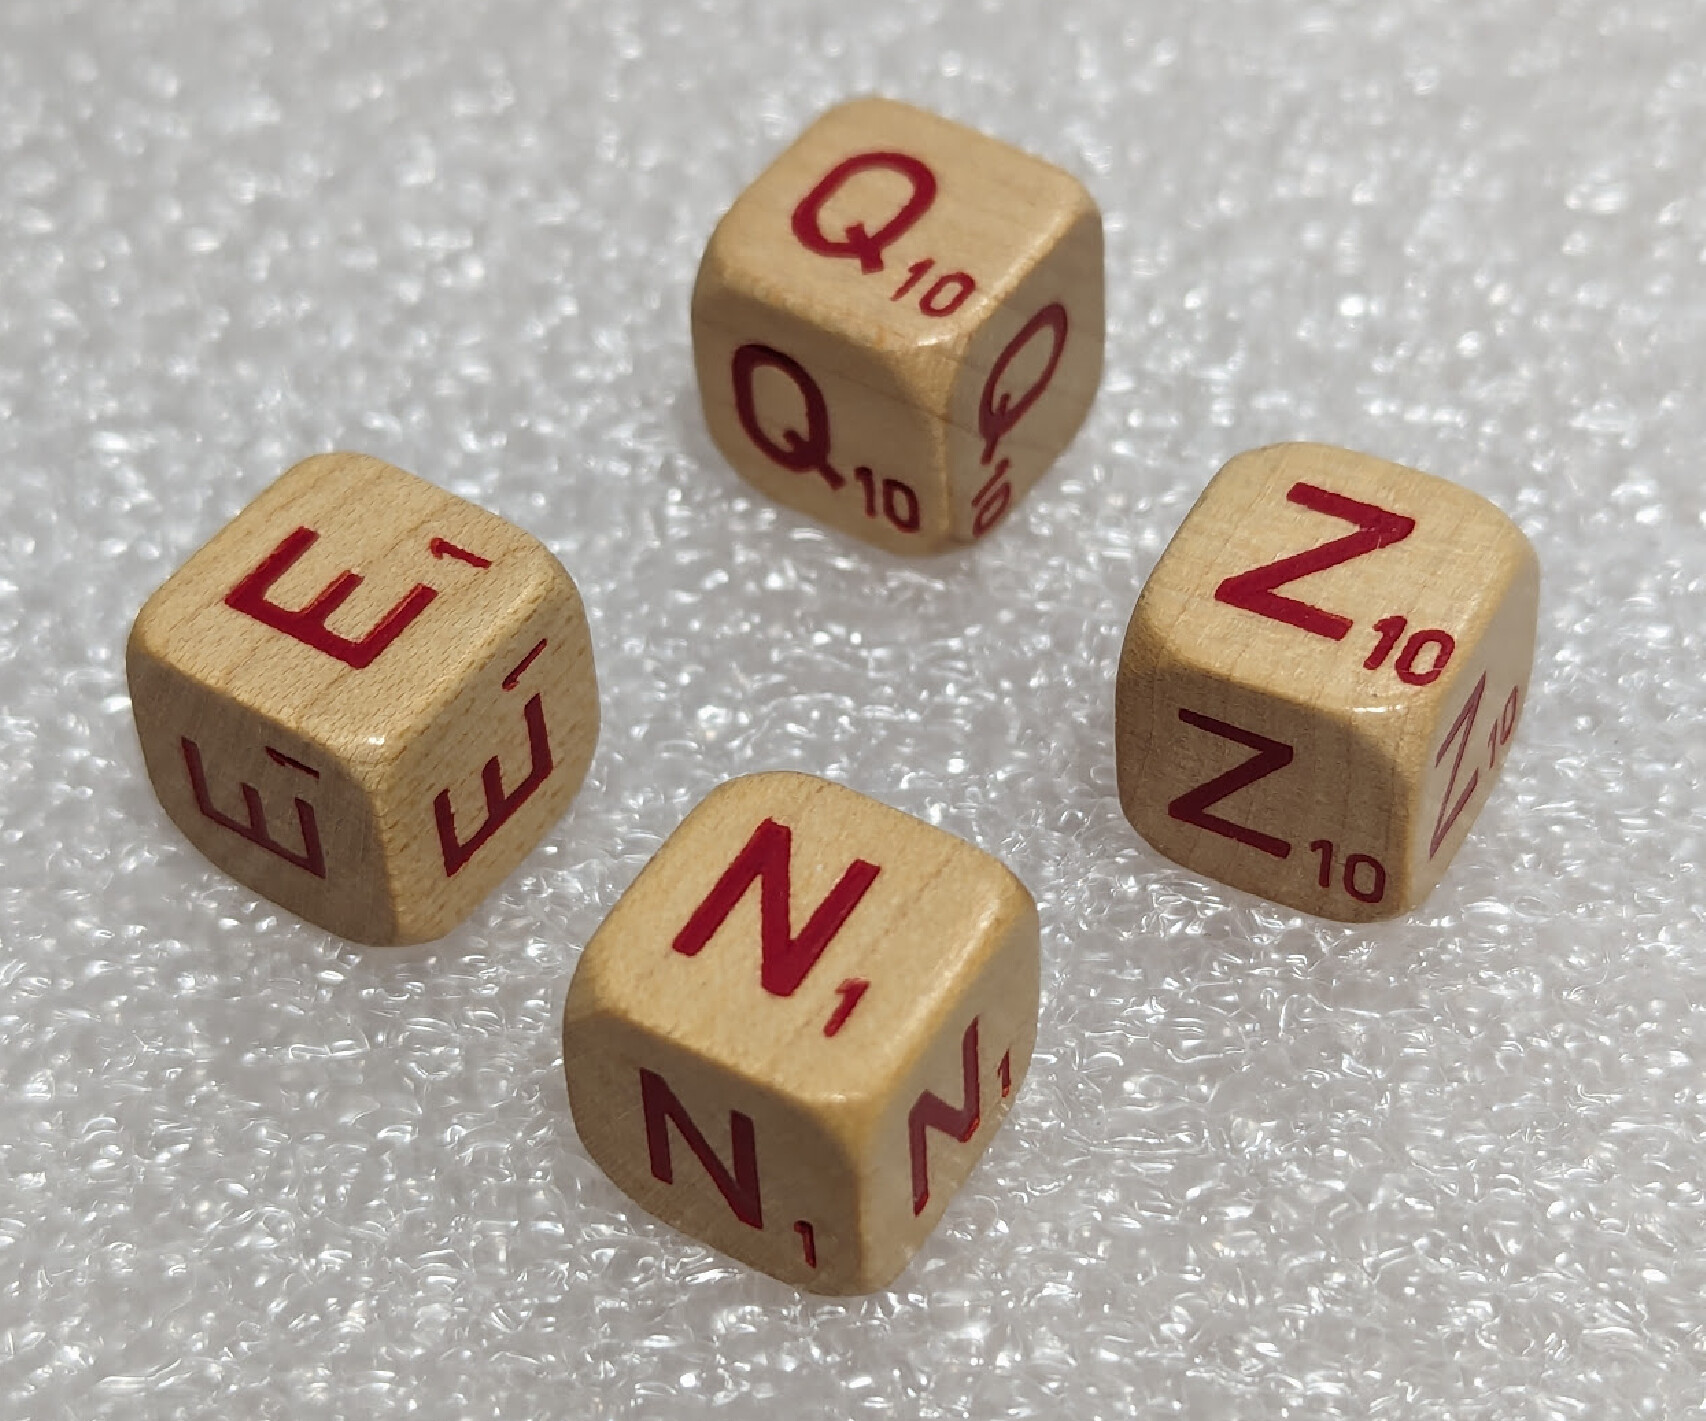
A friend bought a partial game of R.S.V.P. — a variation on scrabble with cubes instead of tiles, with a vertical gameboard where left-right are reversed between the players, from 1958, that appears to have had about a ten year run. What he bought was all but two of the cubes, but the instructions and the vertical frame in which to play had been lost.
I found a piece of maple in my shop and machined a couple 14mm cubes to fill out the set. So far, so good.
The cubes are printed in red (embossed, I think), and I’ve been struggling to figure out how reproduce that for the replacement cubes I made, which right now are blank. I’ve found a reasonable font and can export SVG from FreeCAD, but I haven’t yet thought of a sensible home-gamer way to use it to print red letters and numbers on wood.
This is painstaking. Use a stencil to wood burn character patterns (tuff to do) then fill with red paint. Finally, sand the surface until only the red character shows.
Instead of woodburning by hand:
Find metal stamps that are the correct size.
Maybe I have a reason to finally finish making that laser cutter that’s been on the back burner recently…
Now that I have one LinuxCNC device under my belt, I can contemplate another with less trepidation at the learning curve.
But also I have a CNC mill and could make my own hotstamps the right size and font, in which case I could use pyrography to burn through mask and wood, just like a laser.
Yeah, I was going to say, my method would be to polyurethane the dice to seal them, mask them off, laser engrave, paint red, peel the mask, polyurethane again.
Have you tried any of the powder coating methods? But those die look like they are epoxy filled. Very carefully filled but filled none the less. There are ways to use powder coatiing powders with lasers and color laser jet powder with lasers. The unmelted powder cleans right off easily.
These dice have what looks to me like an enamel. They are at least 50 years old; I believe they were last produced in 1958. But I had already wondered if there were a toner heat transfer option, and had in mind vaguely some sort of iron-on option. I hadn’t thought about laser melting toner powder. I wonder whether they might stick best to laser engraved surface?
Tonight I discovered that there is also red on clear label tape. That would not be as beautiful or long-lasting though.
I was about to say I’d seen more recent ones, like some from 1970. Then I thought about it… 2024-50=1974 I’m relatively young (1994 vintage ) but I still have my moments when I make myself feel old.
I ordered a complete game off of eBay, so if you’d like any dimensions or reference off of it I’d be happy to help once it arrives.
1970 is more recent than I had seen, but yes still over 50 years.
Yes, please, I’d love to know the dimensions for the holes in the board, as well as how deep the board is — do the dice stick out each side? My naive approach was to have the board as thick as the dice (~14mm) but maybe that would make it harder to play. I’d also love to know how long the feet are.
I’m definitely not trying to exactly replicate it, just make something that fills the same function but is optimized for 3D printing instead of injection molding. But knowing what might fit in a box would help make these more useful replacements.
This makes me wonder how successful it might be to 3d-print an impression die, and to clamp/press the wood block? I do this all the time for leatherwork, but I’m not sure if the plastic would be strong enough to leave a crisp impression in a wood as hard as maple? Might be worth an experiment to find out?
I think it fits into the “wouldn’t that be nice!” category, if my experience is any guide…
I am confident that I wouldn’t get a crisp enough edge for a letter 3mm high even if it were hard enough. I’ve done a bit of 3d printed lettering including a (failed) attempt to make an “ex libris” bookplate embossing stamp. I couldn’t get it sharp enough to emboss paper well, so pretty sure maple would be right out…
Happy to help I went ahead and measured all the key dimensions I could think of for anyone’s future reference. Would doodling it have been quicker and more effective than typing all of this? Possibly. Most dimensions are averaged across a few measurements. Everything is symmetrical.
Dice are 13.85 cubes.
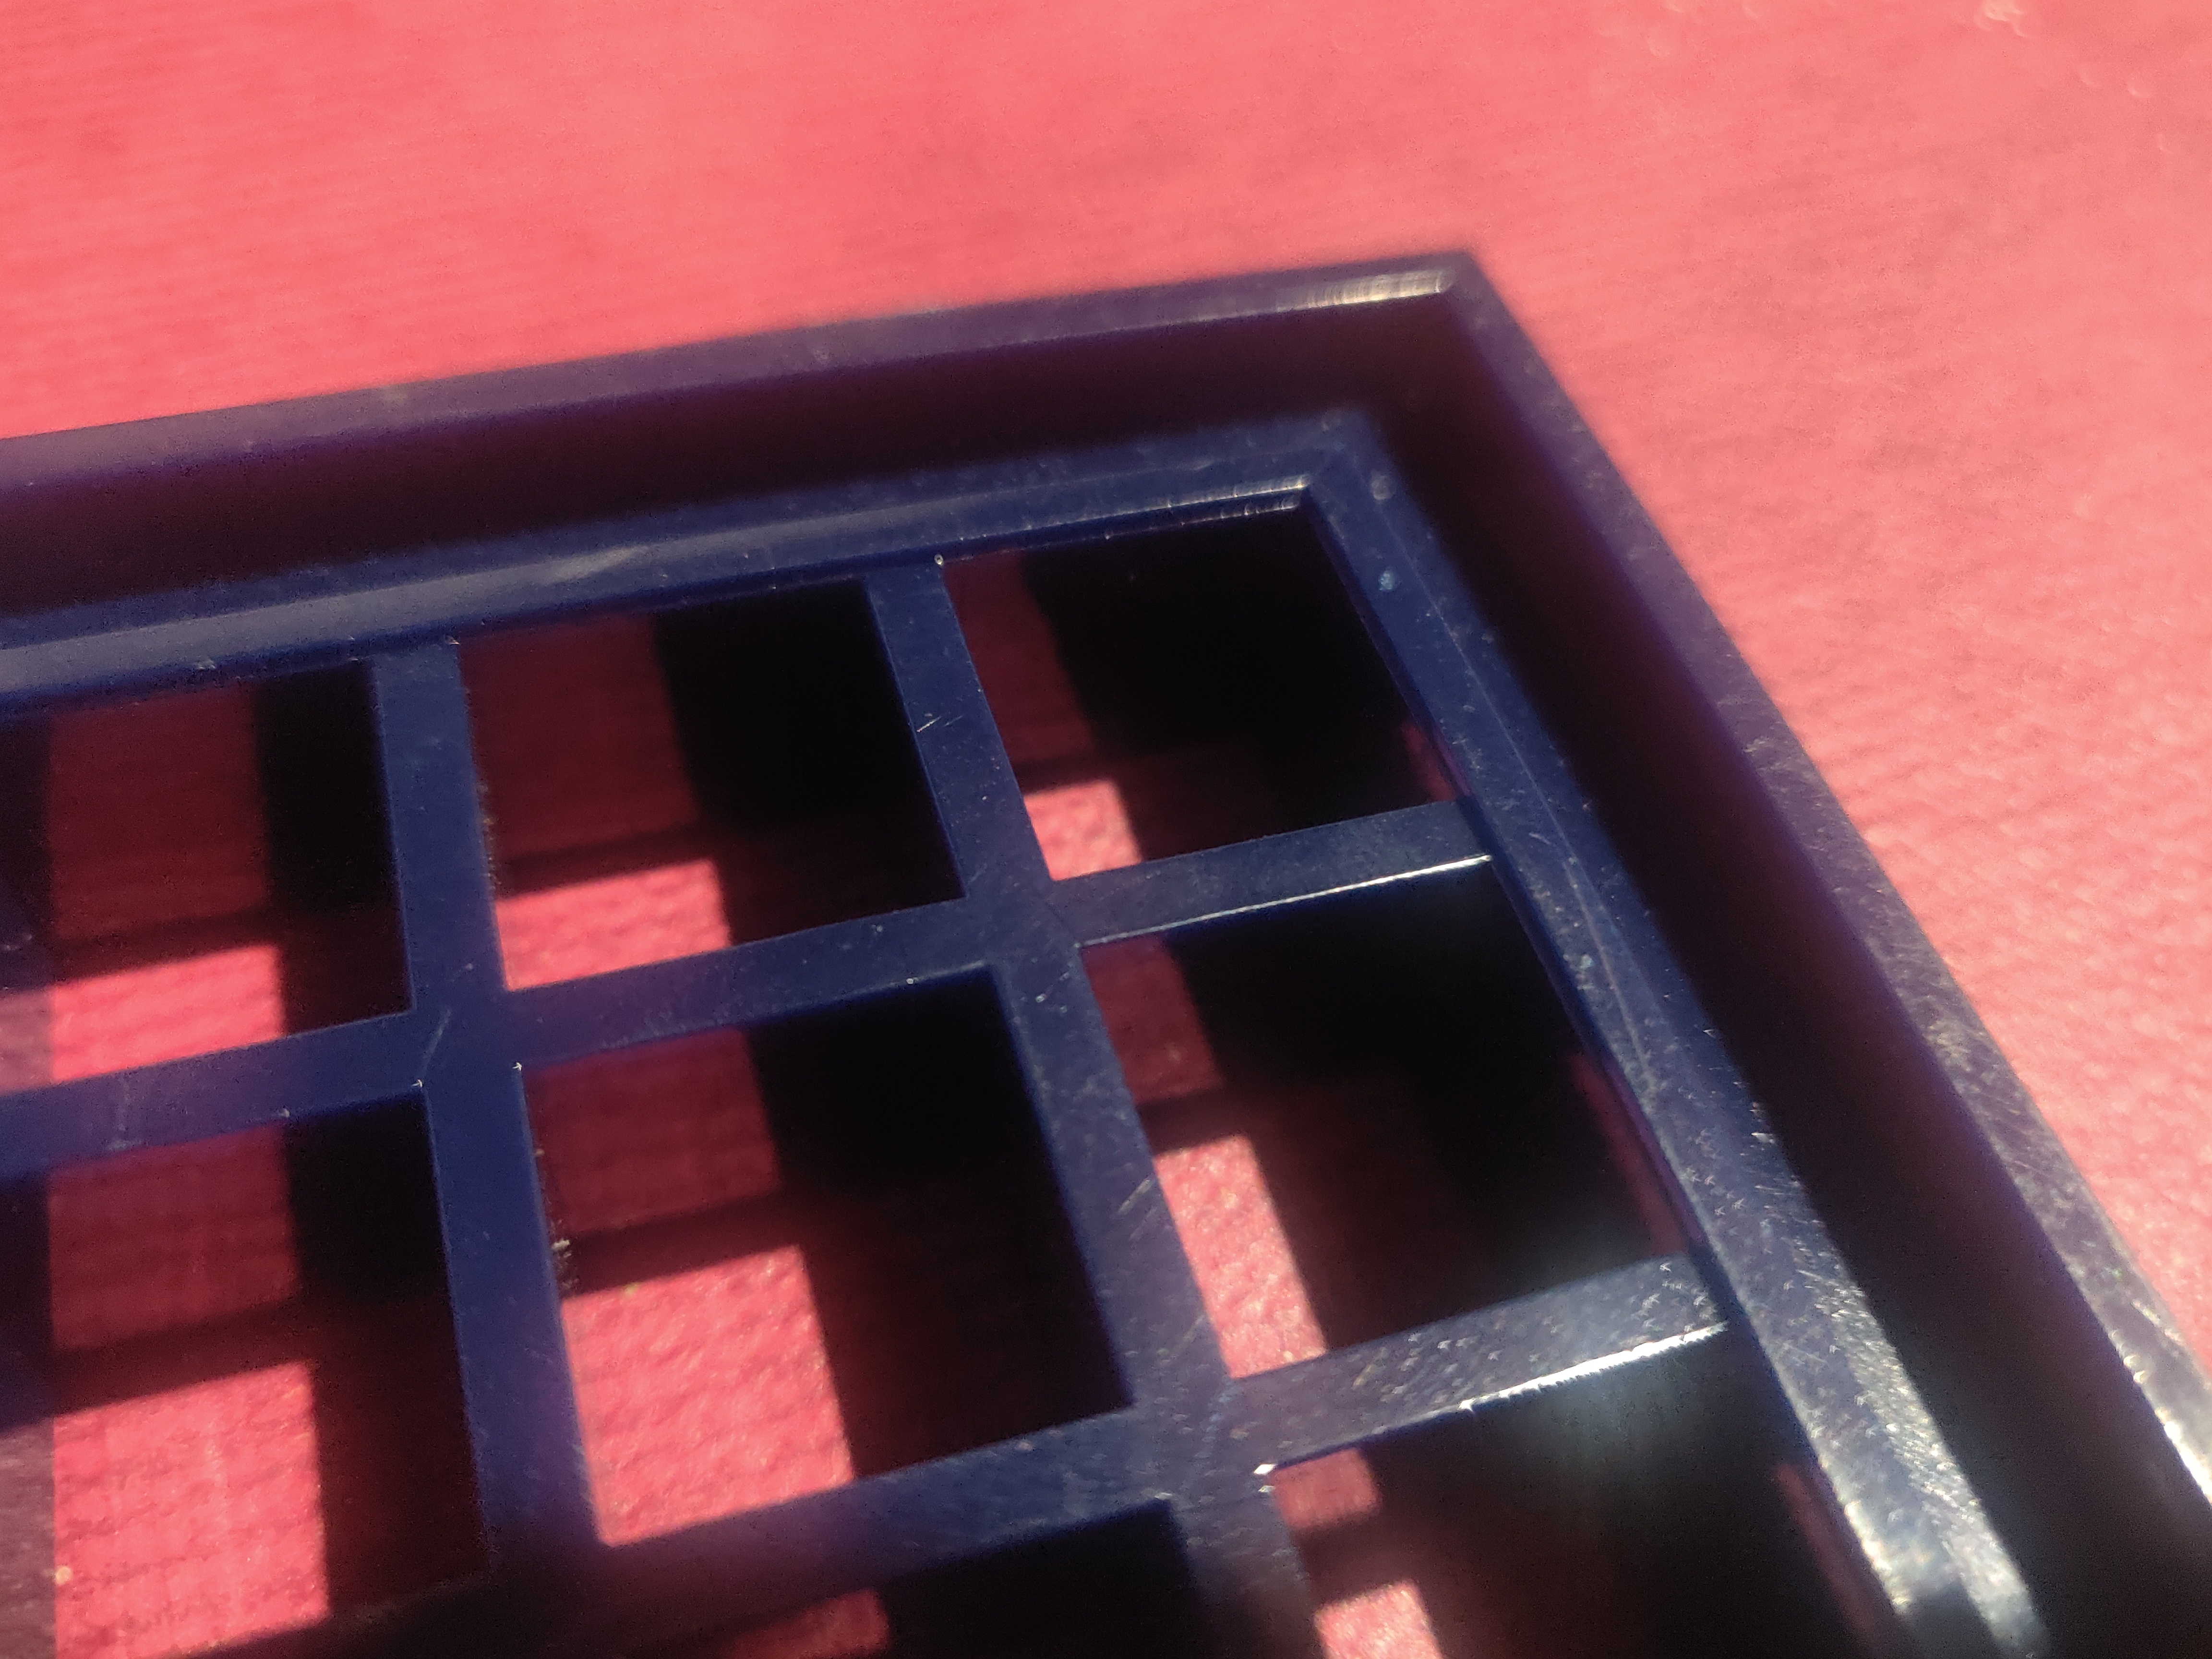
The overall size of the board is 21cm square, the outer frame is a H shape measuring 14.2mm thick and 13mm wide (2.5mm thick walls and a 8mm groove 6mm deep).
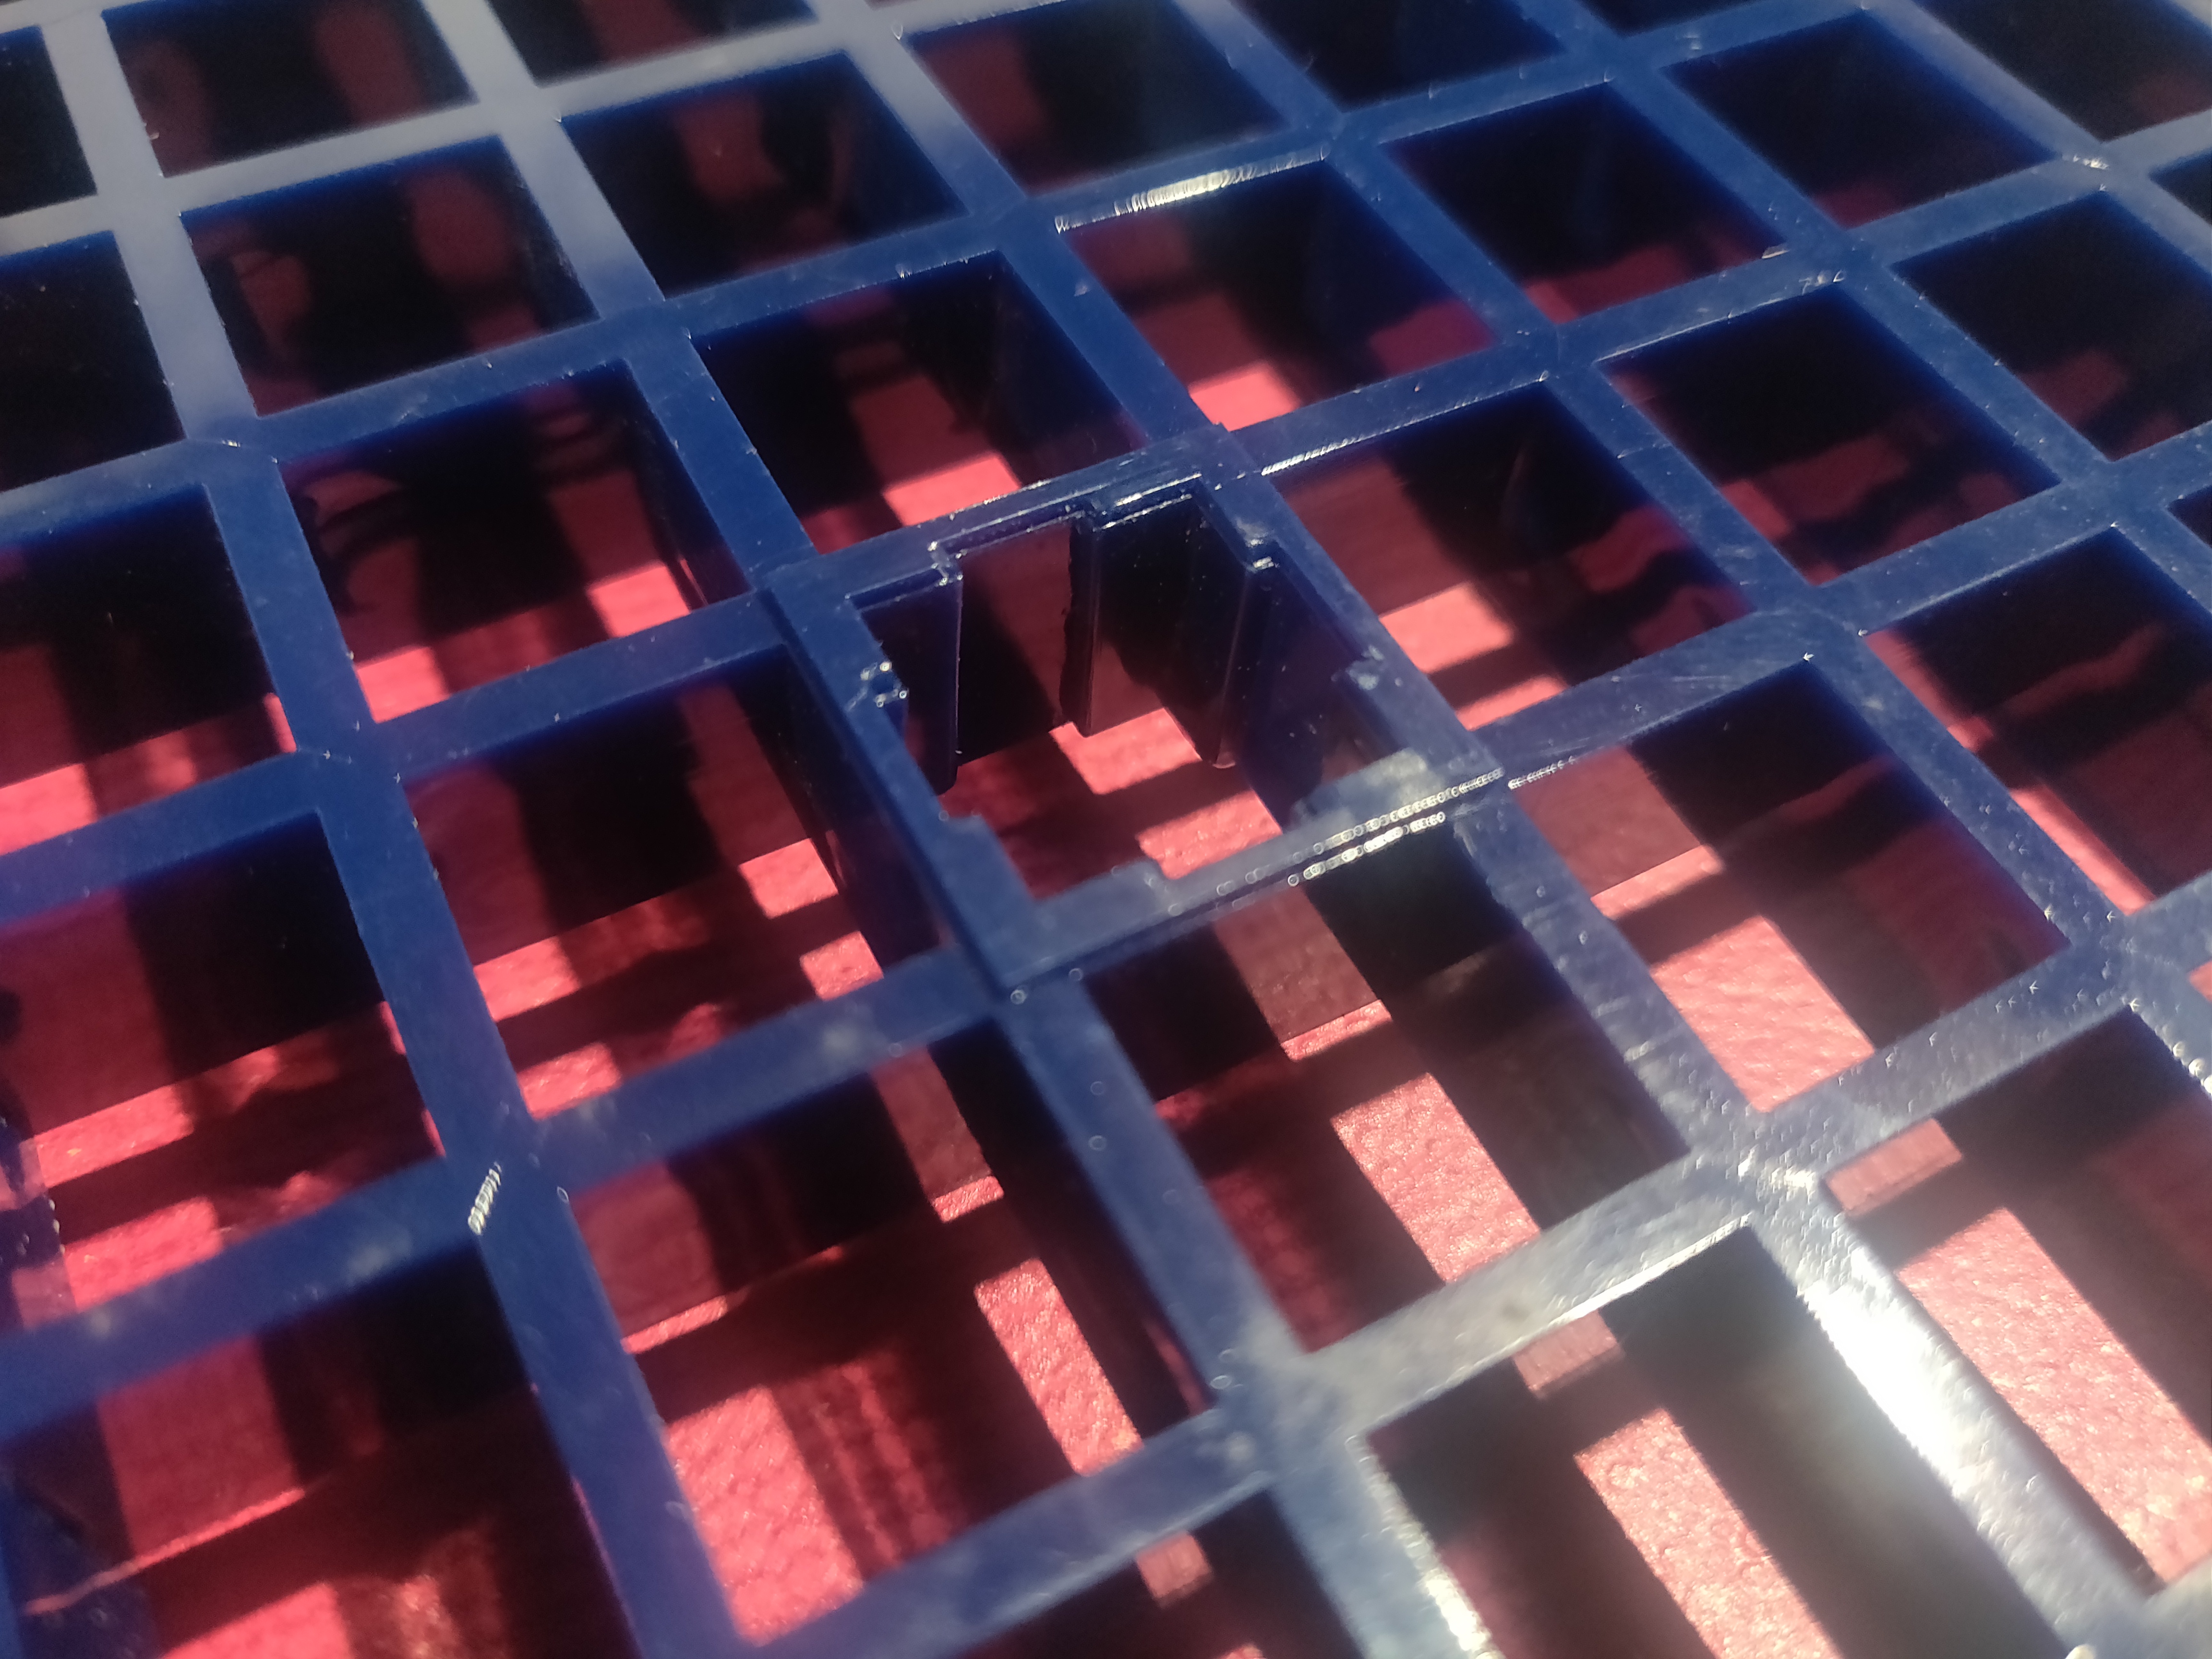
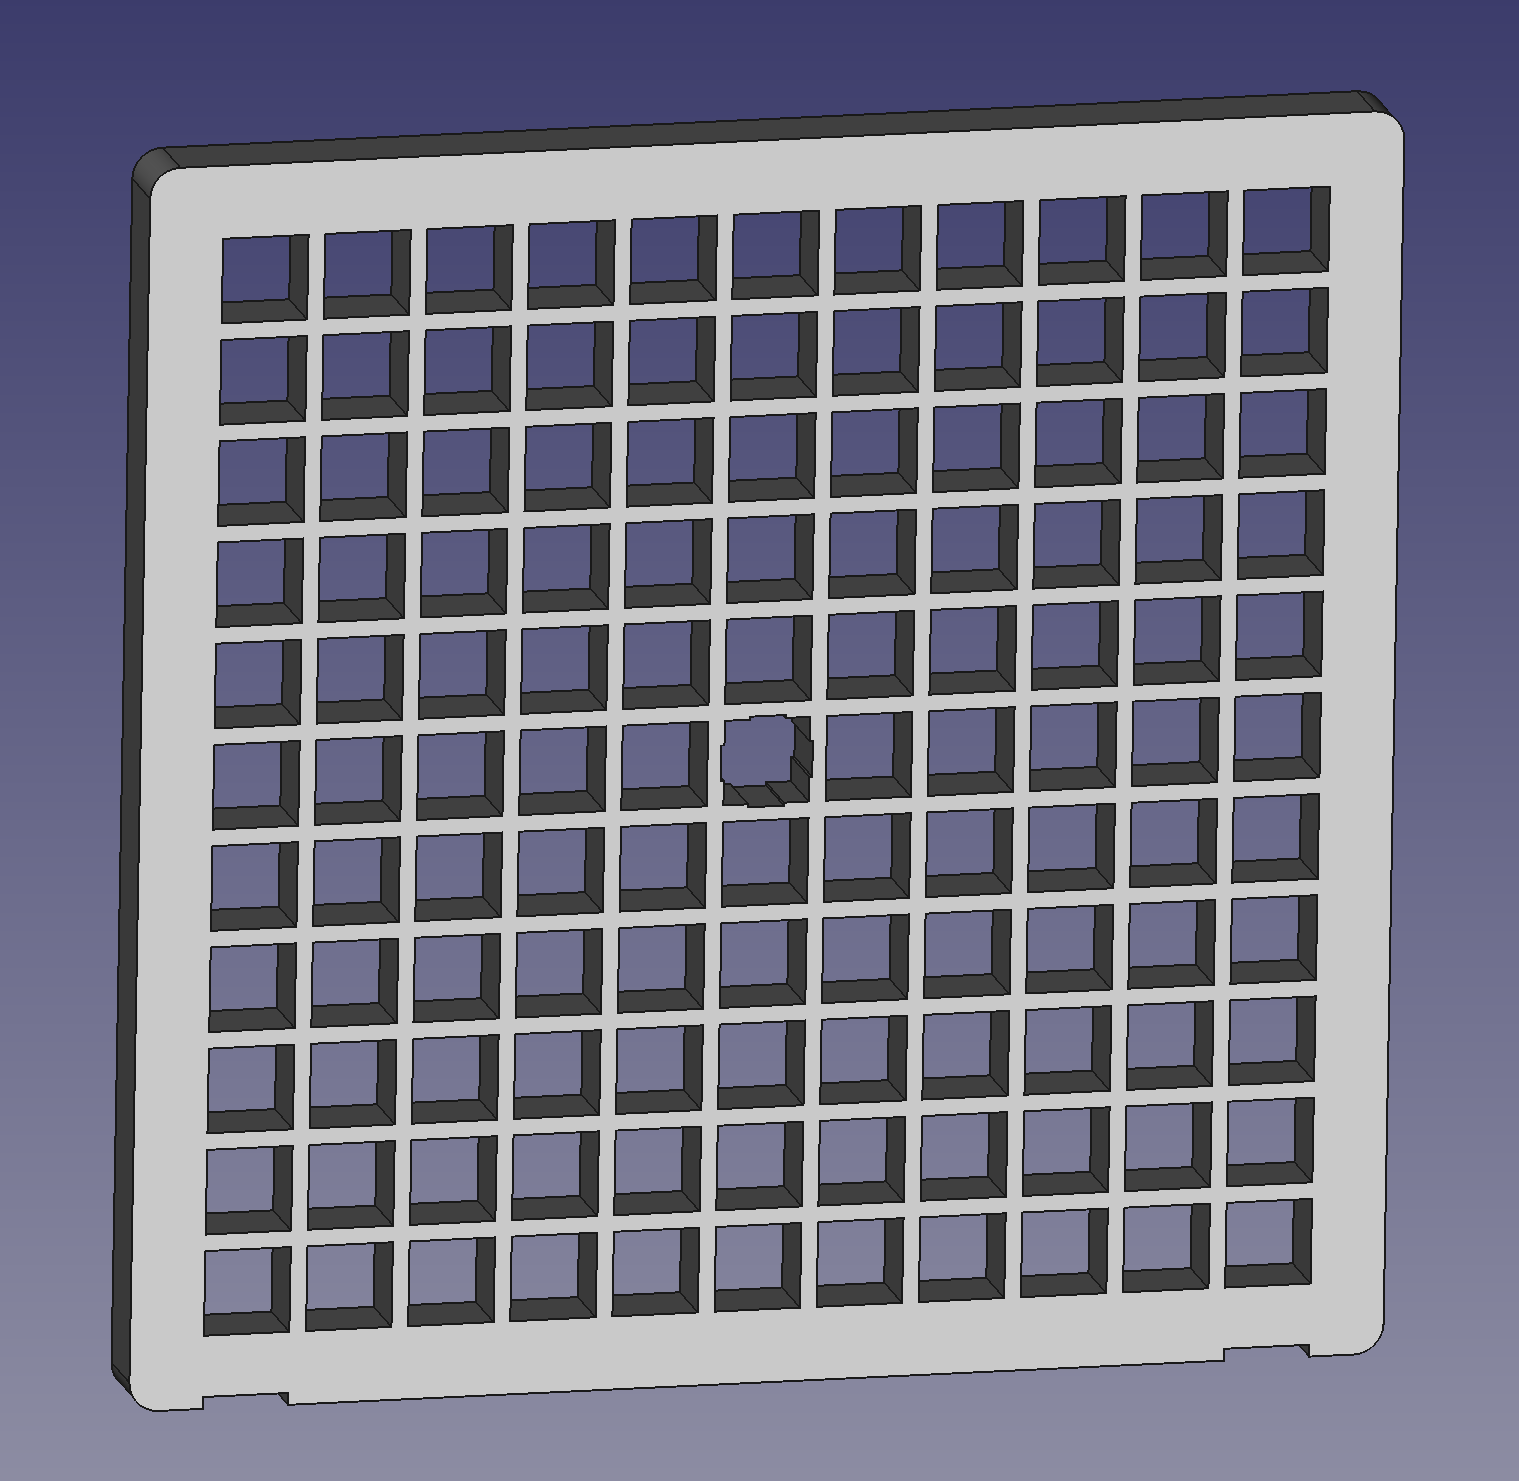
The playable surface, the face of which is recessed 0.8~1.0mm on each side leaving a thickness of ~12.5mm (so the dice do protrude a hair). The playable area is a grid of 121 holes (11x11), each hole is 14.25mm square and the wall thickness between holes is 2.8mm.
The center square where play is started is modified so that it stands out, it has a 6x1.25mm notch in each of its walls, and the surface has been raised to the level of the outer border (14.2mm thick).
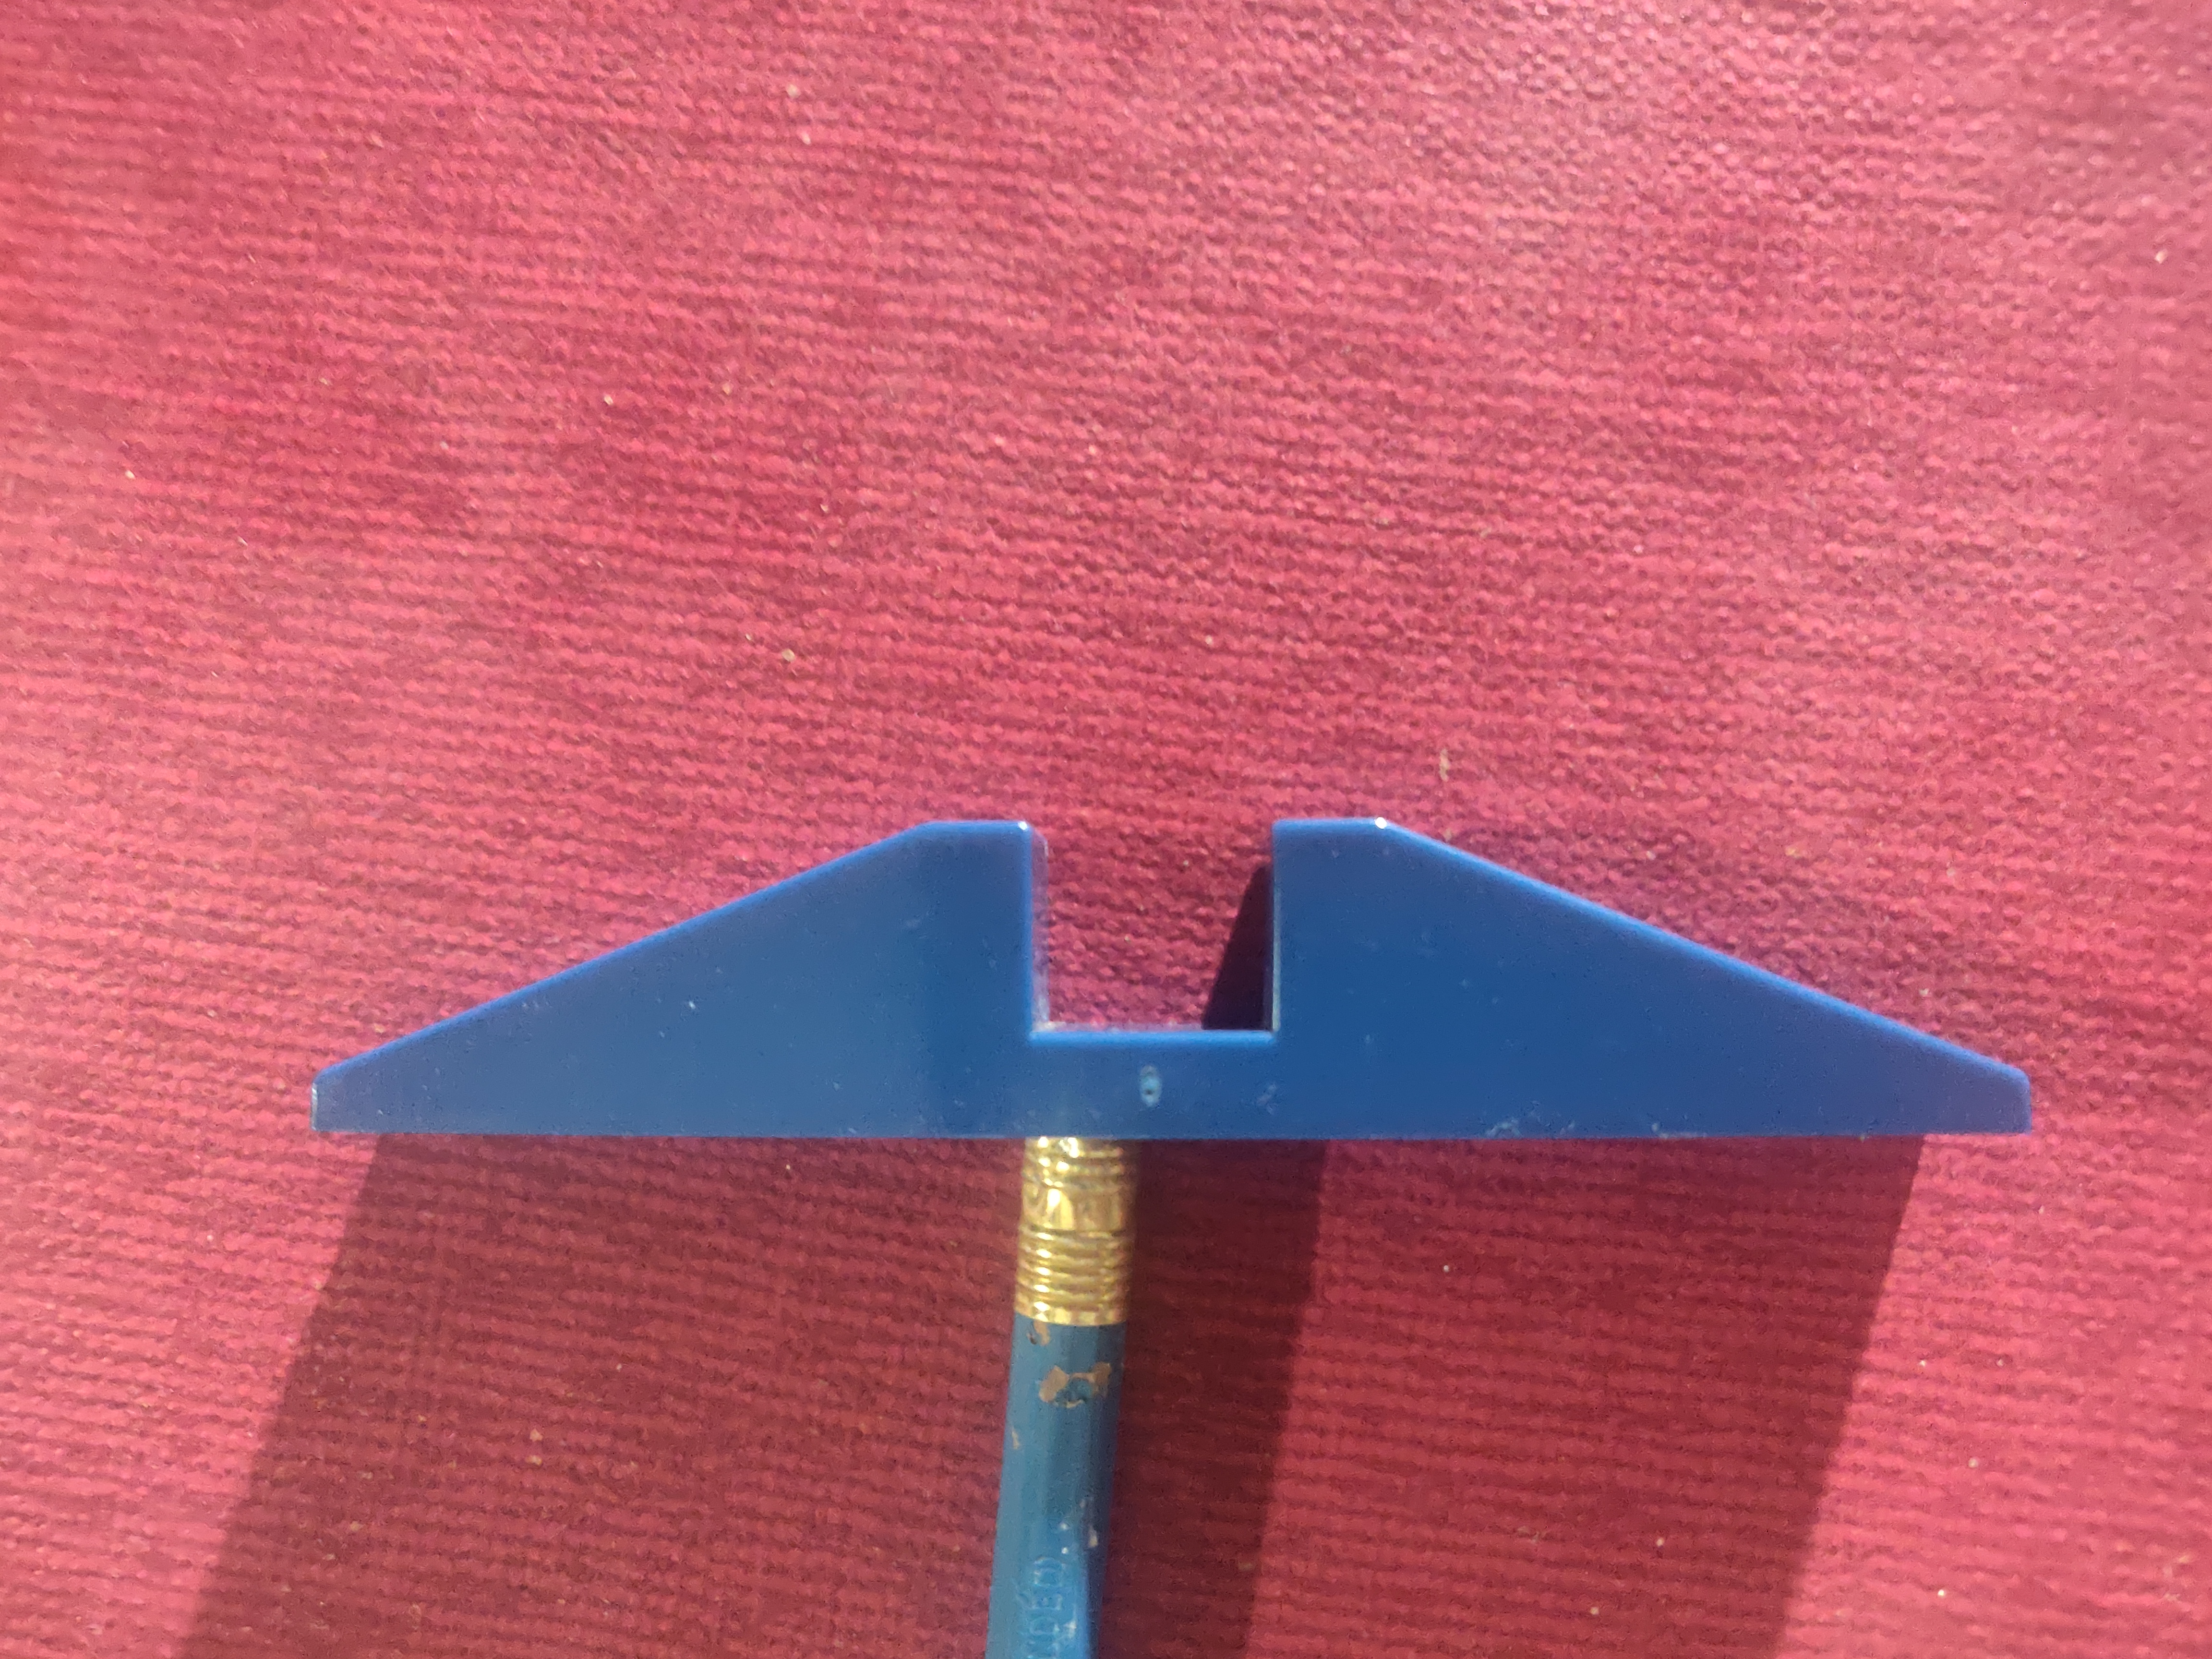
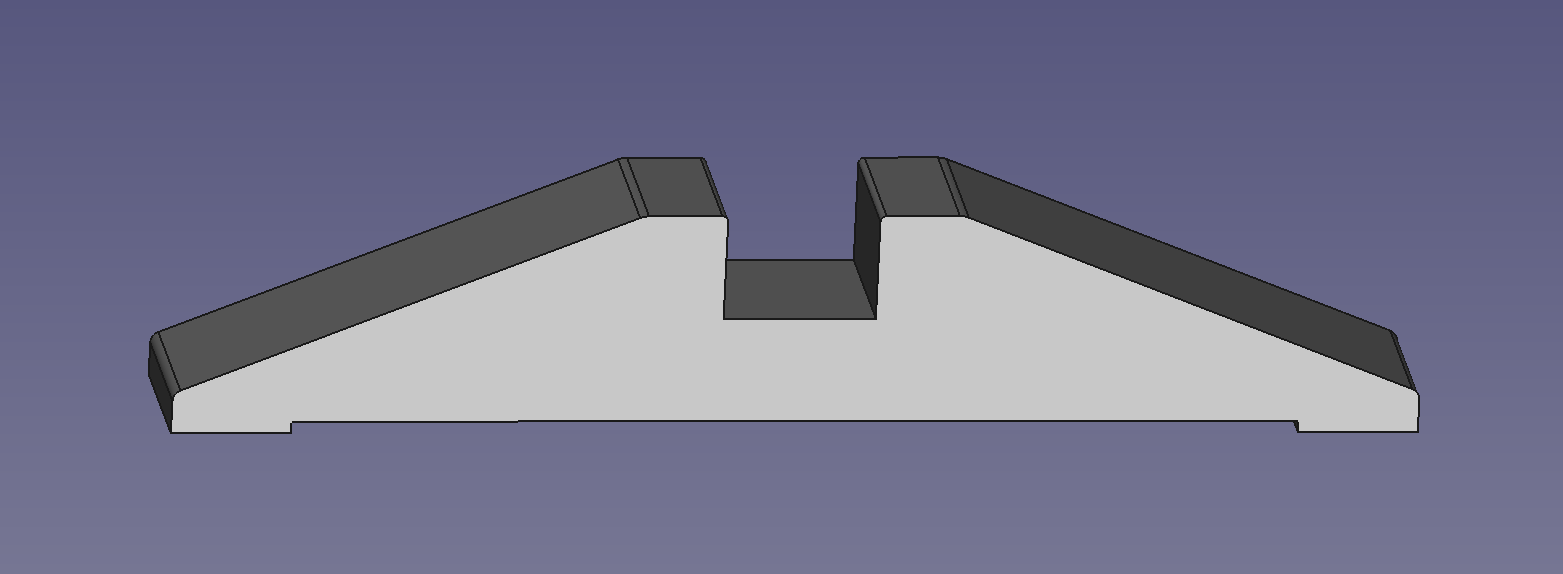
There are two feet measuring 19x104mm and 14.2mm thick, with a 14x13mm notch in the middle that the board slots into. Each side of the foot is triangular, with the points trimmed so that there is a 3.5mm flat on the ends and a 7mm flat on the top. If you’re going for full authenticity the feet are a lighter shade of blue than the frame
Thank you for these measurements! I have now made use of them.
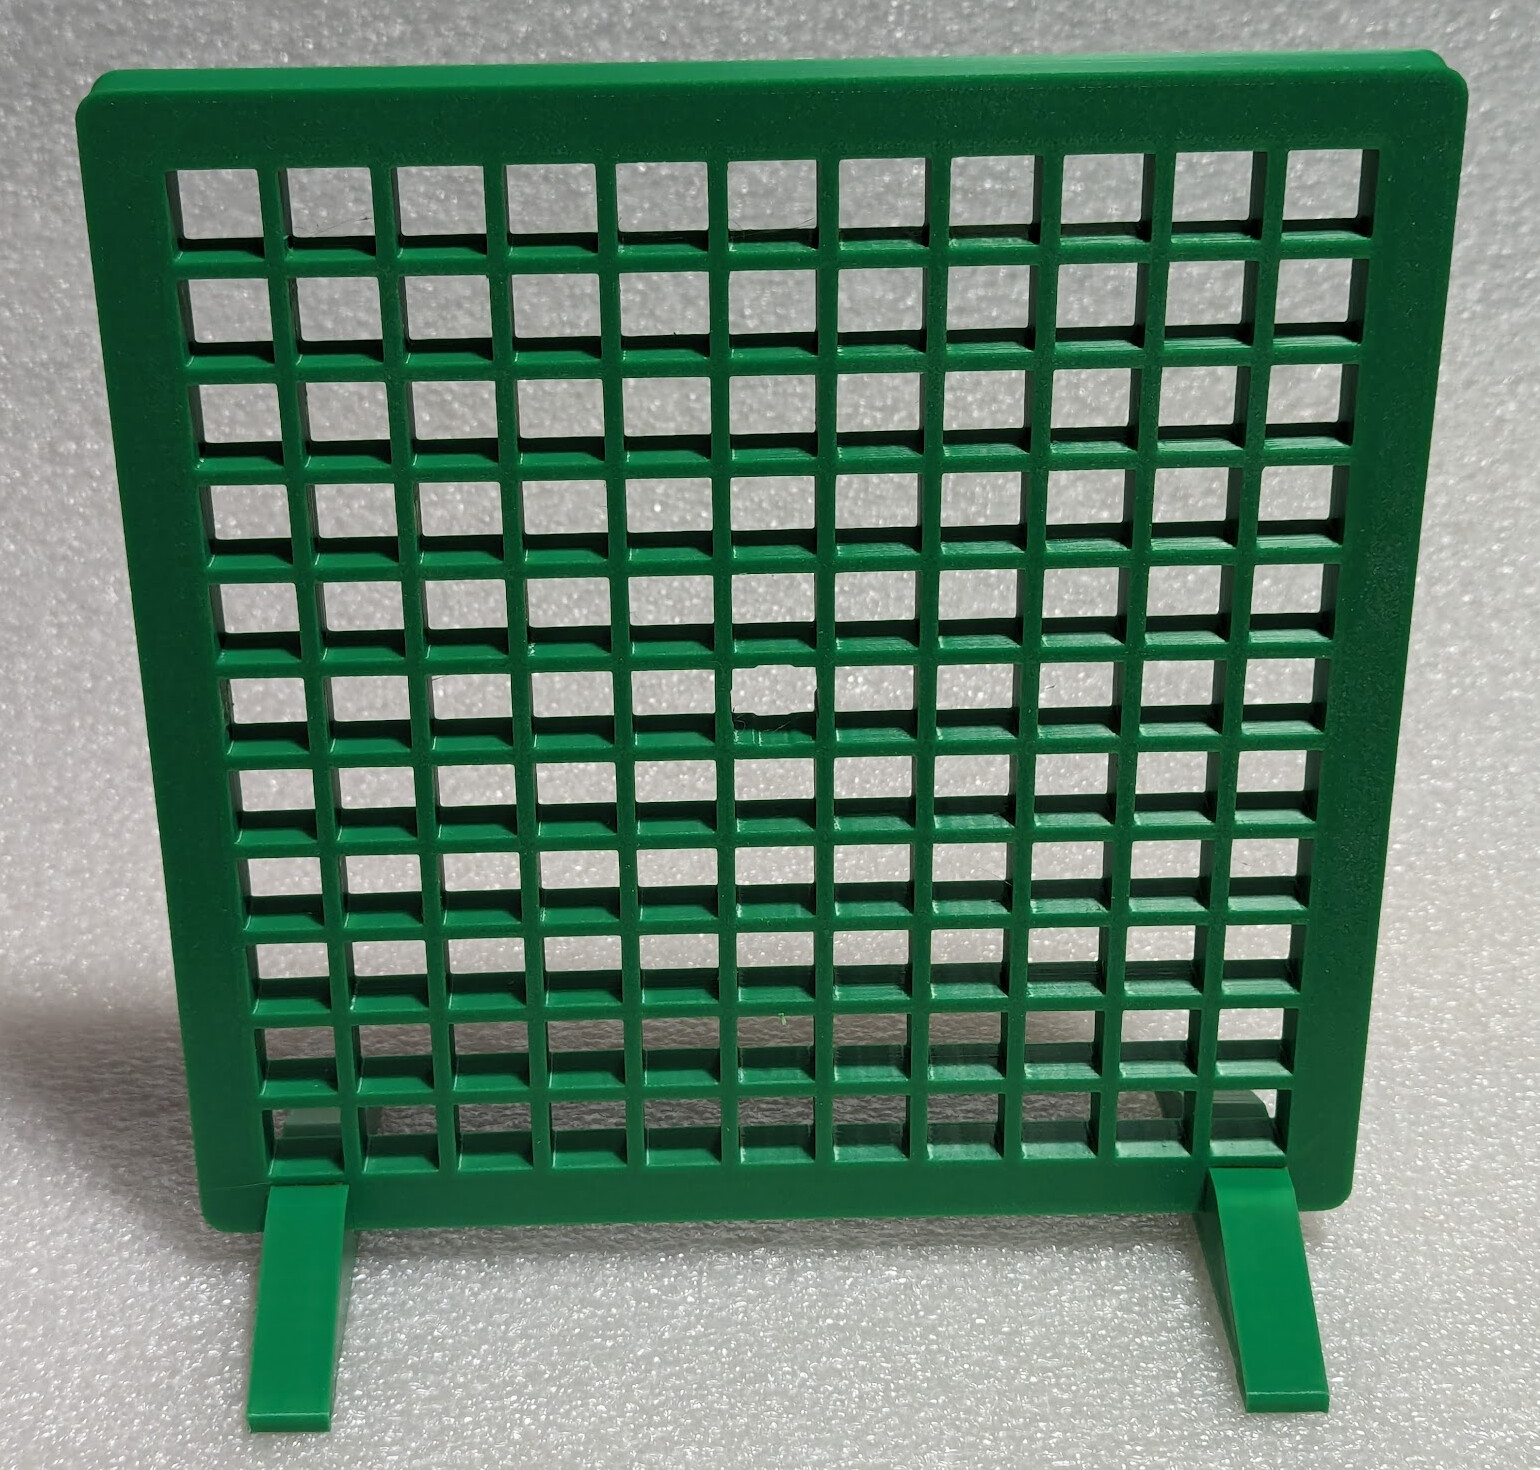
My design is different from the original to work well as a 3D print instead of injected molding (so no raised features in the frame) and I made the interface between the feet and the frame slightly different, and made the feet have a raised center to be more stable, but I added a center mark, and fit both the board and the feet within the original envelope, such that if anyone has this game but damaged/missing frame/feet, they could print this set and have a working setup that should still fit in their original box.
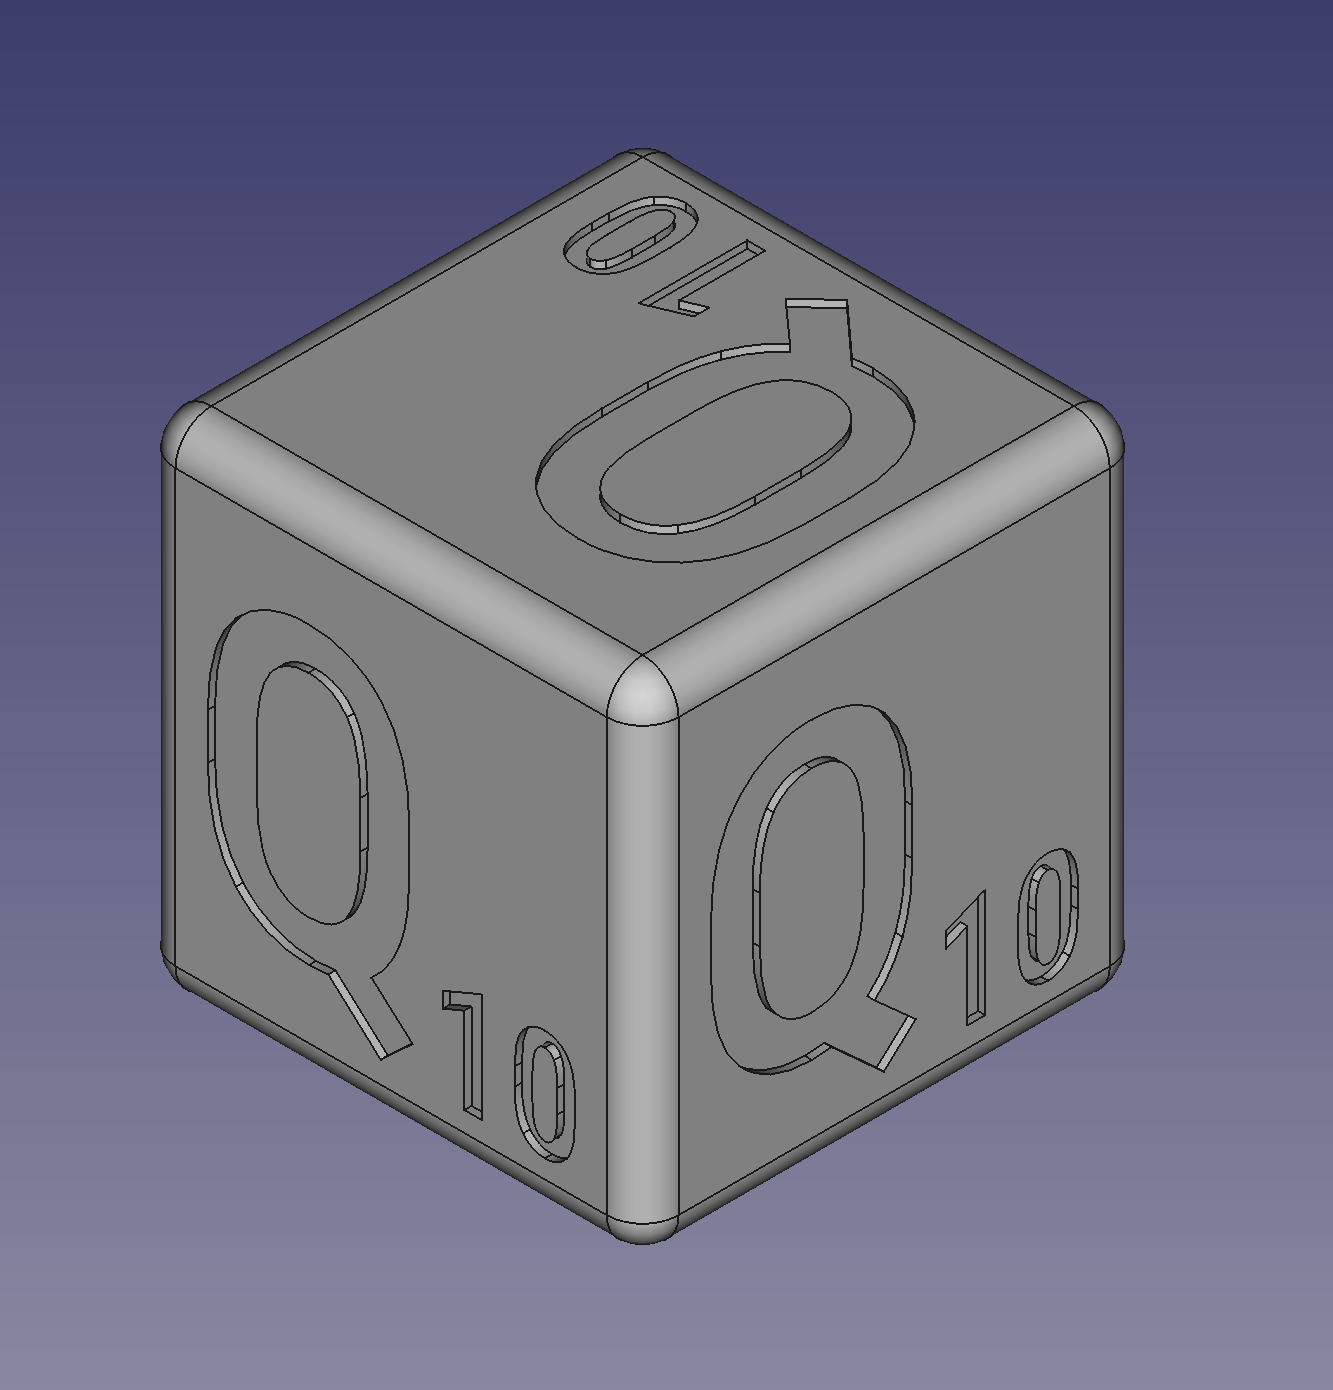
The FreeCAD files require FreeCAD 0.22 (currently in development) and the Lattice2 workbench, and a copy of RobotoCondensed-Medium.ttf from somewhere (/usr/share/fonts/google-roboto/RobotoCondensed-Medium.ttf on at least some Linux systems) if you want to try printing a replacement die. To replace a missing die, you can select Cube, then click on the Q to the right of Letter, choose whatever letter you want to print a replacement for, and recalculate (Control-R). Or just export one of the cubes from the CubeSet.
If you want all the dice to be the same, the STEP file for the complete set of dice is too big to upload here, but you can download it from GitLab. As of this writing, I haven’t tested printing any of the dice. You’ll at least need to color in all 450 faces, which sounds to me like a lot of work.
Epilogue: I learned that the friend for whom I made the replacement parts was gifted the partial set a bit over 30 years ago and has kept it intending to do something about it that whole time.