So last year I made a presentation box for the outgoing master (president) of my masonic lodge.
This immediate year end (the pandemic has screwed all the normal timing up) I decided to make another one.
But this time I would add…
LIGHTS!


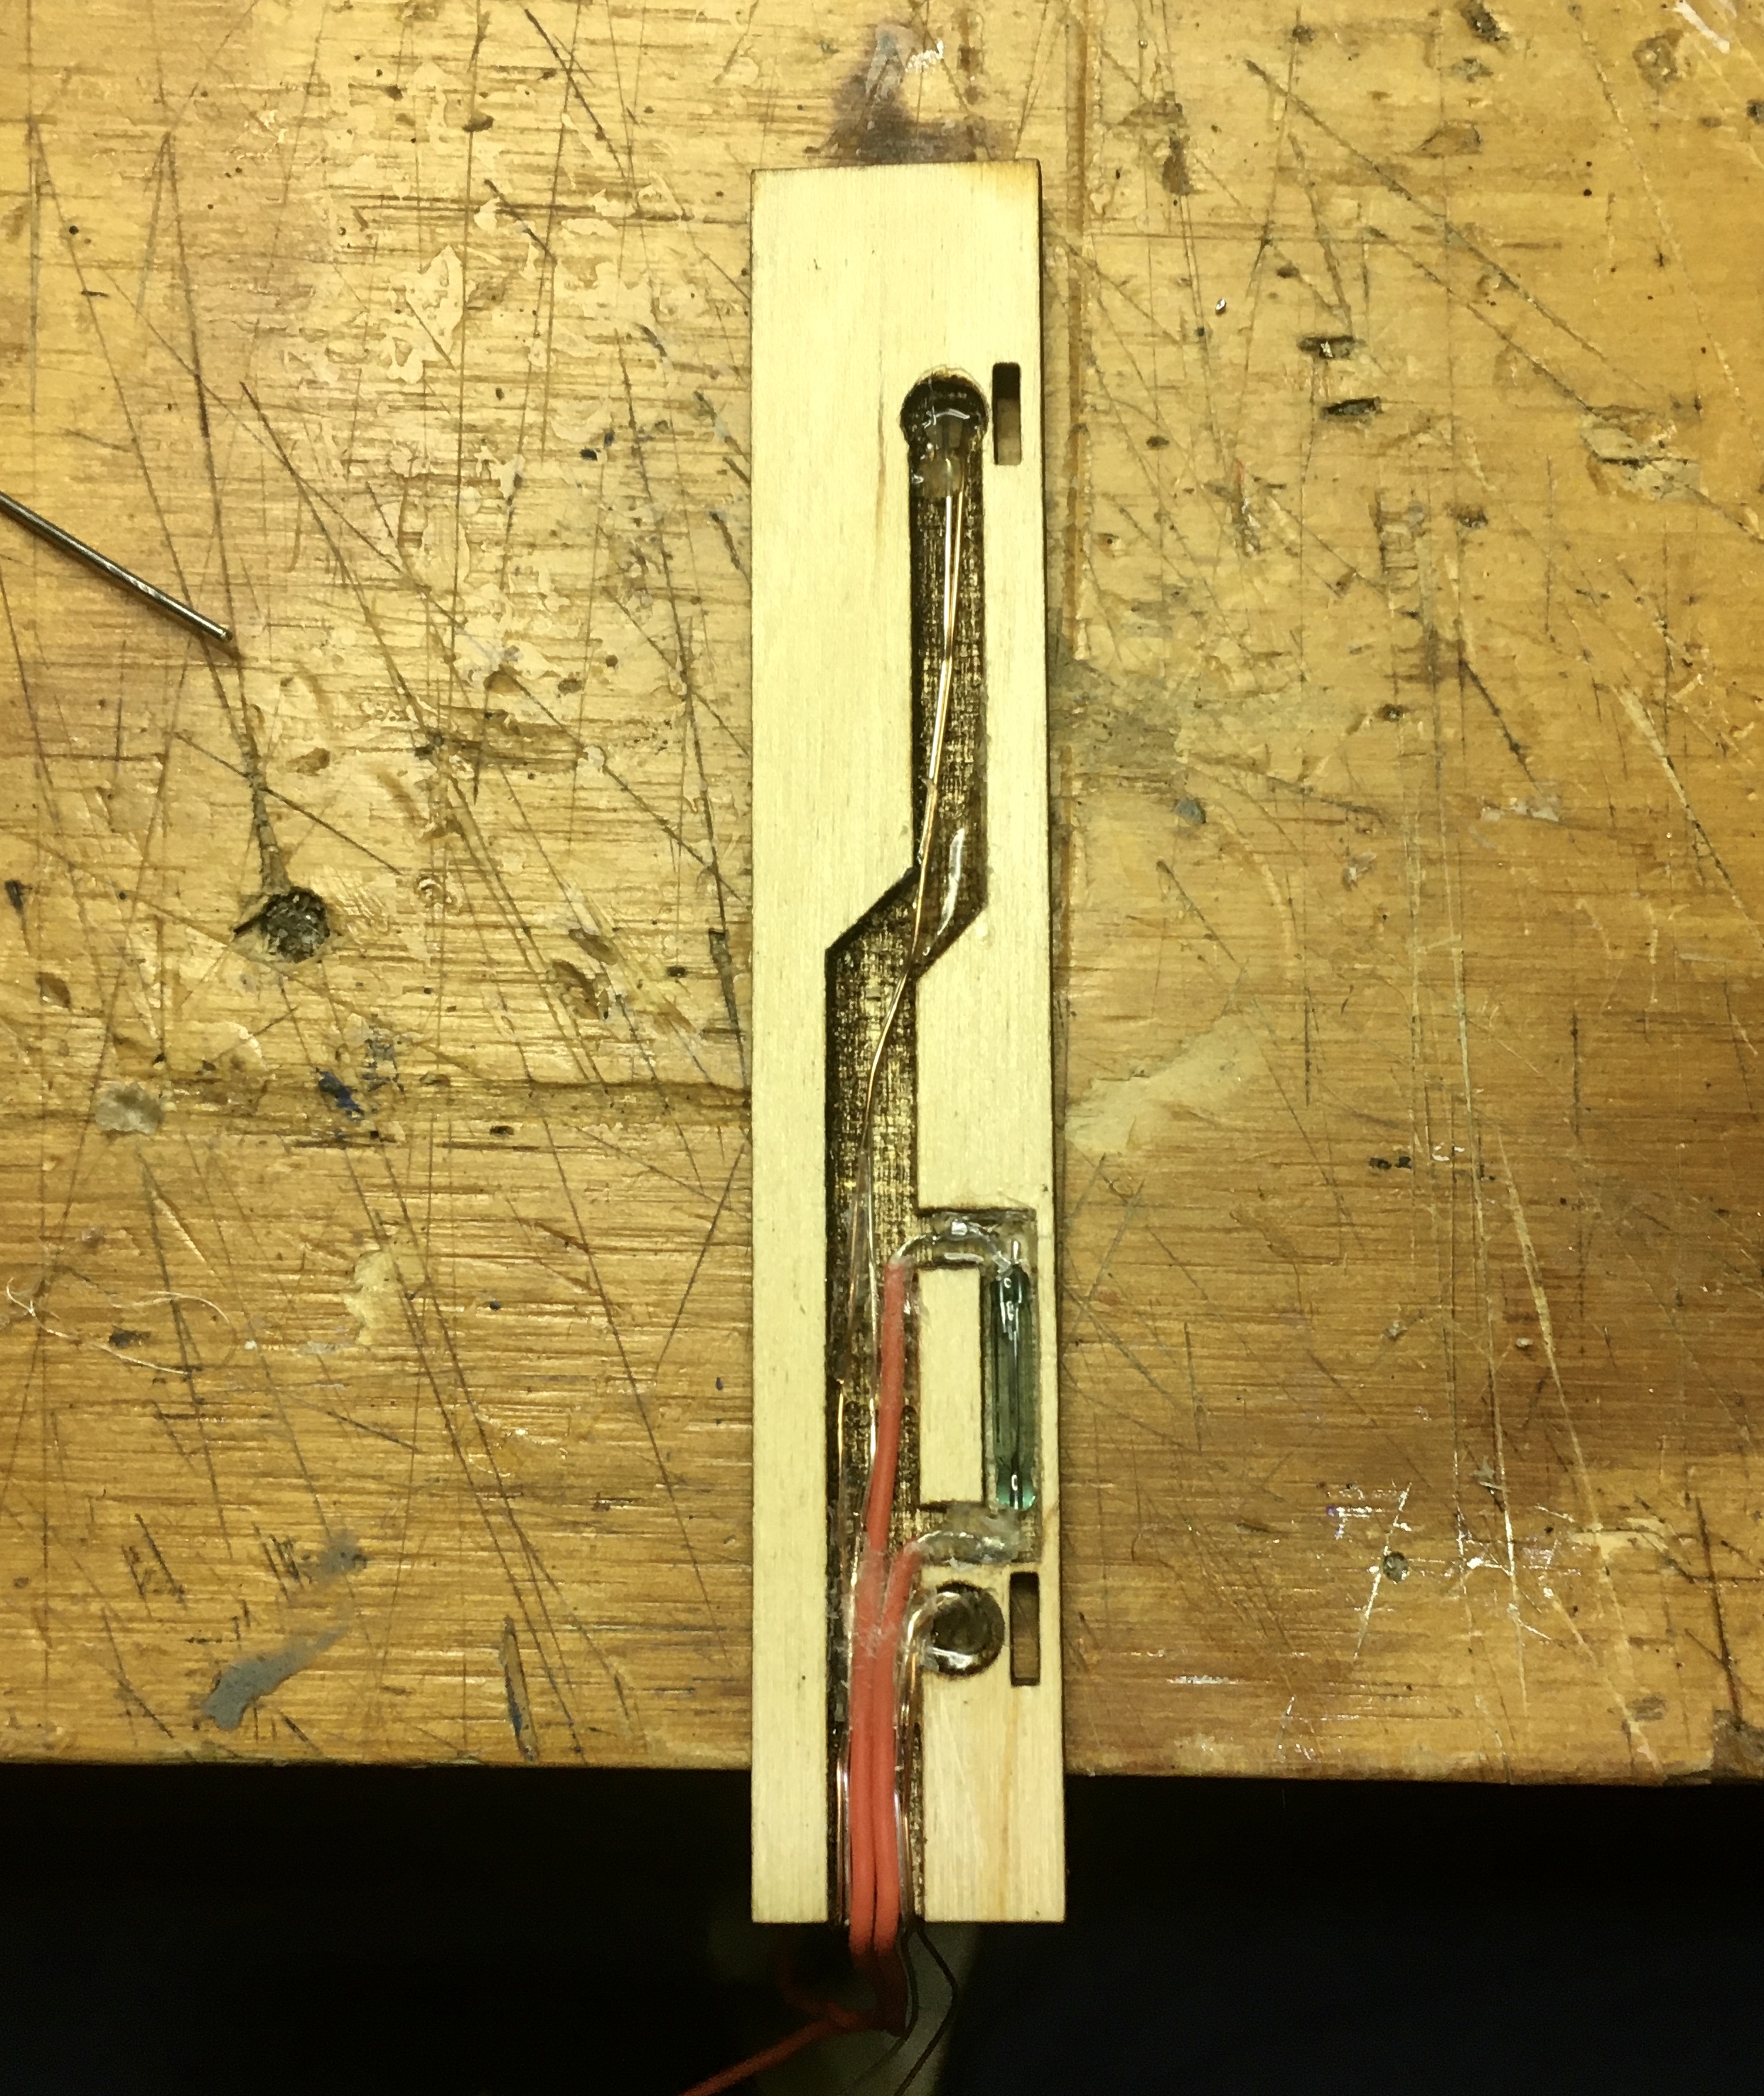
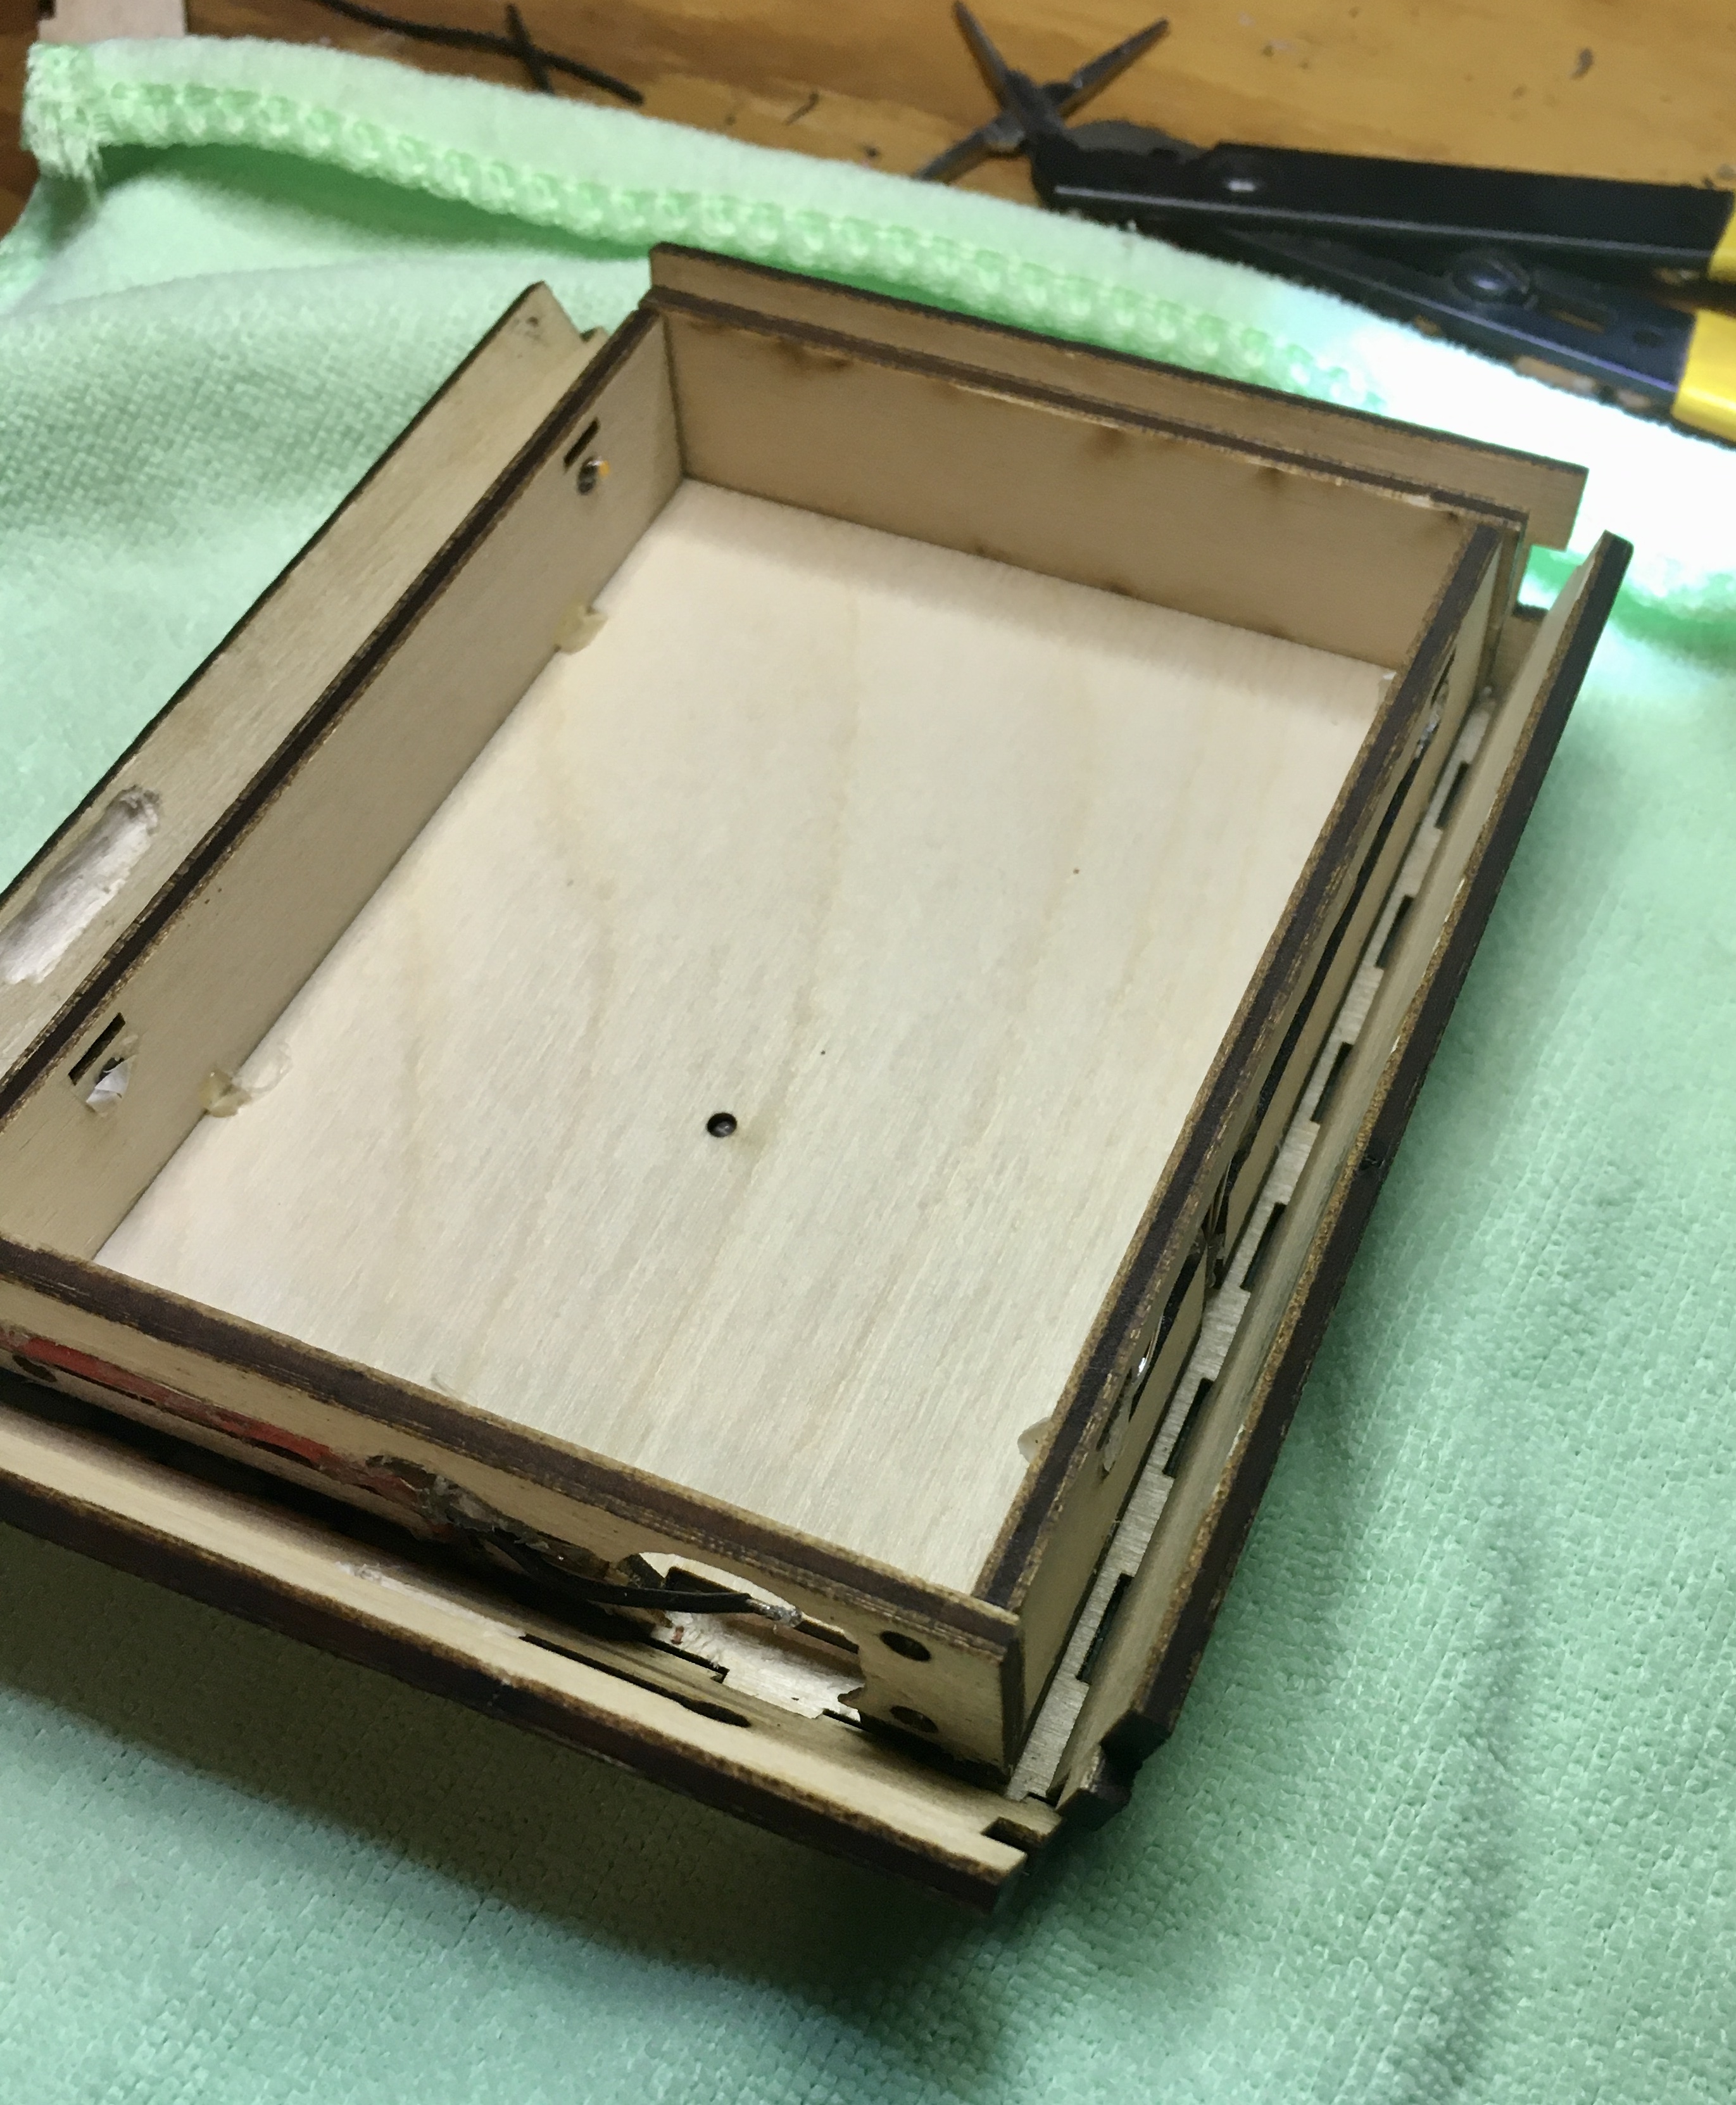
I decided I could take advantage of the double layer 1/8" (3mm) ply construction to use the laser to mill and cut out areas for wiring paths and electronic components into the back side of the inner layer. Switching would be by a magnetic reed switch and the leds powered by a 3V CR2032 coin battery.
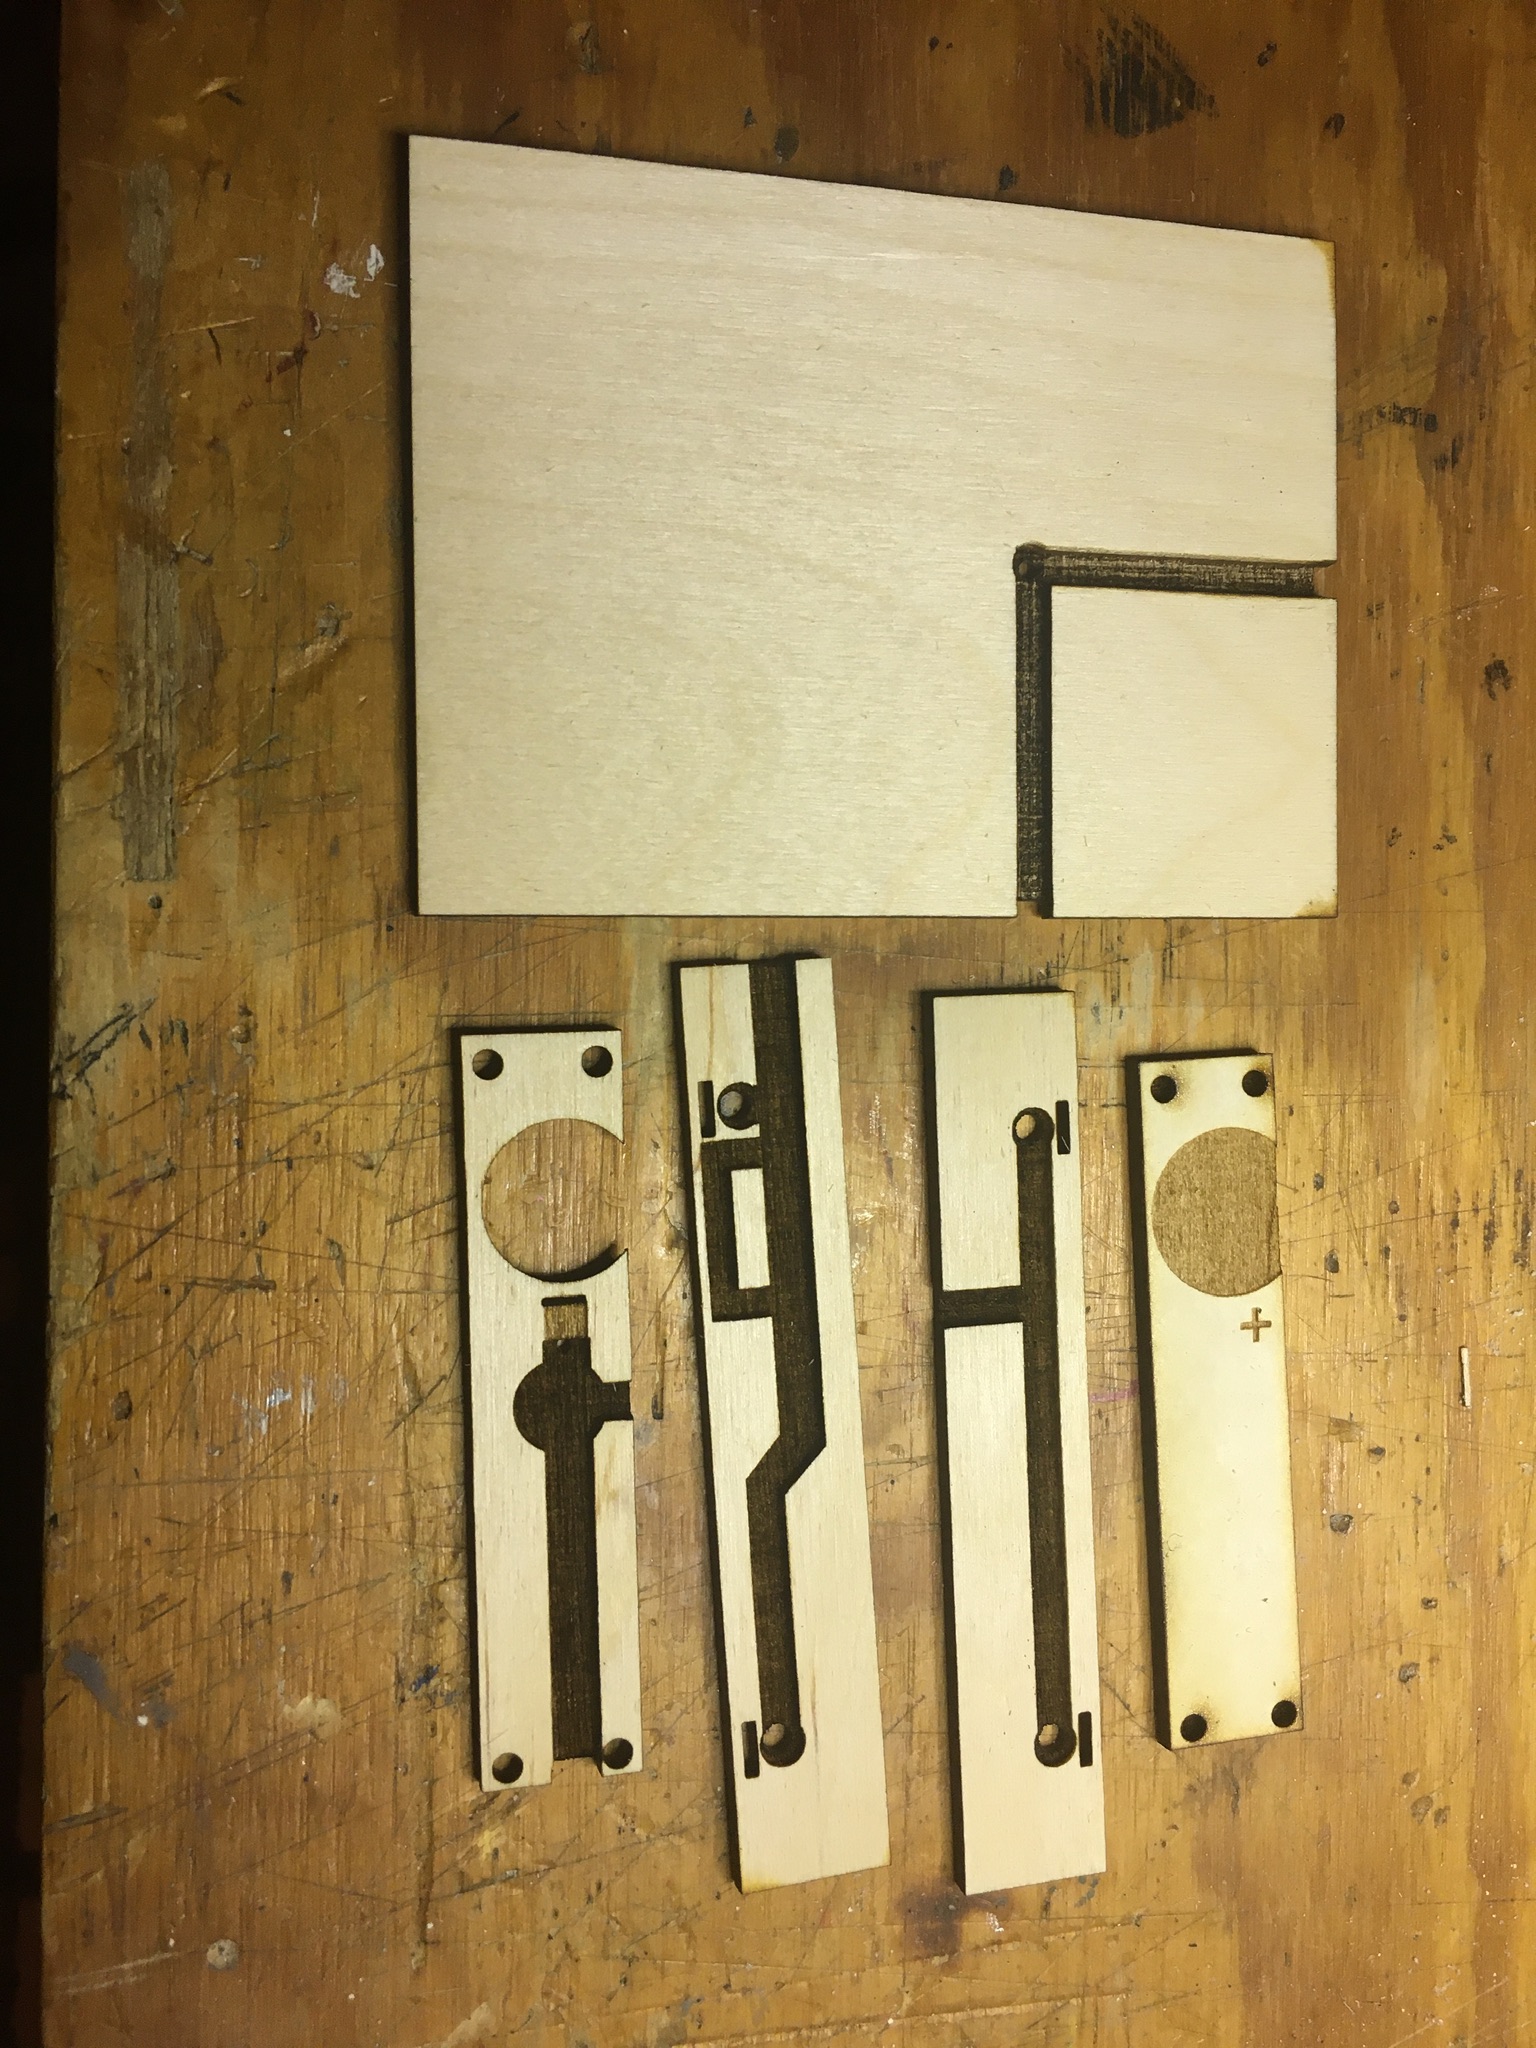
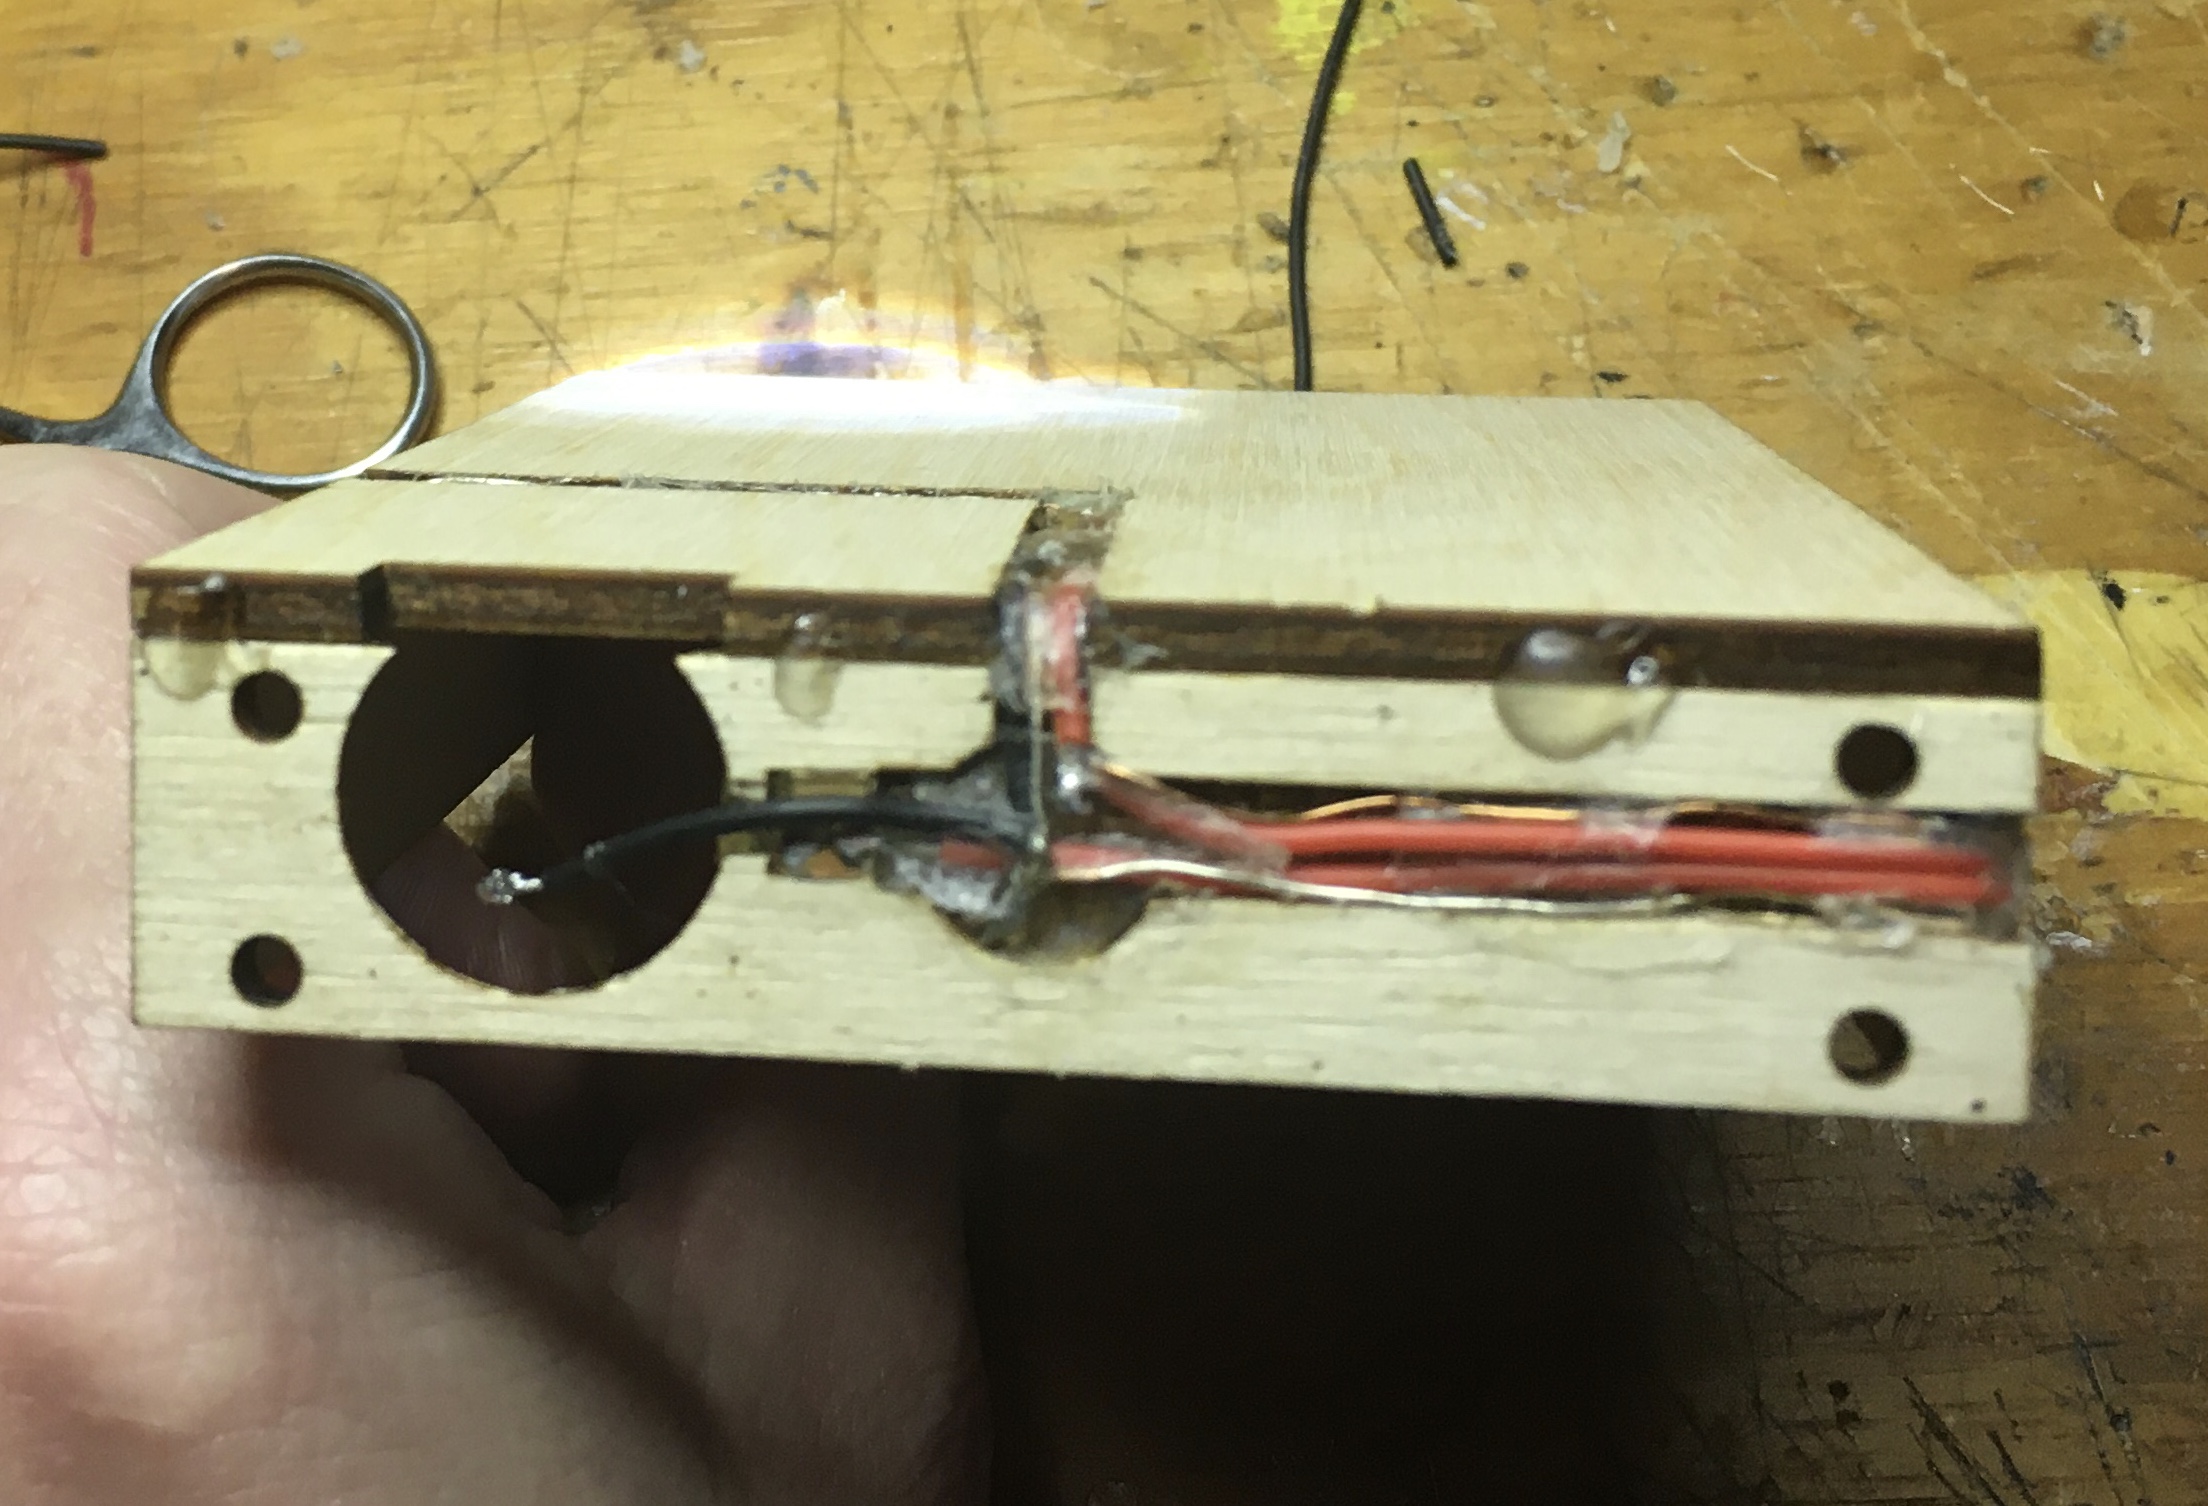
The hardest part was figuring out how to shoe horn in a 3mm battery, and connections, into the 6mm thickness and make it replaceable. Added a third layer to the front top that fastened in place with magnets to give a bit more space to mill into and provide access to the battery.


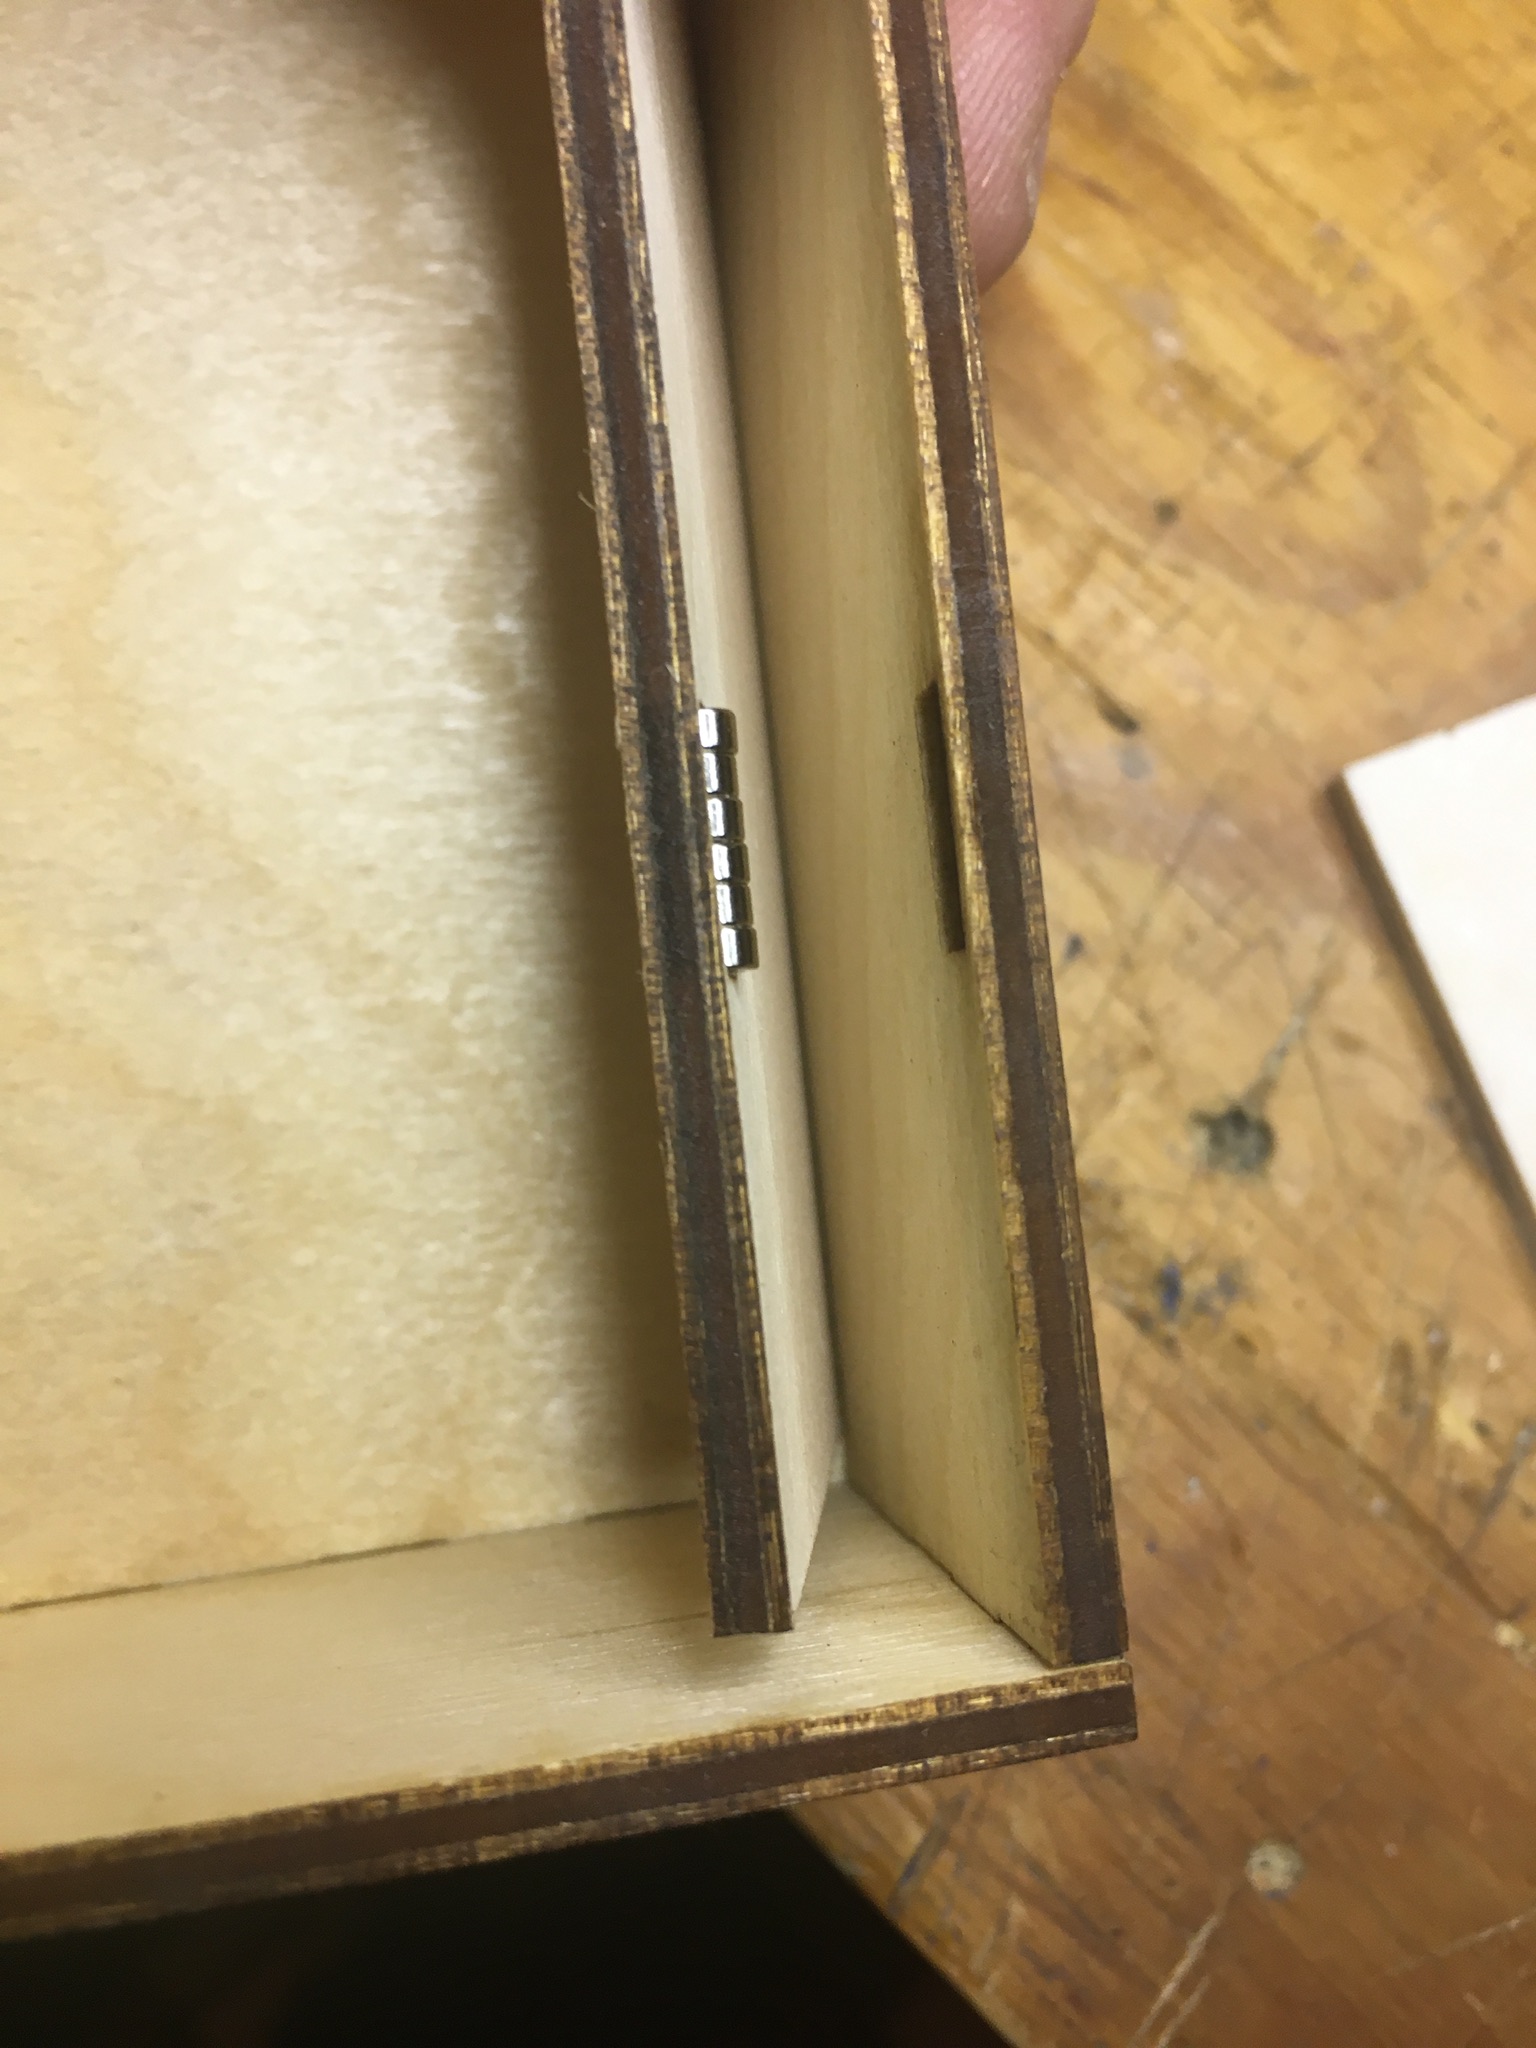
Embedded some 1.75 x 3mm rare earth magnets into the bottom part of the box to activate the reed switch when the box closed.
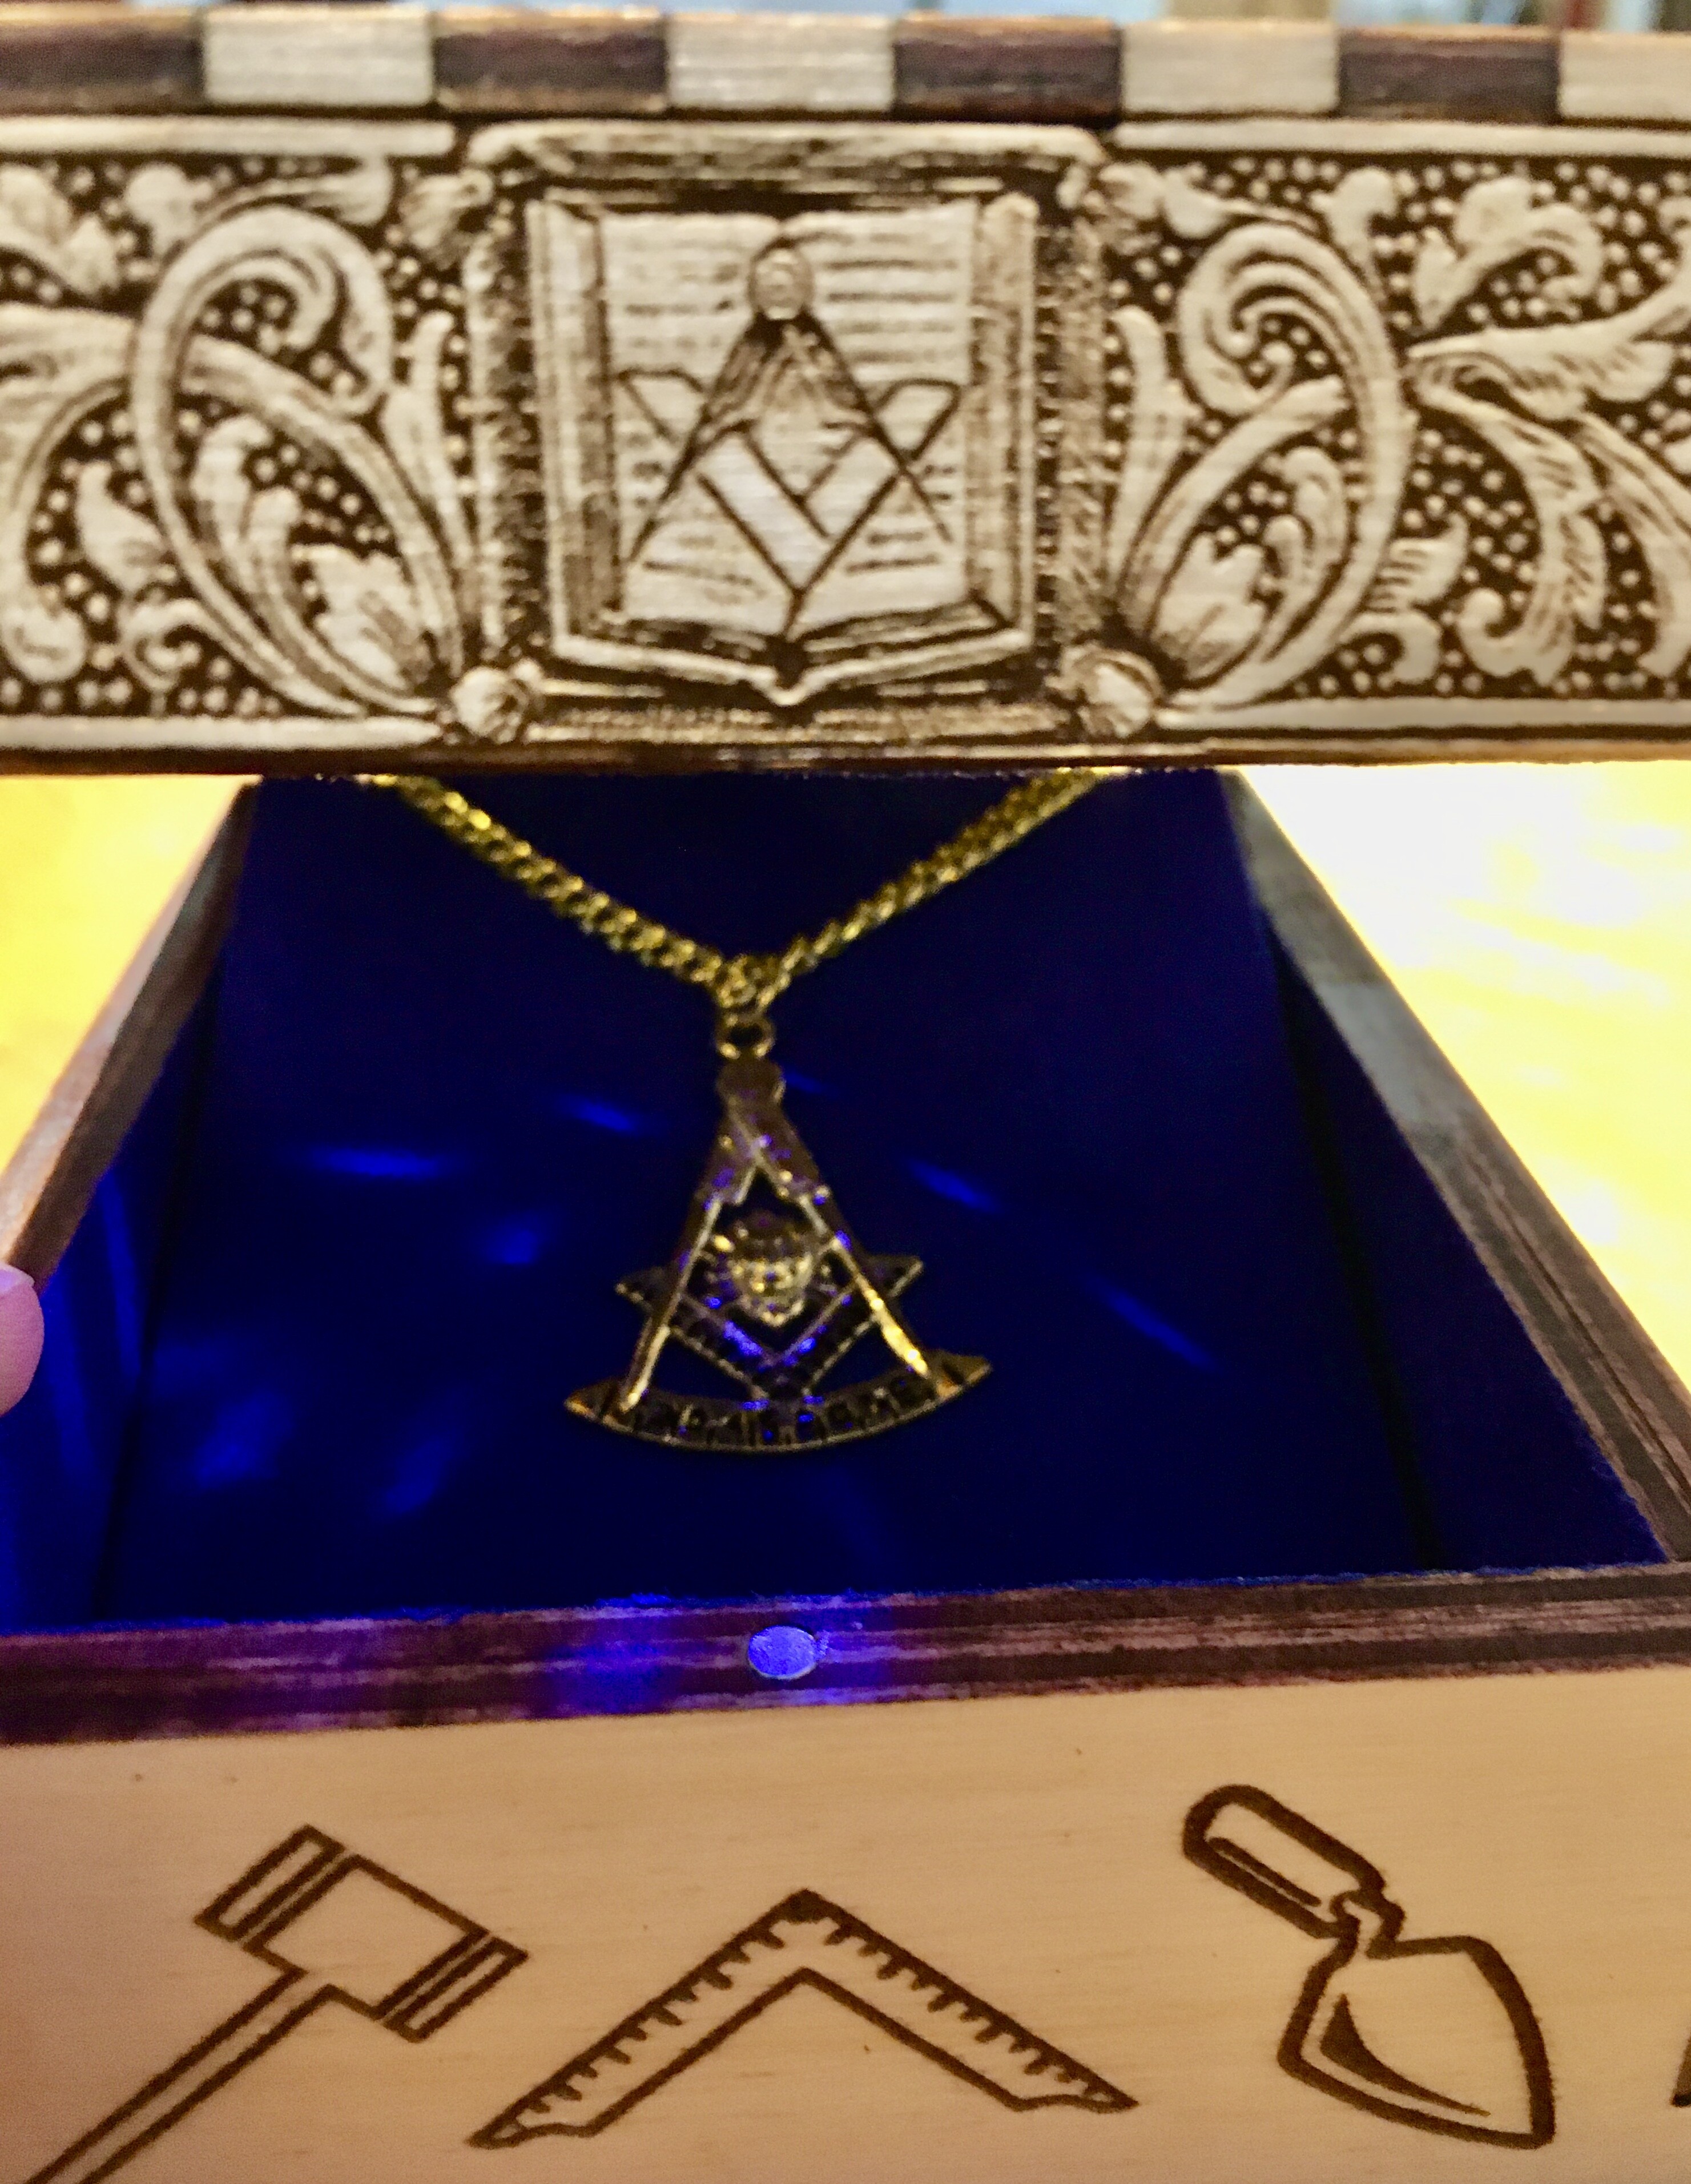
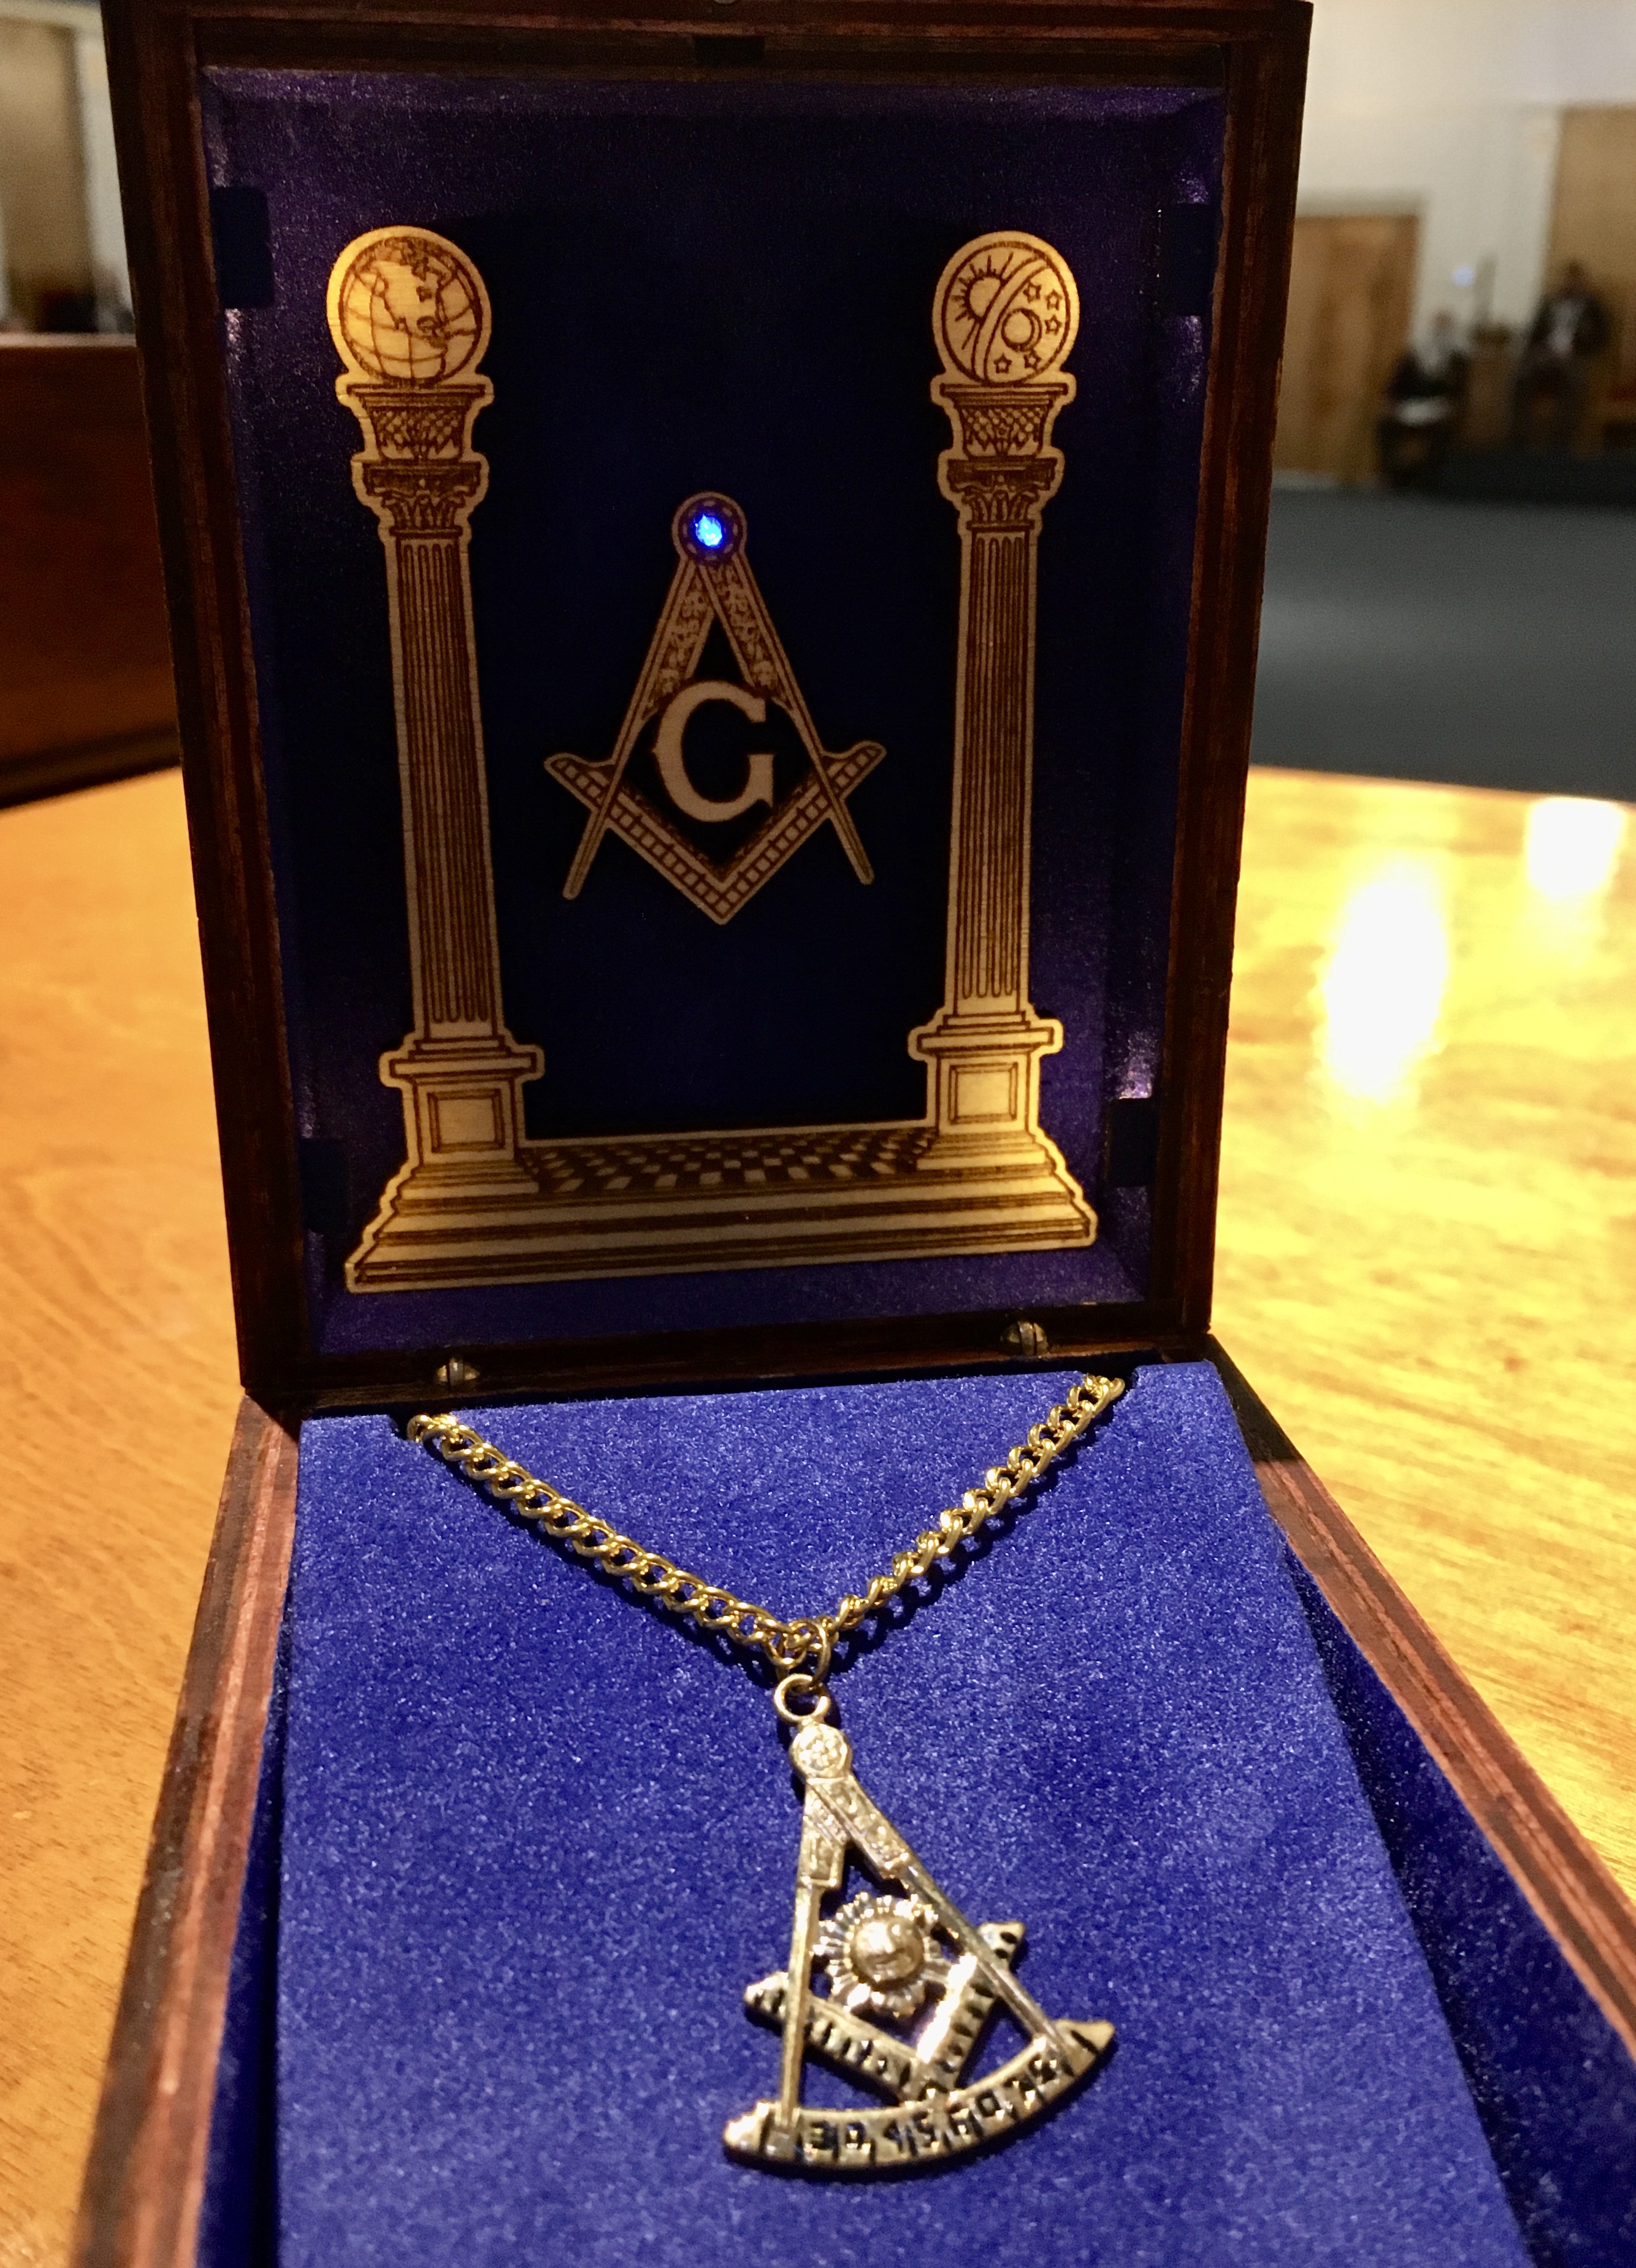
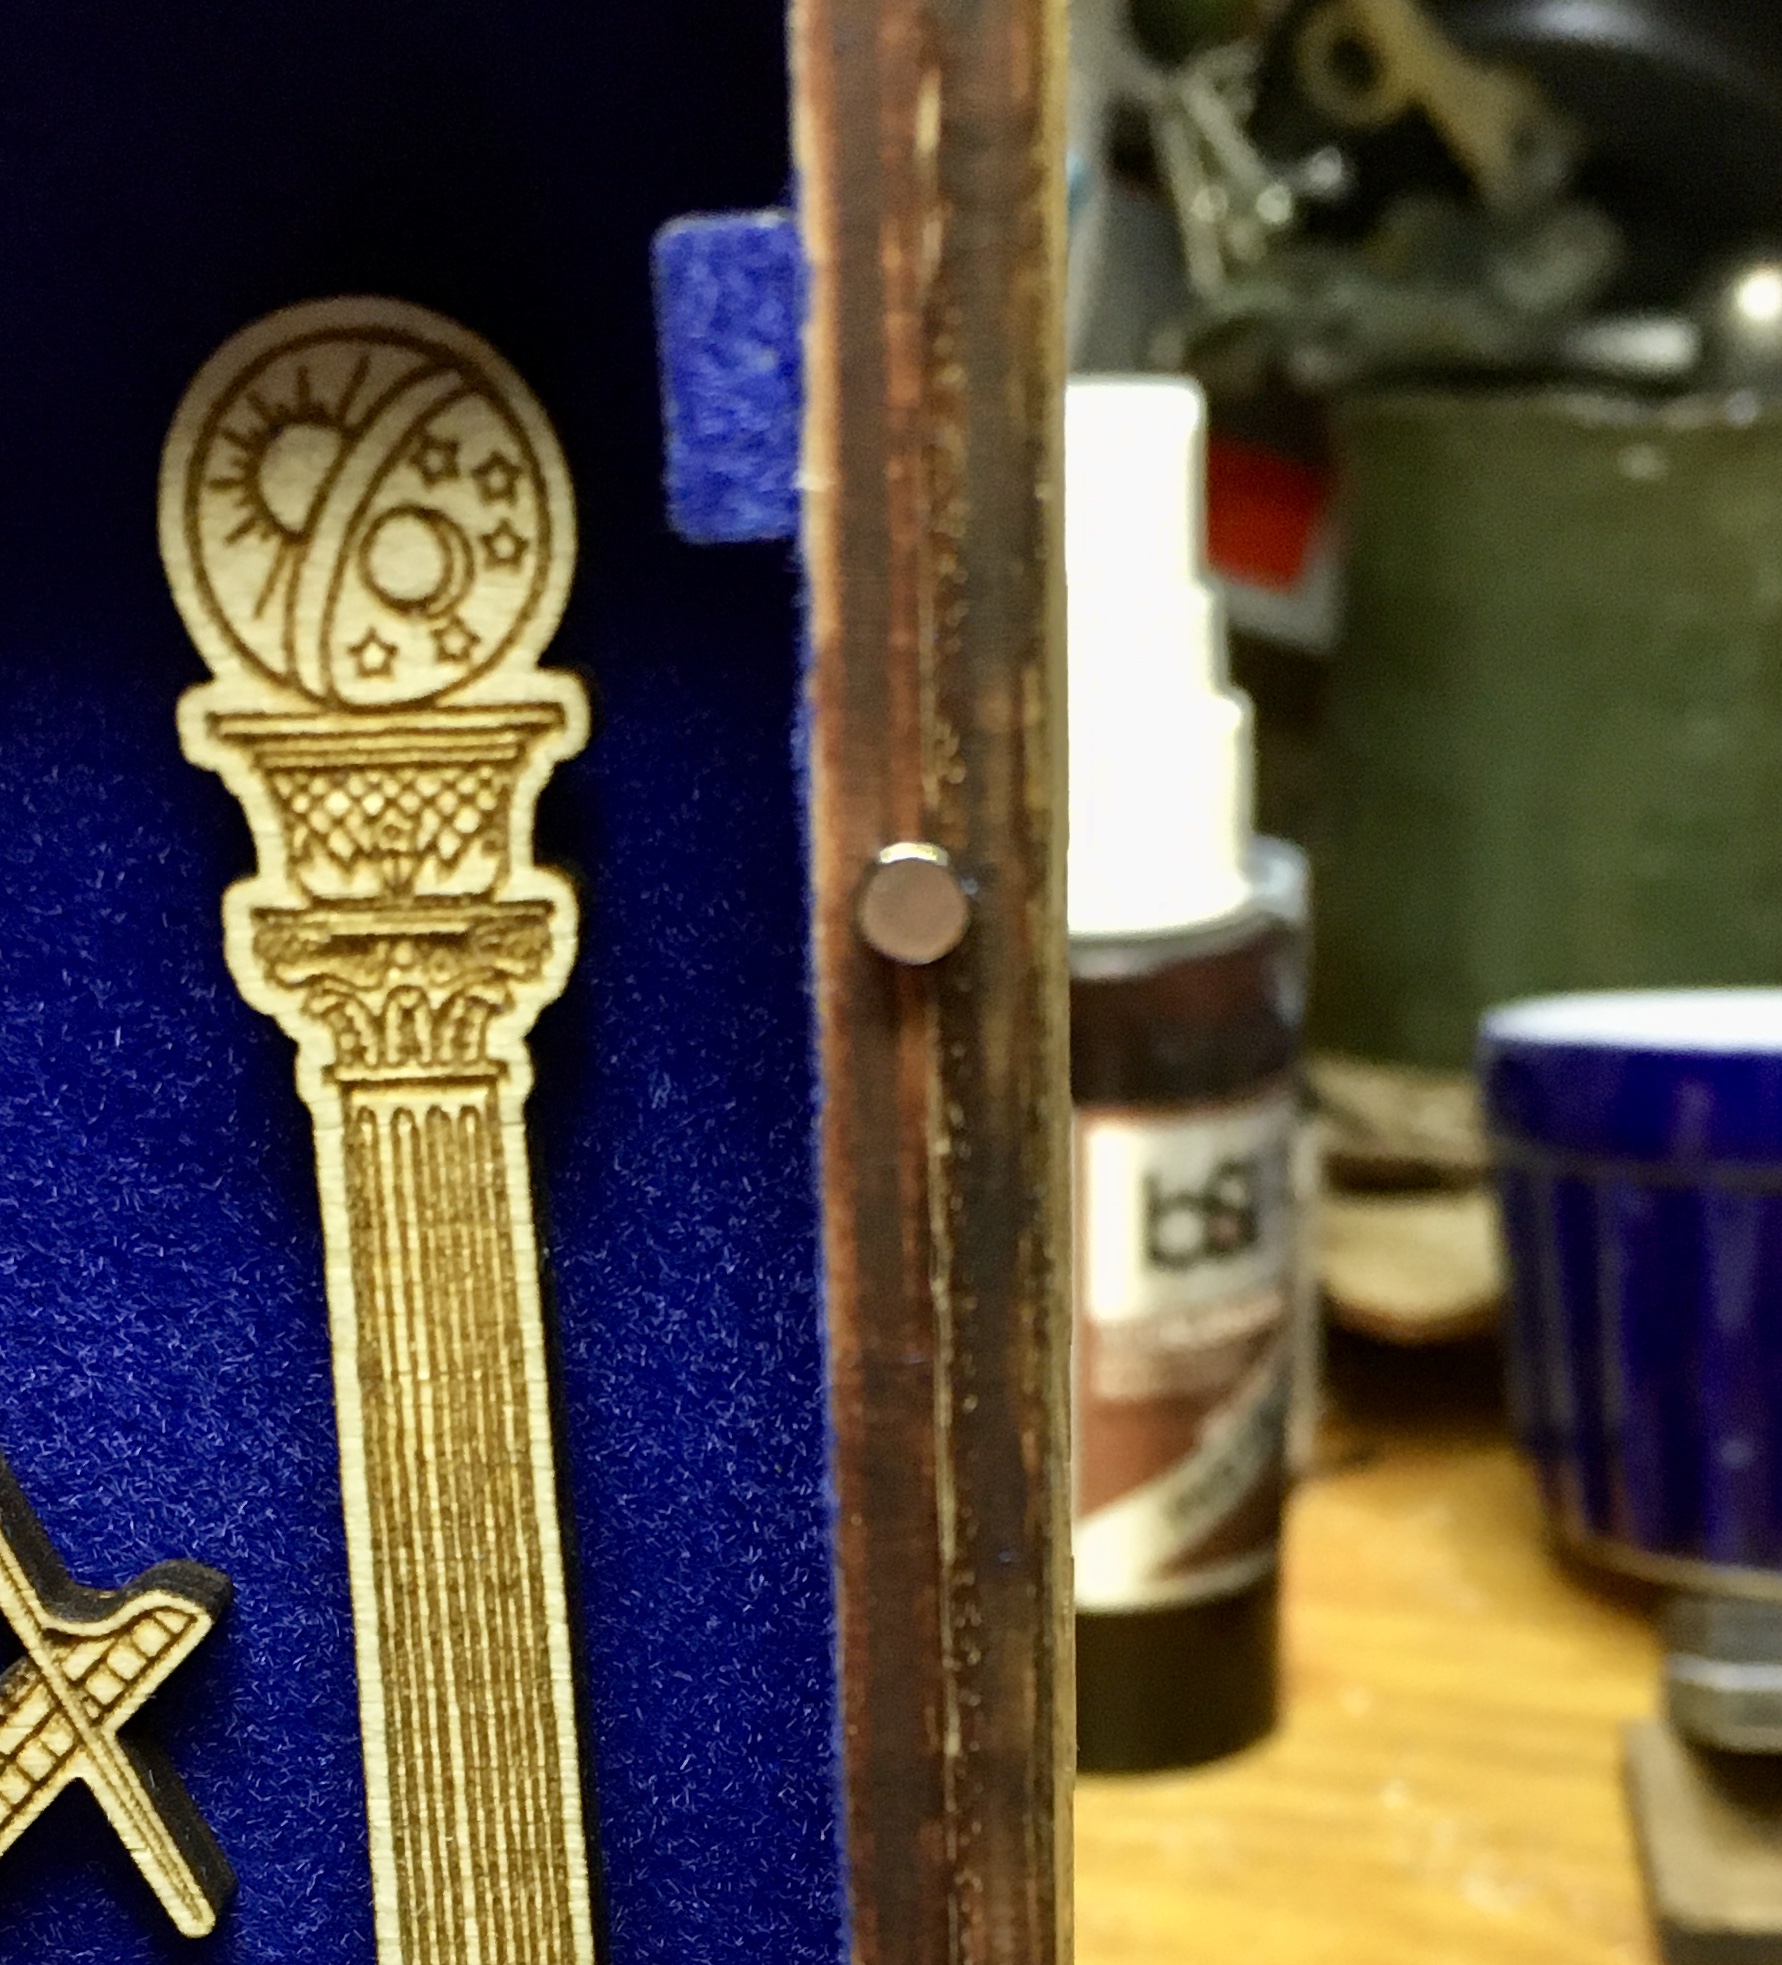
Found some tiny 3V 603 SMD leds and wired them all in parallel to avoid voltage drops. Four golden yellow leds on the sides and one blue led behind the blue faceted pointed back rhinestone at the top of the square and compass.
https://www.amazon.com/gp/product/B07QPVGPJH/
Wired the reed switch to normally closed and soldered all the connections. Secured all the components in place with low temp hot glue. Used 28 AWG silicone sheathed wire as needed.

The top of the box had to be built from the inside out. I lined up all the inner panels and then temporarily tacked them together, inside and out, with low temp hot glue. This allowed me to easily get everything wired together.

Removed the outside glue tacks and partially assembled the outer box panels around the inner panels. Removed the inside glue tacks and coated the interface between the outer and inner panels with wood glue. Assembled and clamped the panels together.
Completed the box as the prior one.
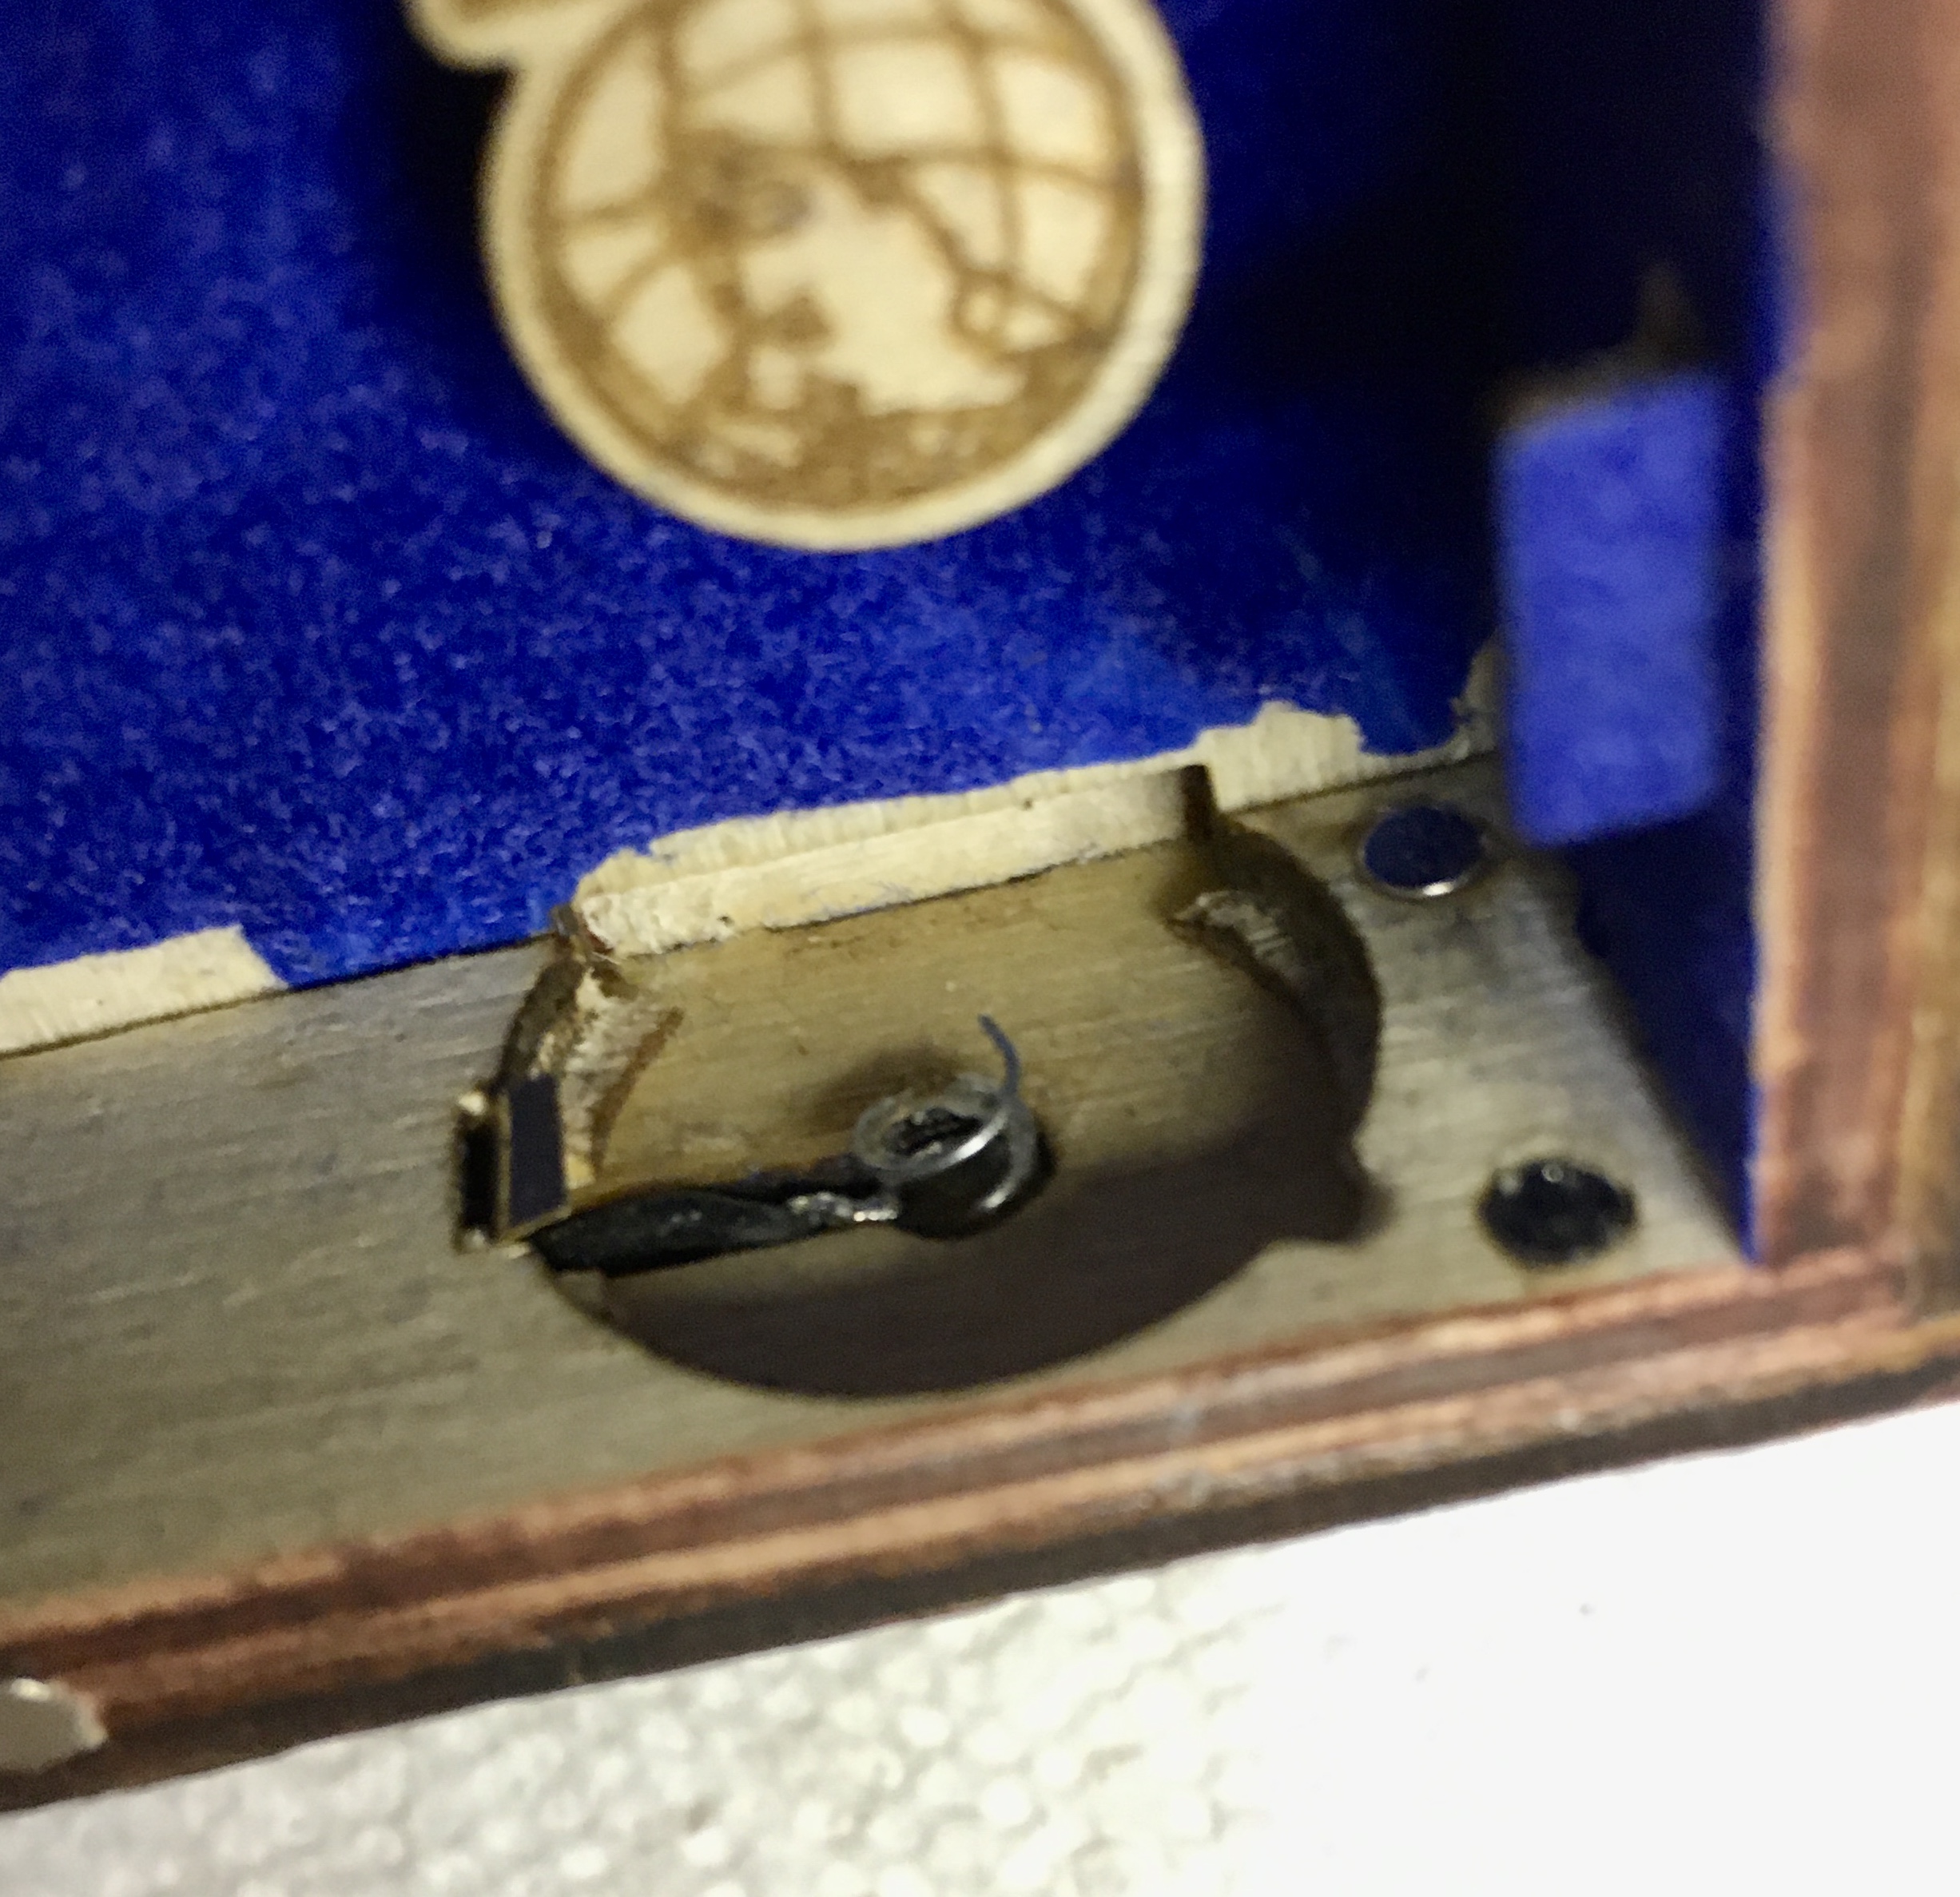
After I had completed the box, I did have the thought that it would have been nice to have a secondary switch to allow the box to be open for display but have the lights off. Next version I can add in a micro push button switch behind the battery panel.
But for this one I realized I could just take one of the small magnets and place it over the reed switch to turn it off. It would stay there attracted to the magnet in the switch. I could even move it up or down to turn it on and off.
 It was fairly challenging to get this designed and constructed, so I was defiently pushing my making skills forward.
 Really didn’t want to have to remake the stand. Fortunately I was able to pop the top of the stand off the base, without destroying the stand, and I then cut about 3mm off the bottom edge. Reflocked the cut edge and glued everything back together. The box now closes fine. Crisis avoided!