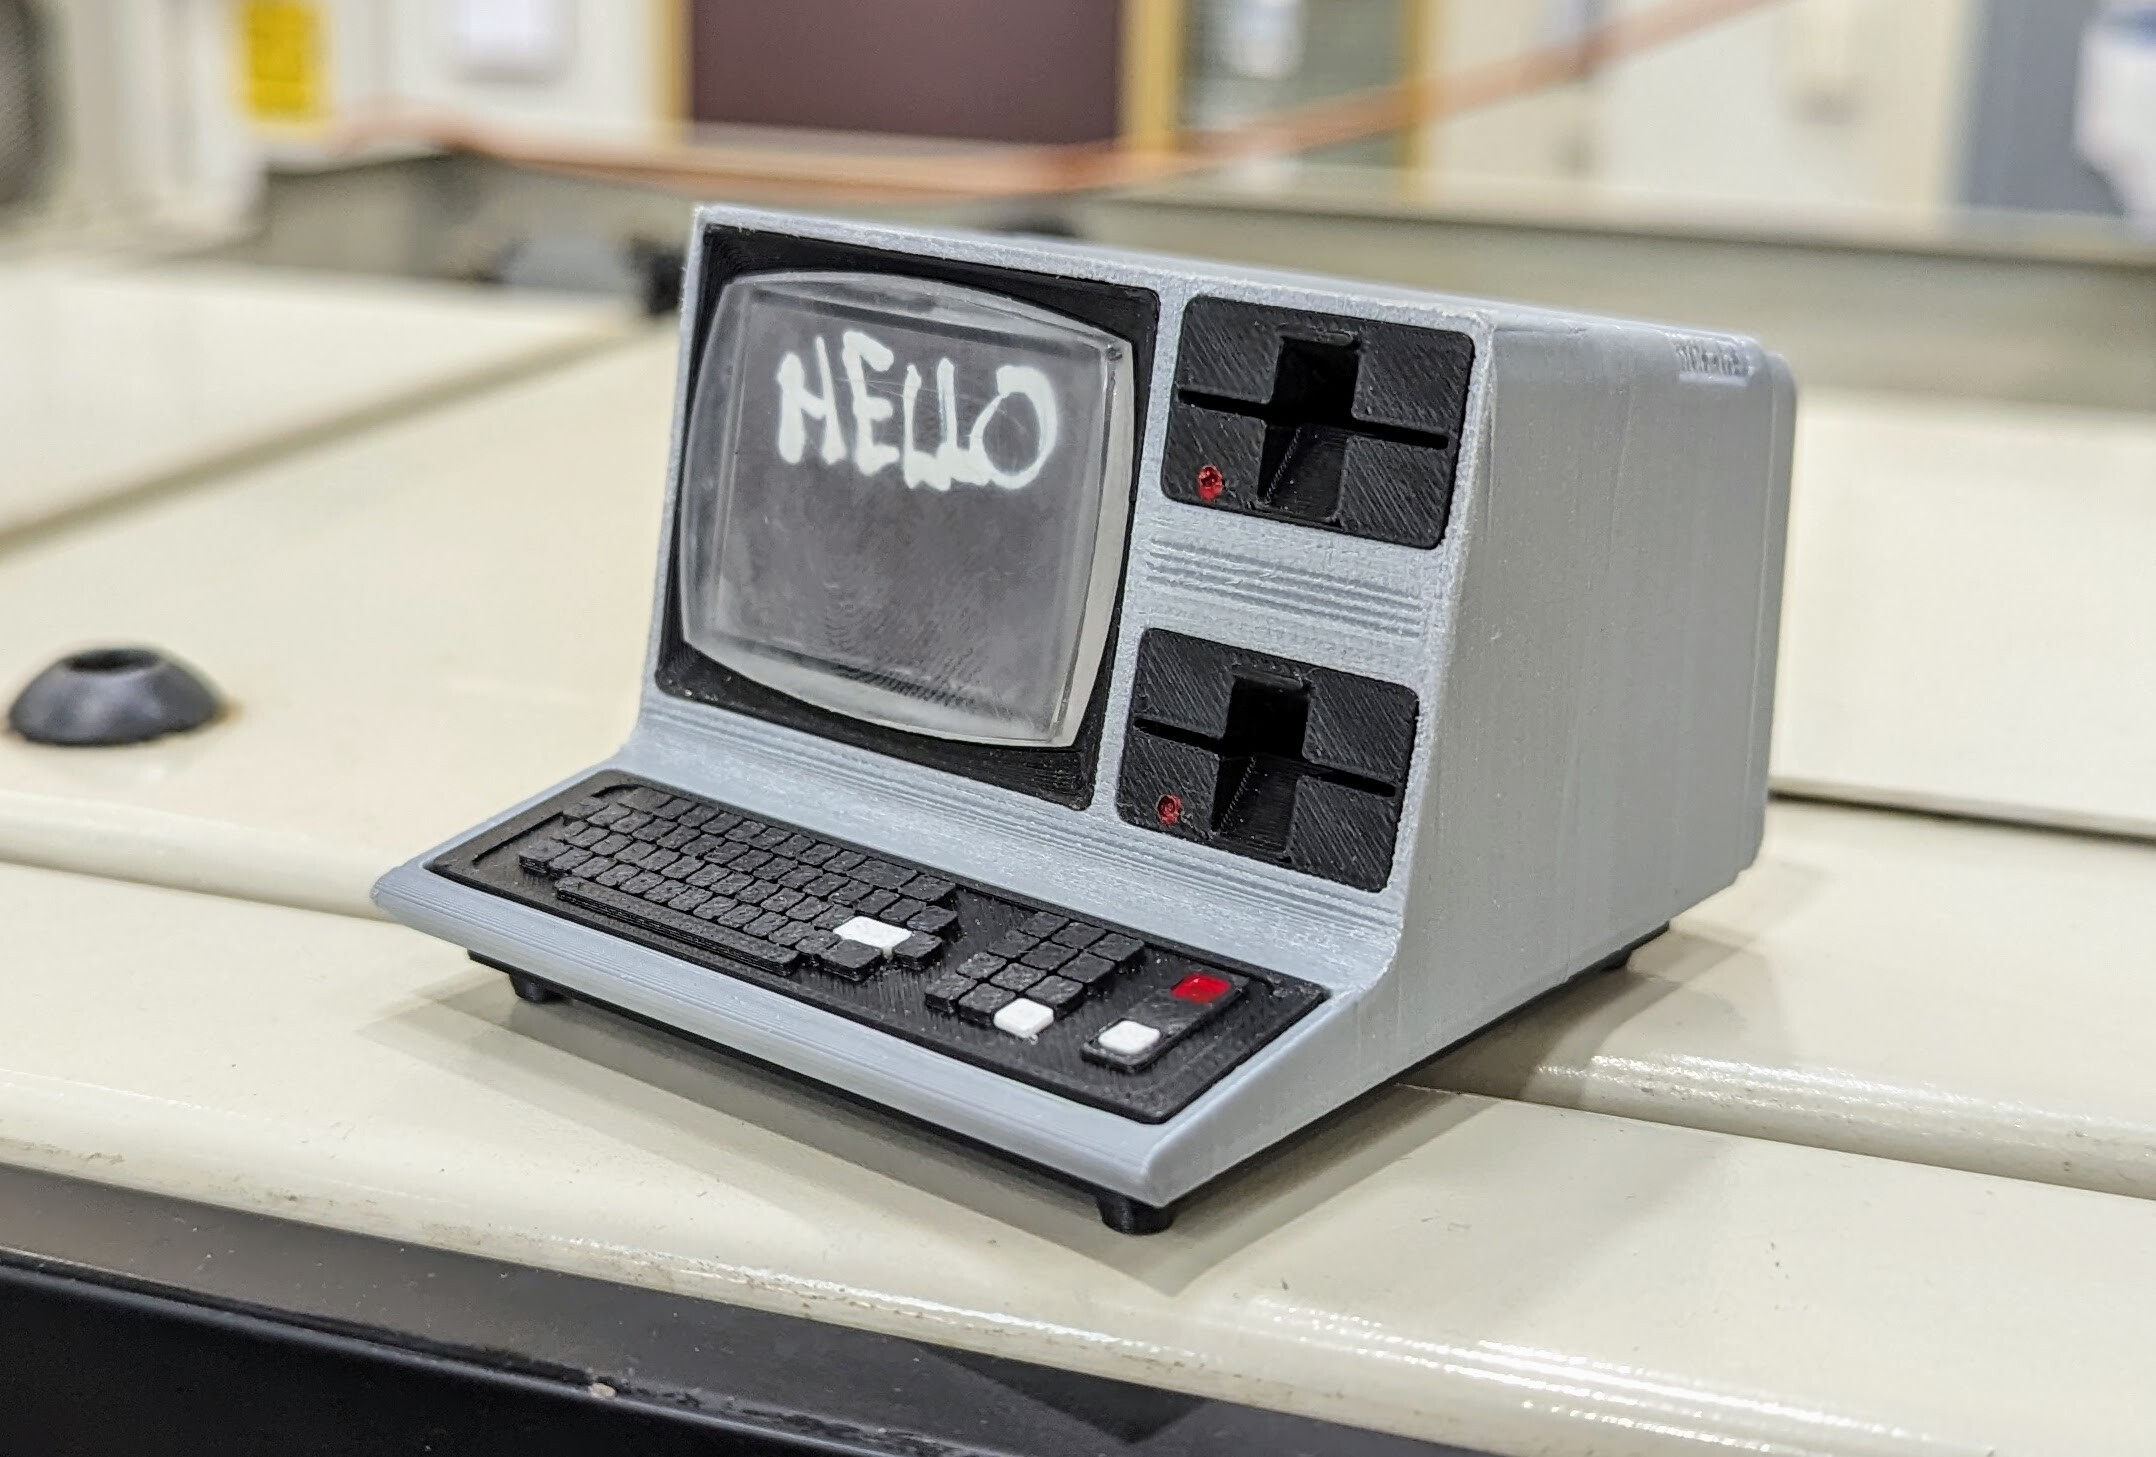
The only remaining parts to do are the small printed paper screens to replace the ugly “Hello” in the pic and the teensie tiny badge that goes between the floppy drives. I’ve tried a number of methods to make the badge’s tiny text white while the base is black but none have satisfied. I have a few more ideas, so I’m not beat yet!
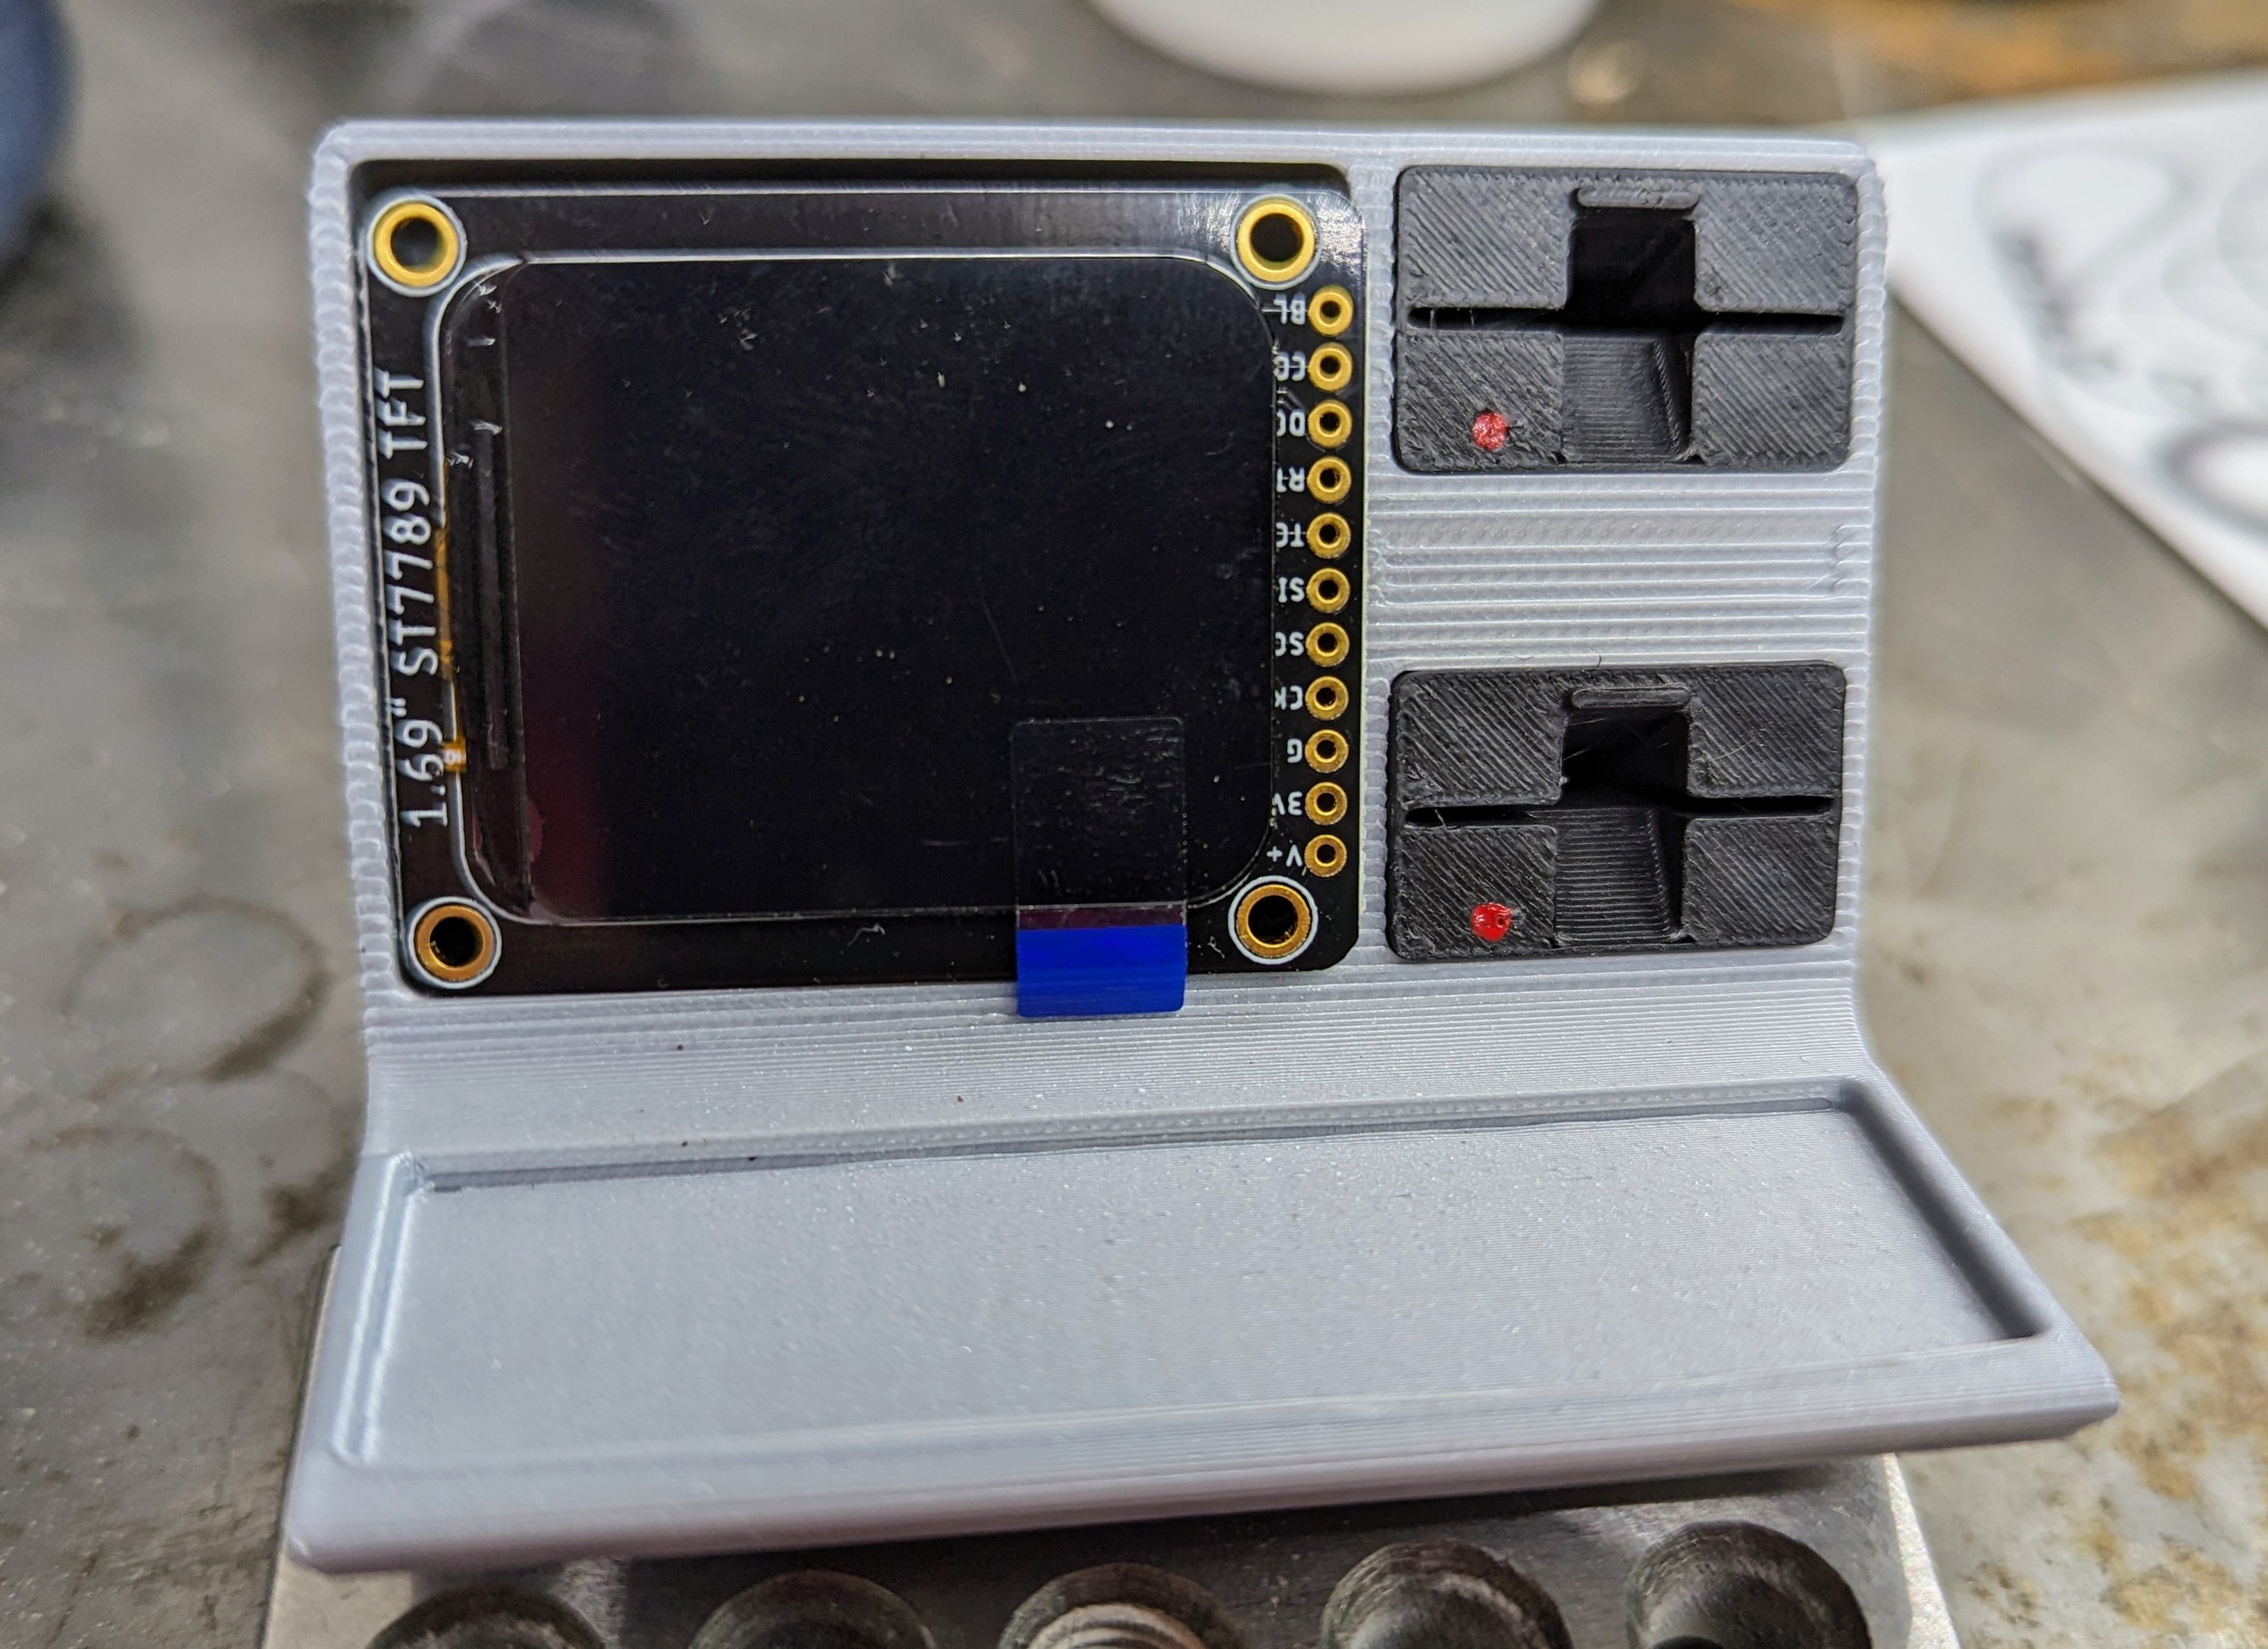
I ordered an appropriately sized display that should work in the Adafruit EyeSPI ecosystem which hopefully means it shouldn’t be too hard to give it a bit of computation and at least some pixels.
Hmmm. I’ve been resin printing the badge since the text is too tiny for my FDM printers. But, maybe I can transfer a black toner print onto an FDM print where the first layer is solid and white and then rest are black layers.
The slots in the floppy drives are 22.2mm wide so they’ll easily fit microsd cards (11cm wide) and I could probably tweak the model a bit to fit 24mm full sized SD cards.
If I end up tucking electronics inside I was thinking of making little floppy disks that fit perfectly in the drives and can act as adapters for microSD cards.
That’s awesome. I remember “programming” drawings in LOGO on one growing up. Before that I had the COCO model 1 and 2. Wrote a few school papers on those.
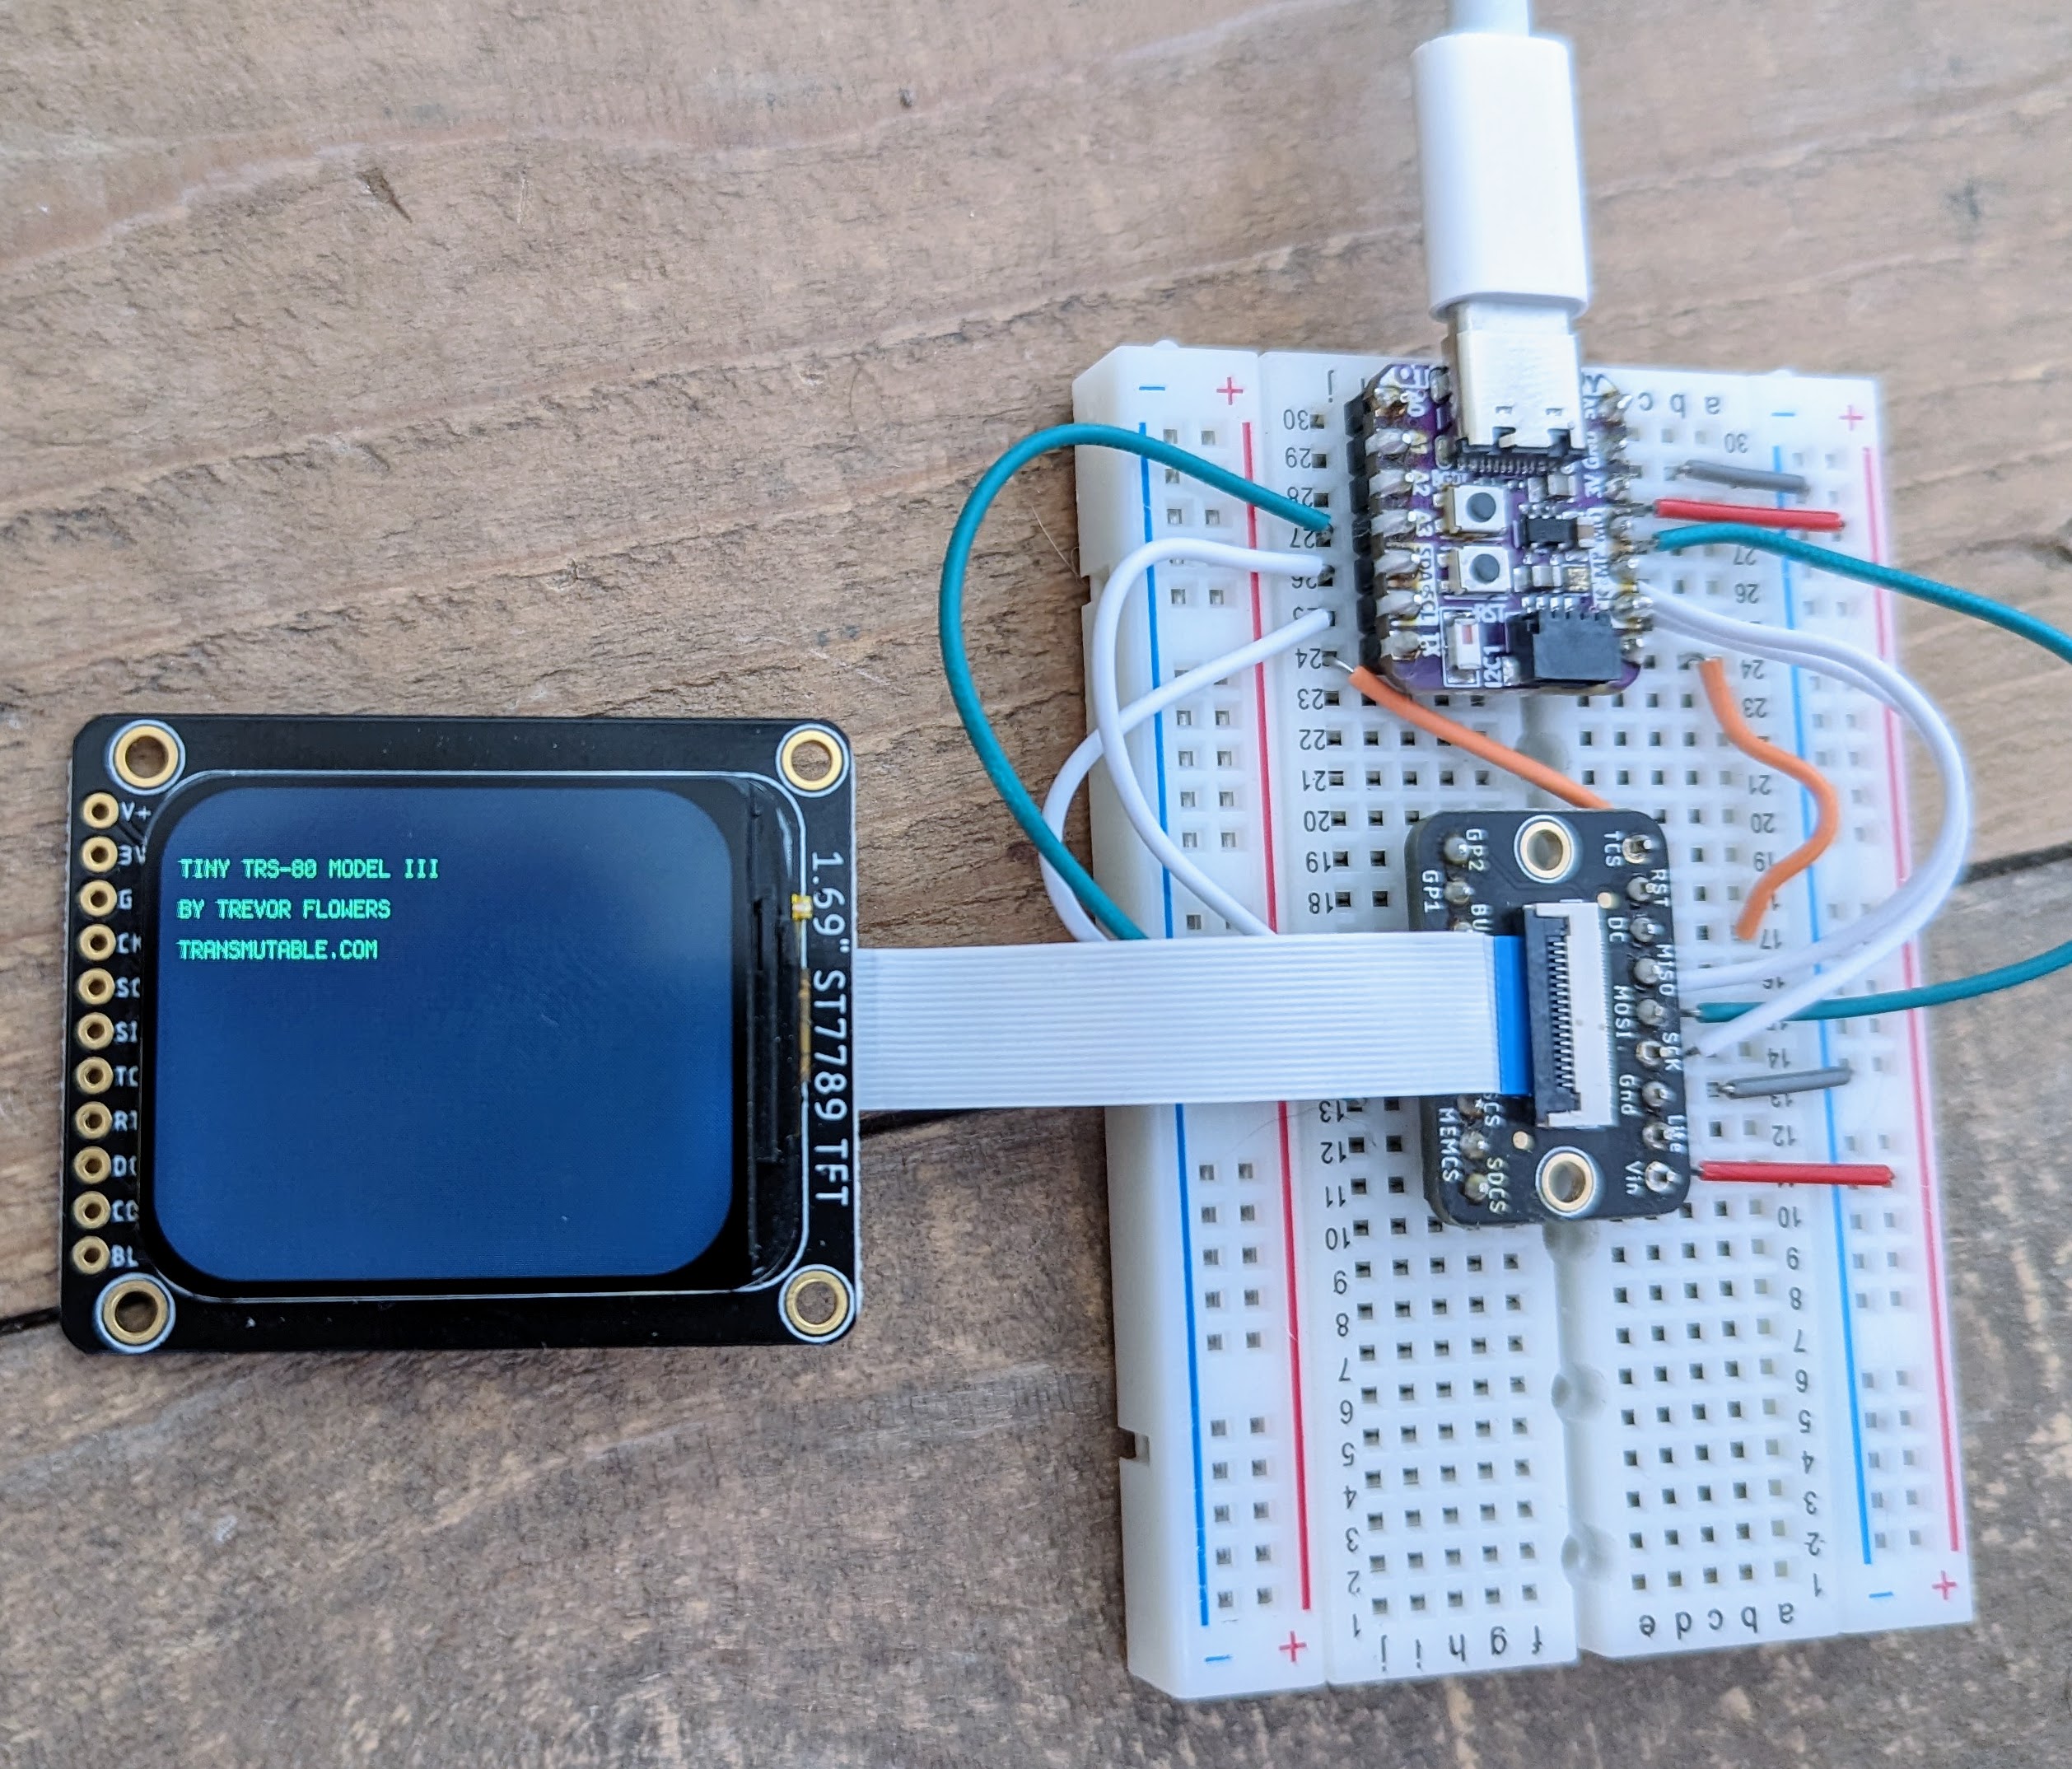
My issue is usually finding displays for smaller scales that I can drive without circuitry that’s beyond my current EE skills. Adafruit’s EyeSPI ecosystem will, I hope, open that up a bit as they open board designs and code for standard display panels that I can use or adapt.
An hour of futzing and now I have the display driven by a wee Adafruit QT Py board, at least on a breadboard.
The printer is working on a couple of tweaked parts that hopefully will let me mount the display in a case.
This same setup with an even smaller display could work in smaller miniatures, as well. If I solder the QT Py directly to the display instead of using that breakout board I think it could fit in a 1:12 scale PC!