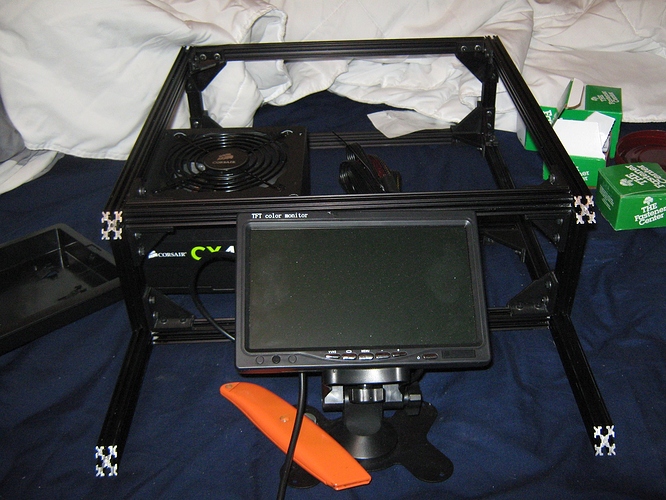
The idea is , it will be enclosed with the ATX switch accessible around the left side. It powers on everything (35A supply) the pi for octoprint, the lcd for the pi. And both RAMPS inputs. Right now this thing is deadly. I did a good job cutting and those edges are deadly sharp. But I am going to fab a face plate to mount to those 45 degree cuts (that line up pretty well considering). All the wires and crap (remember me saying there was an idea to tame the rats nest ? this is it) will be invisible they are in black chinese finger trap wrap and the inside is going to be painted as will the faces. The printer will sit on top with top secret sound dampening (rubber dampeners fashioned from a gell mouse pad).
Originally shared by Addidis no
So I still need to do the face, mount the lcd bevel in it, mount the psu, RAMPS, PI, and rewire the power using the stealth psu. The kicker here is all these pieces of beam were cut with nothing but a hacksaw blade (we dont need no stinkin handle). It took me the better part of 24 hours to cut the beams but I was printing parts and doing nothing most of the time.


