I wanted to add some trim lights on our RV to help illuminate the campsite. The RV had only one small light above the door. So I went searching for LED strings and controllers.
RV upgrades are never as simple (or as cheap) as you initially plan this was no exception.
I got this set of lights and controller and figured I would mount them on the trim and connect them to the outdoor light switch. Easy peasy!
After getting the set I realized that the controller uses a IR remote. This meant that the IR sensor needed to have a clear line of sight from the outside of the RV. That is so I can change the lighting from my camping stool.
This brought into play a whole raft of weather and vibration requirements that I did not initially intend to tackle. Mounting anything outside of an RV takes some special scrutiny. It’s challenging enough mounting the LED strip on the outside of the RV now the controller needed to be mounted there as well. Actually this would make the fragile wiring from the controller to the strip more reliable.
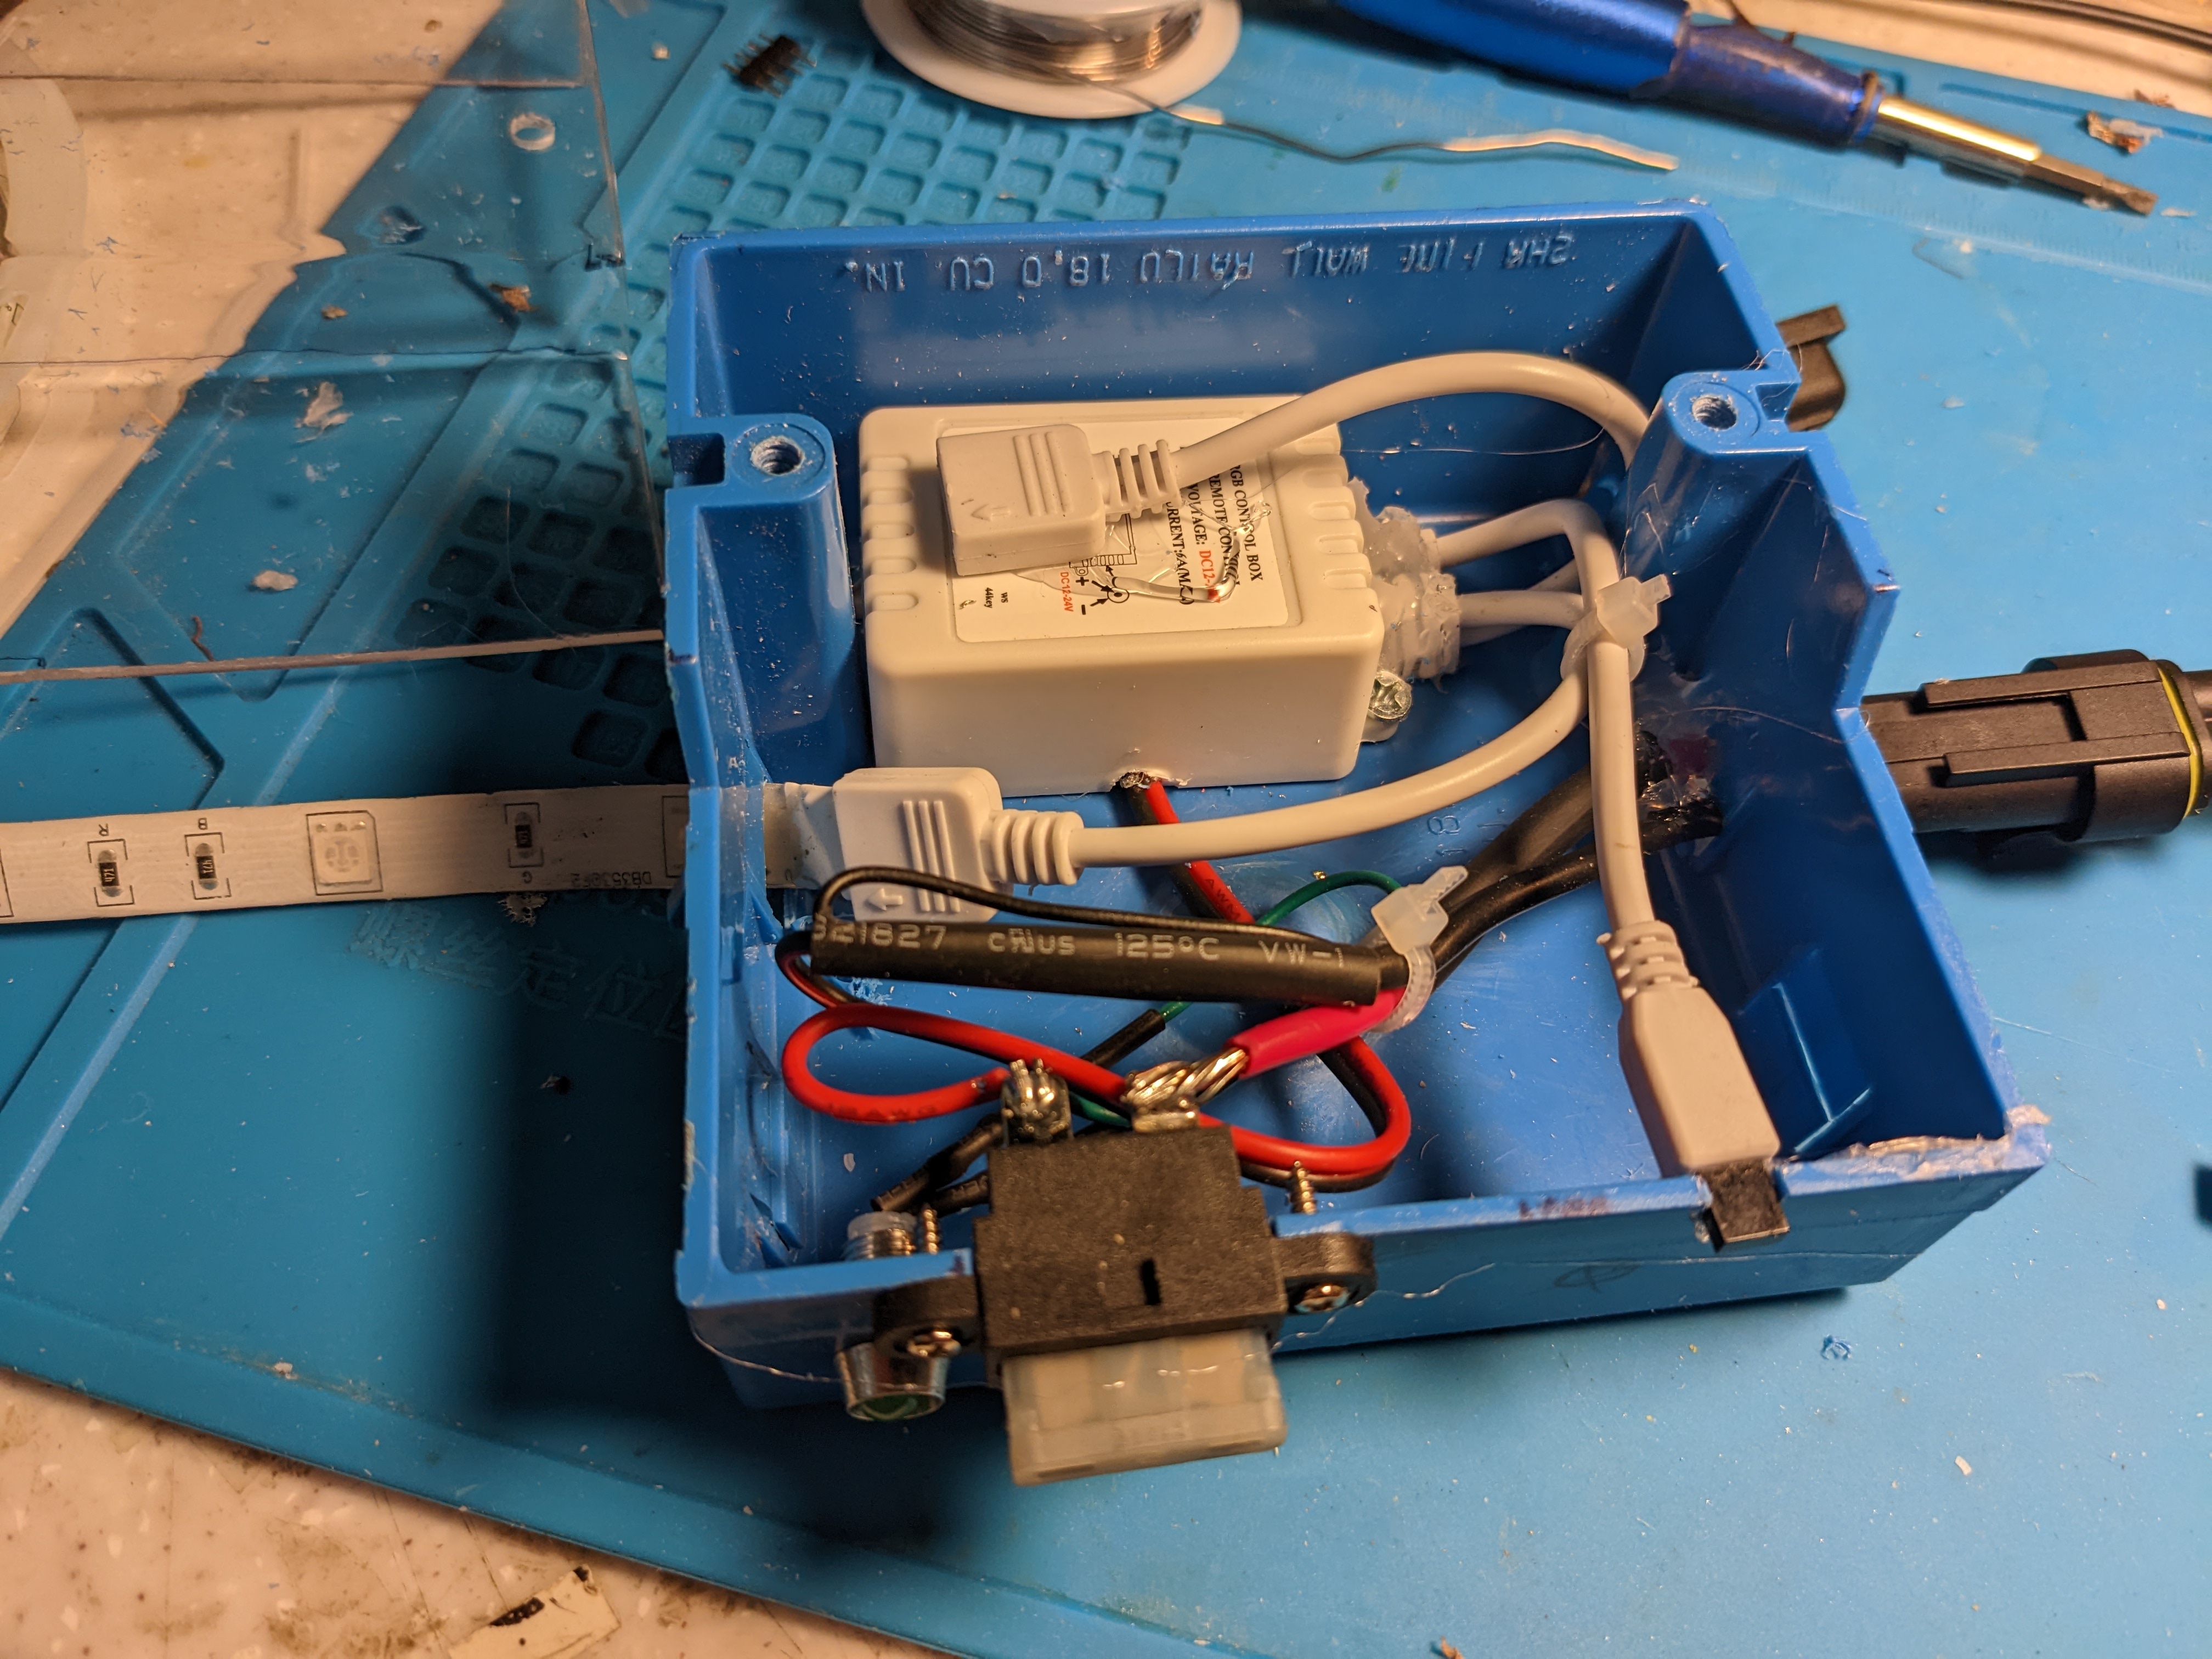
I could have 3D printed a custom case but I went the switch box approach. You can find many styles of plastic electrical boxes that can be used for projects like this. In this case I uses a switch box that has a side box area intended to accommodate expanded wiring.
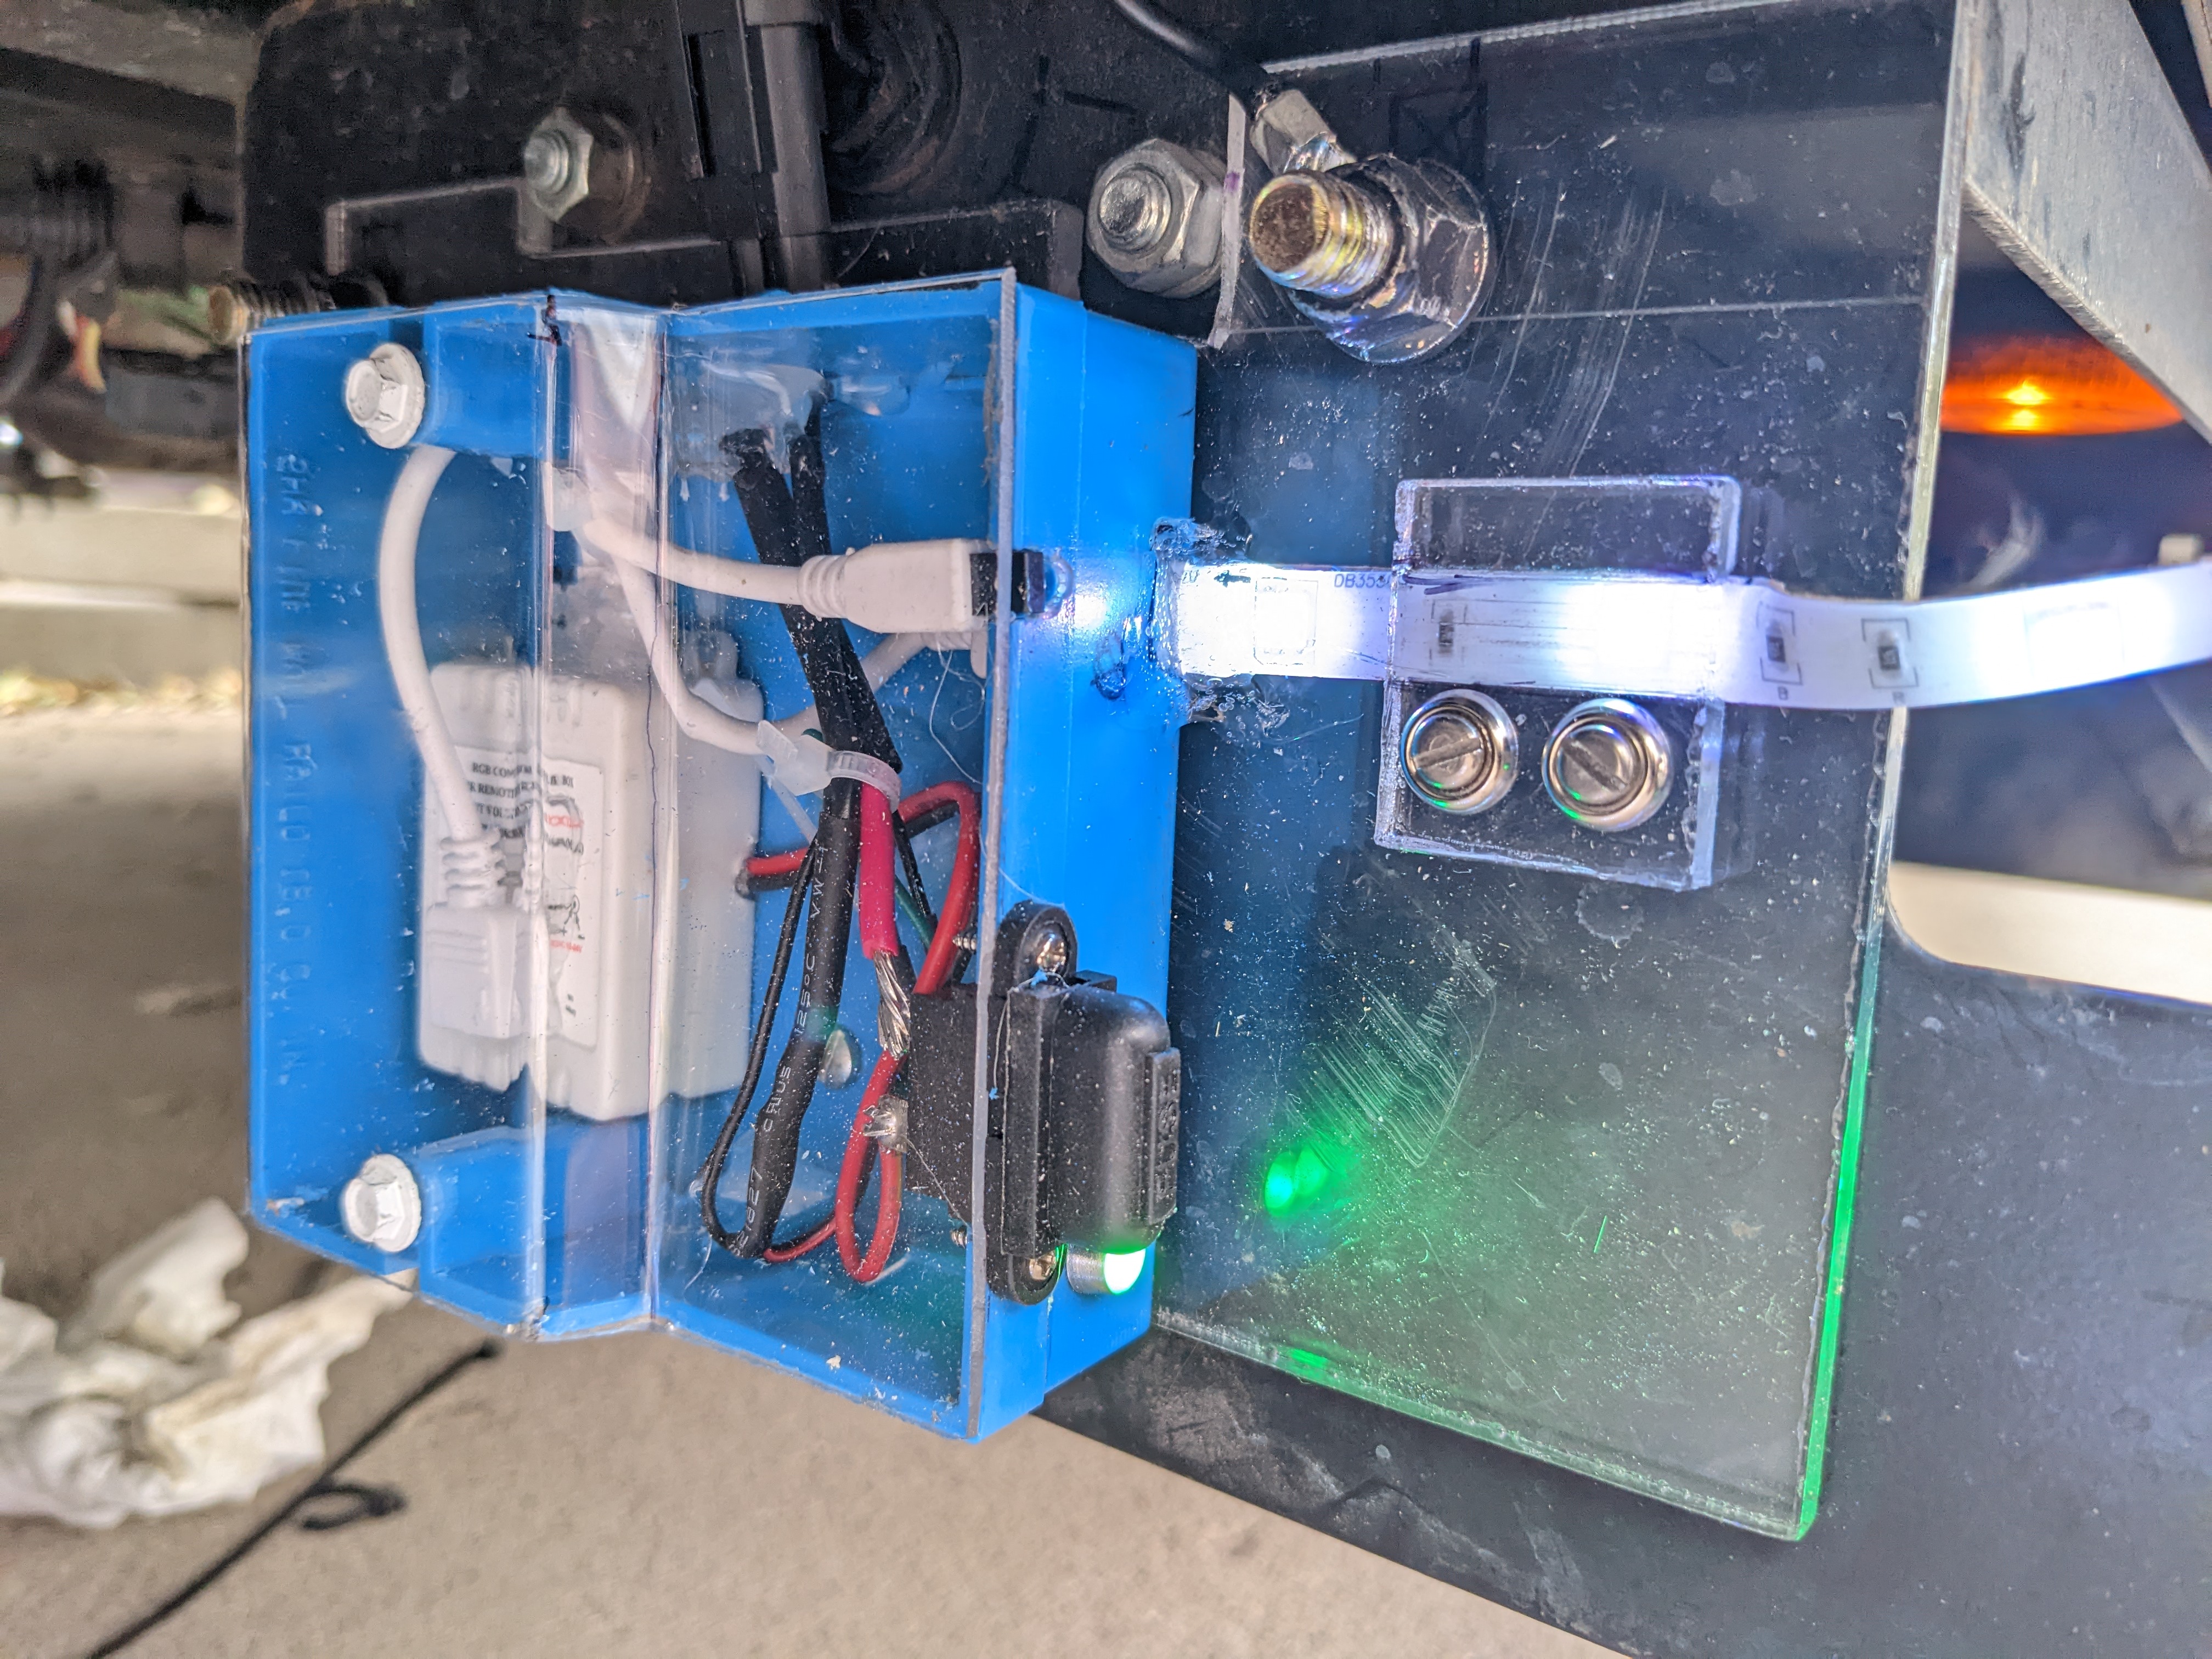
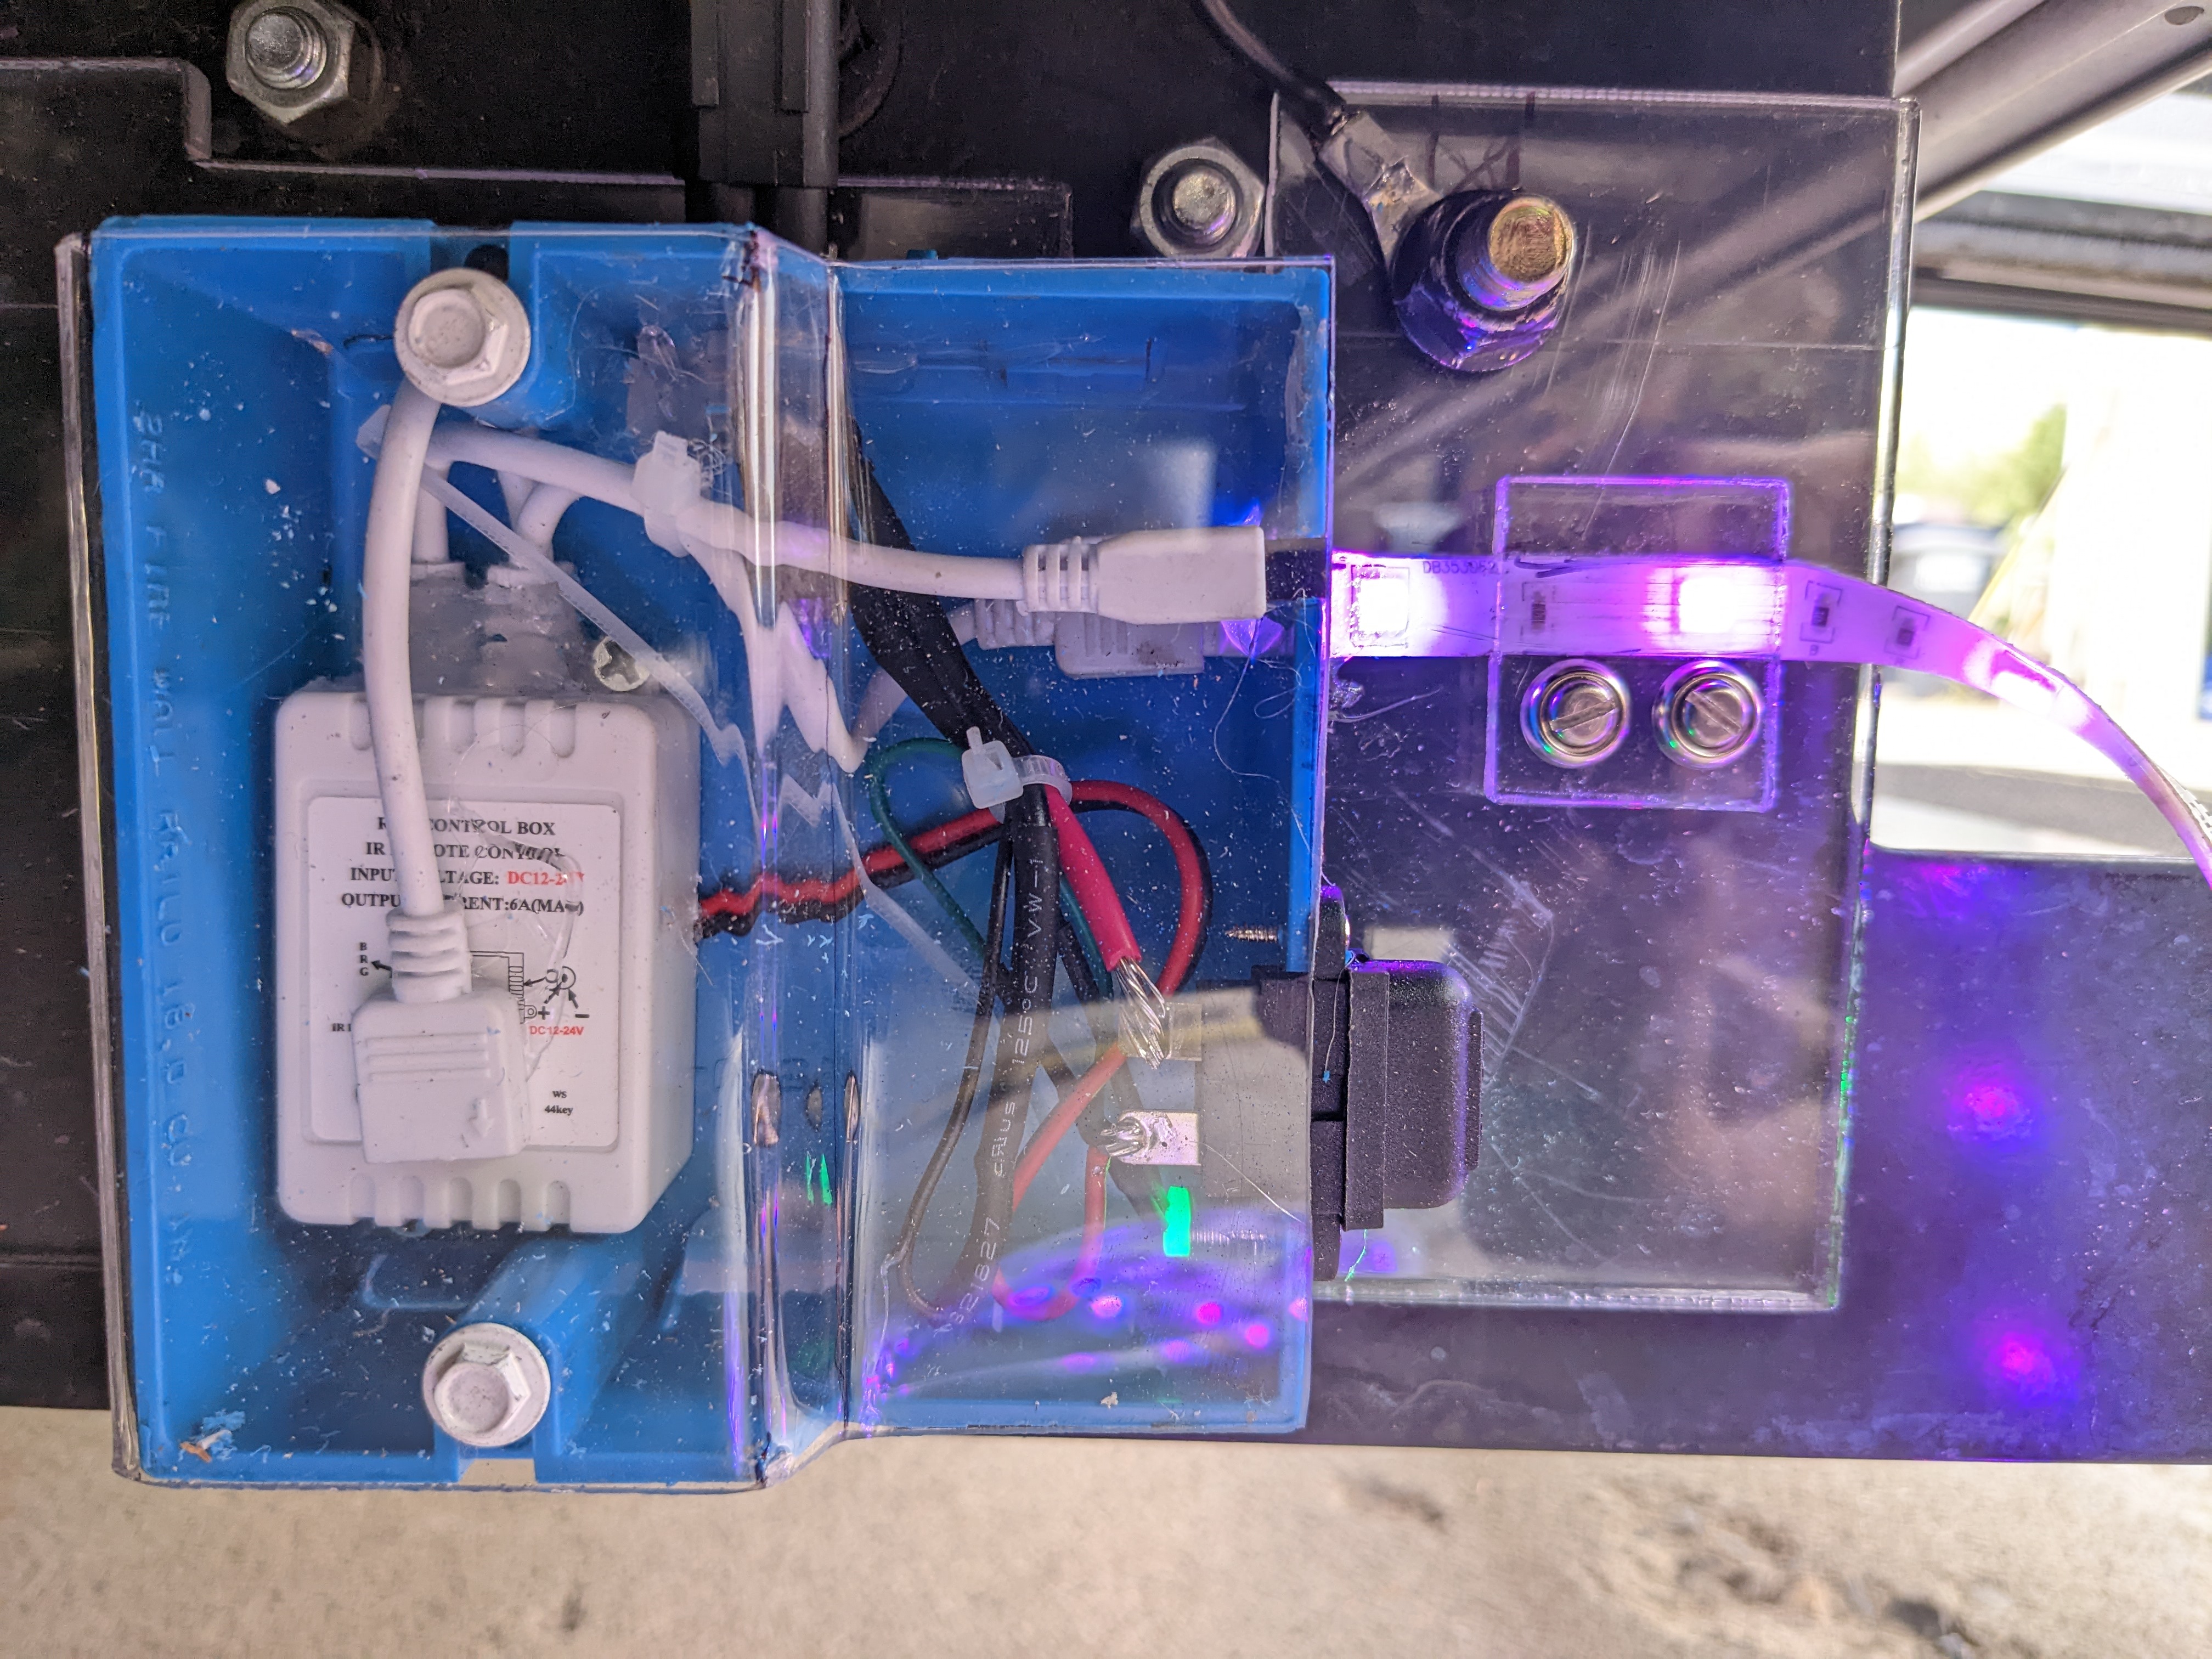
I bent a form fit acrylic cover. The controllers power plug was hacked to allow the use of a Weather Pack waterproof power connecter. The IR sensor is positioned in a notch and held in place by the cover. A blade fuse was added. The LED strip plug exits the box in a position that facilities mounting the strip on the RV frame. All the cable exits were sealed with silicone. I would call the box water resistant not waterproof.
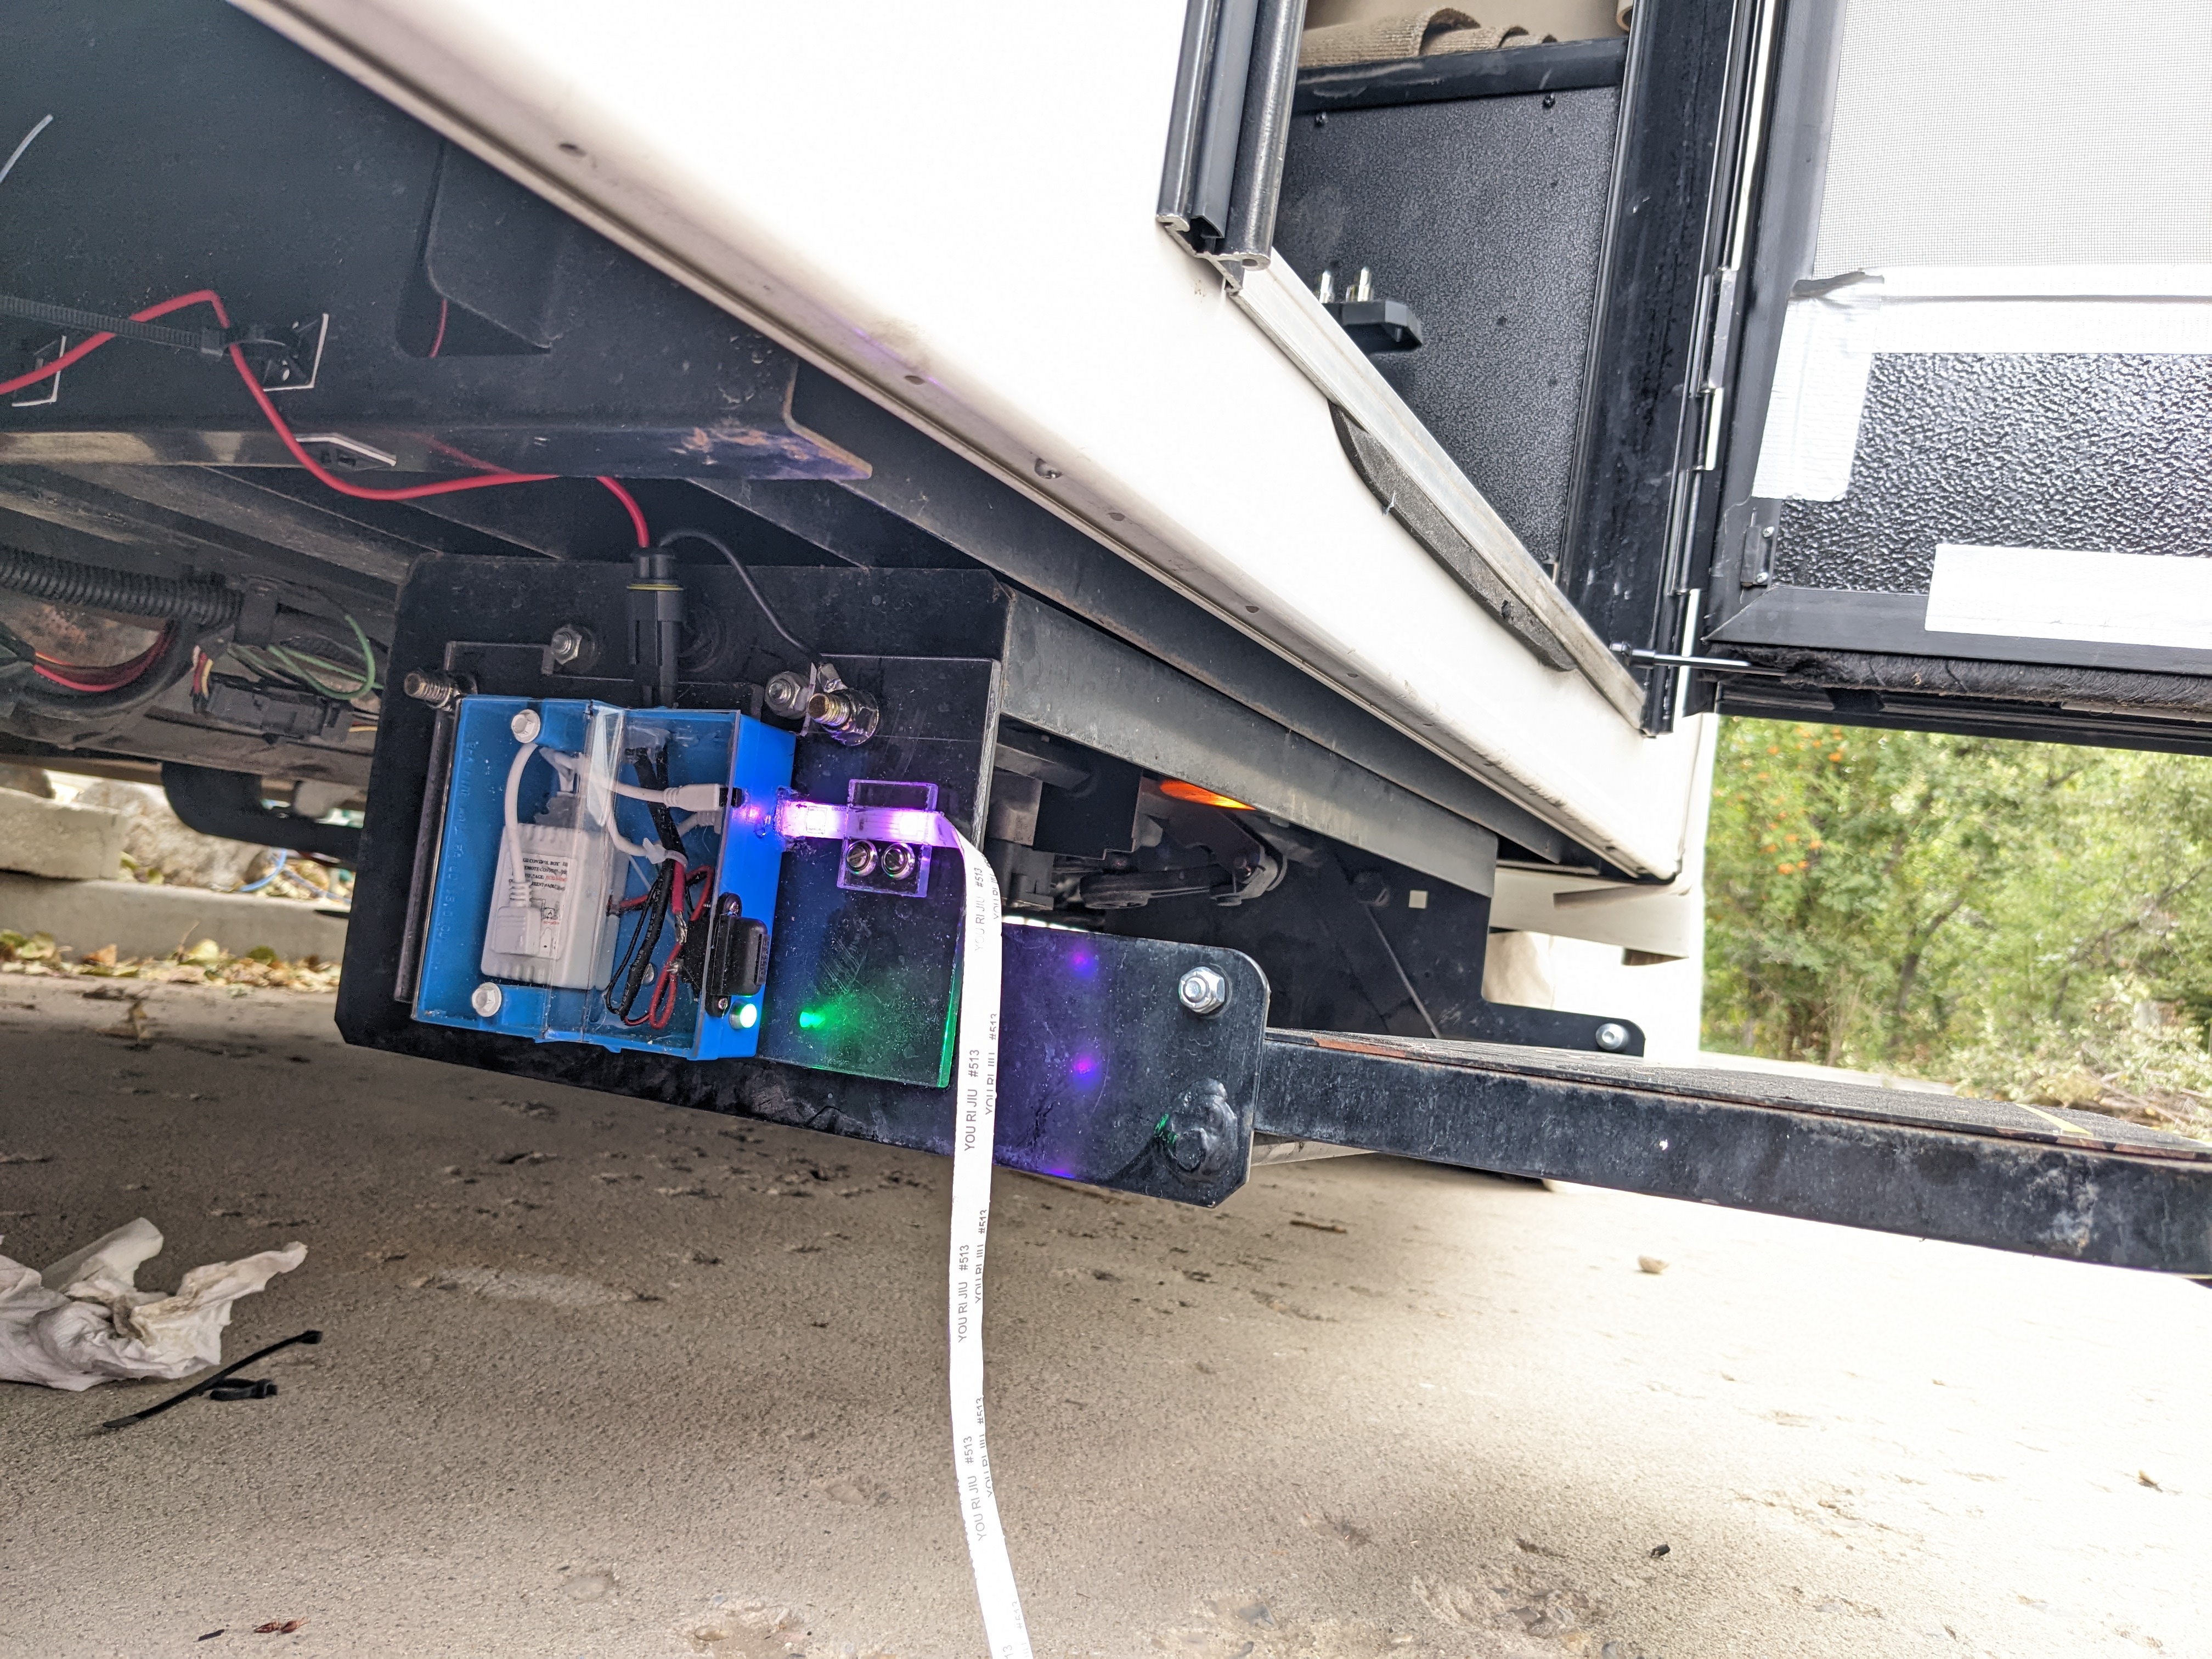
Where to mount? I decided to mount the unit on the back side of the step frame because this position is directly below the outside lights switch panel, hidden by a steel plate, and there were two empty holes that would fit carriage bolts. It was also adjacent to the place on the frame where the LED strip mounting commenced. I mounted the control box to a 1/4 acrylic plate that was then bolted to the stair frame. A strain relief was added to constrain the LED strip as it left the box. In this position, the IR sensor was visible from the side of the RV.
The power for this box came from the outside lights switch inside the RV. Getting from that switch through the cabinets and out the frame was not at all fun.
As I am writing this I am thinking I will add a gasket to the boxe’s acrylic cover.