A few years ago (5!) I was contracted to make some Volunteer appreciation buttons for the hospital where my wife works.
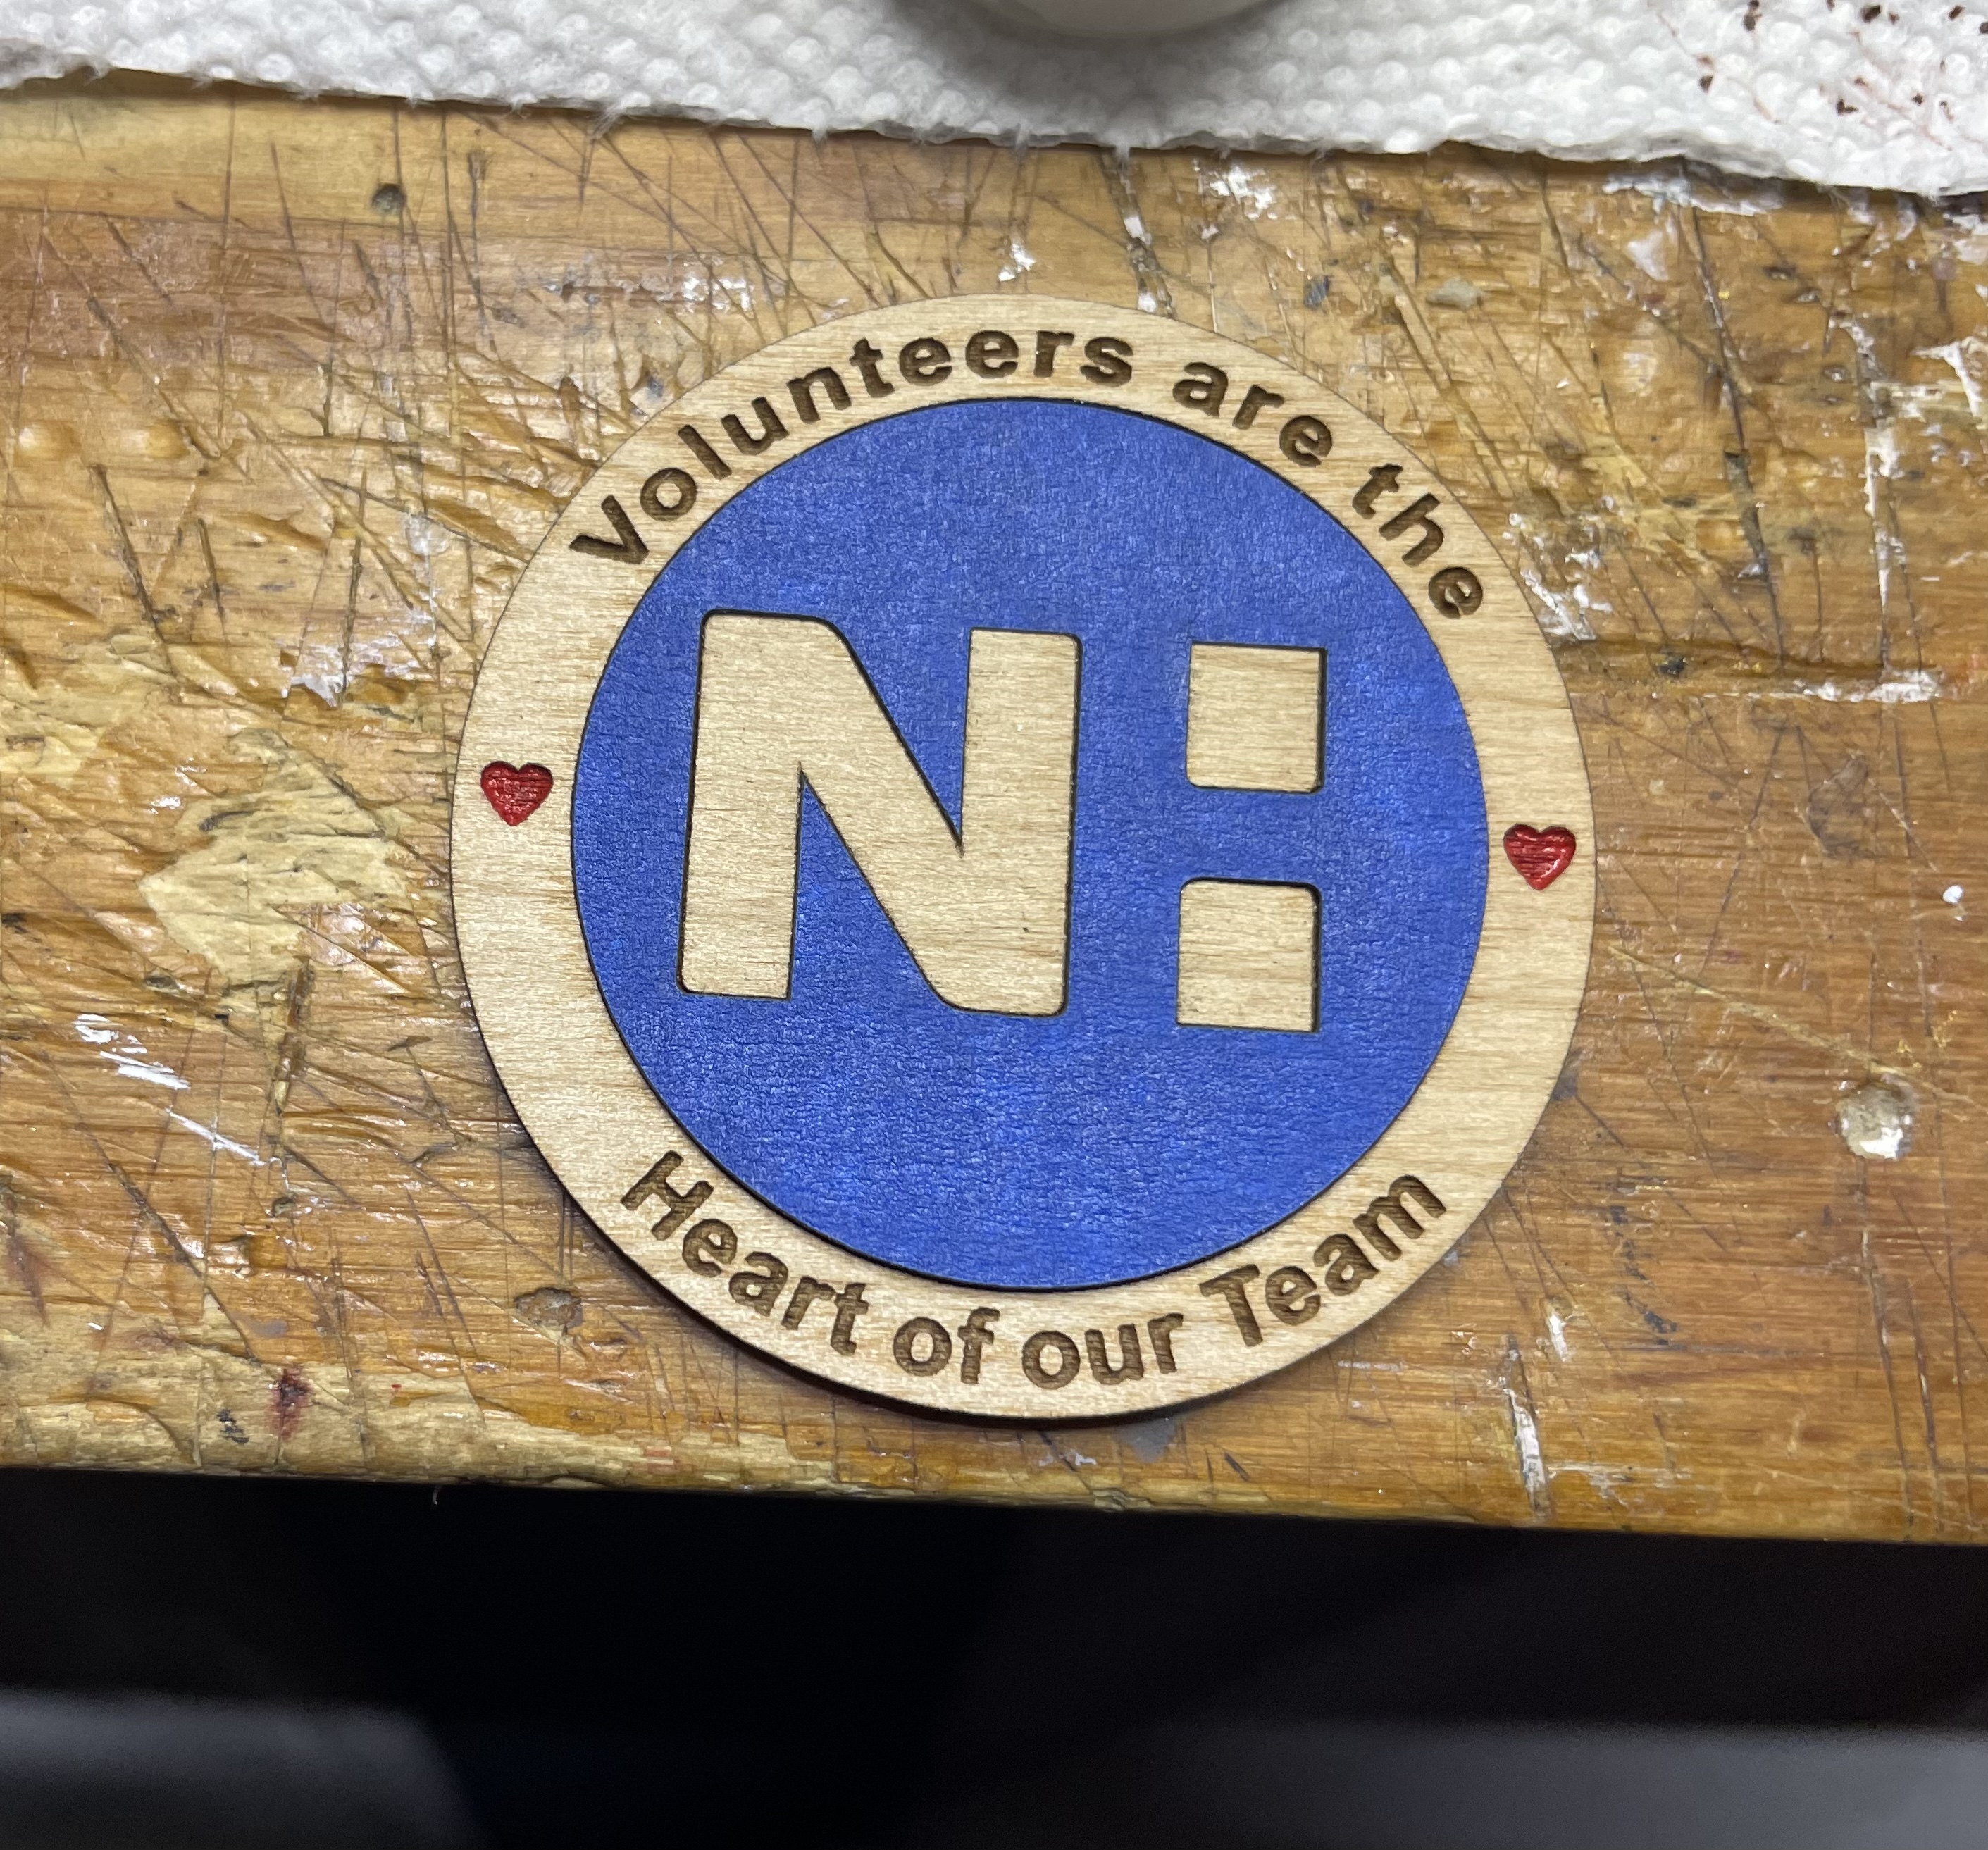
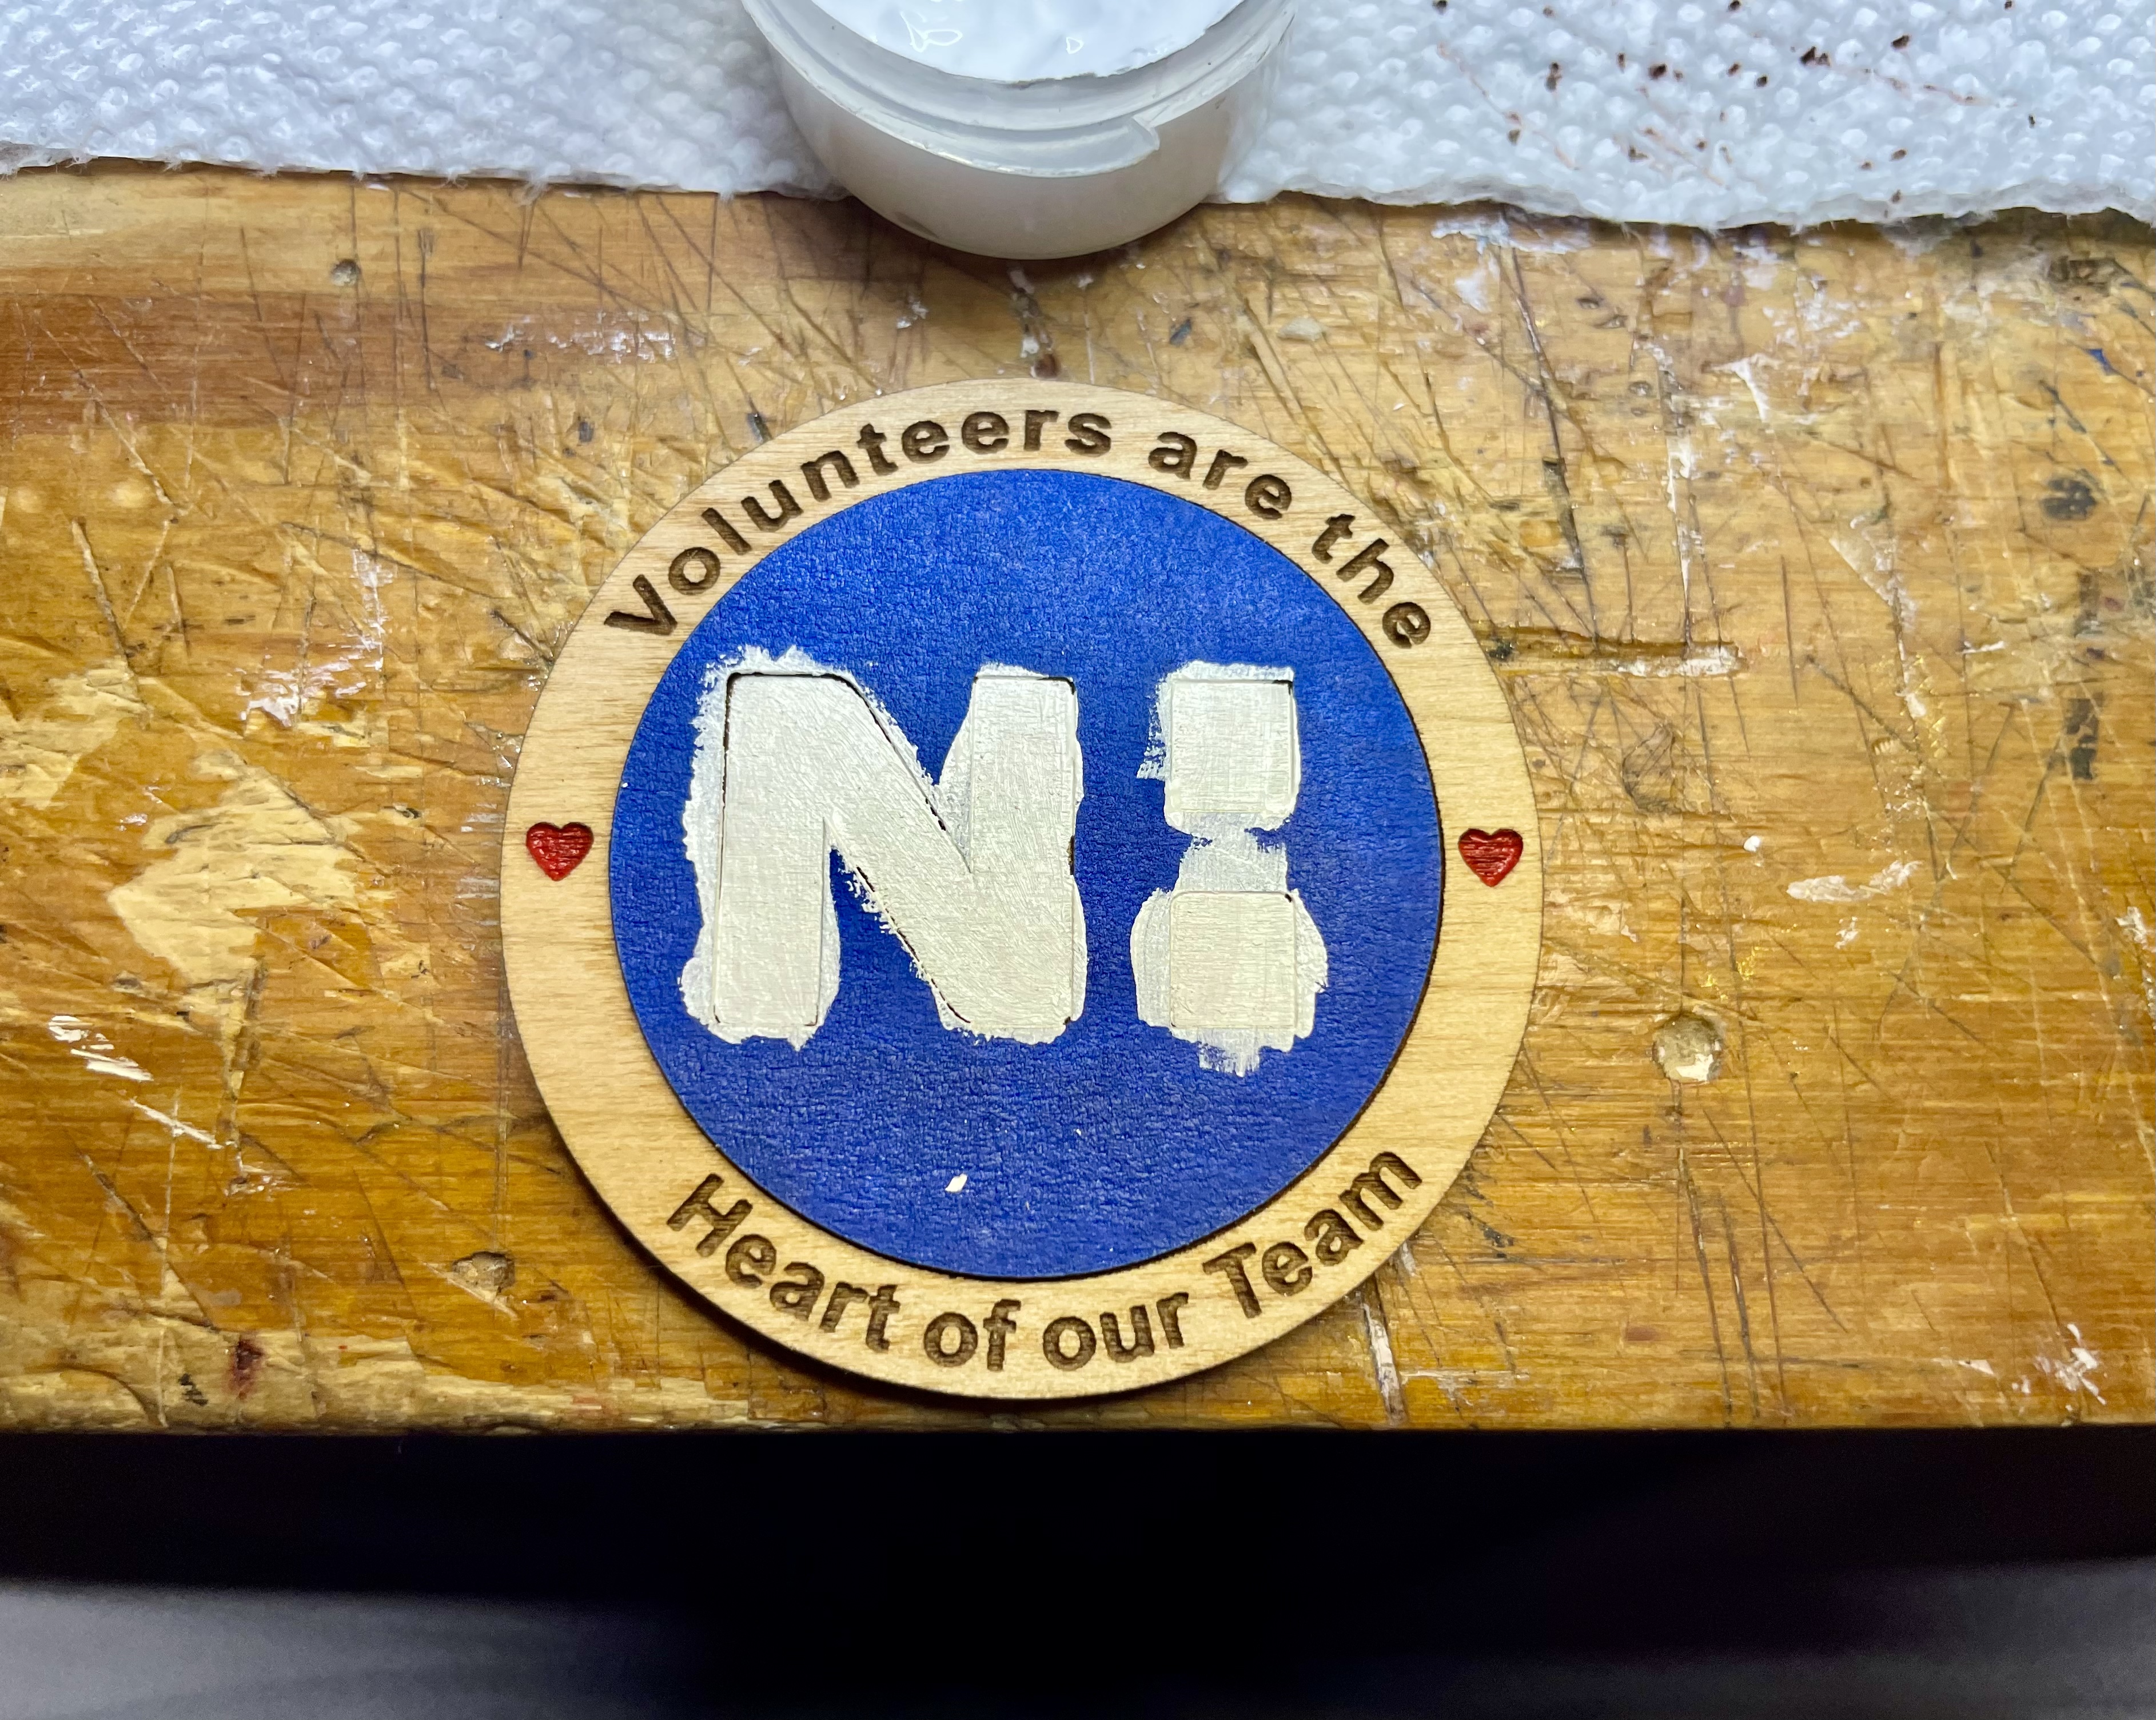
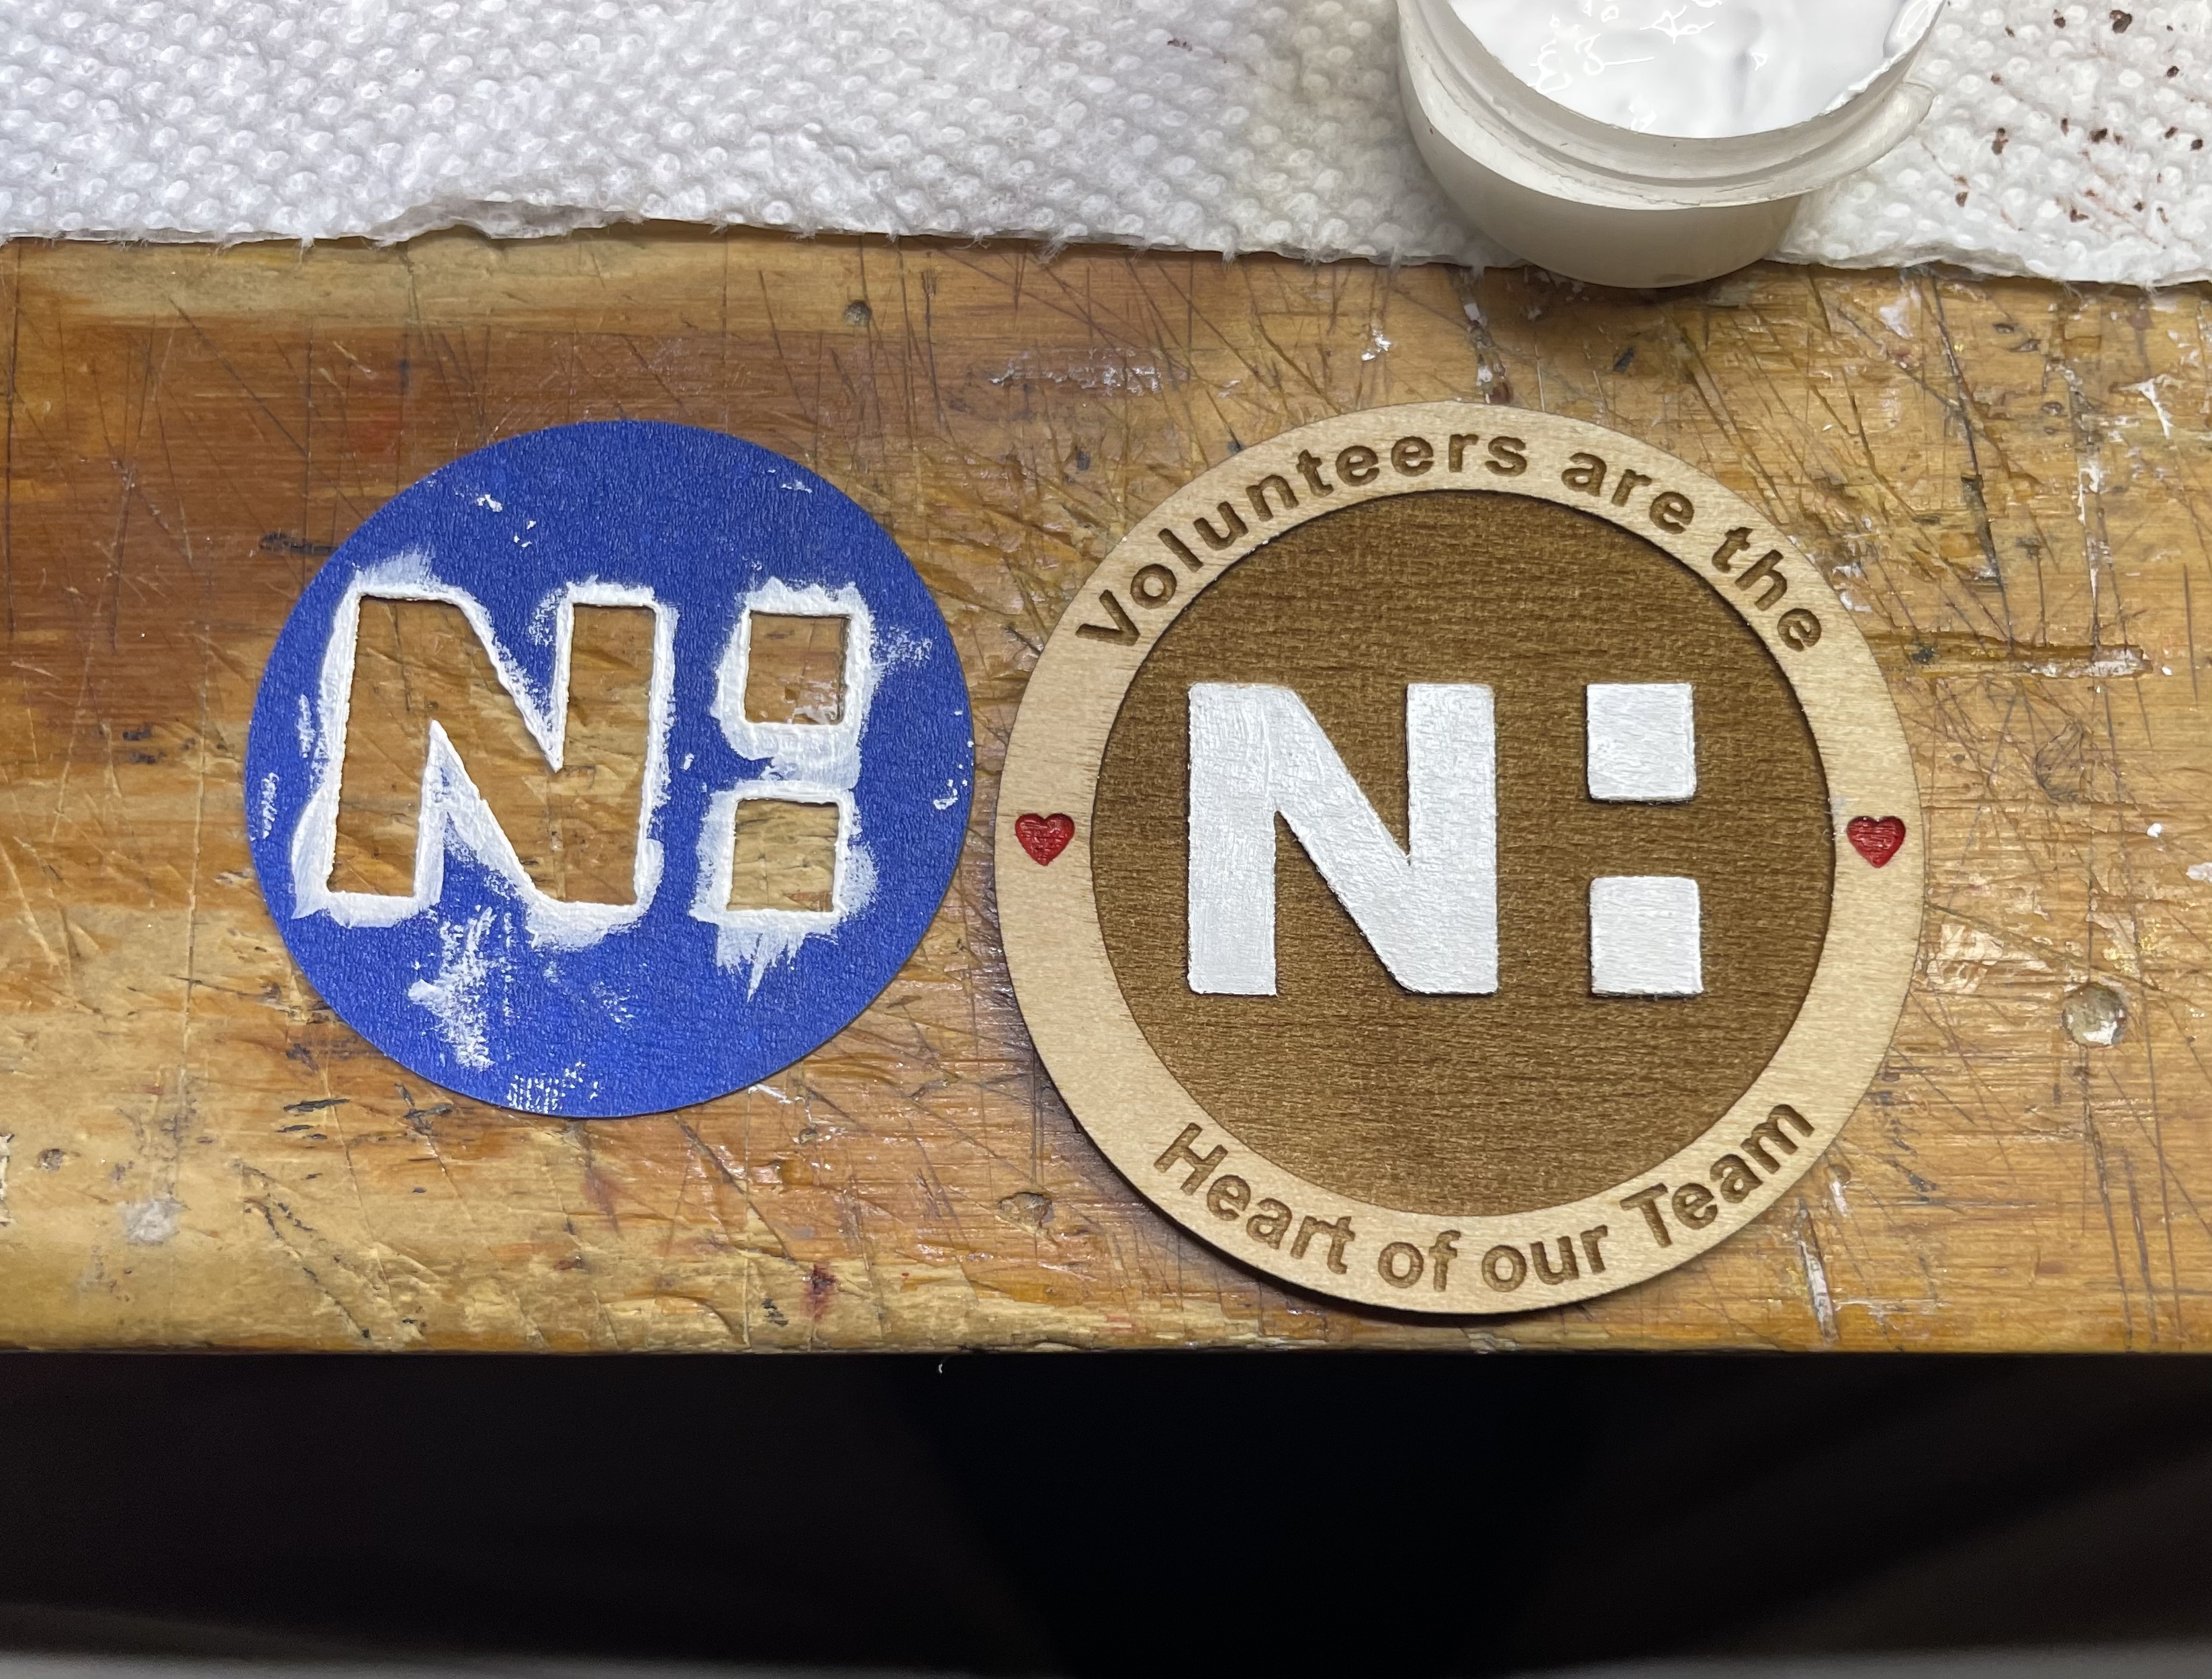
This past year the hospital was acquired by the large hospital system Novant Health. So they wanted to make new buttons this year for Volunteer Appreciation Week with the new logo. But they wanted 300 buttons this time. With white paint it was going to take 2 coats so I had to come up with a way to make the painting easier so it wouldn’t drive me crazy.
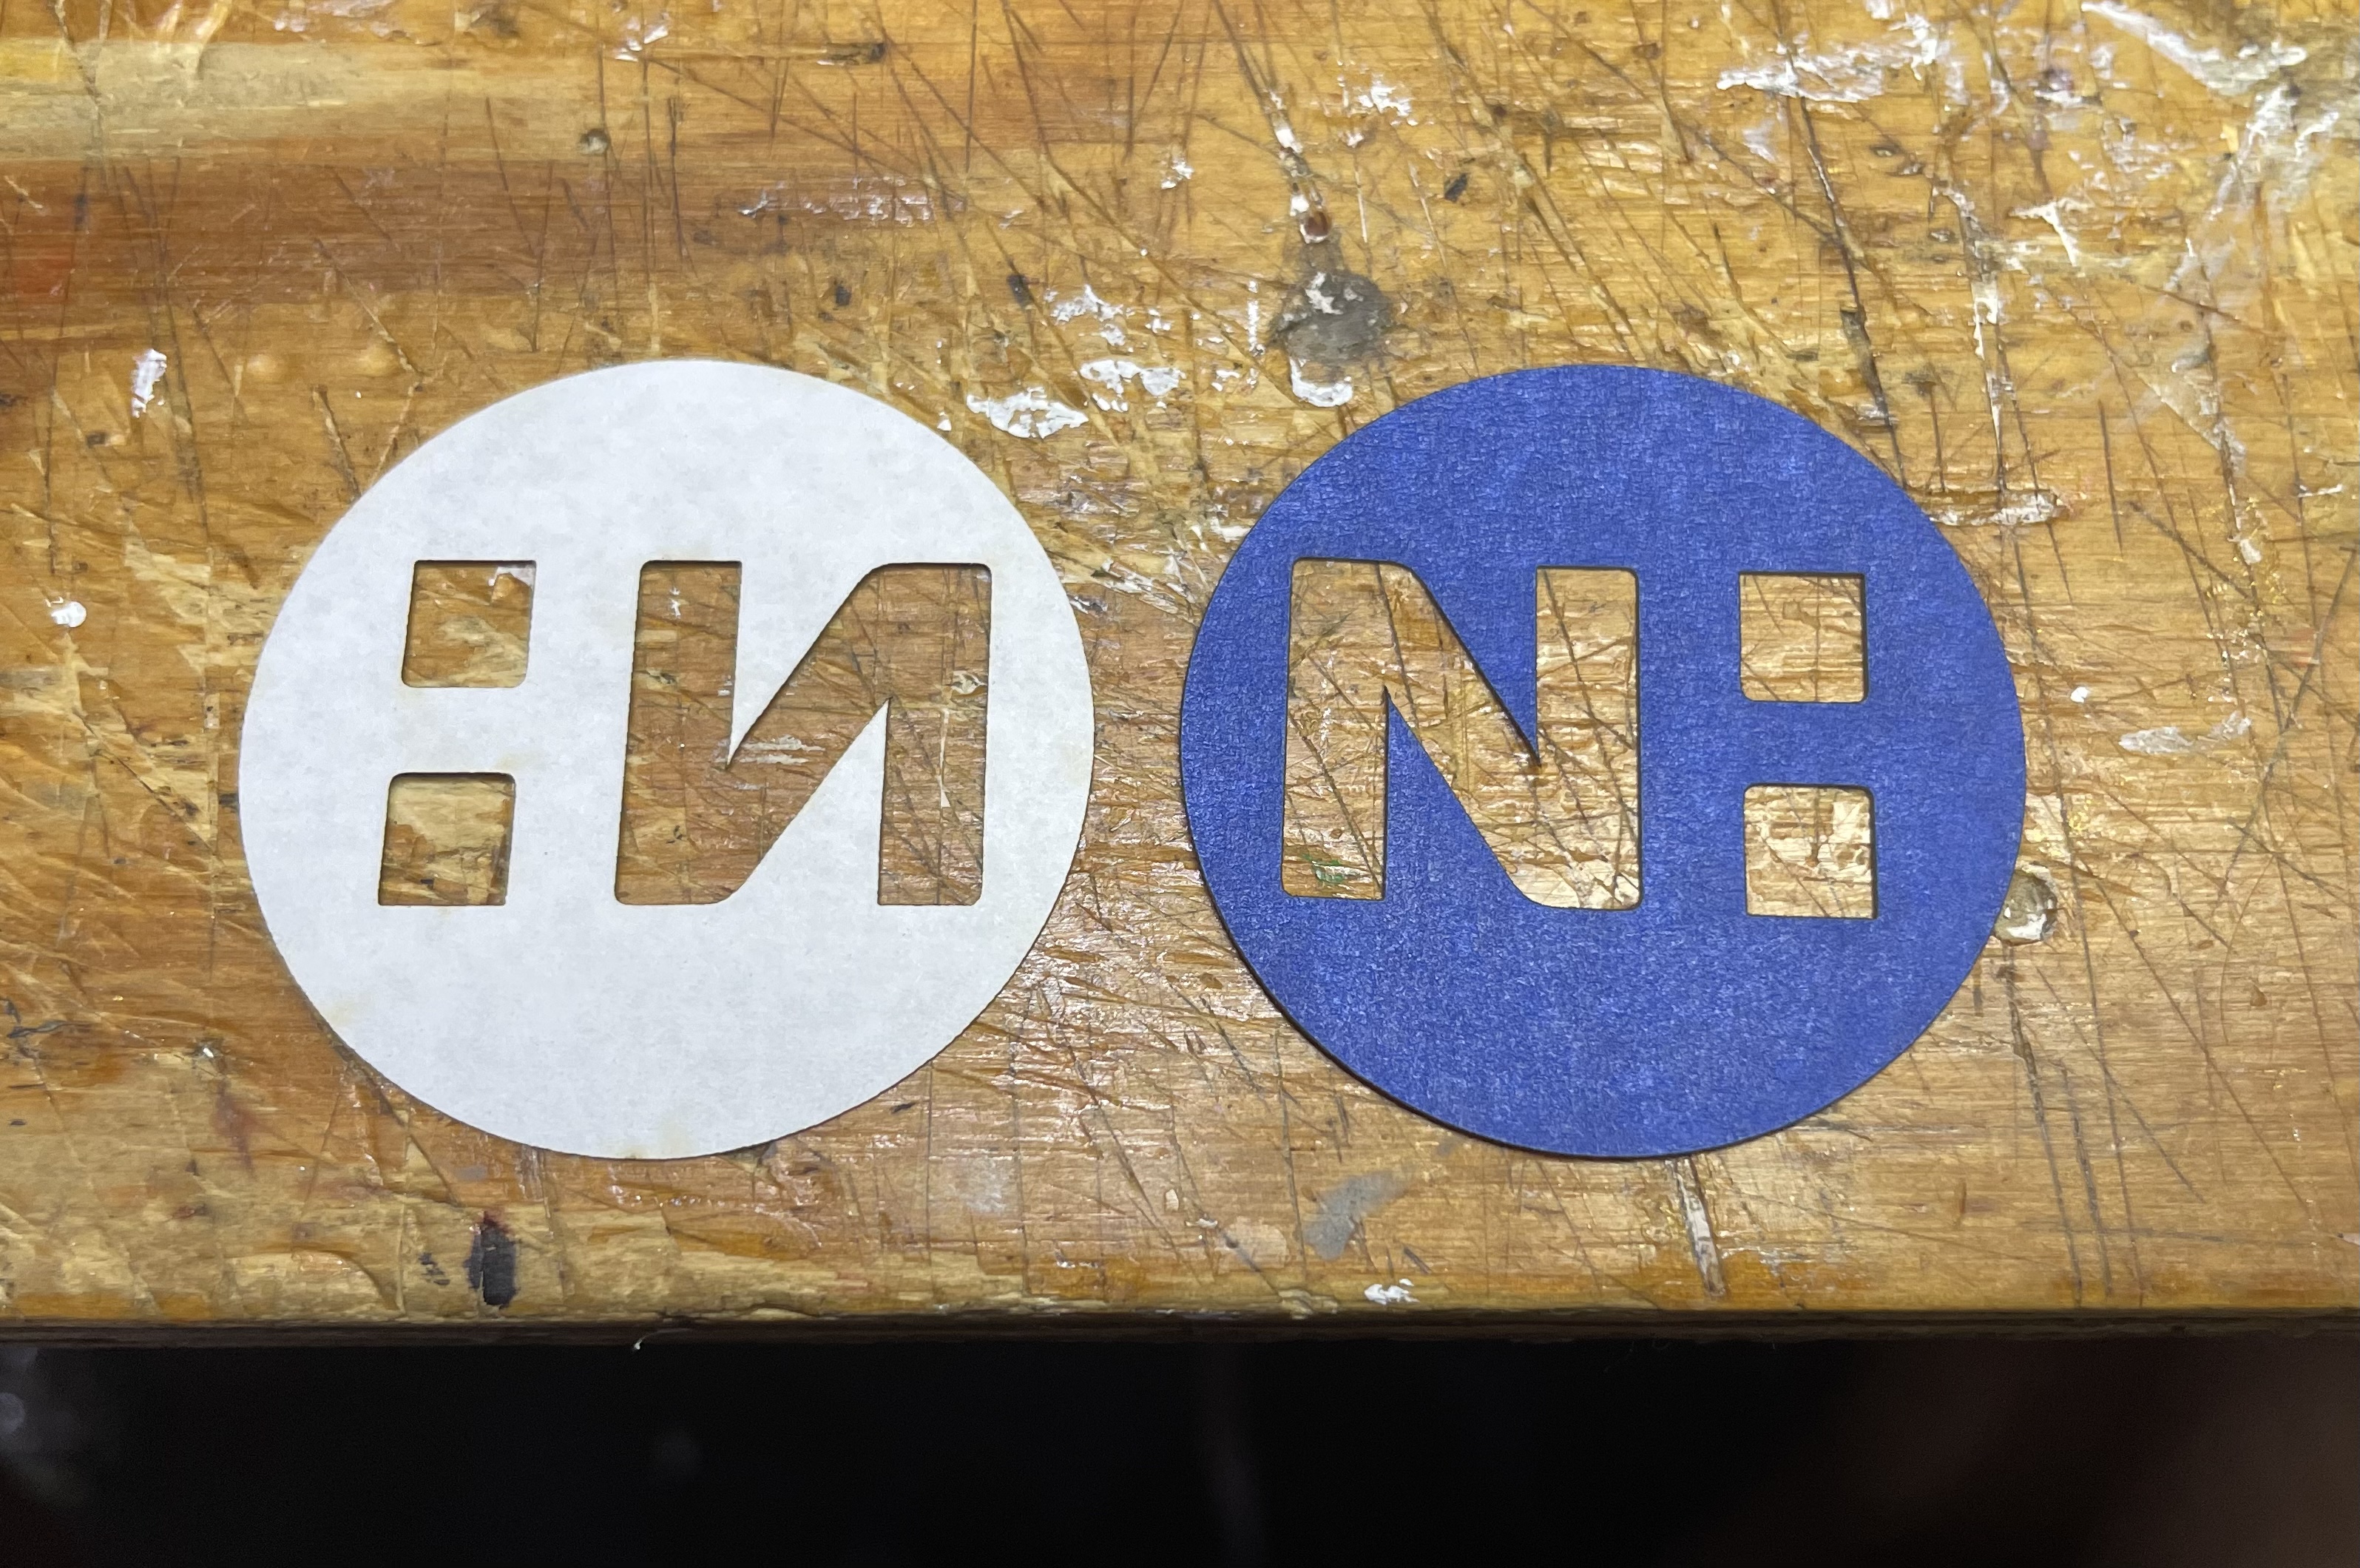
Decided to make some laser cut, what I call, sub masks. Applied wide blue painters tape to printer paper and cut out tight fitting masks. Quick and easy so I used them as single use.
The badges look awesome. Reminded me of a big order I got once.
I started a pen-making business and the first order was 200 pens. I was so excited!
OMG, making one of something was fun but 200 was just mind-numbing.
The process I used on one was fine but the same process for 200 was not very repeatable.
After that order, I shut down the volume part of the business. Now I only make one-of-a-kind handmade pens.
No they were almost all self adhesive magnetic backs So that part went fairly fast with a little alignment jig I made. Did glue a few with pin backs for people with pace makers.
Oh, I forgot to mention that there was talk of doing 700 buttons at one point.
Of course while I was painting the 300 I was pondering easier ways to do them. Probably would do a pre mask and air brush the paint on before engraving.
Have you tried the powder coat method of coloring wood in a laser? It was the first thing into my head when I read your task. I might have approached it like this:
Clamp or hold down your wood so it won’t move.
Engrave the logo first and as many times as will fit on a piece of wood in the laser cutter.
Spread the white powder coating across all logos and re-engrave at low power to melt powdercoat.
vacuum off loose powder coat.
Engrave the hearts, and add red powder coat, melt/re-engrave, clear excess powder coat.
Finish engraving and outline cutting.