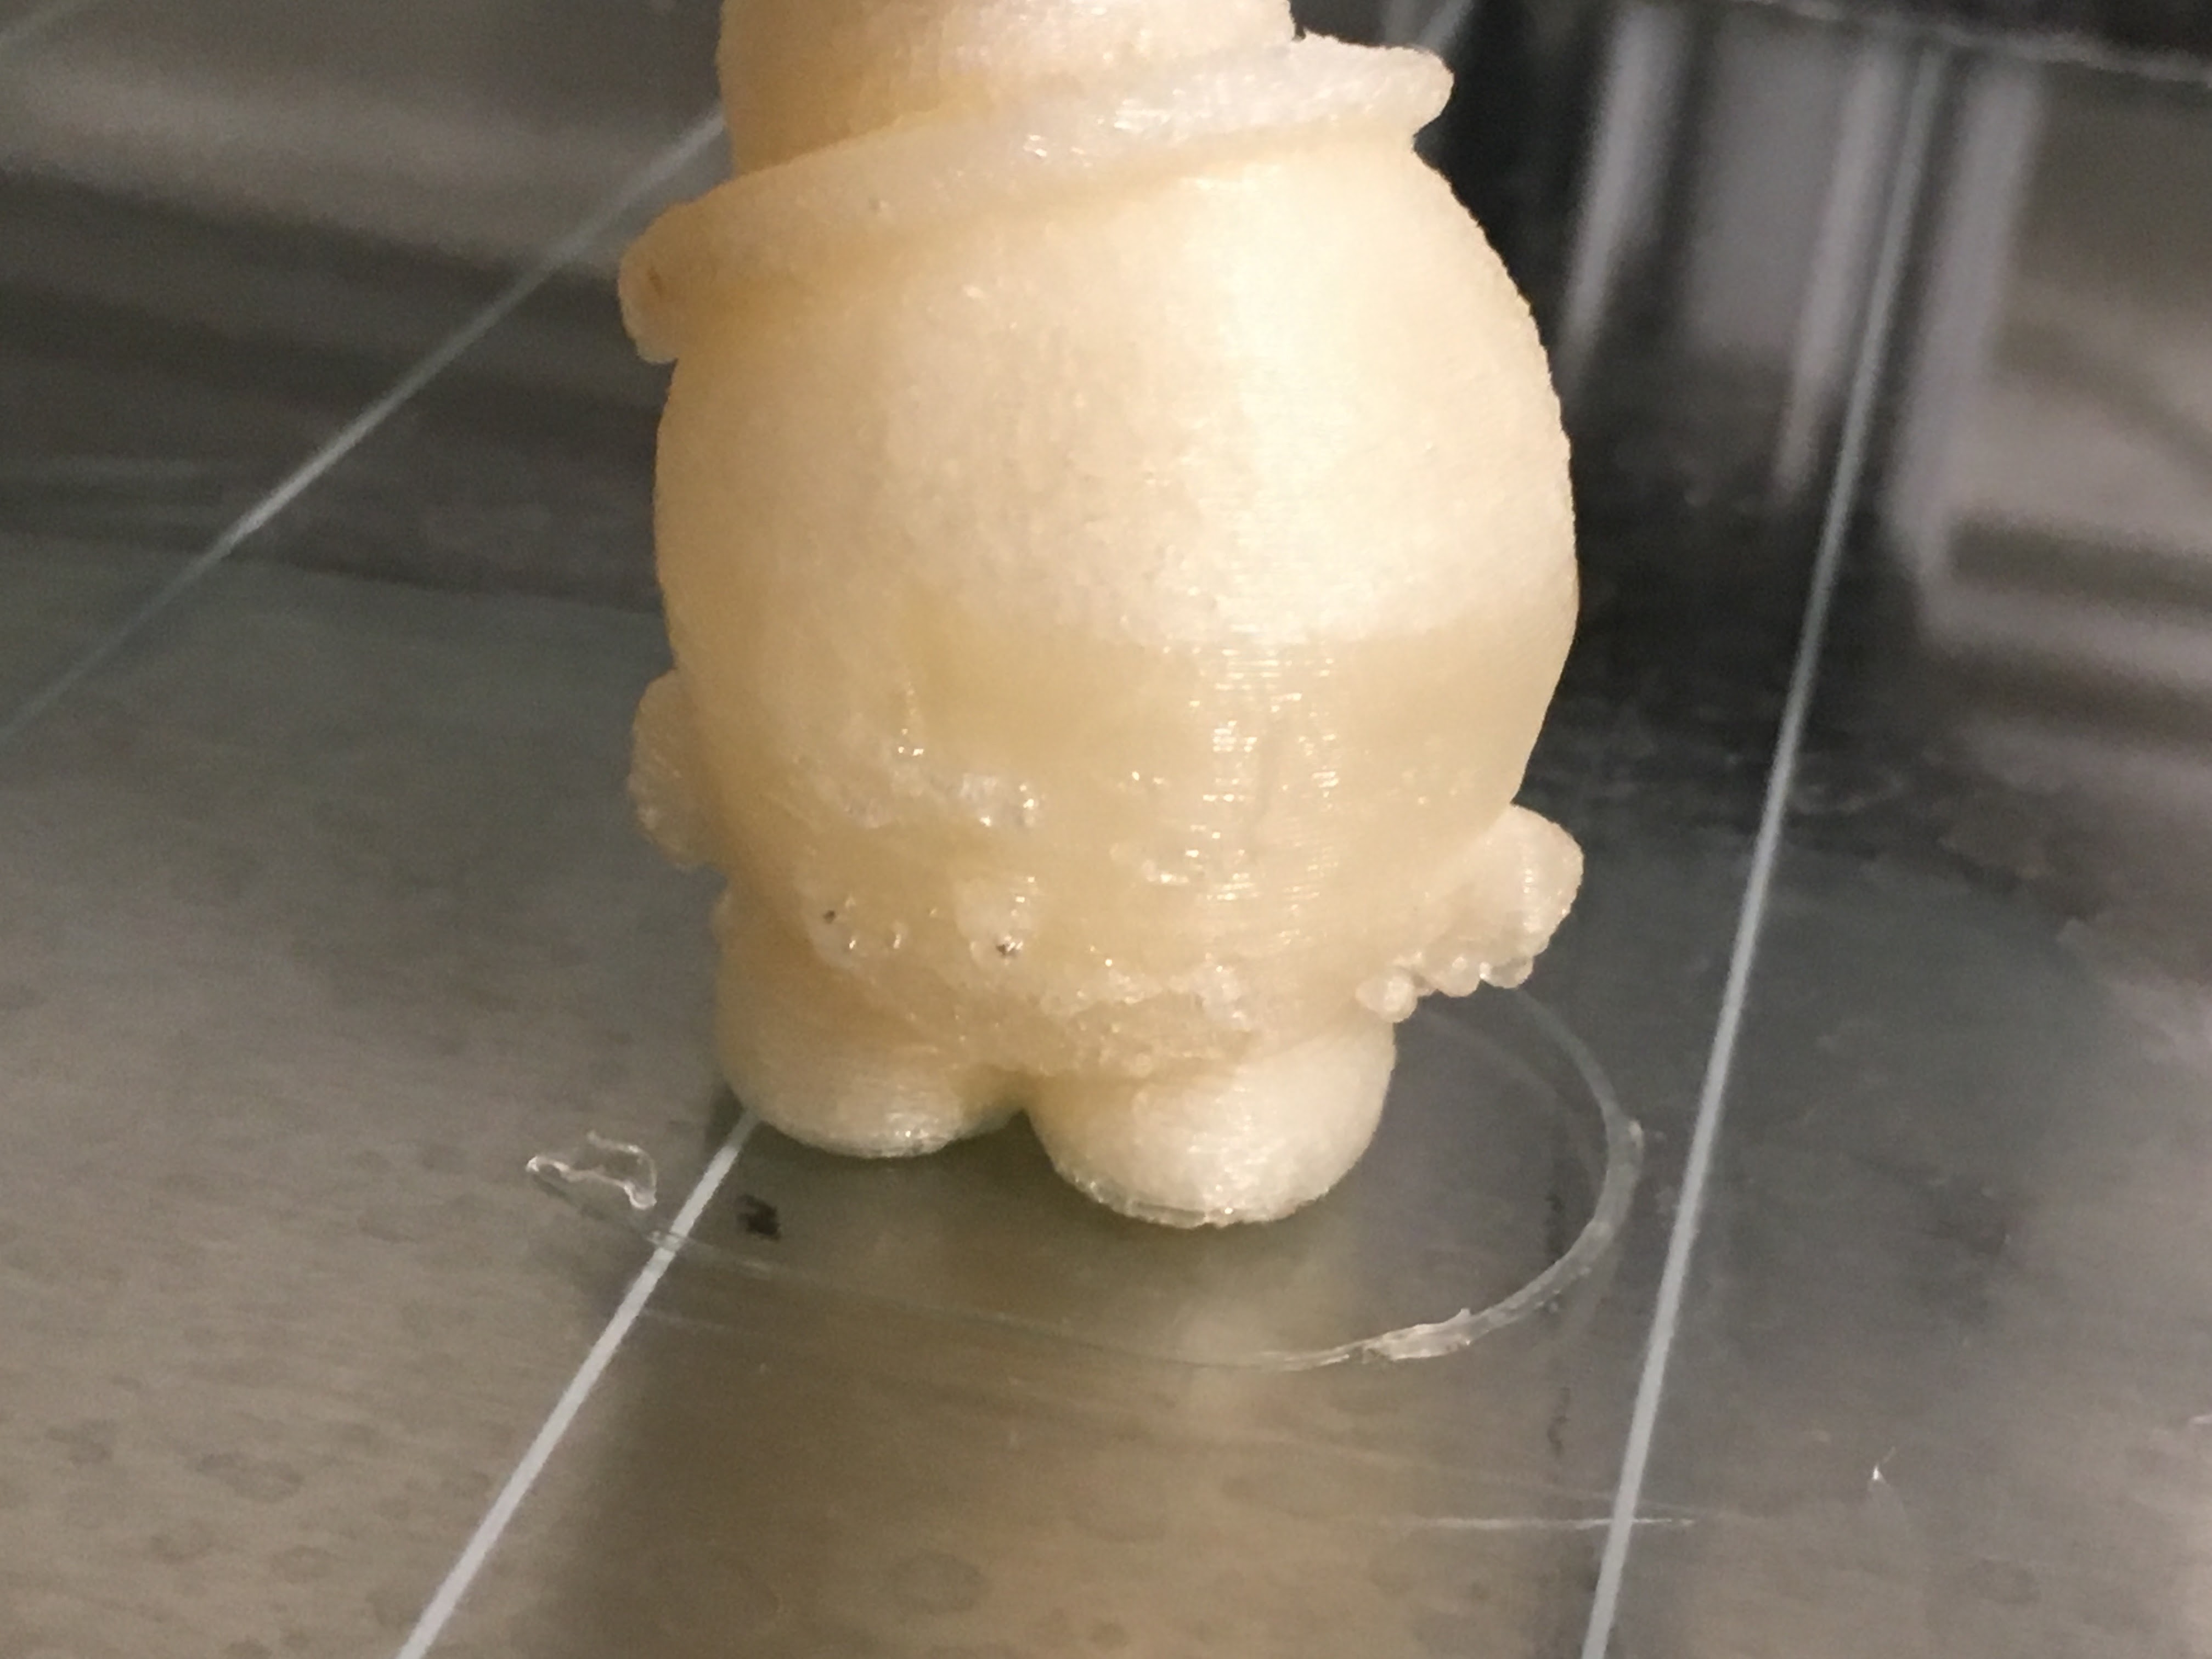
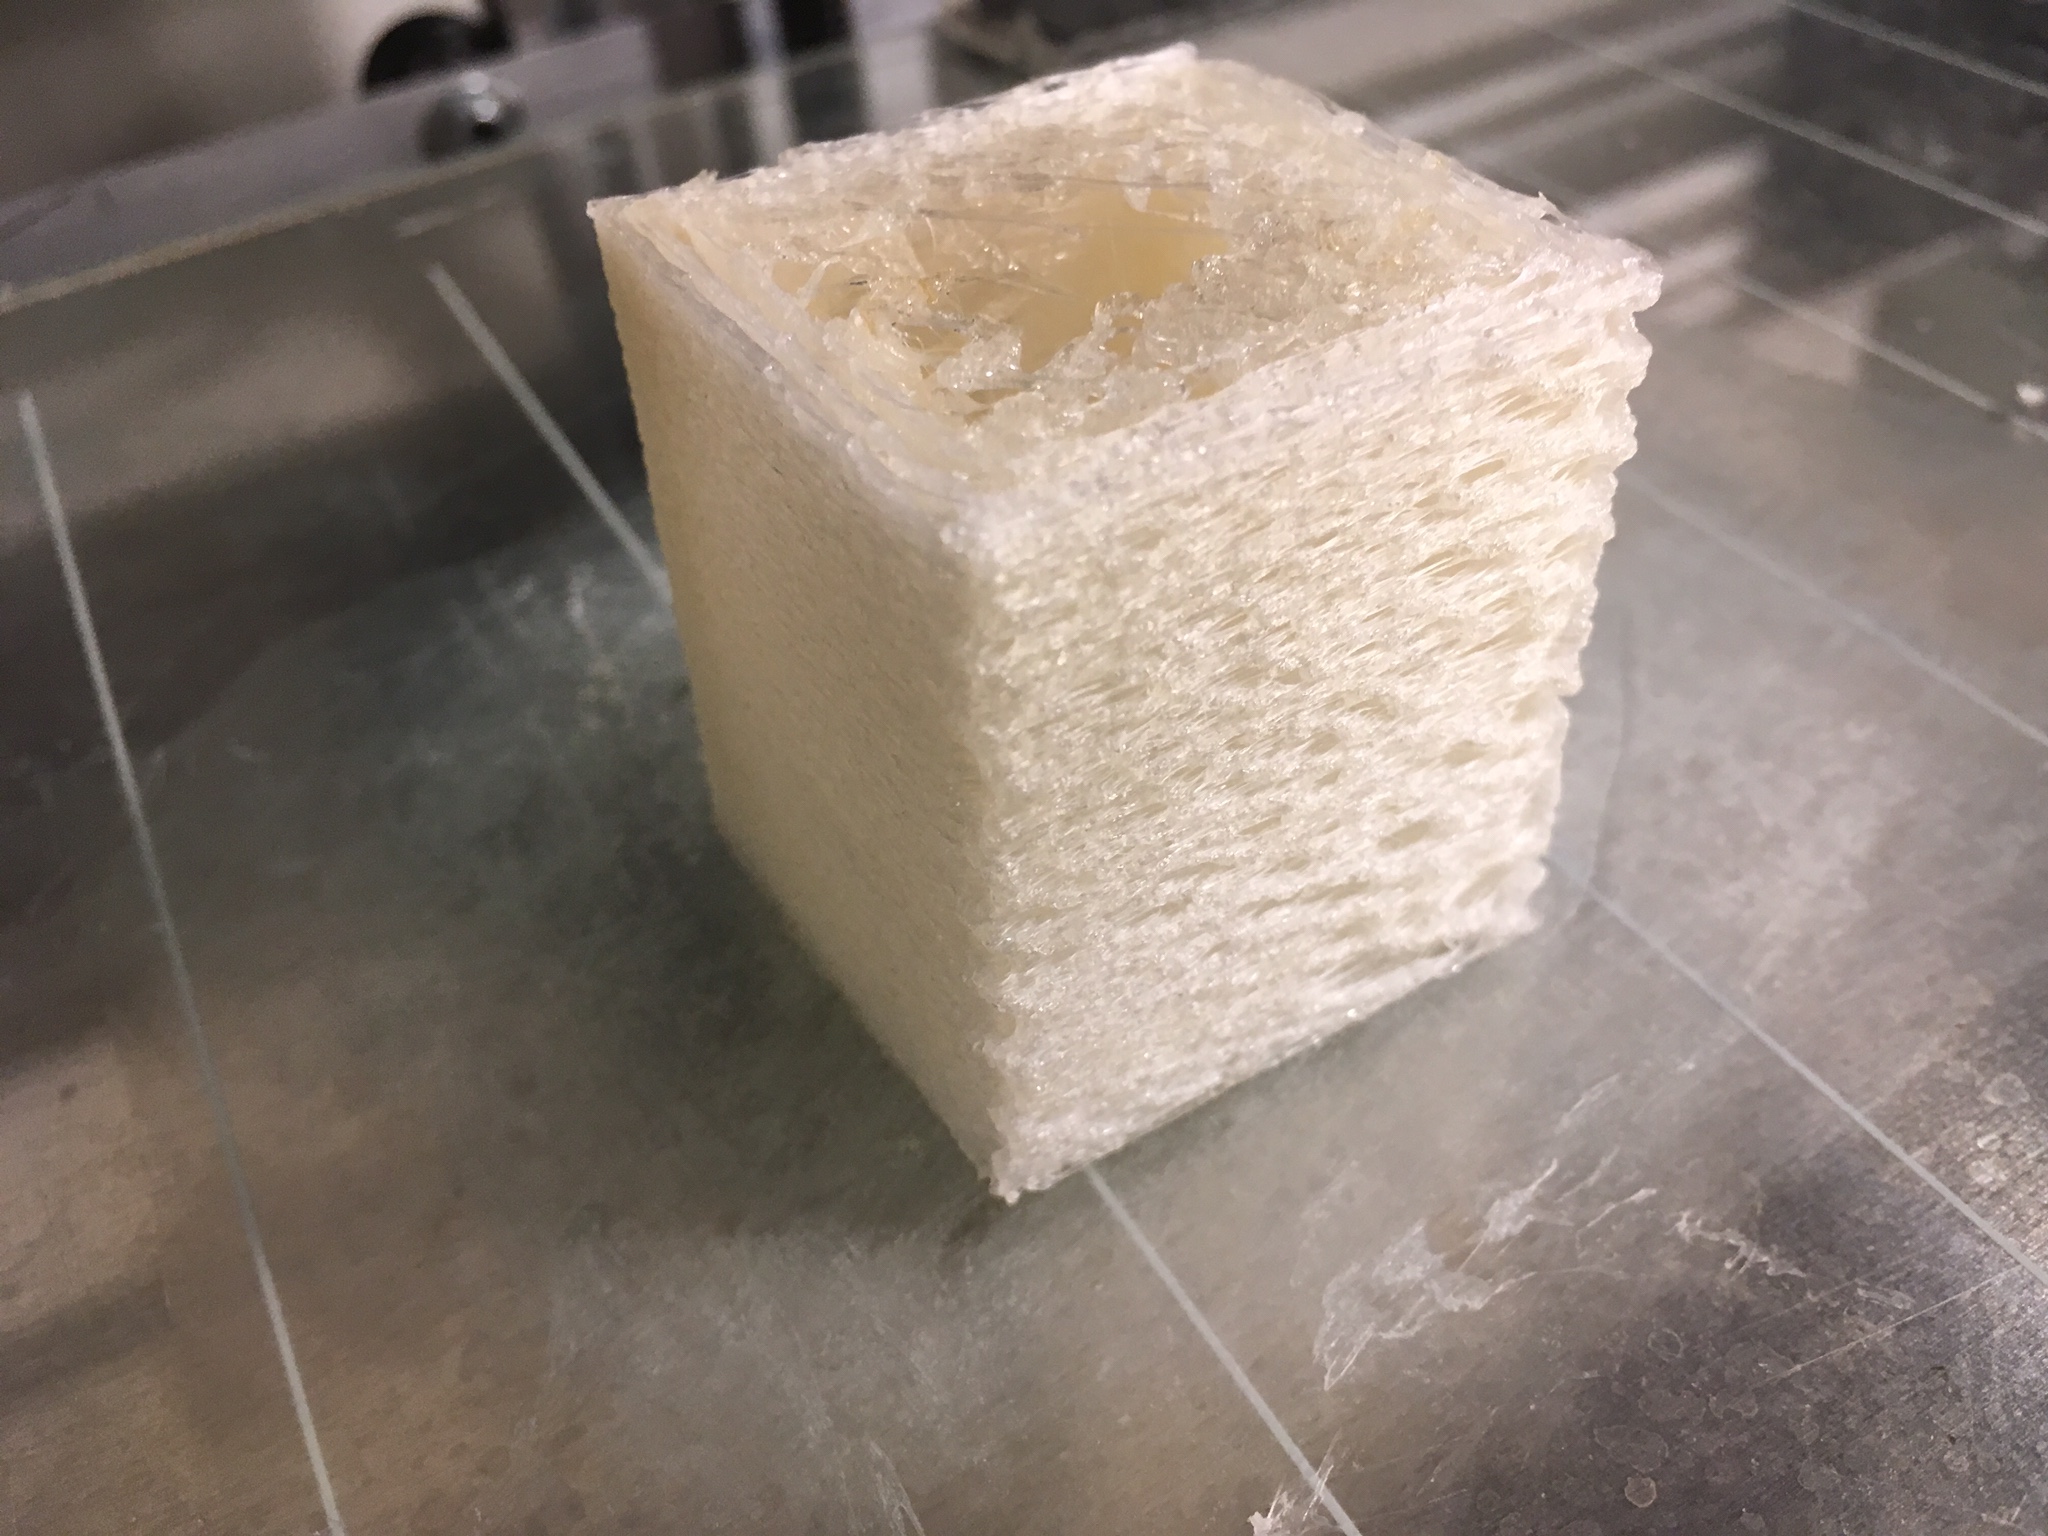
First, it looks like your extruder settings are incorrect in firmware, like the steps per mm is too low. That sort of texture is indicative of significant underextrusion which could be caused by a clogged or partially clogged hot end, but in a brand new printer I would guess incorrect extruder steps per mm.
You can try calculating the correct steps value using the Prusa calc (http://prusaprinters.org/calculator/) or try my favorite method: Cut a straw at precisely 100mm, then slit it down the middle so you can easily push it onto your filament. Put the straw onto the filament so one end is hard up against the extruder where the filament enters, then make a sharpie mark on the filament where the straw ends. Heat your hot end up and tell the printer to extrude 100mm, make another mark at the point where the filament enters the extruder, then measure the distance between your two marks.
Subtract the distance measured from 100 (if the mark hasn’t entered the extruder) or add 100 to the distance (if the mark has entered the extruder) then divide this value by 100 and divide your existing e-steps per mm value by that resulting value and put this final result in as your new e-steps per mm. Repeat the process to make sure it’s actually moving 100mm of filament when you tell it to, and now your e-steps value should be good.
As for the interplay of those settings in the slicer:
The filament diameter and filament multiplier are used by the slicer to calculate how much filament needs to be extruded to produce the desired shapes. You want to set the filament diameter by measuring your filament at a few points over maybe an arm span’s worth of length and averaging them out. You can then print a single walled cube and compare the actual measurement of the wall’s thickness to the expected wall thickness based on your settings in the slicer and modify the multiplier as necessary based on the ratio of those two values.
That’s a bit more advanced, though, first you need to get those e-steps set correctly.
As for layer height, that tells your printer how far to move the z-axis down after each layer. Where that comes into play with temperatures is that a thicker layer means your printer is extruding more plastic per unit time and so may need a higher temperature to perform consistently. In general, though, you want to just play around with your temperature settings starting from the manufacturer’s recommended temperature until you find the sweet spot for that material. It’ll vary a bit from material to material, manufacturer to manufacturer, and even hot end to hot end, and in the end experience is what will help you get the temperatures really dialed in.
It seems like you’re at a good starting point for temps, though.
 I’m clearly lazier