My next project; A wallet case for my mobile

While recently laid up in bed I finally lost patience with my cheap mobile and ordered something more modern and supported.

Problem is; the old mobile’s best feature was a really nice wallet case that I’d engraved myself and actually drew compliments. The new phone just came with a rubber bump case; I can find wallet cases for it online but none of them appeal to me.

So; needing a project I punted 16Eur on a 1kg leather grab bag, and similar for a basic leather-working toolkit. This, combined with the laser etc should translate to a new case built around the supplied Bump-Case.


I was really pleased with the leather bag, various weights of nice supple leather, and proper off-cuts, not scraps. The toolkit is reasonable, my current sewing kit is minimal so I needed the correct tools.

I’ll be using OpenSCAD to generate the SVG’s, cutting leather and plastic stiffeners on the laser(*), gluing and stitching by hand, then engraving patterns, and adding closures etc.

(*) Using my honeycomb grid properly…

6 Likes

Sounds good. Looking forward to updates.

1 Like

So; This is going to be a slow project, but little steps will get there.

I sat down with my cheap calipers and knocked this up in OpenSCAD;

Next step is to cut this out of card and test fit. The critical bit being the camera cutout, I very much doubt if this will be correct just from measurement.

I’ll then build out the various pieces in SCAD and then work on how to layer it up. Basically leather inside/out, plastic plates to stiffen. This will have a split back plate so I can prop it up. Also card slots inside cover, a magnetic closure and lanyard point.

7 Likes

A bit of research helps:

Gives me confidence that I can do all the cutting on my diode machine. and cut the stitching holes too. Perhaps the best advice is in the first video; covering the material in masking tape when cutting to avoid staining the piece with fumes and smoke.

I’ve also watched a bunch of more traditional Leathercrafting videos, which have given me some hints on what I need to do, how I should plan, stitch and prepare the leather etc.

I’m going to make a couple of practice pieces first; card holders and keytags.

5 Likes

A little practice piece: first leather thing I have ever made.

Pretty happy, need to get better at keeping things clean while assembling.

Created with this SCAD code..
// Leather CardCase 

$fn=90;
card=[85.6,53.98];

stitch=3.5;
pin=0.5;

color("green") panel();
translate([card[0]+(4.1*stitch),0]) difference() {
  panel();
  hull() {
    translate([20,0]) circle(12);
    translate([-20,0]) circle(12);
  }
  translate([-200,0]) circle(152.5);
}

module panel() {
  difference() {
    minkowski(){
      square(card,center=true);
      circle(stitch*2);
    }
    for (x=[-(card[0]/2):stitch*1.4:(card[0]/2)]) {
      translate([-x,stitch+(card[1]/2)]) circle(r=pin);
      translate([-x,-stitch-(card[1]/2)]) circle(r=pin);
    }
    for (y=[stitch*0.7:stitch*1.4:(card[1]/2)]) {
      translate([stitch+(card[0]/2),y]) circle(r=pin);
      translate([stitch+(card[0]/2),-y]) circle(r=pin);
    }
  }
}

Cut out on my diode laser, hand stitched and then engraved.

3 Likes

Nice Job. :+1:

1 Like

And here is my next stage;

I wanted to play with using plastic inserts, and be a bit more ambitious. So I made this:

Which is, again, laser cut out of the leather, the insert is a bit of thin engravable 2-color plastic sheet cut to size with scissors :wink:

I used OpenSCAD for the basic design, then processed the exported .svg in Inkscape to add the text and split the path properly (OpenSCAD exports a single path, It needs ‘chopping up’ to make it suitable for cutting). I then use LaserWeb for the actual cutting; of course.

Here is the .svg
cardtag-split

And the .scad I used; a bit fugly but it gets he job done.

cardtag.scad
// Leather CardCase 

$fn=90;

// all following in mm
card=[85.6,53.98];  // standard ccard size
crad=3.18;   // standard ccard corner radius
pad=10;  // top padding

stitch=3.5;  // stitch padding from outside & inside
pitch=5;     // stitch pitch
pin=0.6;     // stitch hole diameter

loop=[50,20];     // loop size

// Compute this here for convenience
centers=card[0]+(2*pad)+(4*stitch)+loop[0];

color("green") 
difference() {
  // basic outer shape
  union() {
    panel();
    translate([centers,0])
    mirror([1,0]) 
    panel();
    translate([centers/2,0])
    square([loop[0],card[1]],center=true);
  }
  // strap cutouts
  translate([centers/2,0]) 
  for (y=[1,-1]) {
    translate([0,y*card[1]/2])
    scale([loop[0]/2,(card[1]-loop[1])/2])
    circle(r=1);
  }
  // holes for stitching
  stitching();
  translate([centers,0])
  mirror([1,0]) 
  stitching();
  // Slit
  translate([card[0]/2+(pad/2),0]) {
    for (y=[-1,1]) {
      translate([0,y*(card[1]/2)])
      circle(pin*2.4);
    }
    square([pin/2,card[1]],center=true);
  }
  // Thumbslide
  hull() {
    translate([22,0]) scale([12,16]) circle(1);
    translate([-20,0]) scale([12,16]) circle(1);
  }
}

translate([0,card[1]*1.5]) stiffner();

if (!true) {   // handy for laying out
  color("blue",0.5)
  stiffner();
  color("red",0.5)
  square(card,center=true);
}

module panel() {
    minkowski(){
      union() {
        square(card,center=true);
        translate([pad,0]) square(card,center=true);
      }
      circle(stitch*2);
    }
}

module stitching() {
  for (x=[-(card[0]/2):pitch:(card[0]/2)+pad]) {
    translate([x,stitch+(card[1]/2)]) circle(r=pin);
    translate([x,-stitch-(card[1]/2)]) circle(r=pin);
  }
  for (x=[-(stitch+(card[0]/2)),(stitch+(card[0]/2)+pad)], 
        y=[pitch*0.5:pitch:(card[1]/2)+1]) {
    translate([x,y]) circle(r=pin);
    translate([x,-y]) circle(r=pin);
  }
}

module stiffner() {
  minkowski(){
    union() {
      square(card-[crad,crad],center=true);
      translate([pad,0]) square(card-[crad,crad],center=true);
    }
    circle(crad);
  }
}

I may make a few more of these as gifts…

4 Likes

And now; I have a folding card case with magnetic closure:

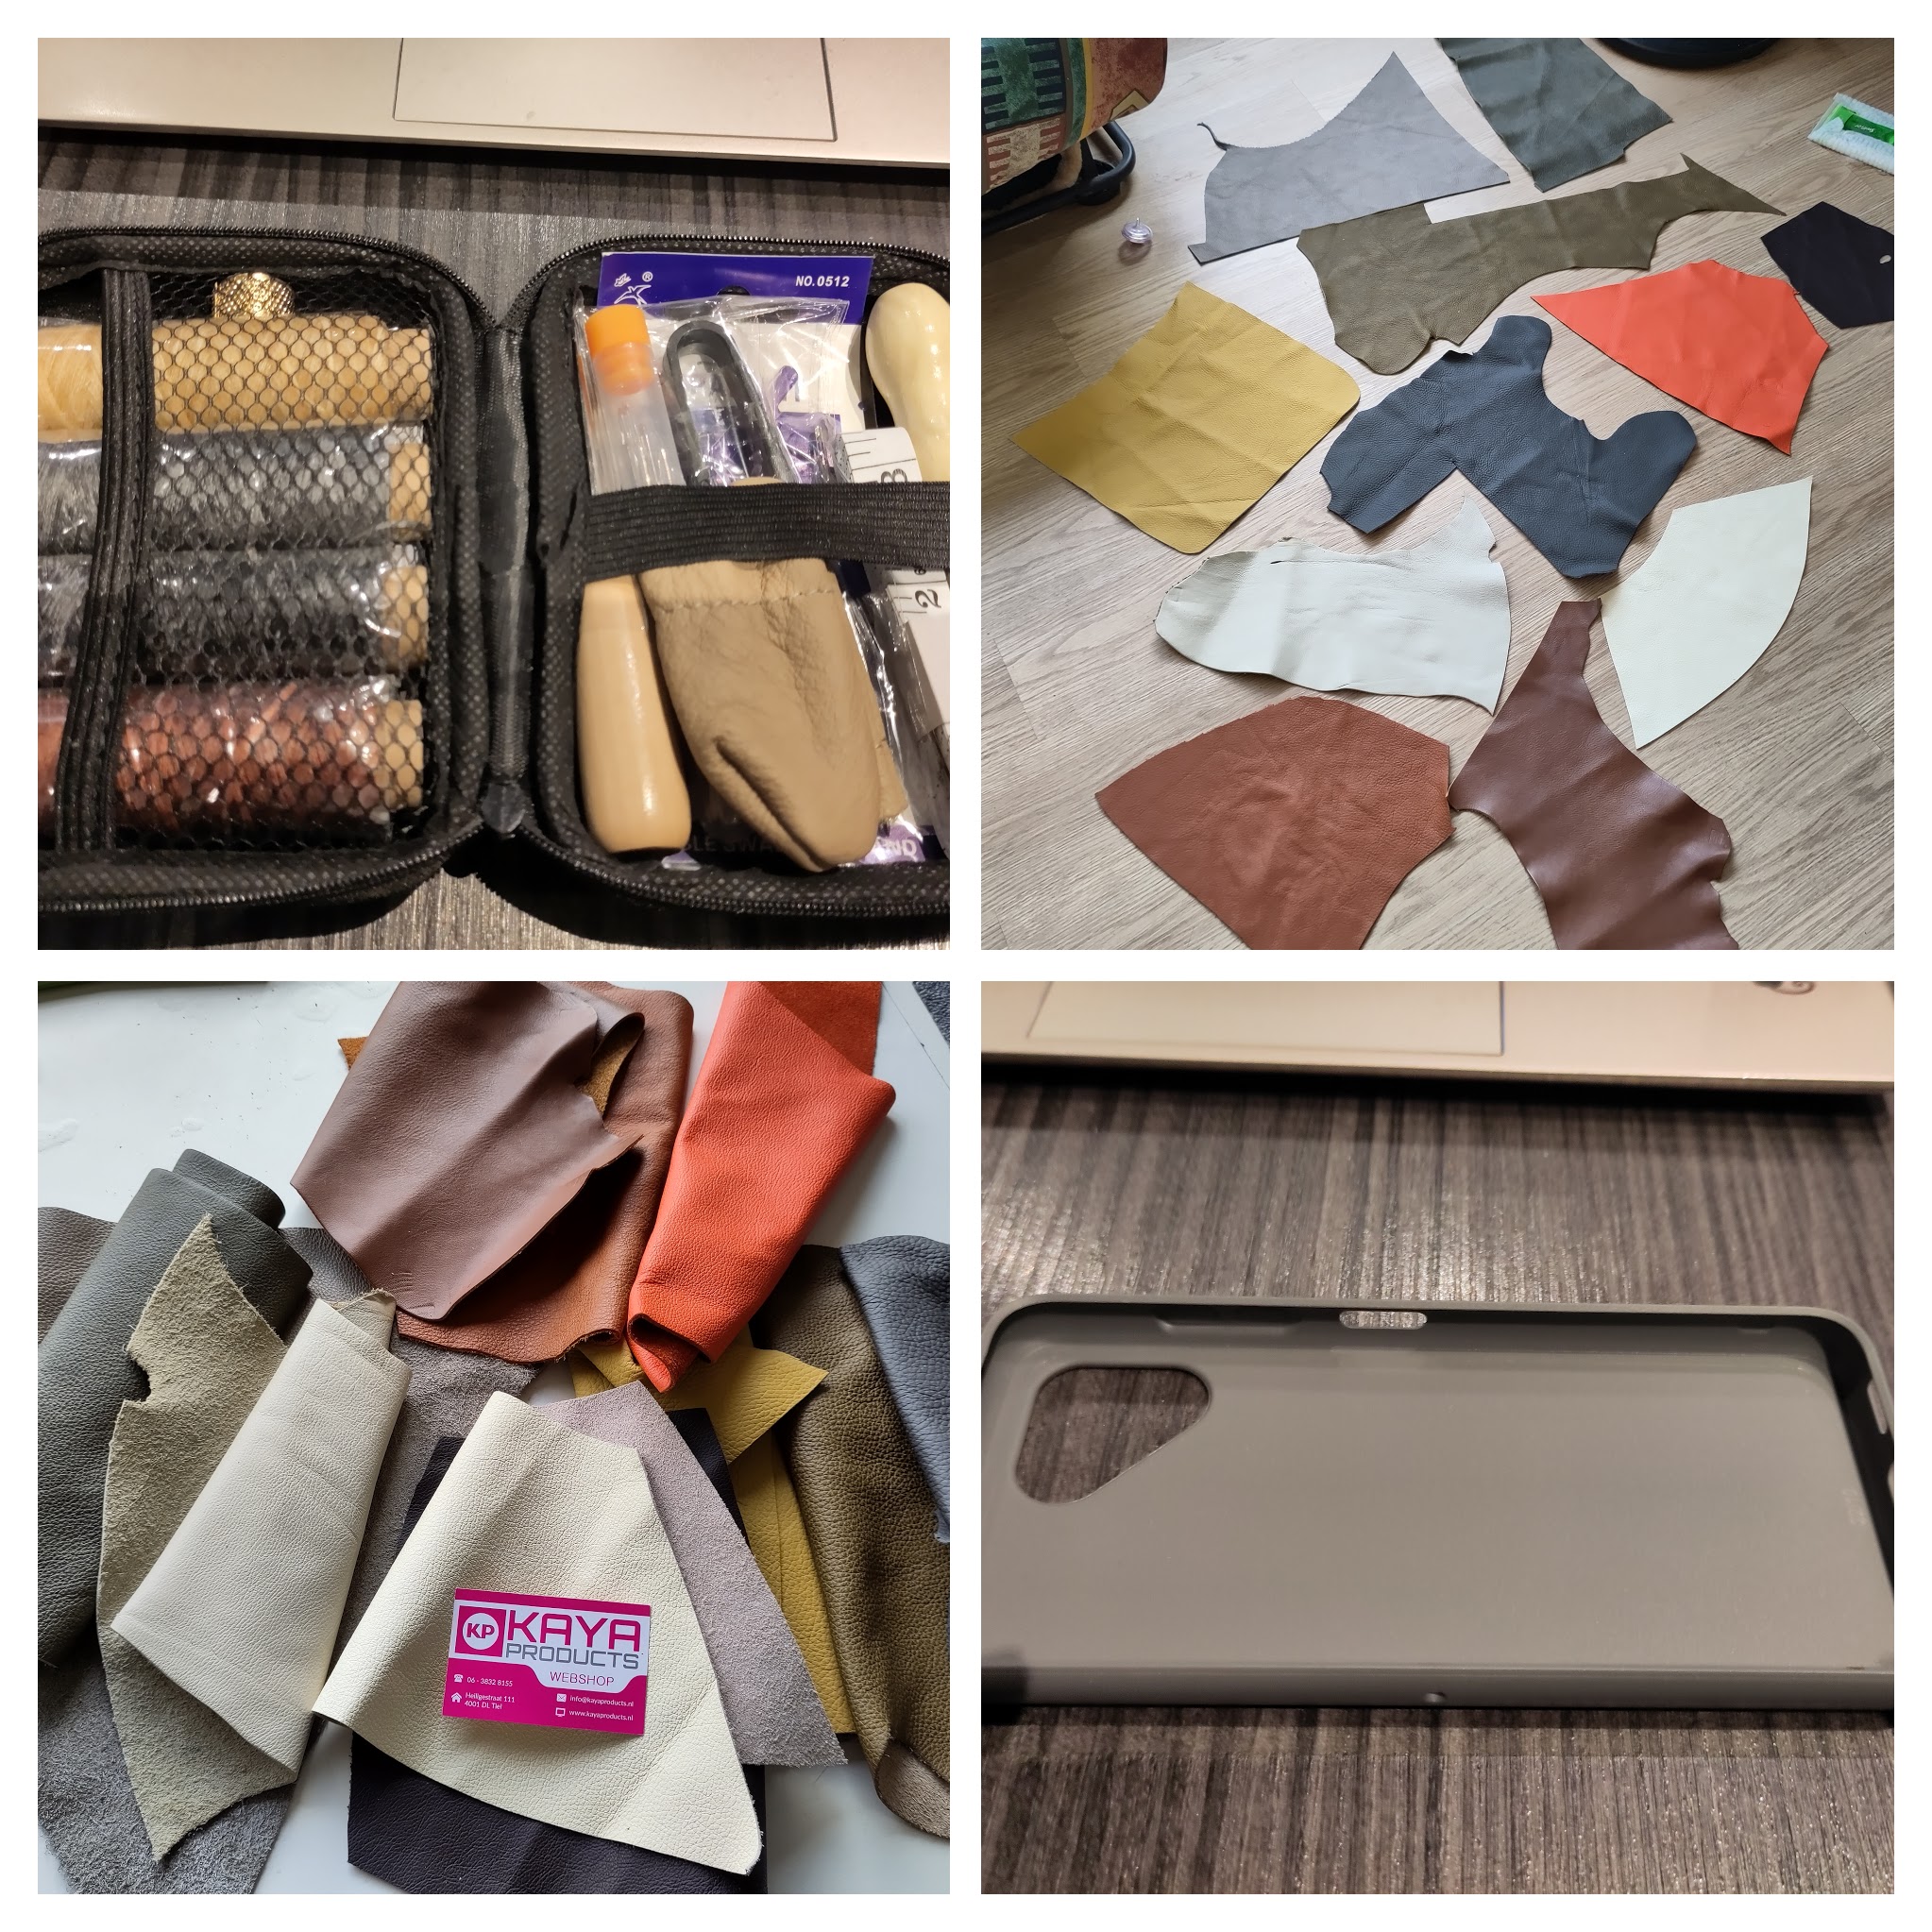
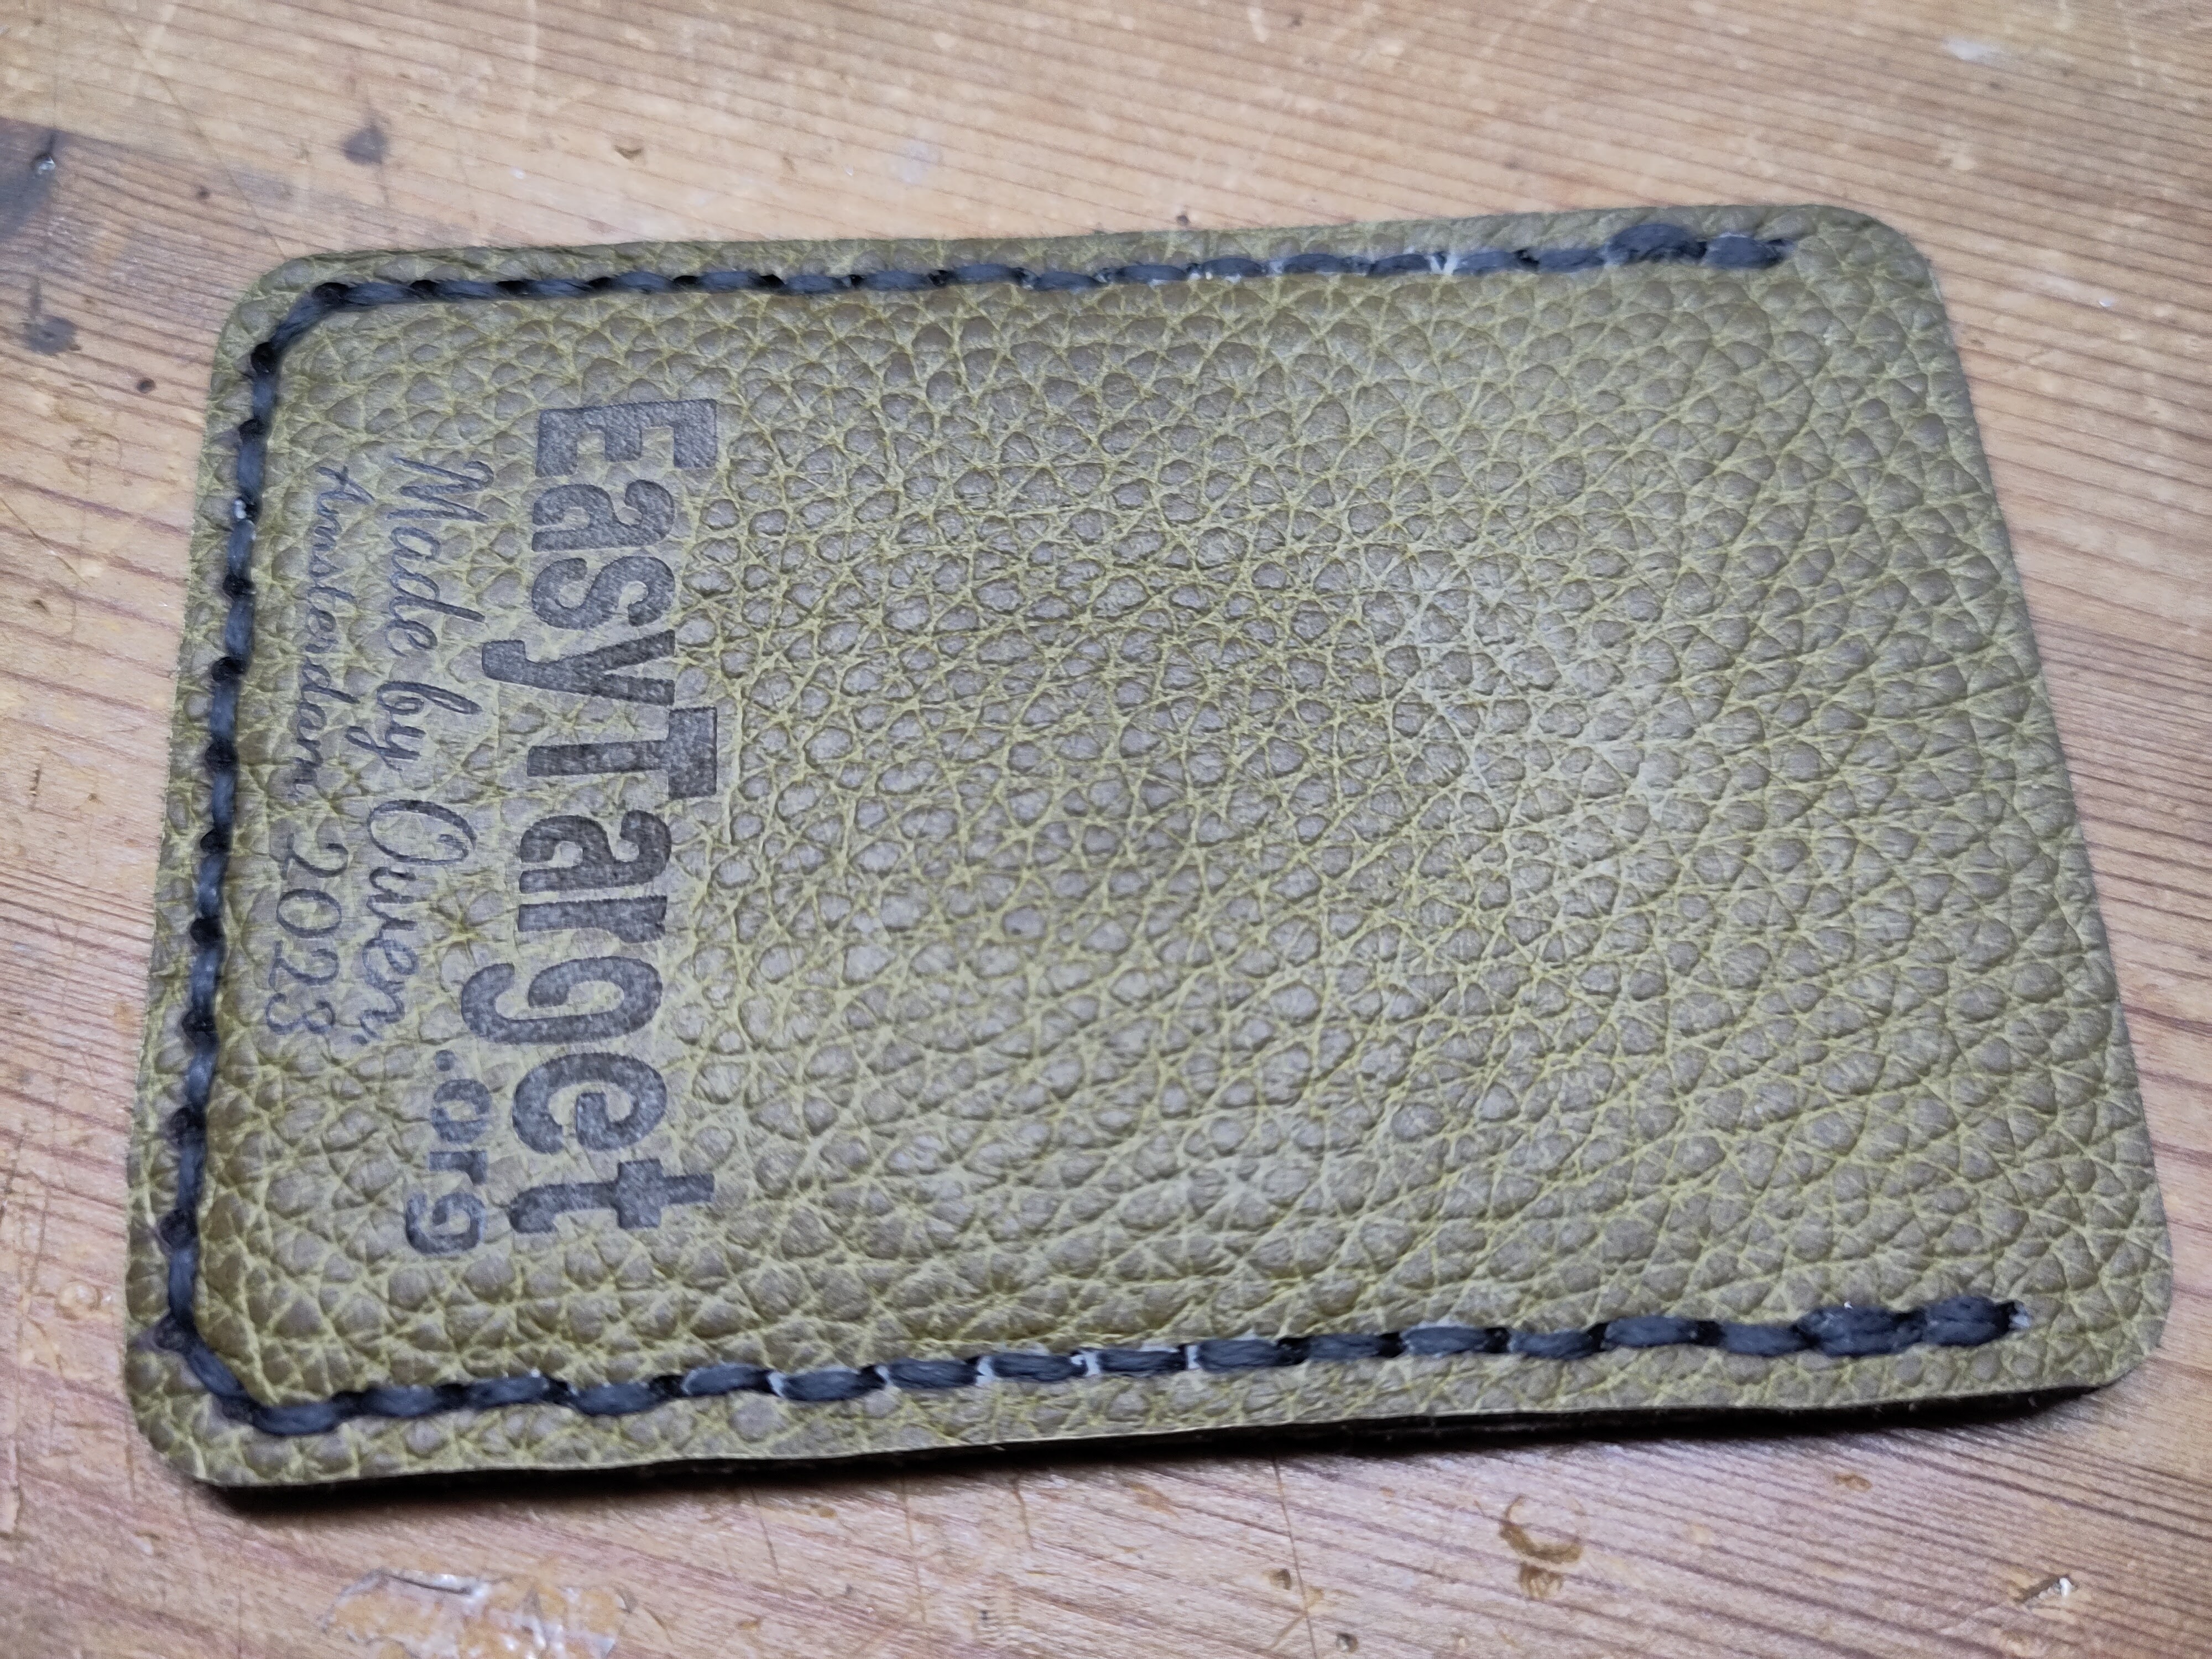
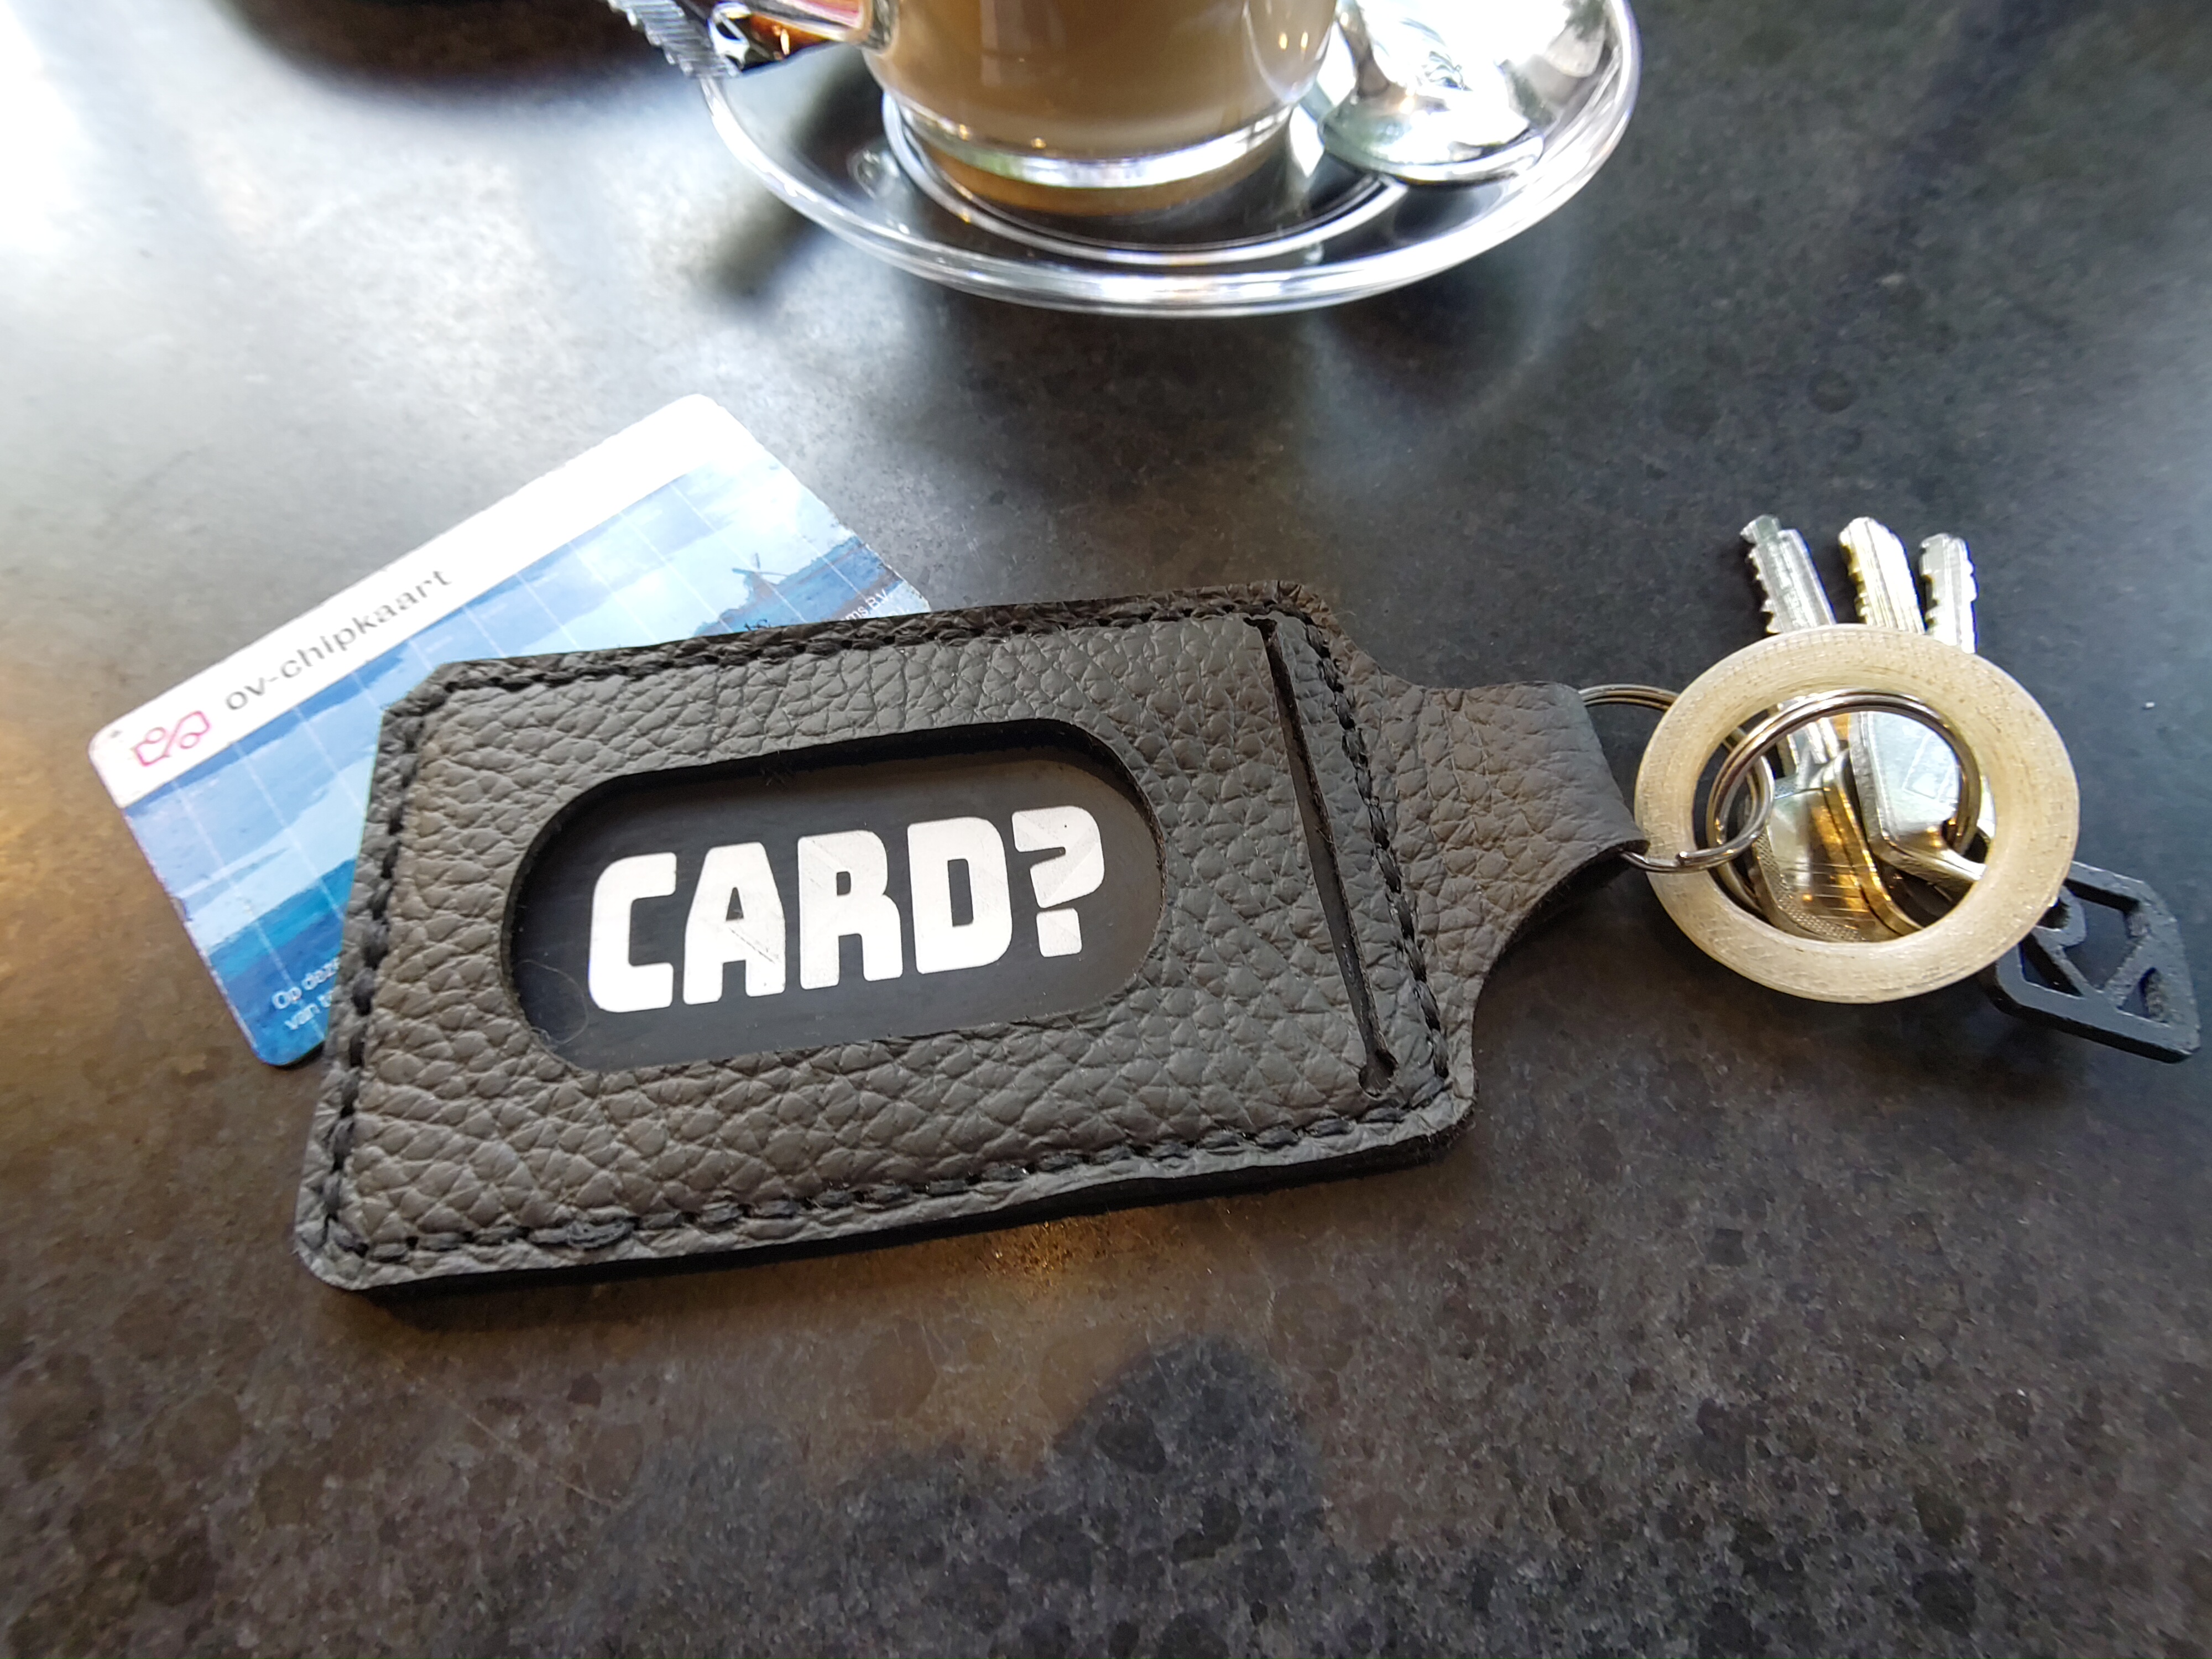
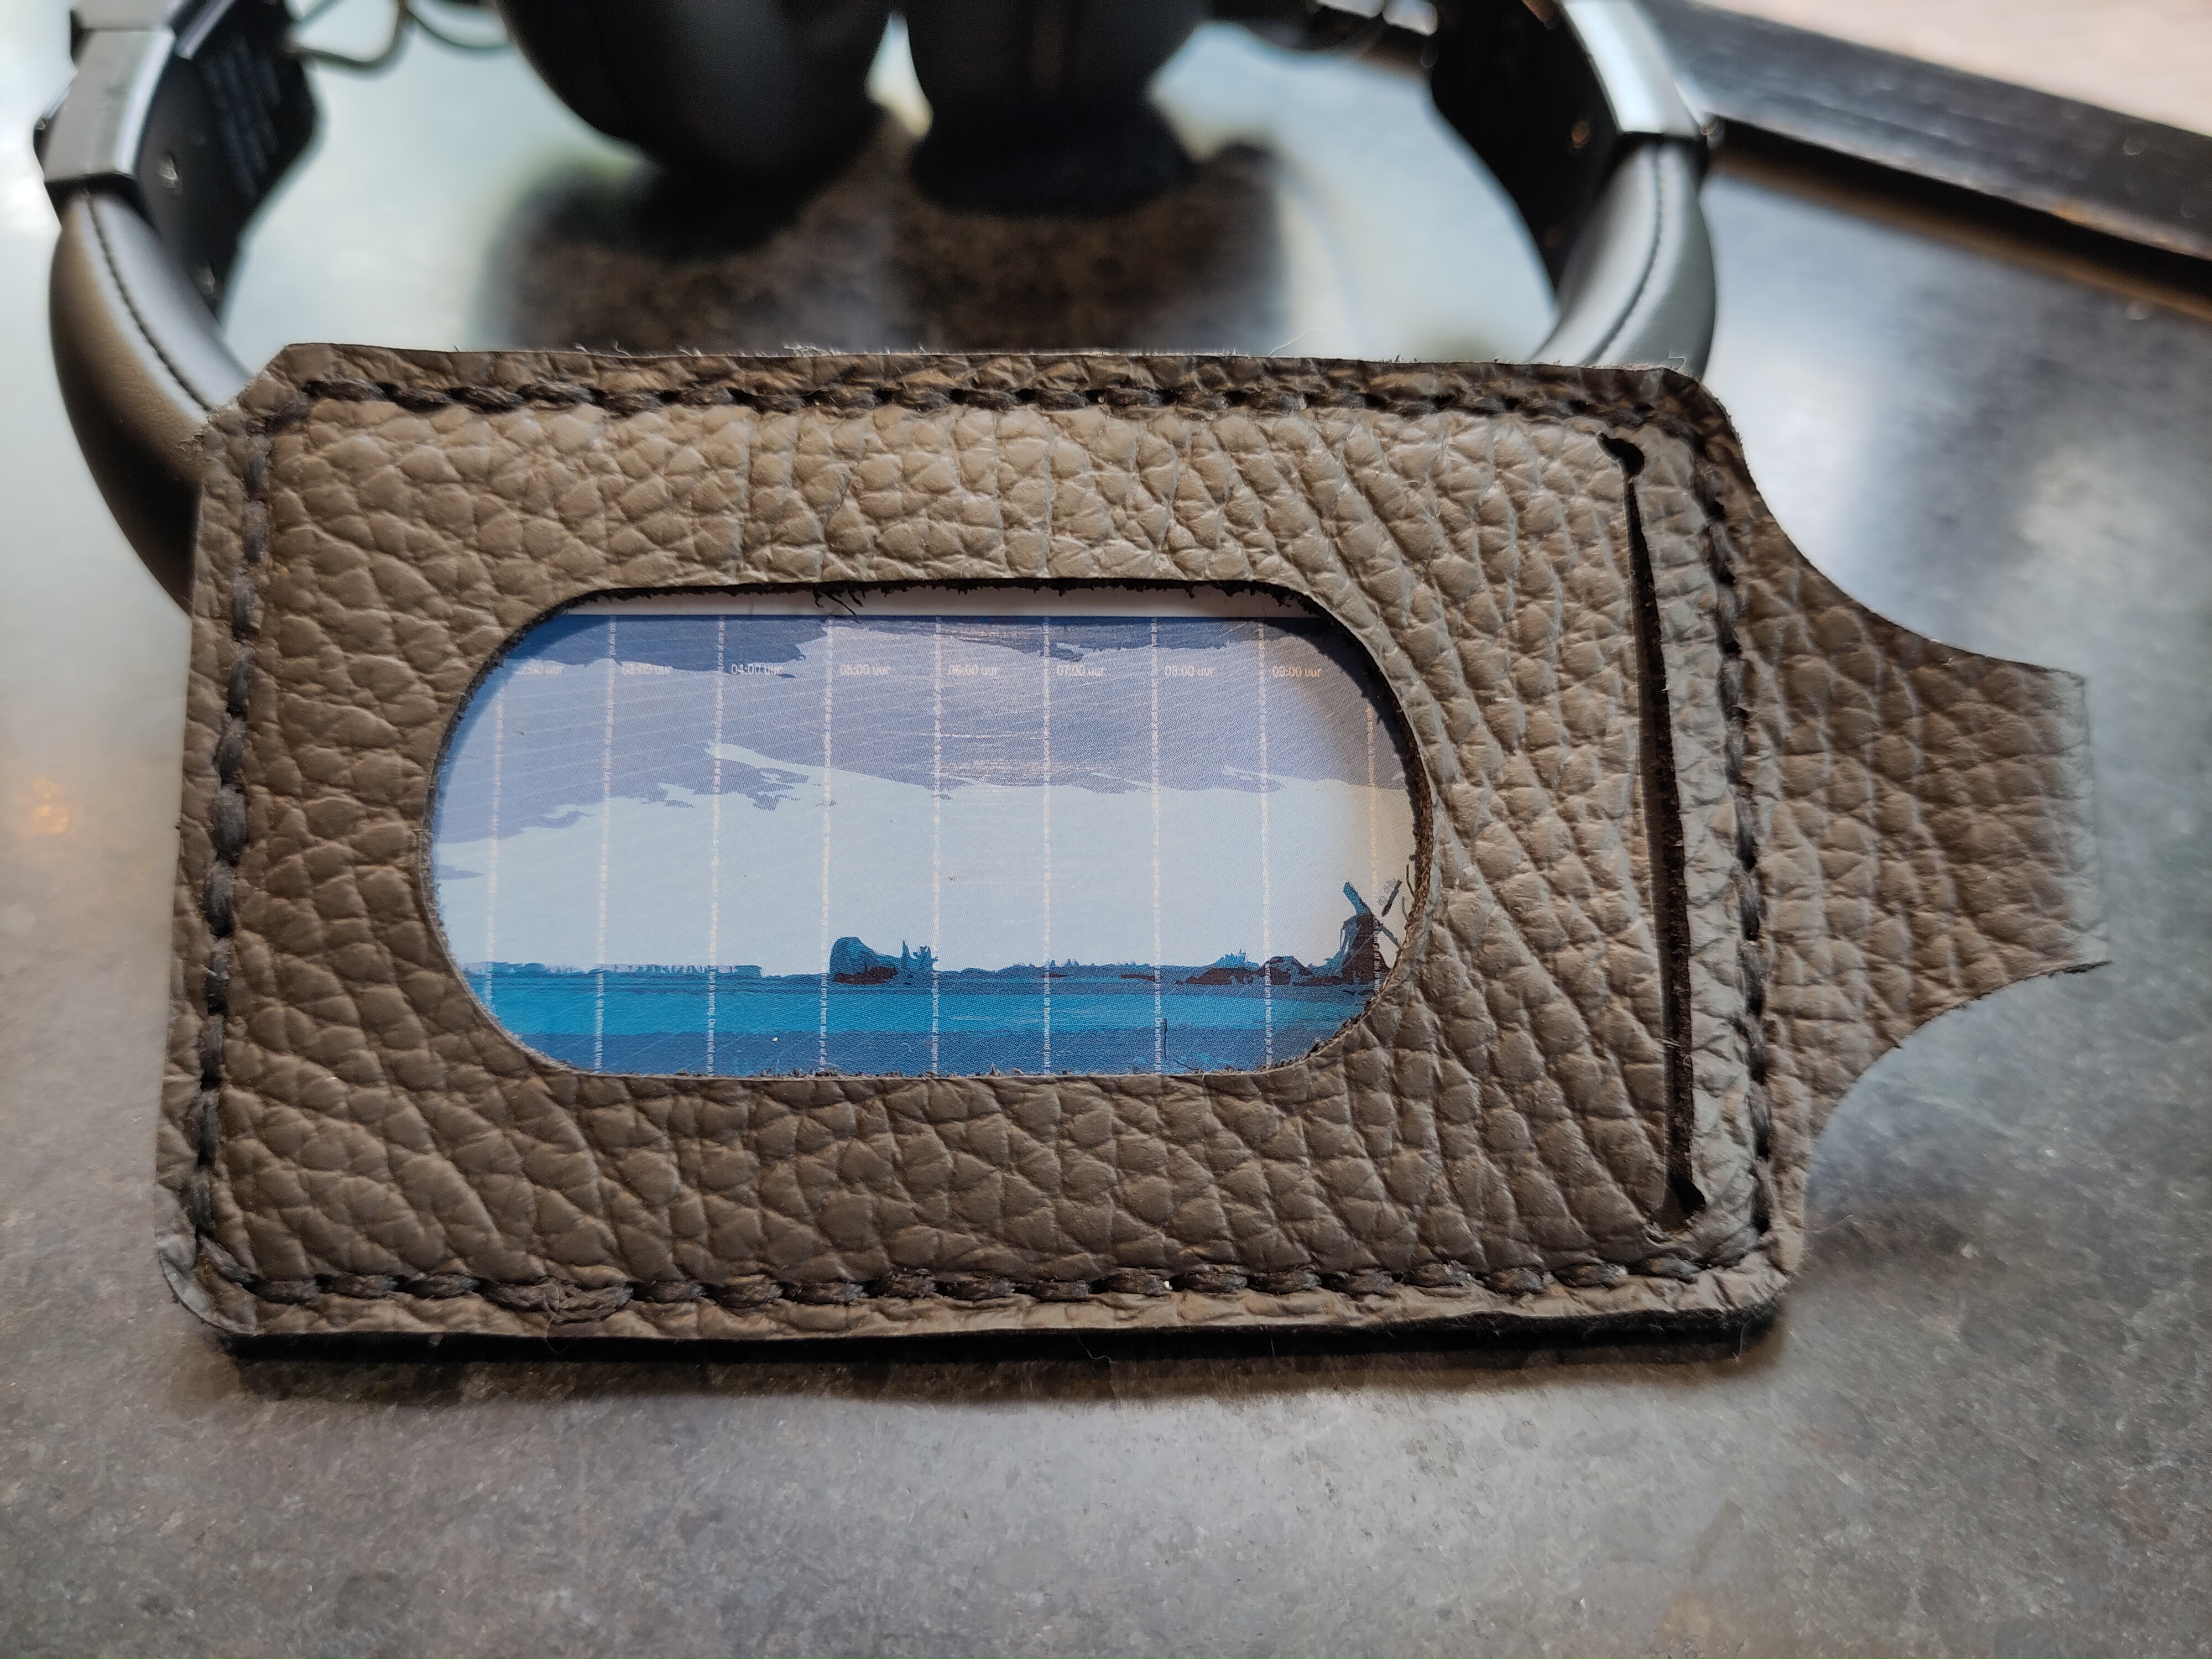
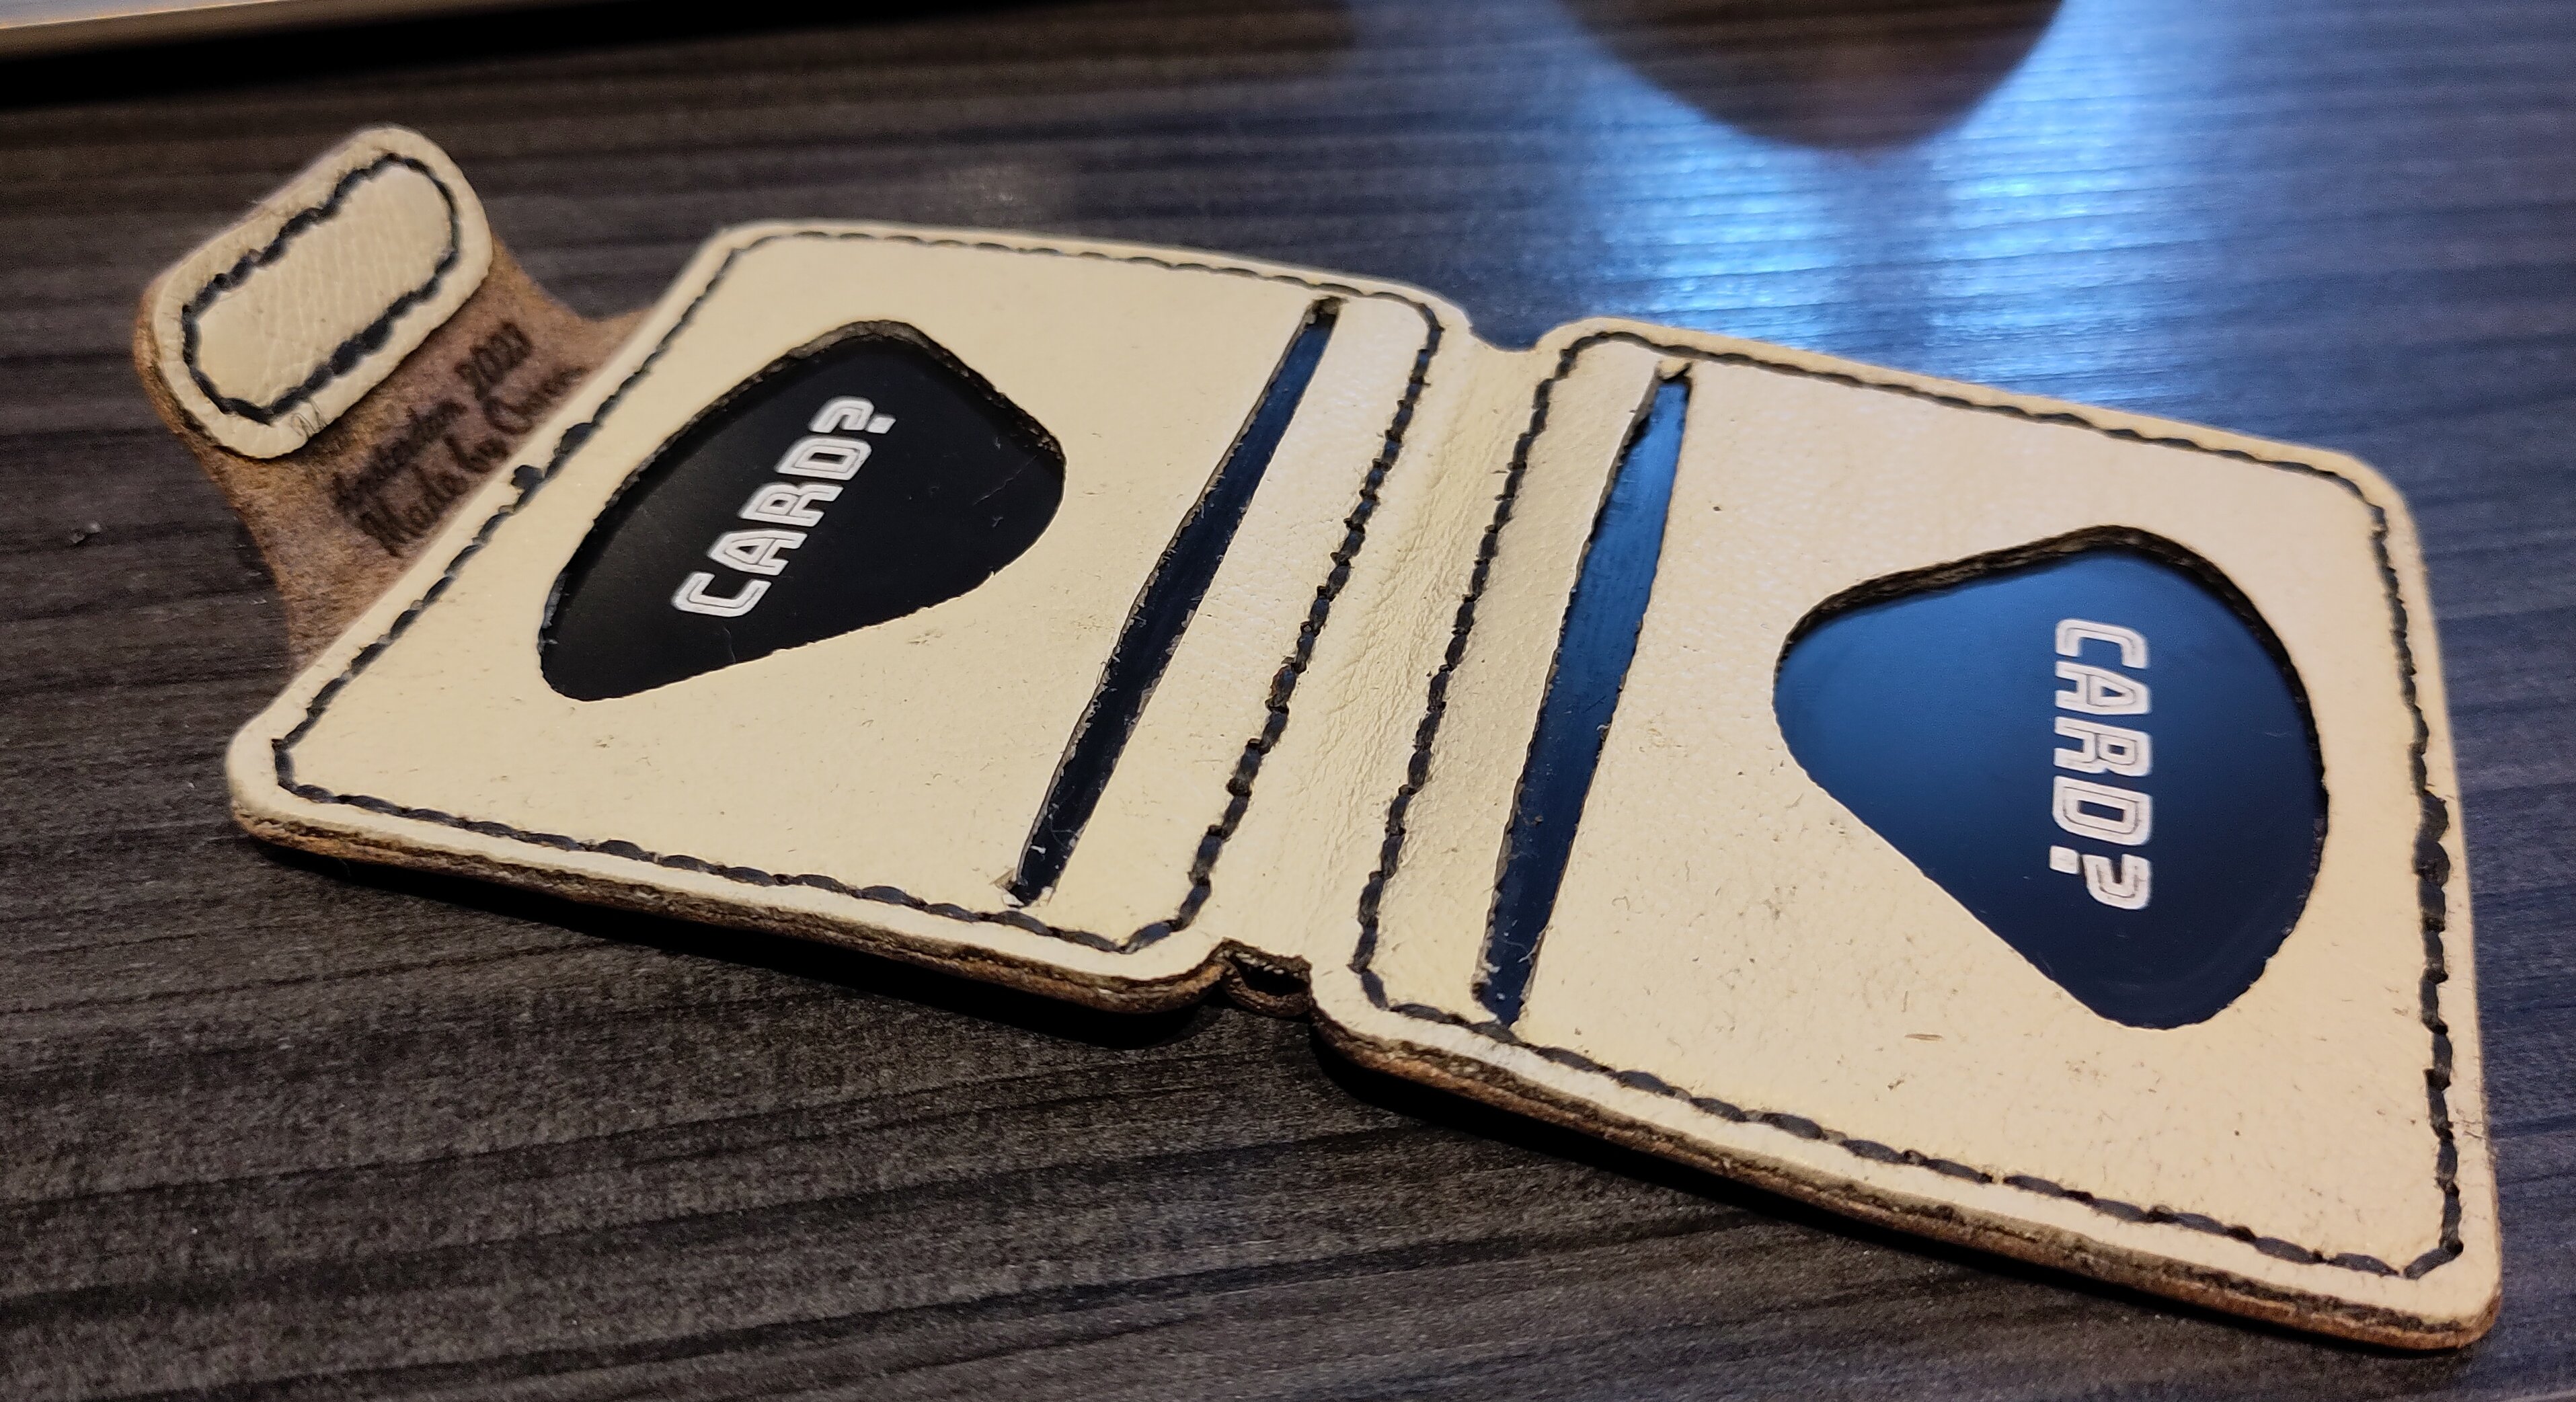
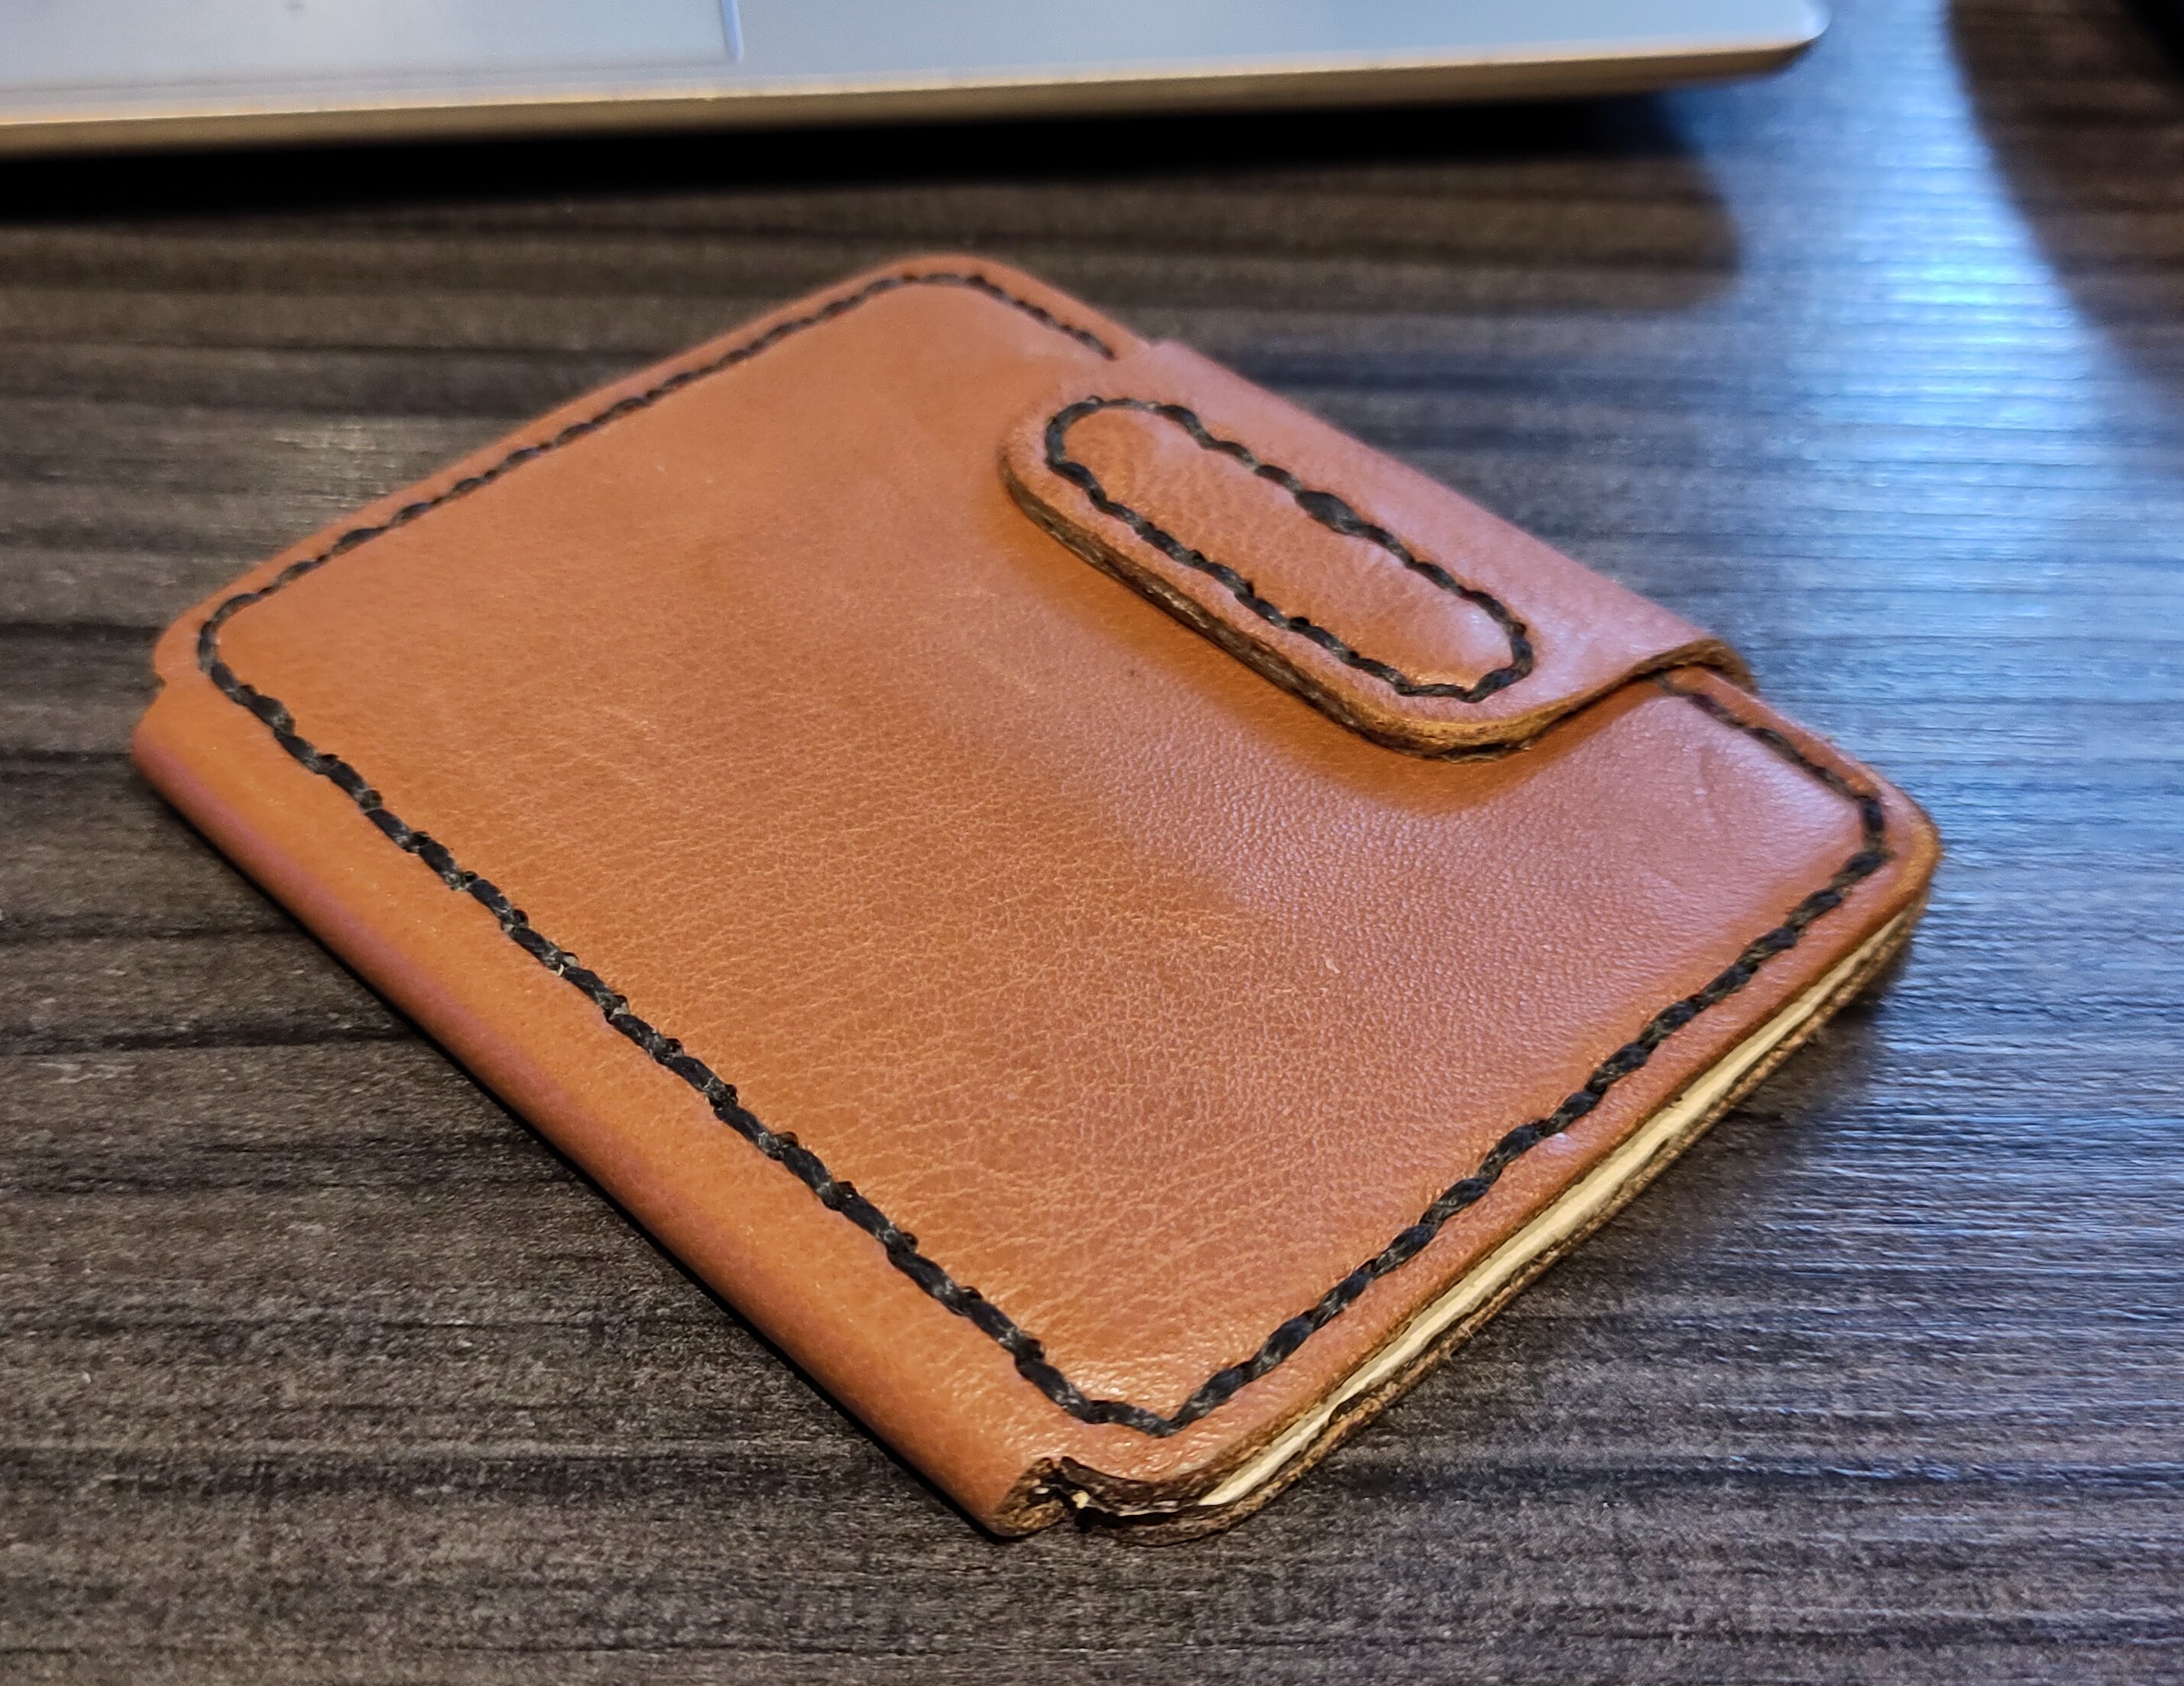
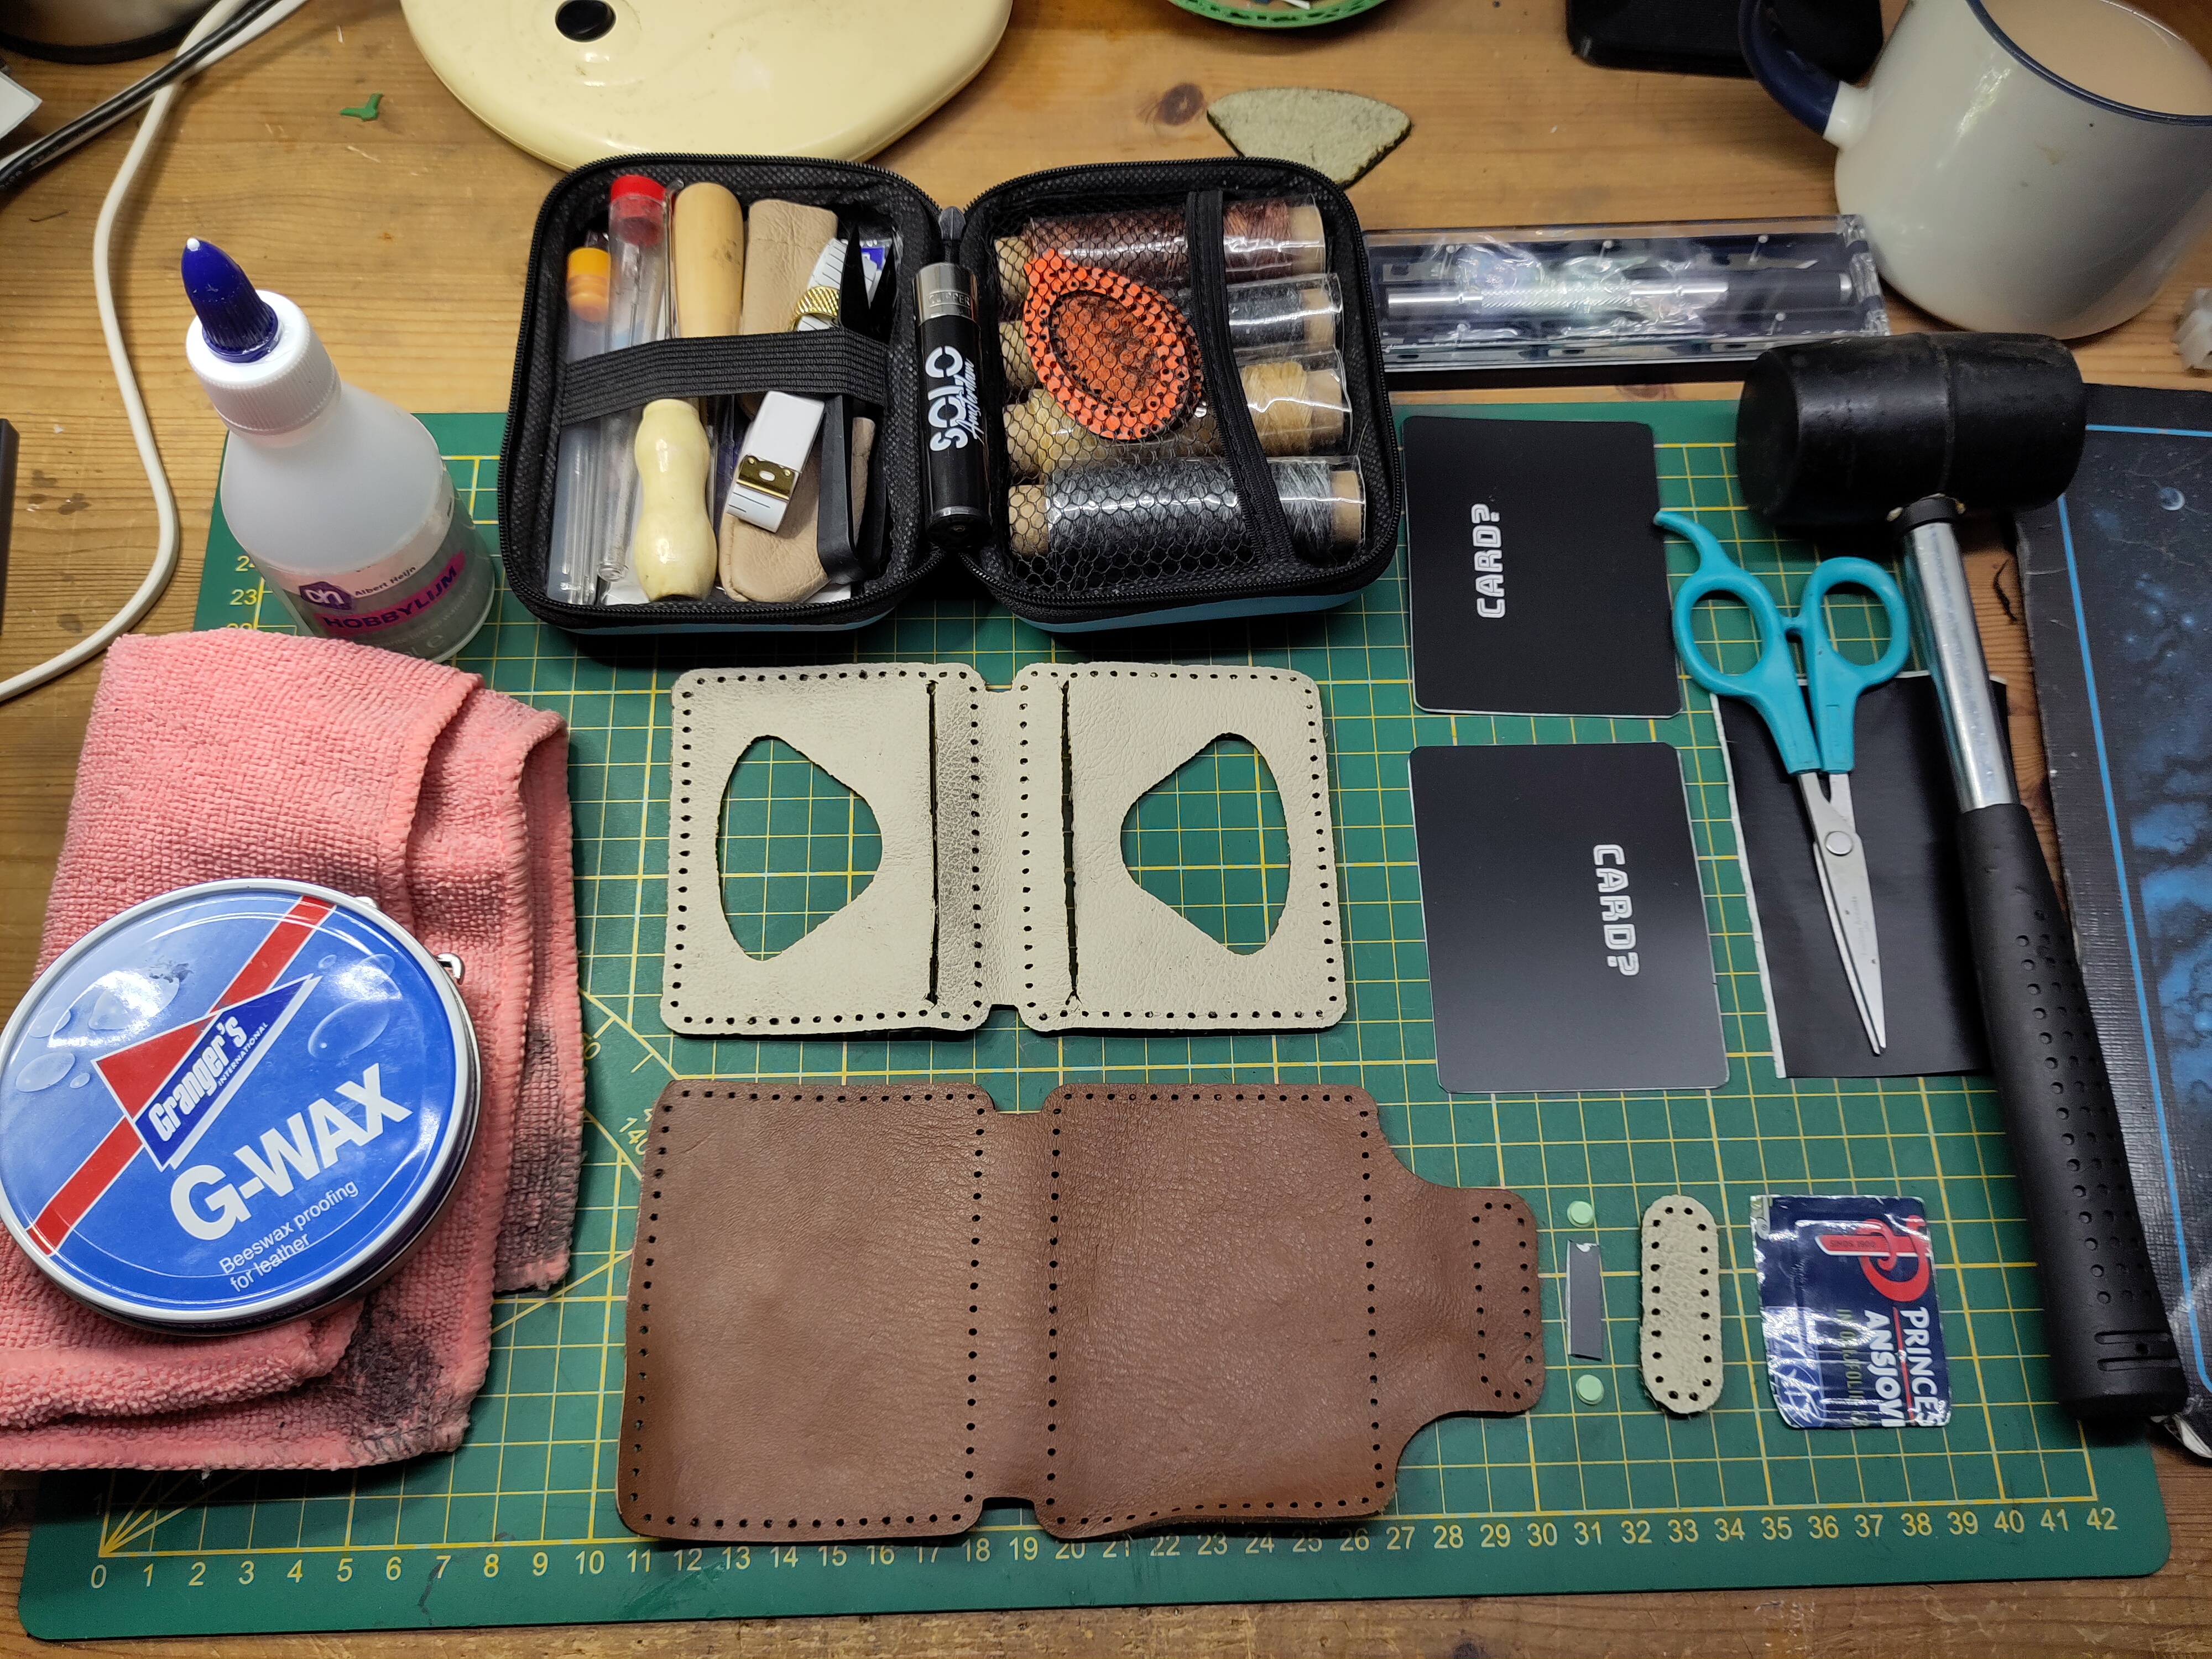
You can see all the elements I want for my Mobile Phone flip-case in here; it has hinges, a closure, inserts and I also experimented with cutting, cleaning and stitching techniques while making it. I’m also getting a feel for the different leathers I have.
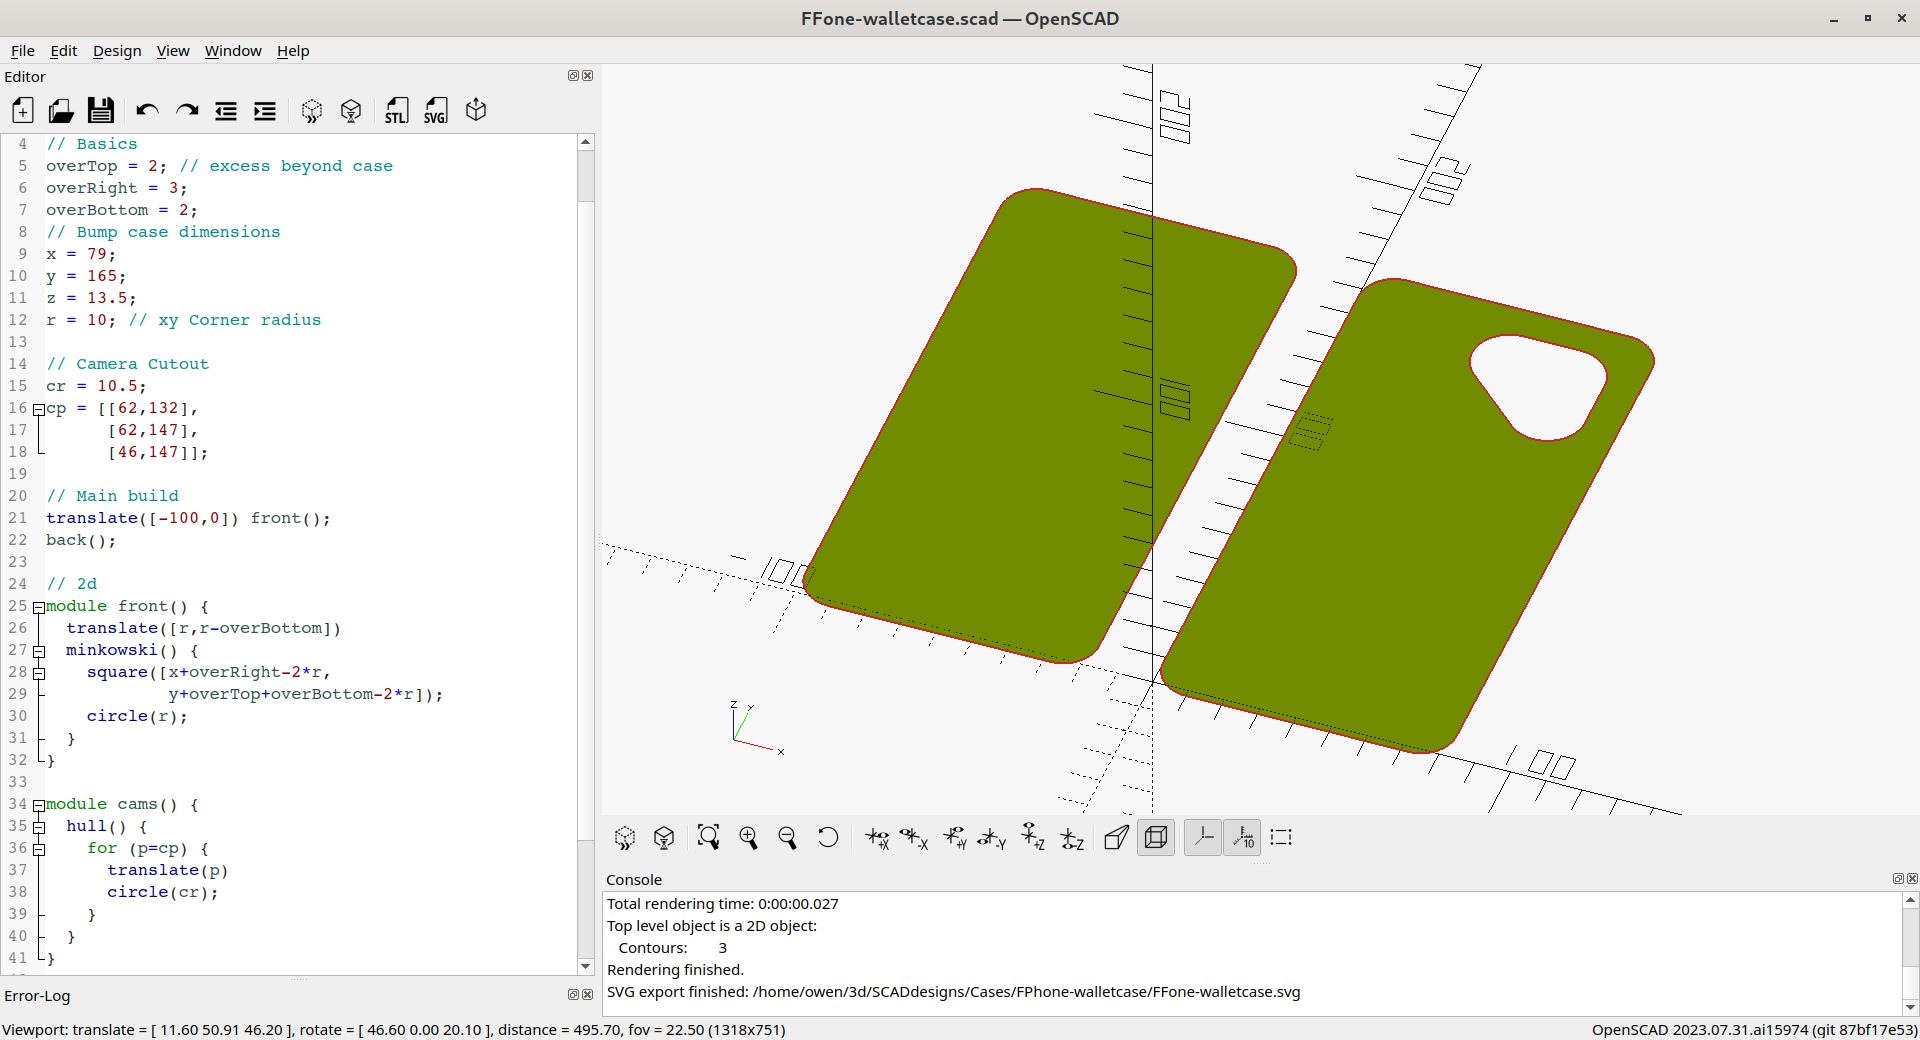
For reference here is the ‘post-processed’ .svg I used for this:

cardflip-split

cardflip.scad
// Leather CardCase

$fn=90;

// all following in mm
card=[53.98,85.6];  // standard ccard size
crad=3.18;   // standard ccard corner radius
pad=10;  // top padding

stitch=3.5;  // stitch padding from outside & inside
pitch=5;     // stitch pitch
pin=0.7;     // stitch hole diameter

loop=[10,card[1]+2];  // loop size (base)
hinge=4;   // reduce loop width on inner hinge

closure=[36,card[1]];  // closure flap (base)
magnet=5;  // closure magnet diameter


// Compute these here for convenience
centerO=card[0]+(2*pad)+(4*stitch)+loop[0]; // outer
centerI=centerO-hinge; // inner
centerF=-(card[0]/2+closure[0]/2+2*stitch);  // flap
topF=(closure[1]/2)-(closure[0]*0.75);  // flap loop centers

// Inner Leather
color("green")
difference() {
  // basic outer shape
  union() {
    panel();
    translate([centerI,0])
    mirror([1,0])
    panel();
    translate([centerI/2,0])
    square([loop[0],card[1]],center=true);
  }
  // strap cutouts
  translate([centerI/2,0])
  for (y=[1,-1]) {
    translate([0,y*card[1]/2])
    scale([(loop[0]-hinge)/2,(card[1]-loop[1])/2])
    circle(r=1);
  }
  // Cutouts on either side (mirrored)
  for (a=[0,1]) {
    translate([a*centerI,0])
    mirror([a,0,0]) {
      // holes for stitching
      stitching();
      // Slit
      translate([card[0]/2+(pad*0.33),0]) {
        for (y=[-1,1]) {
          translate([0,y*(card[1]/2)])
          circle(pin*2.4);
        }
        square([pin/2,card[1]],center=true);
      }
      // Thumbslide
      hull() {
        translate([6,0]) scale([12,16]) circle(1);
        translate([-10,0]) scale([12,30]) circle(1);
      }
    }
  }
}

// Outer Leather
translate([0,card[1]*-1.5])
color("slategrey")
difference() {
  // basic outer shape
  union() {
    panel();
    translate([centerO,0])
    mirror([1,0])
    panel();
    translate([centerO/2,0])
    square([loop[0],card[1]],center=true);
    // Closure flap
    translate([centerF,0])
    flap();
  }
  // strap cutouts
  translate([centerO/2,0])
  for (y=[1,-1]) {
    translate([0,y*card[1]/2])
    scale([loop[0]/2,(card[1]-loop[1])/2])
    circle(r=1);
  }
  // Stitching
  for (a=[0,1]) {
    translate([a*centerO,0])
    mirror([a,0,0]) {
      stitching();
    }
  }
  // Flap Stitching
  translate([centerF,0])
  flapstitch();
}

// Flap inner
difference() {
  hull() {
    translate([centerF-closure[0]/4,topF])
    circle(d=closure[0]/2, $fn=45);
    translate([centerF-closure[0]/4,-topF])
    circle(d=closure[0]/2, $fn=45);
  }
  translate([centerF,0])
  flapstitch();
  //translate([centerF-closure[0]/4,topF])
  //circle(d=magnet);
}

// Internal Stiffner
translate([0,card[1]*1.5])
stiffner();

// dummy card
if (!true) {
  color("gold",0.5)
  minkowski() {
    square(card-[2*crad,2*crad],center=true);
    circle(crad);
  }
}

module panel() {
    minkowski(){
      union() {
        square(card,center=true);
        translate([pad,0]) square(card,center=true);
      }
      circle(stitch*2);
    }
}

module stitching() {
  for (x=[-(card[0]/2):pitch:(card[0]/2)+pad+pitch]) {
    translate([x,stitch+(card[1]/2)]) circle(r=pin,$fn=18);
    translate([x,-stitch-(card[1]/2)]) circle(r=pin,$fn=18);
  }
  for (x=[-(stitch+(card[0]/2)),(stitch+(card[0]/2)+pad)],
        y=[pitch*0.5:pitch:(card[1]/2)+1]) {
    translate([x,y]) circle(r=pin,$fn=18);
    translate([x,-y]) circle(r=pin,$fn=18);
  }
}

module stiffner() {
  minkowski(){
    union() {
      square(card-[crad,crad],center=true);
      translate([pad,0]) square(card-[crad,crad],center=true);
    }
    circle(crad);
  }
}

module flap() {
  difference() {
    translate([closure[0]/4,0])
    square([closure[0]/2,closure[1]],center=true);
    translate([0,closure[1]/2])
    circle(d=closure[0]);
    translate([0,-closure[1]/2])
    circle(d=closure[0]);
  }
  hull() {
    translate([-closure[0]/4,(closure[1]/2)-(closure[0]*0.75)])
    circle(d=closure[0]/2);
    translate([-closure[0]/4,-(closure[1]/2)+(closure[0]*0.75)])
    circle(d=closure[0]/2);
  }
  square([closure[0]/2,closure[1]-closure[0]],center=true);
}

module flapstitch() {
  for (y=[pitch/2:pitch:topF]) {
    translate([-stitch,y])
    circle(r=pin,$fn=18);
    translate([-stitch,-y])
    circle(r=pin,$fn=18);
    translate([(-closure[0]/2)+stitch,y])
    circle(r=pin,$fn=18);
    translate([(-closure[0]/2)+stitch,-y])
    circle(r=pin,$fn=18);
  }
  for (r=[-70:70/1.5:70]) {
    translate([-closure[0]/4,topF])
    rotate([0,0,r])
    translate([0,(closure[0]/4)-stitch])
    circle(r=pin,$fn=18);
    translate([-closure[0]/4,-topF])
    rotate([0,0,r])
    translate([0,-(closure[0]/4)+stitch])
    circle(r=pin,$fn=18);
  }
}

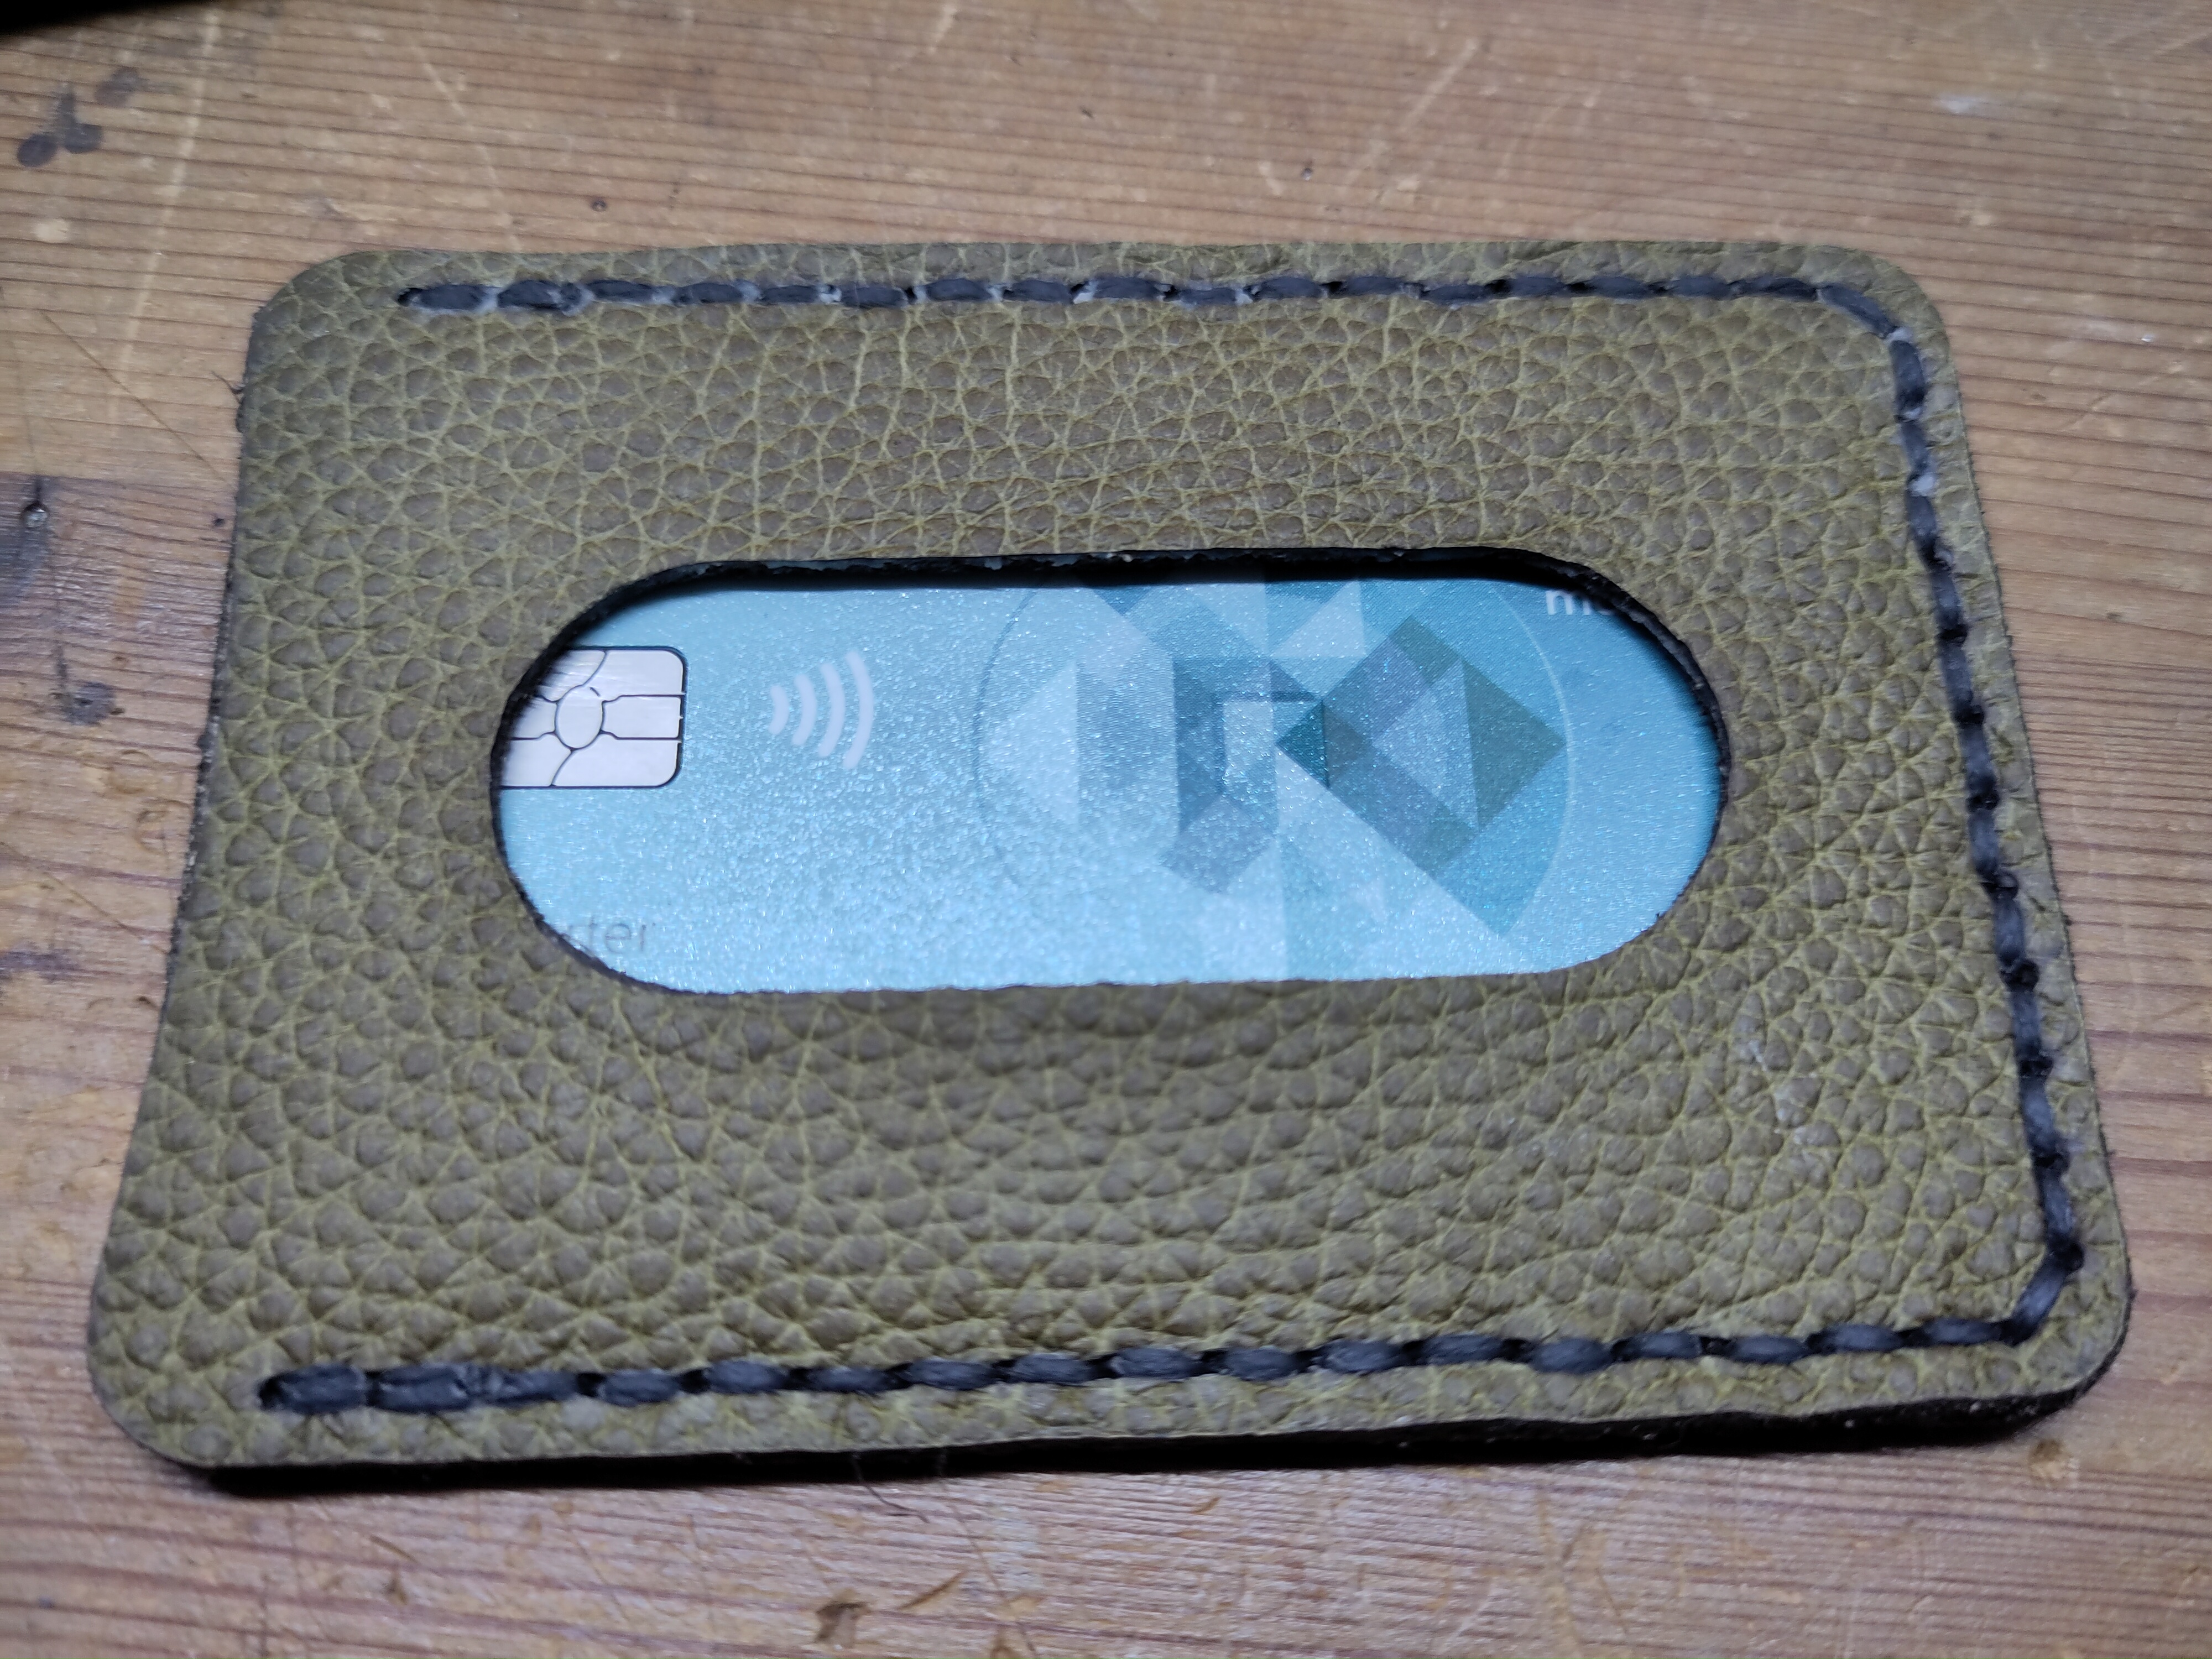
If I make more of these I’d probably extend the hinge piece on the outer shell by 1mm (on X) to make the hinge apply a stronger closing effect. And extend the neck of the closure by 2 or 3mm to allow the magnets more overlap, and use stronger magnets.

4 Likes

Hello,
Good research and creation work. I make leather wallets, I cut them and engrave them with a 10W diode laser.
Leather has a variable that is key, it is humidity, it must be between 10% and 20%, the more humidity, the more power and slowness of laser work, also the tanning, chrome tanning is done in 24 hours, It has vast collagen and is very durable although a lot of water is used in the process and manual and artisanal dyeing is not possible. Vegetable tanning is ecological and sustainable, it is not as durable as chrome and requires hydration maintenance, but it can be dyed by hand at home. Acquiring it in a natural color, without dyeing, is ideal for portraits, we have white as the background of the image and covering the image with a cardboard cut with the laser, we can dye the rest, keeping the white of the leather as the white of the image, we obtain a quite satisfactory color contrast result.

1 Like