I have been distracted of late with a fun project:
The story
I come from a large family (10 kids) and my dad (now 90 years old) liked to use his 35mm camera.
That yielded nearly 4000 slides over our childhood.
We decided that these slides needed to be captured to the cloud so we would not loose them and could share among the family.
We investigated copying services but feared the possibility of loosing them in the mail. Hey, it happened to someone in my family.
Yearning to do a build with my dad (also an engineer) we set out to make the DK^2 Slide Copier.
Note, I am a Jr ![]()
The best part of this project was collaborating with my dad. He in Fla and I in Utah. It was interesting for him to see the massive change in technology since he retired. He started his career with tube design and ended when MSI and uprocessors (Z80) had just hit the design stage. He wasn’t up to speed on things like the arduino but he asked really challenging questions and was a quick study. What fun!
Design Approach
We figured handling slides was as much an art as science so rather than inventing our own feeding mechanics we decided to use a hacked slide project of the same vintage as his. We found two on ebay. I used one to gut and learn and the other as the final core of the project. It was fascinating to see how motors and mechanics were used to control this vintage machine given there were no micro-controllers available back when it was designed, but that is another story.
The build
We built a controller using a nano and relays that controlled the projectors slide handling.
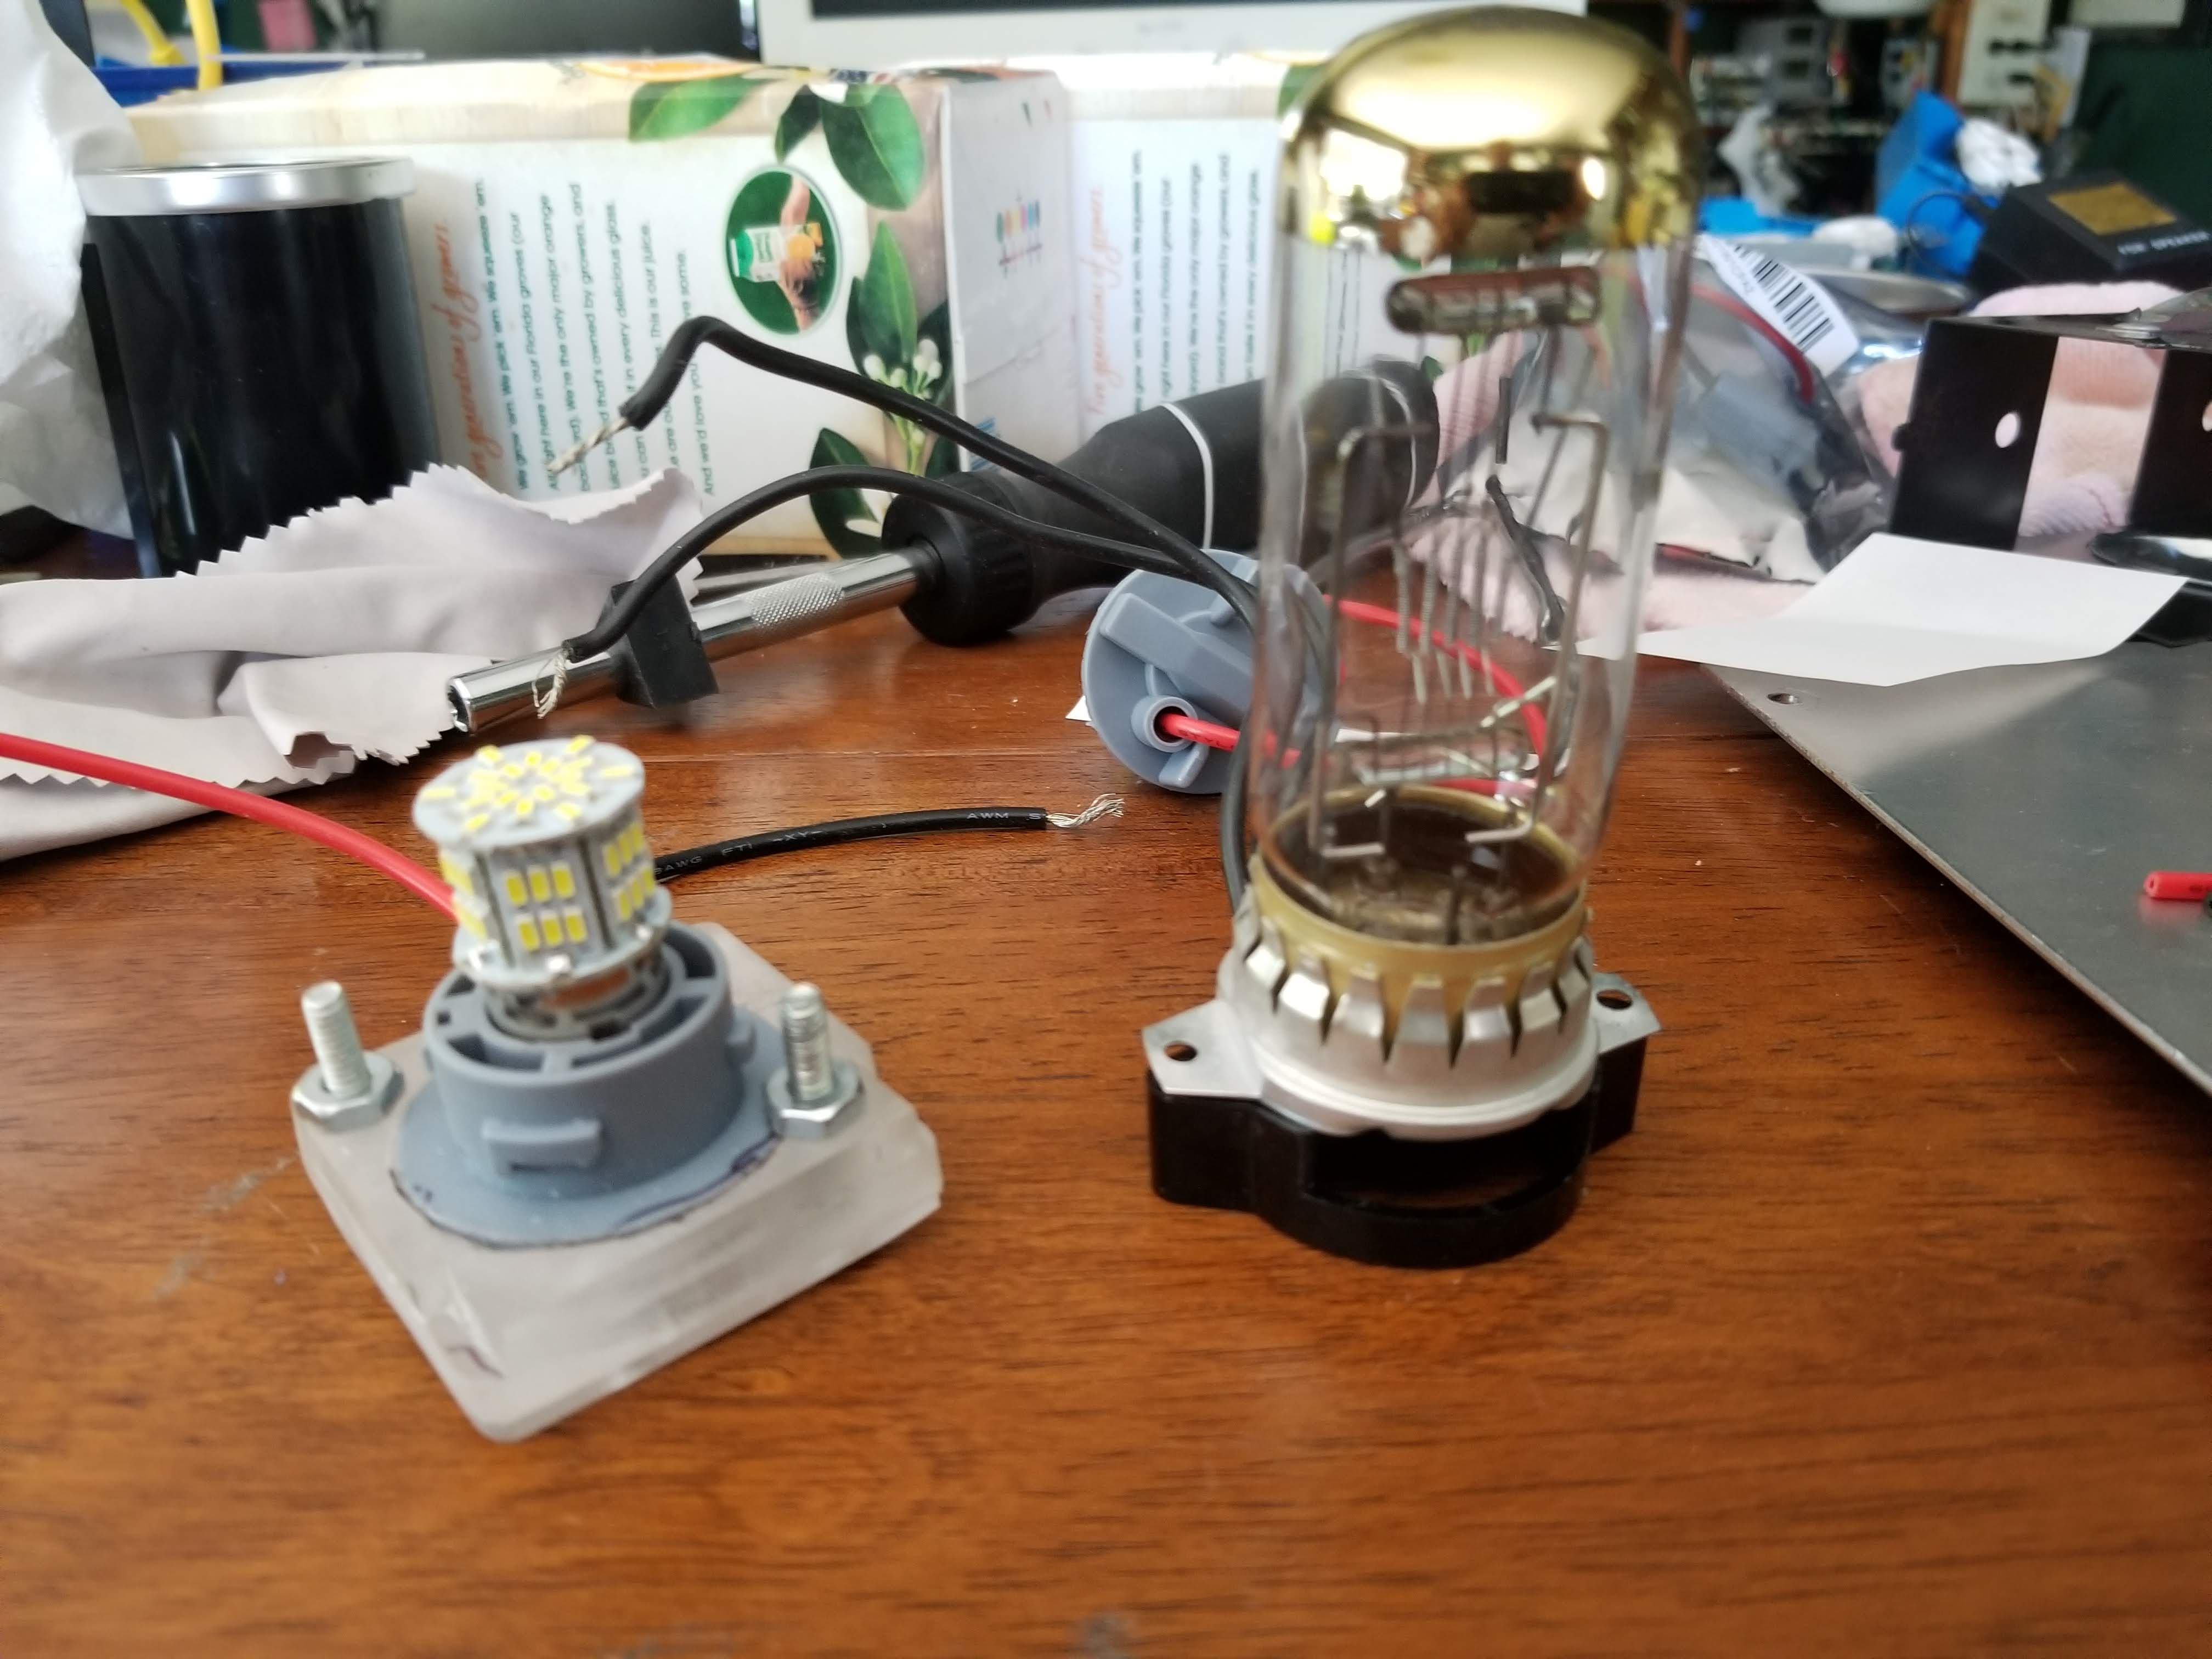
- The incandescent bulb is replaced with a LED Brake Light array and a diffuser plate. The collumating lenses were left intact. A socket was fabricated that is a plug replacement for the incandescent bulb.
- The final lens was removed and a phone is mounted at the output of the projector.
- A controlled relay is connected to the projectors wired remote simulating pressing the advance button. The internal voltage of the projector is LV AC so we decided to isolate it.
- The controller includes switches and buttons for the operator to set tray size and copy mode as well as an OLED display to show the copiers status.
- A battery operated BT selfie shutter is used to command the phone to take a photo. A relay also connects the nano to the shutter by a simple hack across its switch contacts.
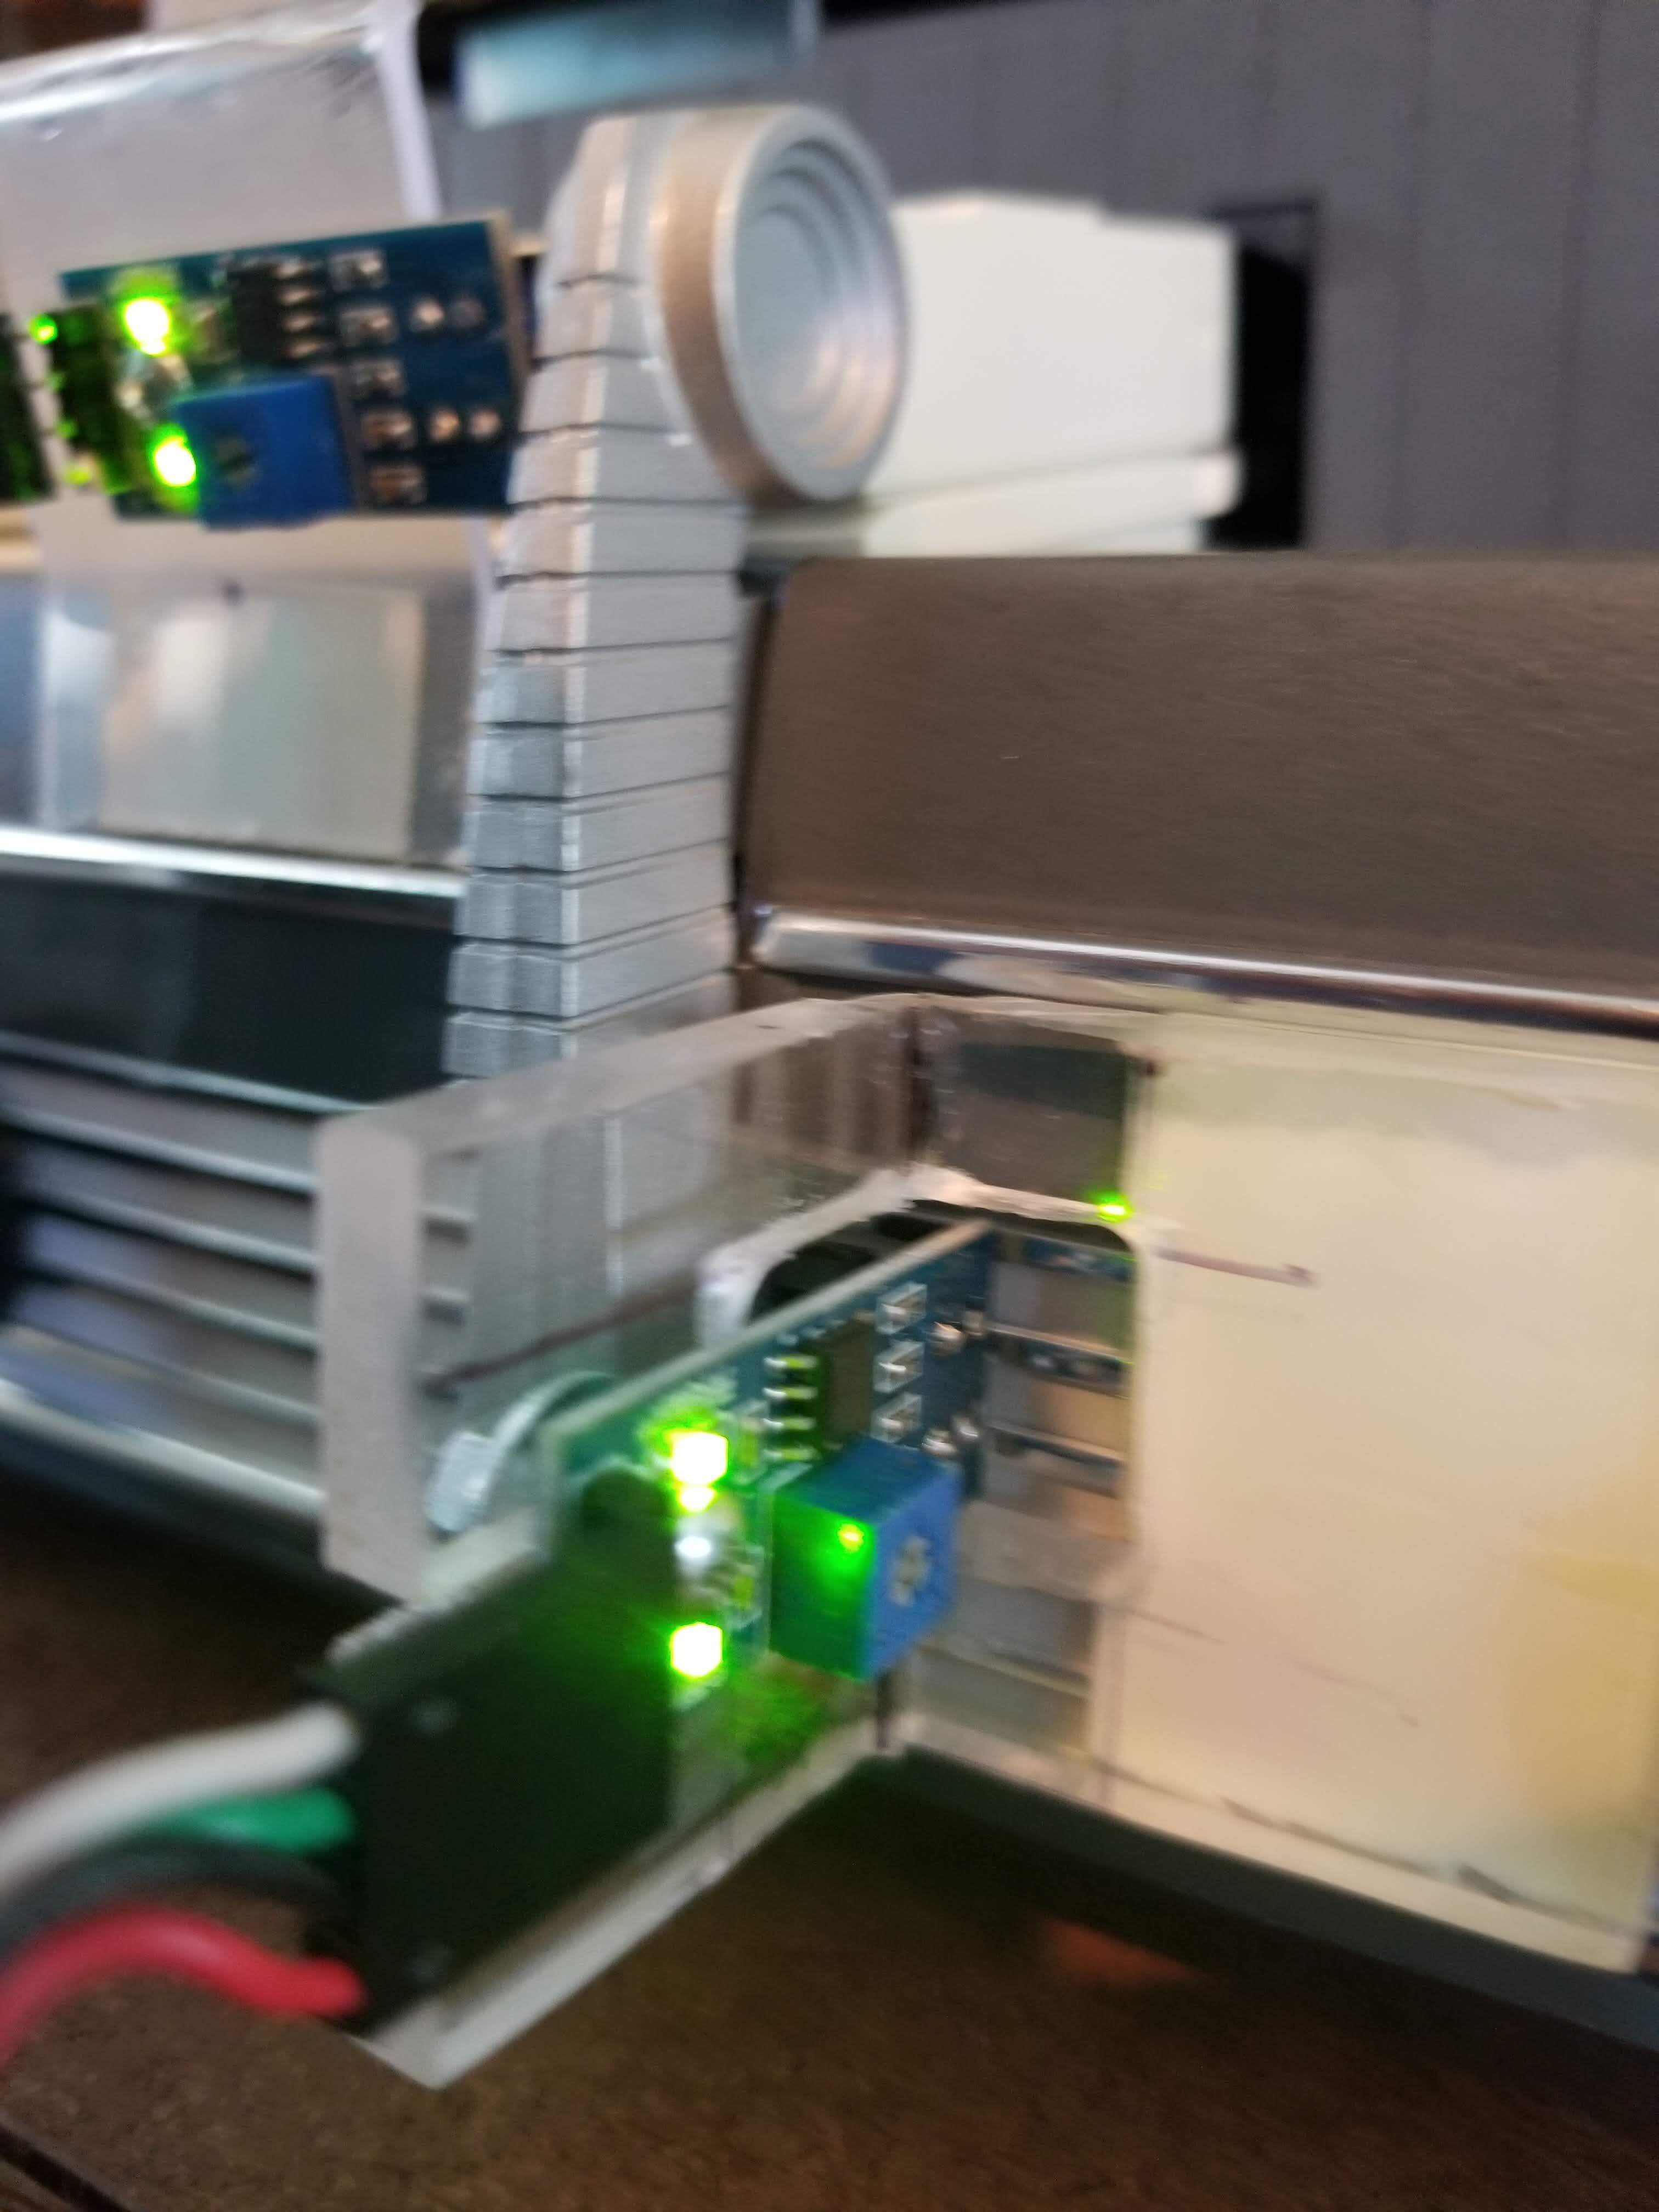
- Two optical sensors were db taped to the side of the projector to detect tray presence and slide jams respectively.
- The controller software uses a simple state machine and display driver to control wait, automated copy, manual copy and diagnostics. You can select tray size and modify the starting slide #. The software detects a missing tray and slide jams.
The copier will copy slides at a rate of 825.68 slides/hr so we can copy all our slides in less than 5 hrs. The projects material costs were <$50.
We got picture quality that was better than the original after tweaking them with Google Photos.
Sorry that the display is out of focus…OLEDs are to bright!
The only projector hack:
Tray and slide arm sensors: