There is a new maker space in my town that I have joined up with. They have a Full Spectrum 40W CO2 laser and a donated K40 that needs a bit of work.
I’m working on getting the K40 up and running and it’s very much out of alignment. With stock mirror mounts I was contemplating some alignment target set ups so it’s easy for someone else to do it with out potentially messing up the mirrors with tape residue.
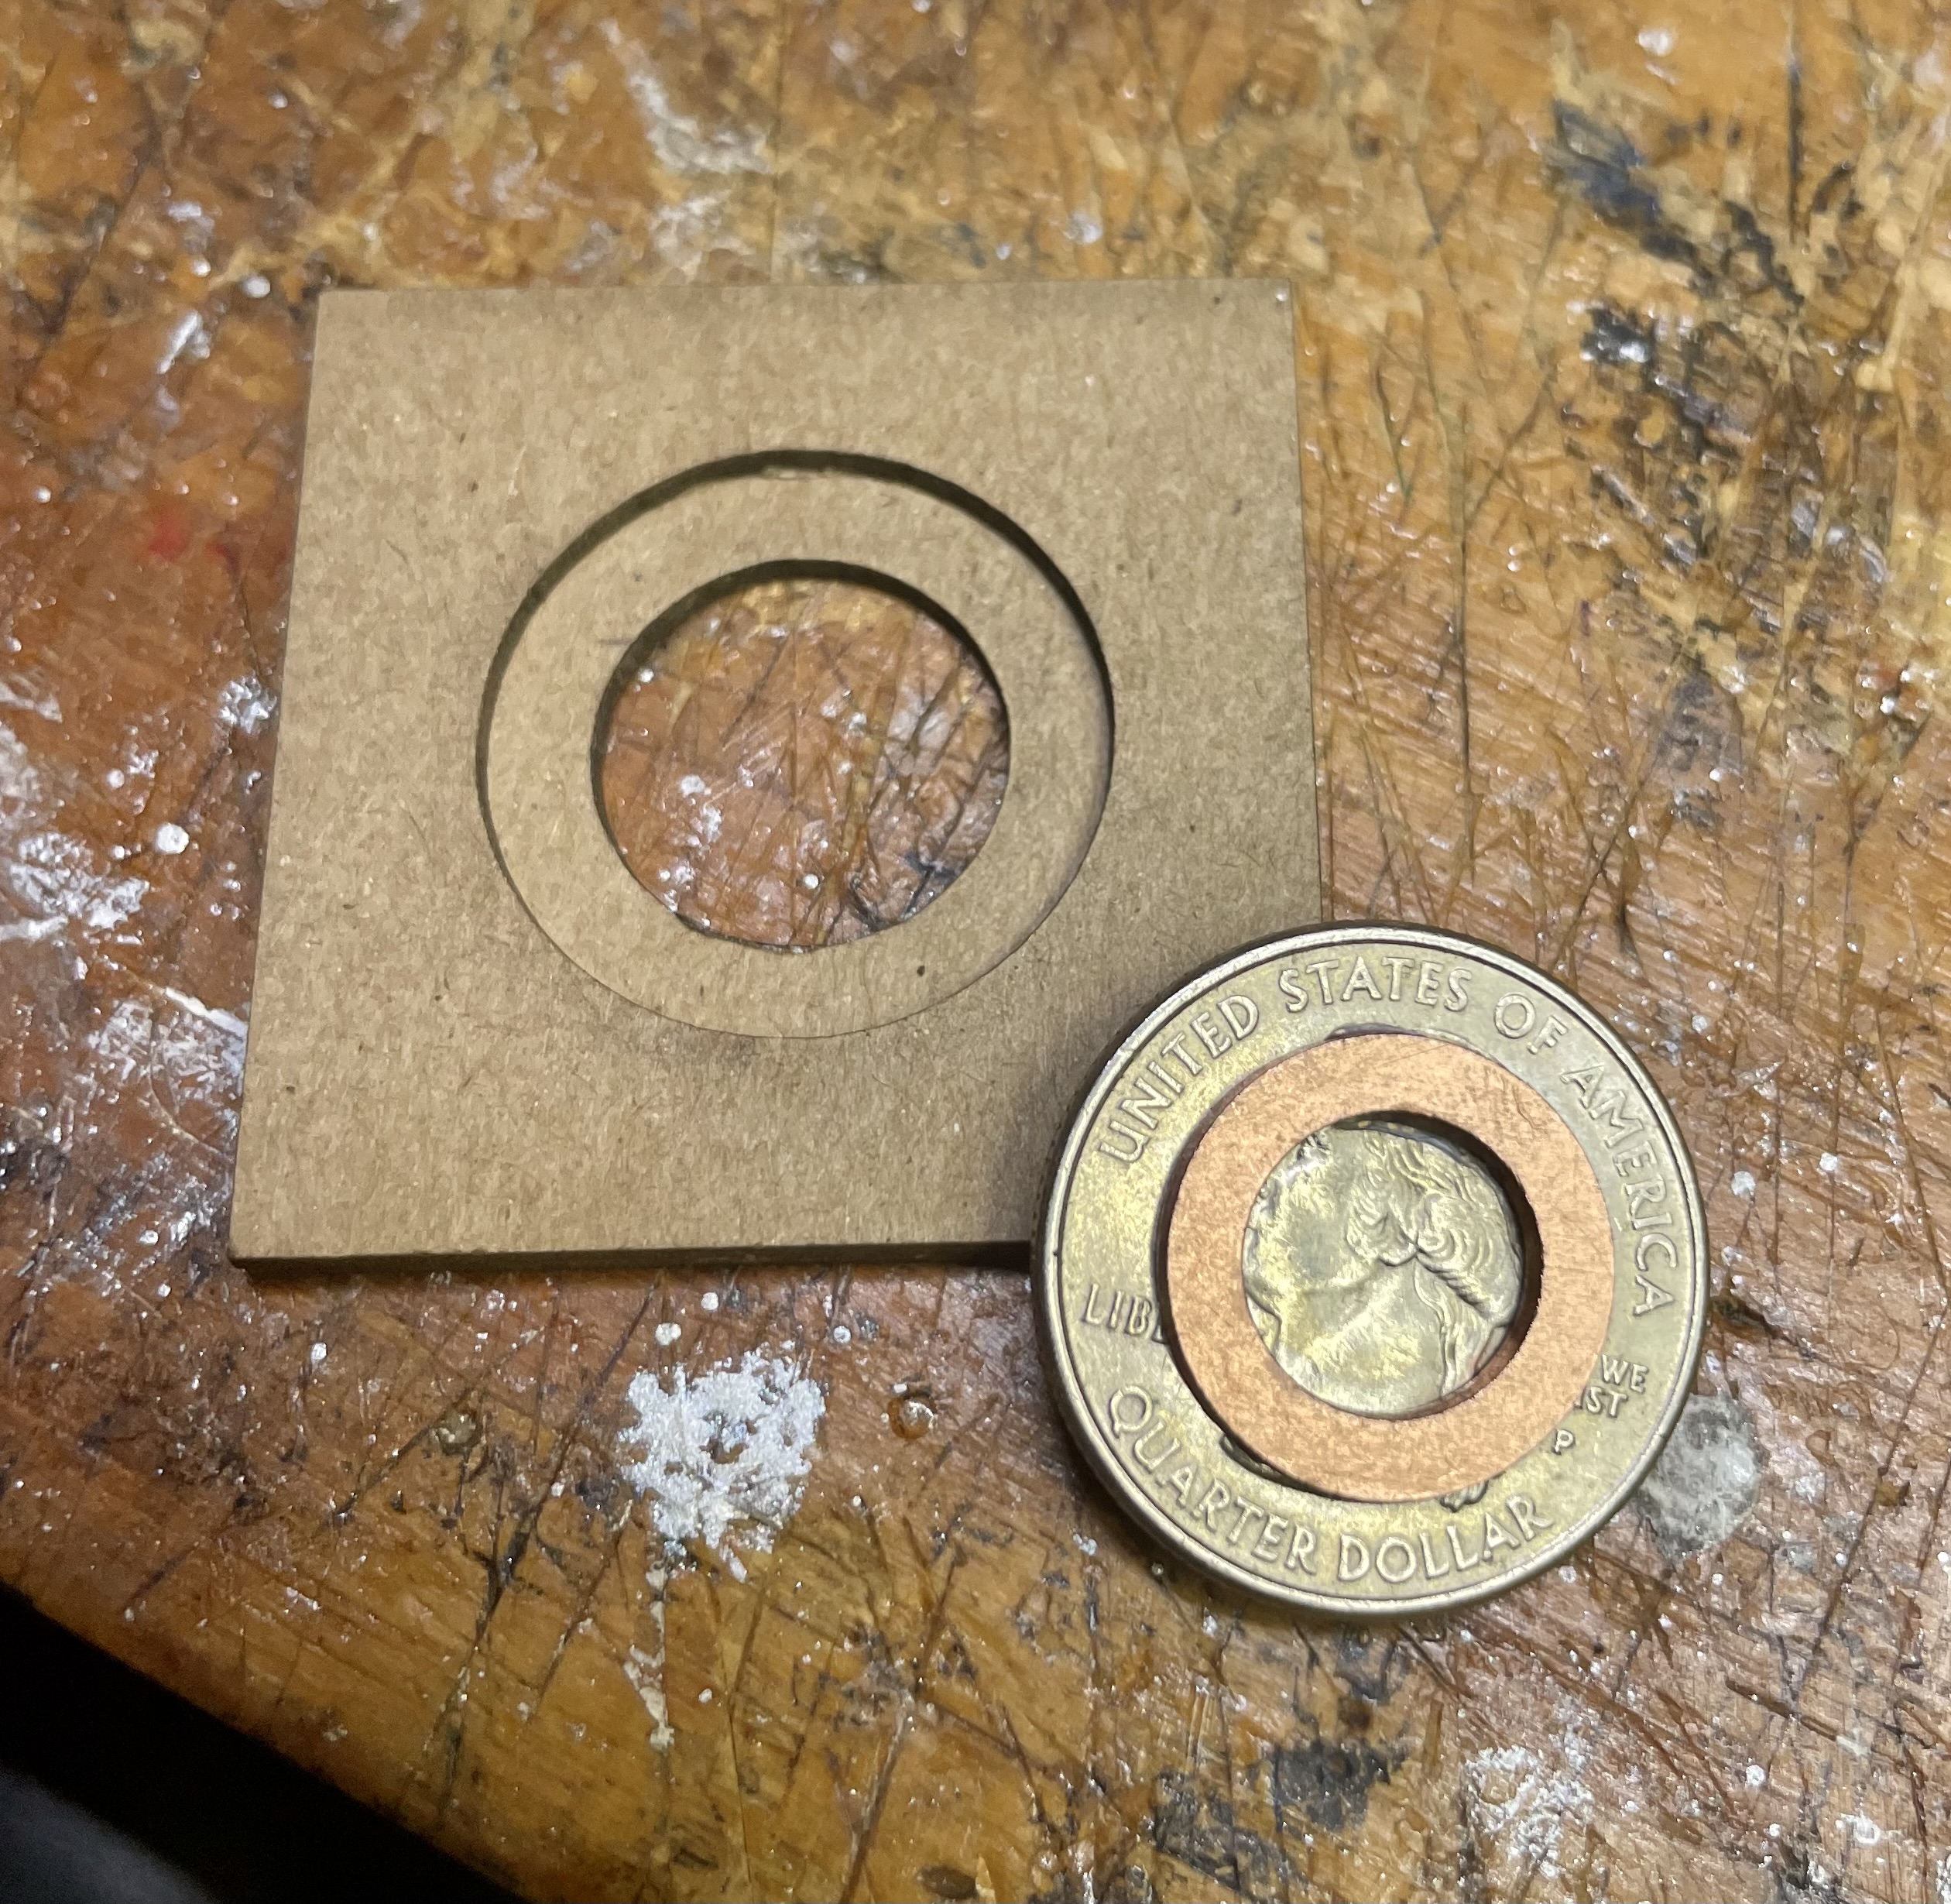
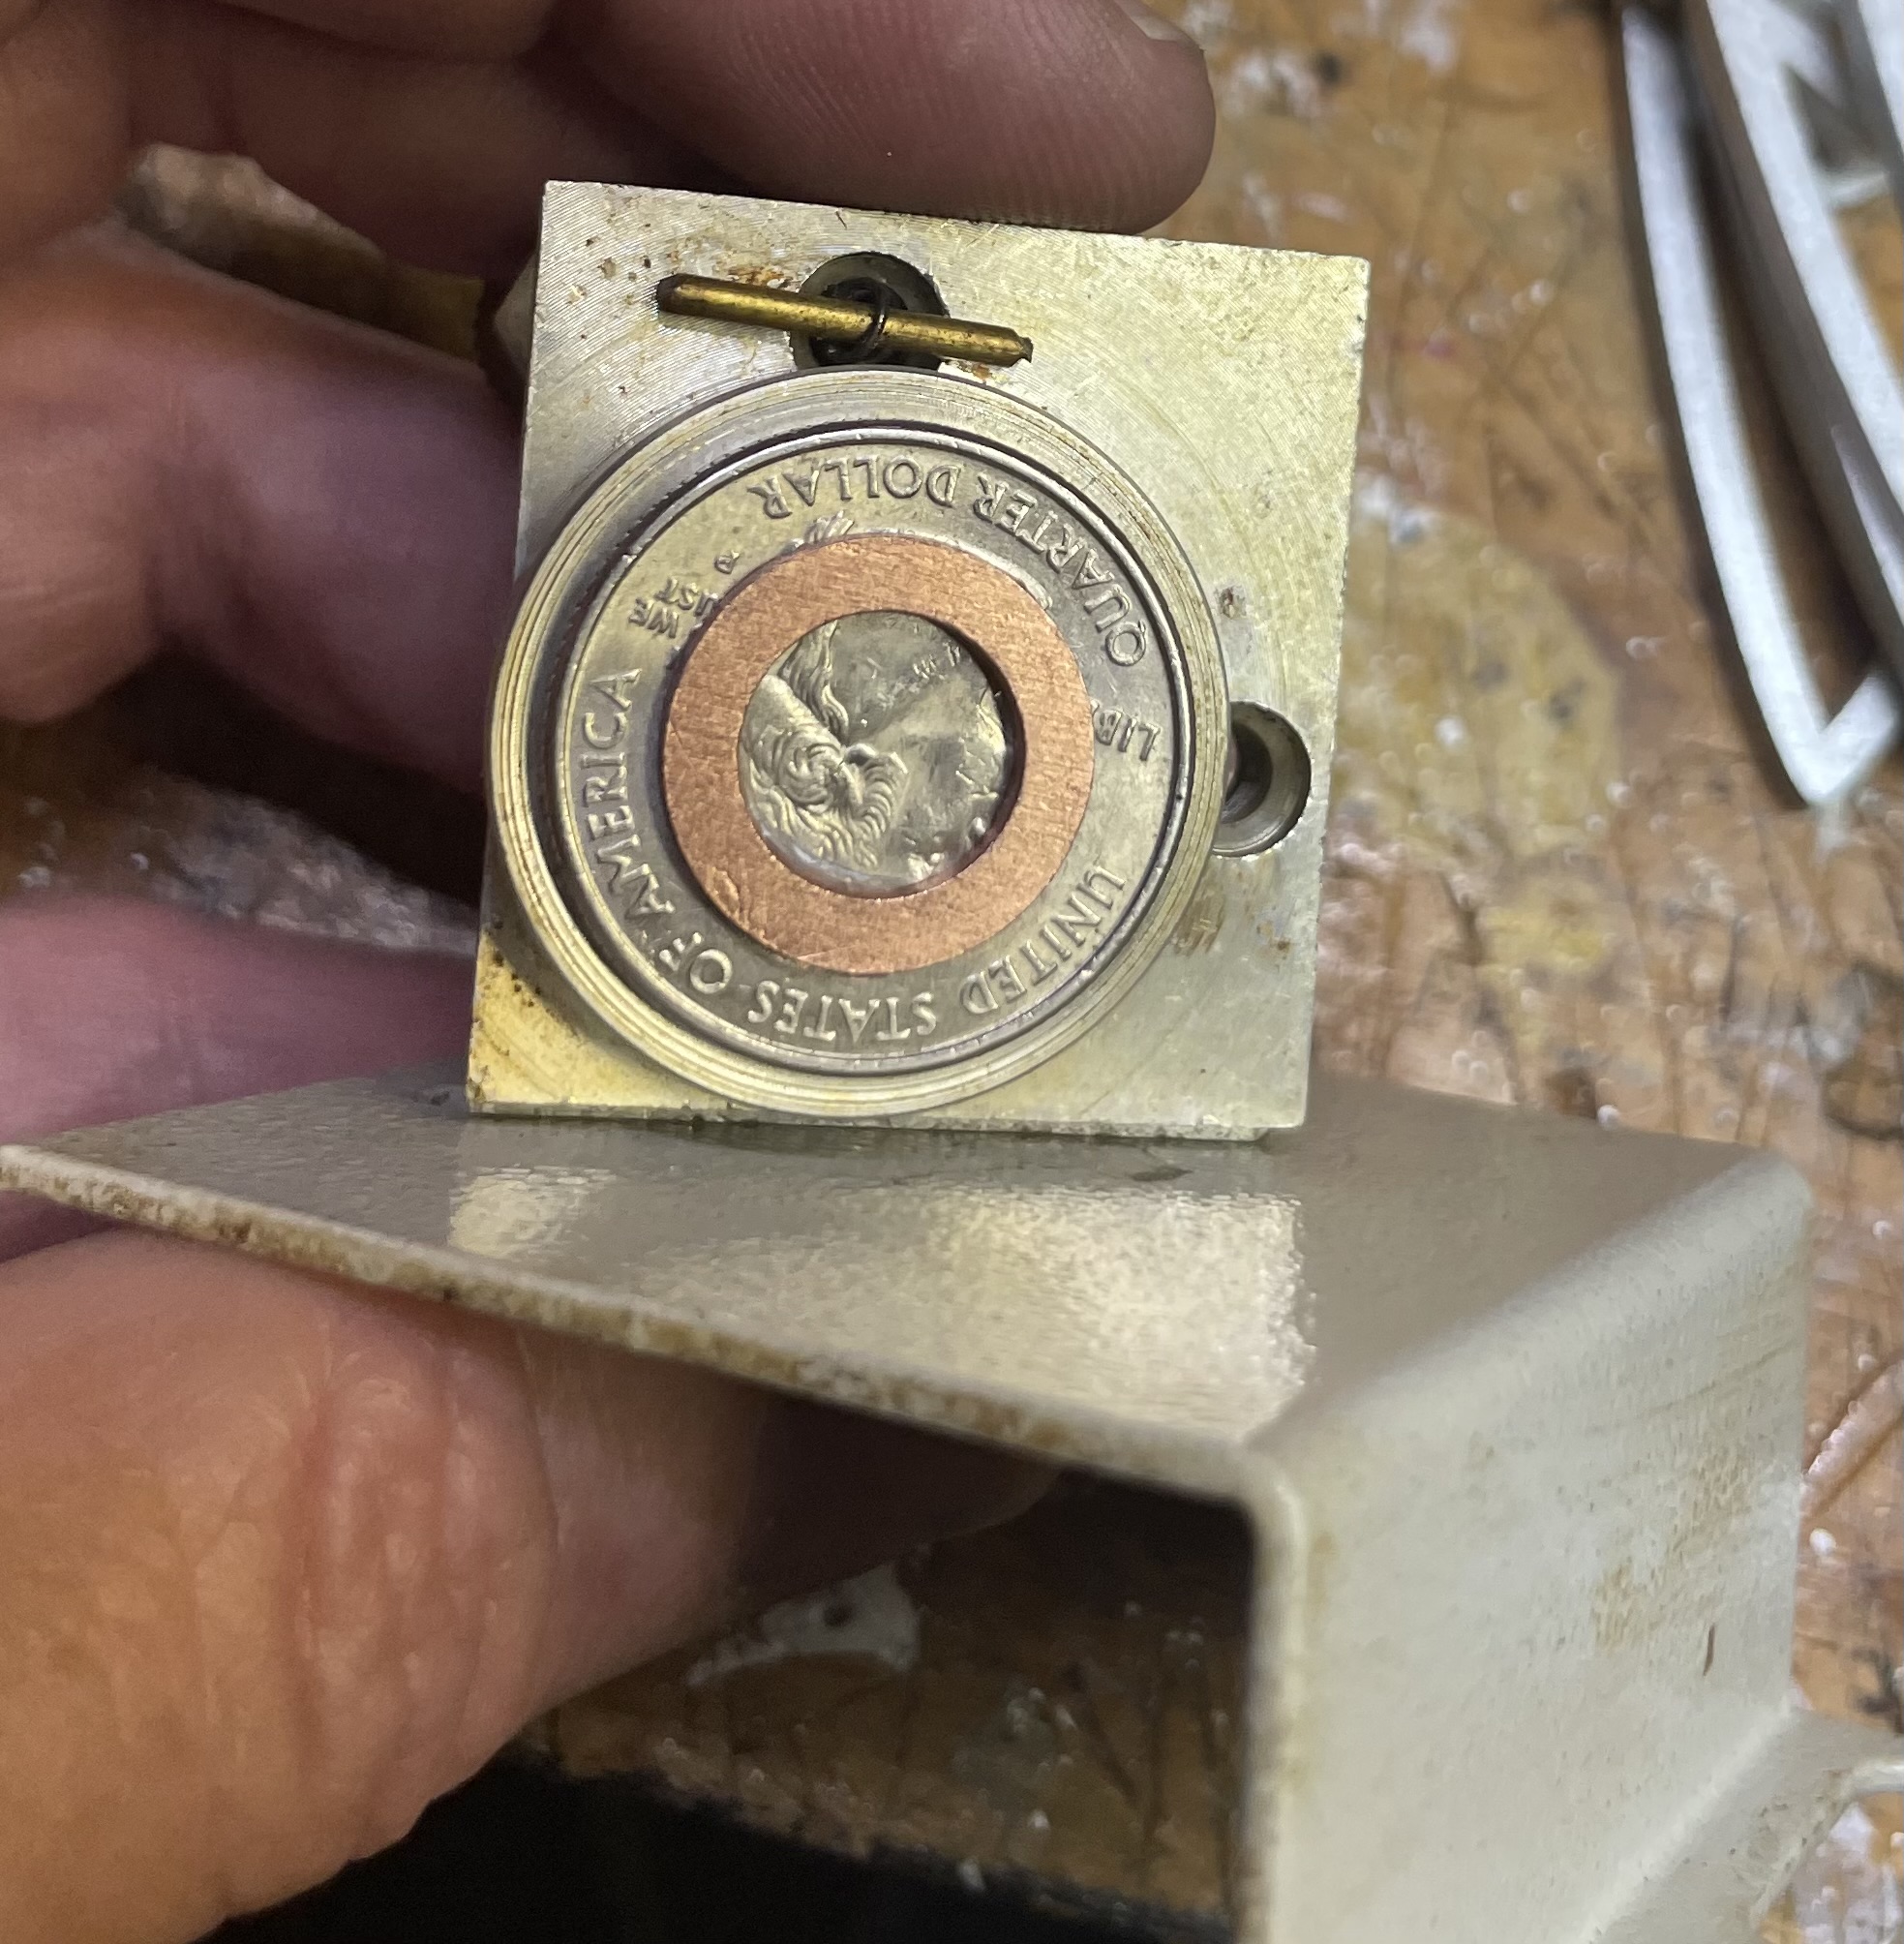
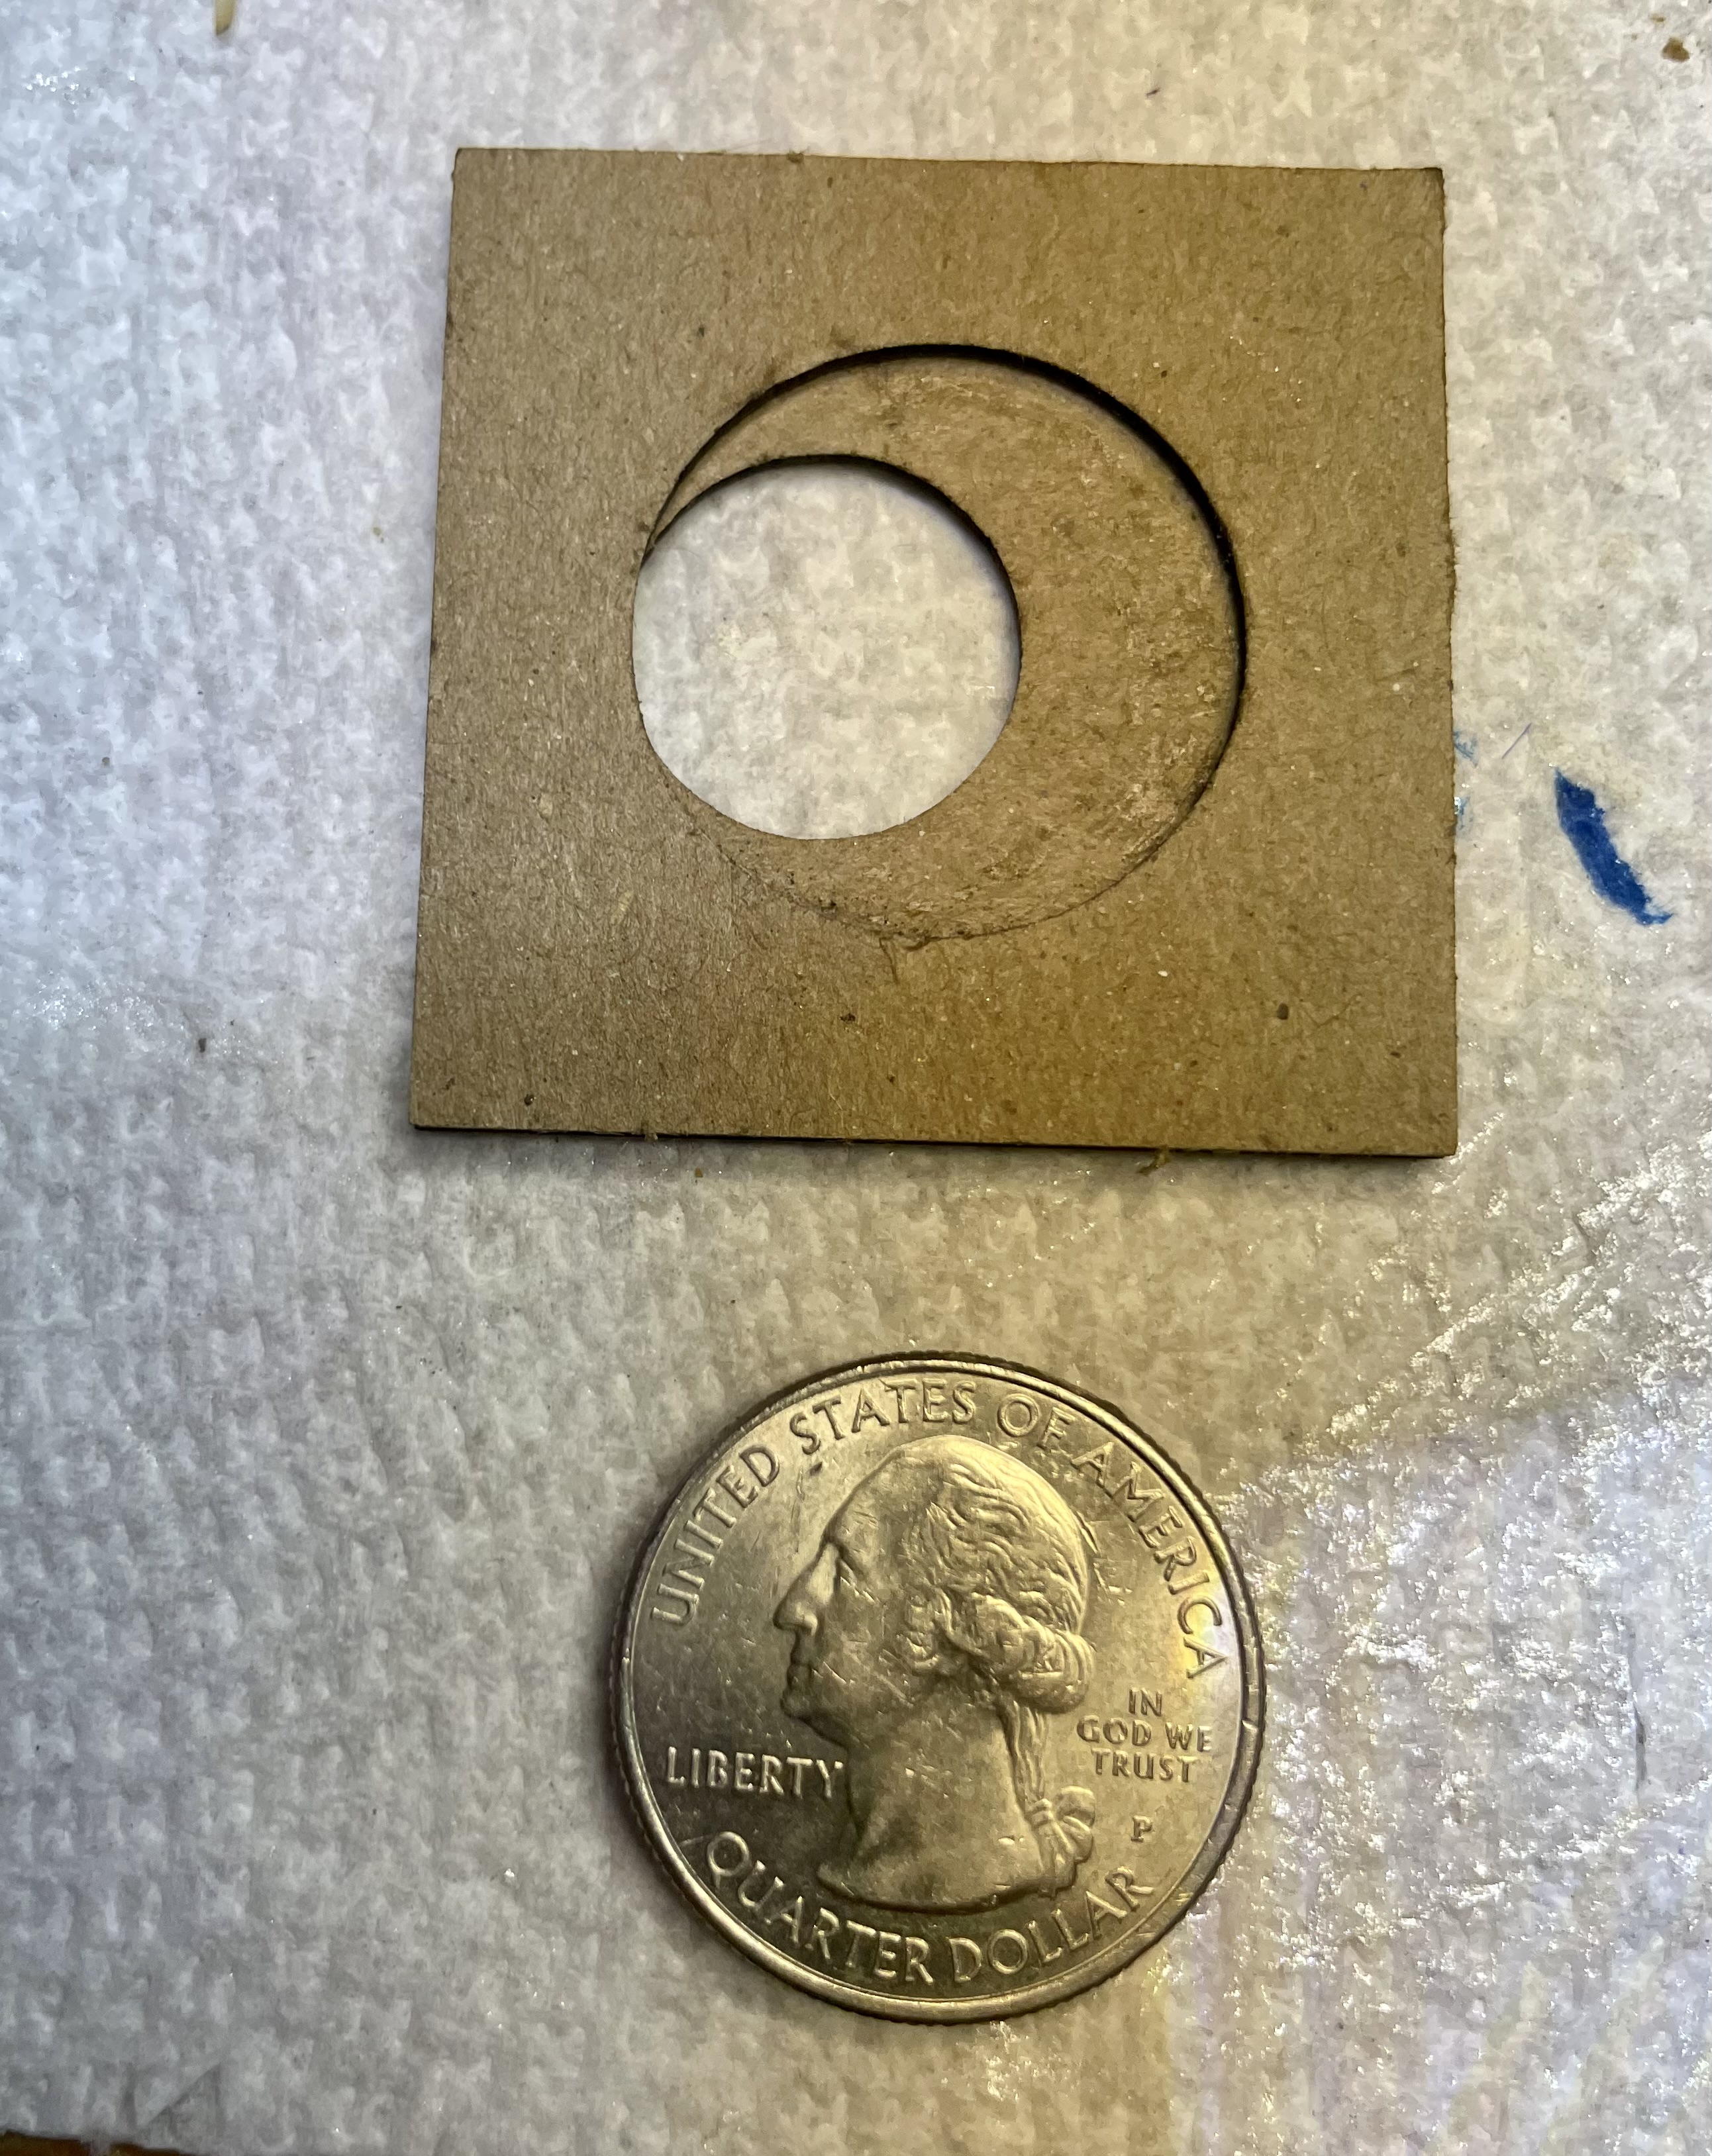
I remember @dougl had mentioned something, not too long ago, about taping a quarter over the mirror to protect it. Hadn’t considered that before but I thought I could improve on it just a bit so you could still easily see where the center of the mirror was located.
Found I had some copper washers, of the right outside diameter, to just fit into the mirror mount window. It was from a set of copper washers I had gotten from Harbor Freight. The 716" ID washers have a OD of 15.85 mm which is just about a perfect fit.
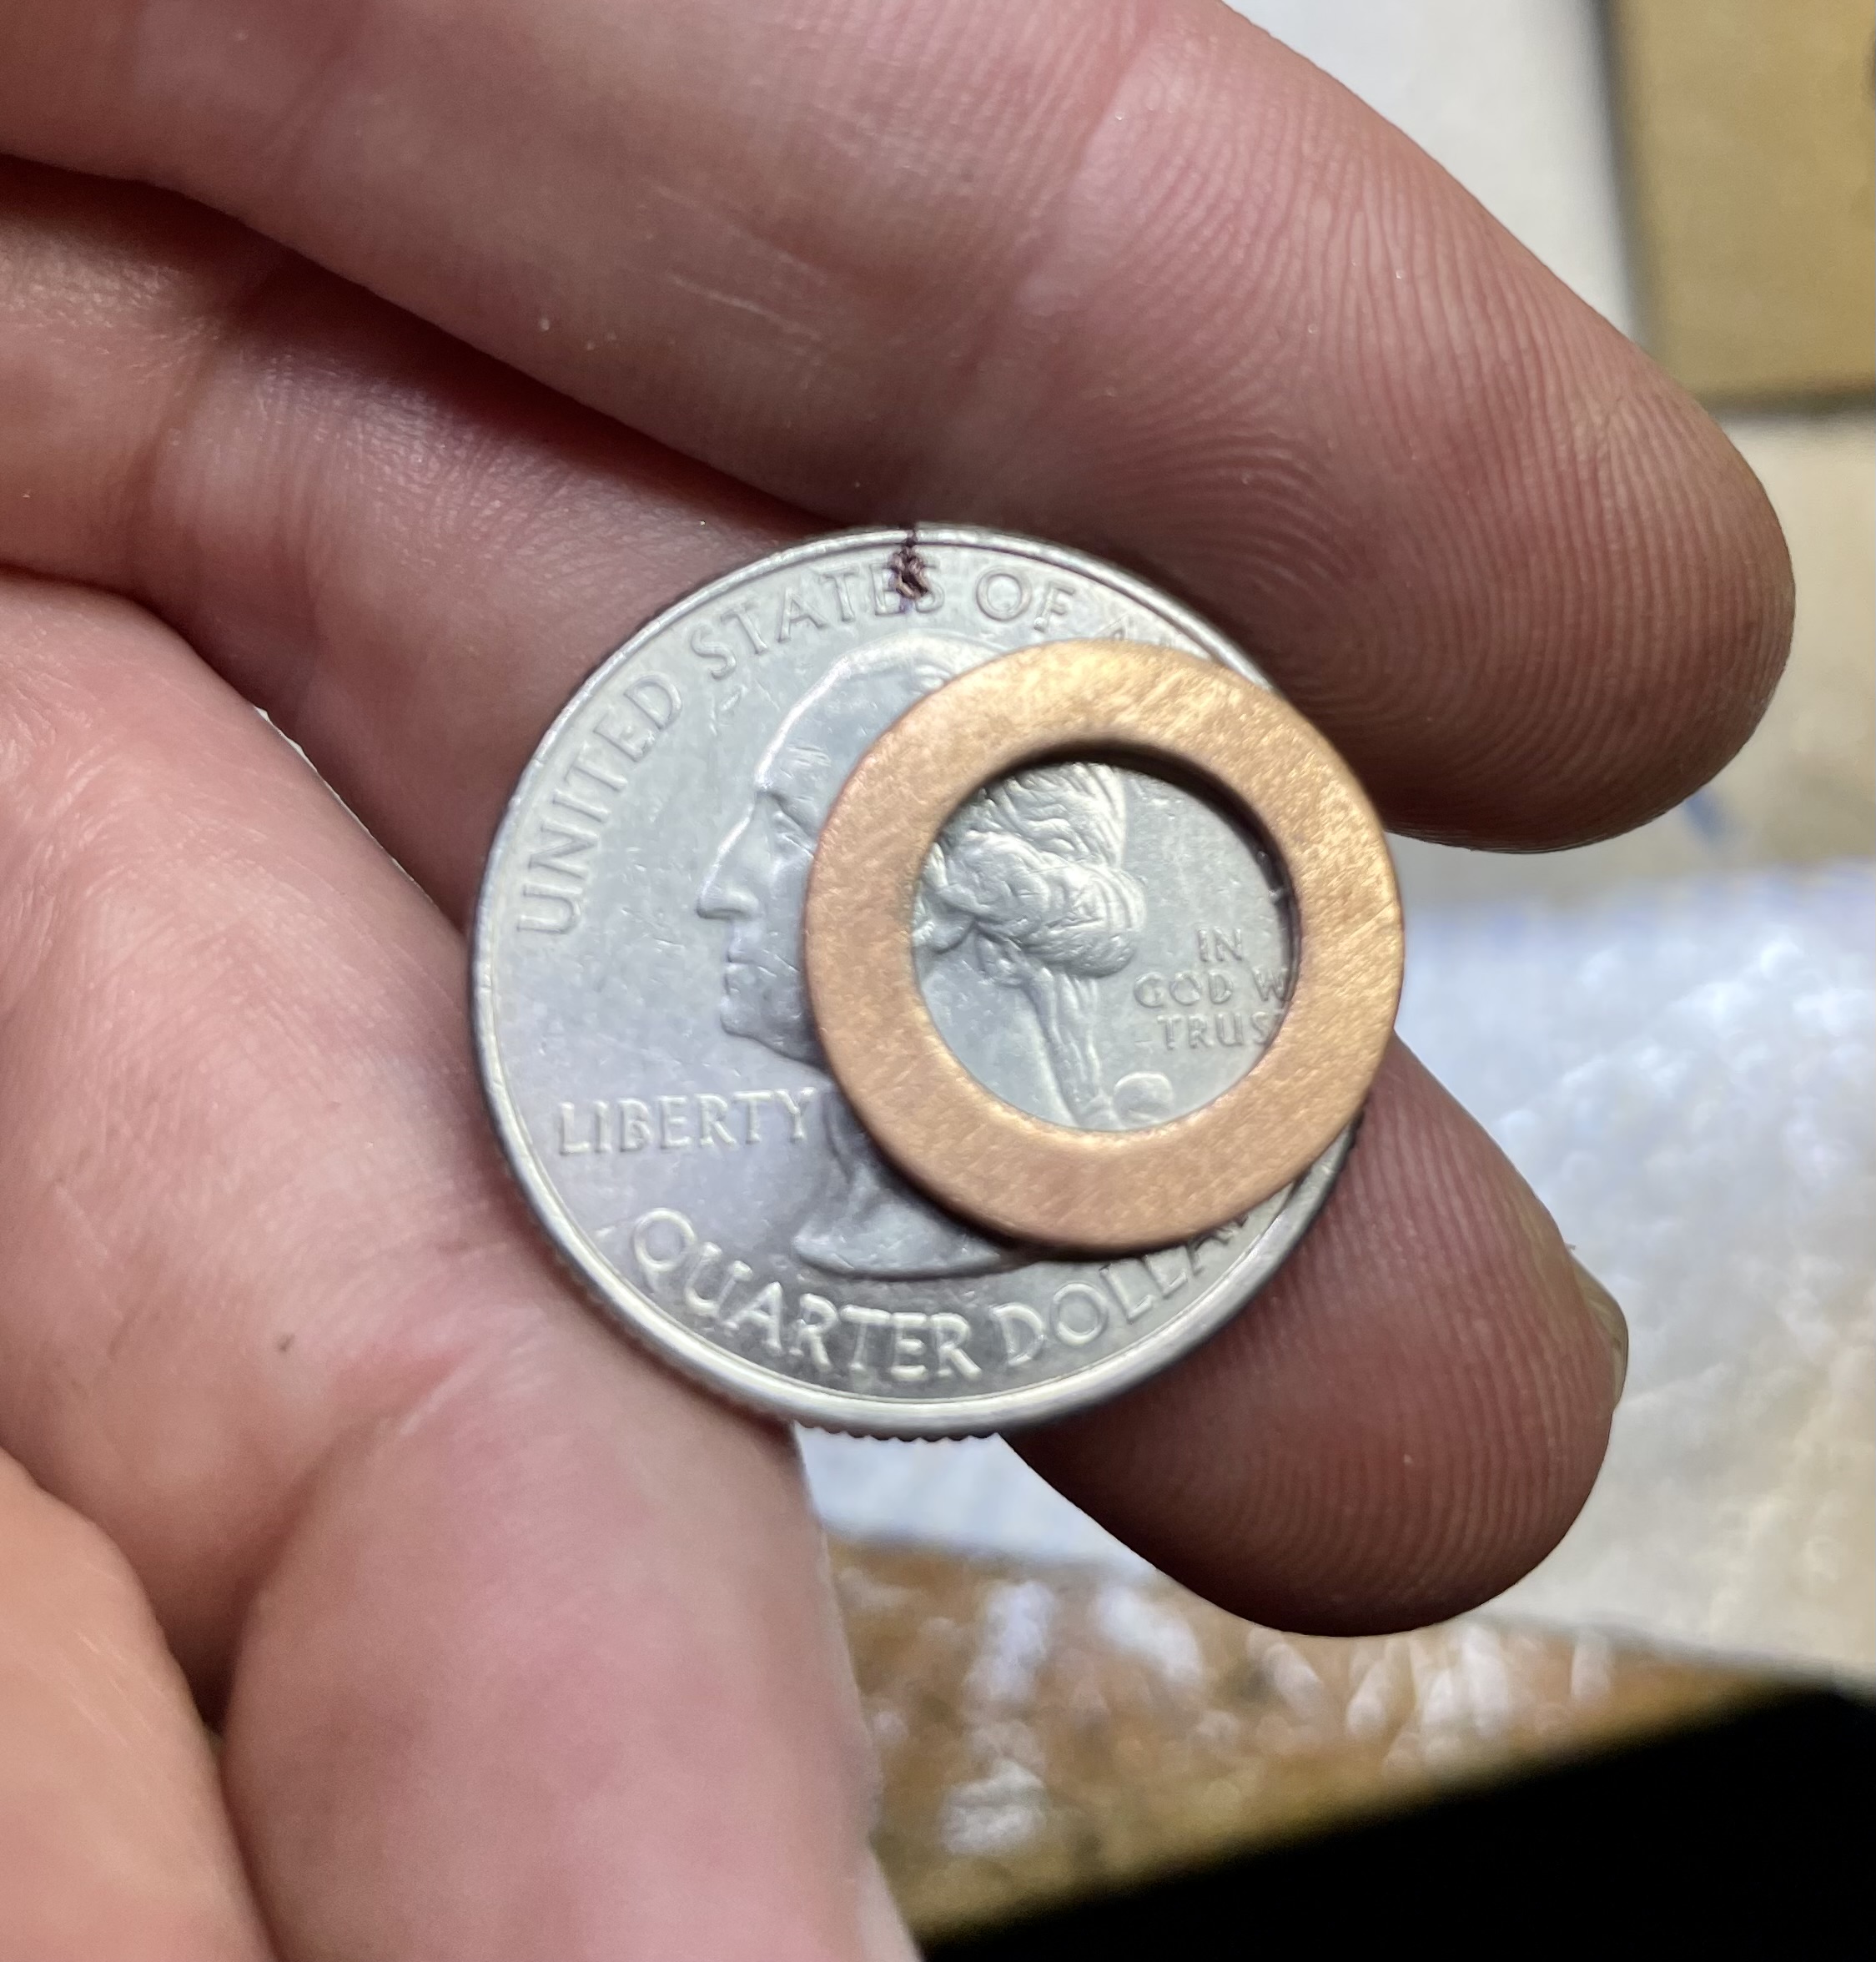
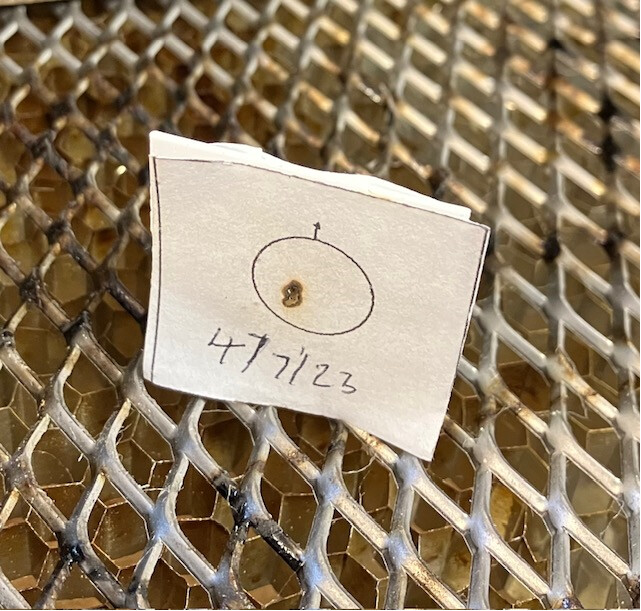
I laser cut a little centering jig from some 50pt chip board and glued washers to both sides of the quarter with some CA glue.
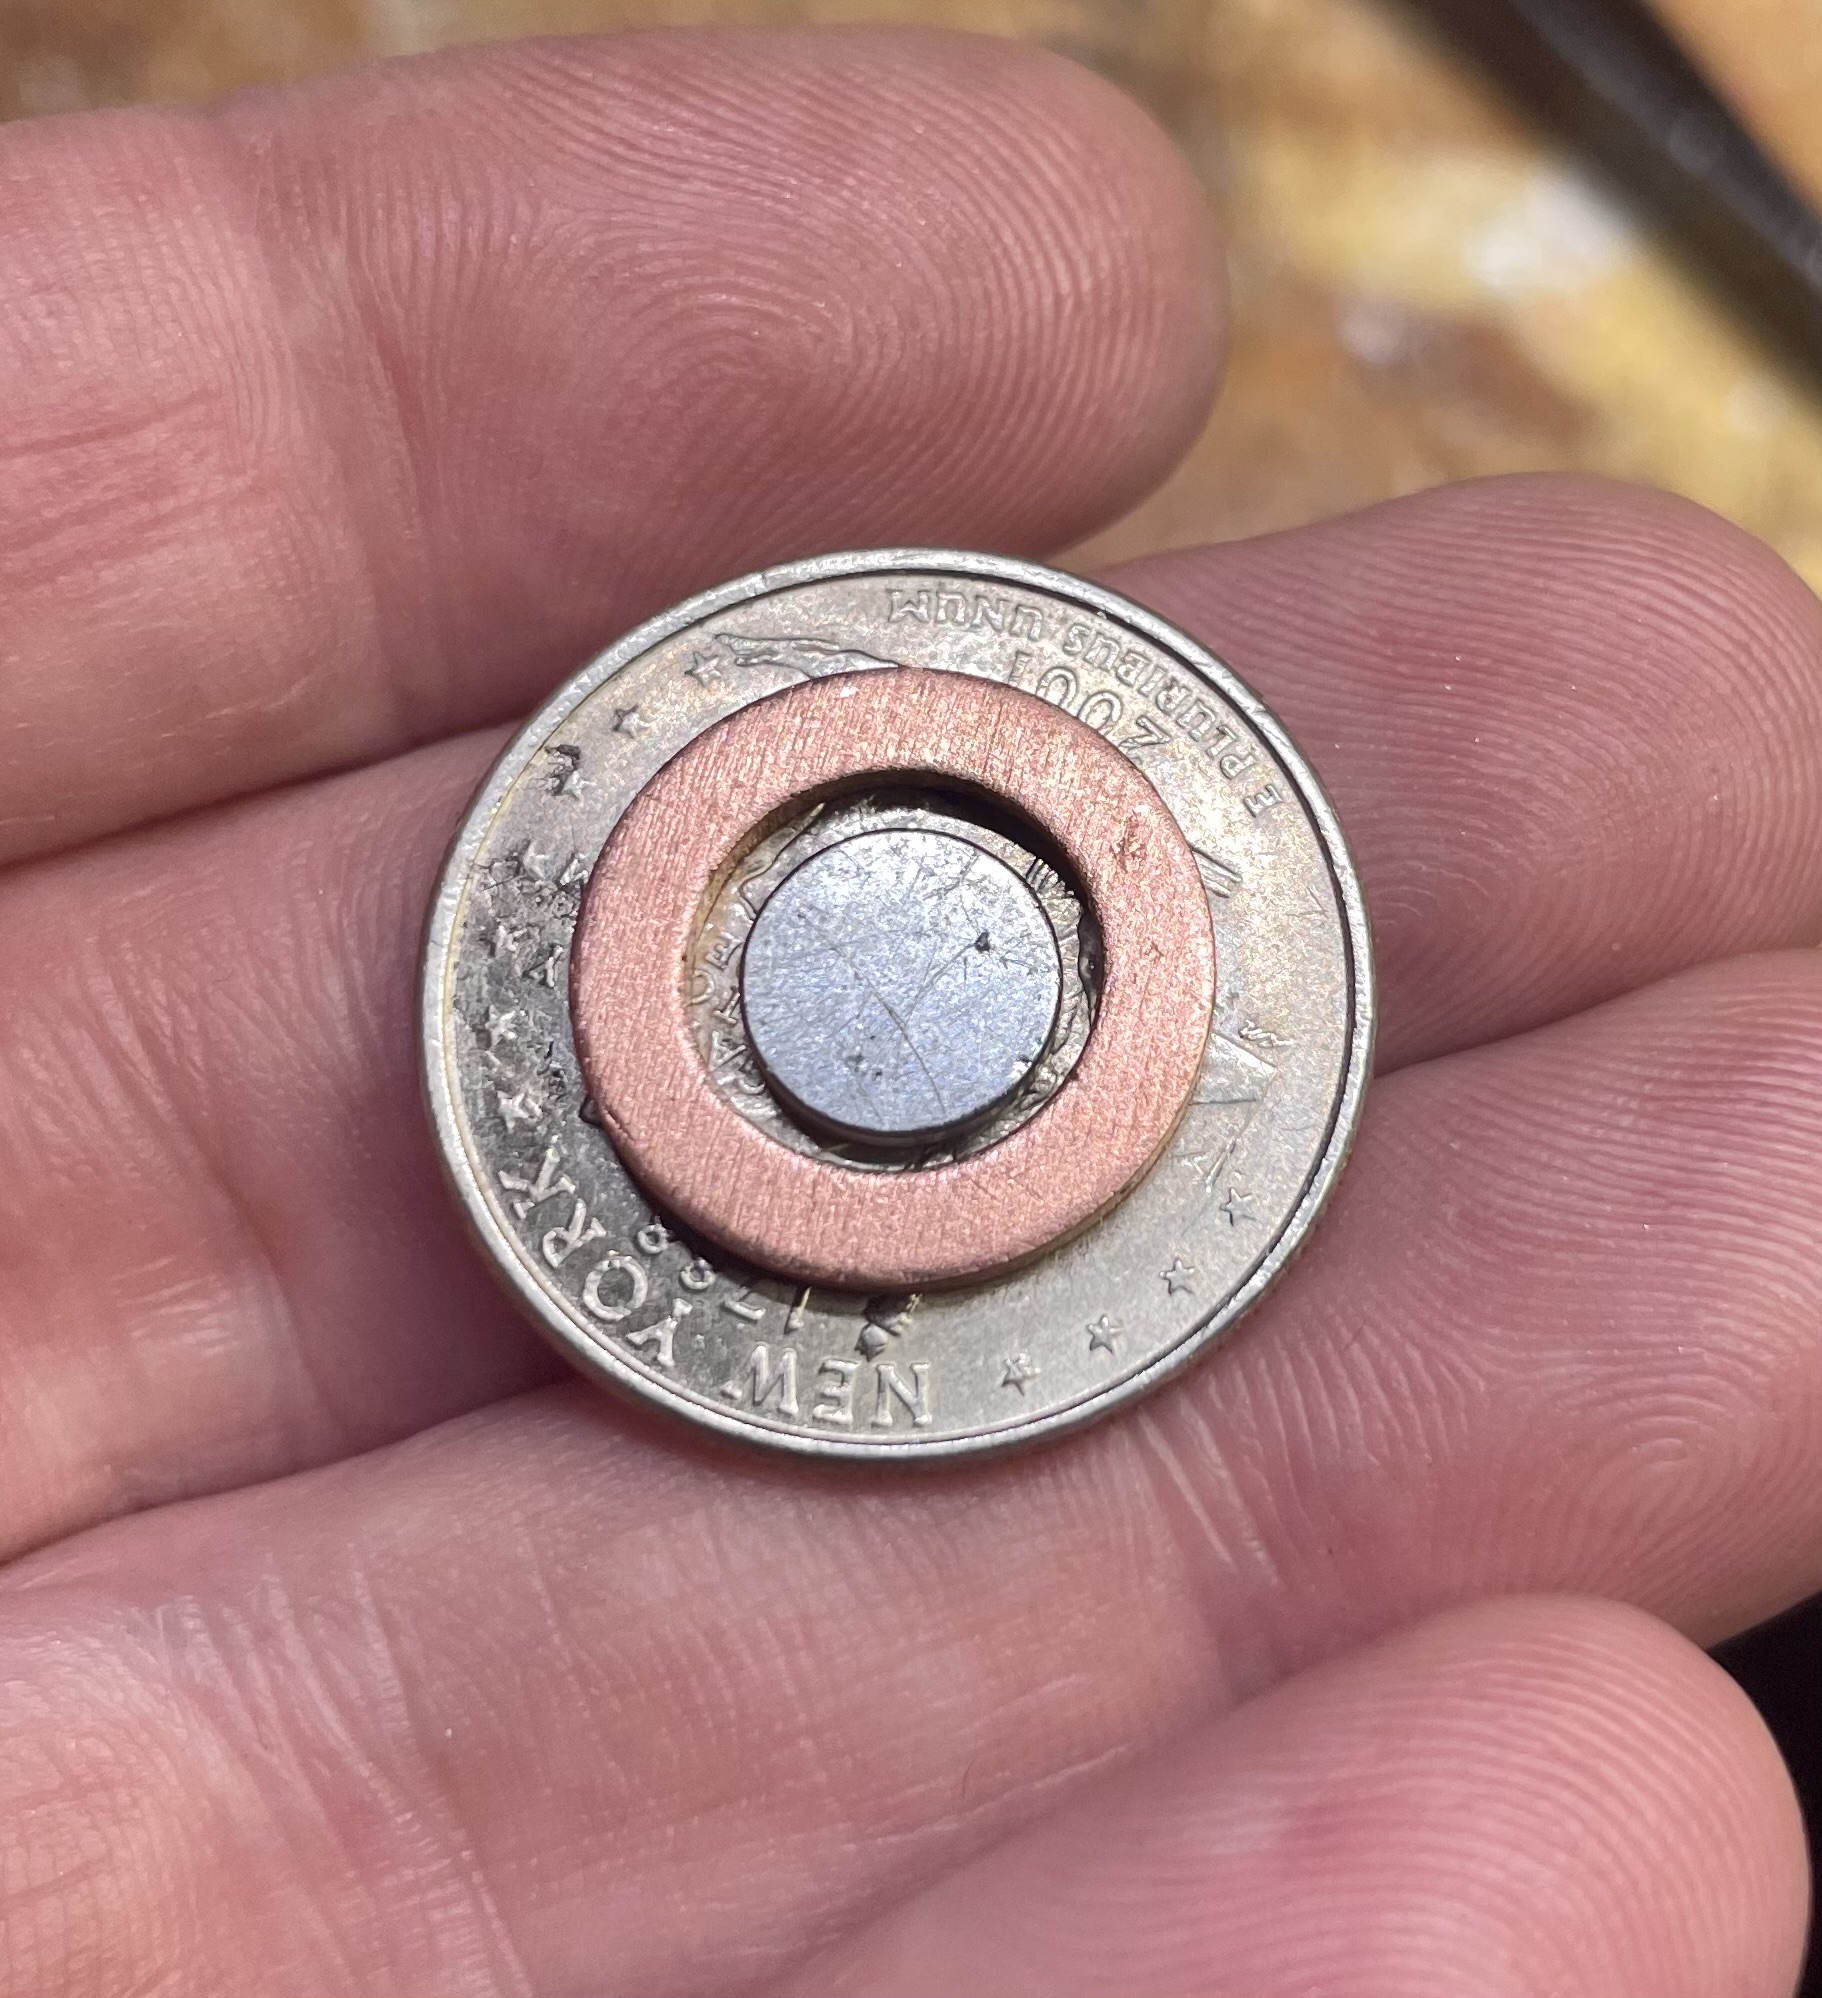
To help keep track of it in the future, I added a thin magnet to the side of the back washer with some CA glue. That way I can attached it to the outside / inside of the machine when not in use.
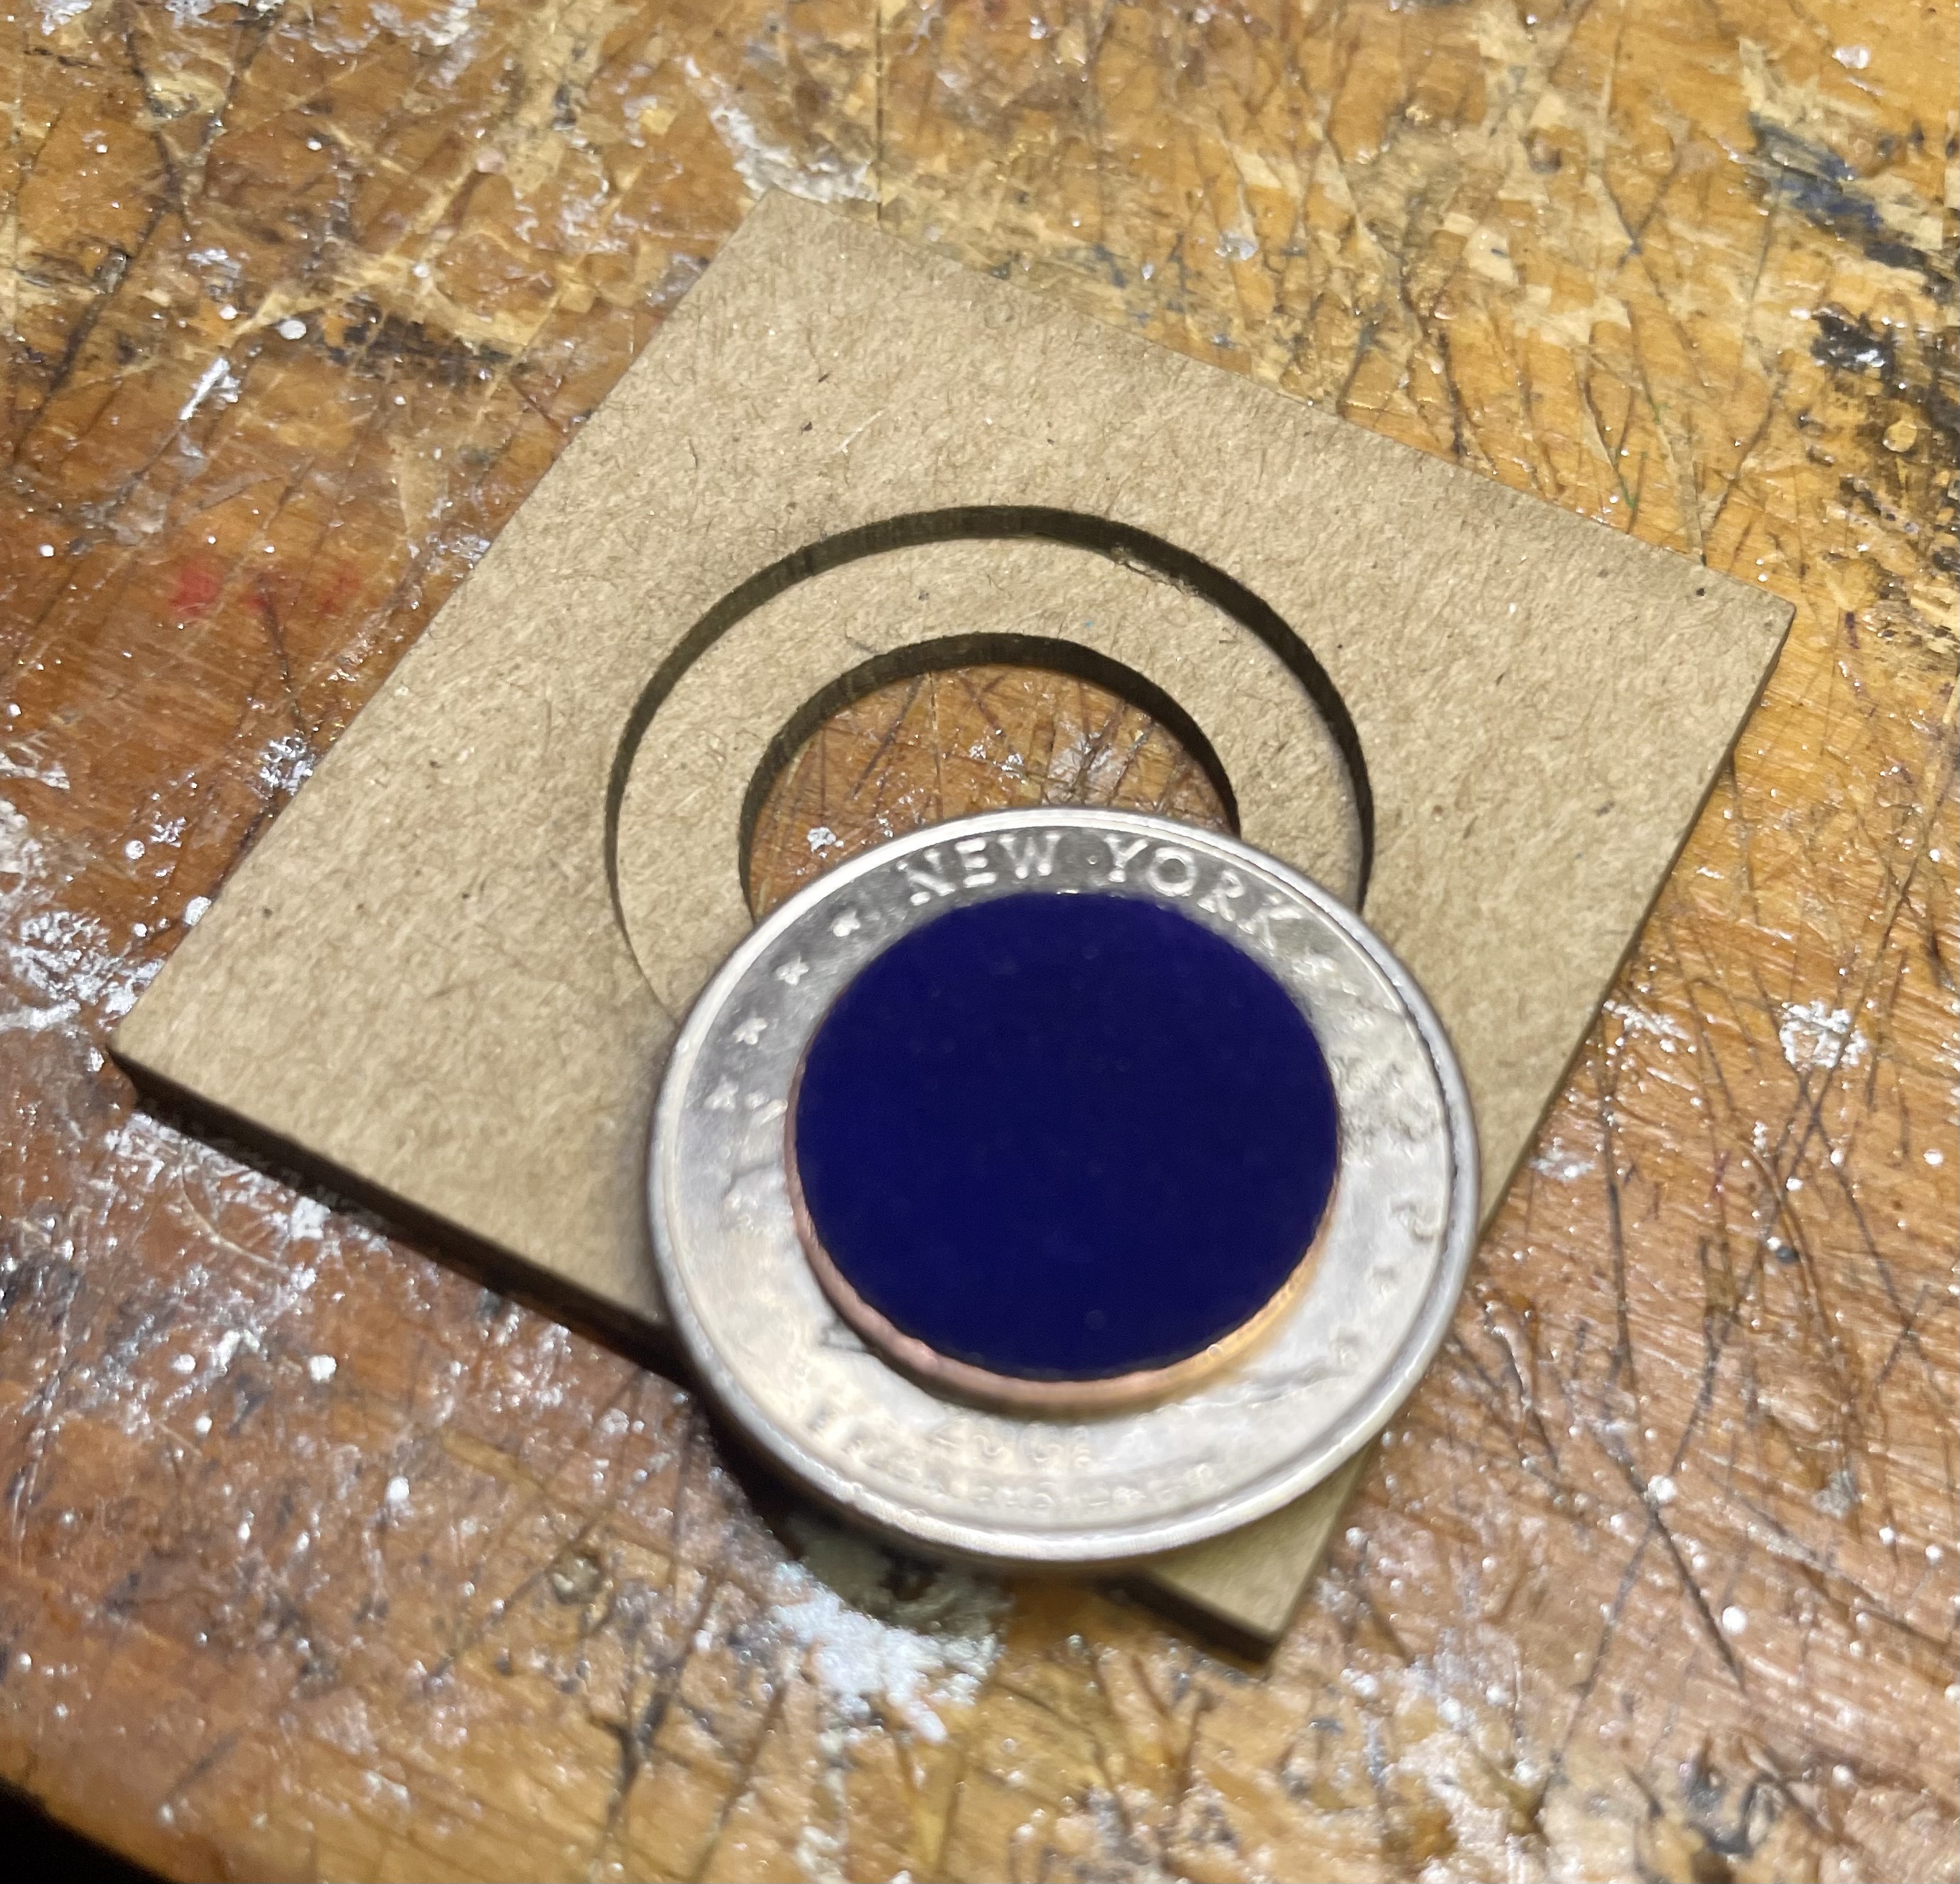
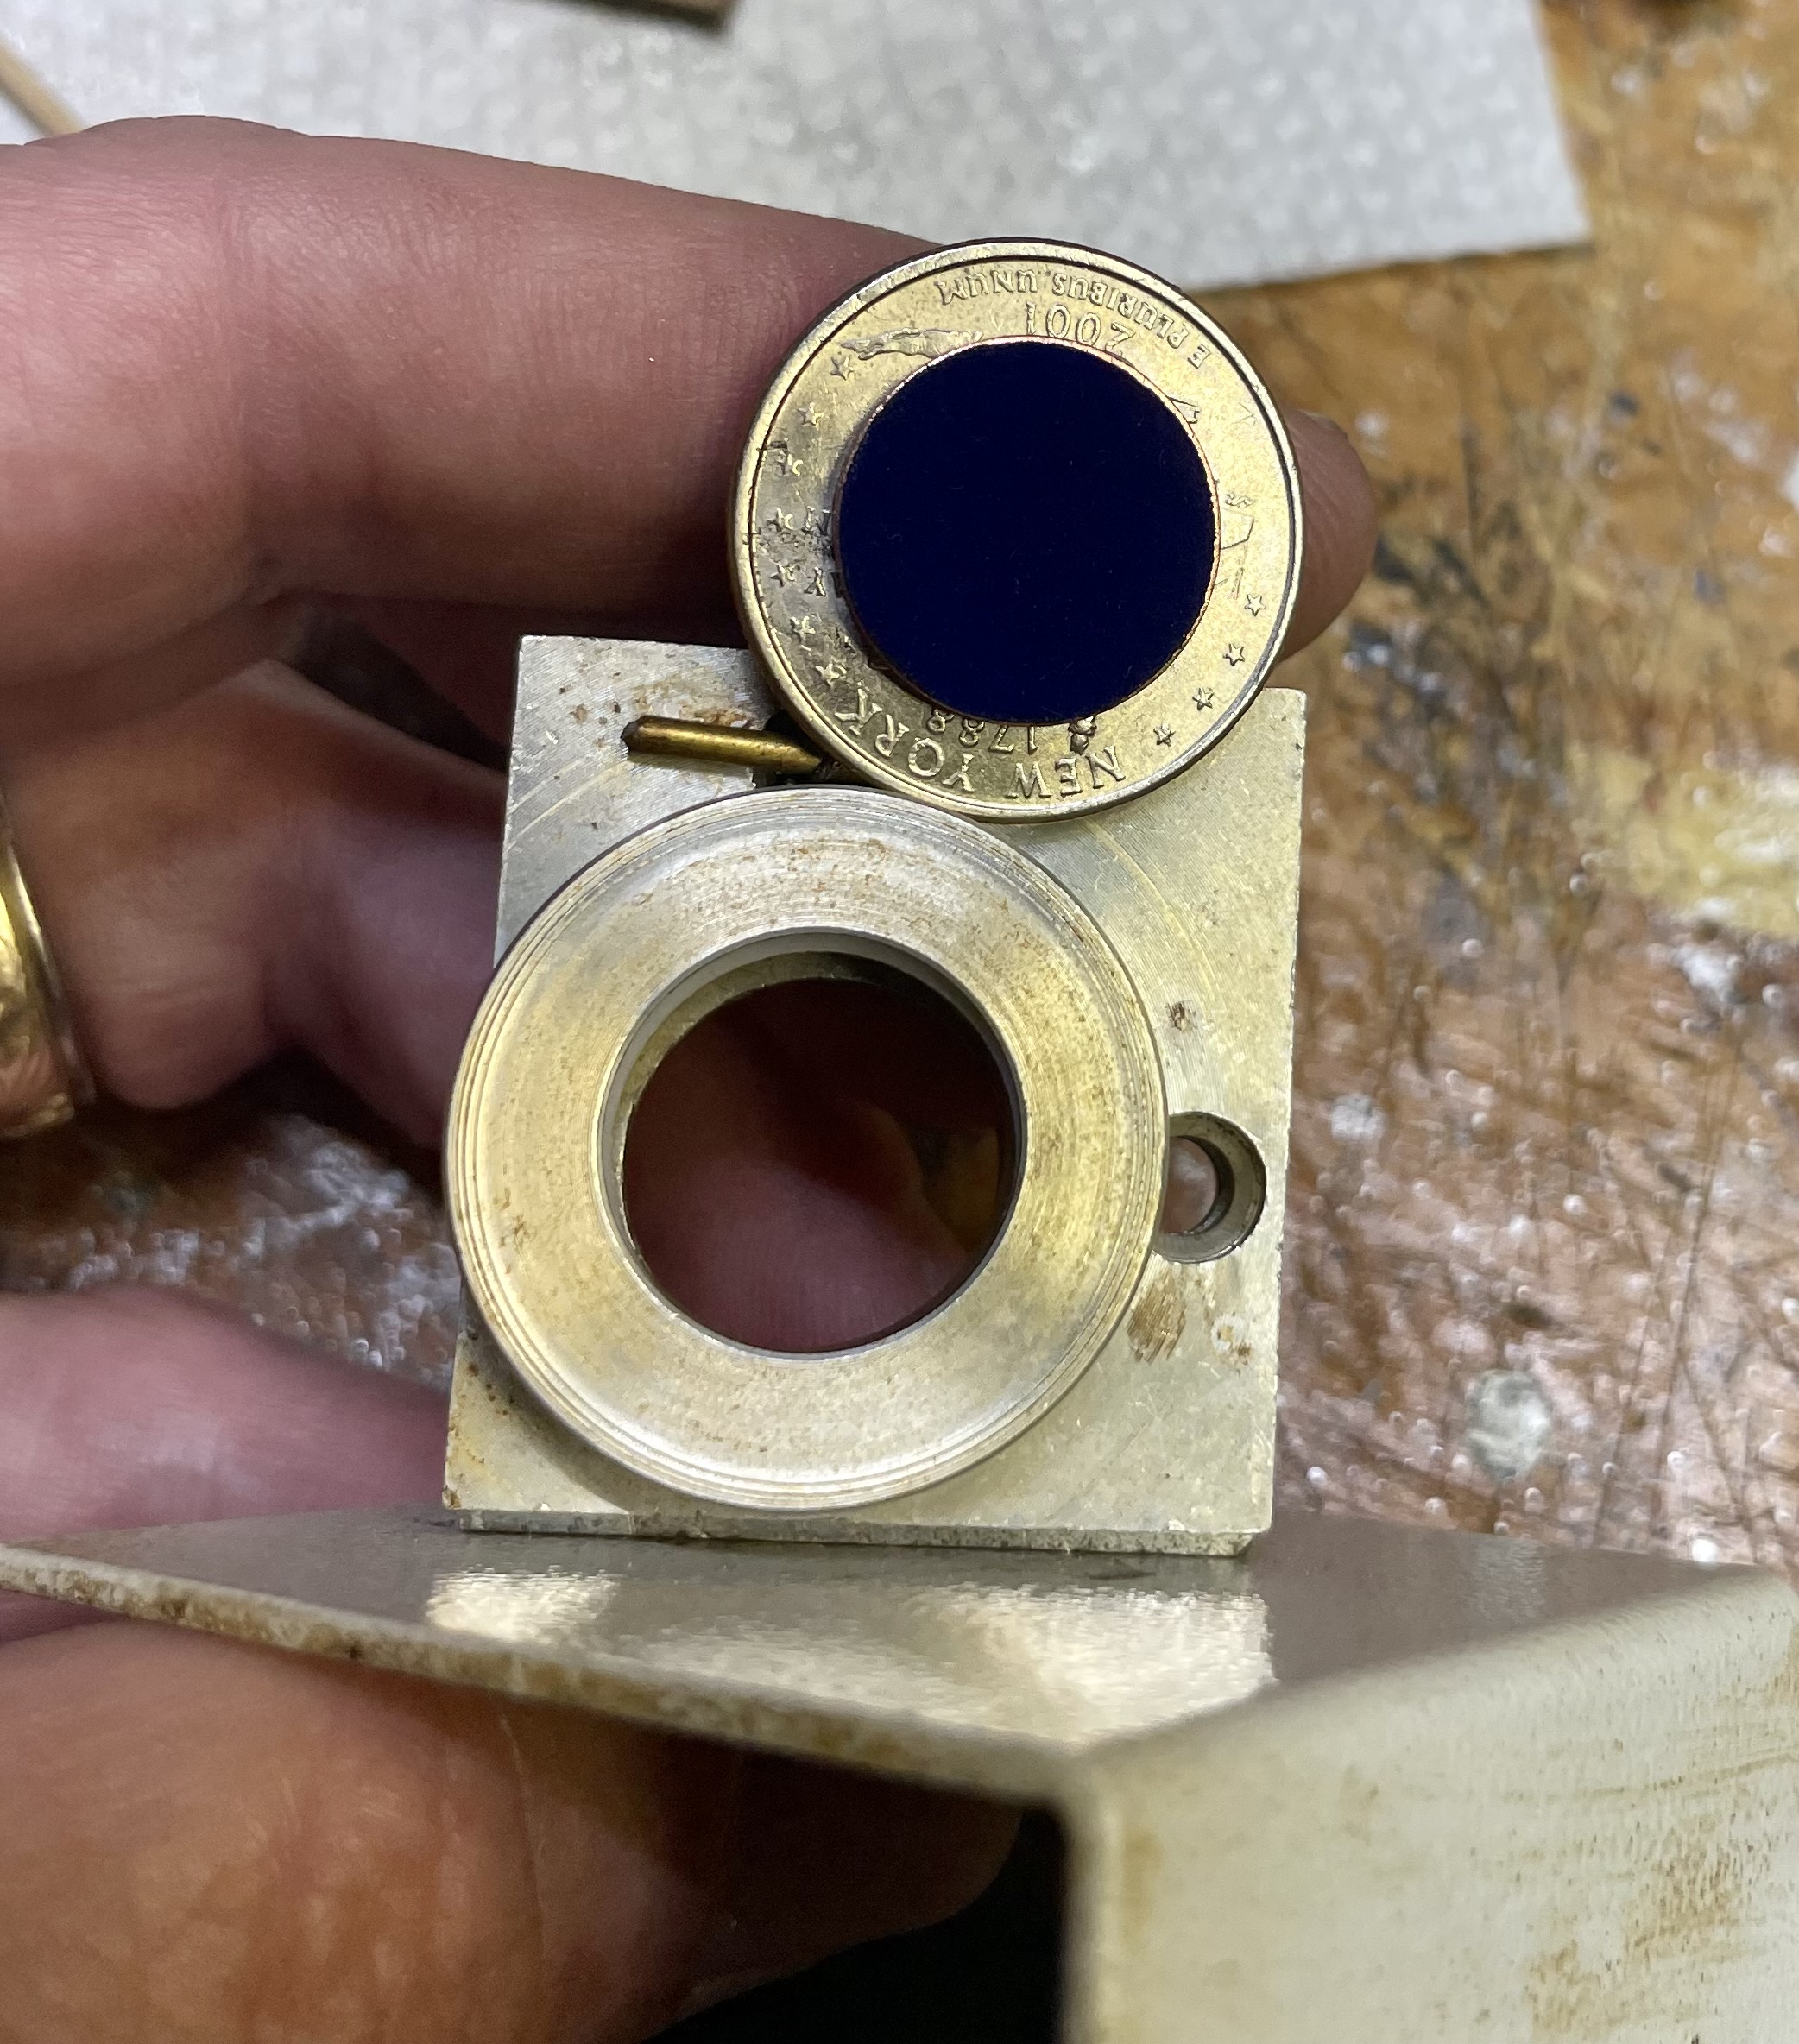
Now it’s easy to just place the protective quarter over the mirror mount hole with some masking tape and easily see where the center of the mirror is located when checking the alignment.
Pretty cool setup but as Don pointed out, getting the beam on the center of the mirror is difficult because the mirror is set back from the large mount ring as it is. A jig which marks the top and bottom very well AND offsets the washer ring so that the center of the washer ring projects to the center of the mirror would be ideal.
The beam is an oval at the 90 deg angle of the mirror and target so keeping it away from the edge of the mirrors and into the center would be a good thing.
I’m rather surprised I’ve not seen attachments to the mirror mounts which would put the target perpendicular to the beam instead of always putting the target paper/tape/etc angled with the mirror.
my guess is that it’s equally hard to ensure that the target is perpendicular.
I still think the easy solution to the alignment problem is to detect if the beam is aligned with the carriage in x-y all along its path (before it hits the mirrors).
It looks like there are a few attempts at making the target perpendicular to the beam( eBay Chinese CO2 Laser Cutter & Engraver Mirror Alignment Tools by DIY3DTech - Thingiverse ) and appear to be a projected from the mount and not the mirror which is recessed back from the mount. So the target point should be slightly off center and towards the side of the K40 case for mirror 2.
Getting the target paper 90 degrees off the mirror should be close enough to perpendicular to the beam so that tests at the near and far end of the axis movement would show a clear circle and help with identifying when the beam is not inline with the carriage motion/frame. ie, burning a circle instead of an oval for better accuracy since the beam energy is more dense in the center of the beam.
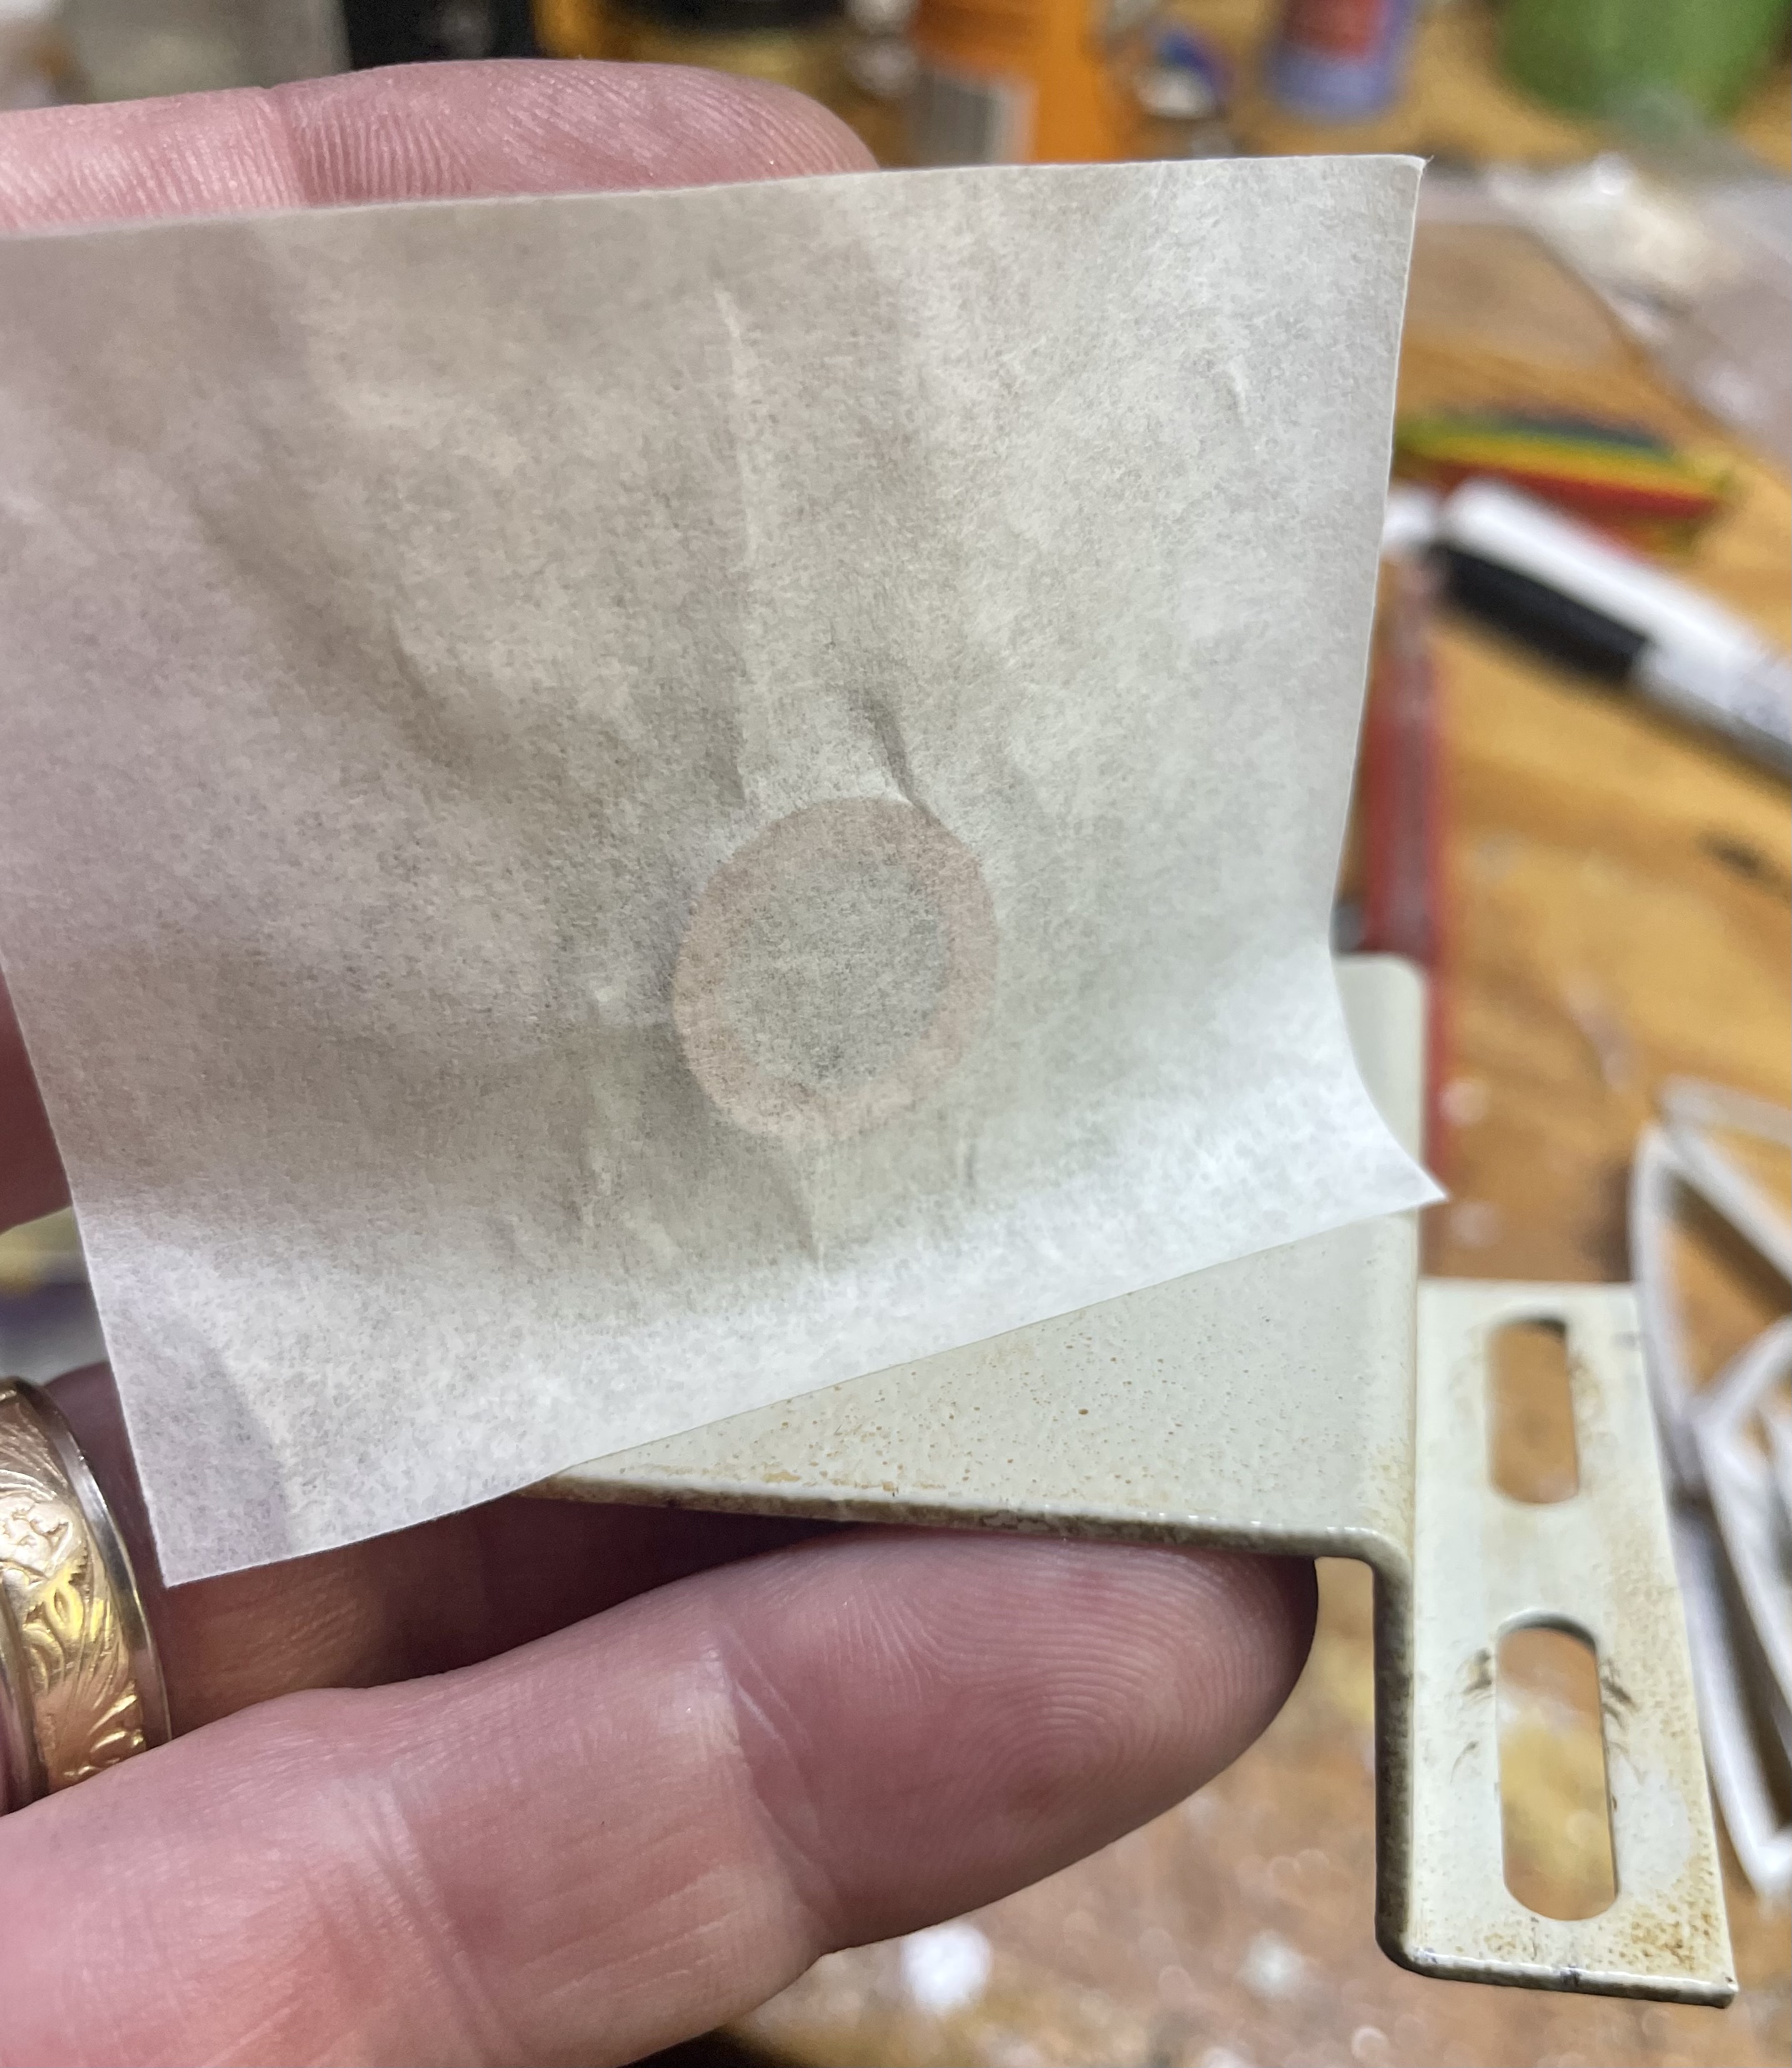
Assuming everything is parallel to the mirror I don’t think It really introduces that much error. I’ll have to check with just a foil disc to minimize the projection.
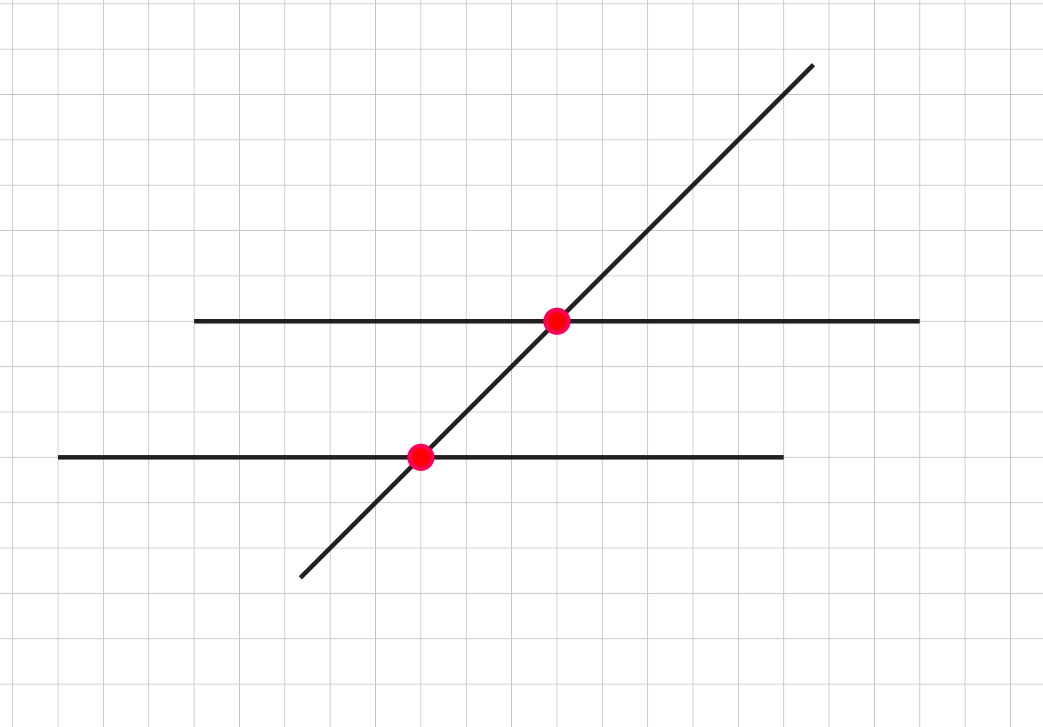
I graphed it up and it looks like its a 1:1 shift, assuming a 45deg angle. So a 1mm shift of the apparent center, relative to the true center, for each 1mm above the mirror surface. So definitely something to keep in mind. Hmm, probably going to need to rethink this.
So given how far the top washer ends up from the surfaces of the mirror, it appears I would need to target the inside edge of the top washer to be at the true center of the mirror.
You can see why people will get the center alignment off when taping on the mount. This is why I like the idea of a 3d printed or laser cut part which puts the target more perpendicular to the beam AND has the target lines setup for center of the mirror.
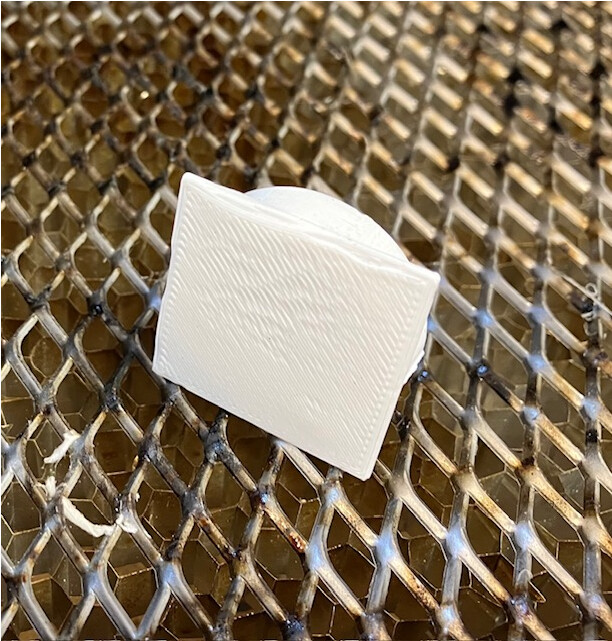
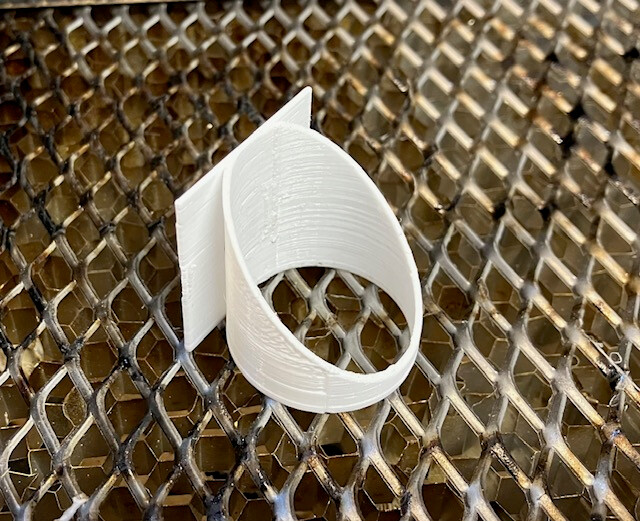
This is what I produced when I was setting up my K40, one for the mirrors and one for the head. They simply fit over the mirror or slide over the head.
The first design had these open to the mirrors until it was pointed out that that would cause debris onto the mirror so I closed the hole off and put a square target area 30mmx30mm where the centre of the hole is and printed 30x30 paper labels to place on. I initially made this just 0.5mm thick but the laser can penetrate so fixed at 1mm. I think this is better than using tape straight over the hole and a lot easier and far more reliable as it lines up everything pretty well. This also means that like using bed levelling at the start of each 3D printing session which improves getting my first layer down, I simply do a 4 corners test using the head tool before each session to make sure everything is still lined up. In this case all are pretty close but not central.
It takes just a minute and gives confidence everything is still aligned. I would be happy to share the GCODE and STL files if anyone wanted to try this or improve on it.
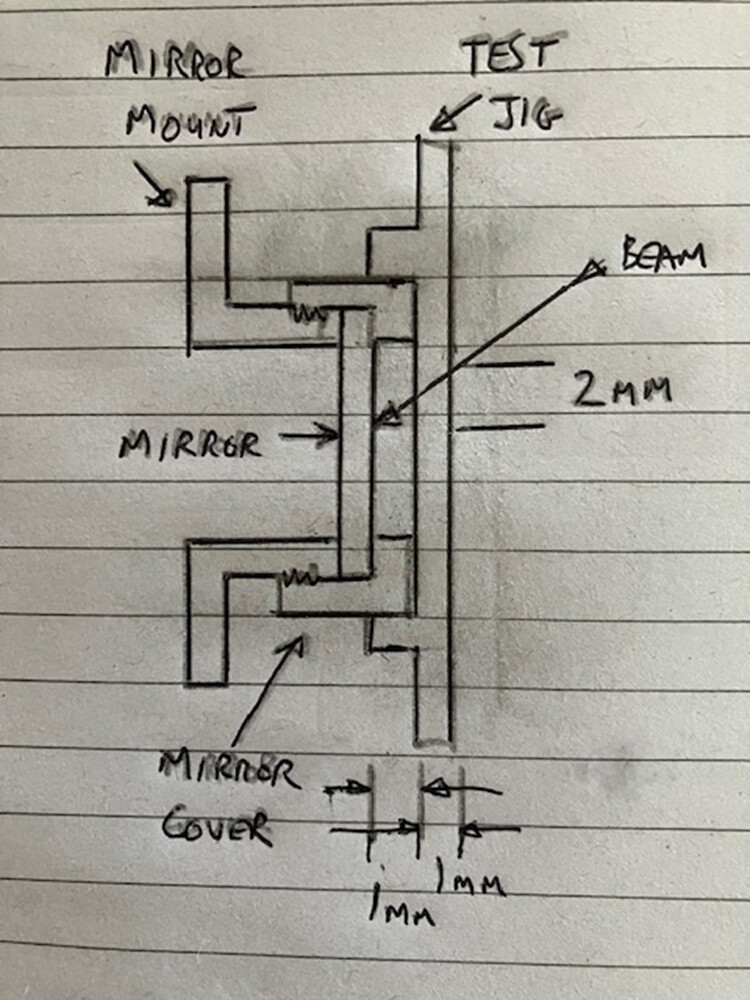
just remember you are not trying to target the center of that circle, you want the center of the mirror which is ~5mm behind that at a 45 deg angle. It puts your target spot off center towards the opposite direction the beam is reflecting. Scroll up to see what @NedMan did.
Yes with the beam hitting the target on the stock mirror holder at 45 degrees this does mean it is around 2mm in front of the mirror (1mm for mirror cover lip and 1mm tool thickness) so this might be hitting the target around 2mm higher than it would be on the mirror. I could eliminate the 1mm cover lip gap by indenting the tool into the cover hole lip but it is easier to move the target circles up 2mm up to compensate.