WillAdams
May 14, 2023, 2:53pm
1
Lee Valley started making these a while back:
https://www.leevalley.com/en-us/gifts/miniature-tools
and has added a few items such as:
https://www.leevalley.com/en-us/shop/tools/workshop/workbenches/vises/110964-veritas-miniature-bench-vise?item=05P8601
(which for some reason isn’t listed on the above page)
Since most of my work is small in scale, and I’ve always had a fascination with miniatures and models, I’ve started buying these and will have to see if there is a synergy w/ my CNC work.
Currently working up a portable workbench design to make use of the afore-mentioned miniature workbench vise.
4 Likes
Please keep us up to date on your progress and pictures of your work.
2 Likes
marmil
May 16, 2023, 3:28am
3
Those are some of the cutest hand planes I’ve ever seen.
3 Likes
Squeeeeeeee! I rarely work with wood and yet these are so tempting.
3 Likes
WillAdams
June 8, 2023, 11:16pm
5
They are a lot of fun.
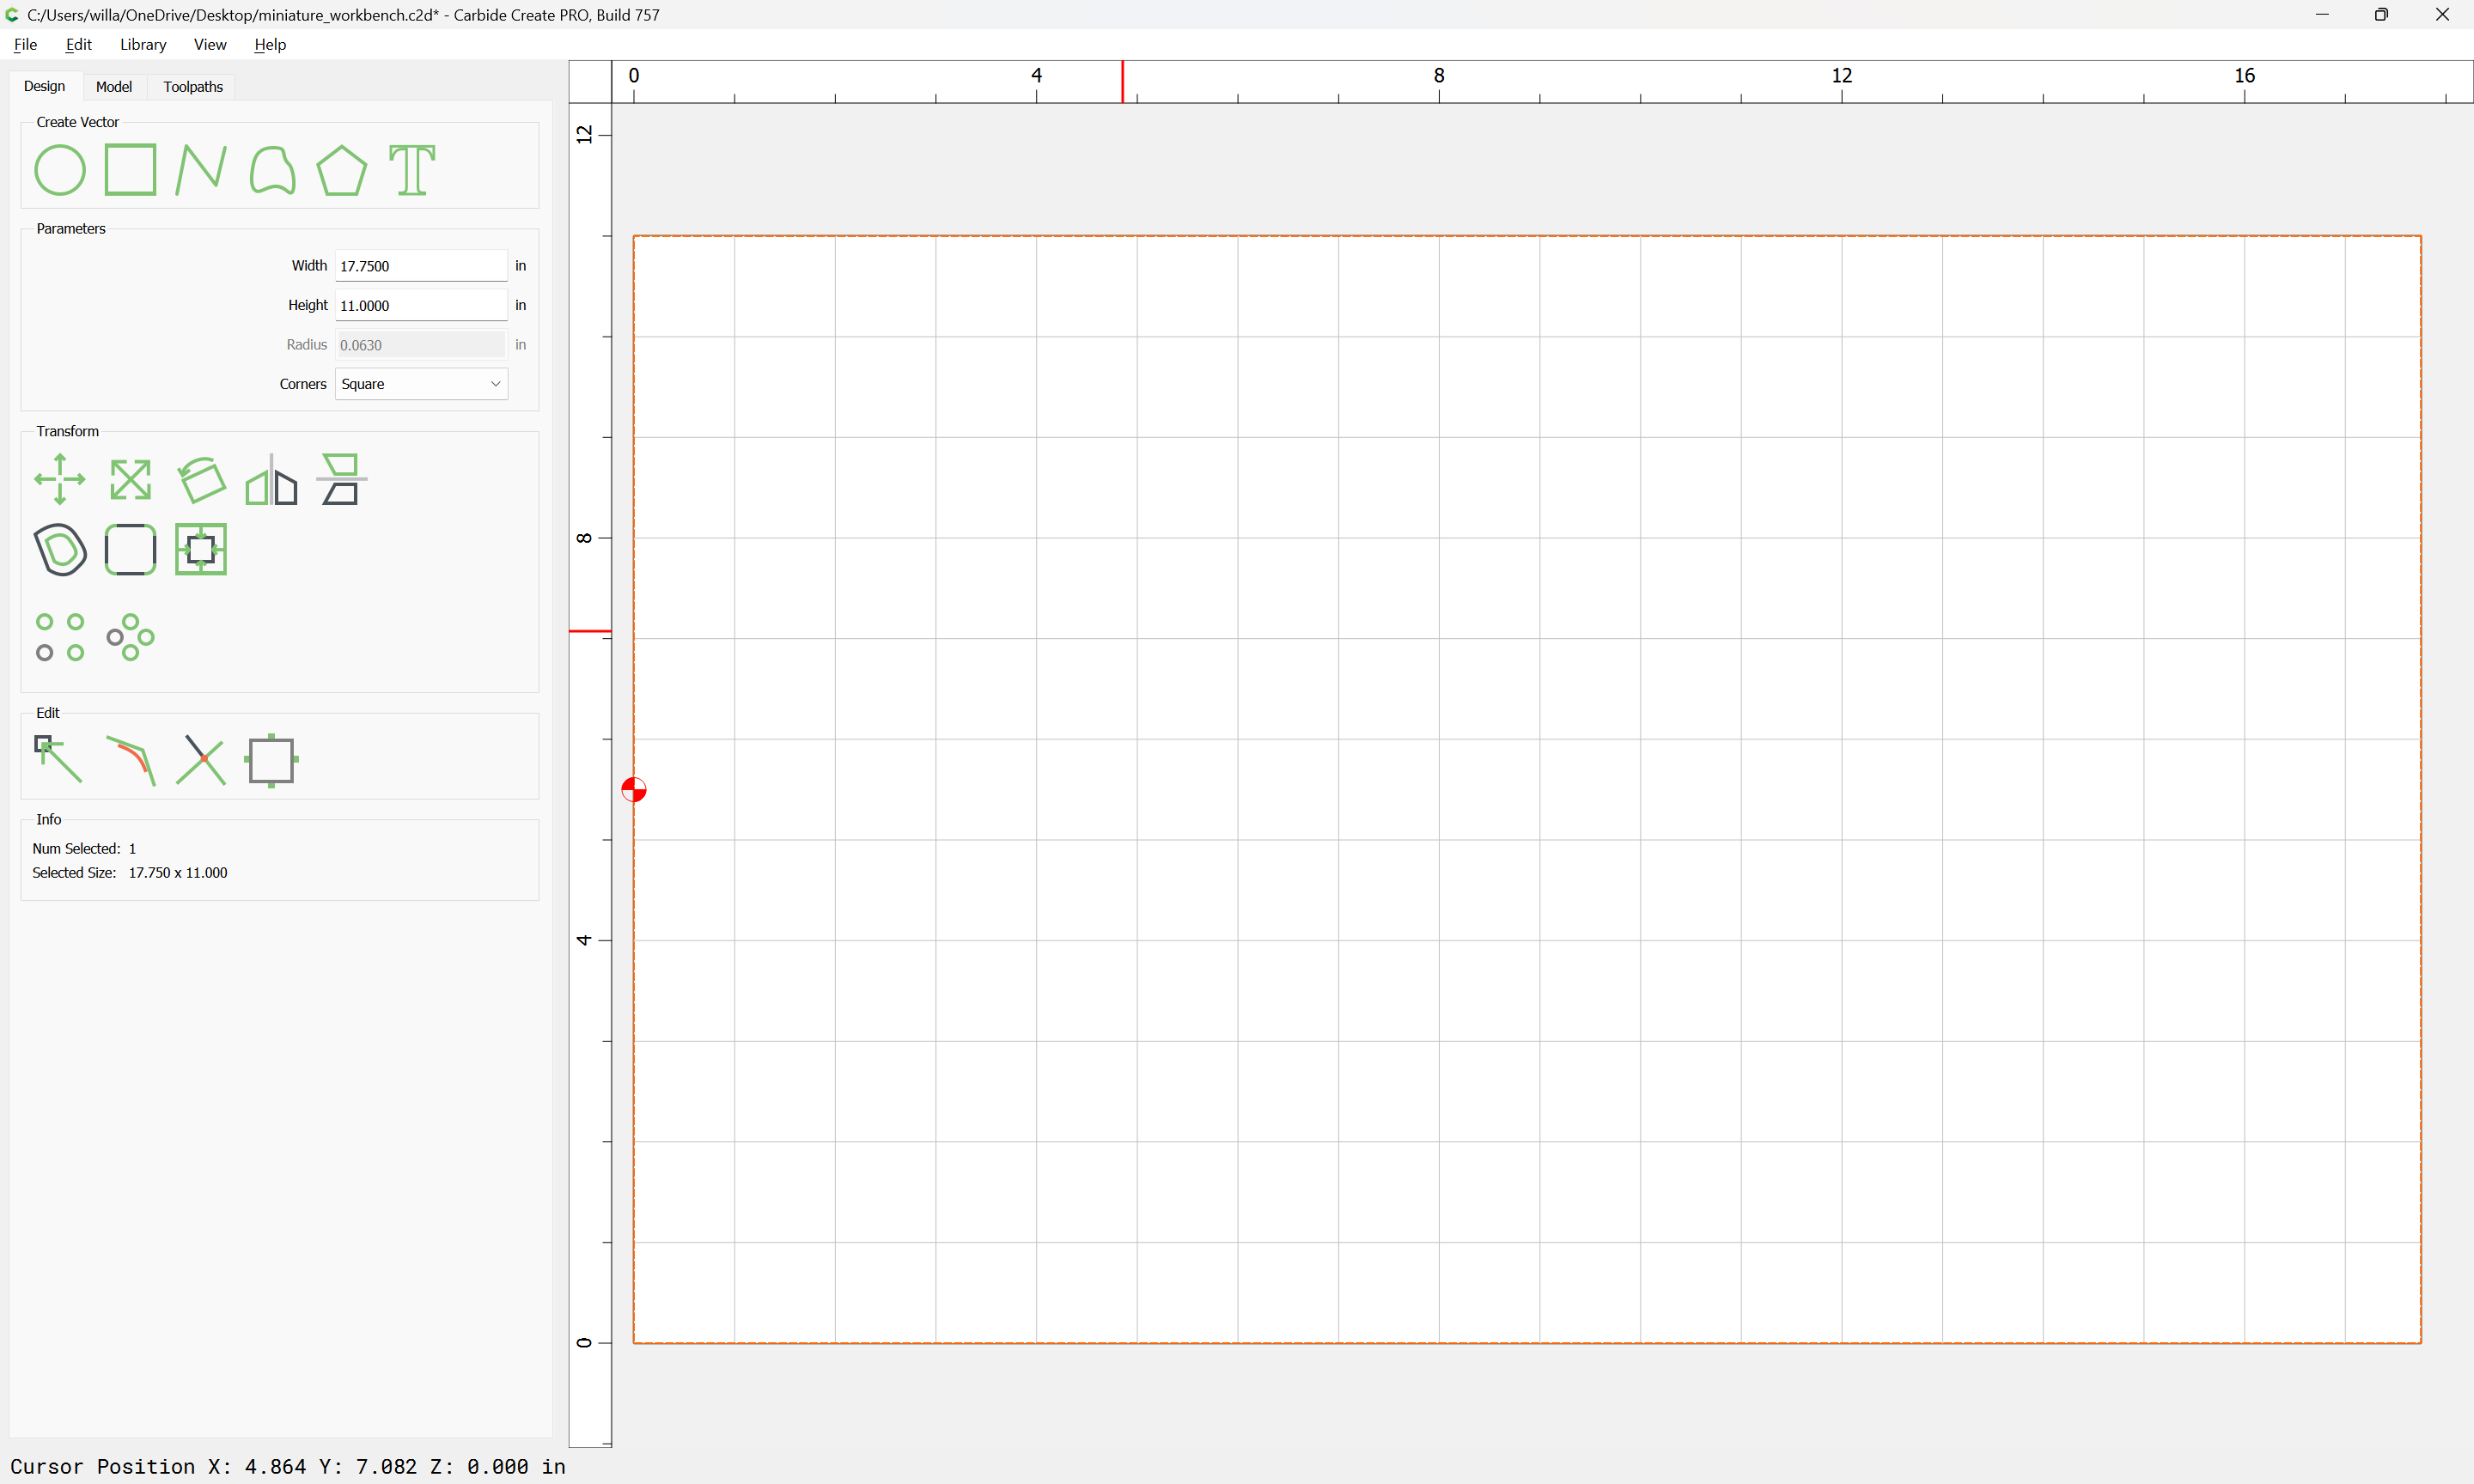
First step is making a working surface which uses the vise — using:
APTITLIG Cutting board, bamboo, 17 ¾x11" Easy-care, easy going bamboo – a natural material that adds color and warmth to your kitchen and at the same time provides a durable surface that’s a pleasure to chop and slice on.
We measure it and draw it up:
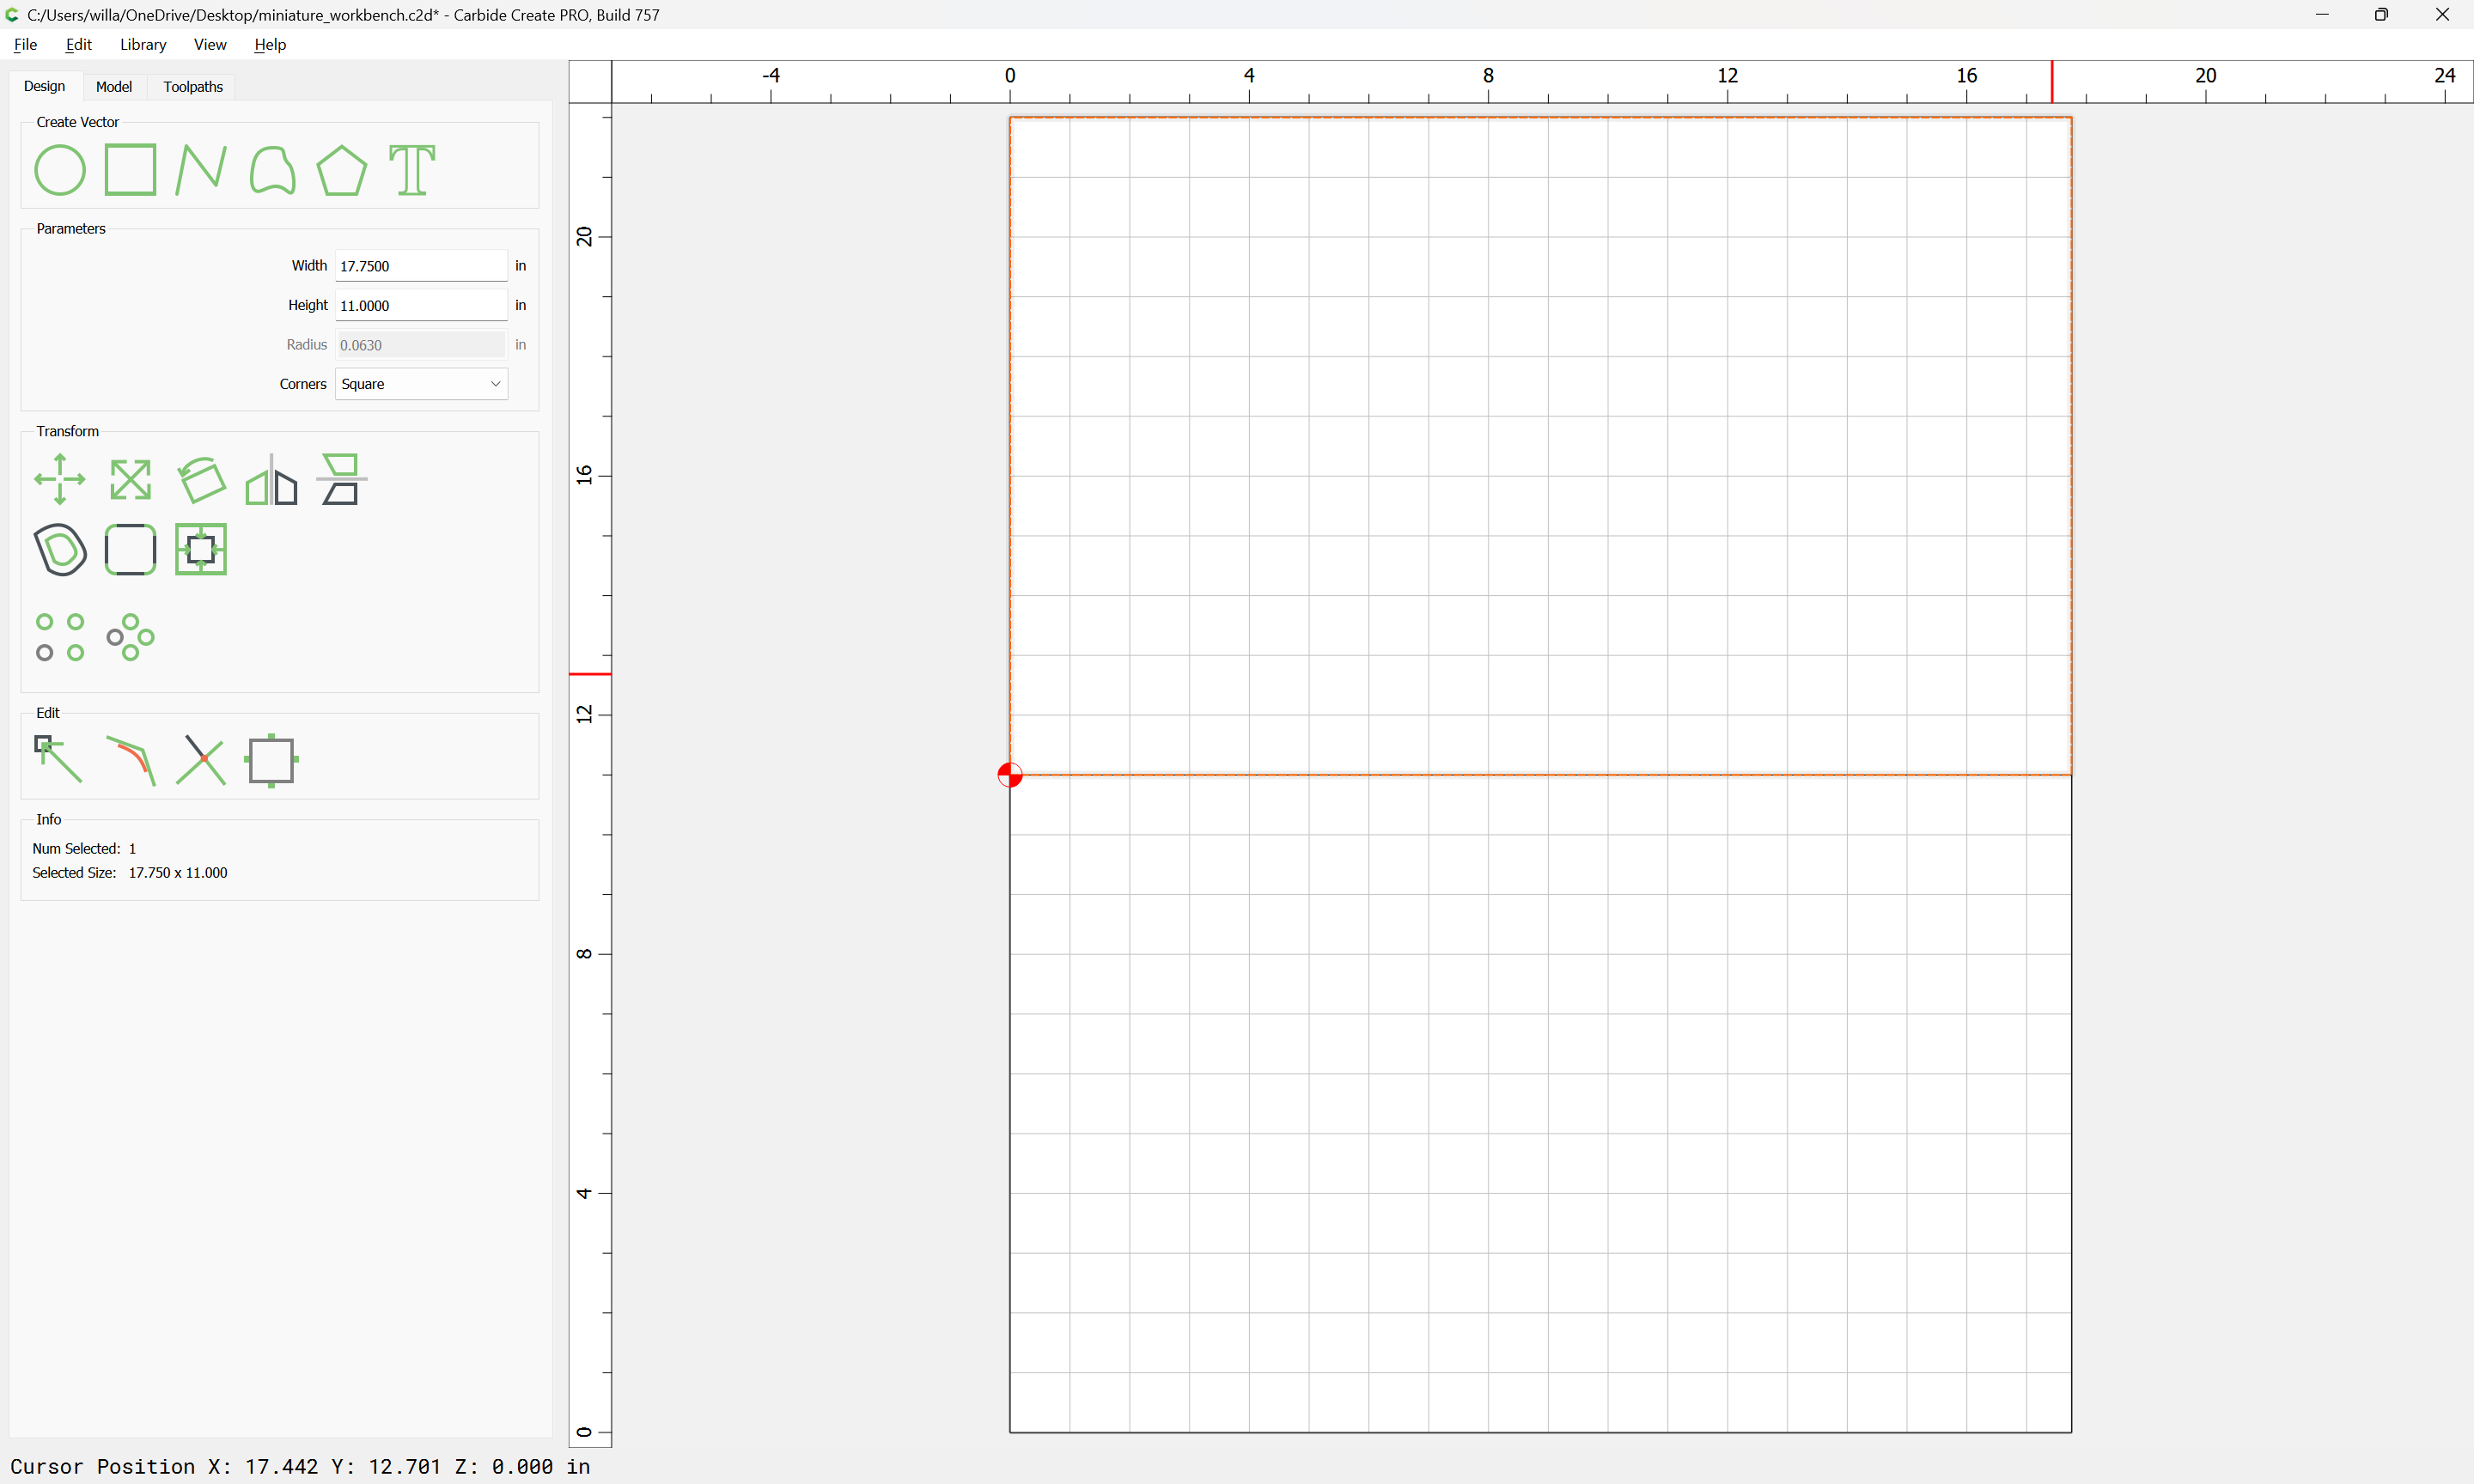
Then, since sqeezing all the parts into a single board doesn’t work, we double the height:
and start laying out parts.
This will allow us to cut in two halves, by mirroring things so as to use the same origin if need be.
2 Likes
WillAdams
June 9, 2023, 2:08am
6
The instructions for the vise include hole patterns and dimensions for mounting the vise and making a wooden front jaw:
WillAdams
June 9, 2023, 3:12am
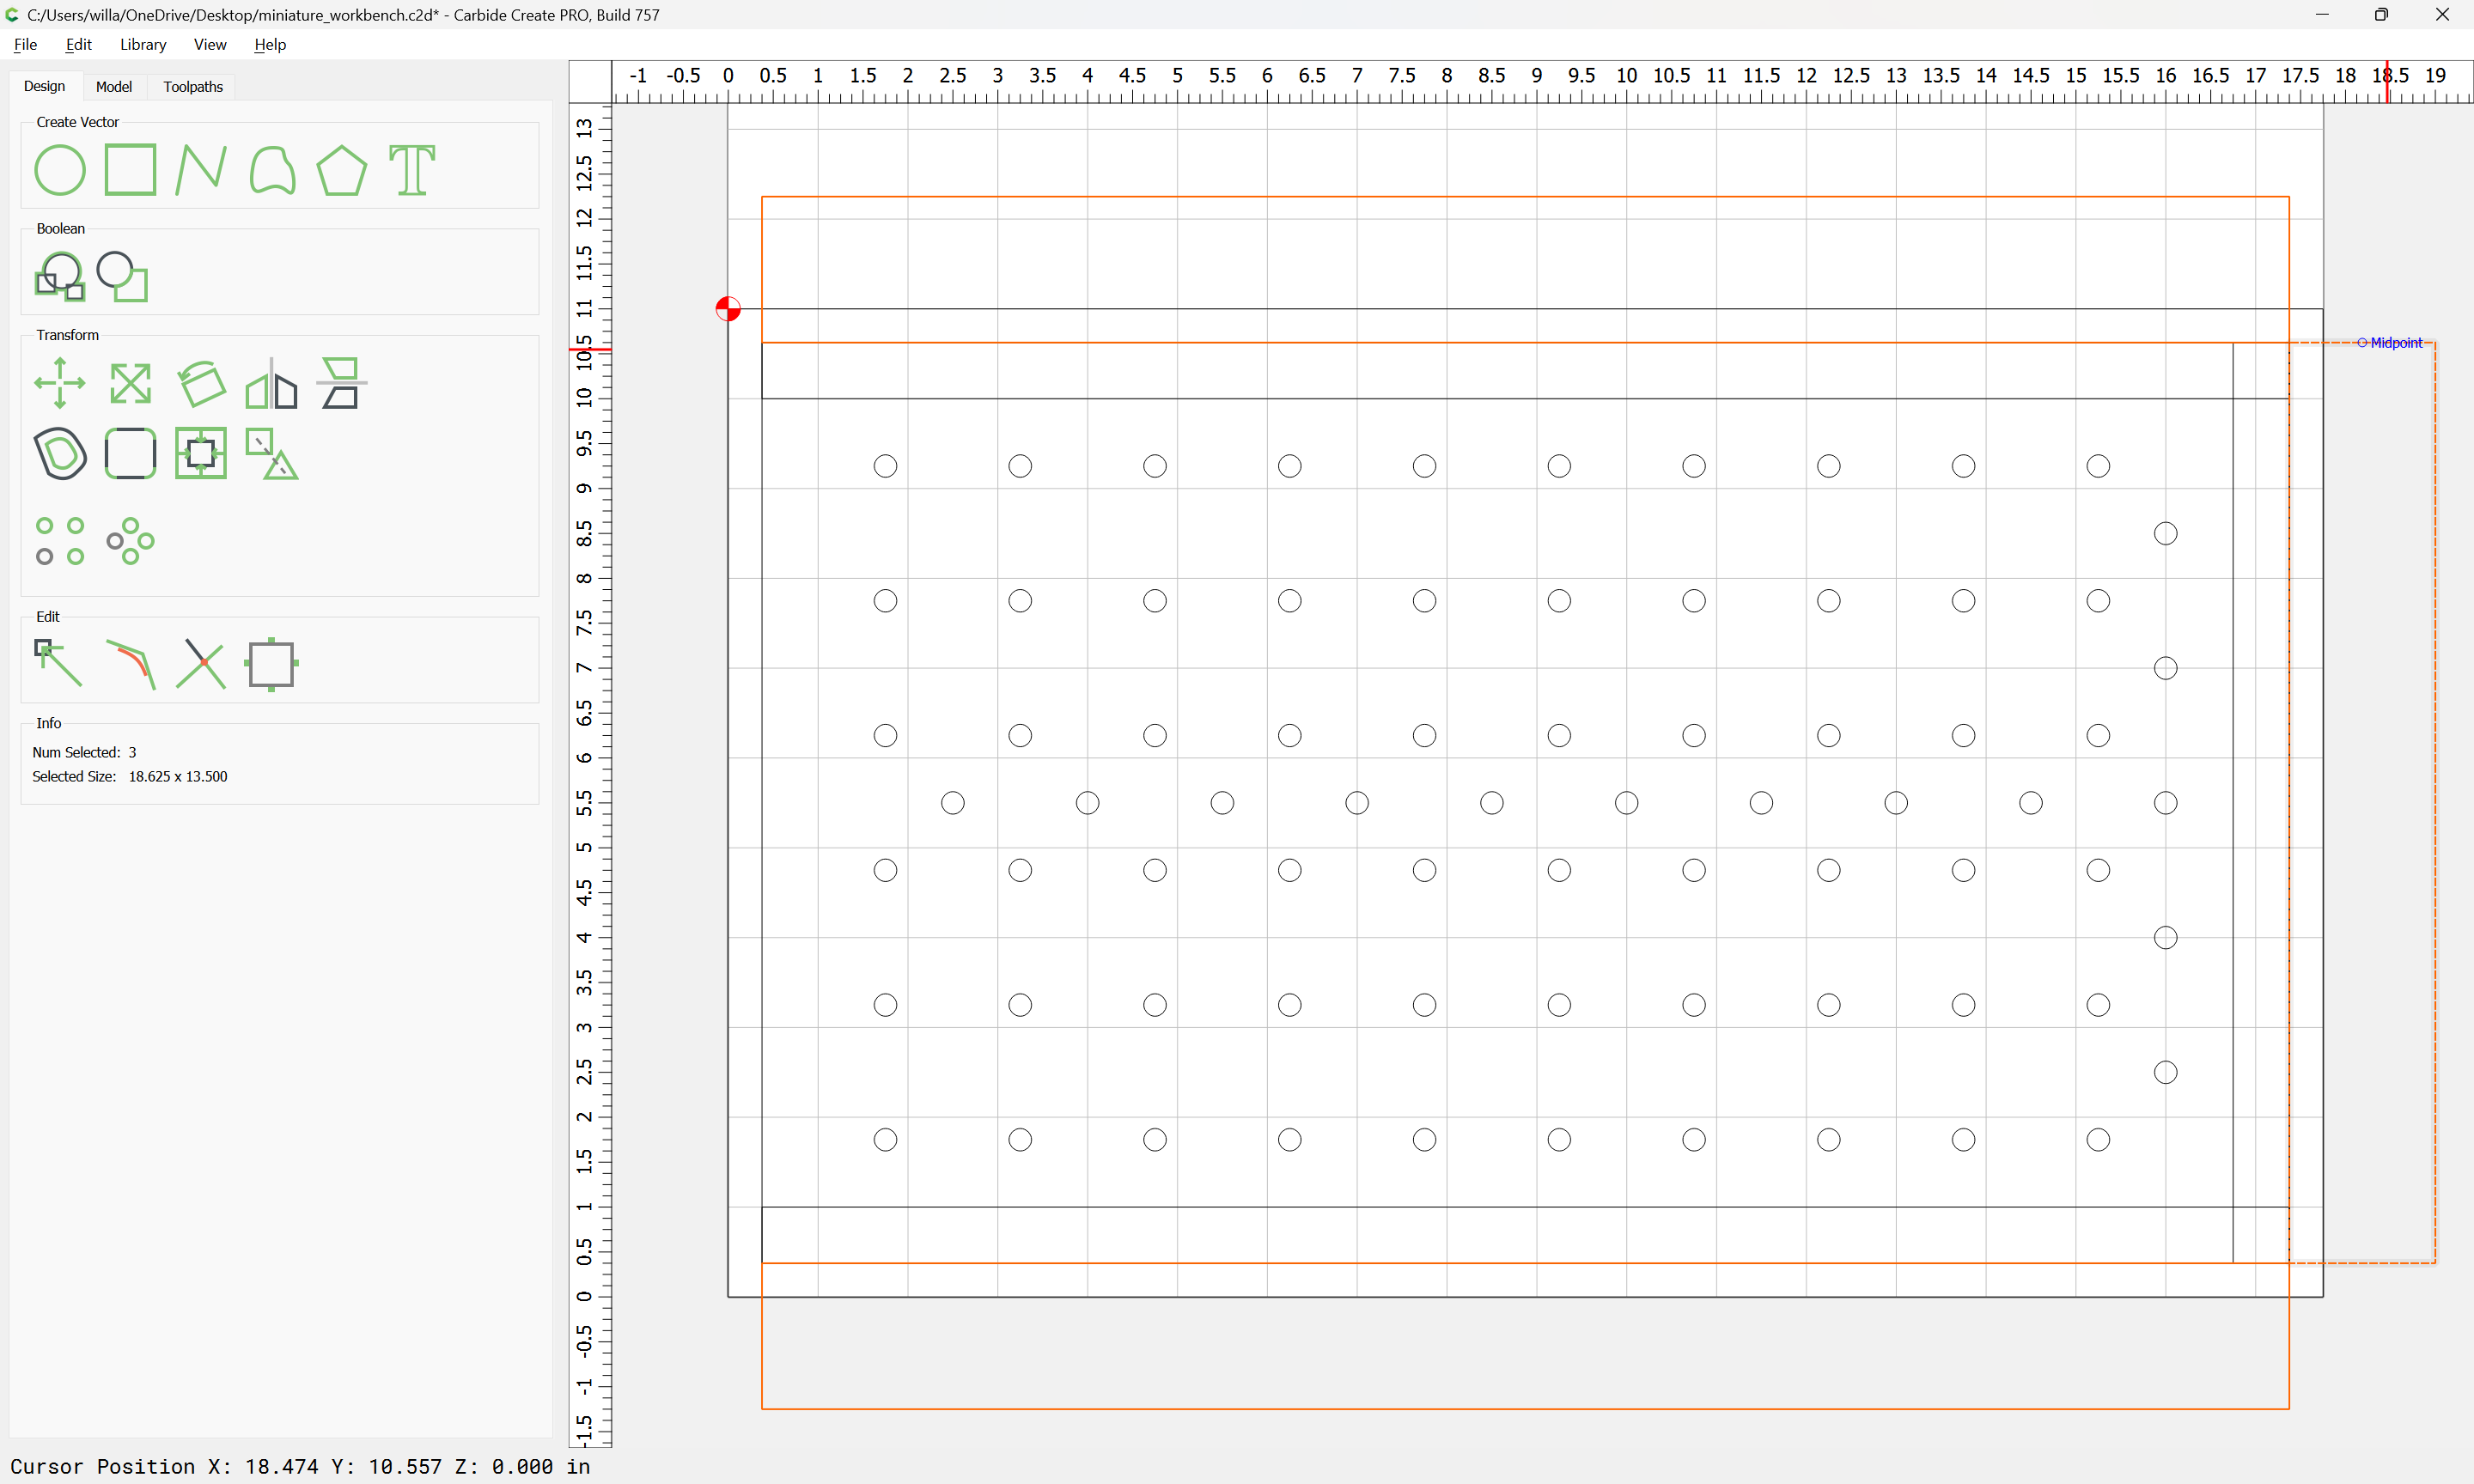
7
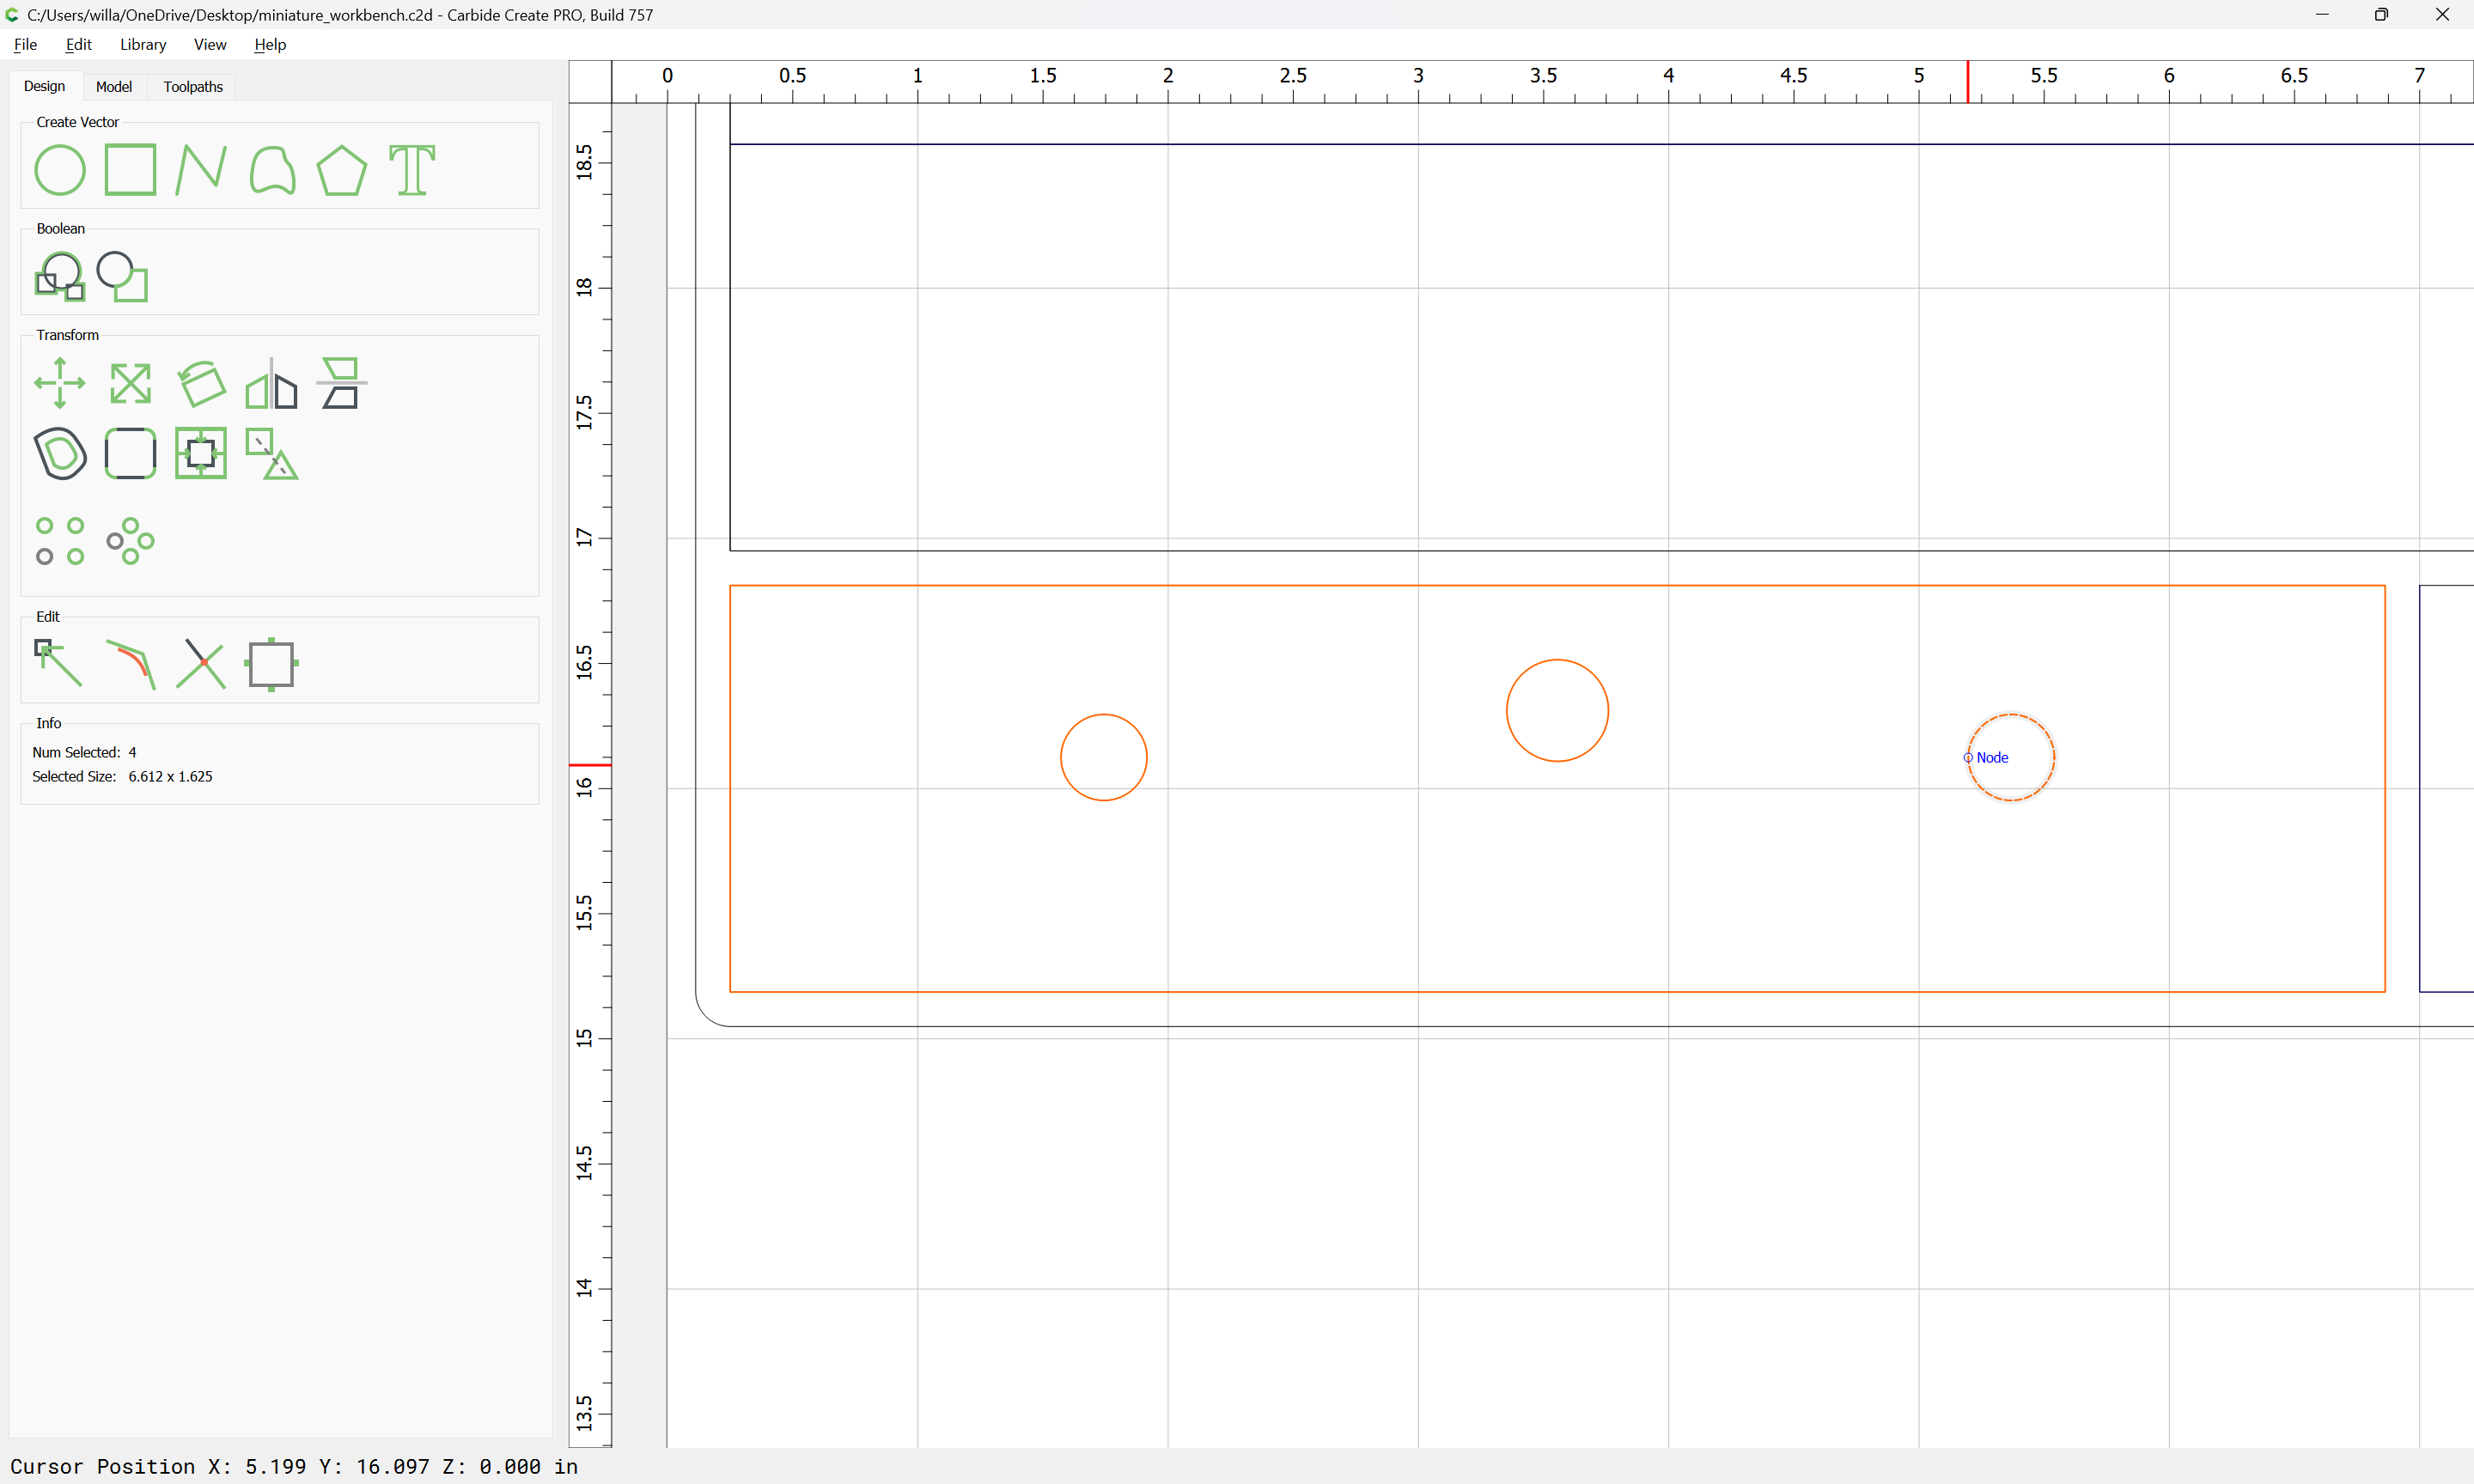
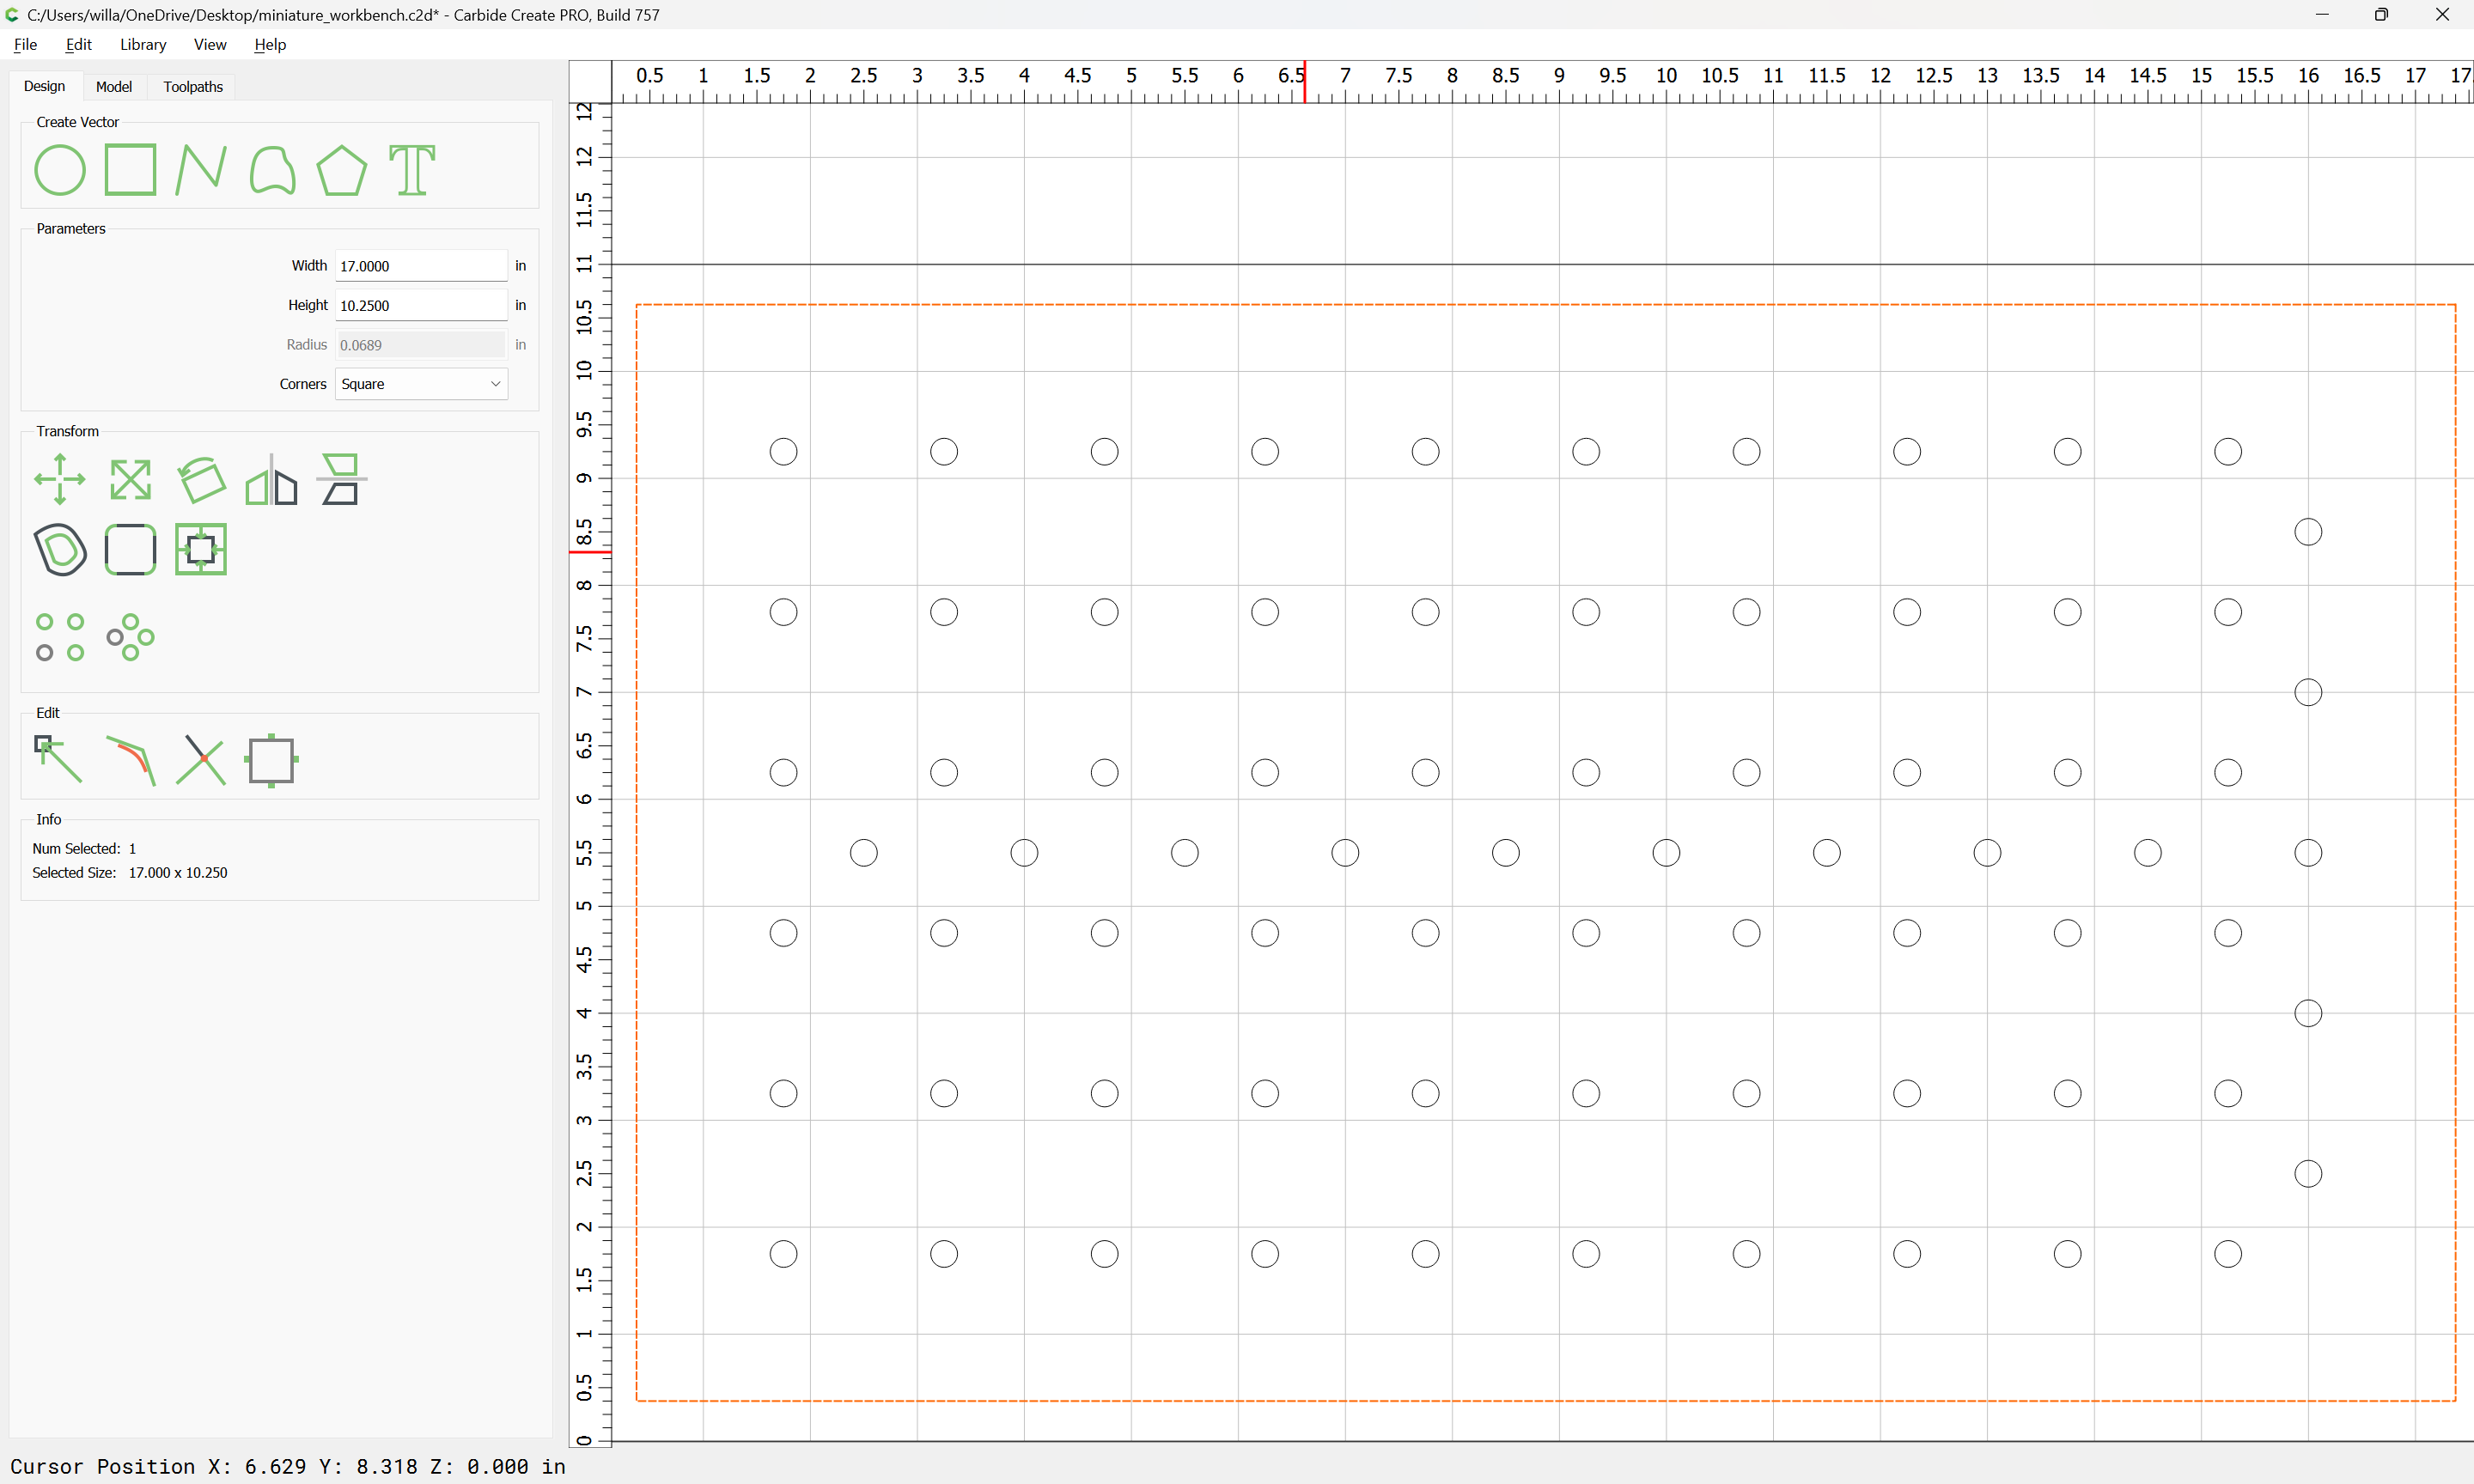
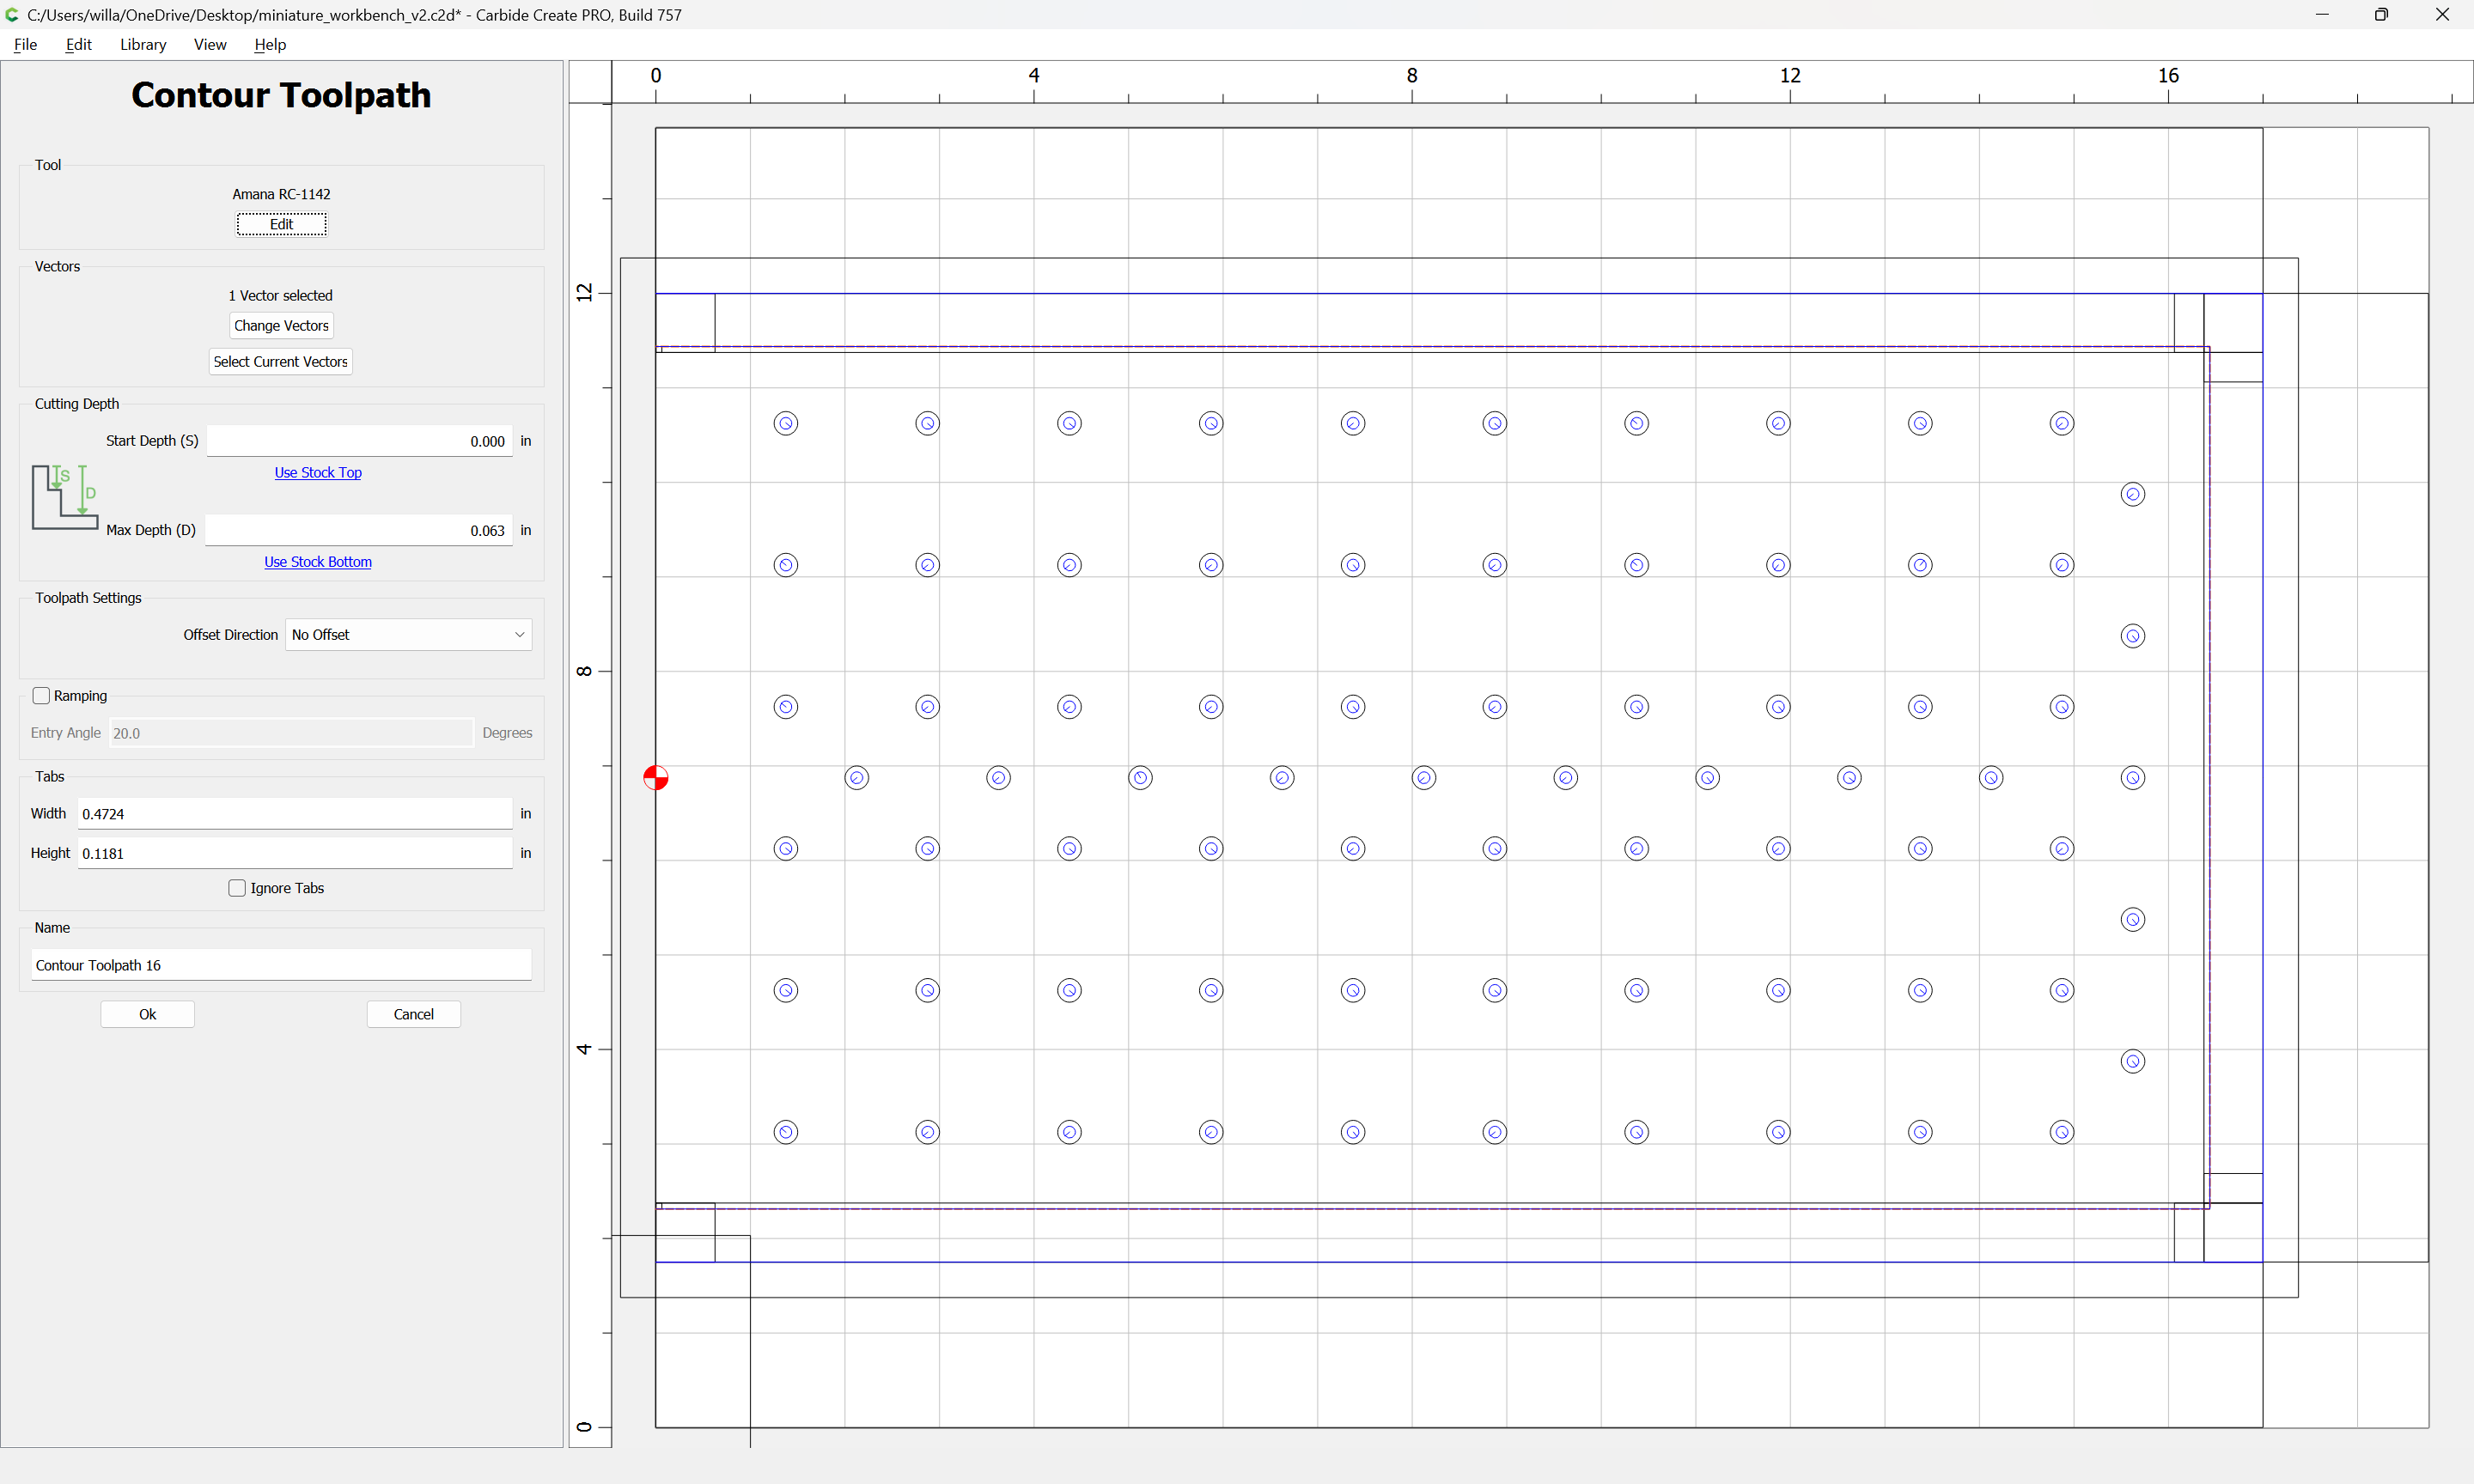
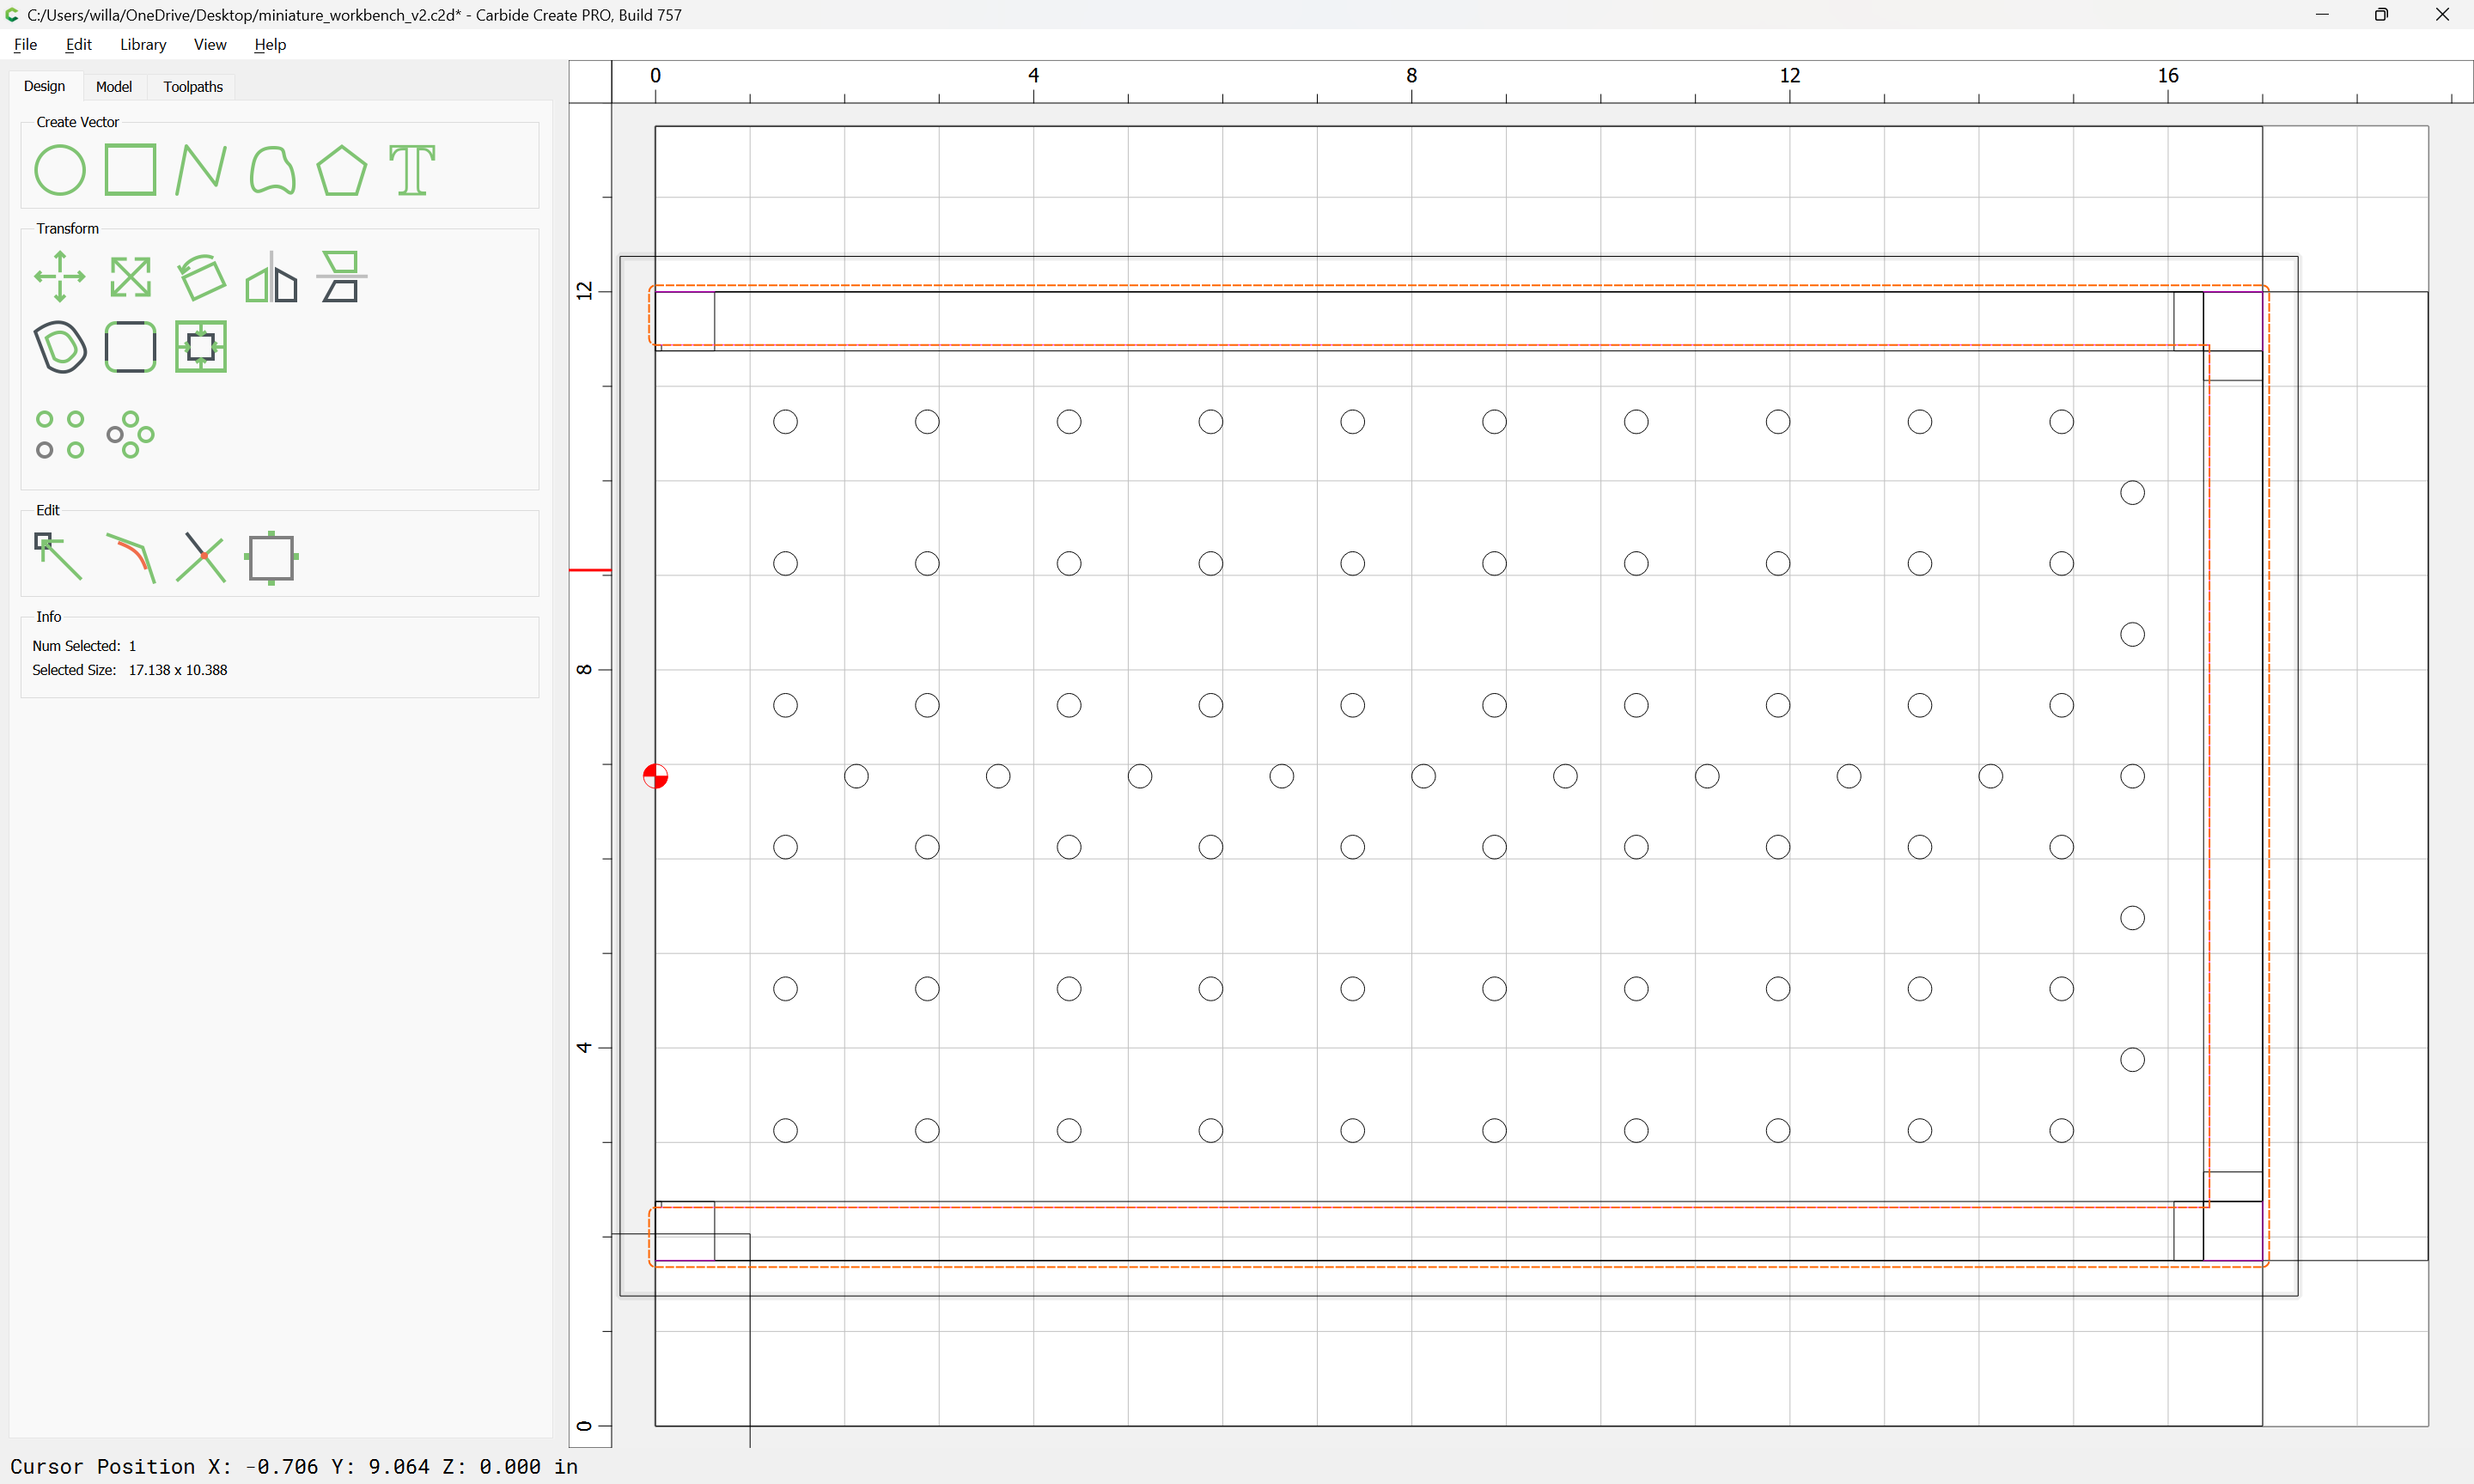
Draw in the outline of the work-surface, and add a suitable hole pattern:
WillAdams
June 9, 2023, 9:49pm
8
Draw in the sides both from overhead and as side views:
then set the stock to this size (we will revert to the original size once all tool paths are set up)
and begin drawing in the joinery and assigning toolpaths.
WillAdams
June 9, 2023, 10:20pm
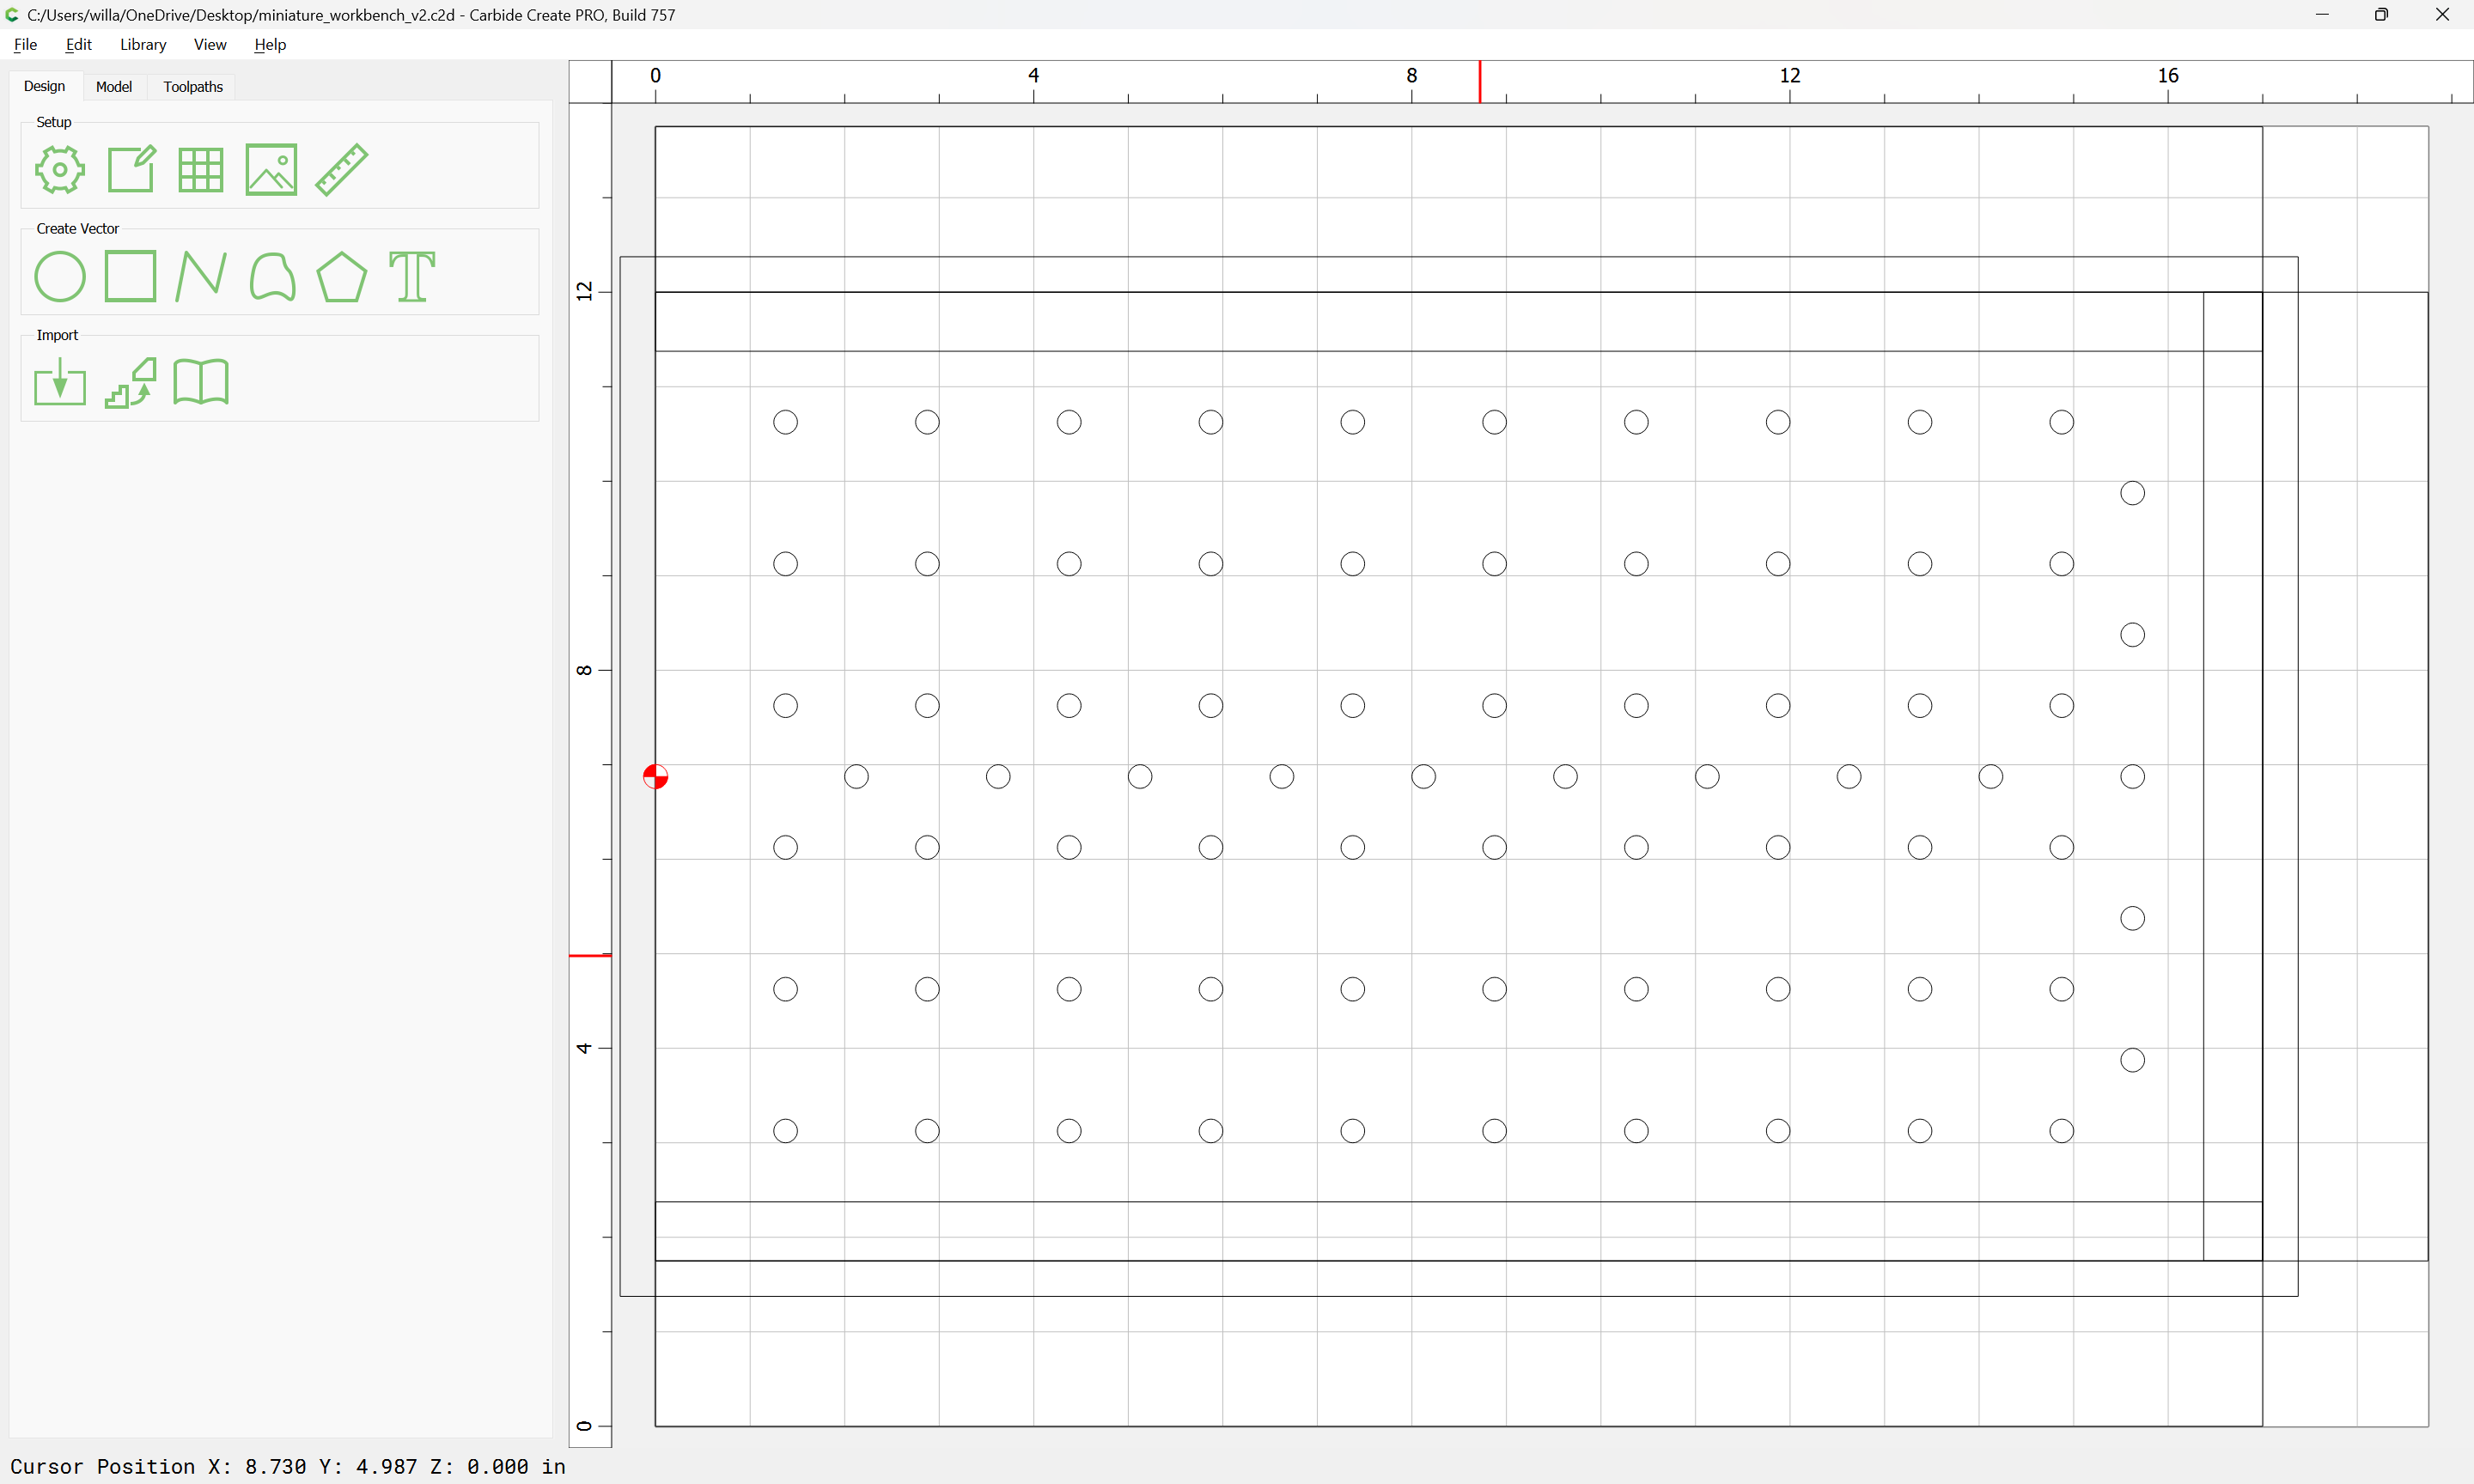
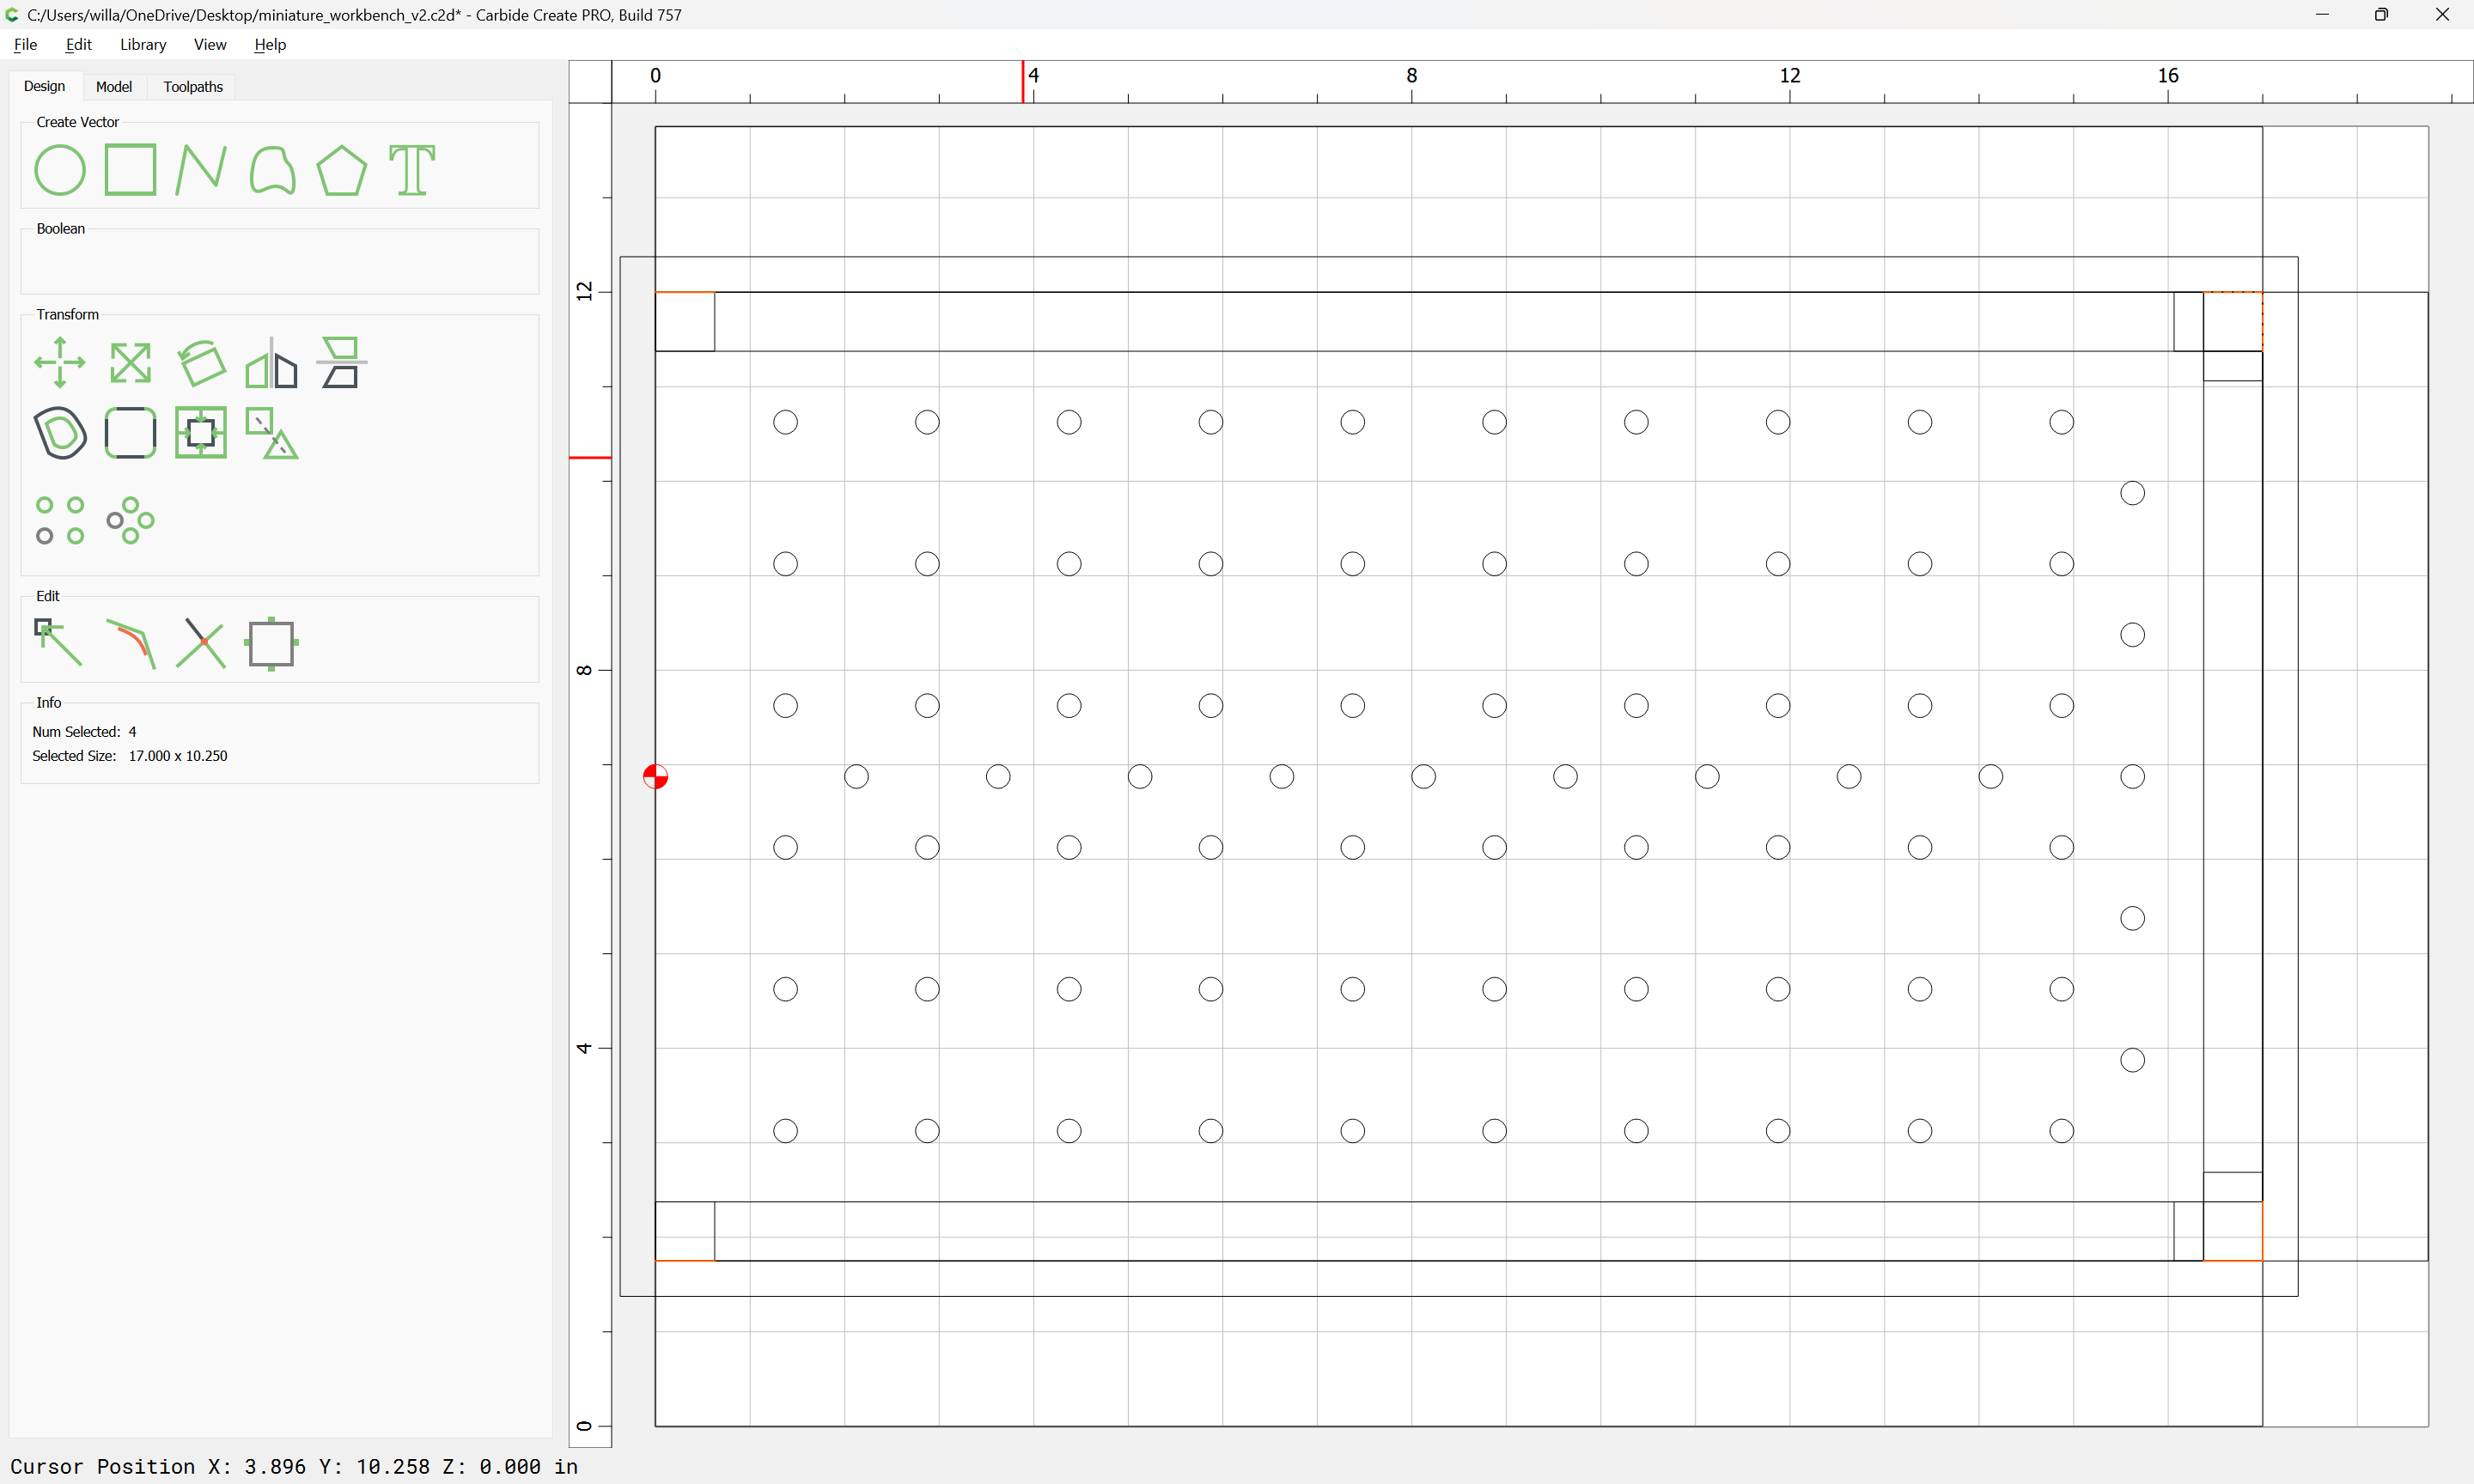
9
The holes are easy and obvious:
Then we begin drawing in geometry for the joinery:
1 Like
WillAdams
June 9, 2023, 10:54pm
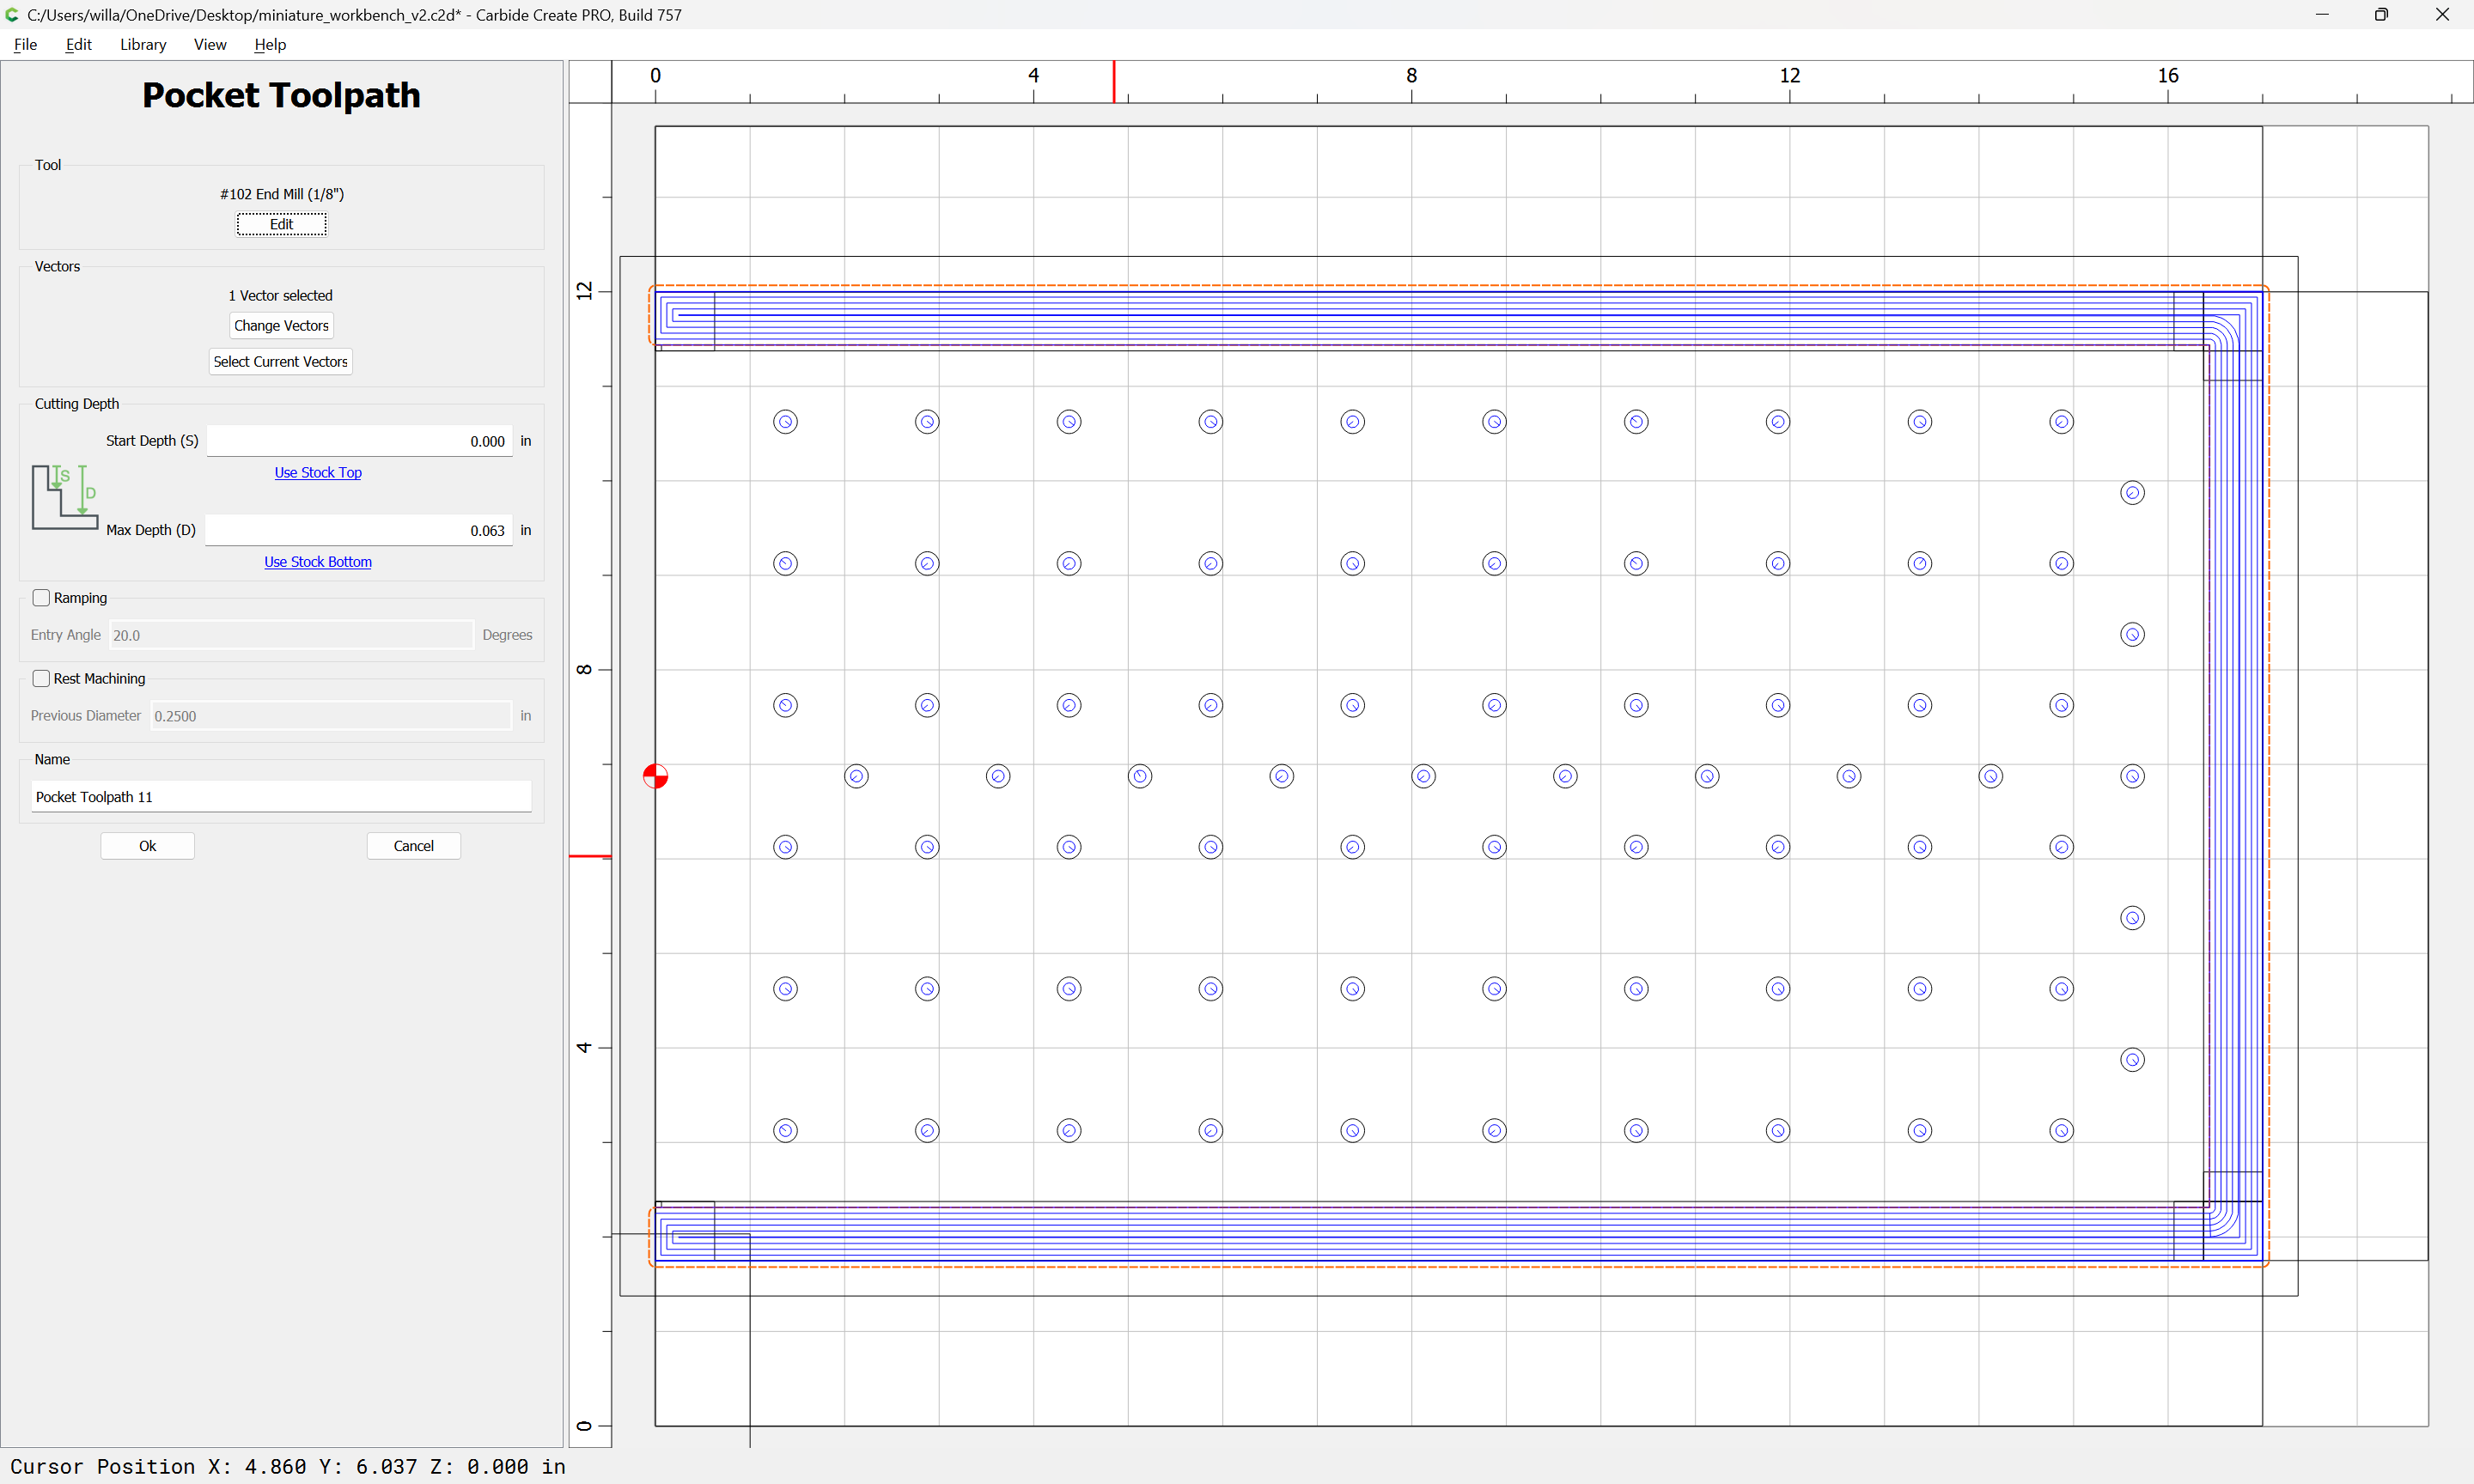
10
Two different V tools are used, a small as noted above which leaves material uncut for the joints, and a large tool at the ends of the joints:
WillAdams
June 10, 2023, 12:15am
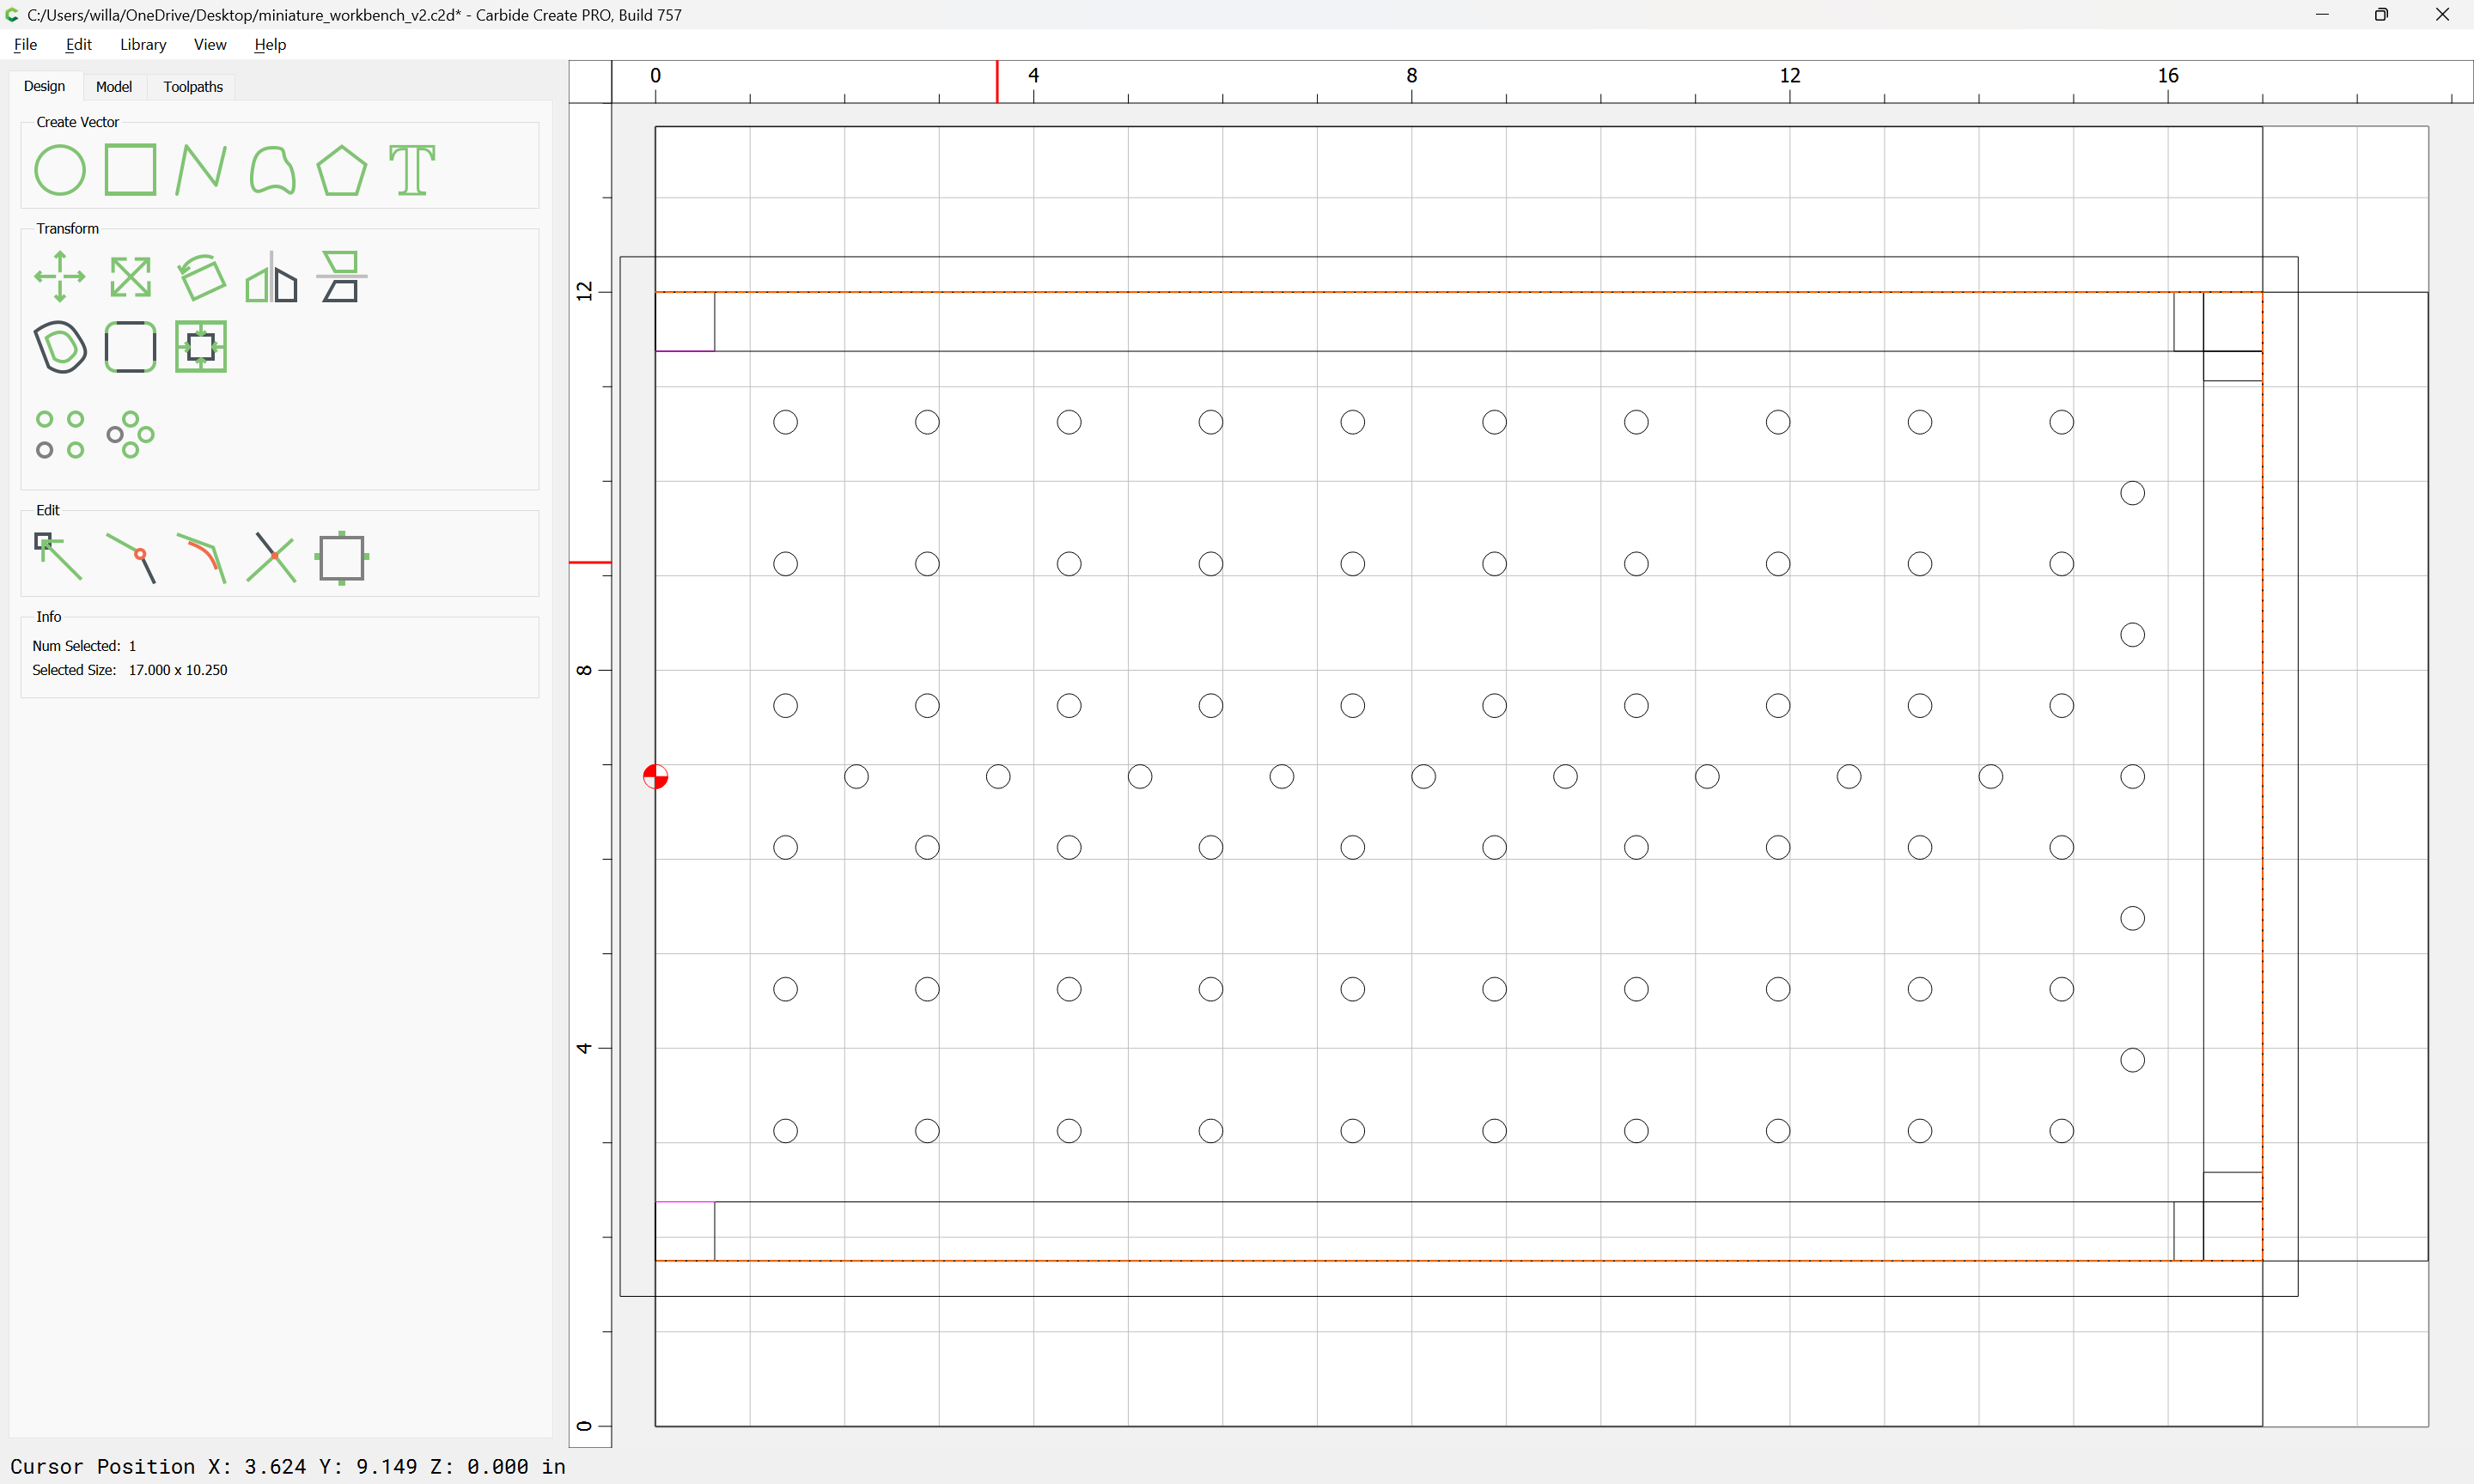
11
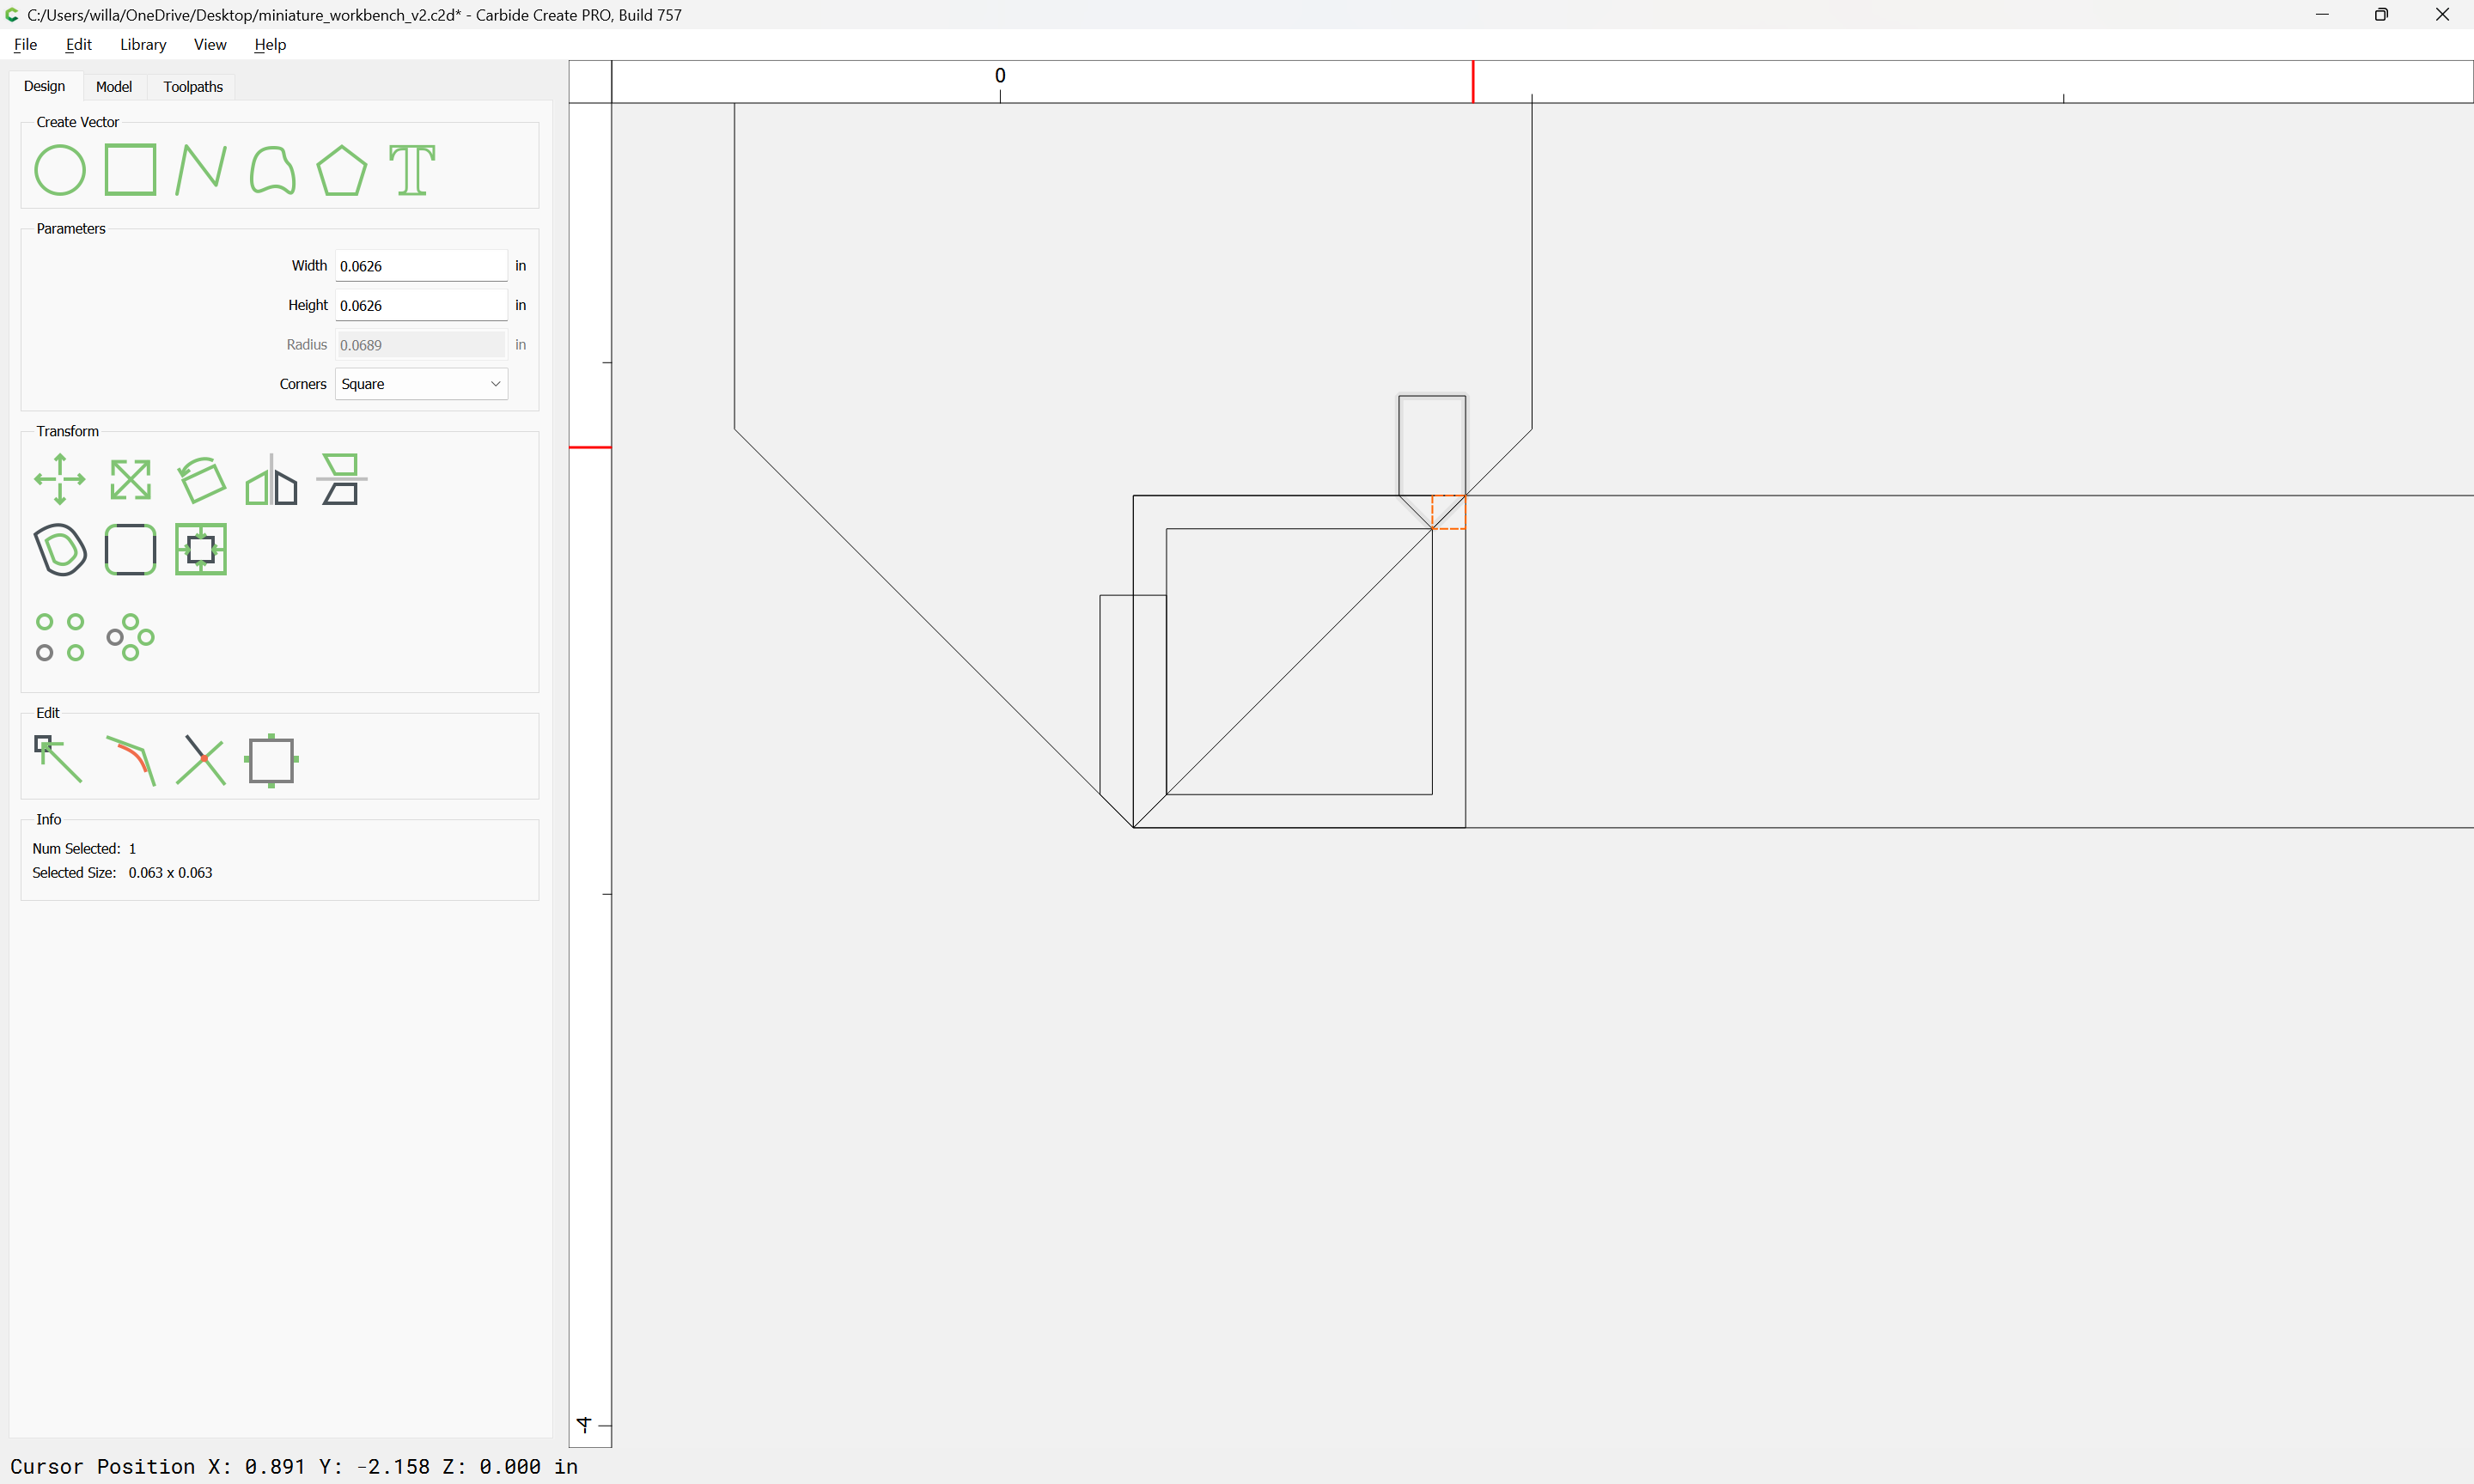
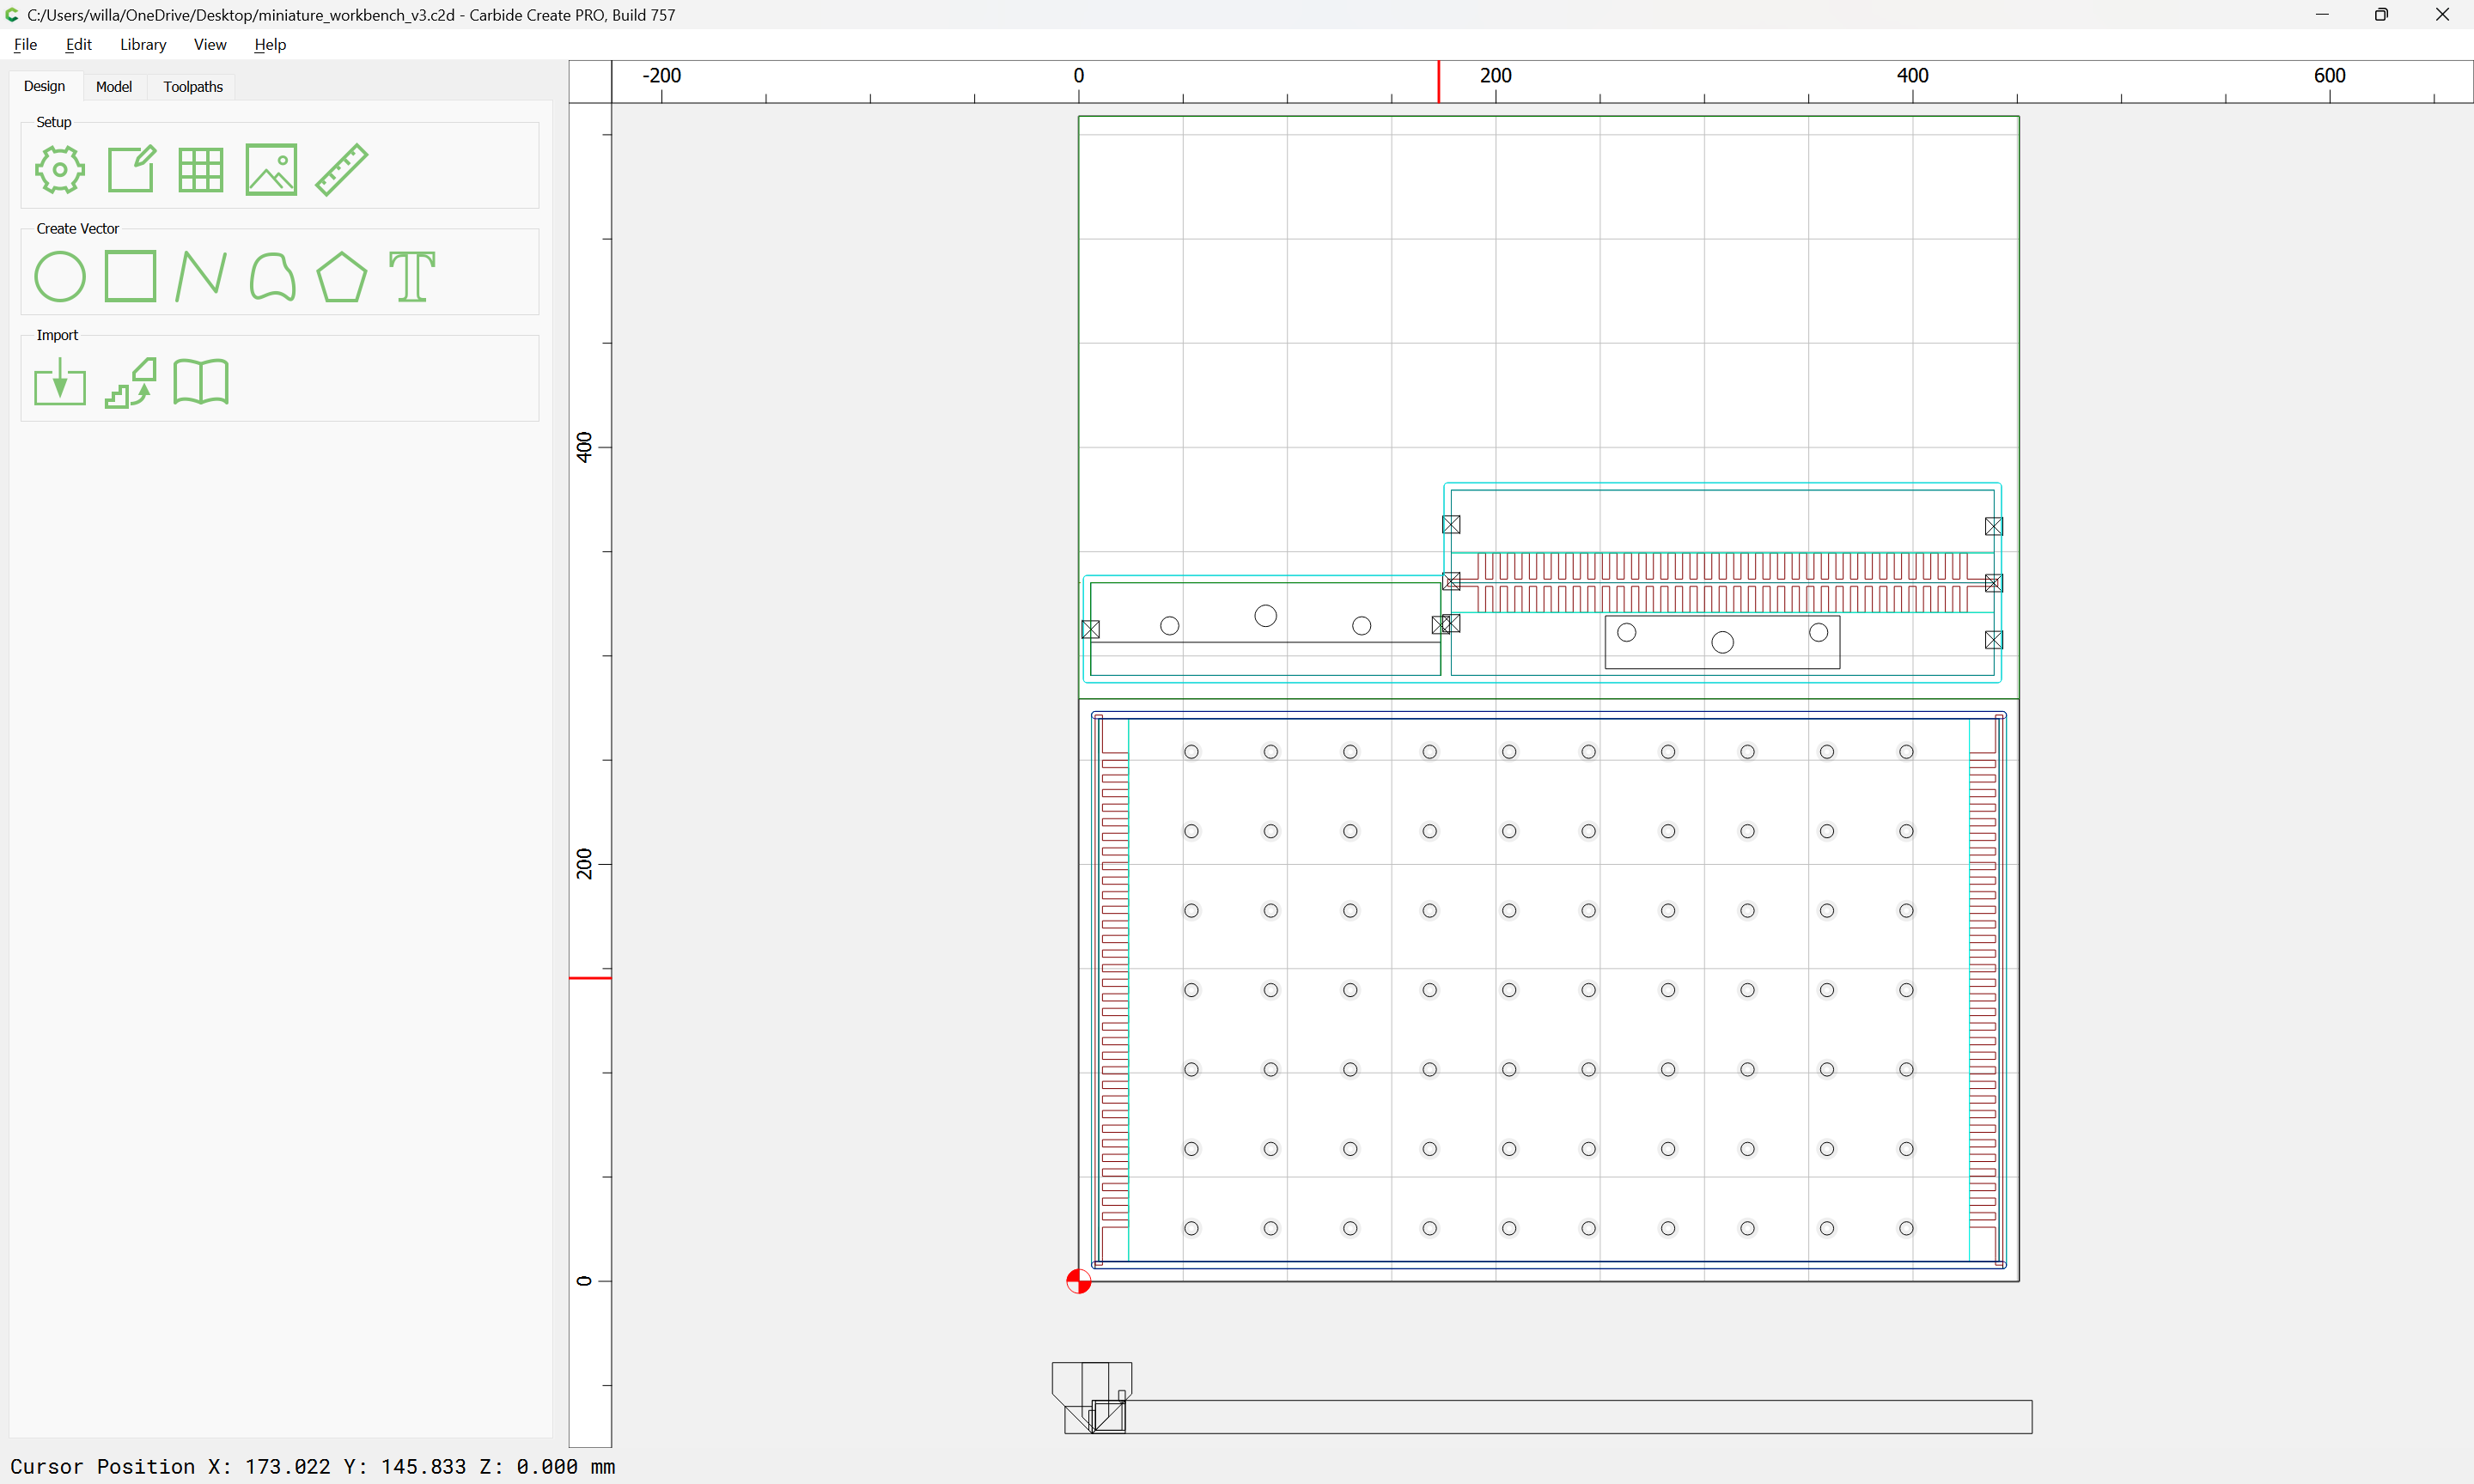
Draw the joint up in profile:
and we can see where we would need to set up the geometry to inset to clear for the joinery:
1 Like
WillAdams
June 17, 2023, 10:16pm
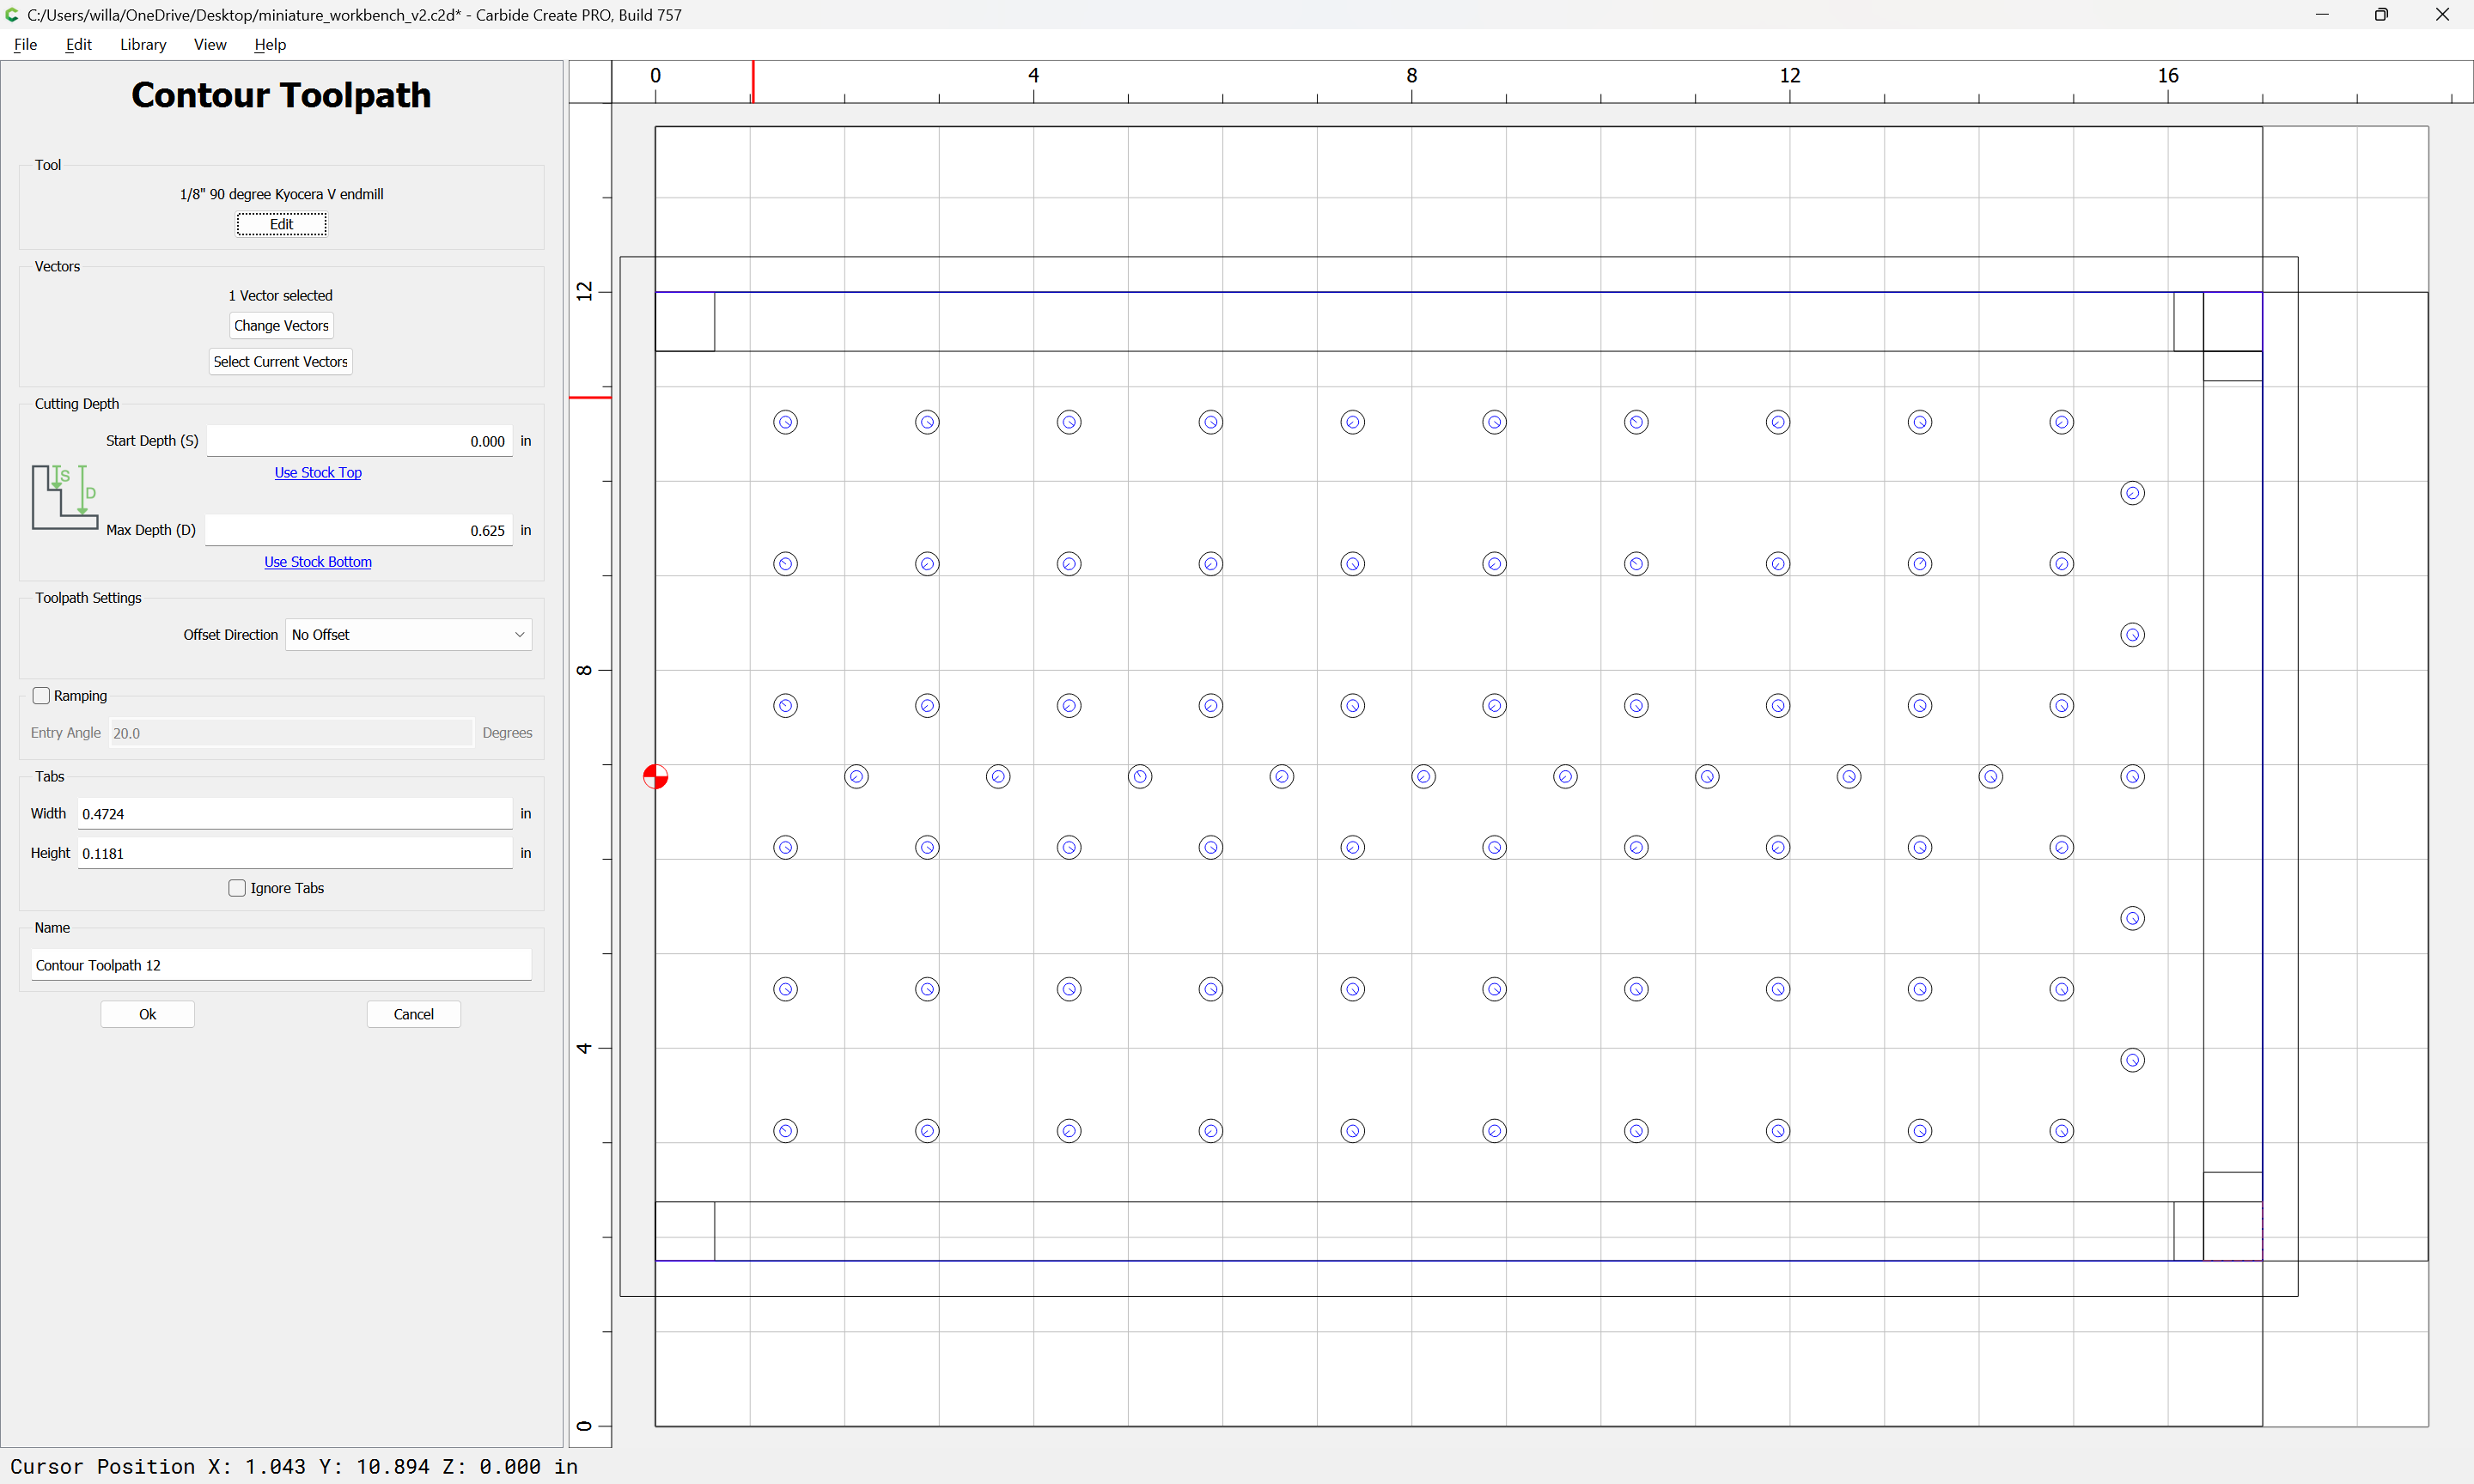
12
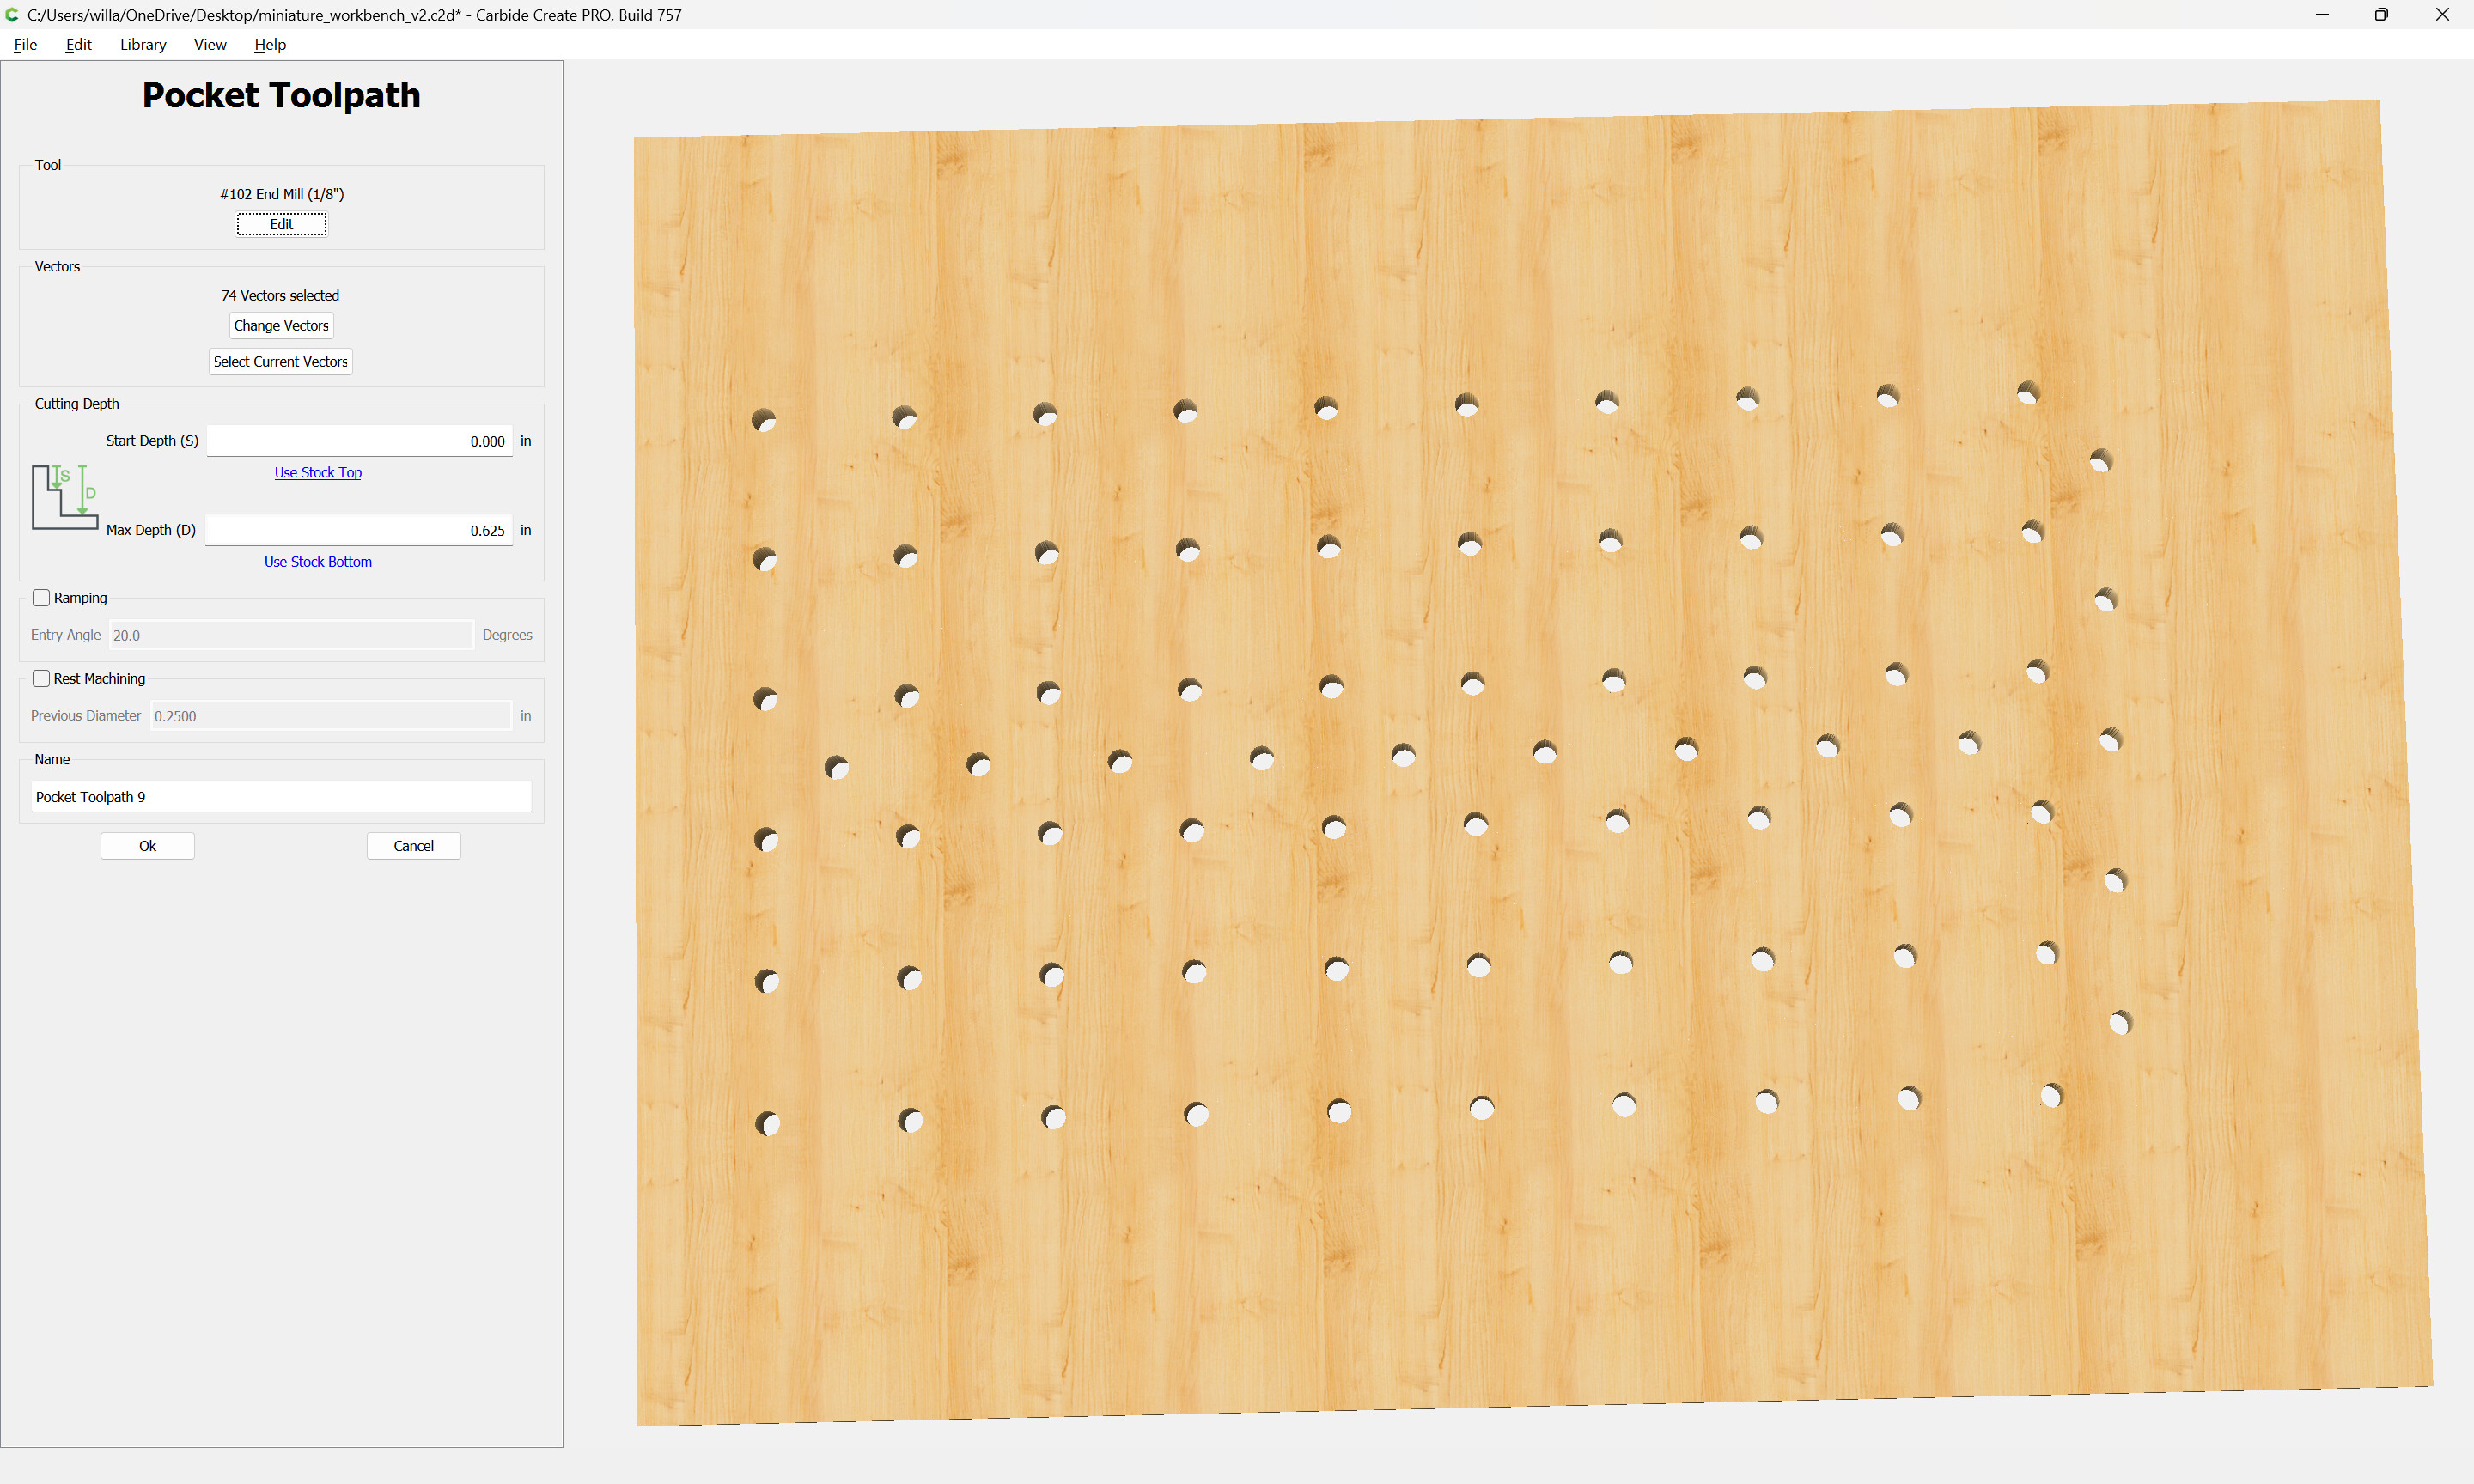
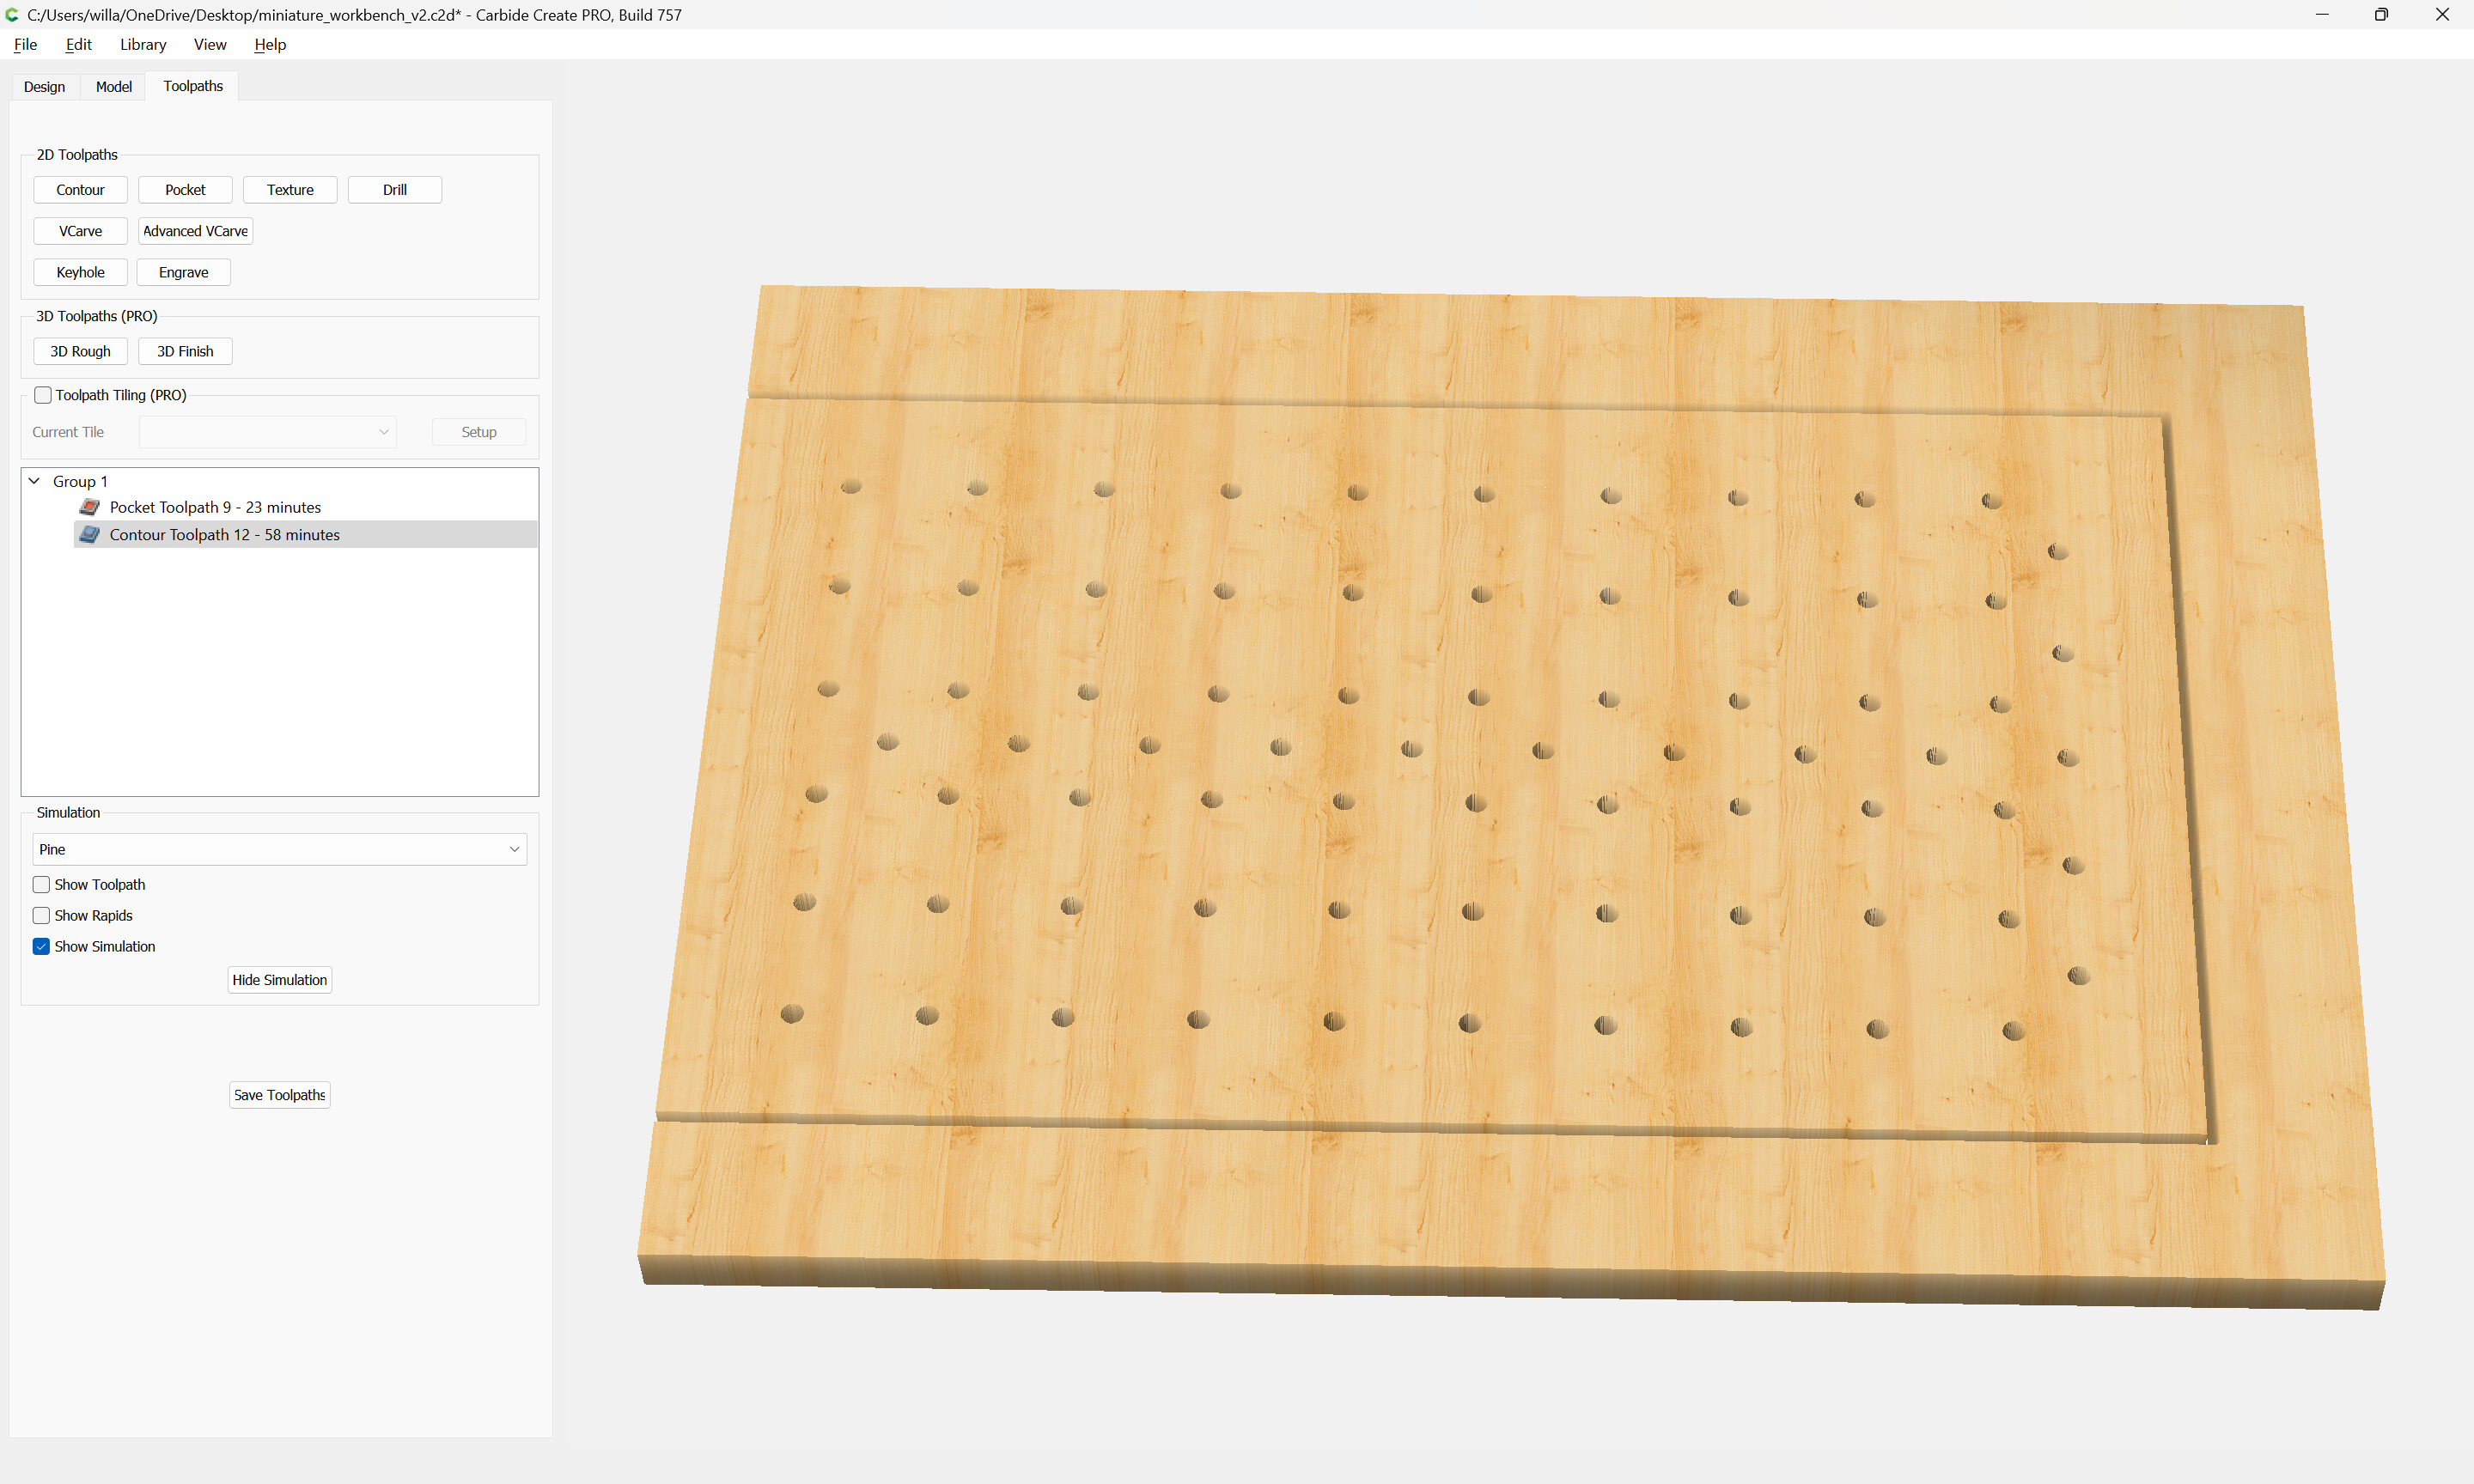
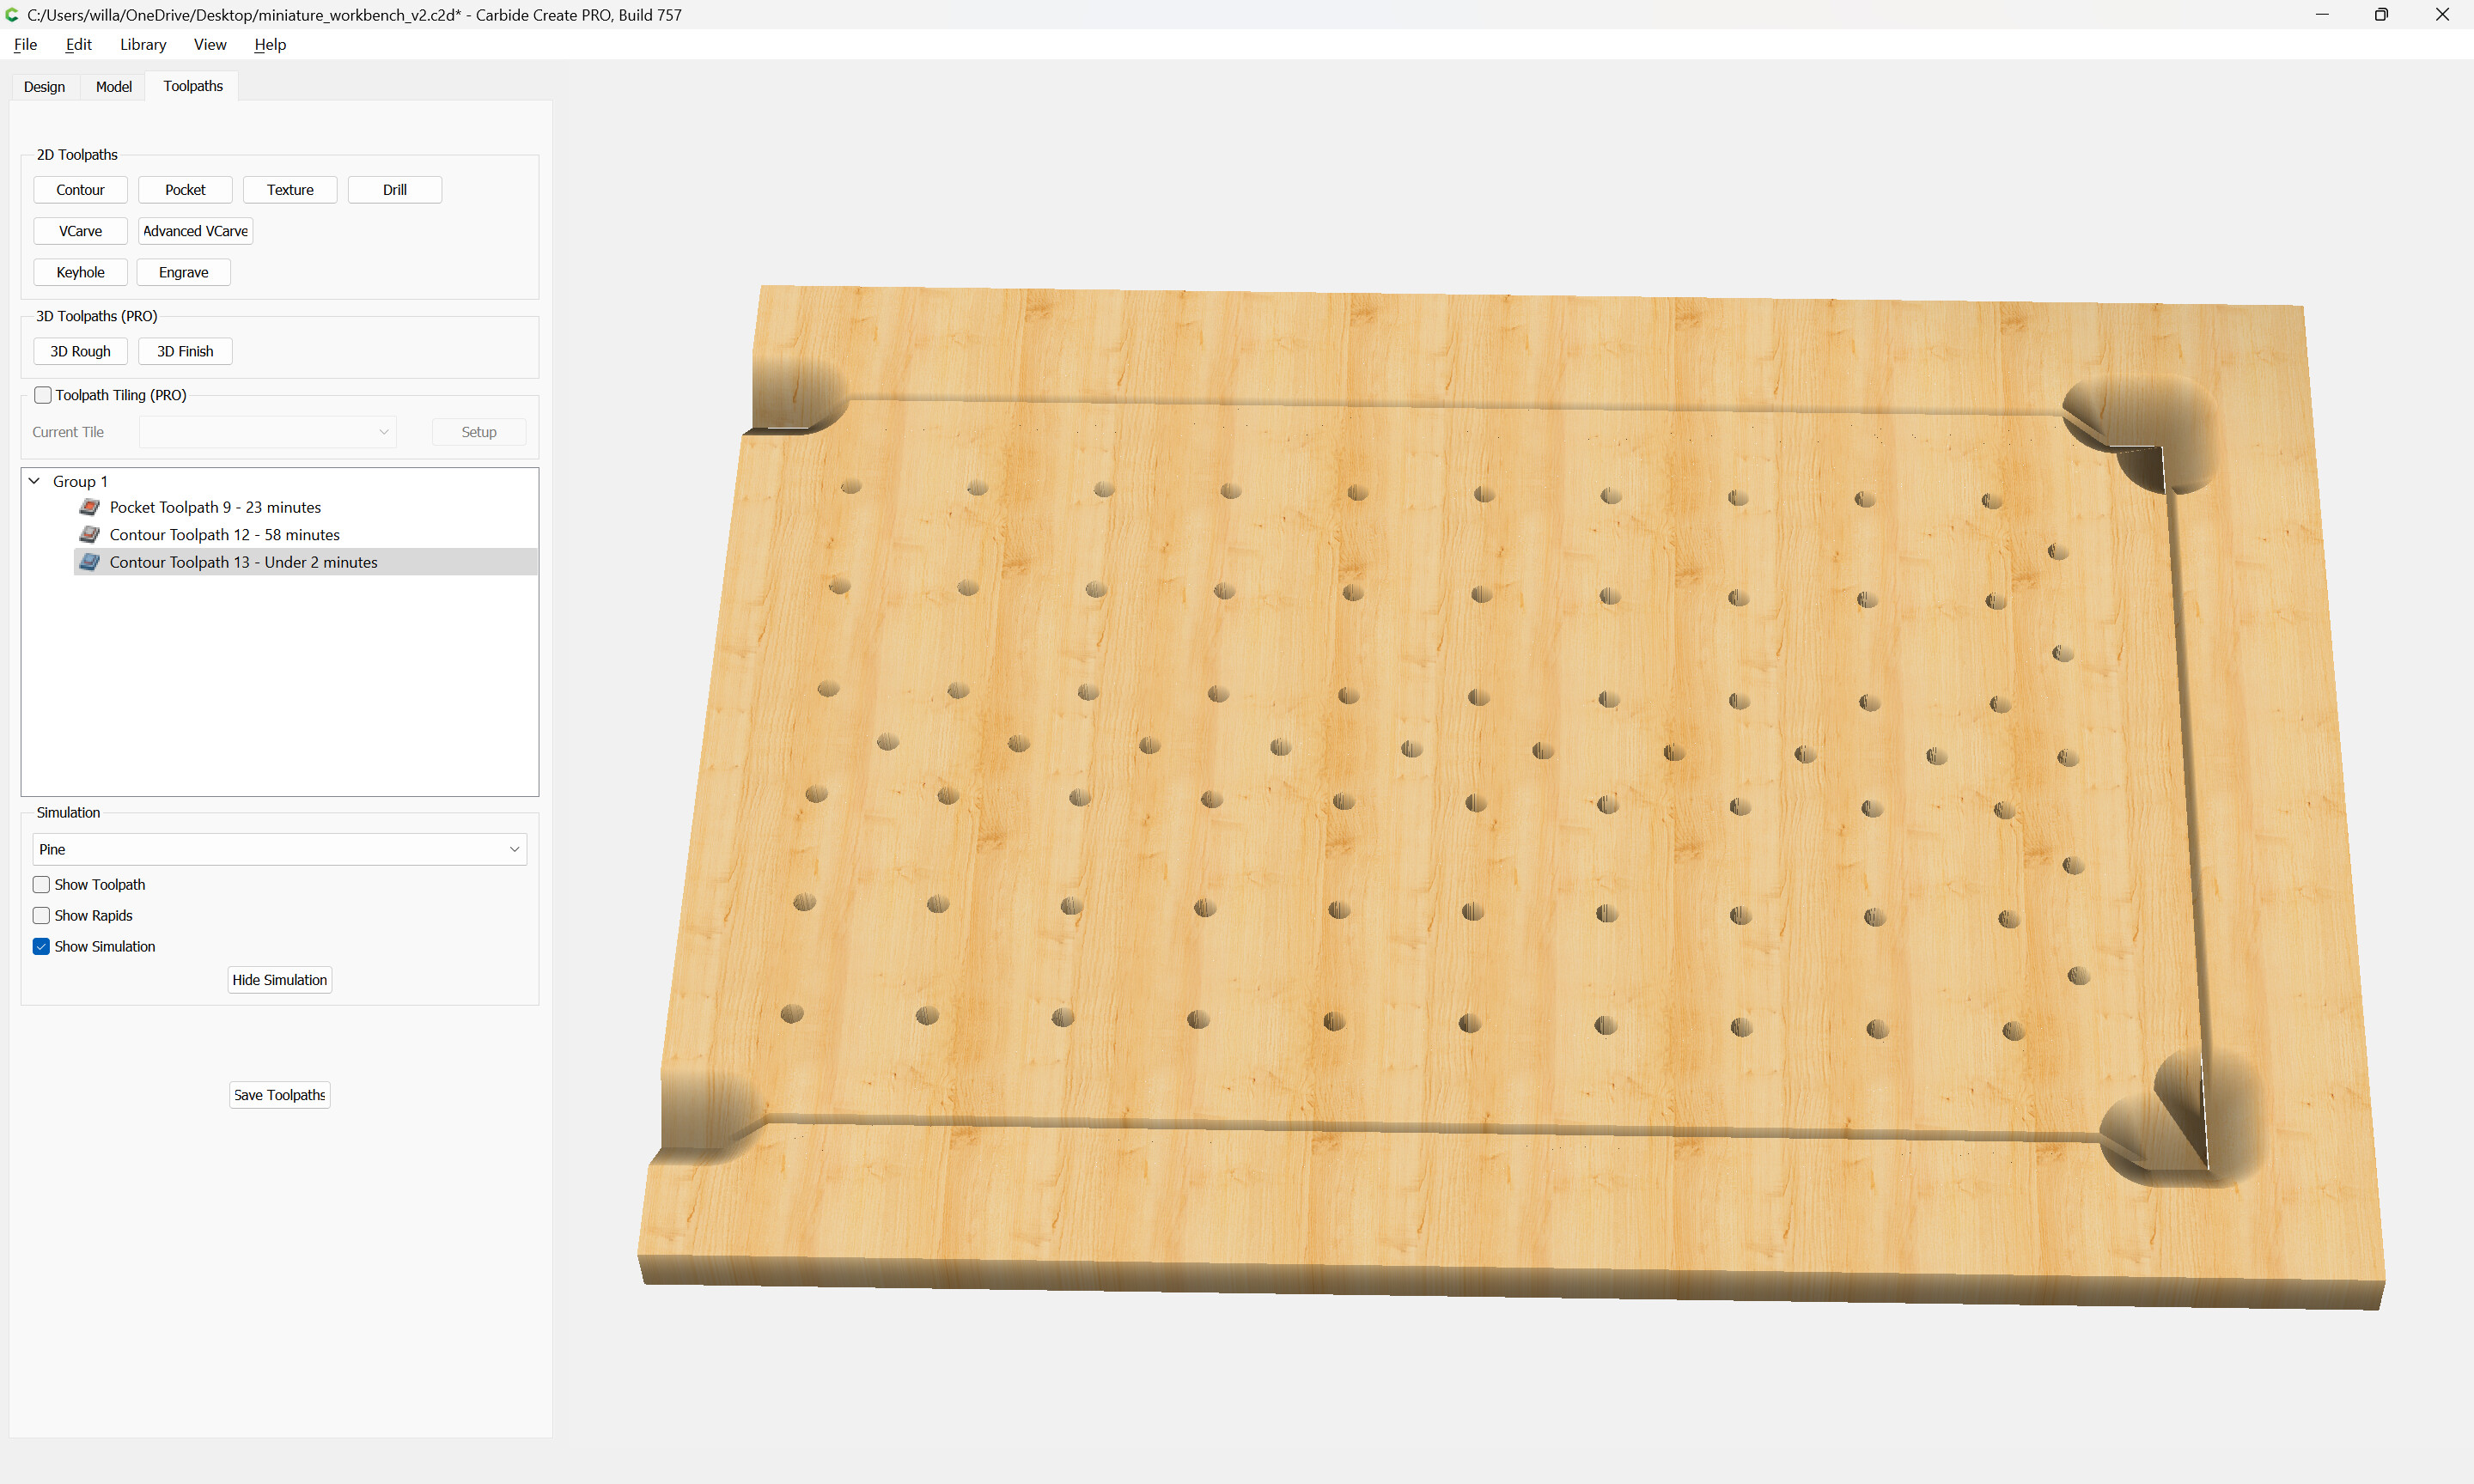
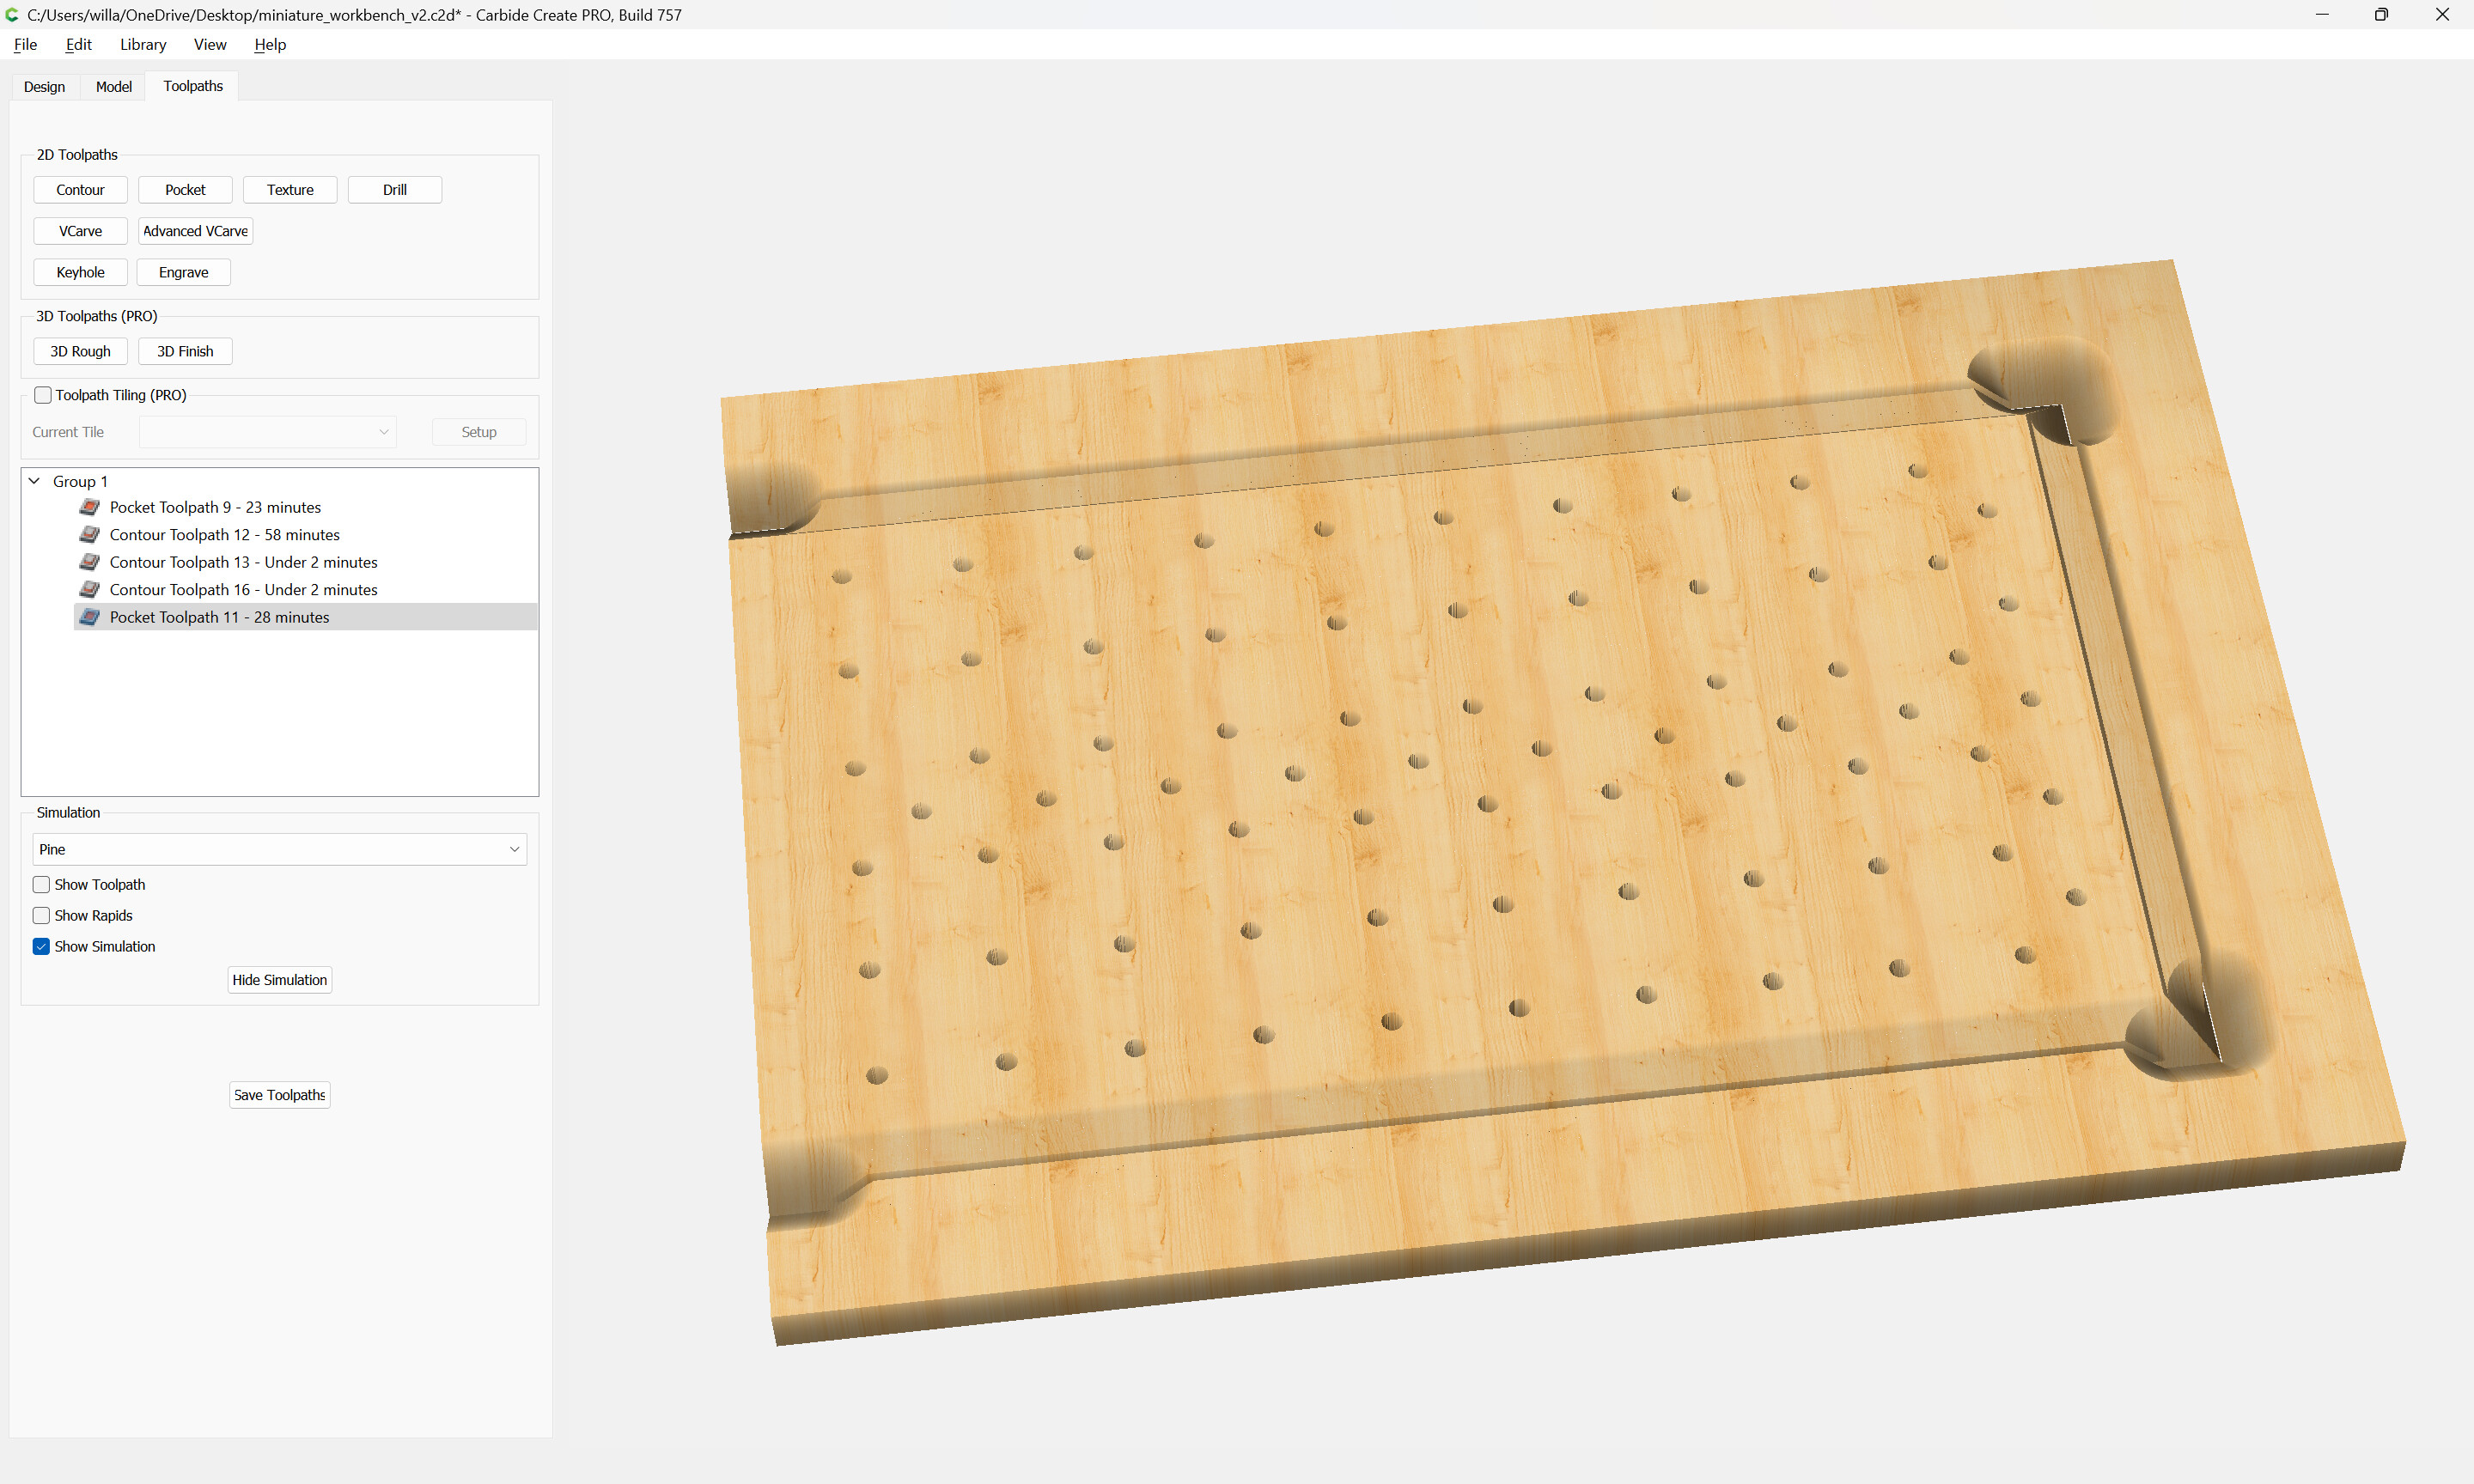
After working through this, decided simpler was better and that it was only necessary to support things at the end, so instead we have:
which previews as:
and which hopefully cut well.
2 Likes
WillAdams
July 8, 2023, 3:47pm
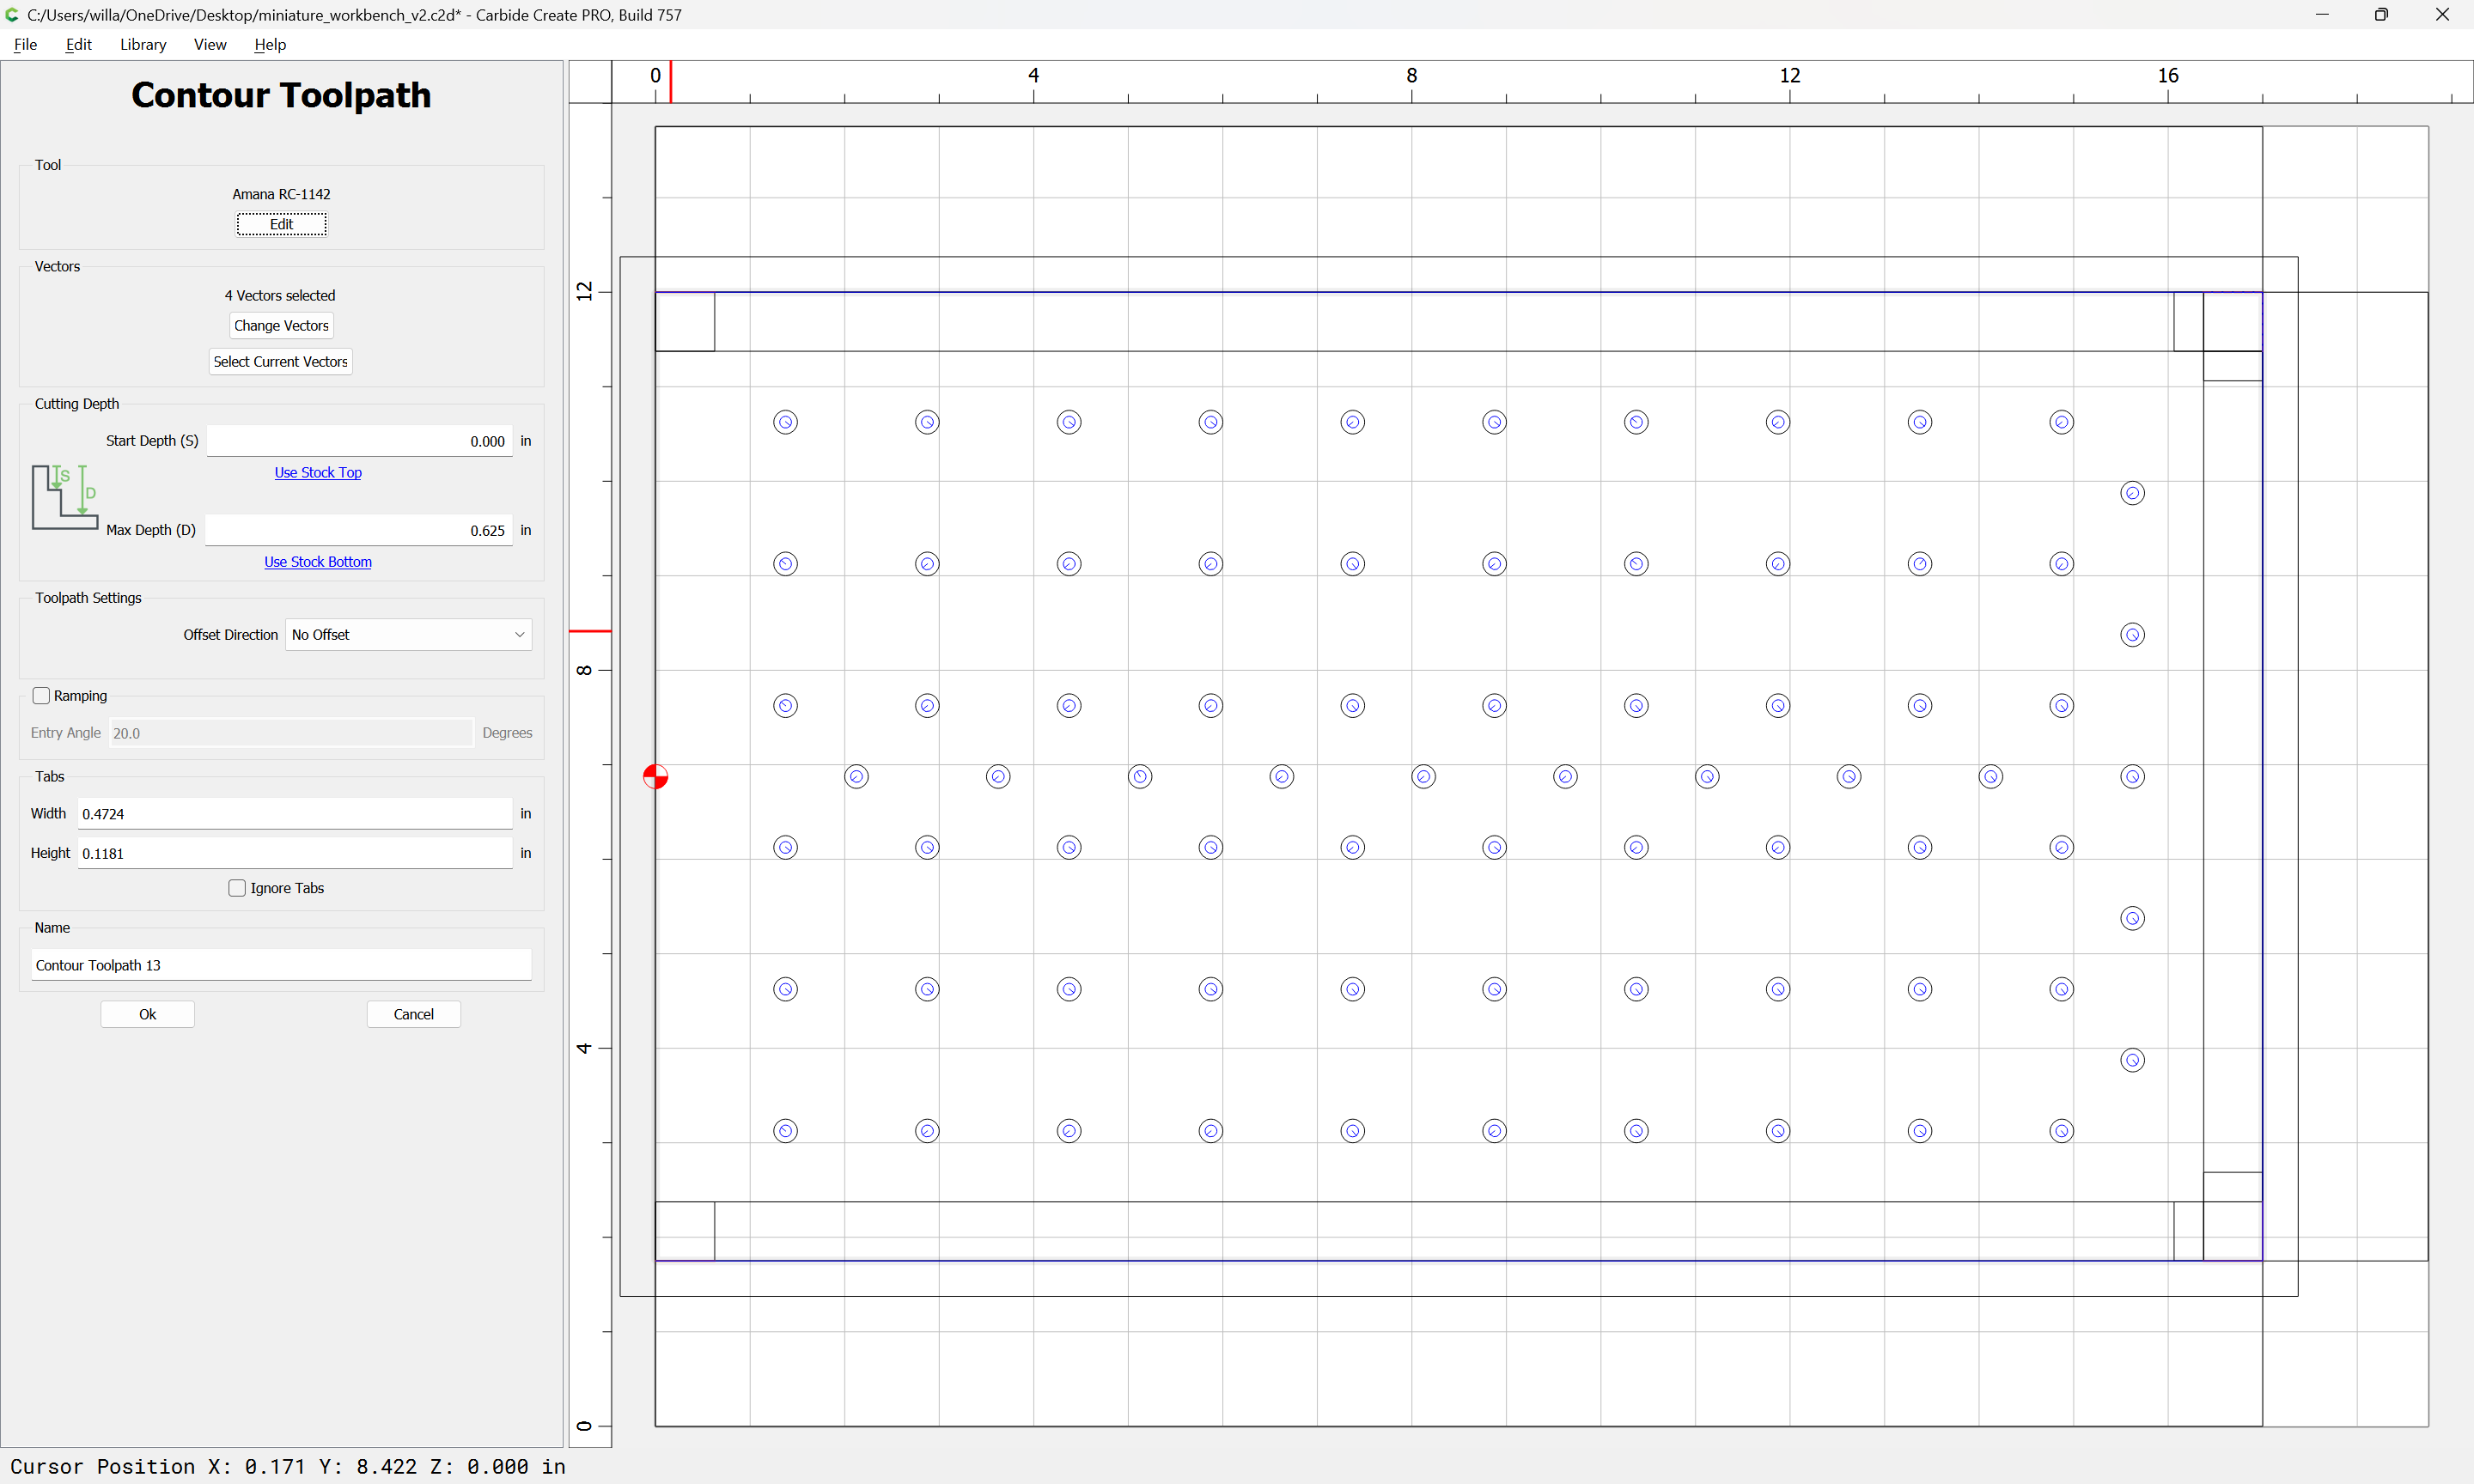
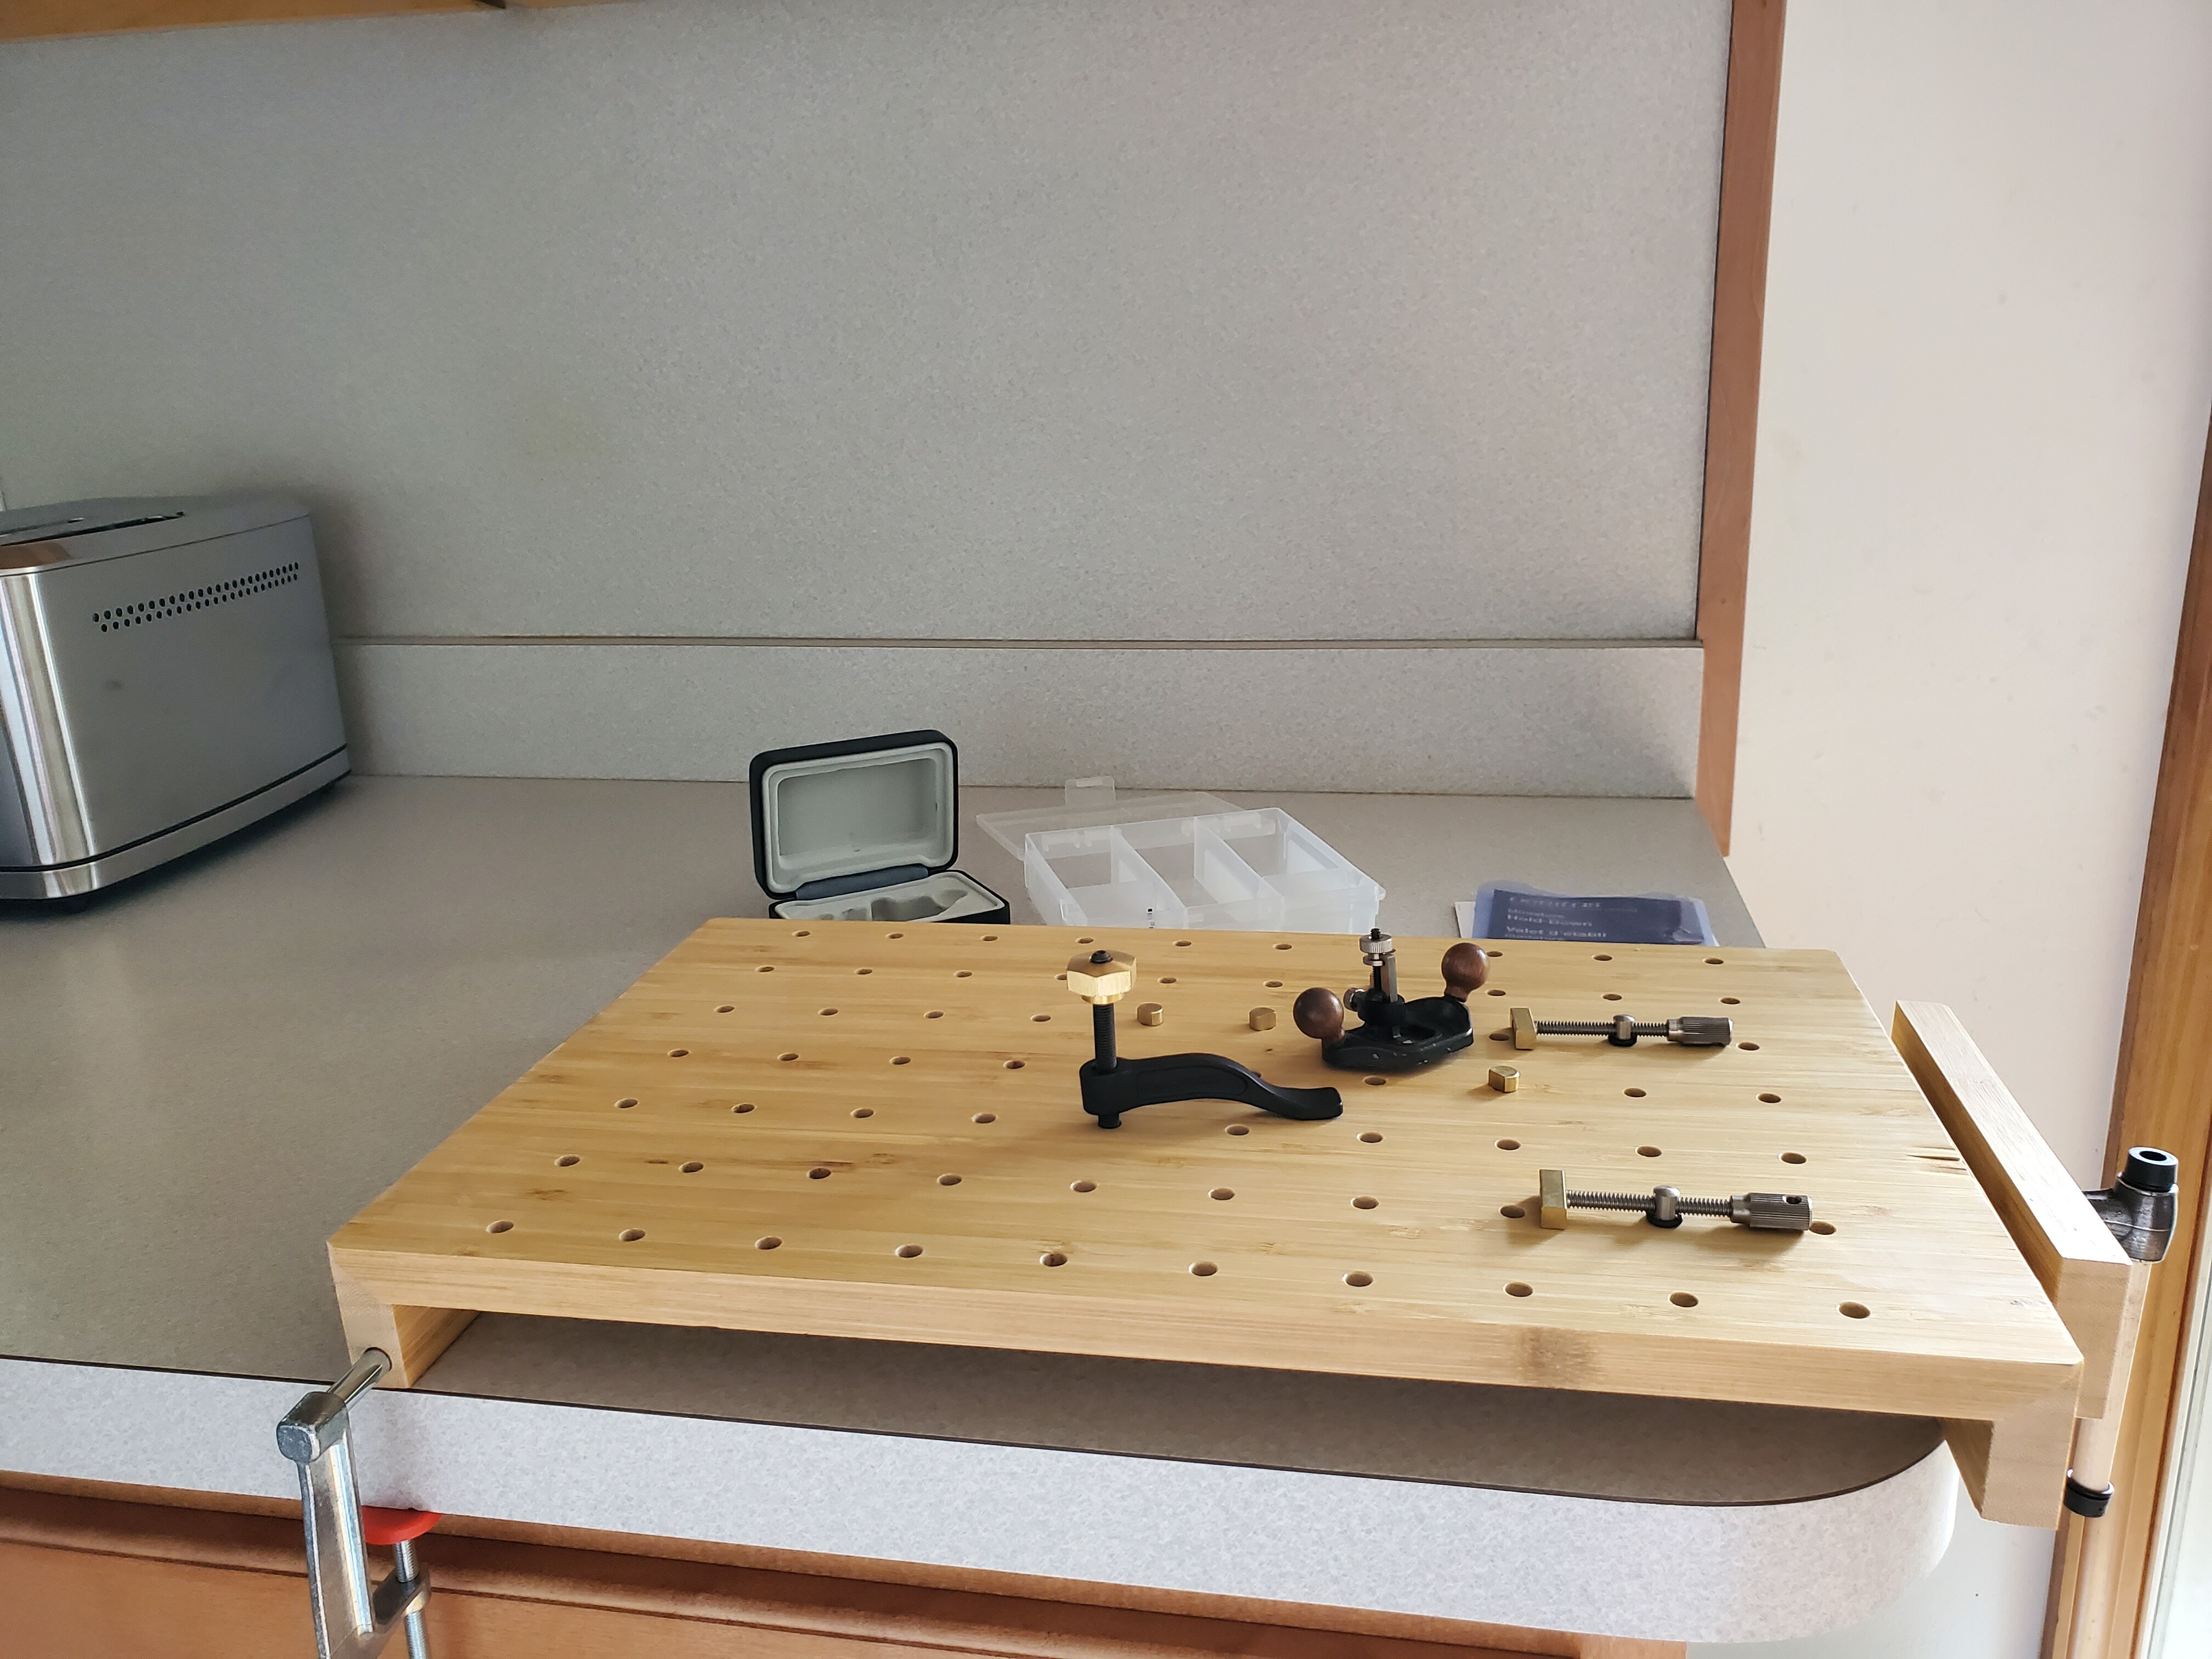
13
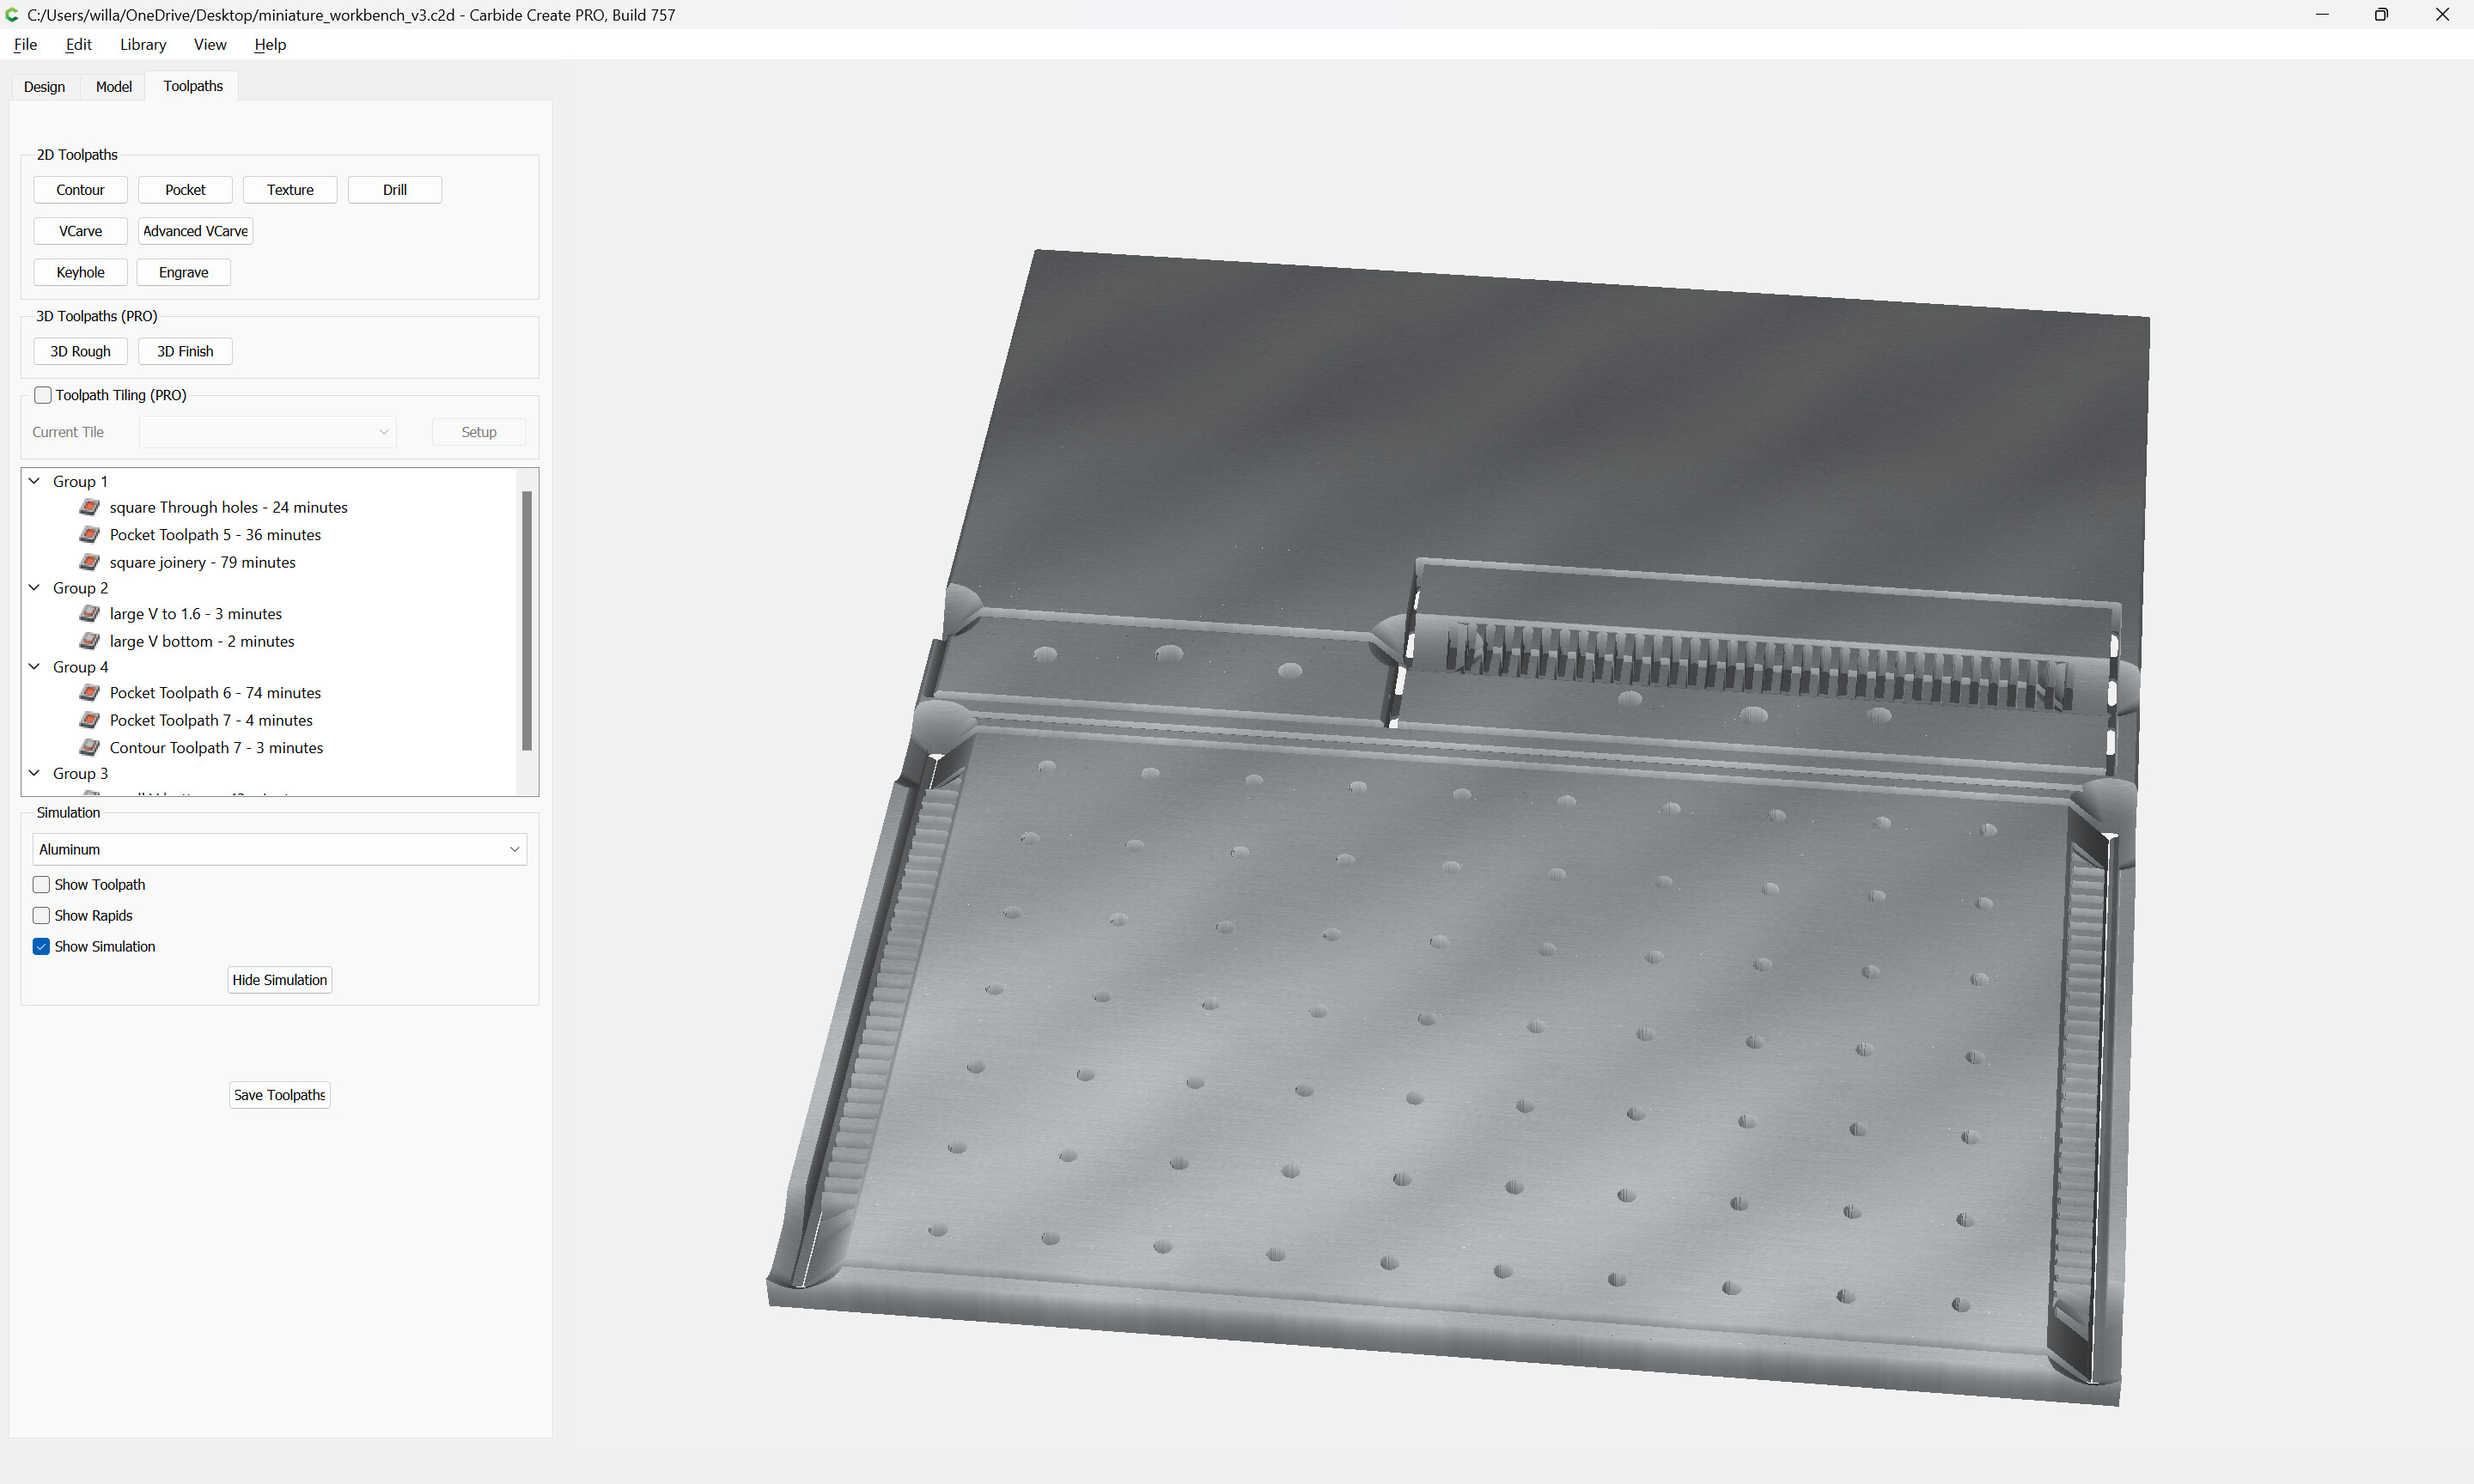
Should have cut the joinery recesses more deeply, but got a workable result:
7 Likes