Hello, makers! I’ve been a dedicated CNC enthusiast since the early 2000s. Today, I’m excited to share a tutorial on converting an image to an STL file, which you can use for laser engraving, CNC machining, 3D printing, or other suitable applications. This guide stems from a project I’ve been immersed in for the past few weeks. You can access the Google Colab Tool. Below, I’ve included some sample results obtained from this tool:
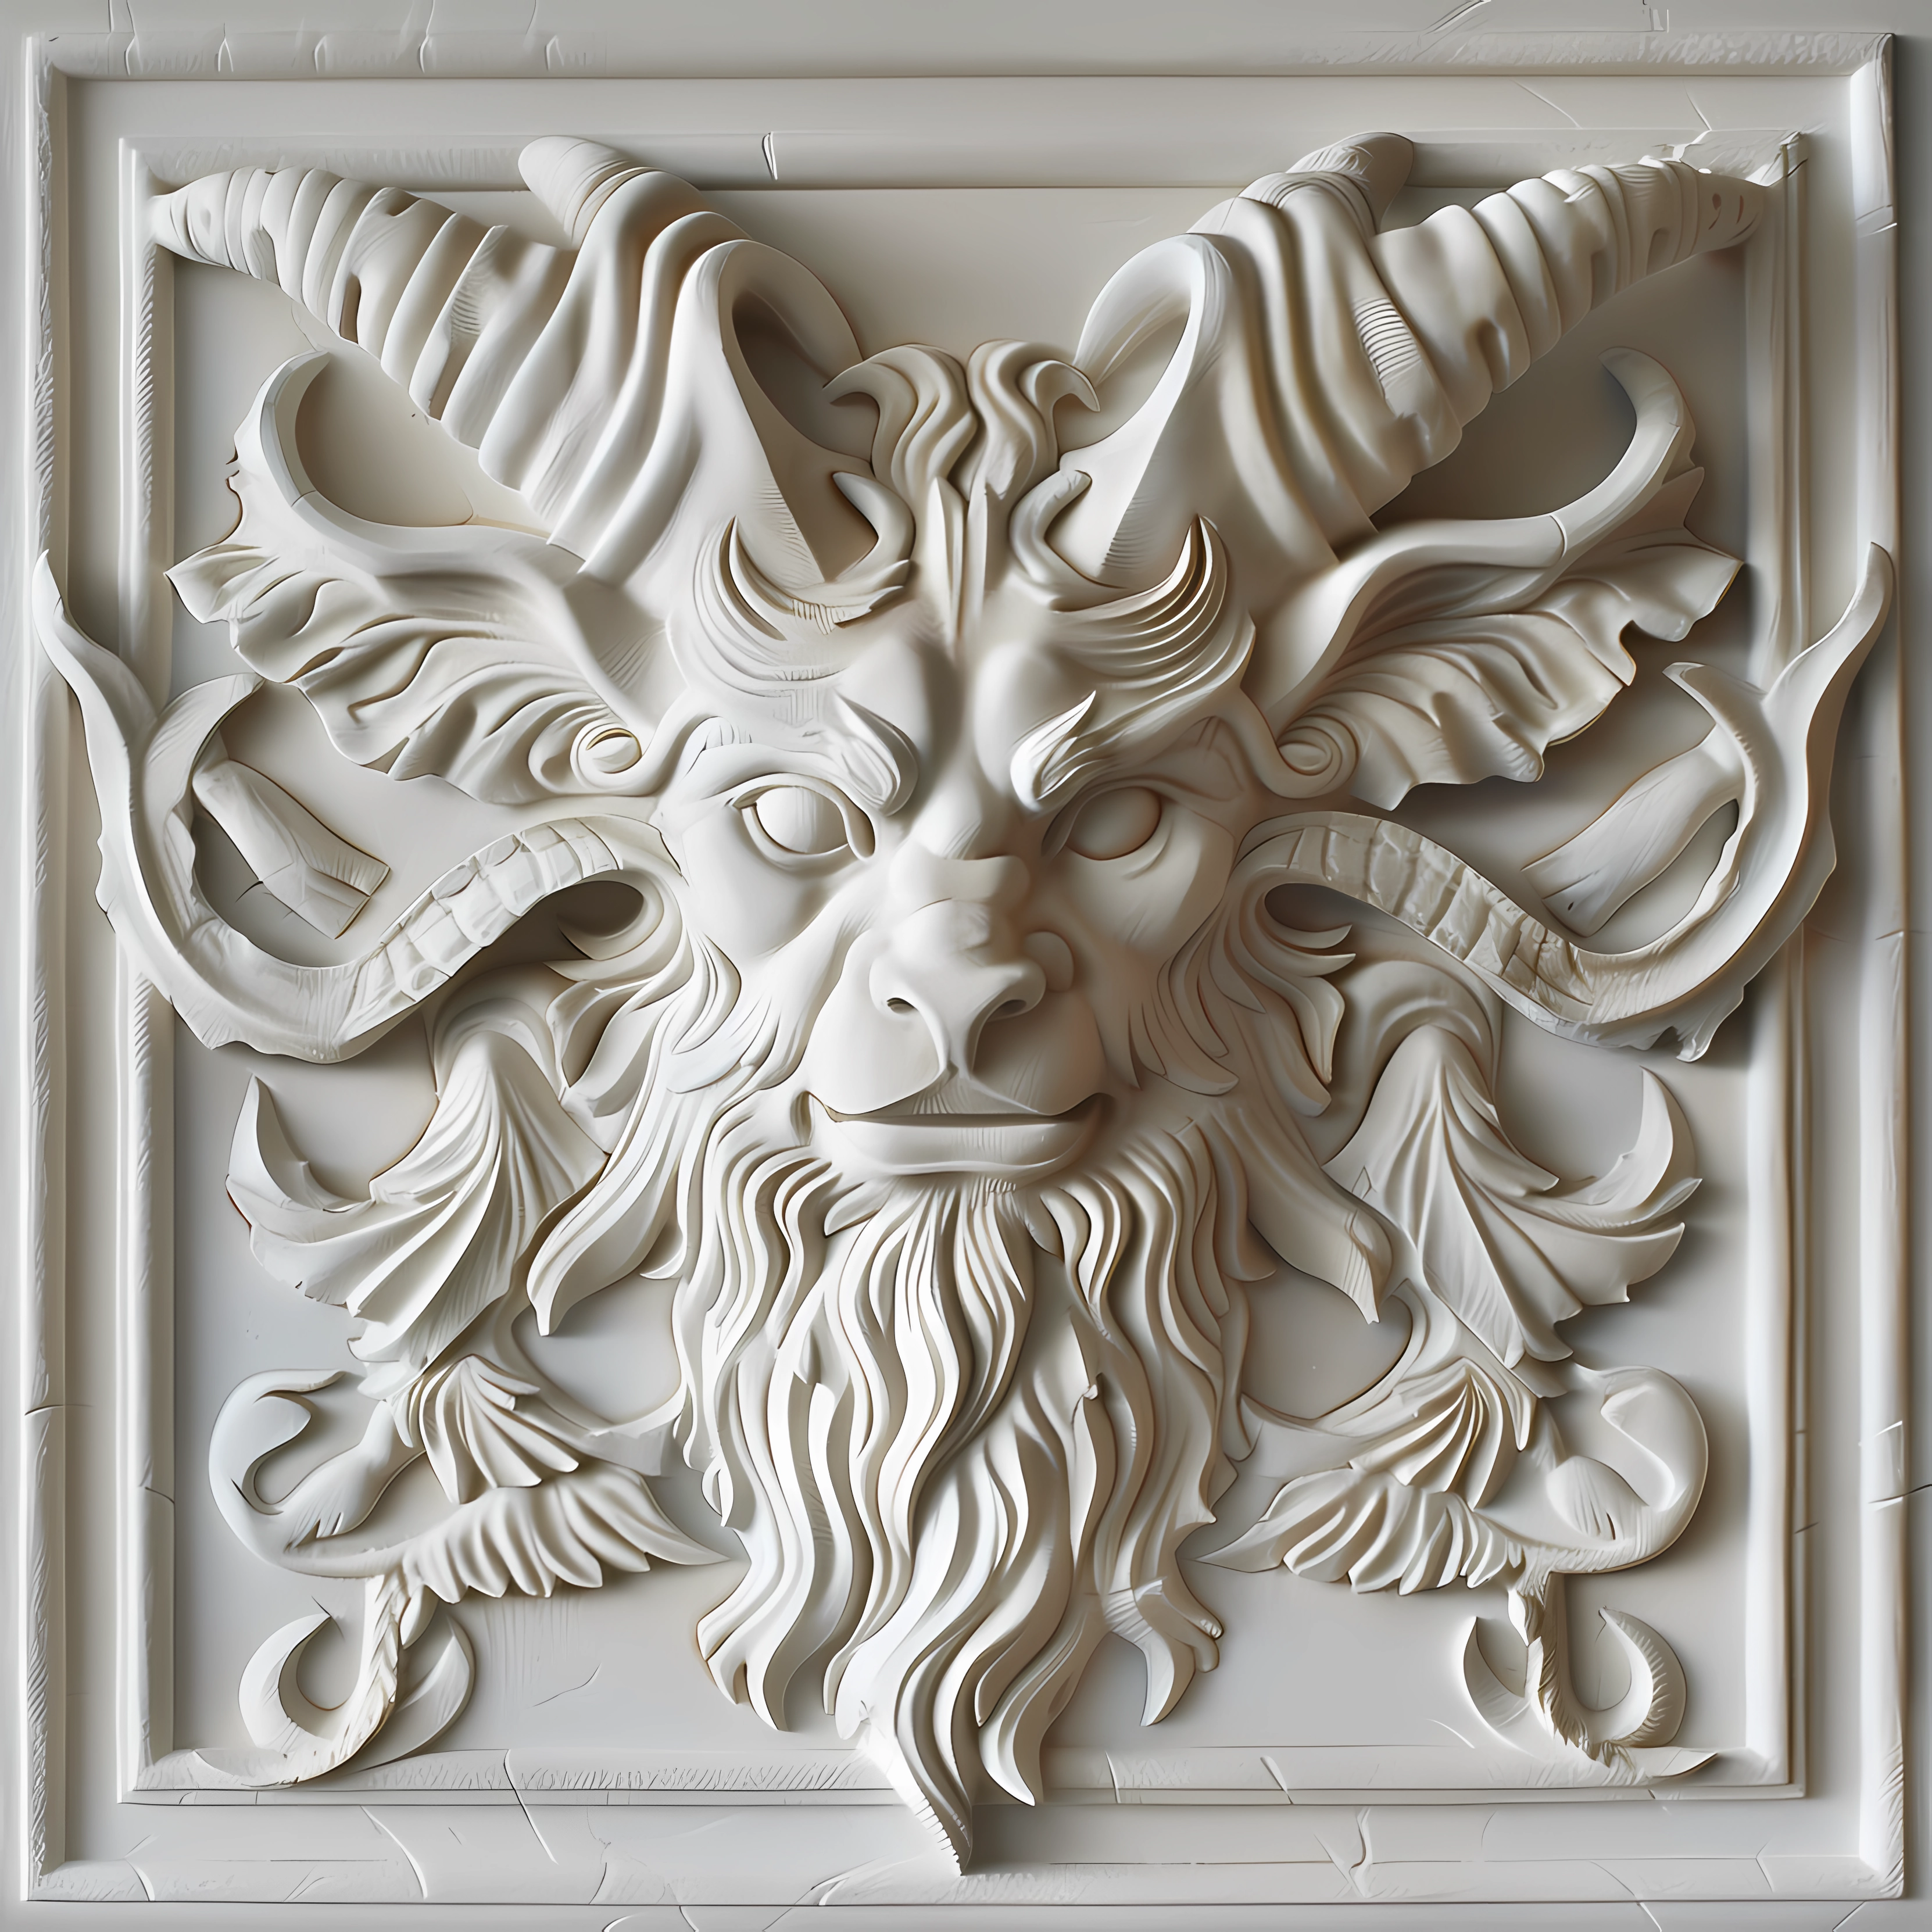
Original Image Input
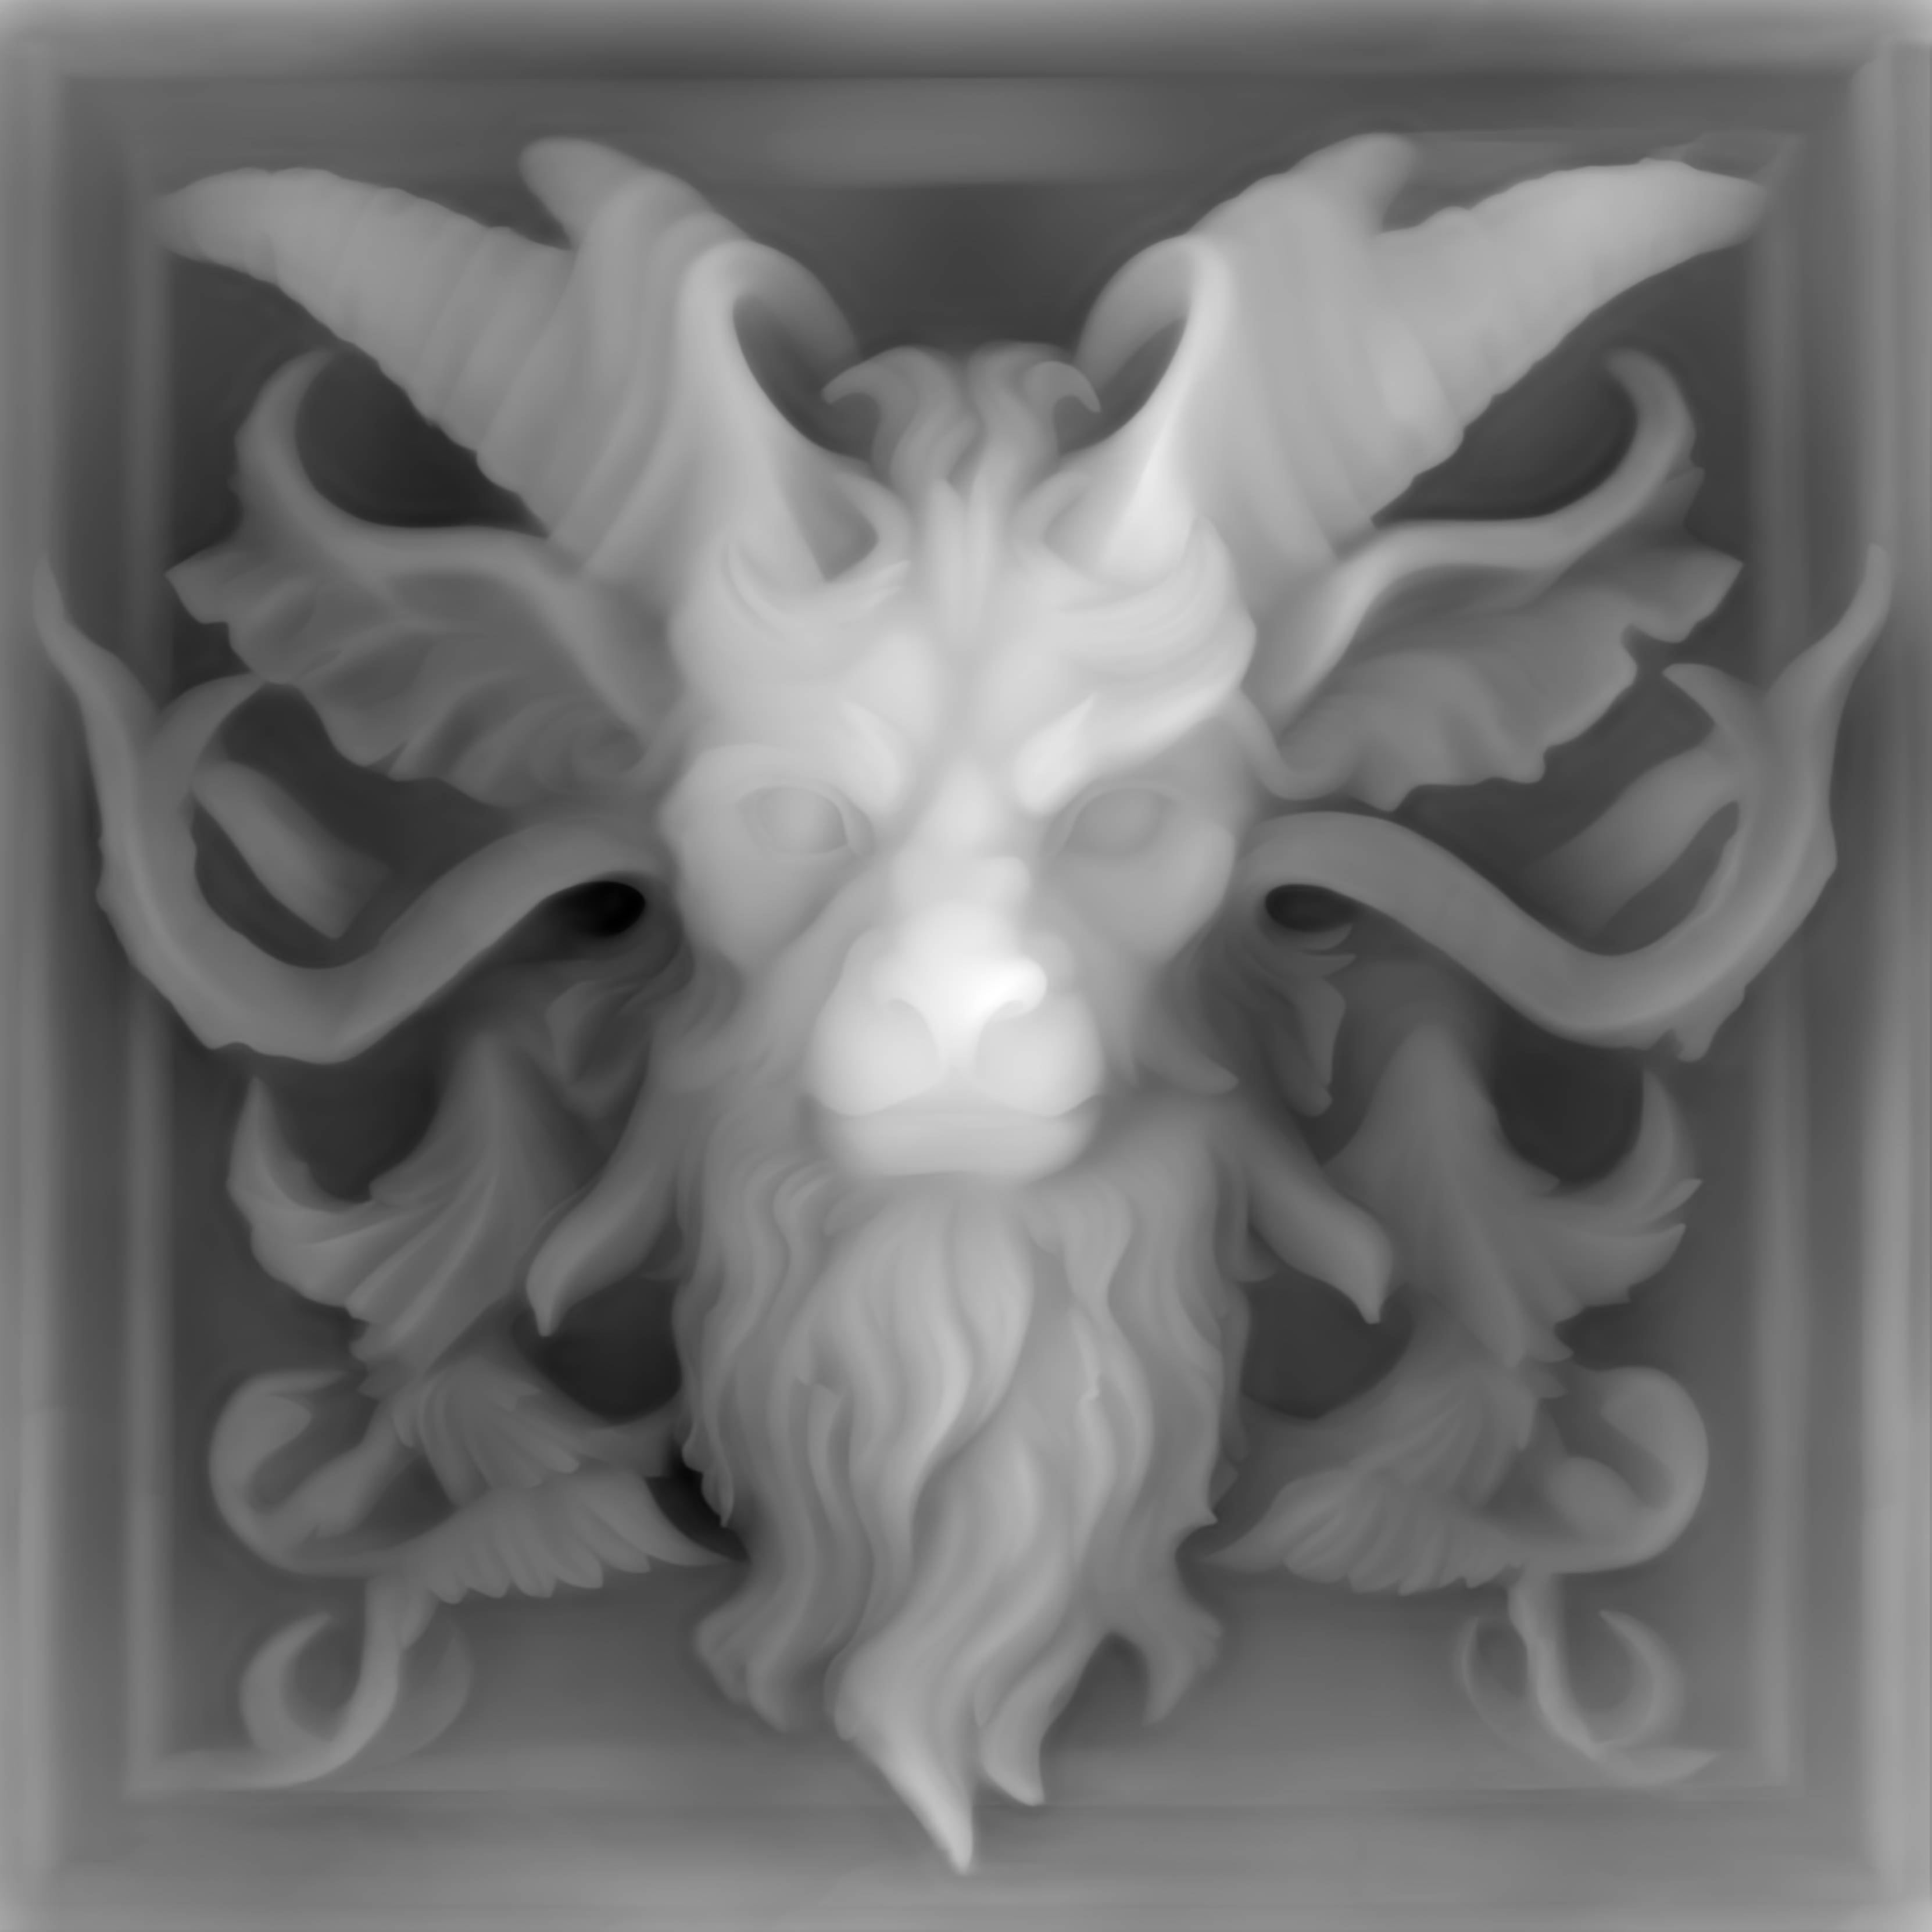
Generated Depth Map (Compressed -90%)
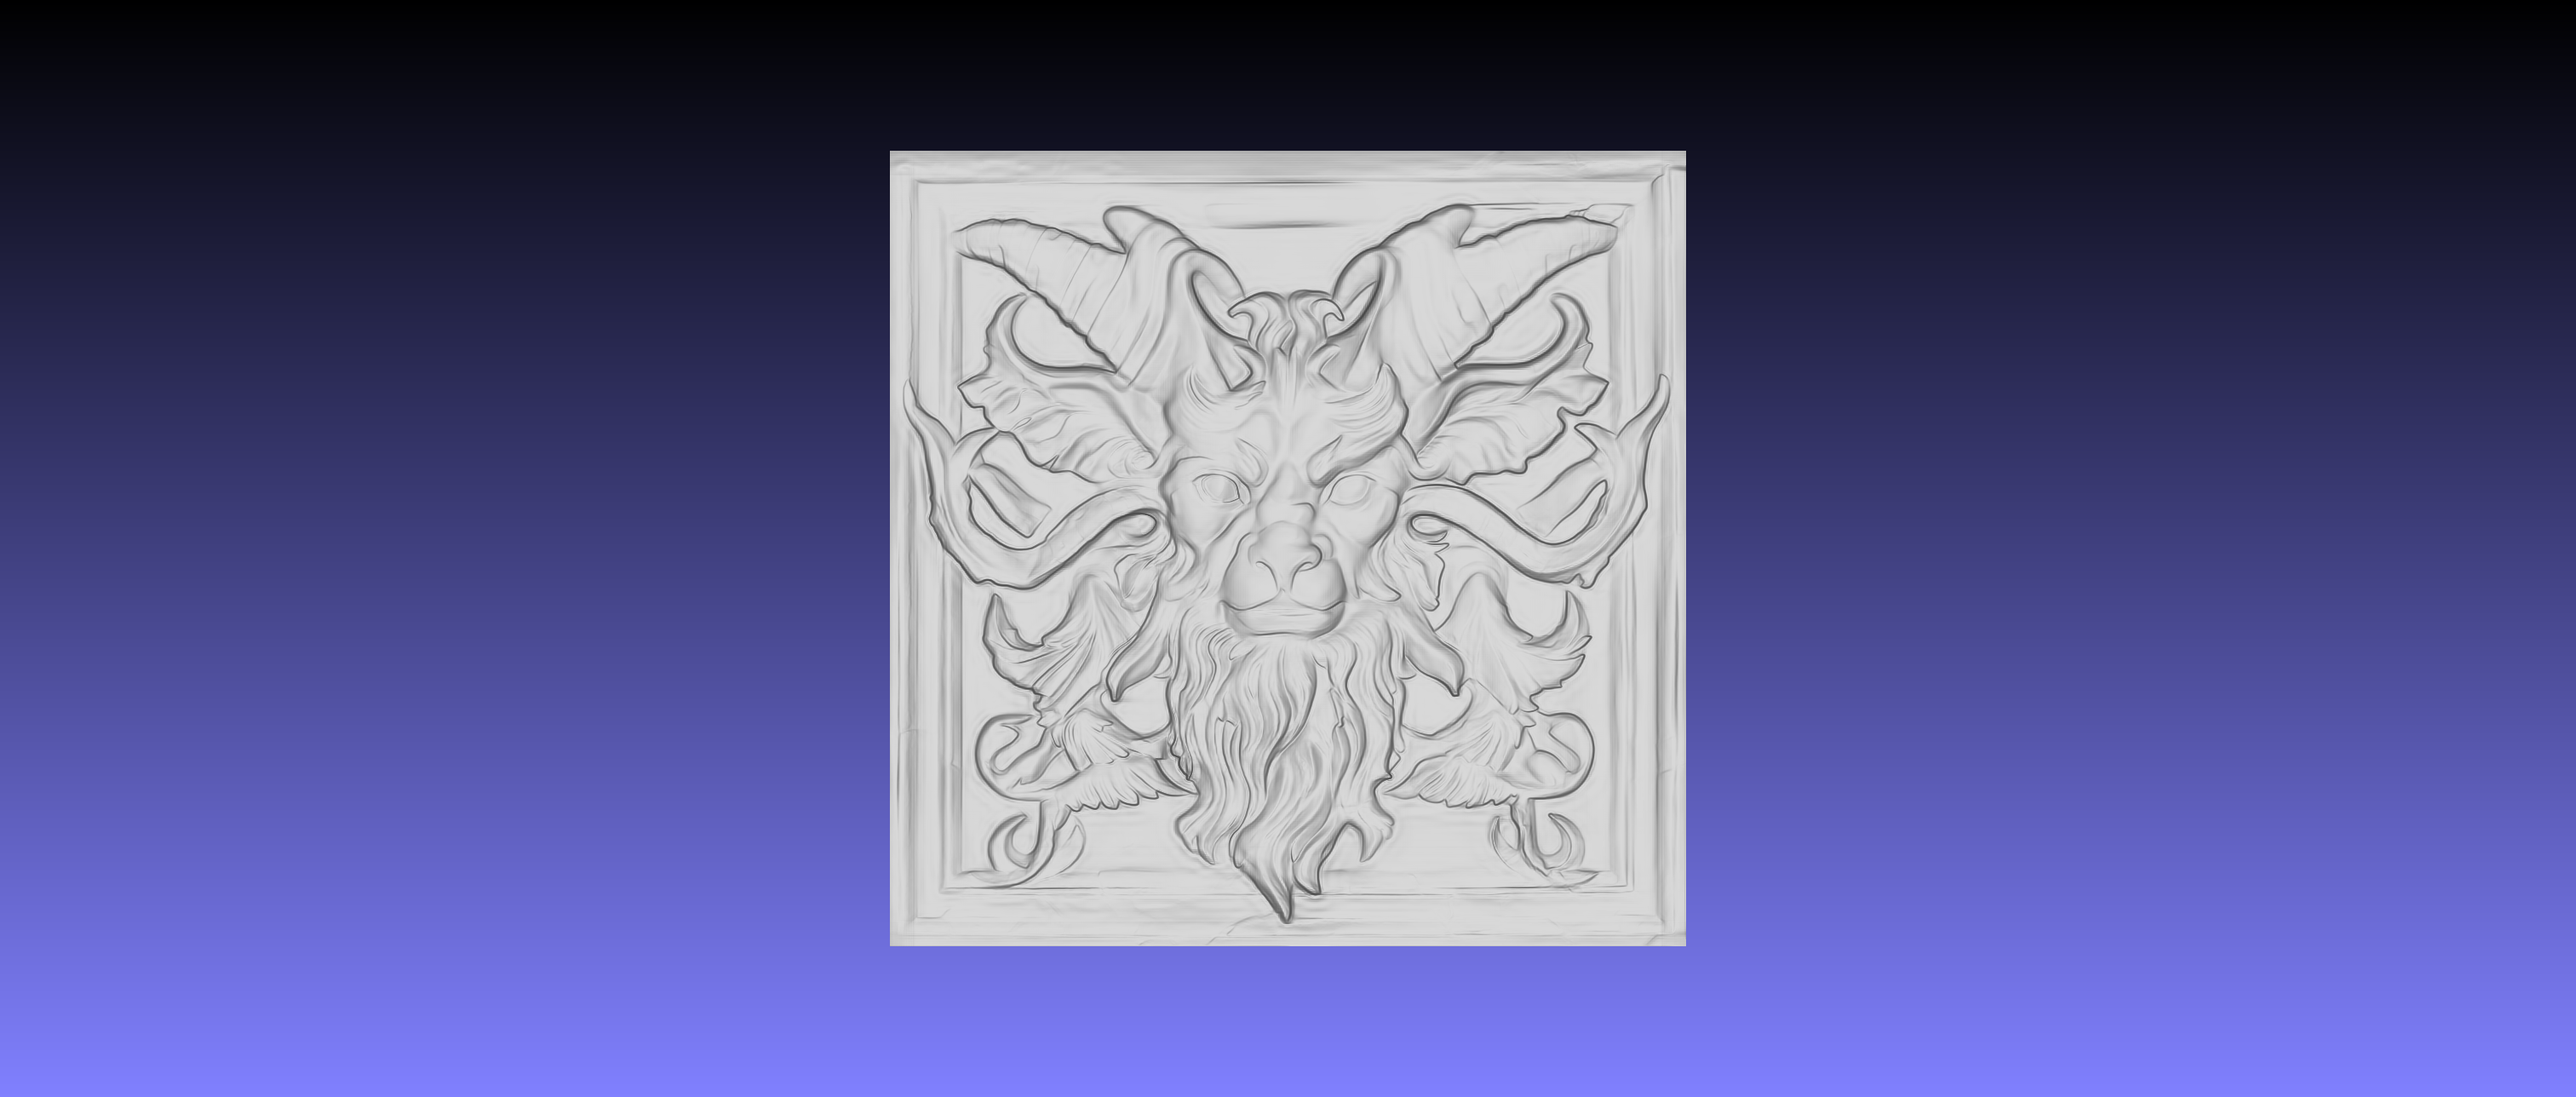
Generated STL Snapshot
A TL;DR section is available on the tool’s page for quick reference. However, for those who need additional guidance, here are the detailed steps:
- Visit the tool link: Google Colab Tool
- This tool operates on Google Colab, a free platform that provides limited GPU access to users

- Click the dropdown arrow next to “Colab AI” at the top right corner.
- Select ‘Change runtime type,’ choose ‘T4 GPU,’ and then click ‘Save.’
- Enabling GPU support is crucial for improved performance. Processing one image typically takes a few minutes with GPU acceleration, as opposed to several hours on a CPU.
- The GPU usage is covered by Google Colab, but I plan to host this on my platform with a dedicated GPU if the budget permits in the future.
- Click “Connect to T4” next to the dropdown menu.
- Wait until the instance connects, indicated by a green check mark.
- Press the play button
 under the “Code (Ctrl + F9 to Run)” section.
 - Setting up the environment takes a few minutes. After completion, you can process multiple images or quickly rerun the setup for a new session.
- Wait for the interface to load.
- Once the interface is ready, use the “Depth Estimation” tab to generate a depth map of an uploaded image. Then, in the “Reconstruction” tab, convert this depth map into an STL file.
I am committed to continuously improving and automating this tool. My ultimate goal is to enable the creation of 3D reliefs from images or text descriptions with a single click, catering to the unique needs of the maker community. As this is an ongoing development, I will do my best to keep the instructions current.
This is my first attempt at writing a tutorial for a broad audience, so I apologize if any sections are overly detailed or lacking. I’m happy to delve into further details about the tool or its setup based on your interests. Your feedback is invaluable, so please feel free to leave comments here or on the tool’s feedback form to help enhance this project!