I have read about up cut and down cut router bits on different forums, and have seen photos with different results. I guess they both have their advantages and disadvantages. I just recently bought a down cut bit just because I didn’t have one. Why else?
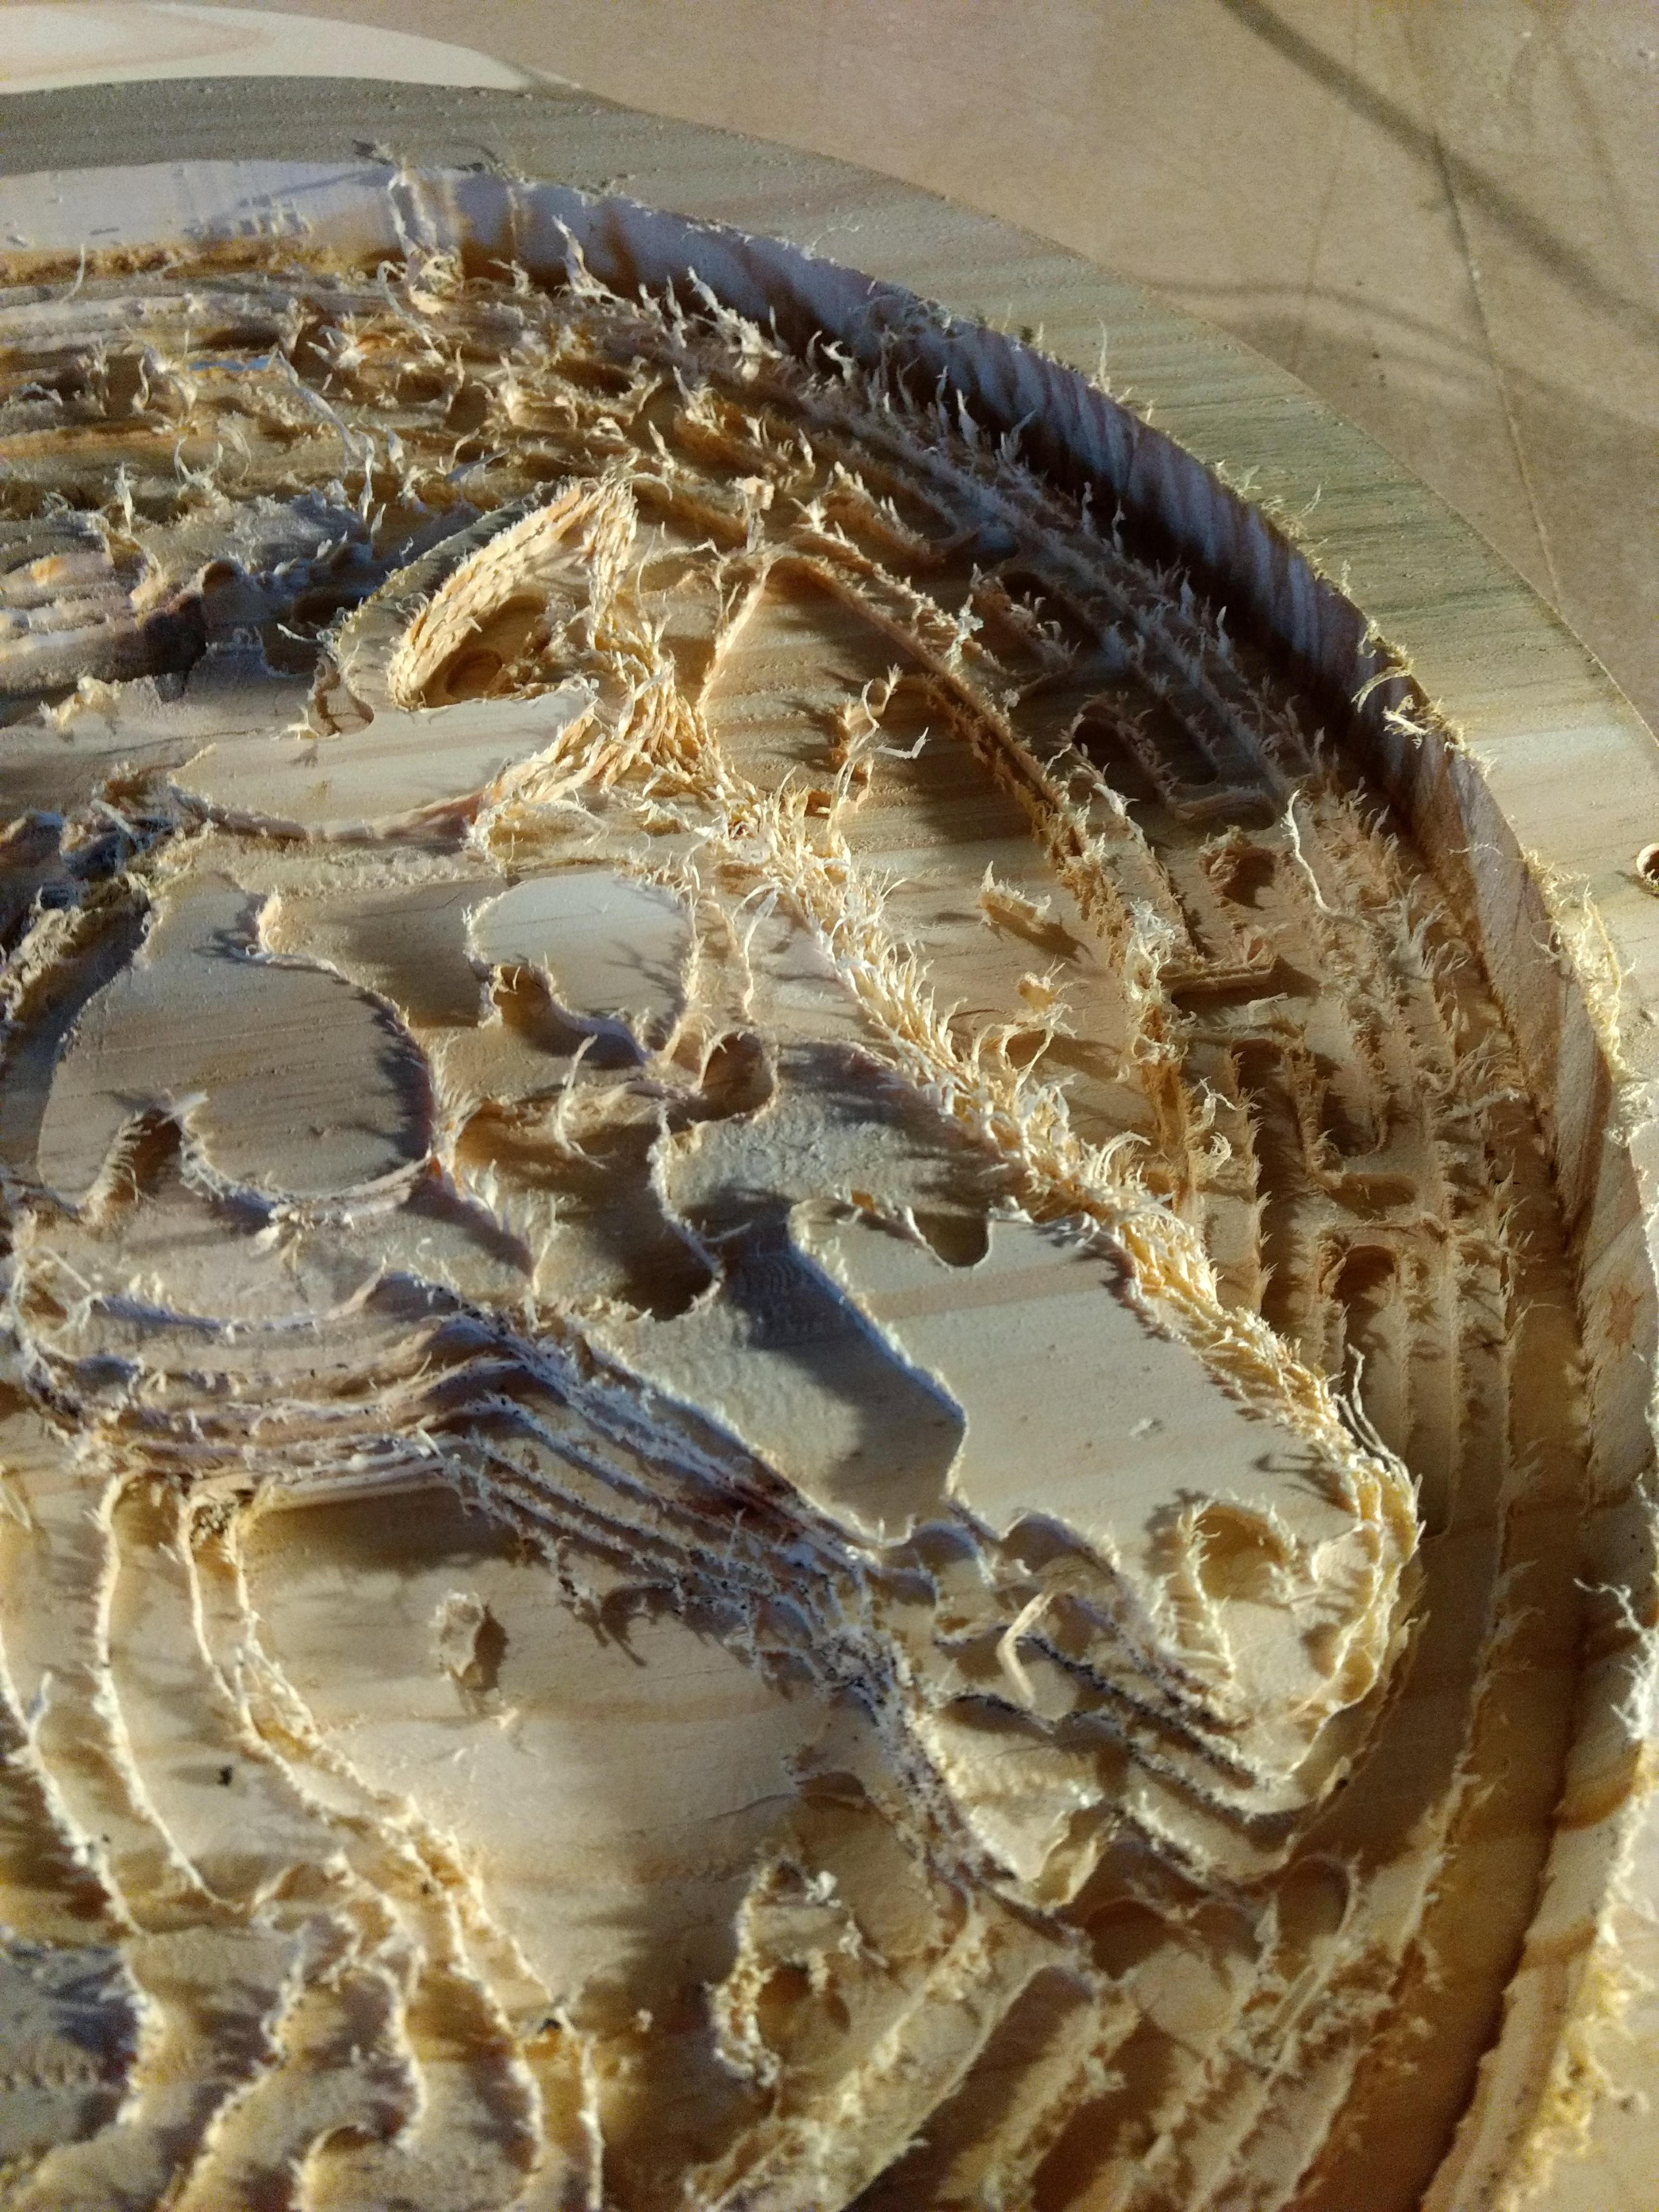
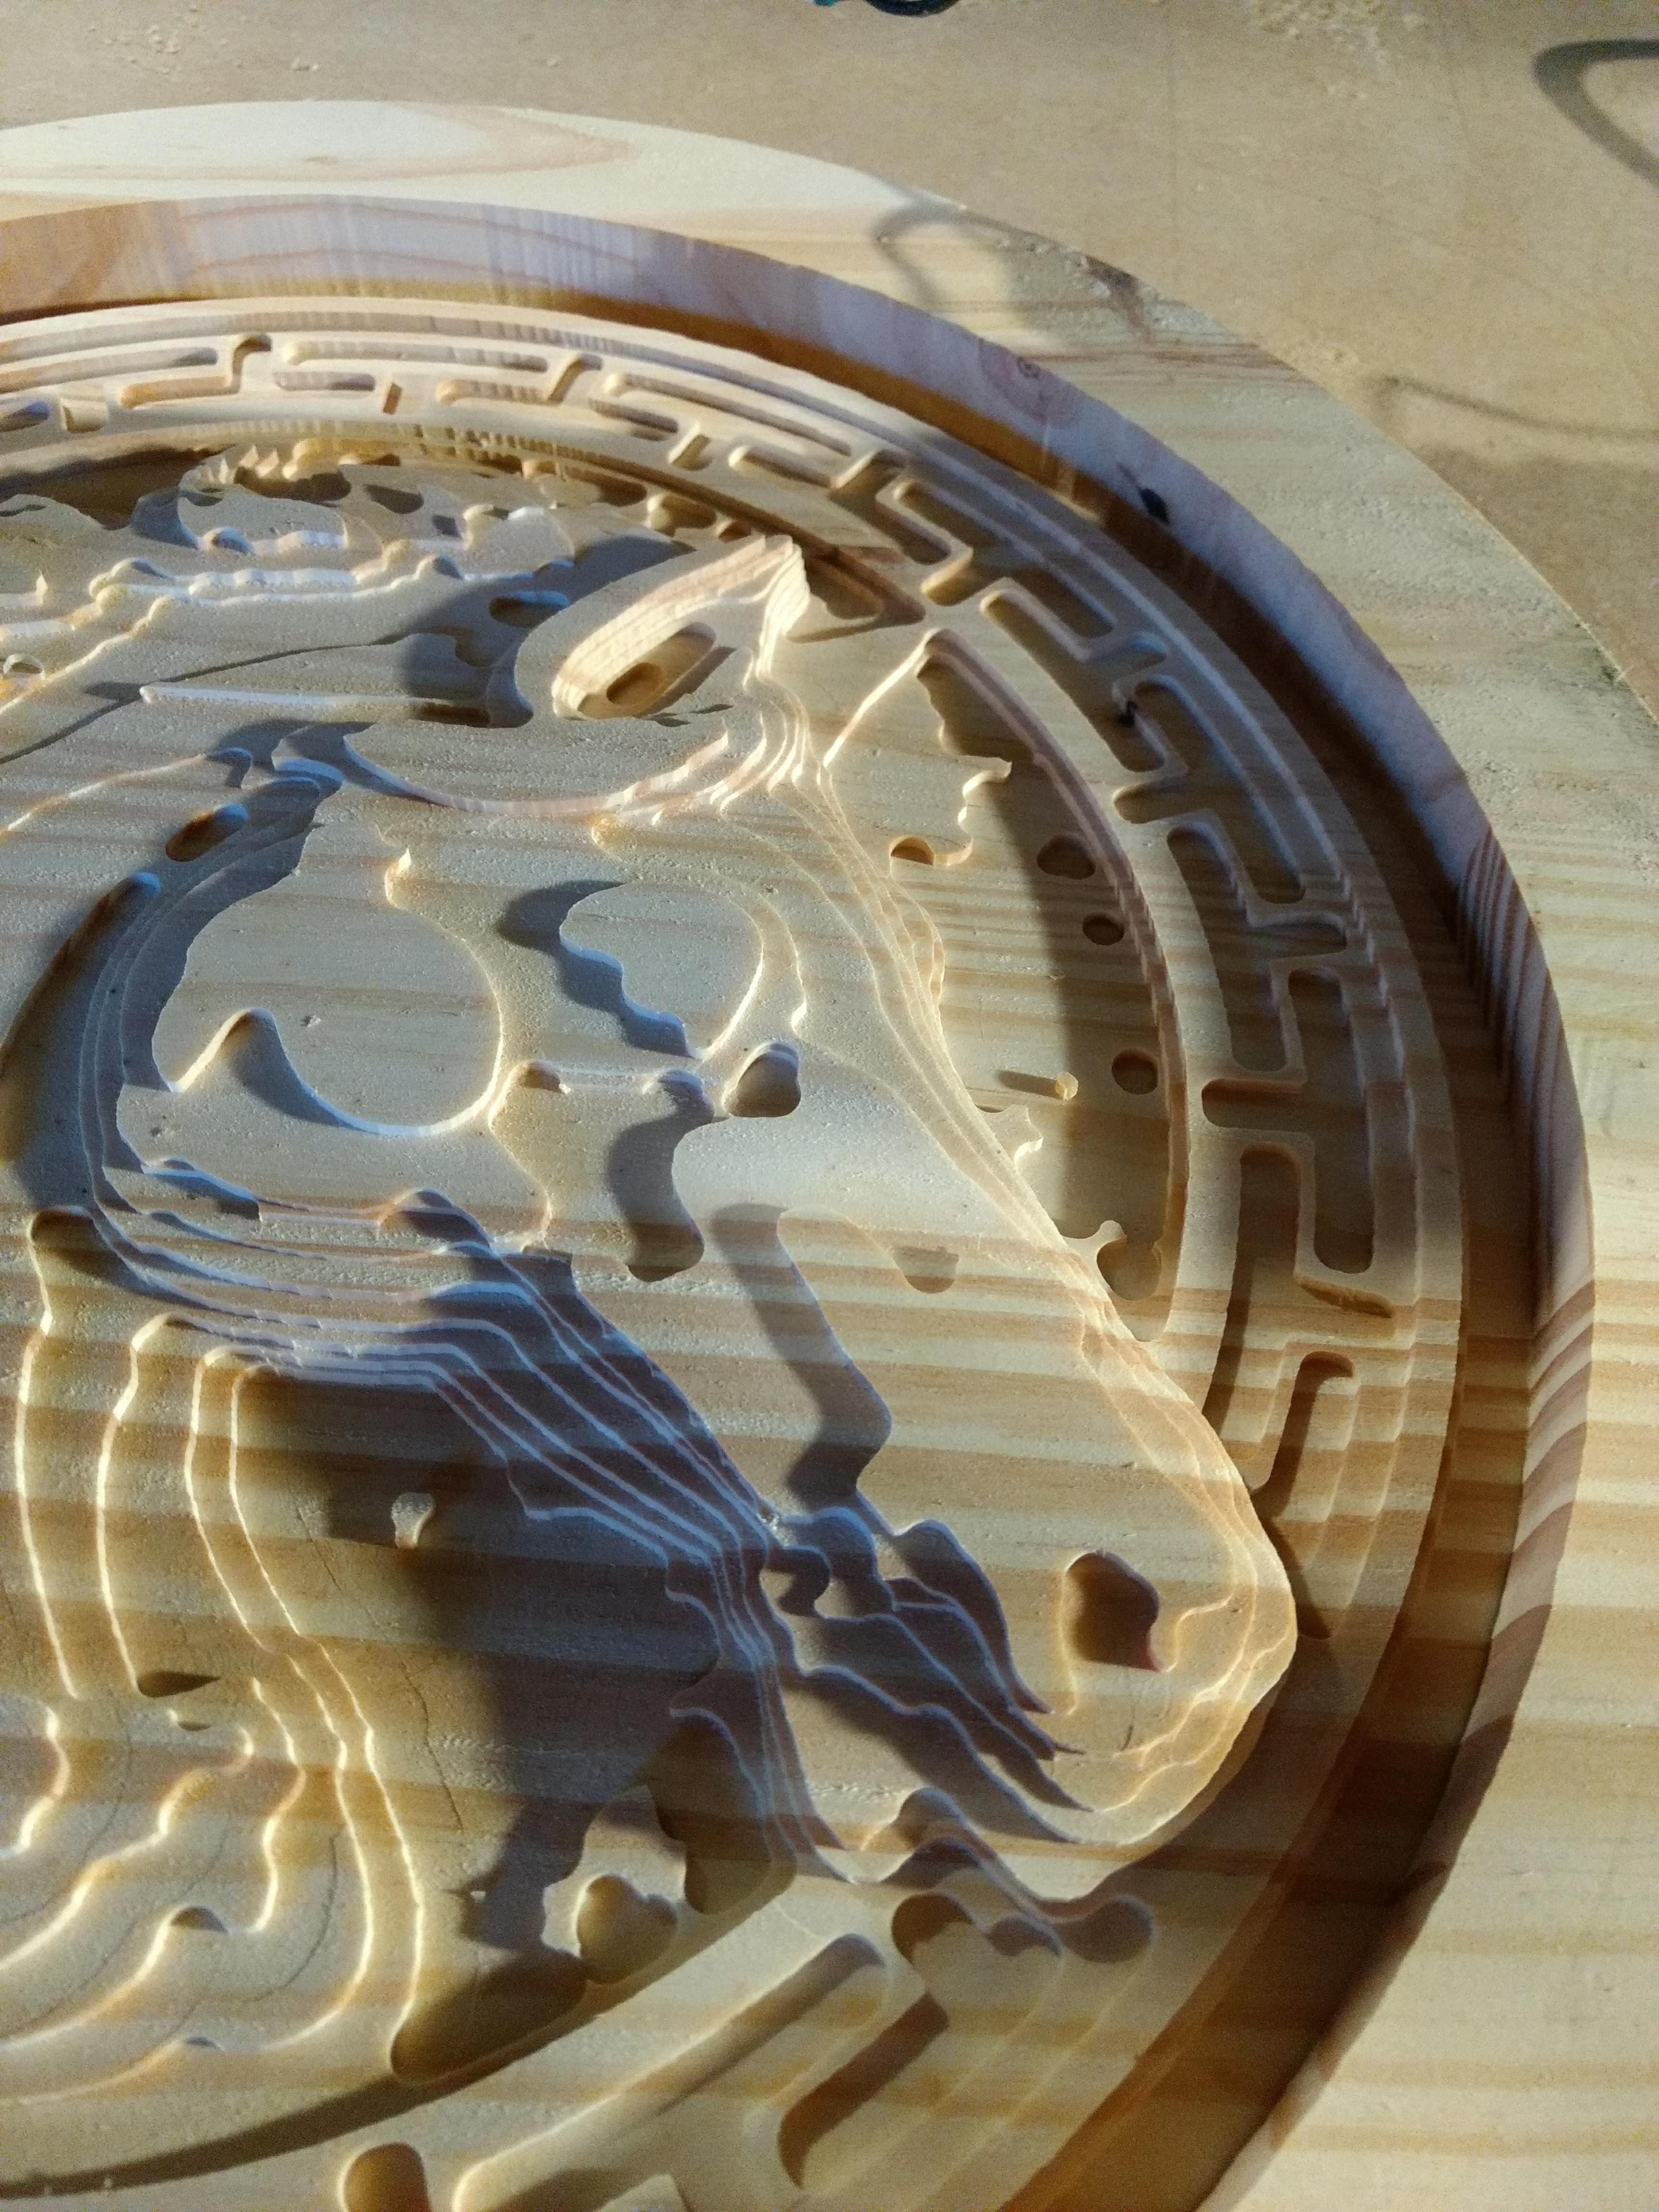
I was making a 3D carving of a horse about a week or so ago, and my coupling broke and the carving was basically destroyed. So today, I got my machine put back together, and decided to run the cut again. This time however, I decided to try out my brand new 2 flute, 1/4" down cut bit just to see if there was any difference from the 2 flute, 1/4" up cut bit I used the first time.
Holy shit!! What a difference!!! I would never have thought a simple change of the cutting edge design would have such a drastic result.
1st photo was done with an up cut bit. 2nd photo is the down cut. All settings, and wood type (PINE) are the same.
Just to be clear, these are 2 completely separate jobs. Not just one cut twice!!
Jack. I’m pretty impressed with your 3D cuts. I’ve been considering buying Aspire, but it’s quite an investment. Did you prefer Cut 3D over Aspire, or did you get that too? Also, are those models you made, were they provided or did you have to purchase them? I read that Aspire also accepts V3M files. Do you use those?
@George_Allen Thanks. I have only tried the demo version of Aspire. I cannot justify the $2000 price tag for it. Everything I have posted here has been done with Cut3D mainly. I also have V-Carve Pro that I bought along with my purchase of Cut3D almost 10 years ago. I might upgrade to the newest version of V-carve pro in the future just for the few added features that my version doesn’t have.
As far as the models go… Mostly all were purchased online, with a few exceptions I had found for free, searching the web. All of the models are in .stl file format that I can import straight into Cut3D, and start setting up my roughing, finish, and cut out tool paths.
With those 2 programs, I can do pretty much anything that I need to do. I’m not saying not to get Aspire, but I personally can live without it. Hope that helps you out.
I am running the finish pass now on the horse. I’ll post the results probably tomorrow.
@SirGeekALot 1/8" ball end mill. 10% step over. They are pretty much my go-to bit of choice for finish passes. I occasionally use a tapered end mill if there are no 90 degree edges to worry about.
Awesome job @Jack_Daugherty
Could you post speeds and feedrates, as well as tools used (a link where it was purchased, if applicable)? I am stunningly impressed
@sszafran Well for the roughing pass, I ran it at about 100 IPM, .10 step down increments. Spindle speed aprox. 18000 RPM. Finish pass 1/8" ball nose 10% step over, 70 IPM 16000 RPM. Kyocera carbide tooling.
Looks amazing! HATE when cracks pop up. Has ruined plenty of work before, all about the kiln dried stuff, and found if you surface the backside prior to doing the front is evens stresses.
@Jack_Daugherty I don’t know if that will be would be visible when you finish it, will it? Supposing you are going to apply some type of finish. It looks very professional! I use titebond original for that since working @ the Makerspace. What type do you use?
@Brandon_Satterfield It happens I guess. Everything that’s available around here is laminated one way or another. Glued together scraps of wood. This was a 17" X 1" round pine wood blank for making small table tops, or bar stools etc. from Home Depot. $6.00. Can’t really complain much. I needed every bit of the thickness for the model to fit right, so no surfacing prior to machining.
@George_Allen Not sure if I am going to finish it. Still debating on what to do with it. I also use Titebond III for stuff like this. I use polyurethane glue for gluing up most projects though. It’s a bit messy, but I find it holds up quite well.
Have you ever used Meshcam, Jack? I was curious how it compares with Cut3D. I’m on a trial version and it works fairly well. The standard version is comparable to cut3D, but the pro version is $500.
@George_Allen Sorry for the very long delay in getting back to you, but I never seen any notification that anyone replied. I have tried some other programs for the photo to 3D thing, but none have worked any kind of magic for me personally. Maybe I’ll give that a try when I get a chance.
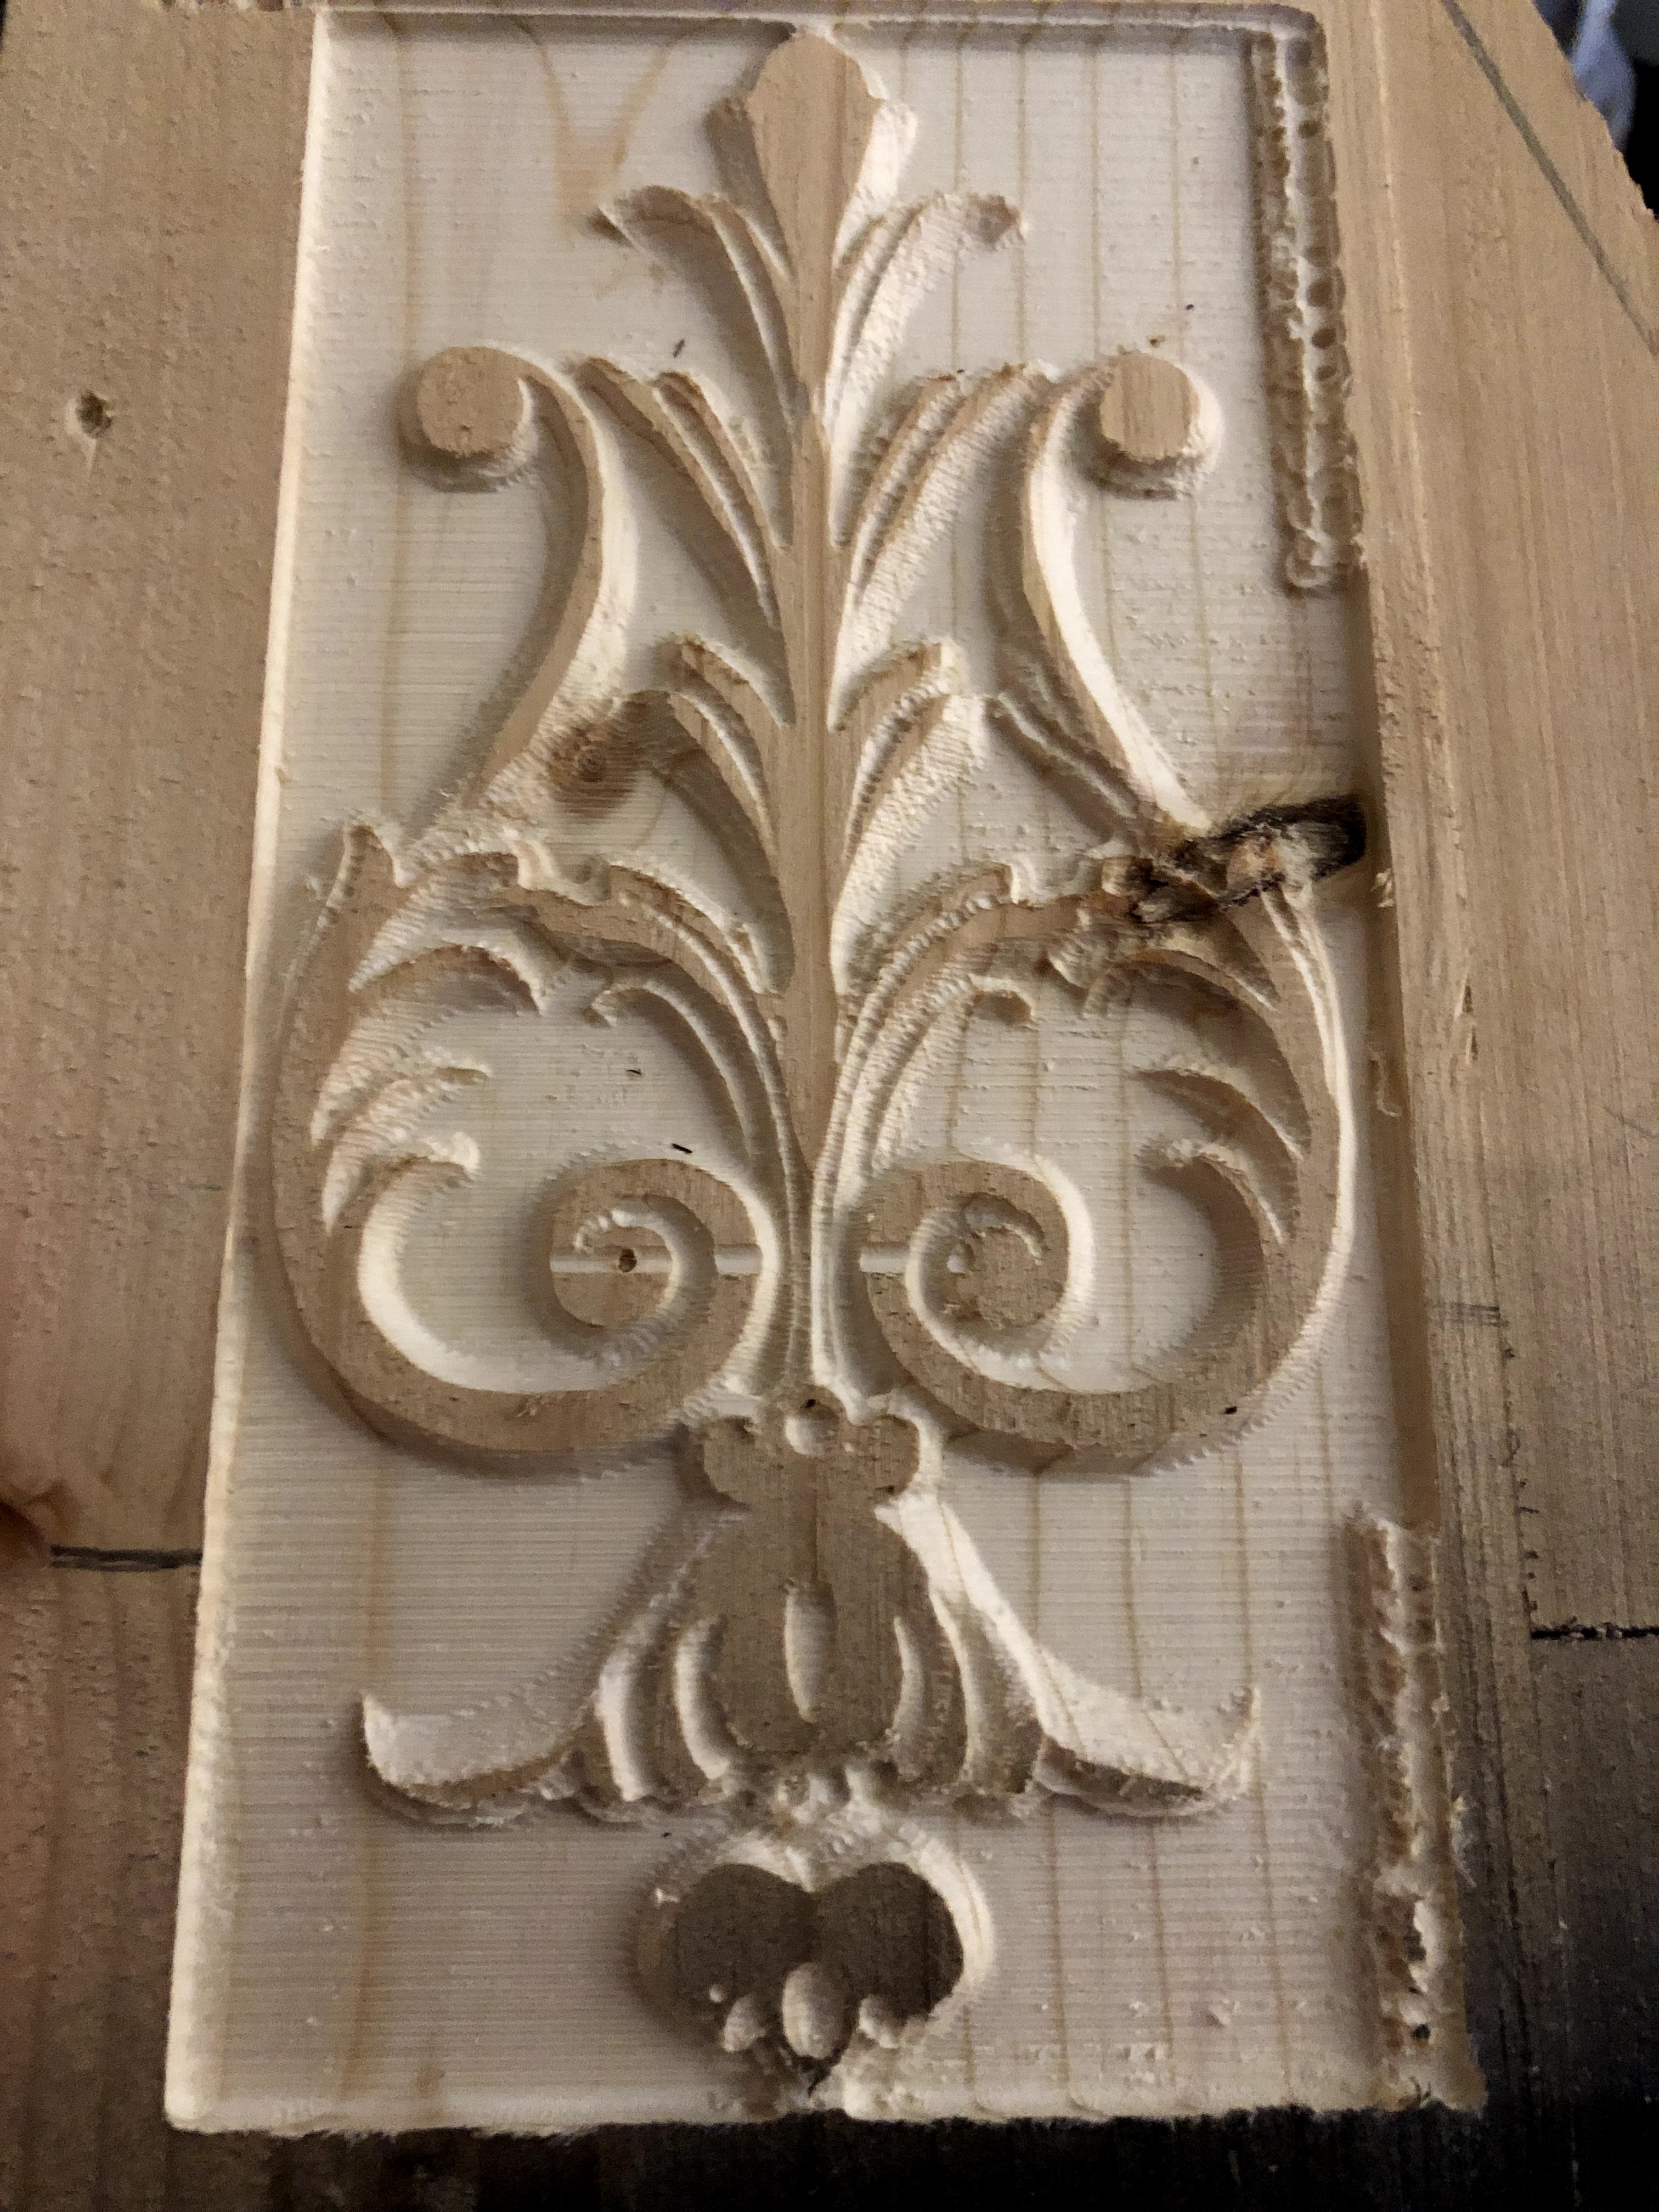
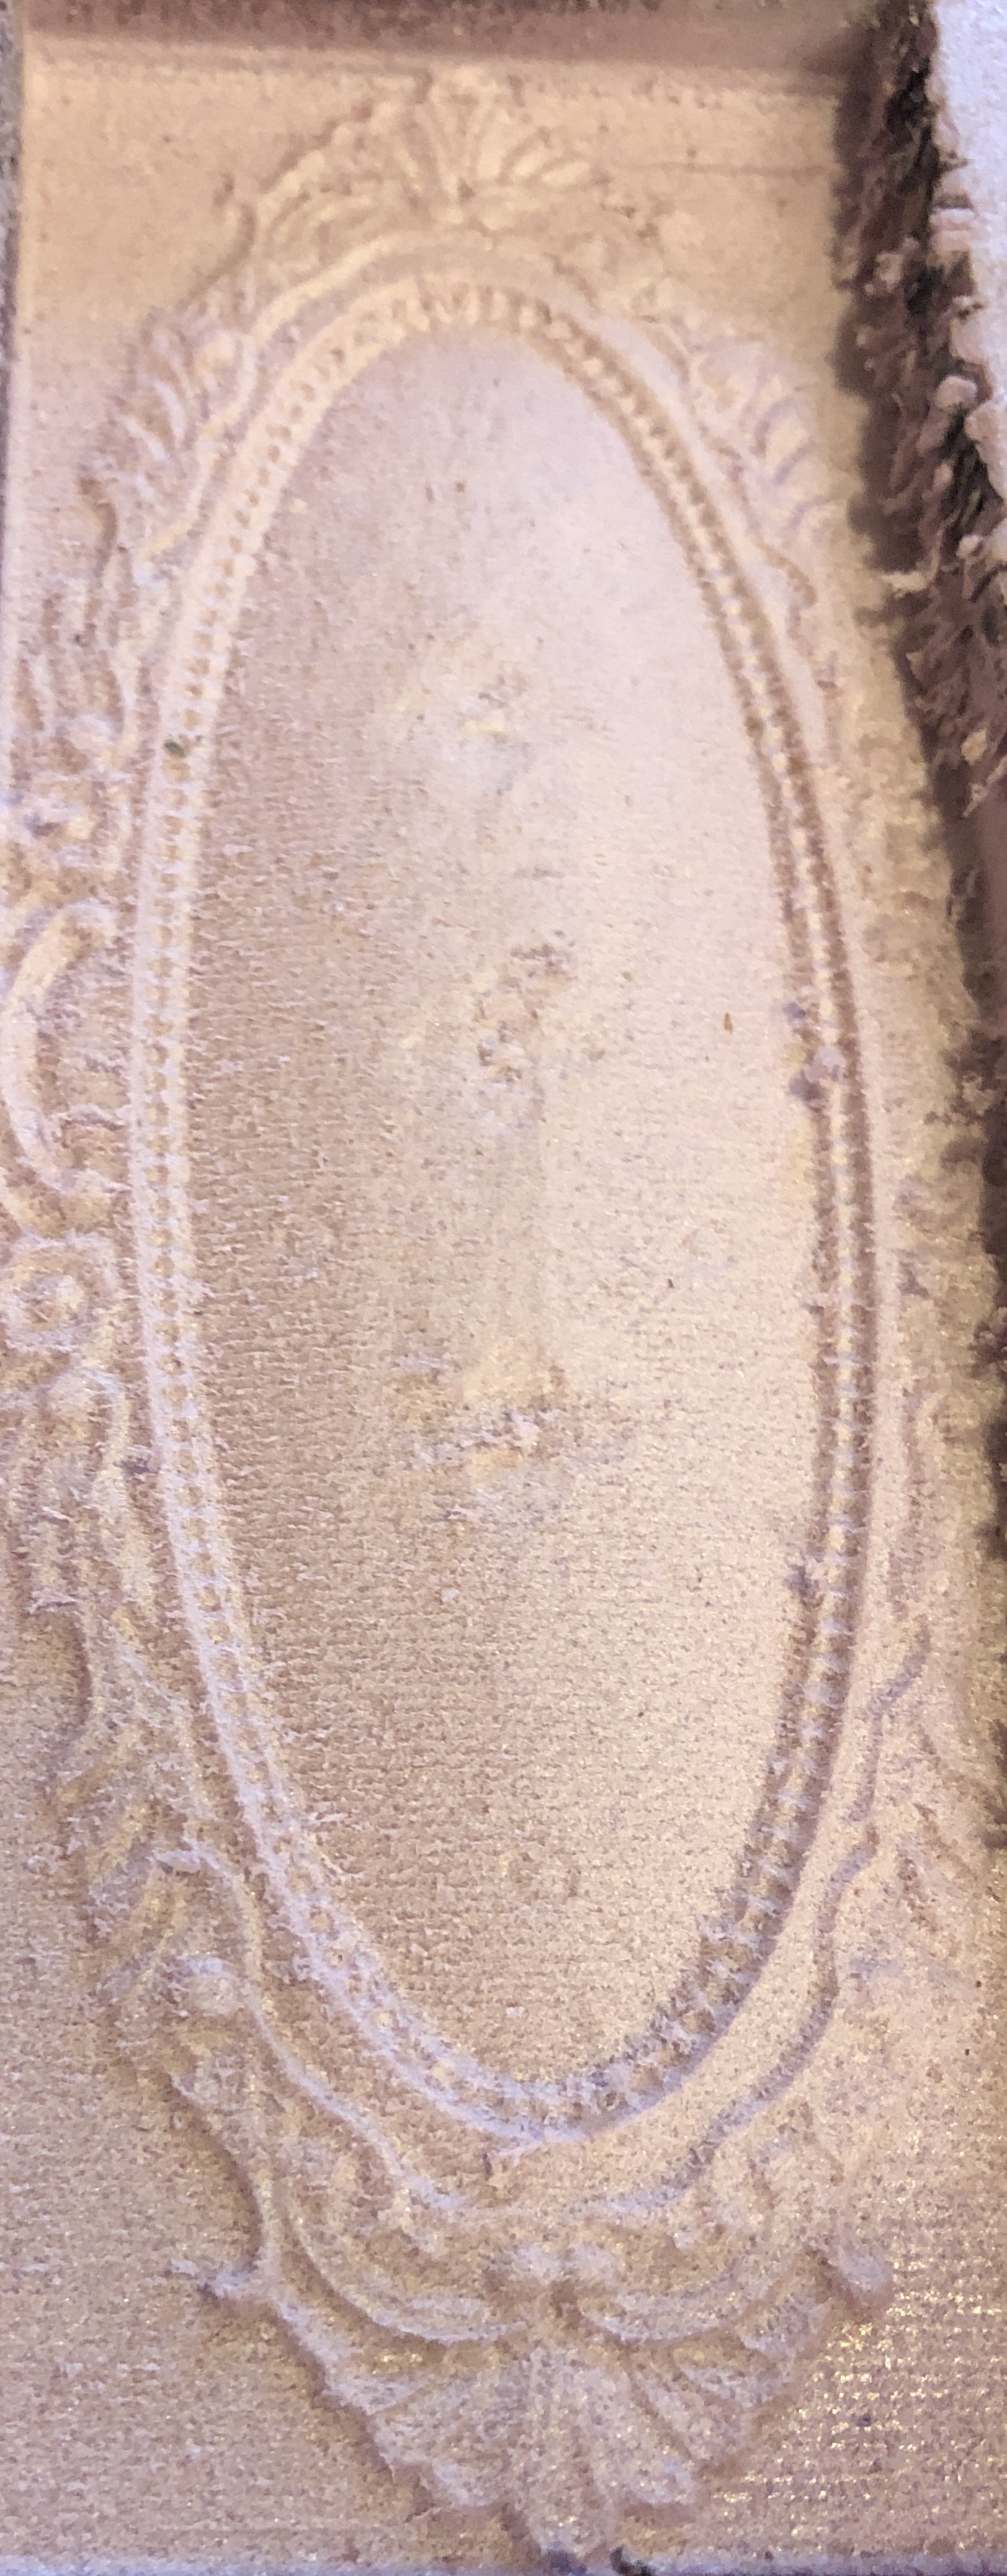
@Jack_Daugherty I don’t think that aspect will. I just have found it pretty user friendly. Especially when doing grayscale images that have been uploaded to the internet. You just take a screenshot and upload it to the program…no extra purchase necessary. That’s how I’d like to cut the ornate decor for some furniture I’d like to make. Once I figured out how to get Z0 I was good to go. Here’s one I did on foam for practice and another I came close to getting