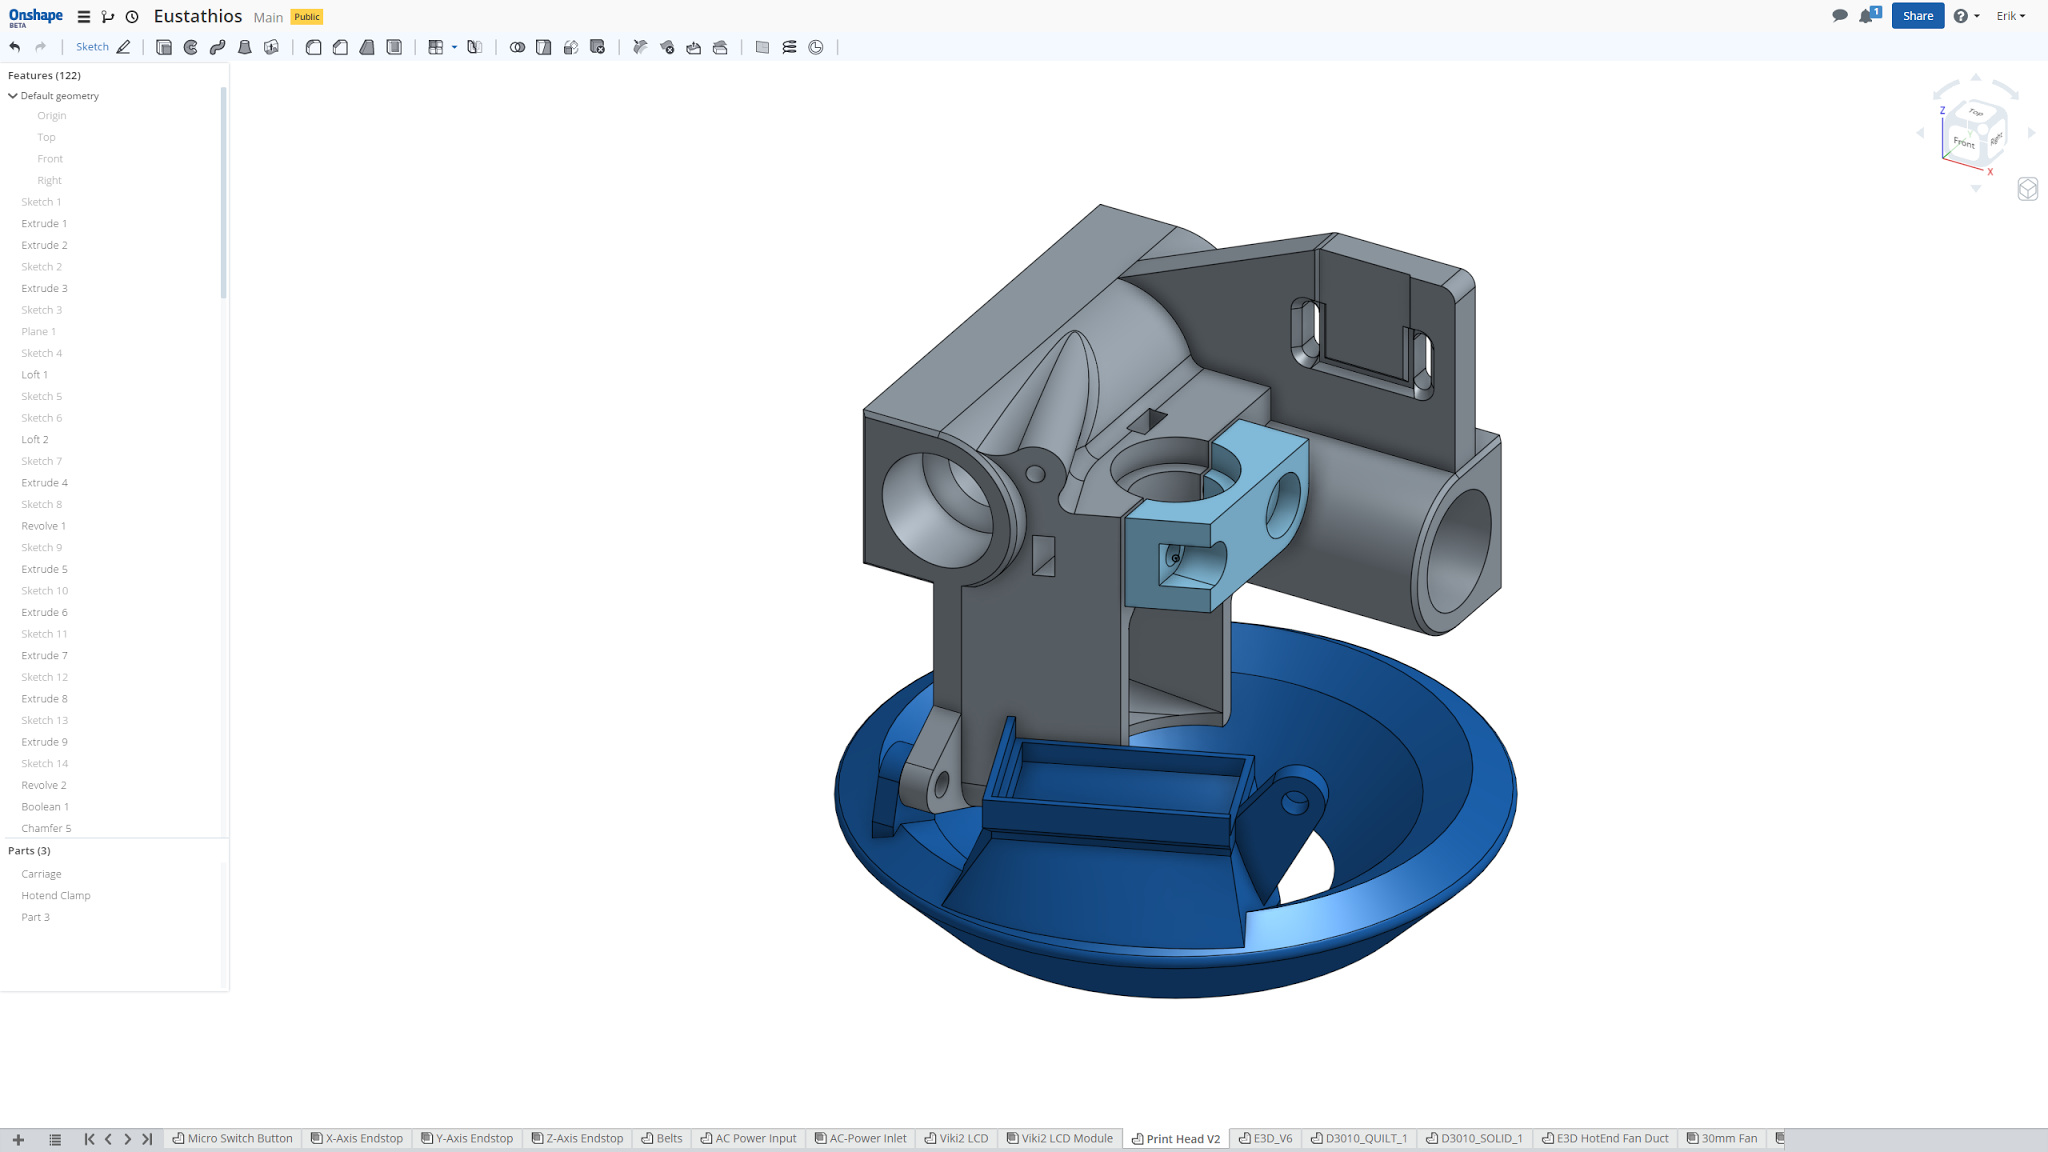
Here’s some progress on the updated print head. I tried to maintain compatibility with the standard V4 carriage as much as possible, but I think some angles got messed up somewhere and it’s hard to track down.
In any case, the big advantage of this is the clamp-mount for the hotend. That’s the theory, at least. I’m finding it very hard to squeeze everything in to that space, and I’m worried the clamp-piece might be a bit weak. Any thoughts?
You could abandon the countersink to make the clamp stronger and use longer screws. I built a similar part in abs for my quadrap to fix the e3dv6 hotend, printed with 70% infill it proved to be strong enough.
The counterbore on the angled side is necessary to avoid clipping the centrifugal blower what will be sitting there. But yes, the other one could be abandoned.
Didn’t think about that, you’re right. What size of screws do you use? I went with M3 because they are easily available and not too small to handle, but you could also use m2 or m2.5 to get smaller heads.
M3. I really don’t want to go any smaller. Right now I’m going to use a button-head in the deeper counterbore so nothing sticks out too far. The other one can be whatever you want, but I’ve left room for a washer to help distribute forces, though I doubt it will make much difference.
Love it. I couldn’t ever get that part figured out myself. Glad some others are doing CAD work now. I got kinda burnt out between HercuLien and the Eustathios revs.
I’ve done something similar for 3 different versions of the carriage to accommodate an E3D V6, Pico and Hexagon hotends using brass threaded inserts from McMaster. http://www.mcmaster.com/#94510a030/=xix9m9
They have worked well for me with previous projects.
Wow! I like that a lot! I wish I had spoken to you before I started working on this. Those brass-inserts are brilliant! I will have to keep them in mind for future projects.
I had considered creating a clamp angled similar to what you have there. However, I was concerned there would be issues with the screws being non-parallel. I wanted the ability of use the screws to truly draw and press the hotend into place. With your setup, the hotend must already be seated.
My carriage is currently printing, I will report back when it’s done. For now, here are some pics of the CAD model: http://imgur.com/a/utCyT
I started a while ago for making a Chimera version. I never got very far. Anyone want to take a stab at finishing it (or to be more honest… starting on it.)?
Looks like a good start. I may have a go at it at some point. Even if someone ends up getting to it before me, I’ll inevitably end up re-cadding and changing things about it. Thanks for sharing!