Remember when I said this was relatively new, well my LPS was just floating around unmounted (because I unbolted it the other day). Once I mounted it, no more arcing:
Also the burn in that video made it all the way through, just barely. The z-axis is still moving up on its own. If that weren’t happening the burn would have been perfect.
Getting closer, I just don’t know why the z-axis is moving on its own. My new 24v power supply showed up today. I’ll try and test it, mount it, and hook it up. It looks like it has a proper earth ground (separate from the negative lead). Fingers crossed.
FG is that ground that is on the left of L in the leftmost screw terminal block. It should be directly wired to the frame and the cathode should return directly to here with a single wire. The cathode should not be connected elsewhere on the frame.
This seems like a dedicated place on the power supply for the cathode to return to. Is that not true? What is the intended purpose of this wire if not the cathode return?
@donkjr
I was able to swap in the new higher quality 24v power supply today. I don’t want to jump the gun, but I have lasered 3 designs without the z-axis moving around and the x and y axis have not missed any steps.
One interesting thing to note is it has been very humid and rainy on Friday and today. Maybe the moist air has prevented some static charges from building up. Not sure, just an observation.
On another note, when I set the amperage of the x axis stepper to 2.0 amps (manufacturer recommended setting), it “ticks” or “blips” every 10 seconds or so and it also cannot effectively move. If I dial down the amperage to where it stops “ticking” then the machine lasers seemingly fine. I even ran a burn at 300 mm/sec and it completed without issue. It looks kinda bad but I think I might be stretching the physical limits of the machine. I’d love for it to go that fast and look good.
Tonight I want to try more burns and I’ll come back and report how it does.
Looks promising although I am a bit surprised the new PS made a difference.
If that turns out to be the case, in the end, it would be great to understand why.
Is the supply somehow bad or did the new supply also change the grounding characteristics.
@donkjr
Well, today is dry and warm, and the machine is back to its old antics. I was even catching some arcing happening again so I lined the anode with some silicone tubing and then injected it with silicone caulking. Now its not arcing, but the Z-Axis is moving by itself again…
@donkjr
So I turned the lights off no arcing or hissing. I’m running out of steam on this
I just did the following:
Rewired X, Y, and Z stepper motors
Rewired X, Y, and Z end-stops
Eliminated the control line for the exhaust, air assist and water pump (manually controlling for now).
The wiring and Arduino now all reside within the machine. The Arduino is much more “directly” connected to the steppers and end-stops. The high voltage (110v supply) is also much further away from the low voltage (Arduino, 24v, and end-stops).
I just burned a design and made it all the way through without the z axis moving. I’m thinking that maybe the low voltage stuff was just too close to the high voltage or possibly the bulkhead connections I was using to pass the end-stop lines from inside the machine to outside the machine were susceptible to noise???
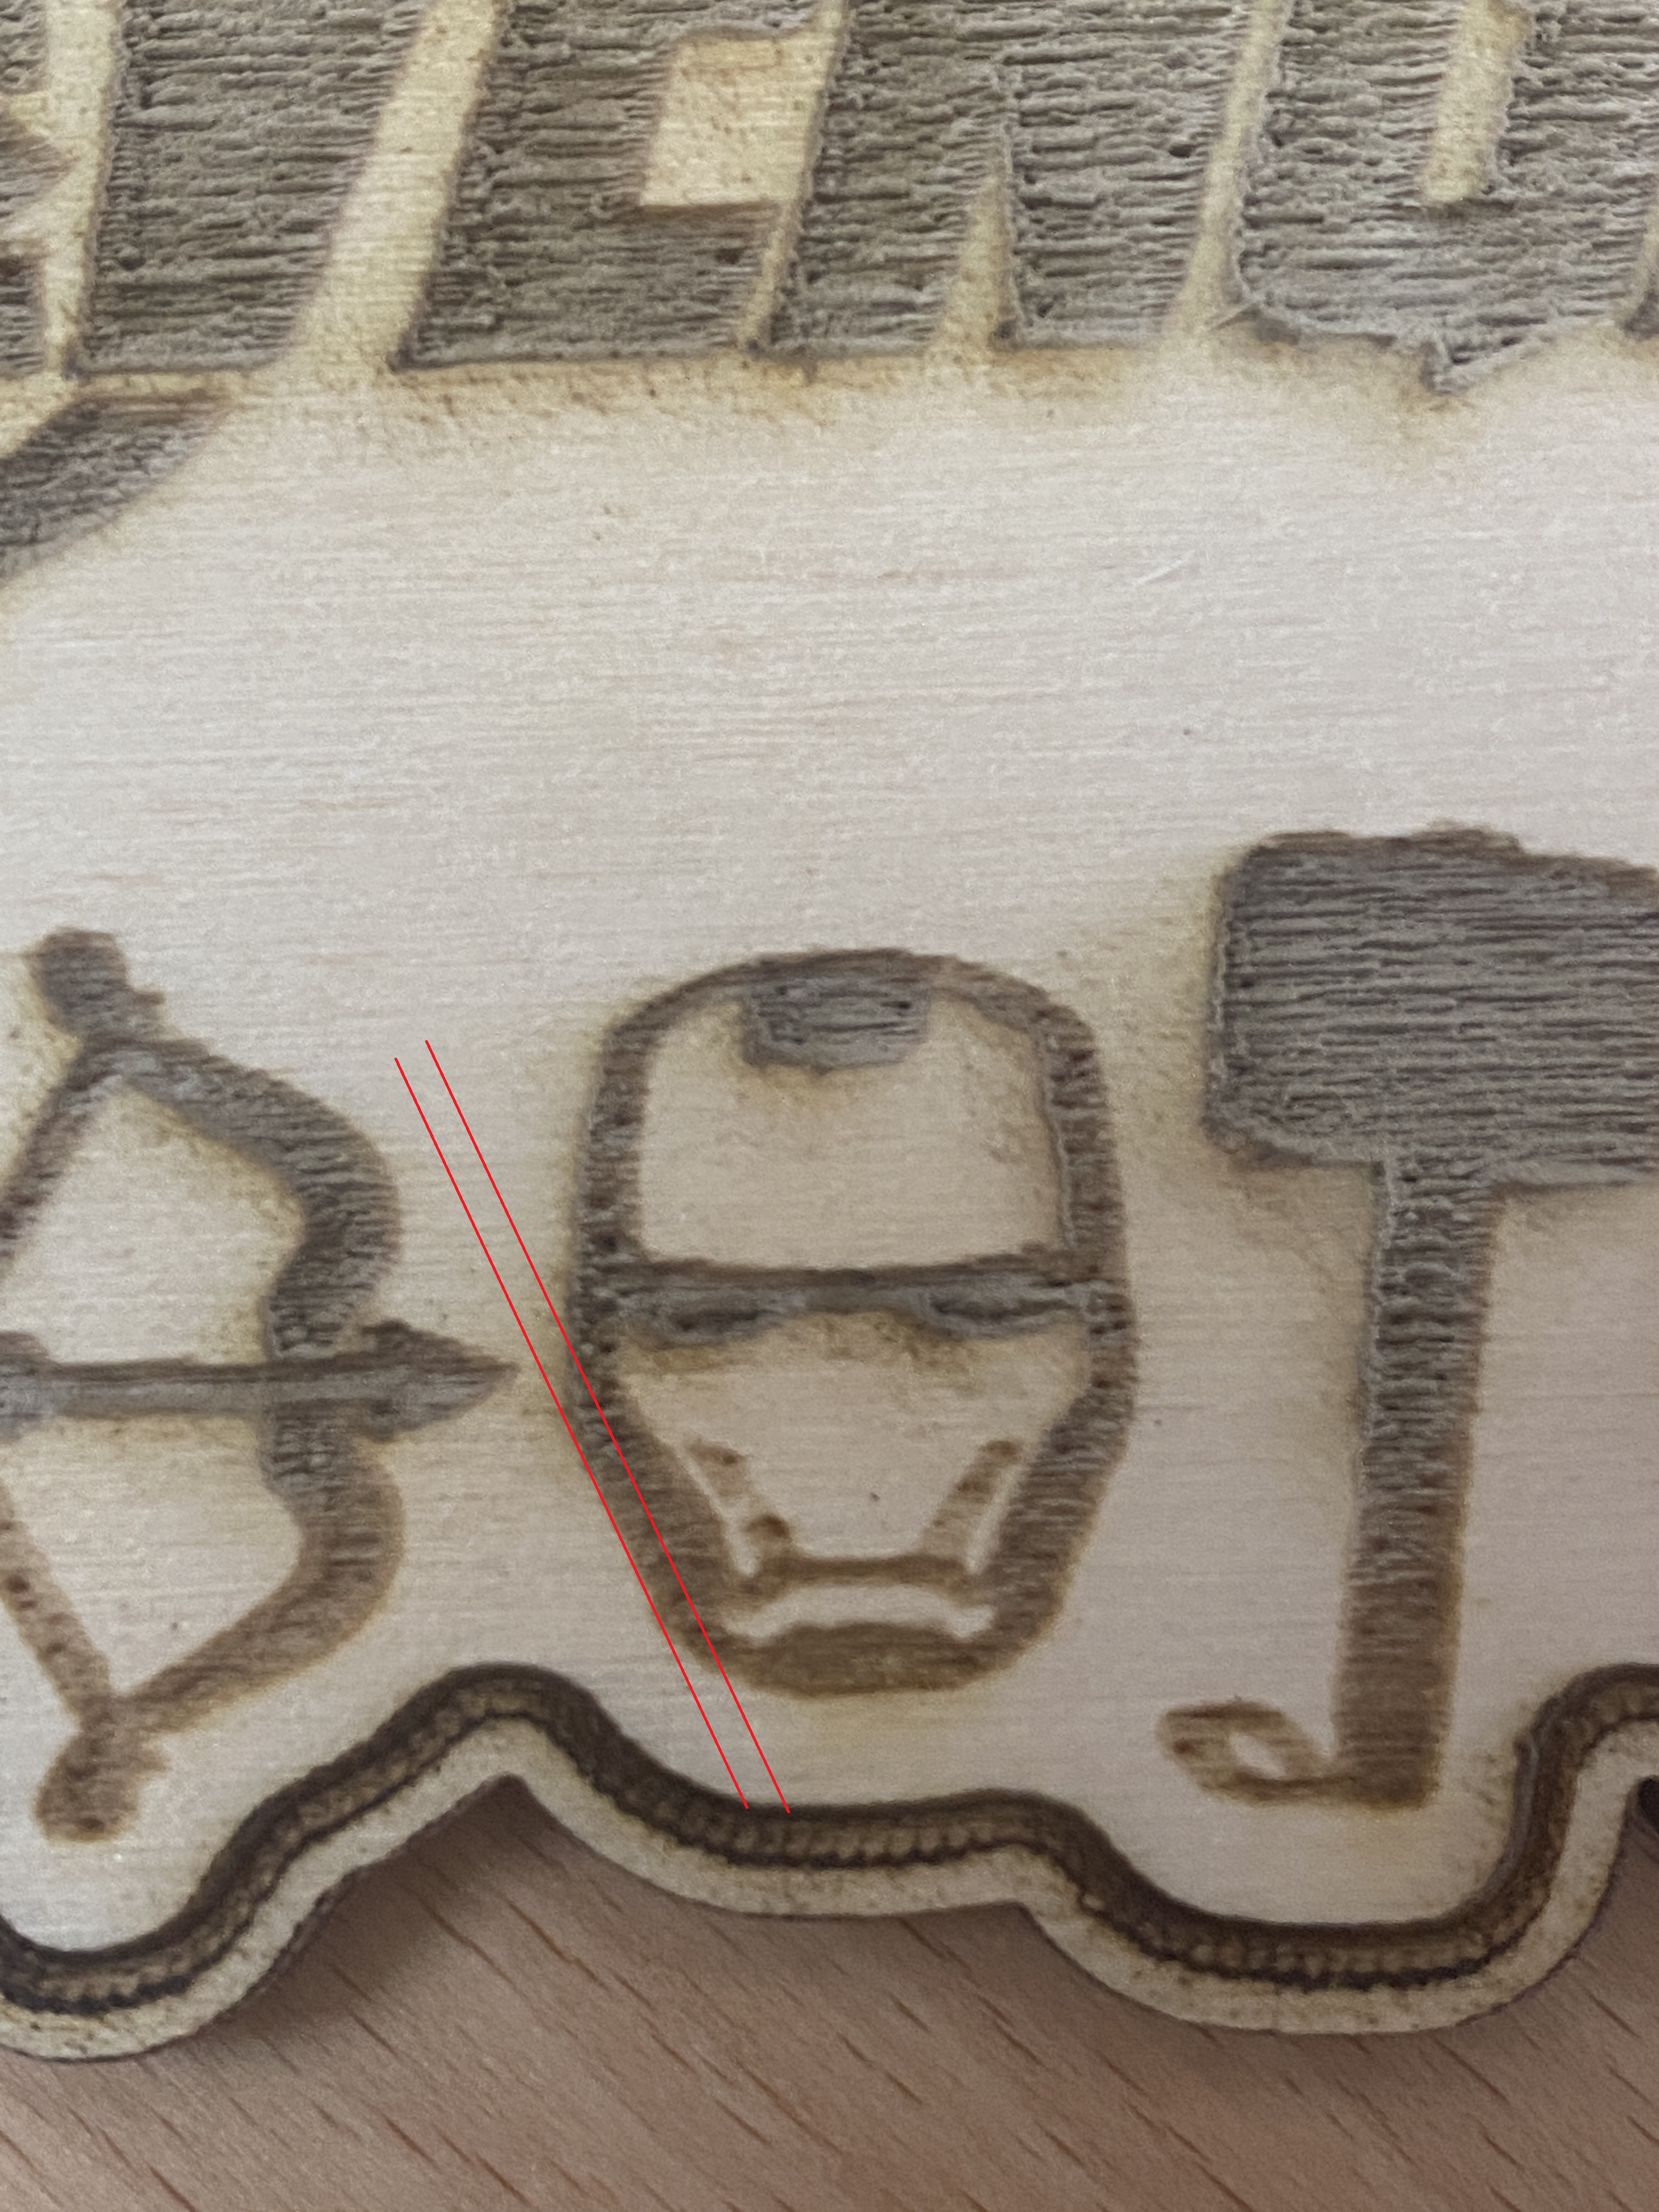
Anyways, a new problem arises. The burns look “blurry” now.
In the attached image of Iron Man mask, I have highlighted with red lines a portion that more or less shouldn’t exist. The area between the red lines (from right to left) is decreasing in burn intensity. The laser is creating valleys __/ instead of cliffs |__| and the valley portion \ / is adding about a half a millimeter to the design.
This makes the burn look very imprecise. Any idea what setting in LightBurn or GRBL to adjust?
For me this looks like too high speed and power for the engraving. Wood needs some time to get brown.
This could also be related to the PWM frequency:
Grbl on arduino is quite limited in PWM frequency settings because it only uses prescalers and the default is only 0.98kHz (see How to change PWM Frequency. · Issue #1398 · grbl/grbl · GitHub).
With 1000Hz PWM (=1000 pulses per second) the maximum feed at 0.1mm resolution (=pixel size) is only 100mm/s!
I got good results with a PWM frequency of around 2 kHz on the K40 laser. You might also test the 7.8kHz setting.
@donkjr
I wish I could say my main issue was solved. I don’t want to say that because it puts my integrity into question
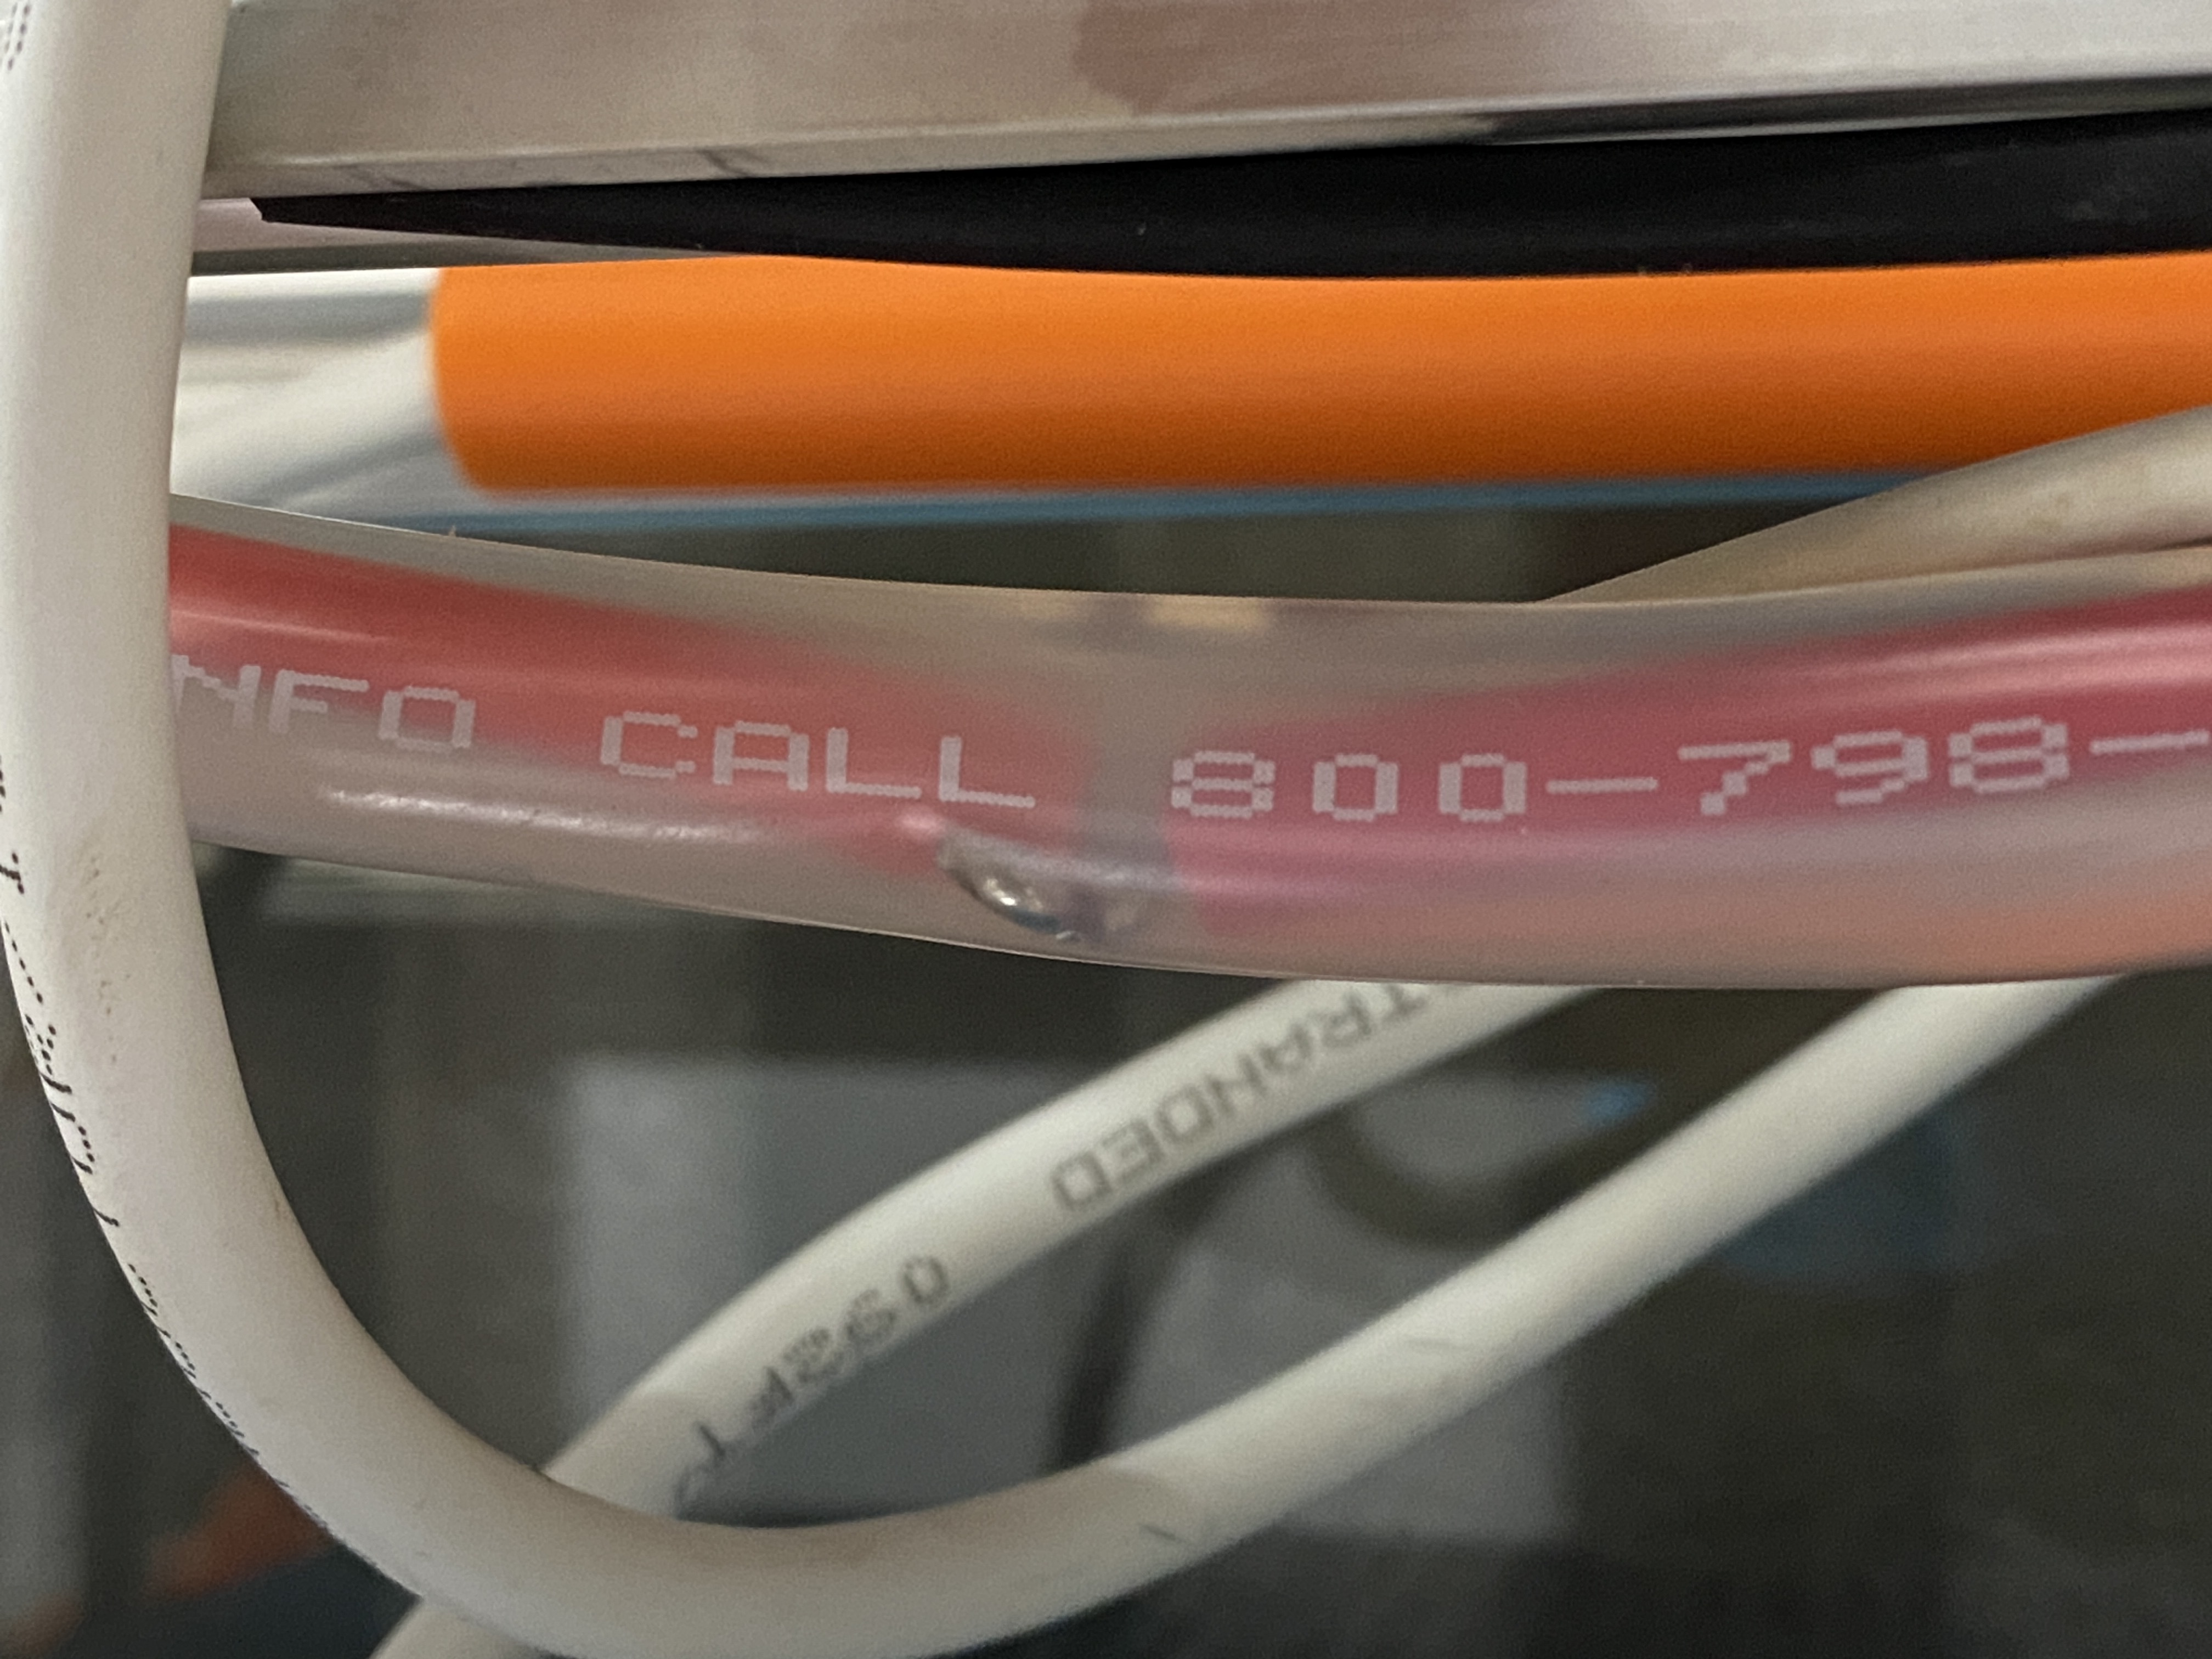
I reconnected the Arduino, this is what the setup looks like:
@donkjr
Thank you for all the help you have provided. Thanks for sticking in there with me and keeping my head straight. Not many people would hang around and be as responsive as you have been, you are truly an asset to the community!