Ahh I can almost smell the PLA burning!
Smartrap Update:
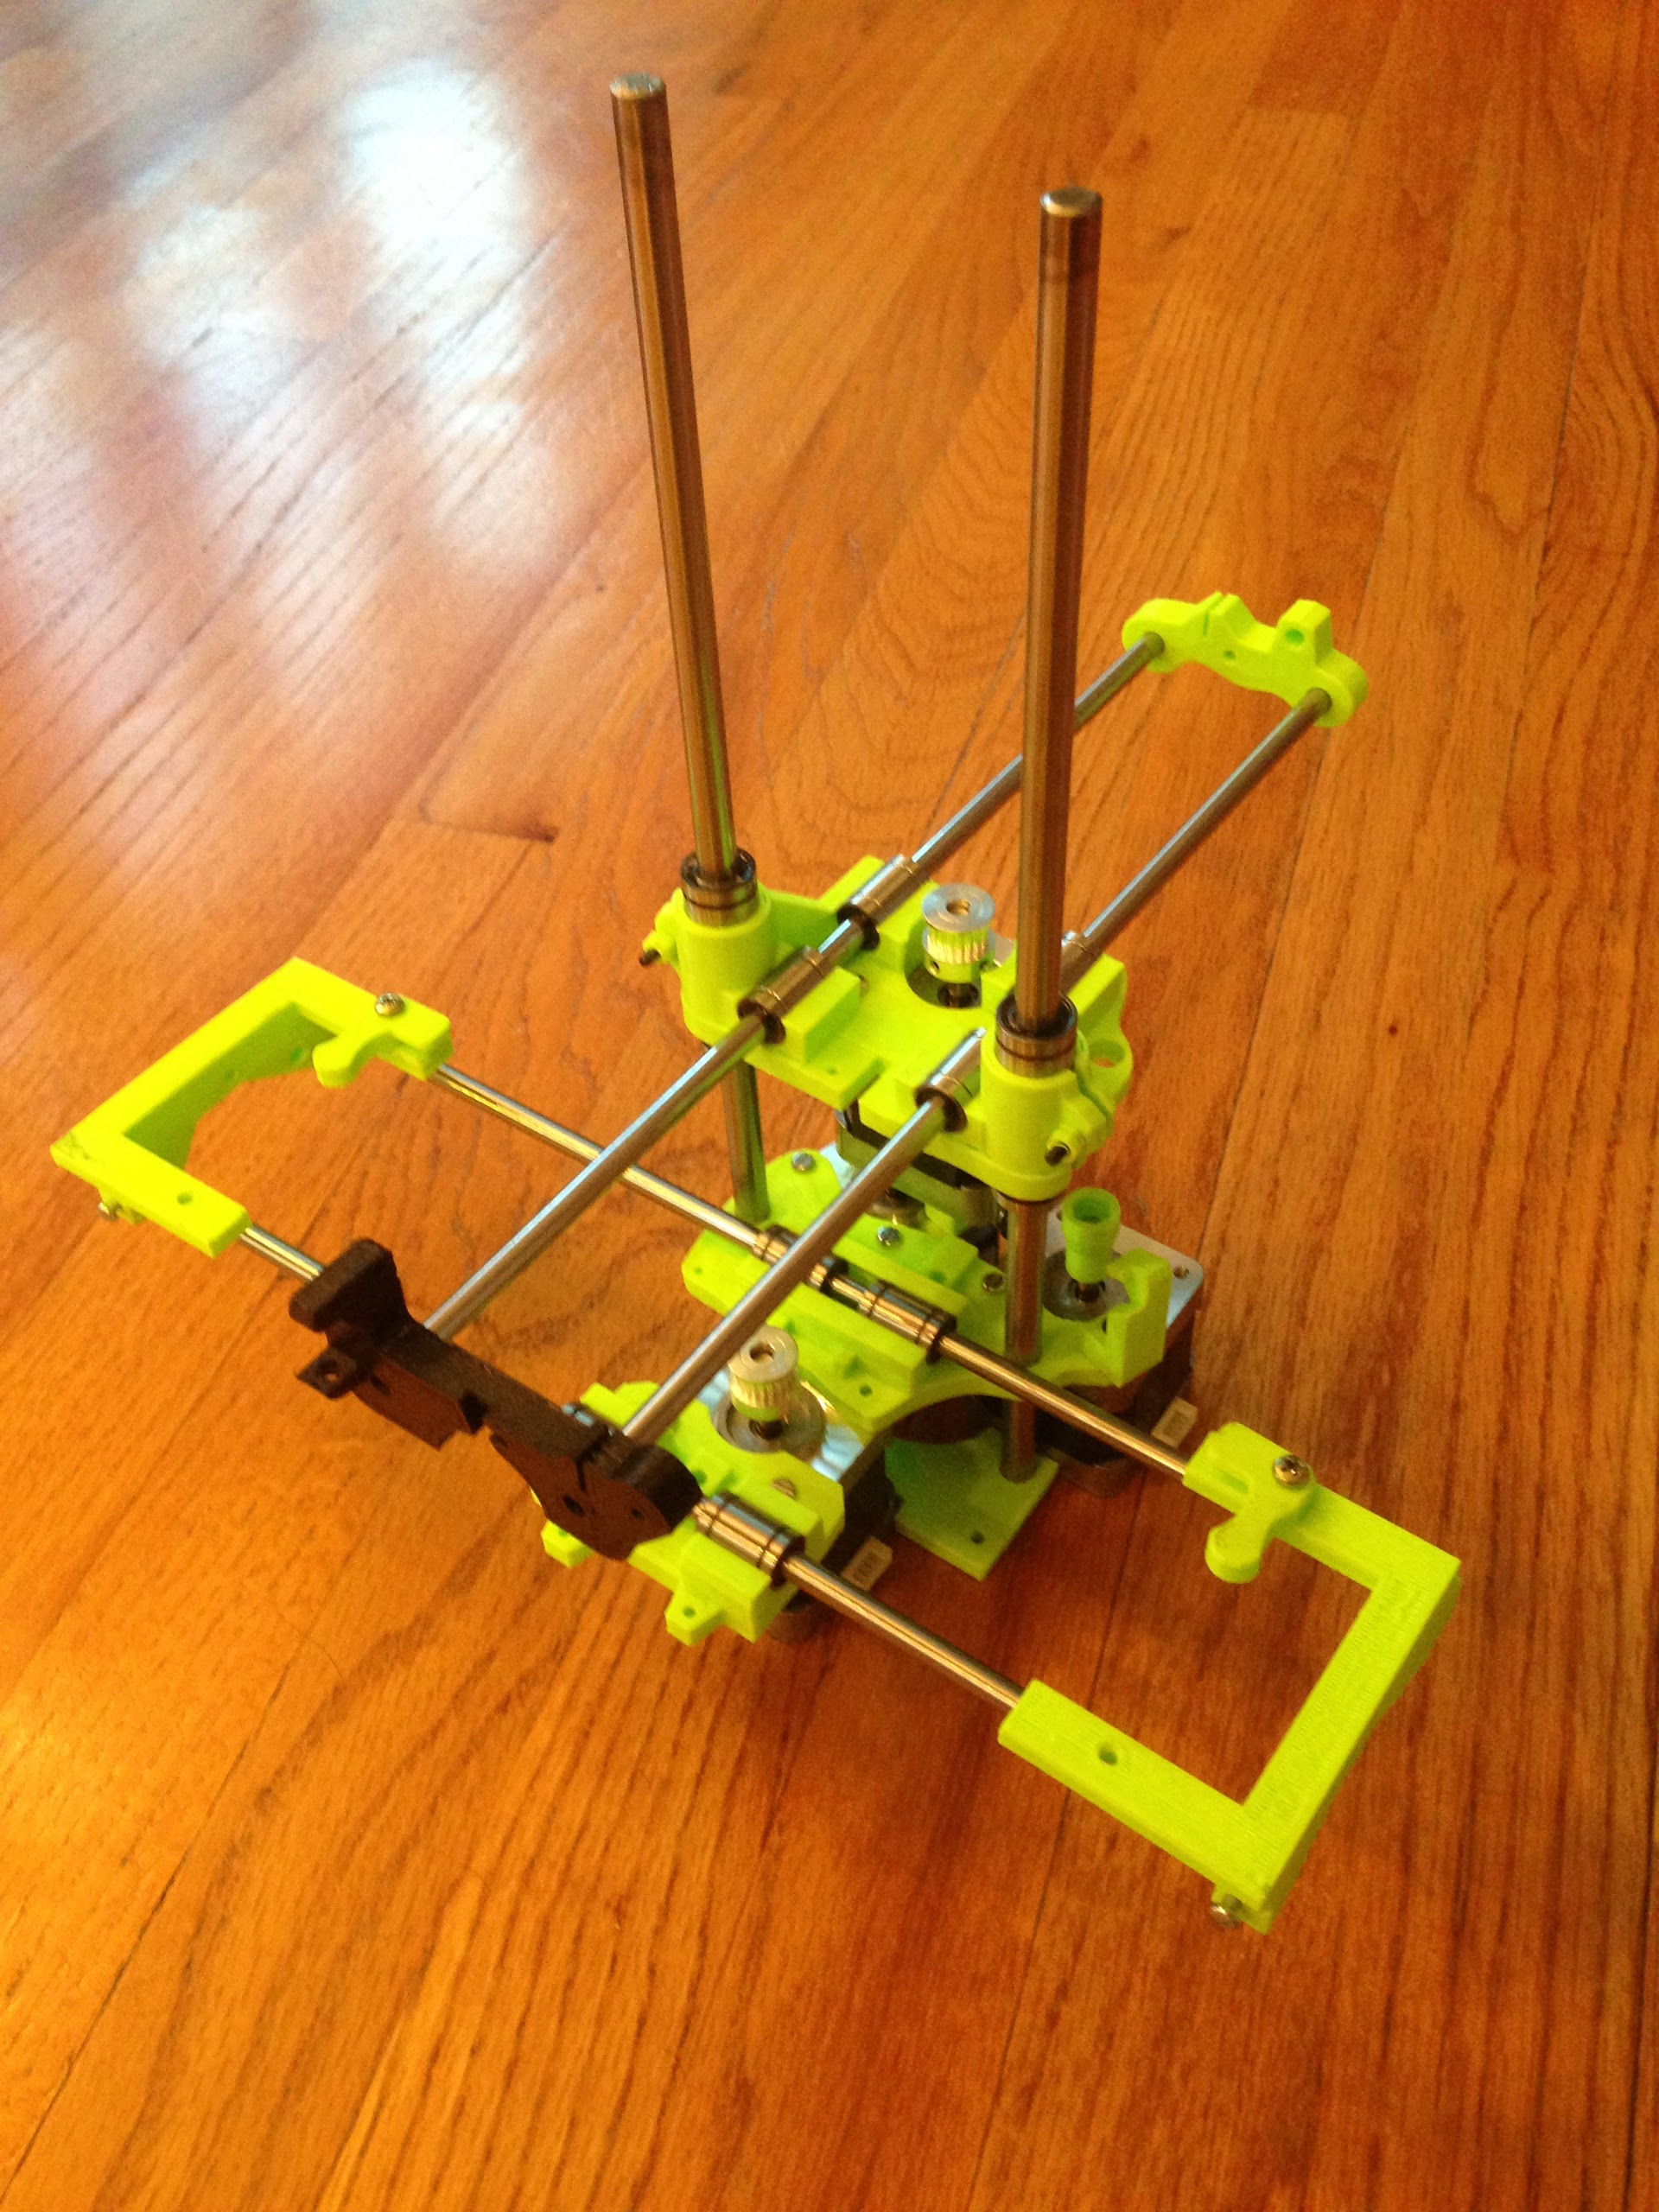
So I now have the smooth rods cut and they all work really well (surprisingly).
I am gonna mount the hot end as soon as I get the correct size screws.
Ahh I can almost smell the PLA burning!
Smartrap Update:
So I now have the smooth rods cut and they all work really well (surprisingly).
I am gonna mount the hot end as soon as I get the correct size screws.
ah. Now the skinny rods make sense. Sorry about the misunderstanding before.
You worried about the cantilevered rods causing the lmu bearings to pop up dropping the extruder towards the bed?
By the way, love the color scheme.
@NathanielStenzel haha its no big deal. I was a little confused as to what you were trying to say that’s all.
@Eclsnowman yes I am concerned about sag. That’s why I only made the build area 200x200x(I have yet to measure the z but the rods are 300mm). I don’t think it will sag too bad but I intend to immediately print bearing holders for that exact reason.
Oh and thanks about the color scheme. I originally didn’t really have any say as to which color I could print and I would’ve preferred all black but the green is really growing on me…
I like this design. I’d love to make a 150mm square version. Tiny and cute!
There’s allot to love about the smartrap. For a first build it makes a great 3Dprinter. It’s easier to customize than a Honda Civic and better bang for your buck. Print quality is pretty good. Auto bed leveling with a threaded rod is a waste of time imho so shim the bed with painters tape to get it as level as possible
@Michael_Scholtz why is auto bed leveling a waste of time? On my i3 it made a big difference and removed a huge amount of the frustration from the printer, fighting with Z-stops and head-crashes every time it was moved or I had to apply extra force when removing a print. And it means everything can be done up tight and focus can be on light weight, flat and support, not adjusting screws.
There is too much backlash on a threaded rod I so with a leadscrew or if you have a well sorted z axiz yes I agree it’s great. On my smartrap in the end a level bed and a adjustable z end stop means once adjusted it just gets going
There should be zero backlash with a properly lubricated(bearings) Z axis… The full weight of the X carriage complete with print head is pressing down on the nuts and there should /never/ be any upwards force or you have something wrong with your design.
If there was a screw on the X or Y axis like milling machines, then I agree backlash would be a problem but without upwards force you don’t even need to secure the nuts except to prevent them from turning. 
(At least on the i3, I’d be surprised if this design was any different in this respect.)
Plus I /hated/ adjusting the Z endstop… It’s the only fundamental design problem with the RepRaps. If you don’t have everything /just/ right you crash things.)
Now this is a silly question, but on a printer like that, do you like having 0,0 as the center of the square bed or the lower left corner? I could imagine that for when you want to pack it up in a box, homing it to the center of the bed would come in handy. You could them Stick a lid on top of it with a bottom part of a box built onto the bottom of the frame.
Does that style of printer have any heat chambers designed for it?
From the corner. Its setup as a mendel.
You could so a heat chamber if thats what you want but it doesn’t have a heat bed. You can add one without much difficulty as long as your clearance is ok over the pulley. With the bed moving side to side you would need quite a big chamber. I have a video of mine printing somewhere will find it and post it.
So 3 walls (front, left, right) and ceiling are the best you could probably do for a heated chamber if you wanted one then? I have heard that even that much can make a drastic change in printing for something with a heated bed (which you say you do not have).