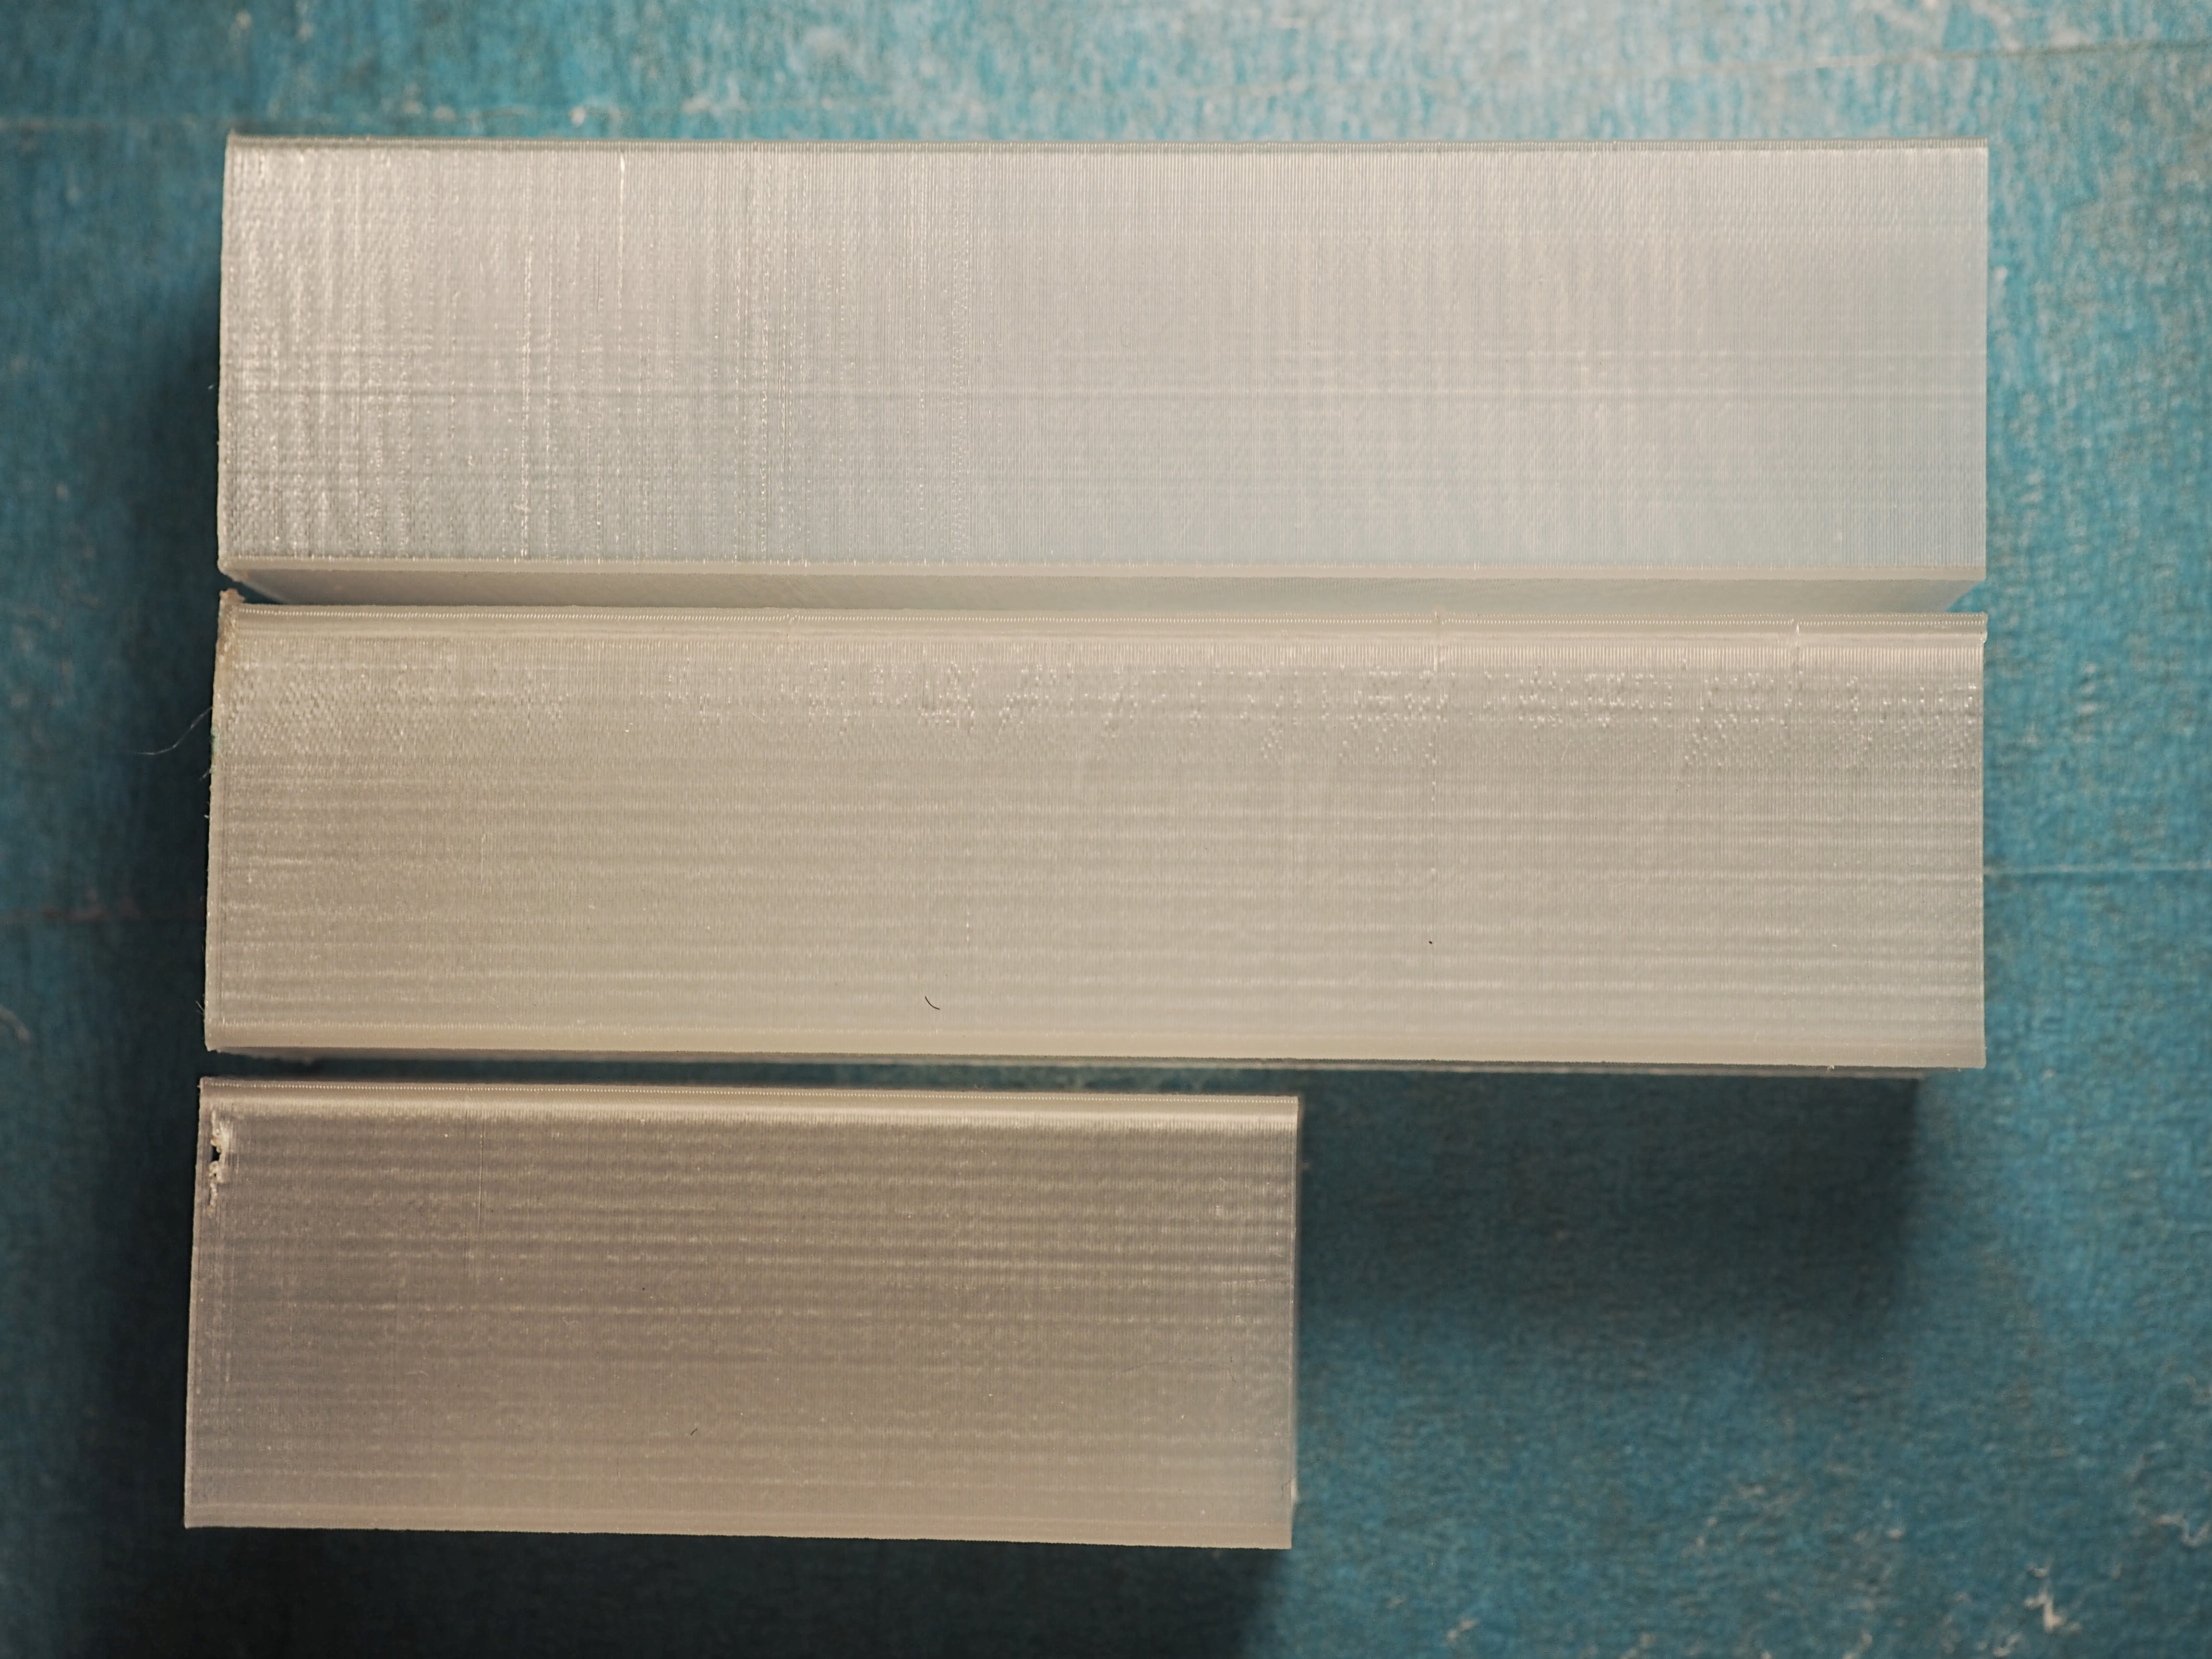
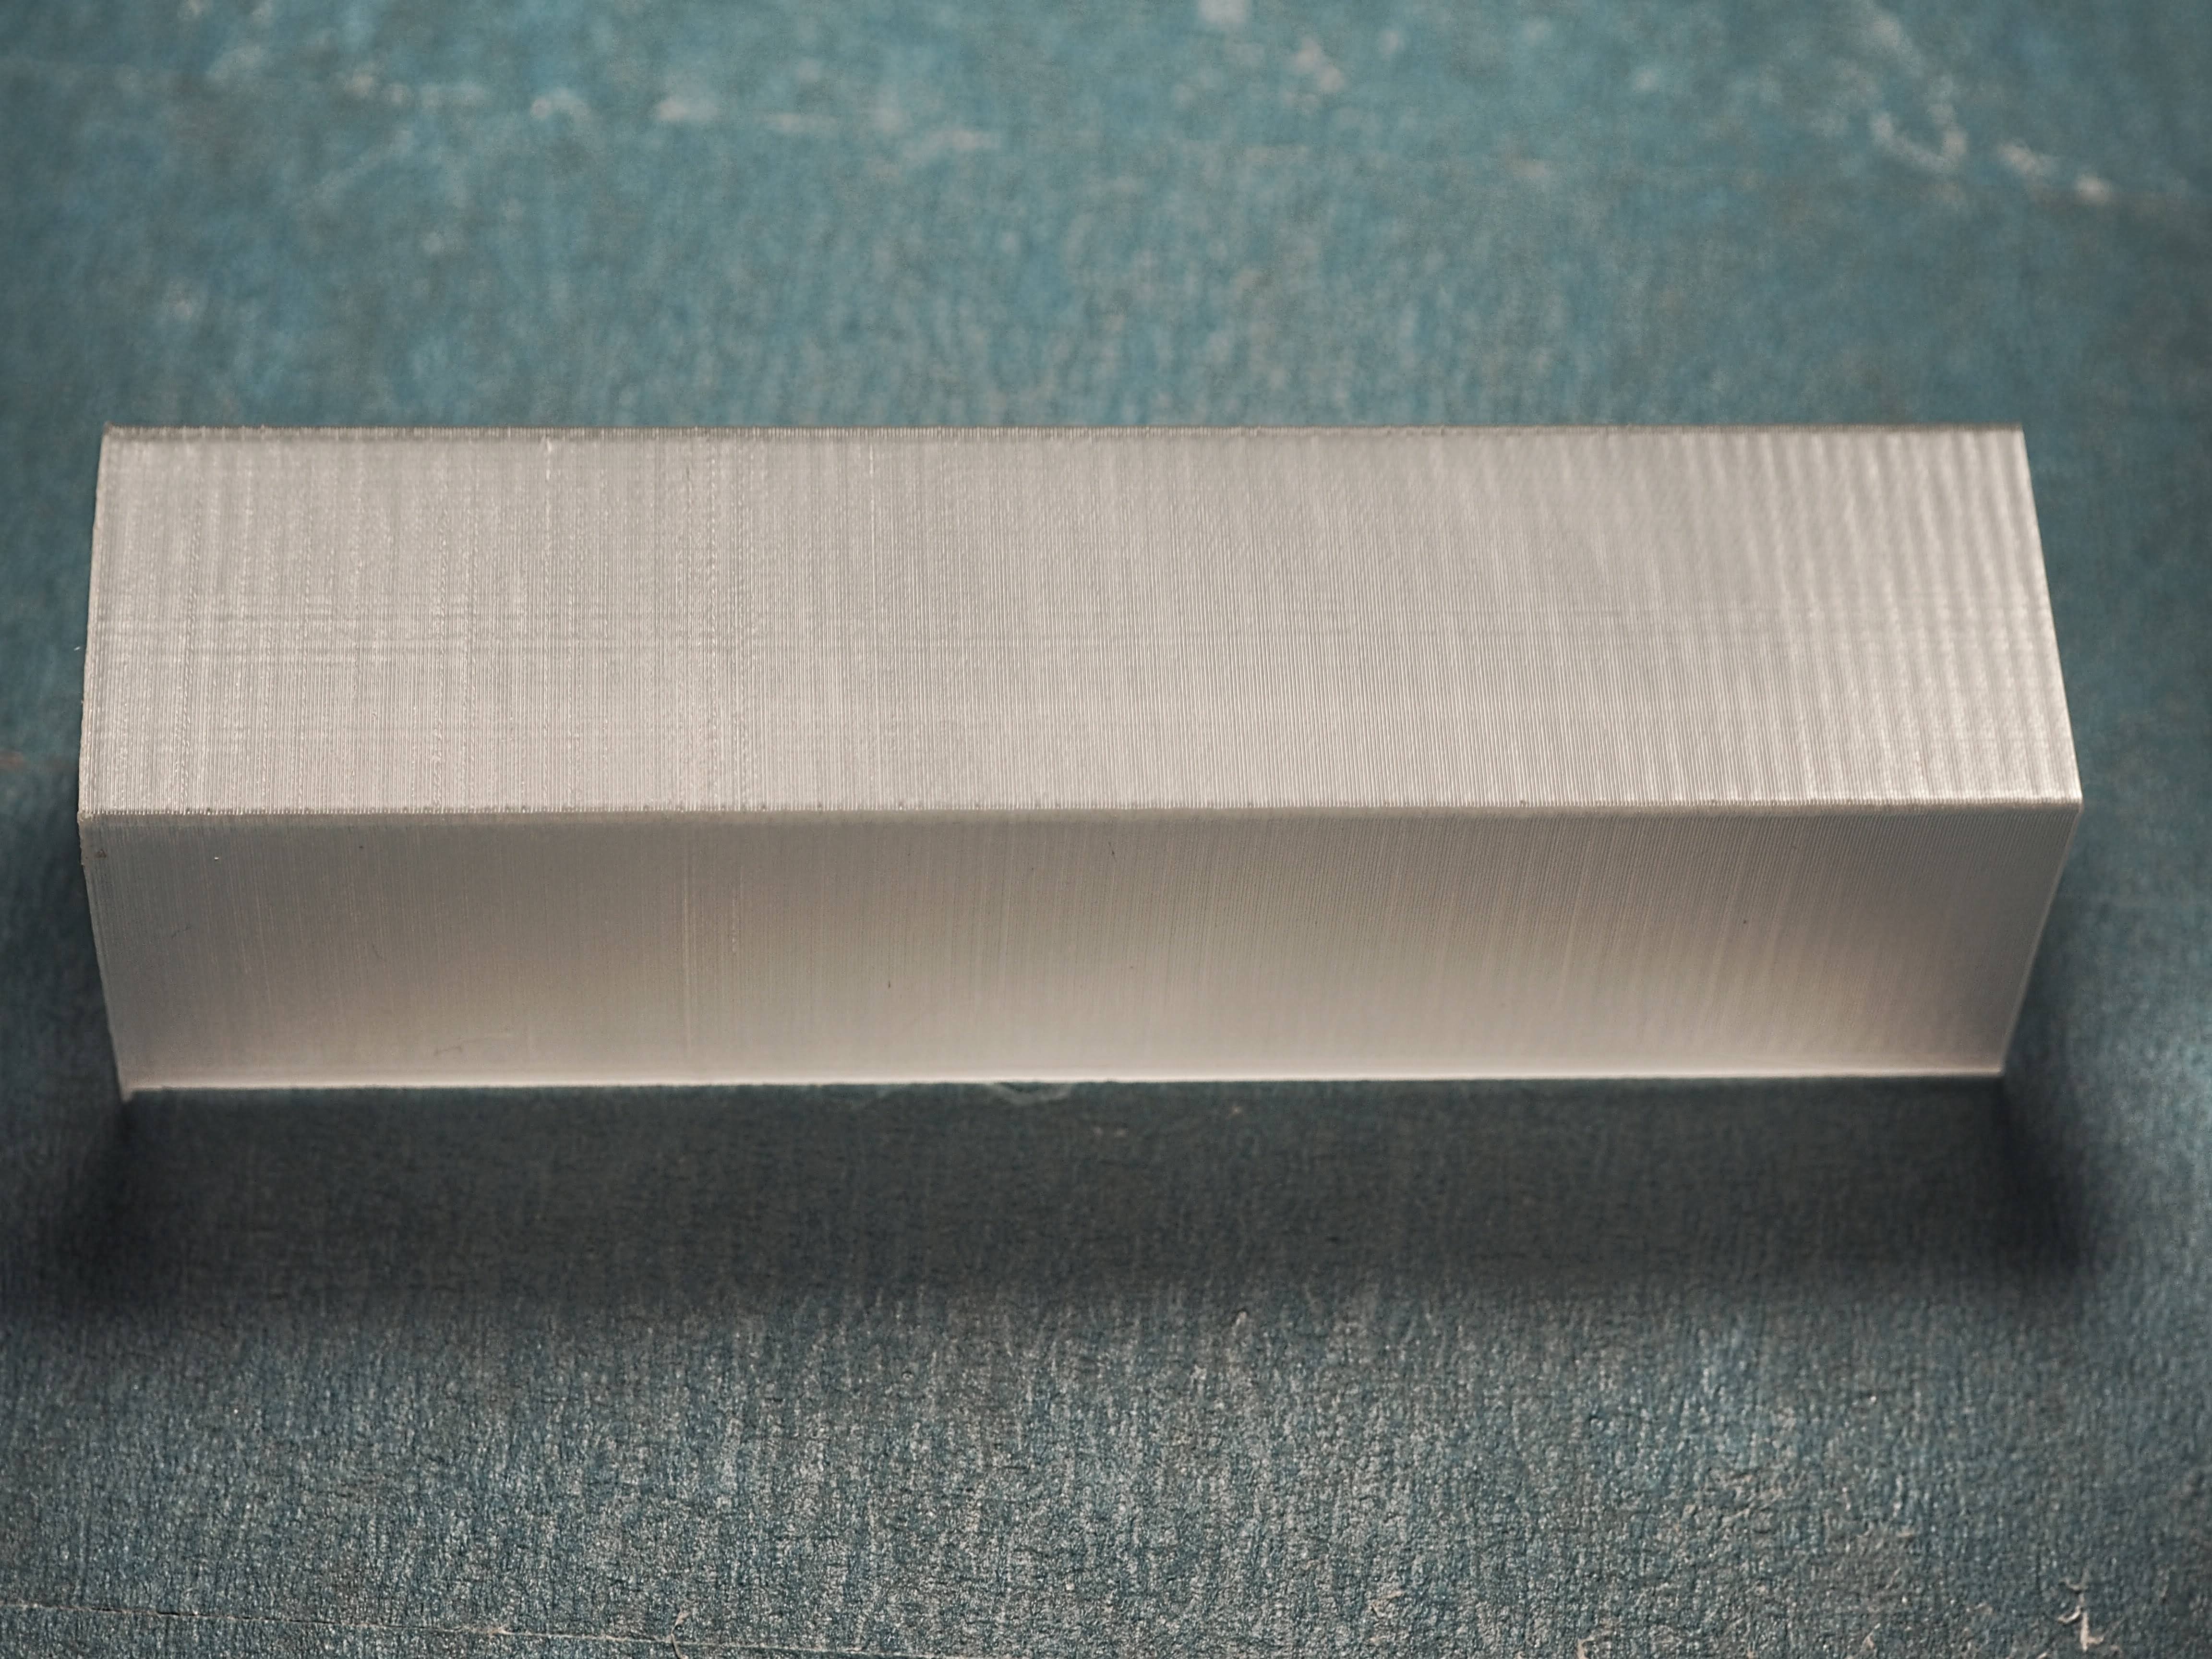
After testing single shell, I have to accept that there is no meaningful difference in surface quality between 180ºC and 230ºC with this cheap GP3D filament. (Is there some design advantage in Ares’ cooling system that reduces effect of temperature change?) You may want to try the method on your own favourite and post results here so we can compare notes. It is really that simple to do if you use CraftWare and Michael’s Ares profile. (Special settings are spelled out.)
Originally shared by Yuan LIU
(3/4) Why is there no visible defect across the entire temperature range specified on the GP3D “Nature” PLA filament? (Sign in - Google Accounts) Not that I want to see bad printing with this cheap material, but David Cushing’s tutorial makes the relationship between surface quality and temperature so obvious (Sign in - Google Accounts) that I have to suspect if I was doing something wrong. (I will give a summary of the method below.)
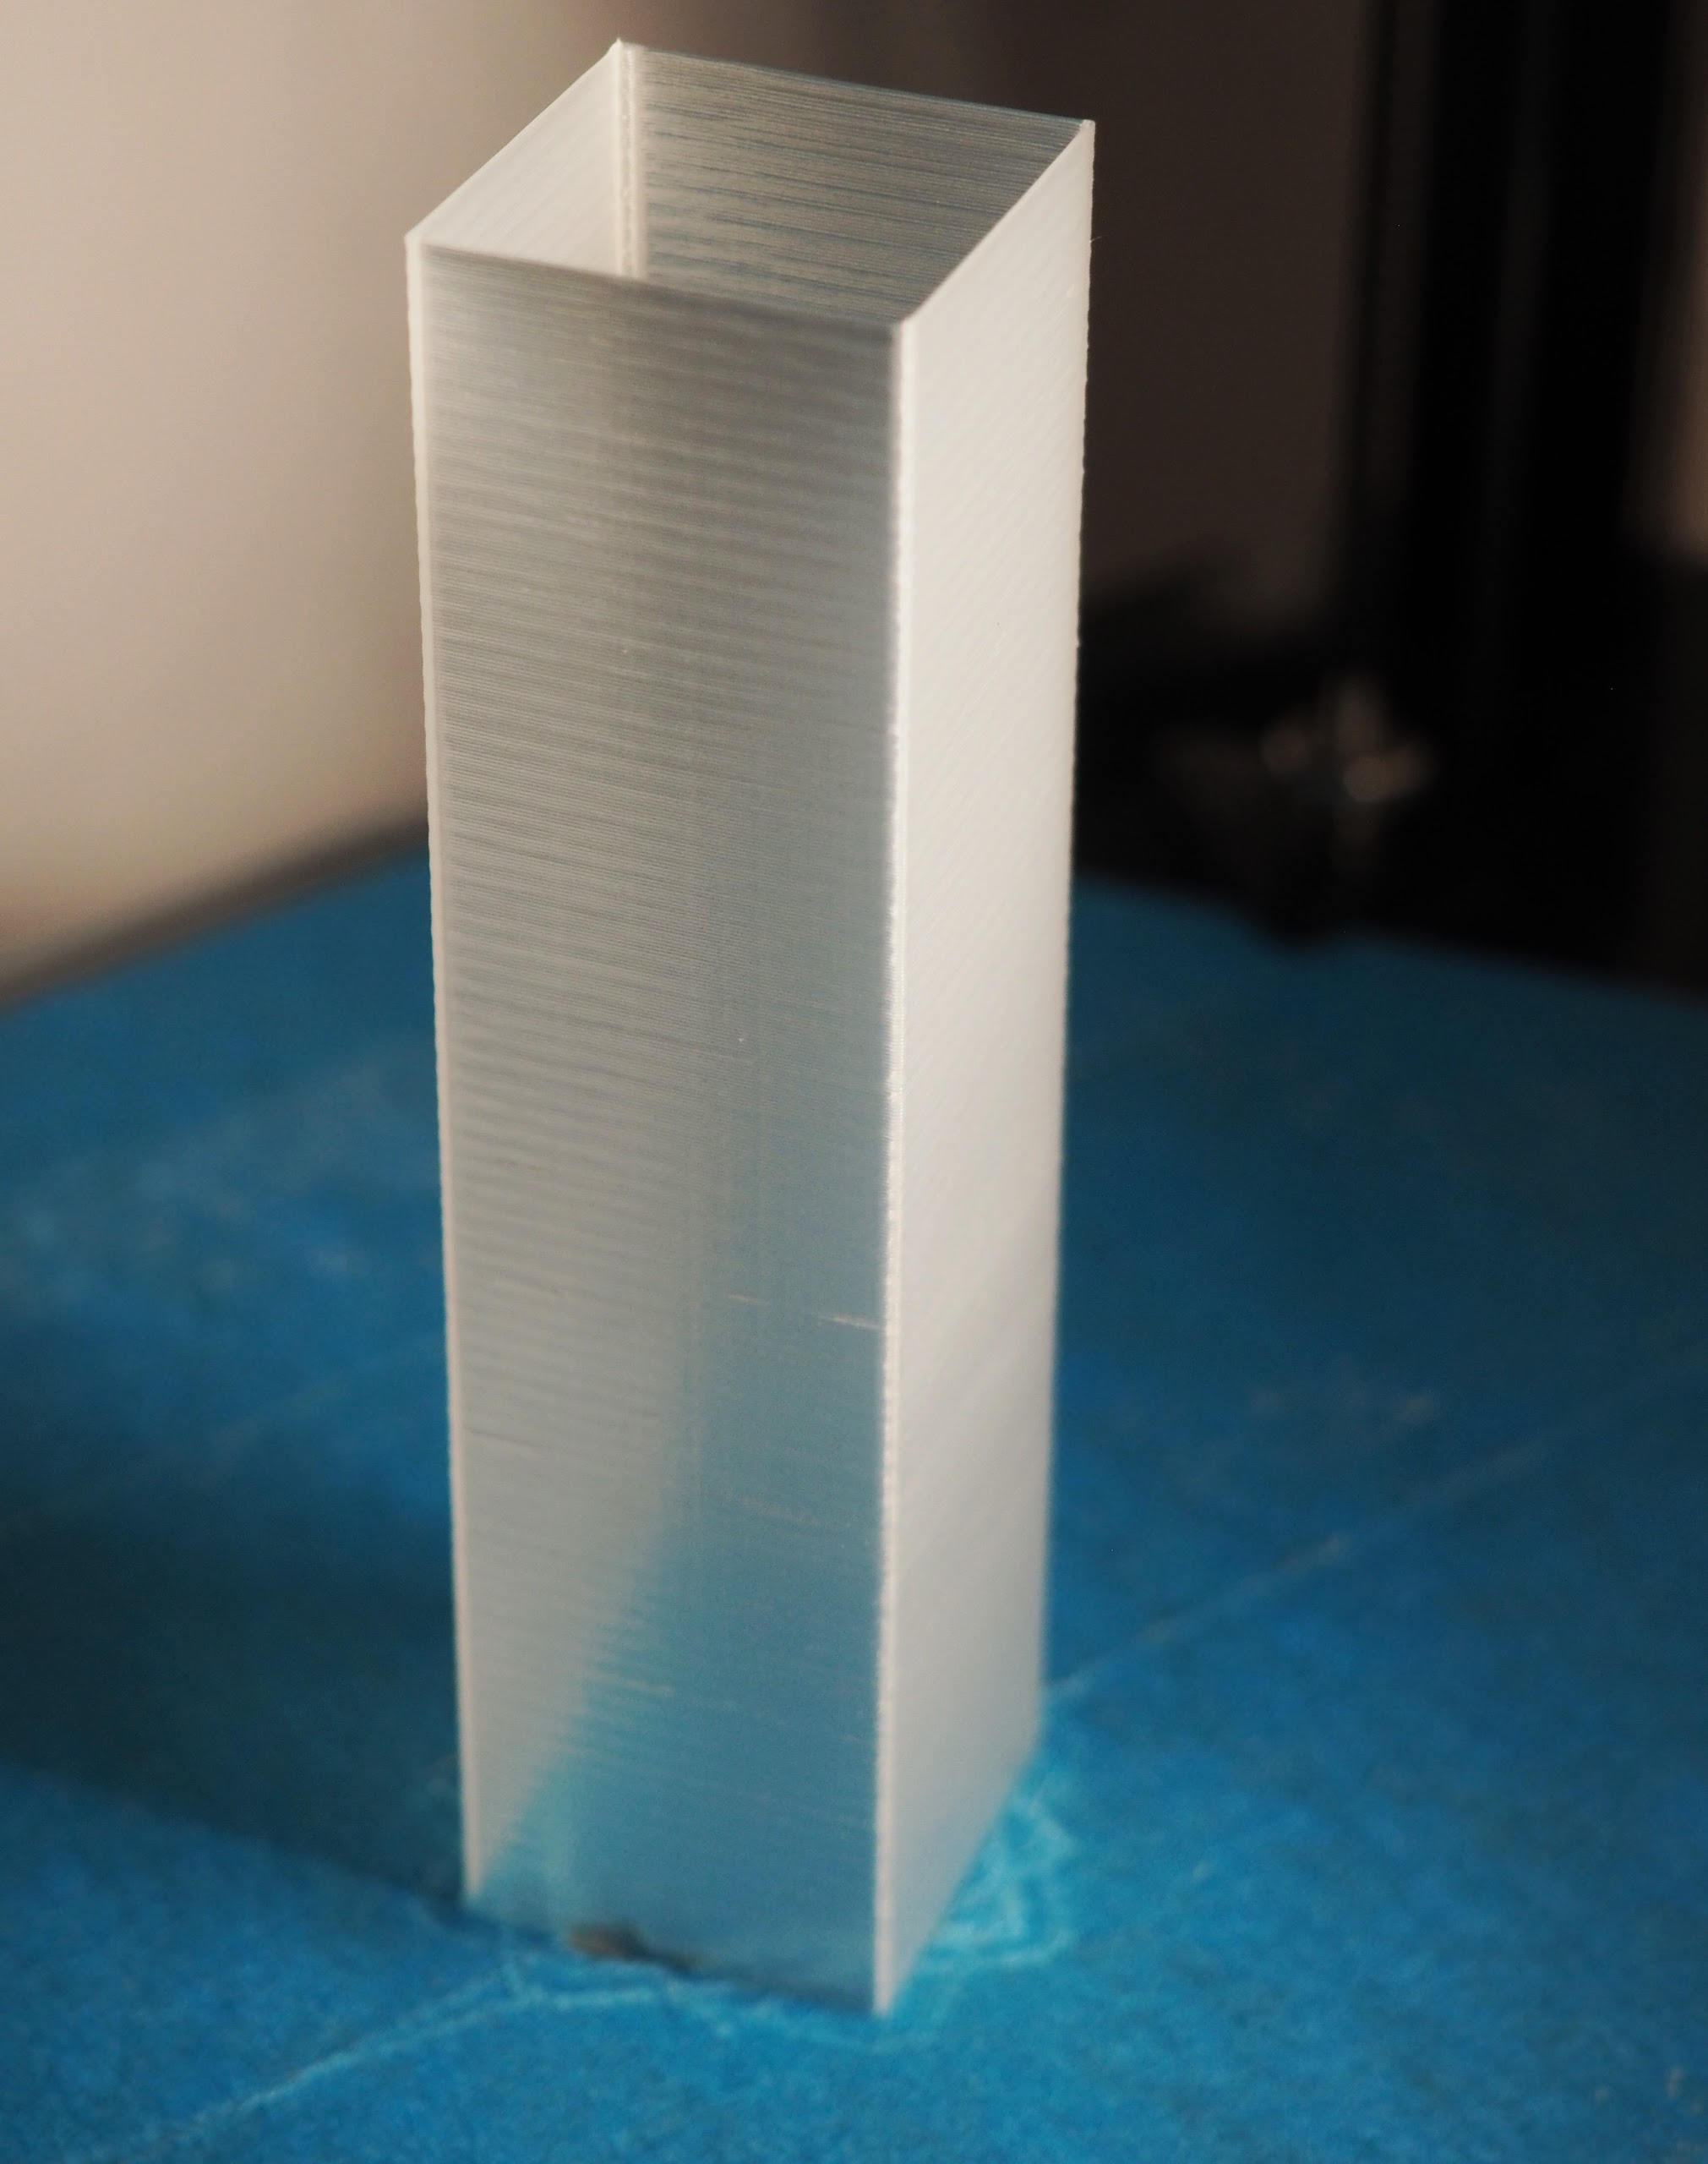
Could it be that the shell was too thick to show weakness? David did not reveal his perimeter setting so I was using default of 2 loops. What if I use a single loop? (David’s method was in my mind when I printed that 0.1mm thin wall from KISSlicer-Ares. Sign in - Google Accounts
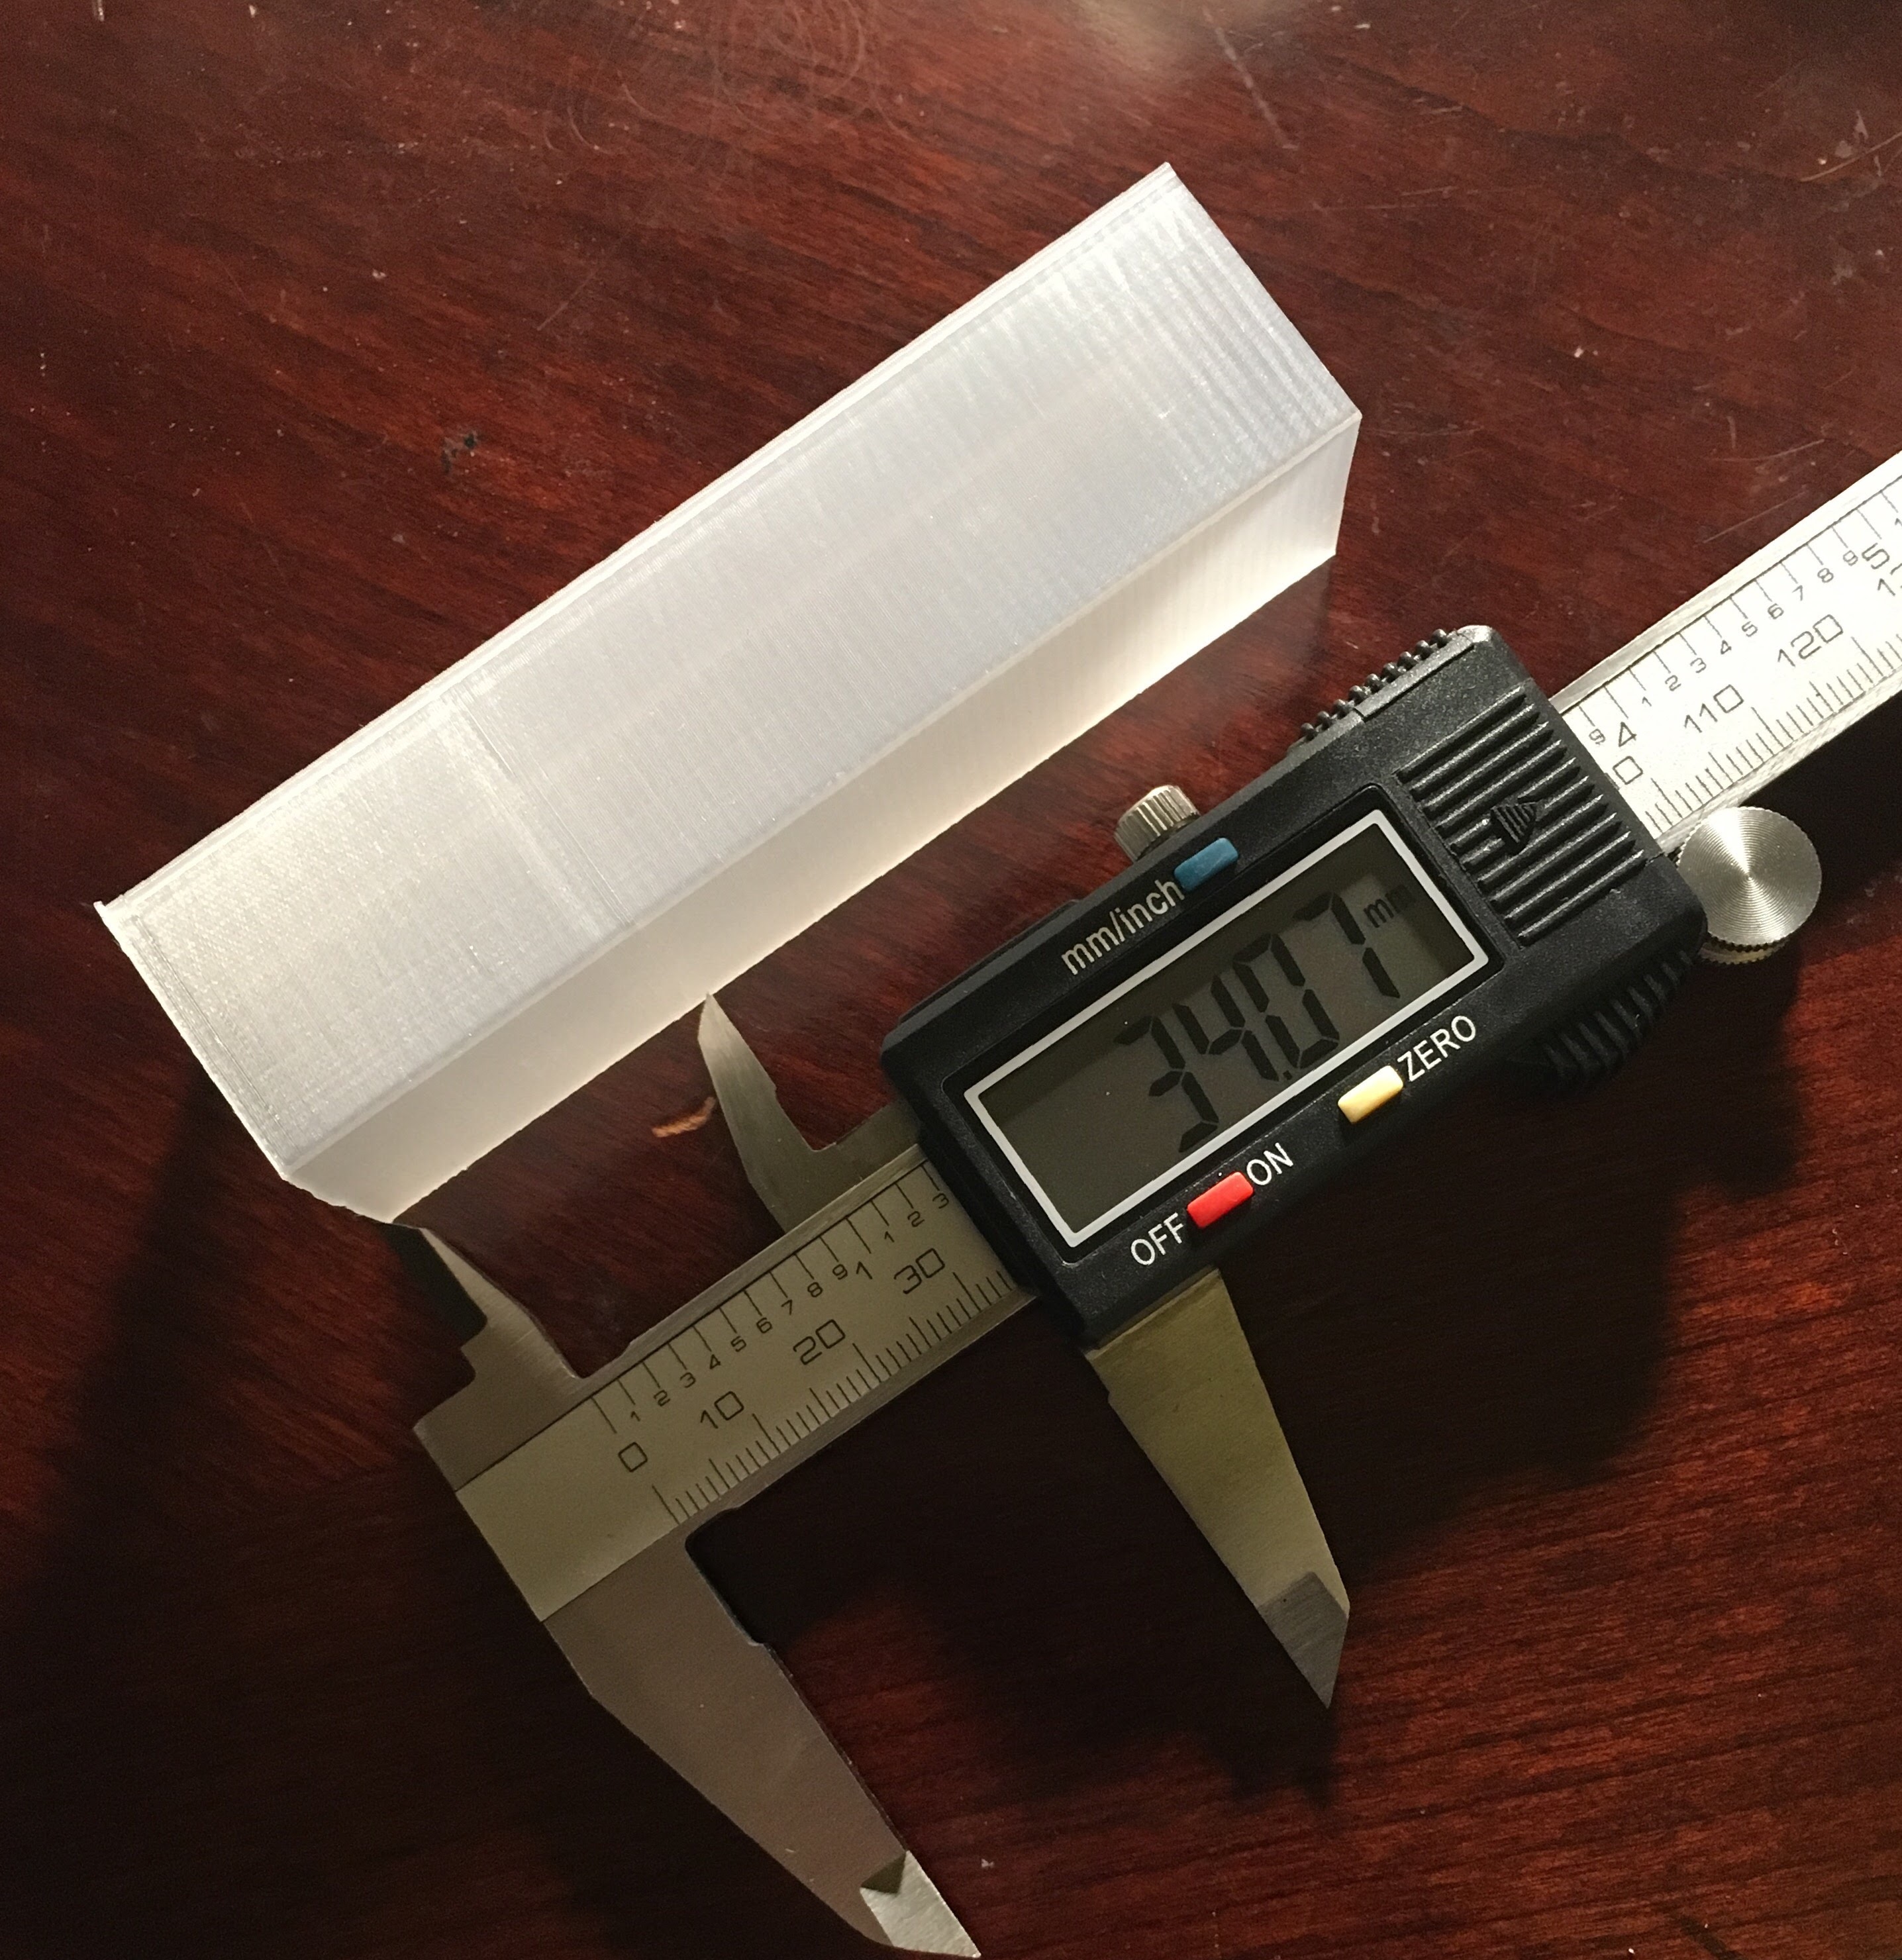
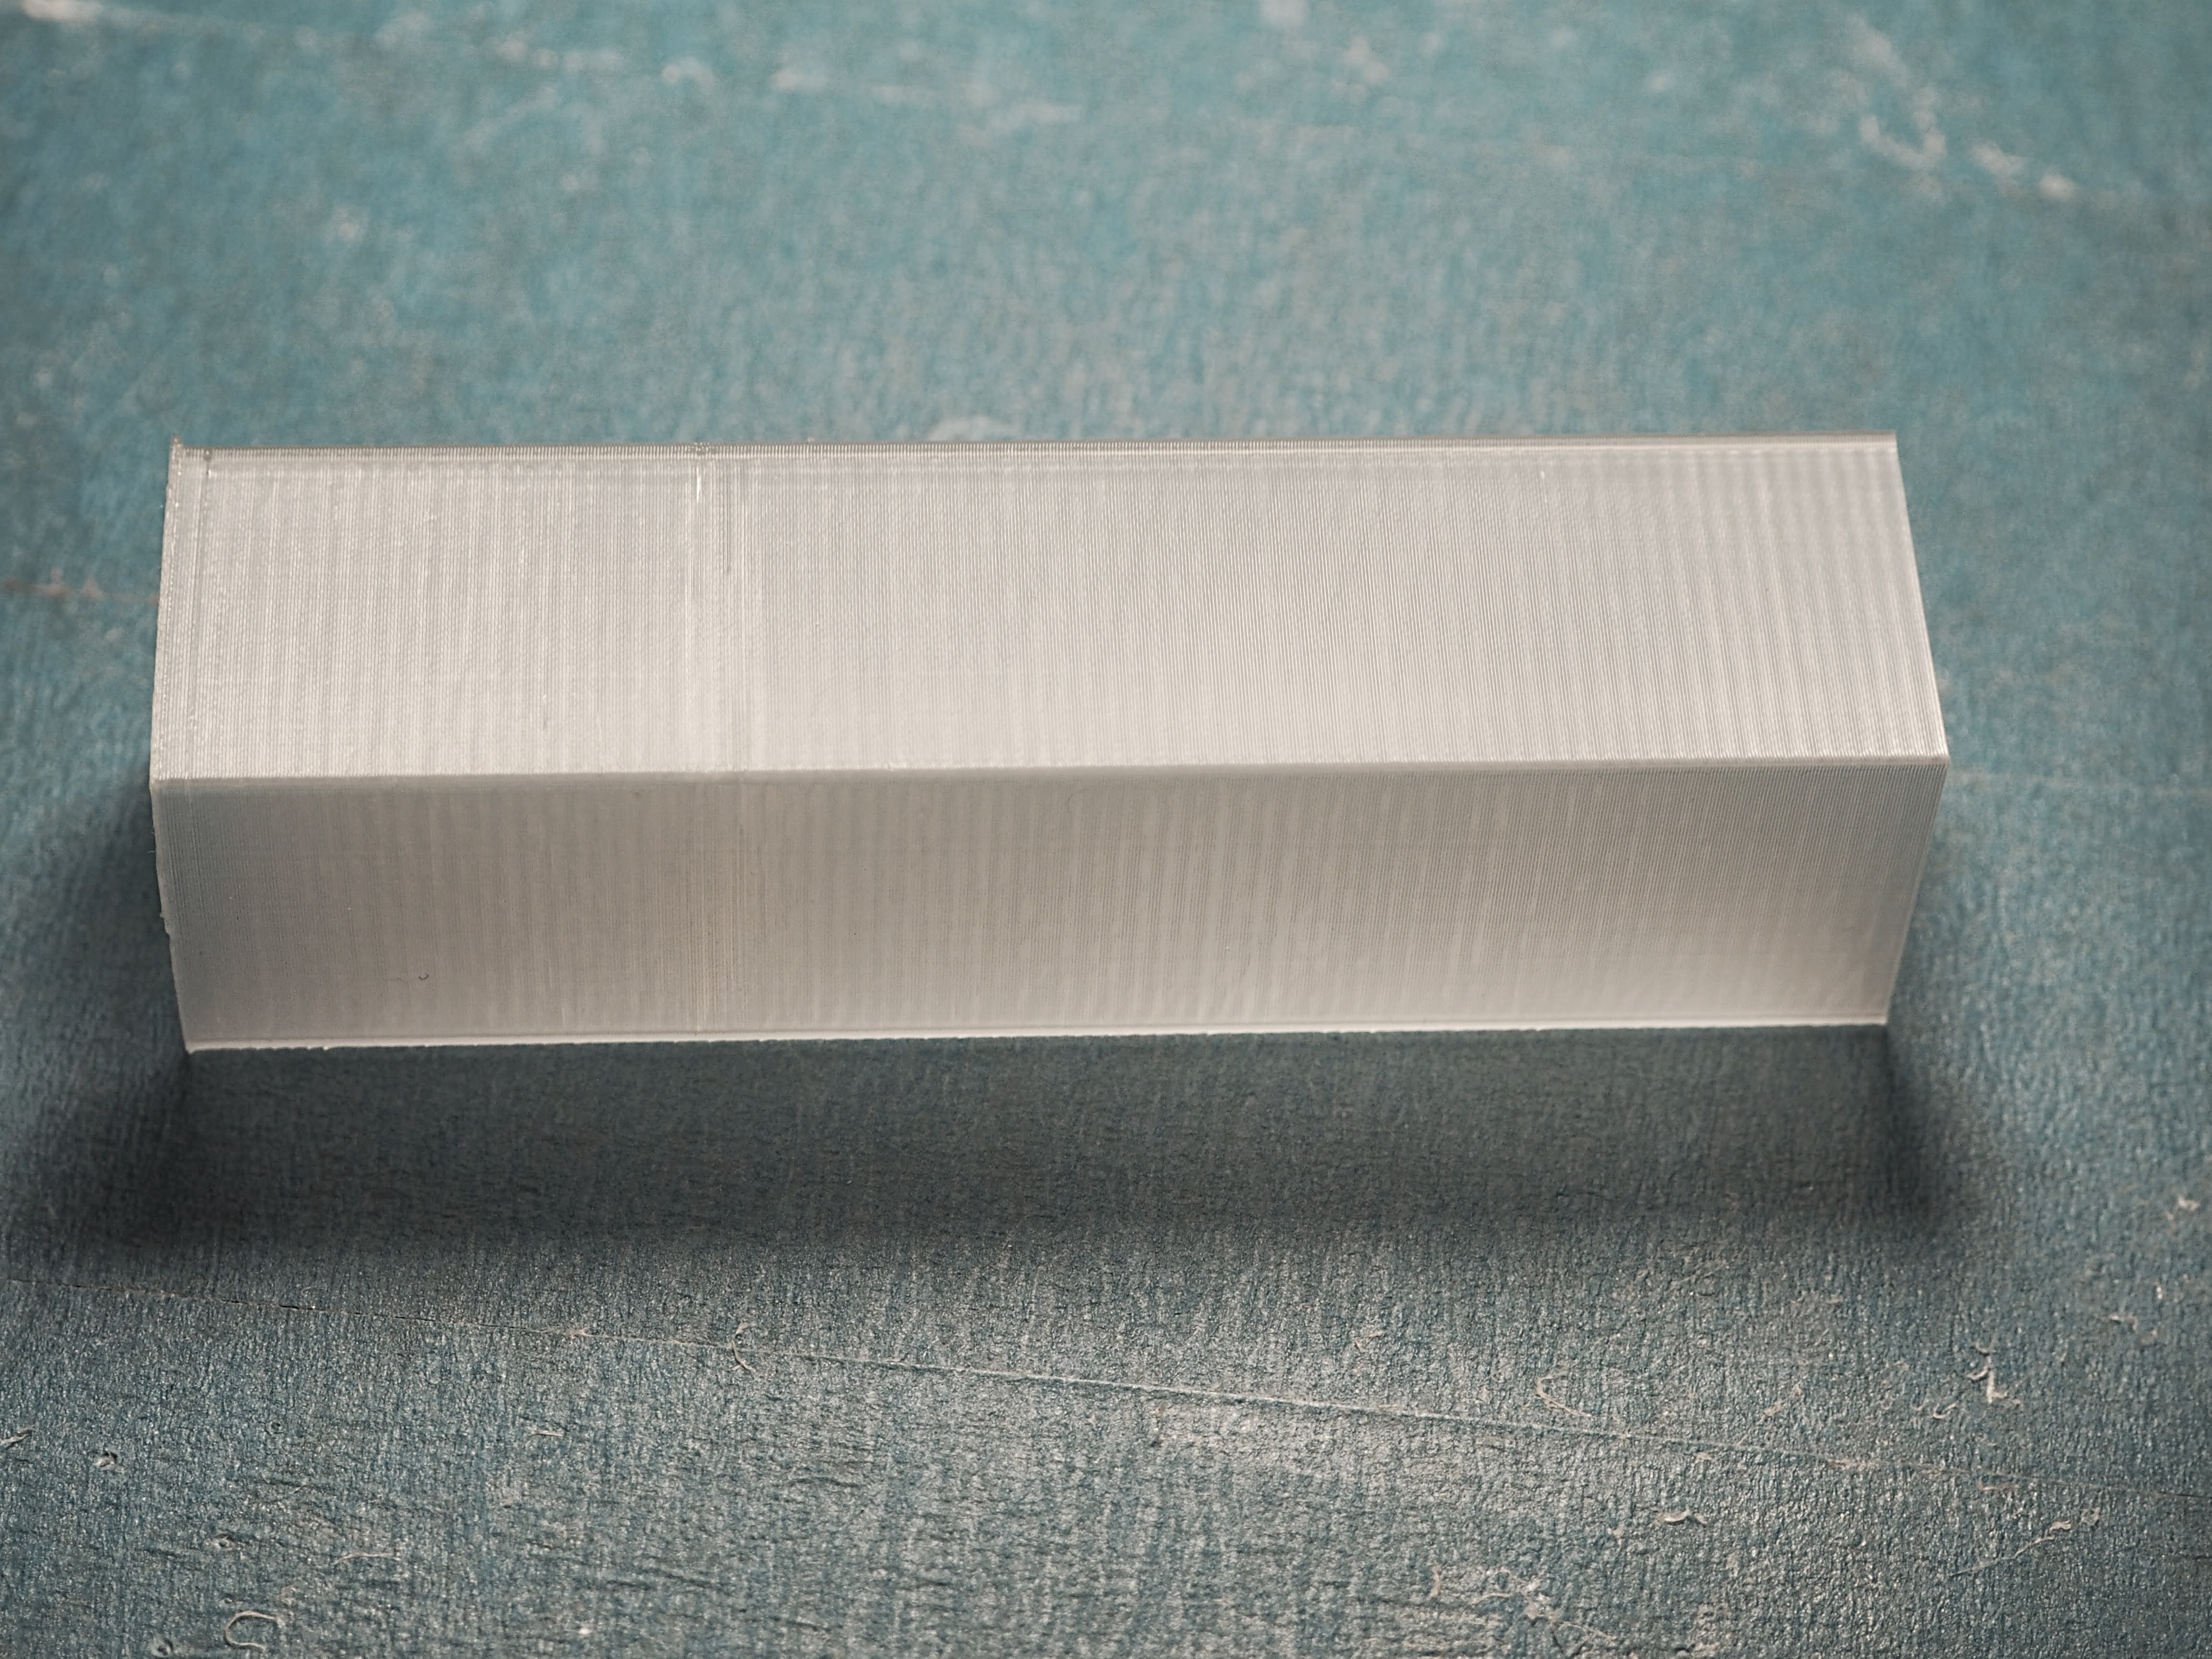
Even with a single shell, GP3D shows little change over its entire temperature range. There is a slight glitch shown in a narrow band at 34mm, or 210ºC. But there is nothing below, and nothing above. The band is only 1mm, or roughly 1/10 the length the hot end is at this temperature. (Curiously, it is most visible only on one side of the shell.) I only printed this once, so it isn’t clear whether this was caused by temperature change. (Additionally, I dialed up “draw” speed from 40mm/s to 70mm/s. I already know that connecting a new browser to OctoPrint will cause the printer to slow down temporarily; and I most definitely did that when I went to bed that night. It is conceivable that the slow-down’s effect on print is larger at higher draw speed.)
After all this toil, I can only say that surface quality with this GP3D filament doesn’t change within its temperature range when printed at 0.2mm layer height between 40mm/s and 70mm/s on Ares 3D printer. (Mechanical quality is a different matter.) That’s a lot of qualifiers but they are really very common settings. (Except the printer itself, which, as the community has witnessed, is of extraordinary quality for the price but anything but commonplace. In fact, one community member found that there was no way to purchase additional units at this time. What a shame.)
Still, as I said when sharing David’s posting, I am a big fan of his systematic (and beautifully simple) approach. For those who prefer reading to Youtube, here is the gist:
- Make a tall cube model. * (Or steal the fruit of his labour, http://www.thingiverse.com/thing:8100, as I did.)
- Set your otherwise perfect slicer to not print bottom layer and top layer, and do not use infill.** Maybe also use a single loop in perimeter.
- Change temperature every 10mm or so. You can decide how big a step to go. **
4. Print and evaluate surface quality at various height.
Of course you can design a cuboid. But why bother? Most 3D design software starts with solid volume. More importantly, your slicer will always interact with a thin wall design unfavourably, as this discussion reveals: Sign in - Google Accounts
** In CraftWare, just uncheck “Top/Bottom Shell” and “Infill” in “Basic” tab. In KISSlicer and the slicer that David uses, you need to set infill percentage to 0; I have yet to discover whether KISSlicer can disable top and bottom shells. If not, it’s manual editing time.
** * In CraftWare, use LayerScript in GCode tab, like “setHeadTemp(230-5*Math.round(z/10))”; make sure to match Head temperature in the Temperature tab with the initial step, in this case 230ºC. Otherwise you can pause and adjust temperature as it builds if your printer allows adjustment, or you can edit G-code file before printing.
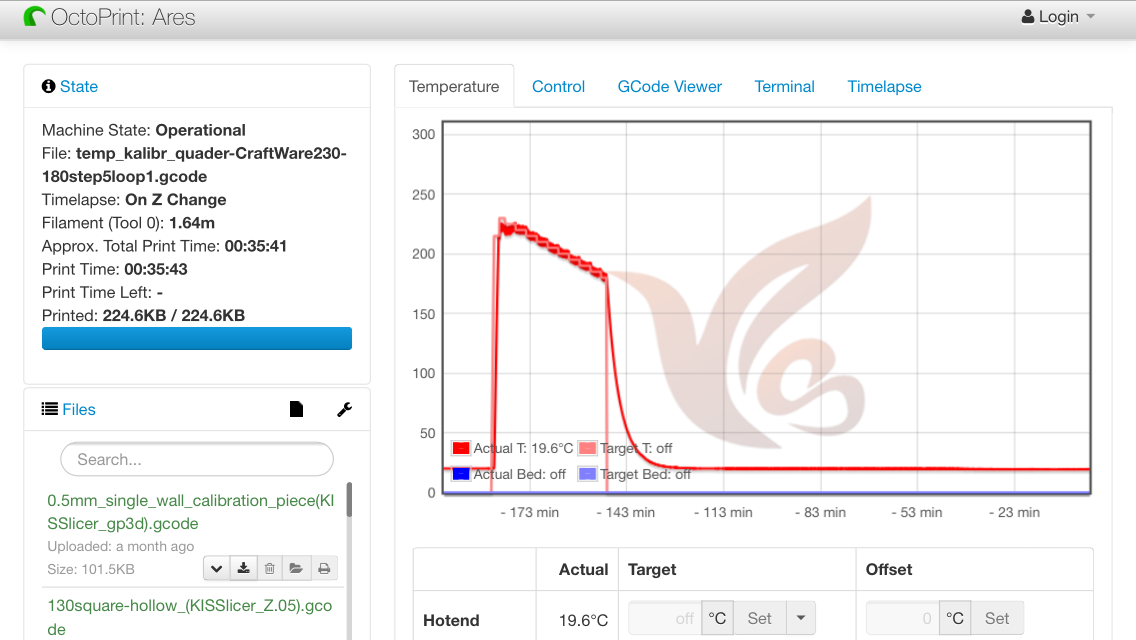
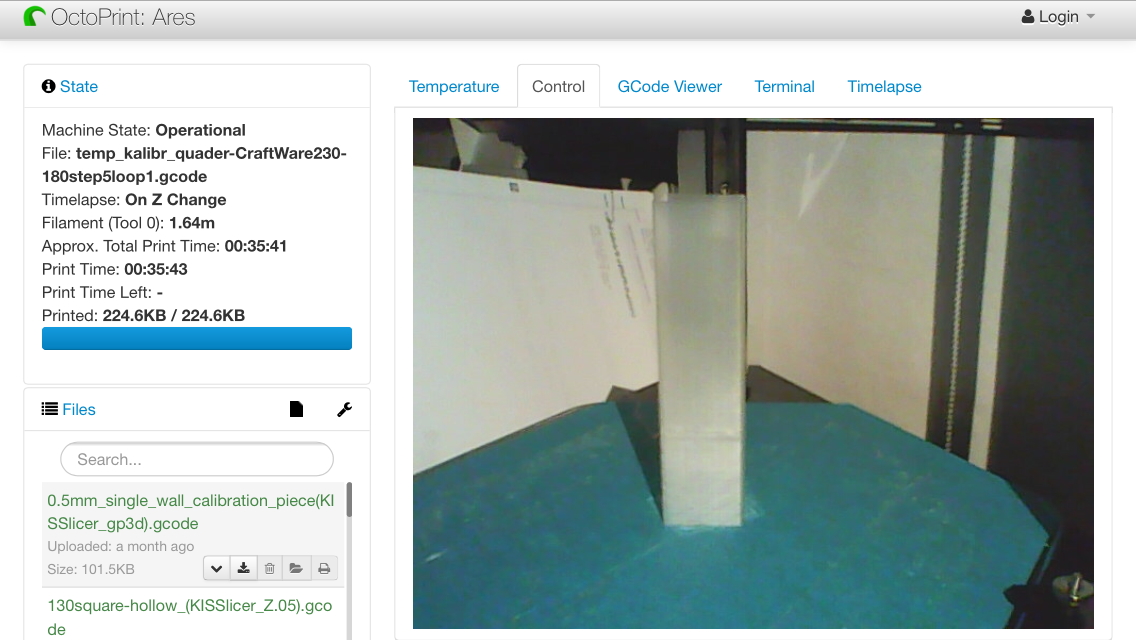
By the way, have you noticed the multiple base marks on print bed in upright photos? This was the first time I printed multiple times on the same Harbor Freight blue tapes (in the same area). This perhaps has more to do with the small contact area of cuboids than any other luck. (Although I did use glue stick before the first build, this never proved to preserve the tape.) But it is still exciting not having to peel, scrape, wash and reapply.
(This is the third of four parts.)