While checking out schematics for my T-Watch I noticed two(*) interesting things.
The first was an STL for a back-case (a ‘deeper’ version for peoples projects), and the other was a big fat test point on the USB/VCC in line on the back of the watch.
Since I have a couple of ‘add on QI’ charging coils in my hobby box I decided one will go into the watch. Some fiddly OpenSCAD re-mixing, printing and soldering later I got this:
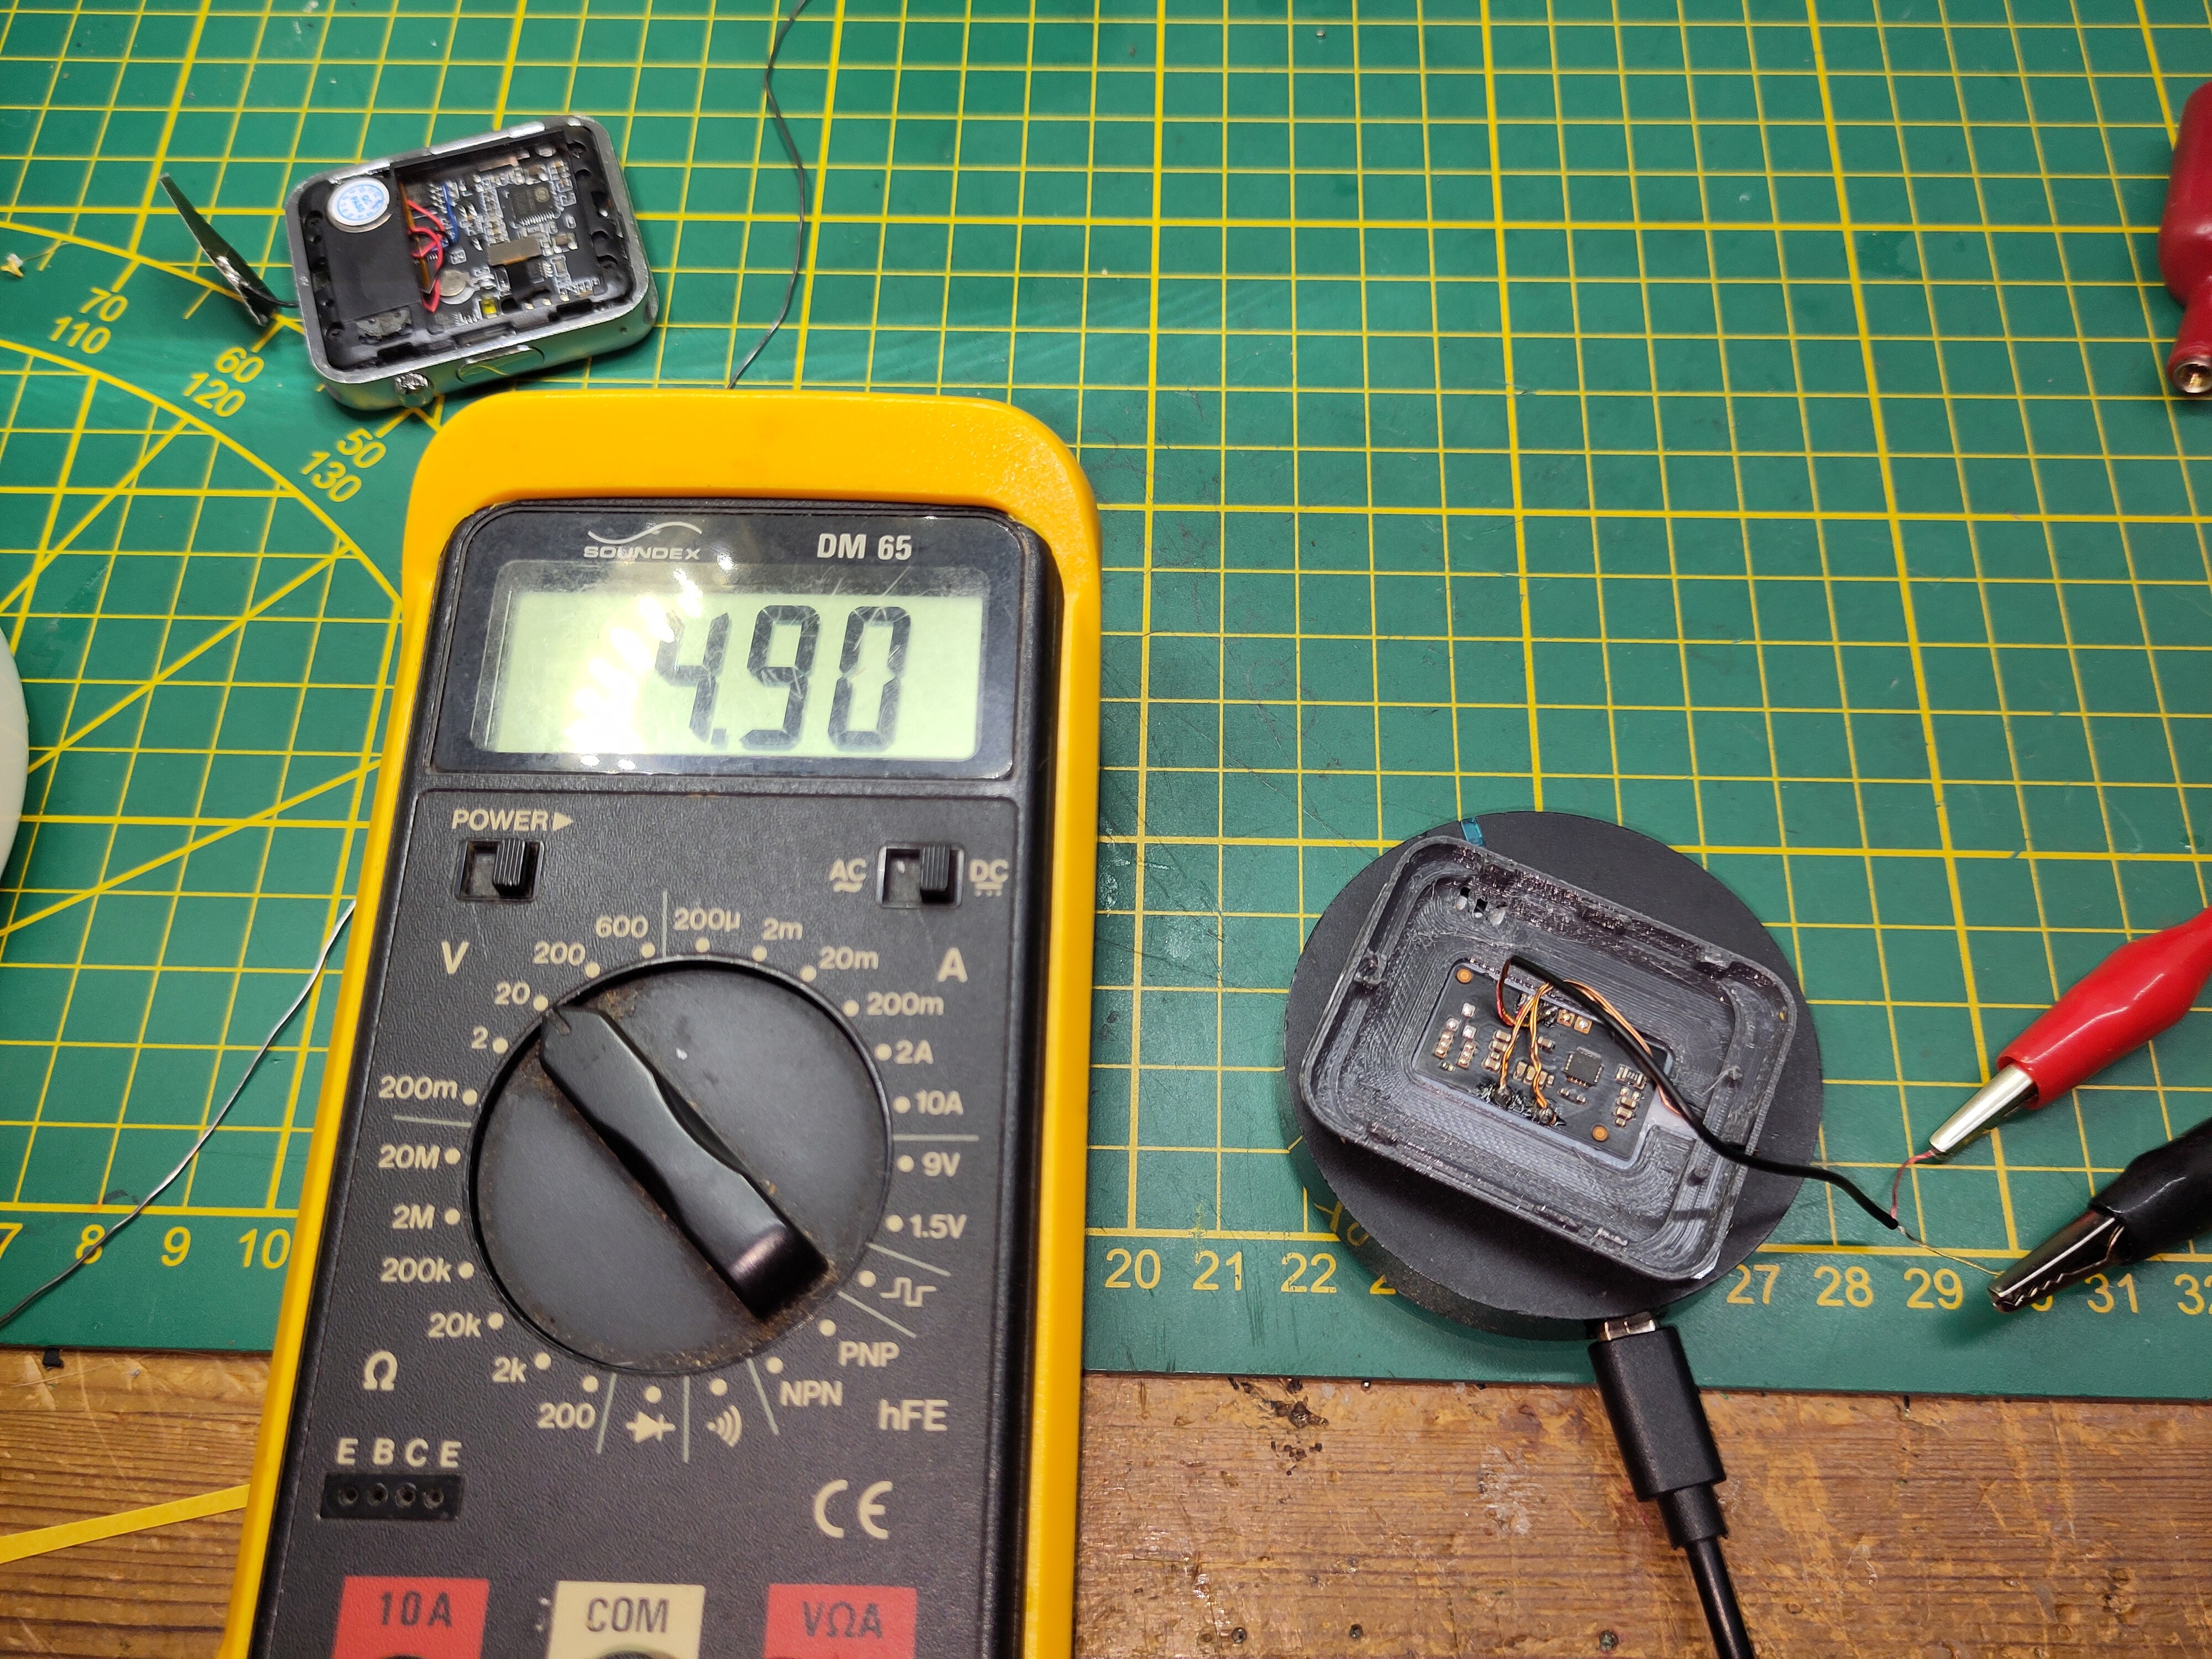
Working well with 400+ mA of charge going into the battery.
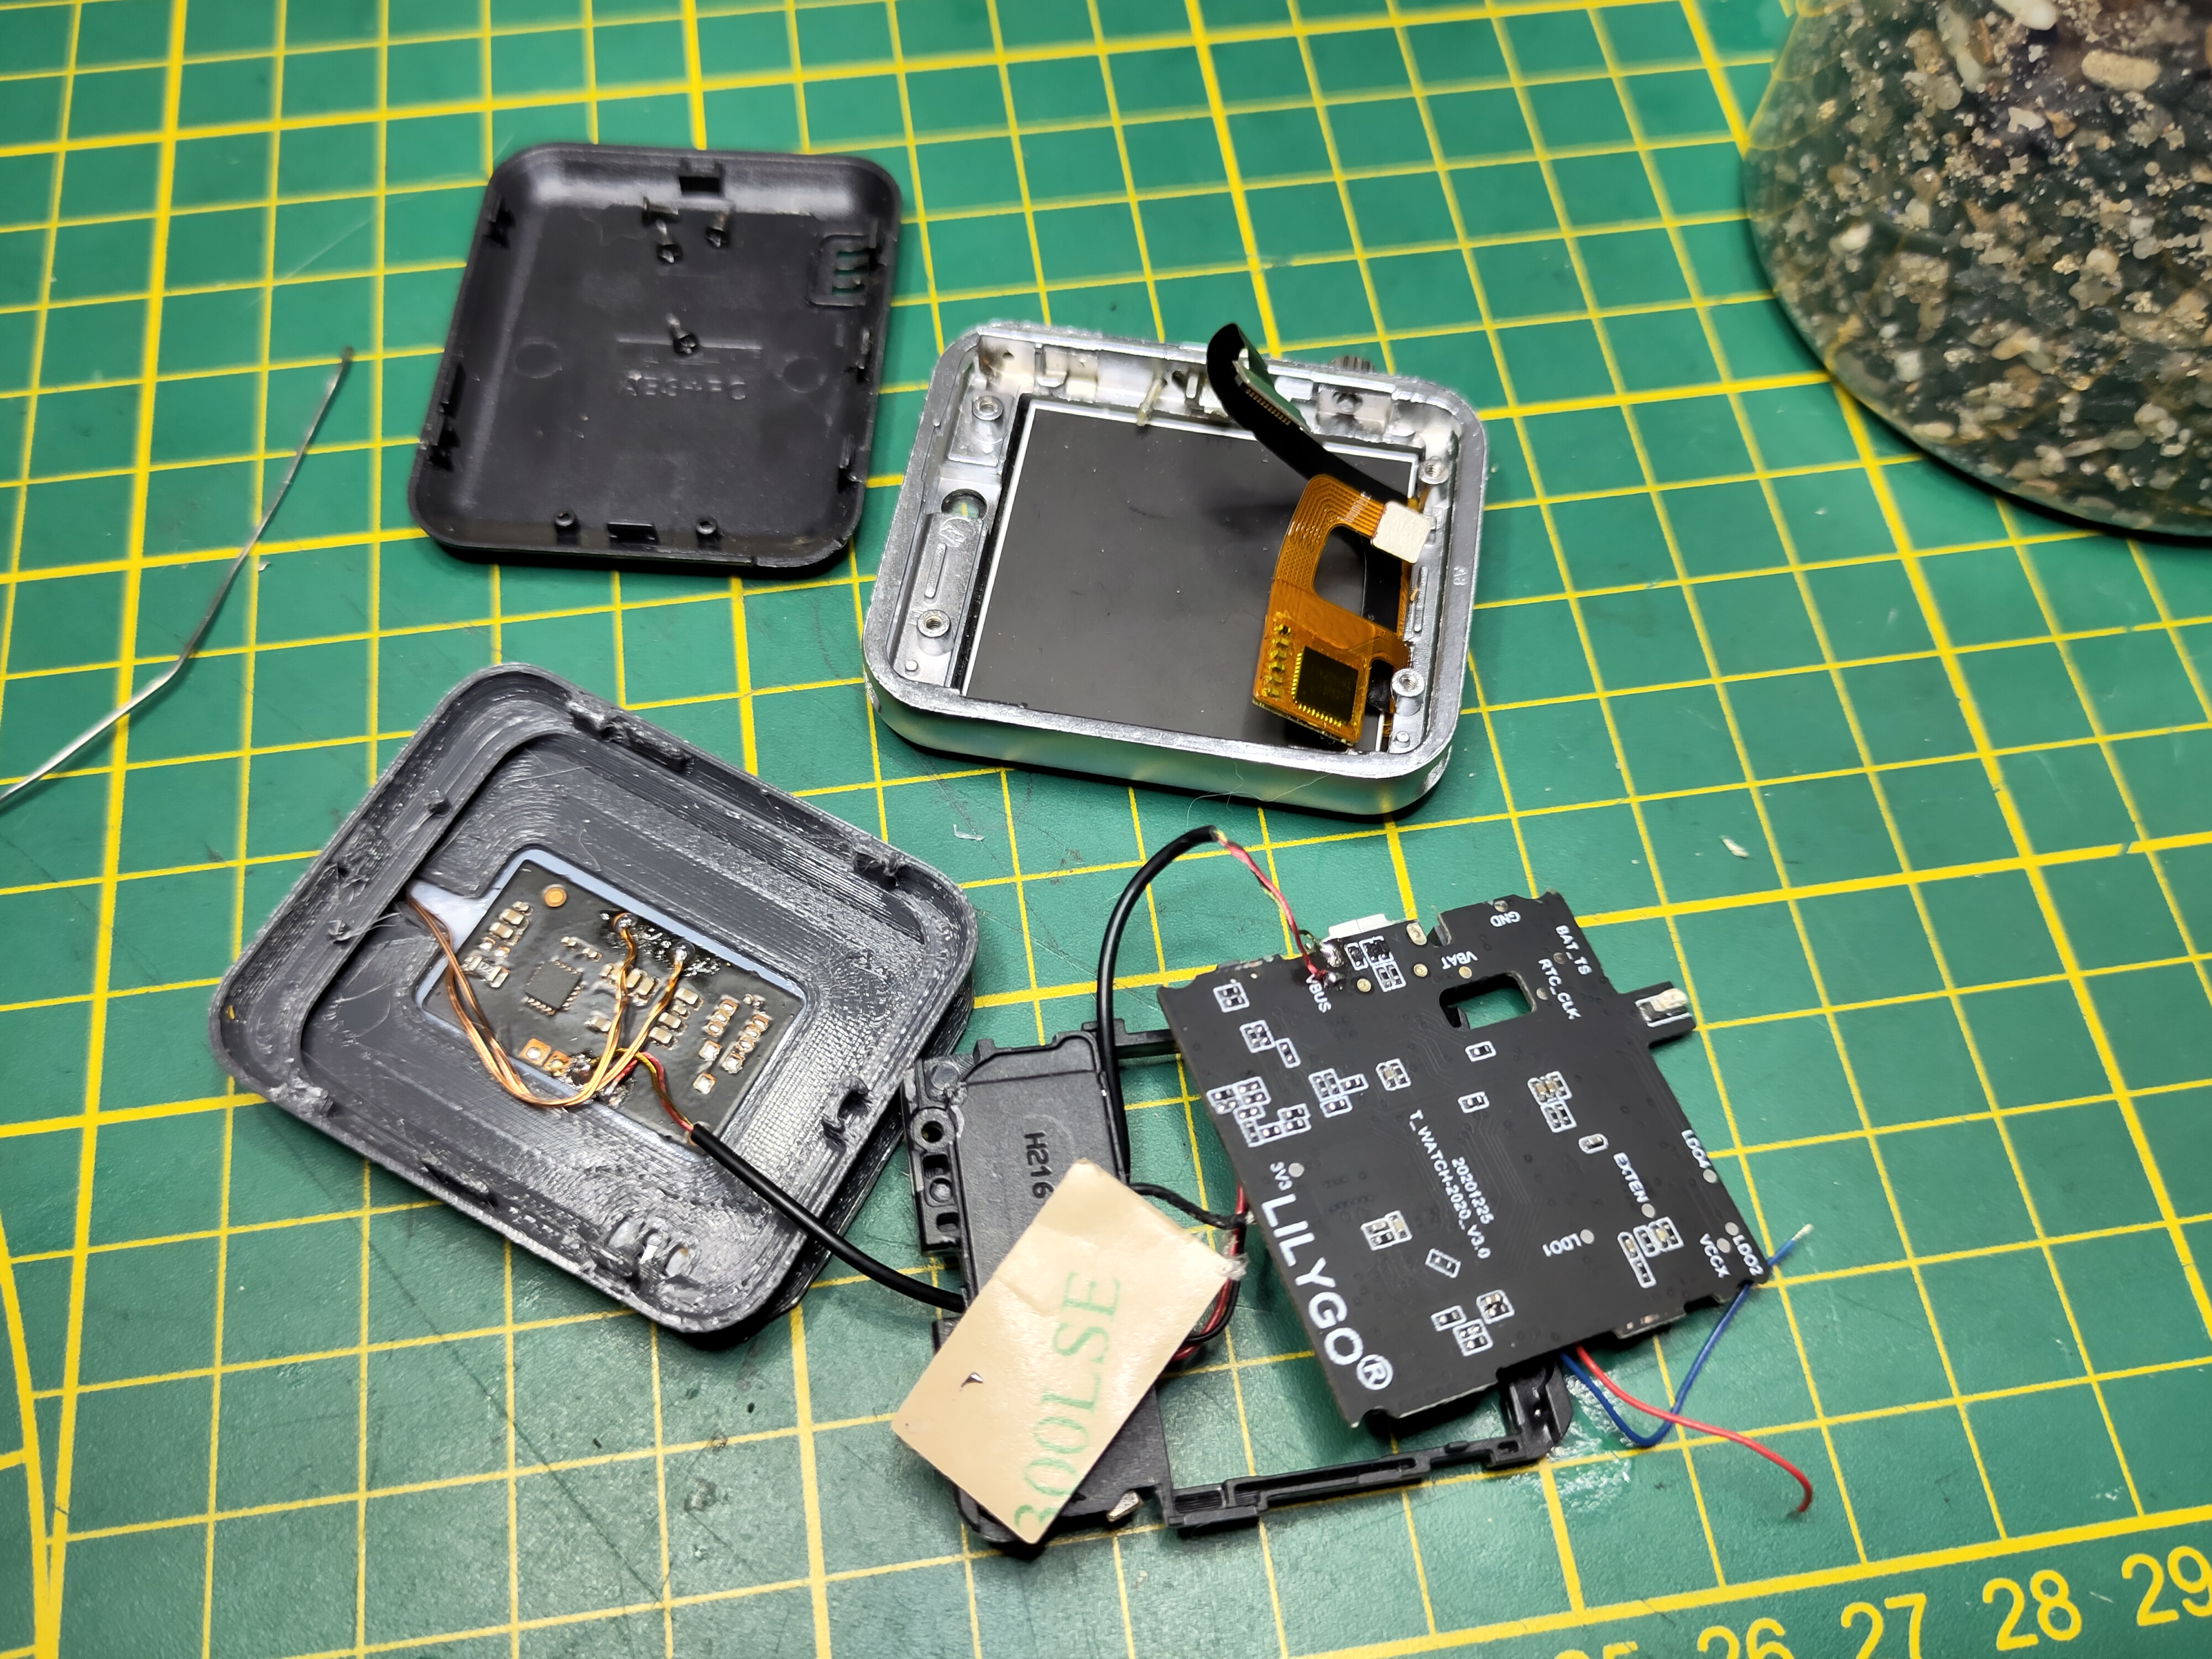
I had to make a case with a ‘elephant foot’ to take the coil, ferrite shield and coupler/charge circuit. All of these are ludicrously thin… the coupler PCB is just 2mm thick, my hacky solder blobs are the tallest point…
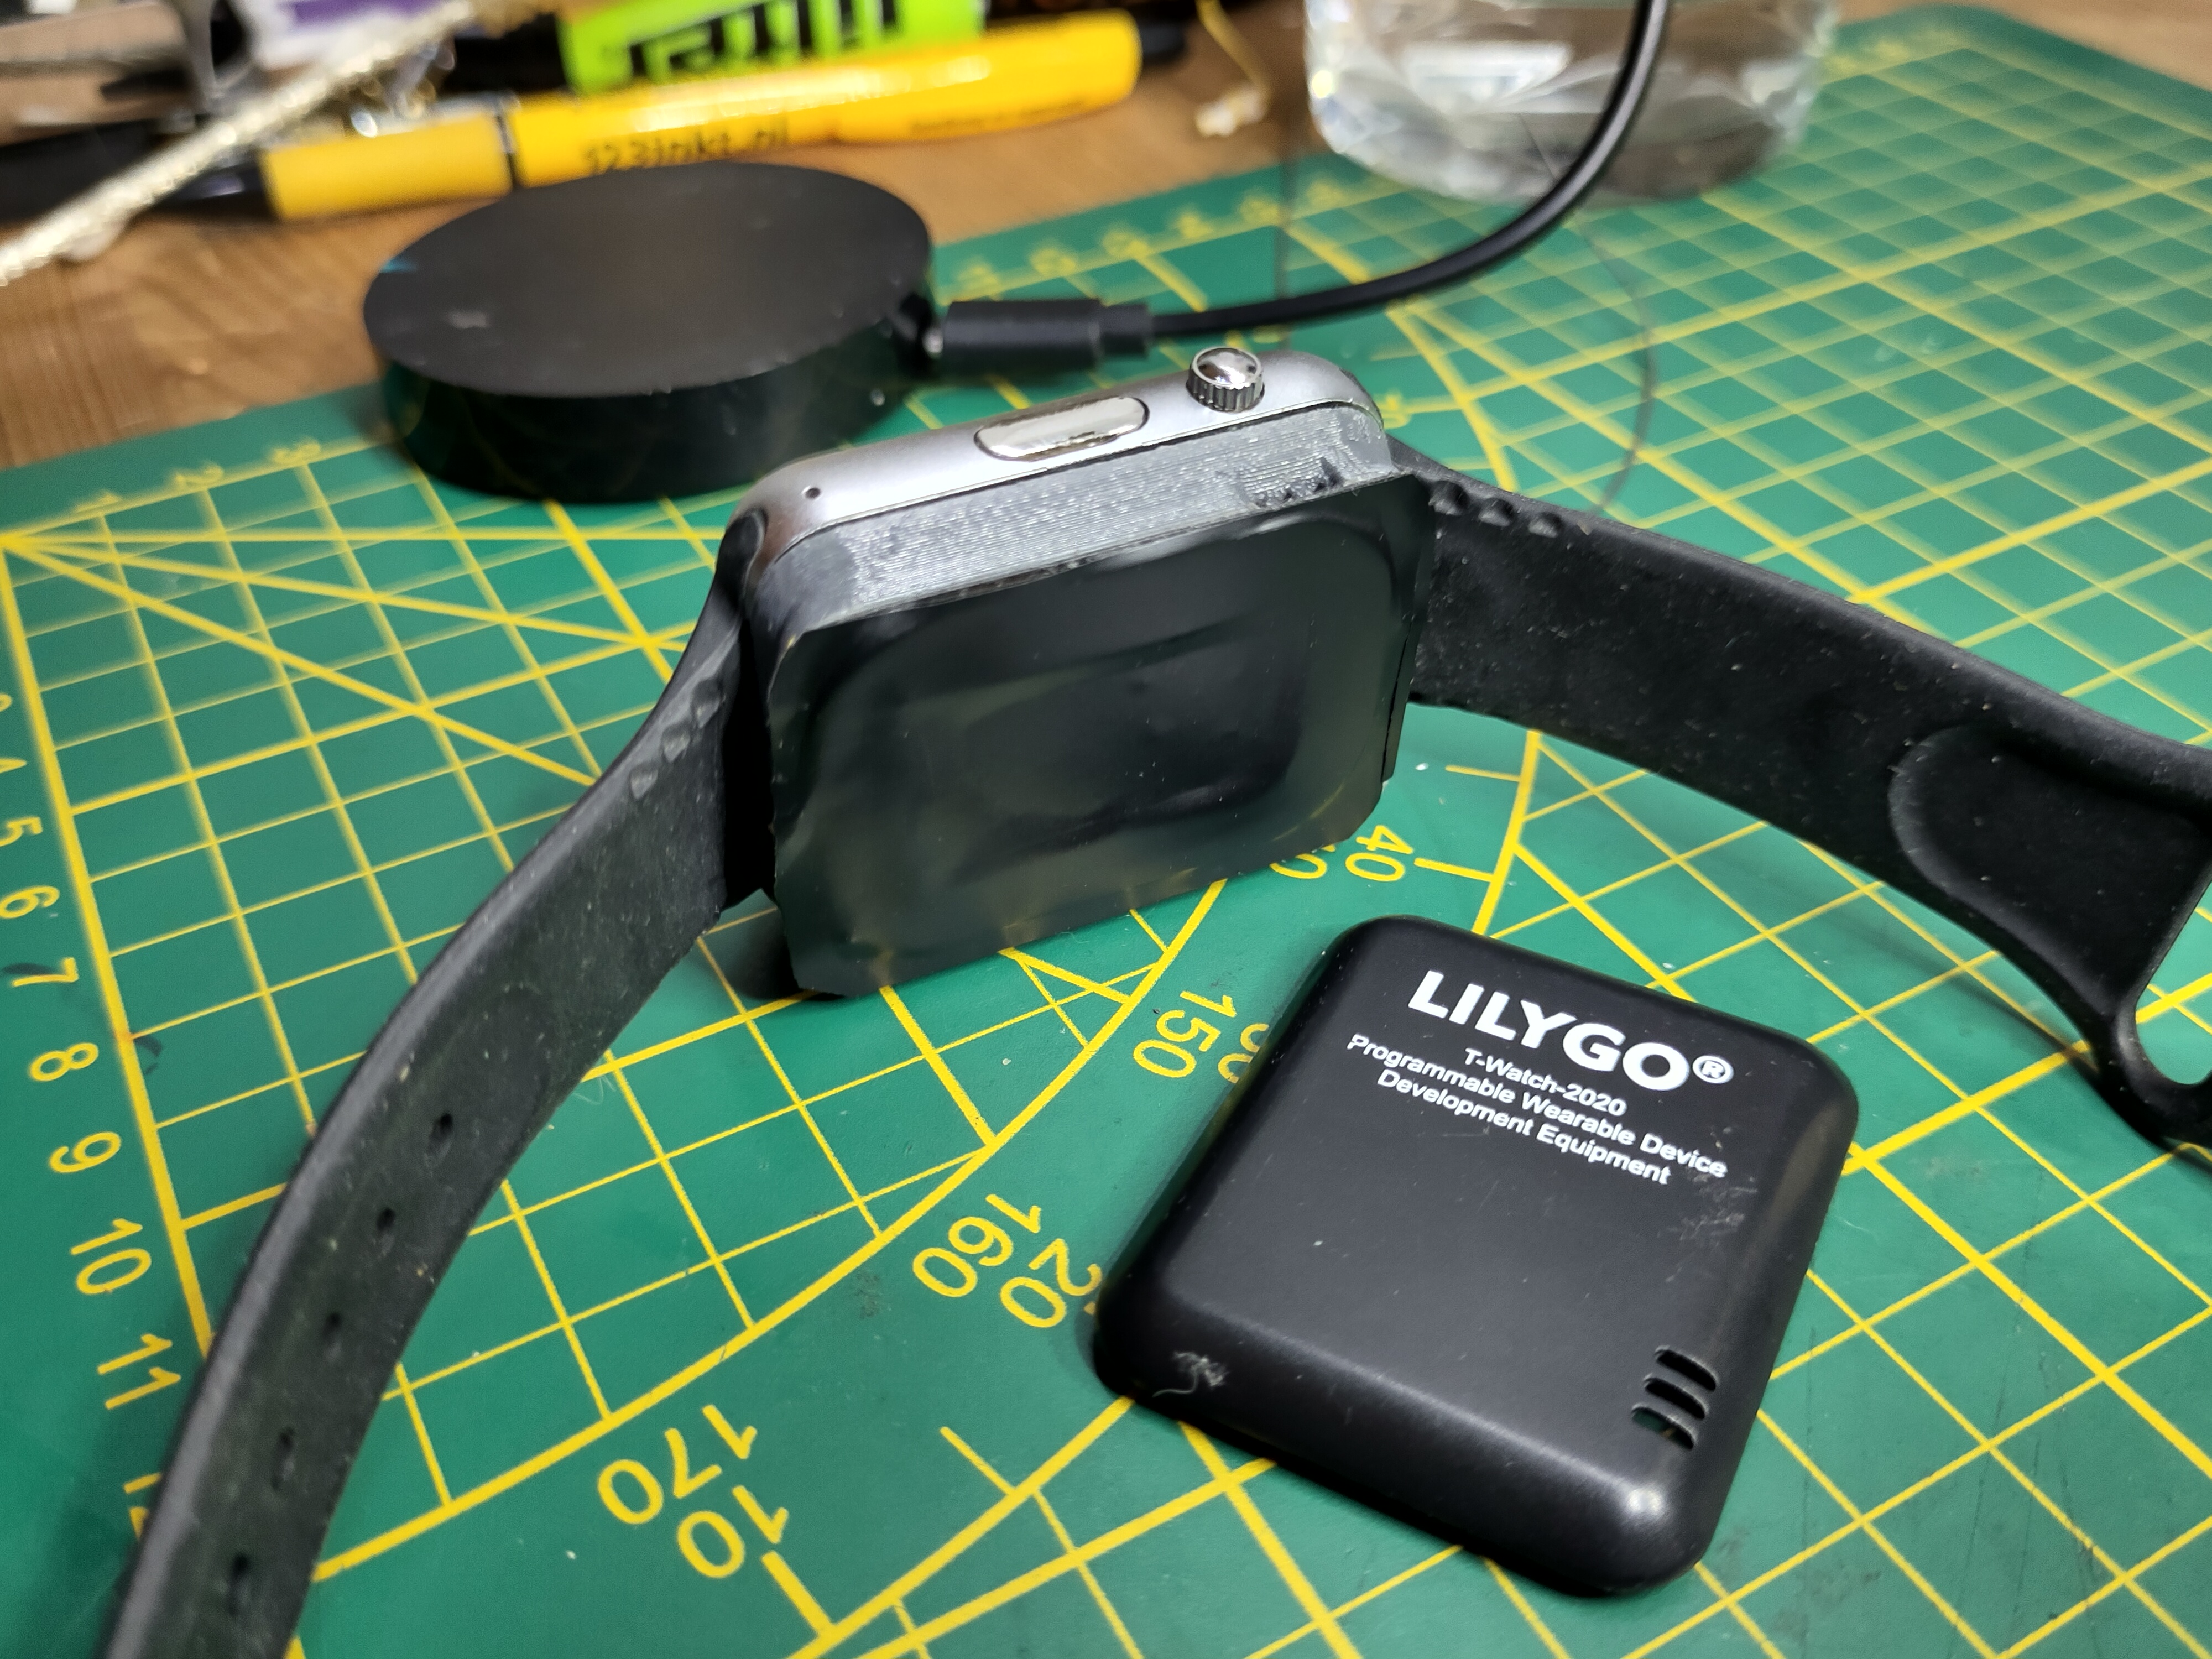
The end result, with the original case back next to it.
I intend to re-visit this, my home-printed case back is awful, both in form and function. I’m thinking of ways to do this in a more secure manner. currently I have a tape ‘band’ keeping the home printed back secure since all the clip pins have snapped.
The second QI coil is going into my still-in-progress phone case… They were 1.50Euro on AliExpress… very impressive.
funny that you bring this up, ie the T-Watch as I was just wondering if the Tesla Bluetooth car key capability could be built into the T-Watch so that the Tesla app/phone nor key card were required. Just today I was thinking about this and did some basic google searching for how the Bluetooth interface worked and didn’t find any details yet.
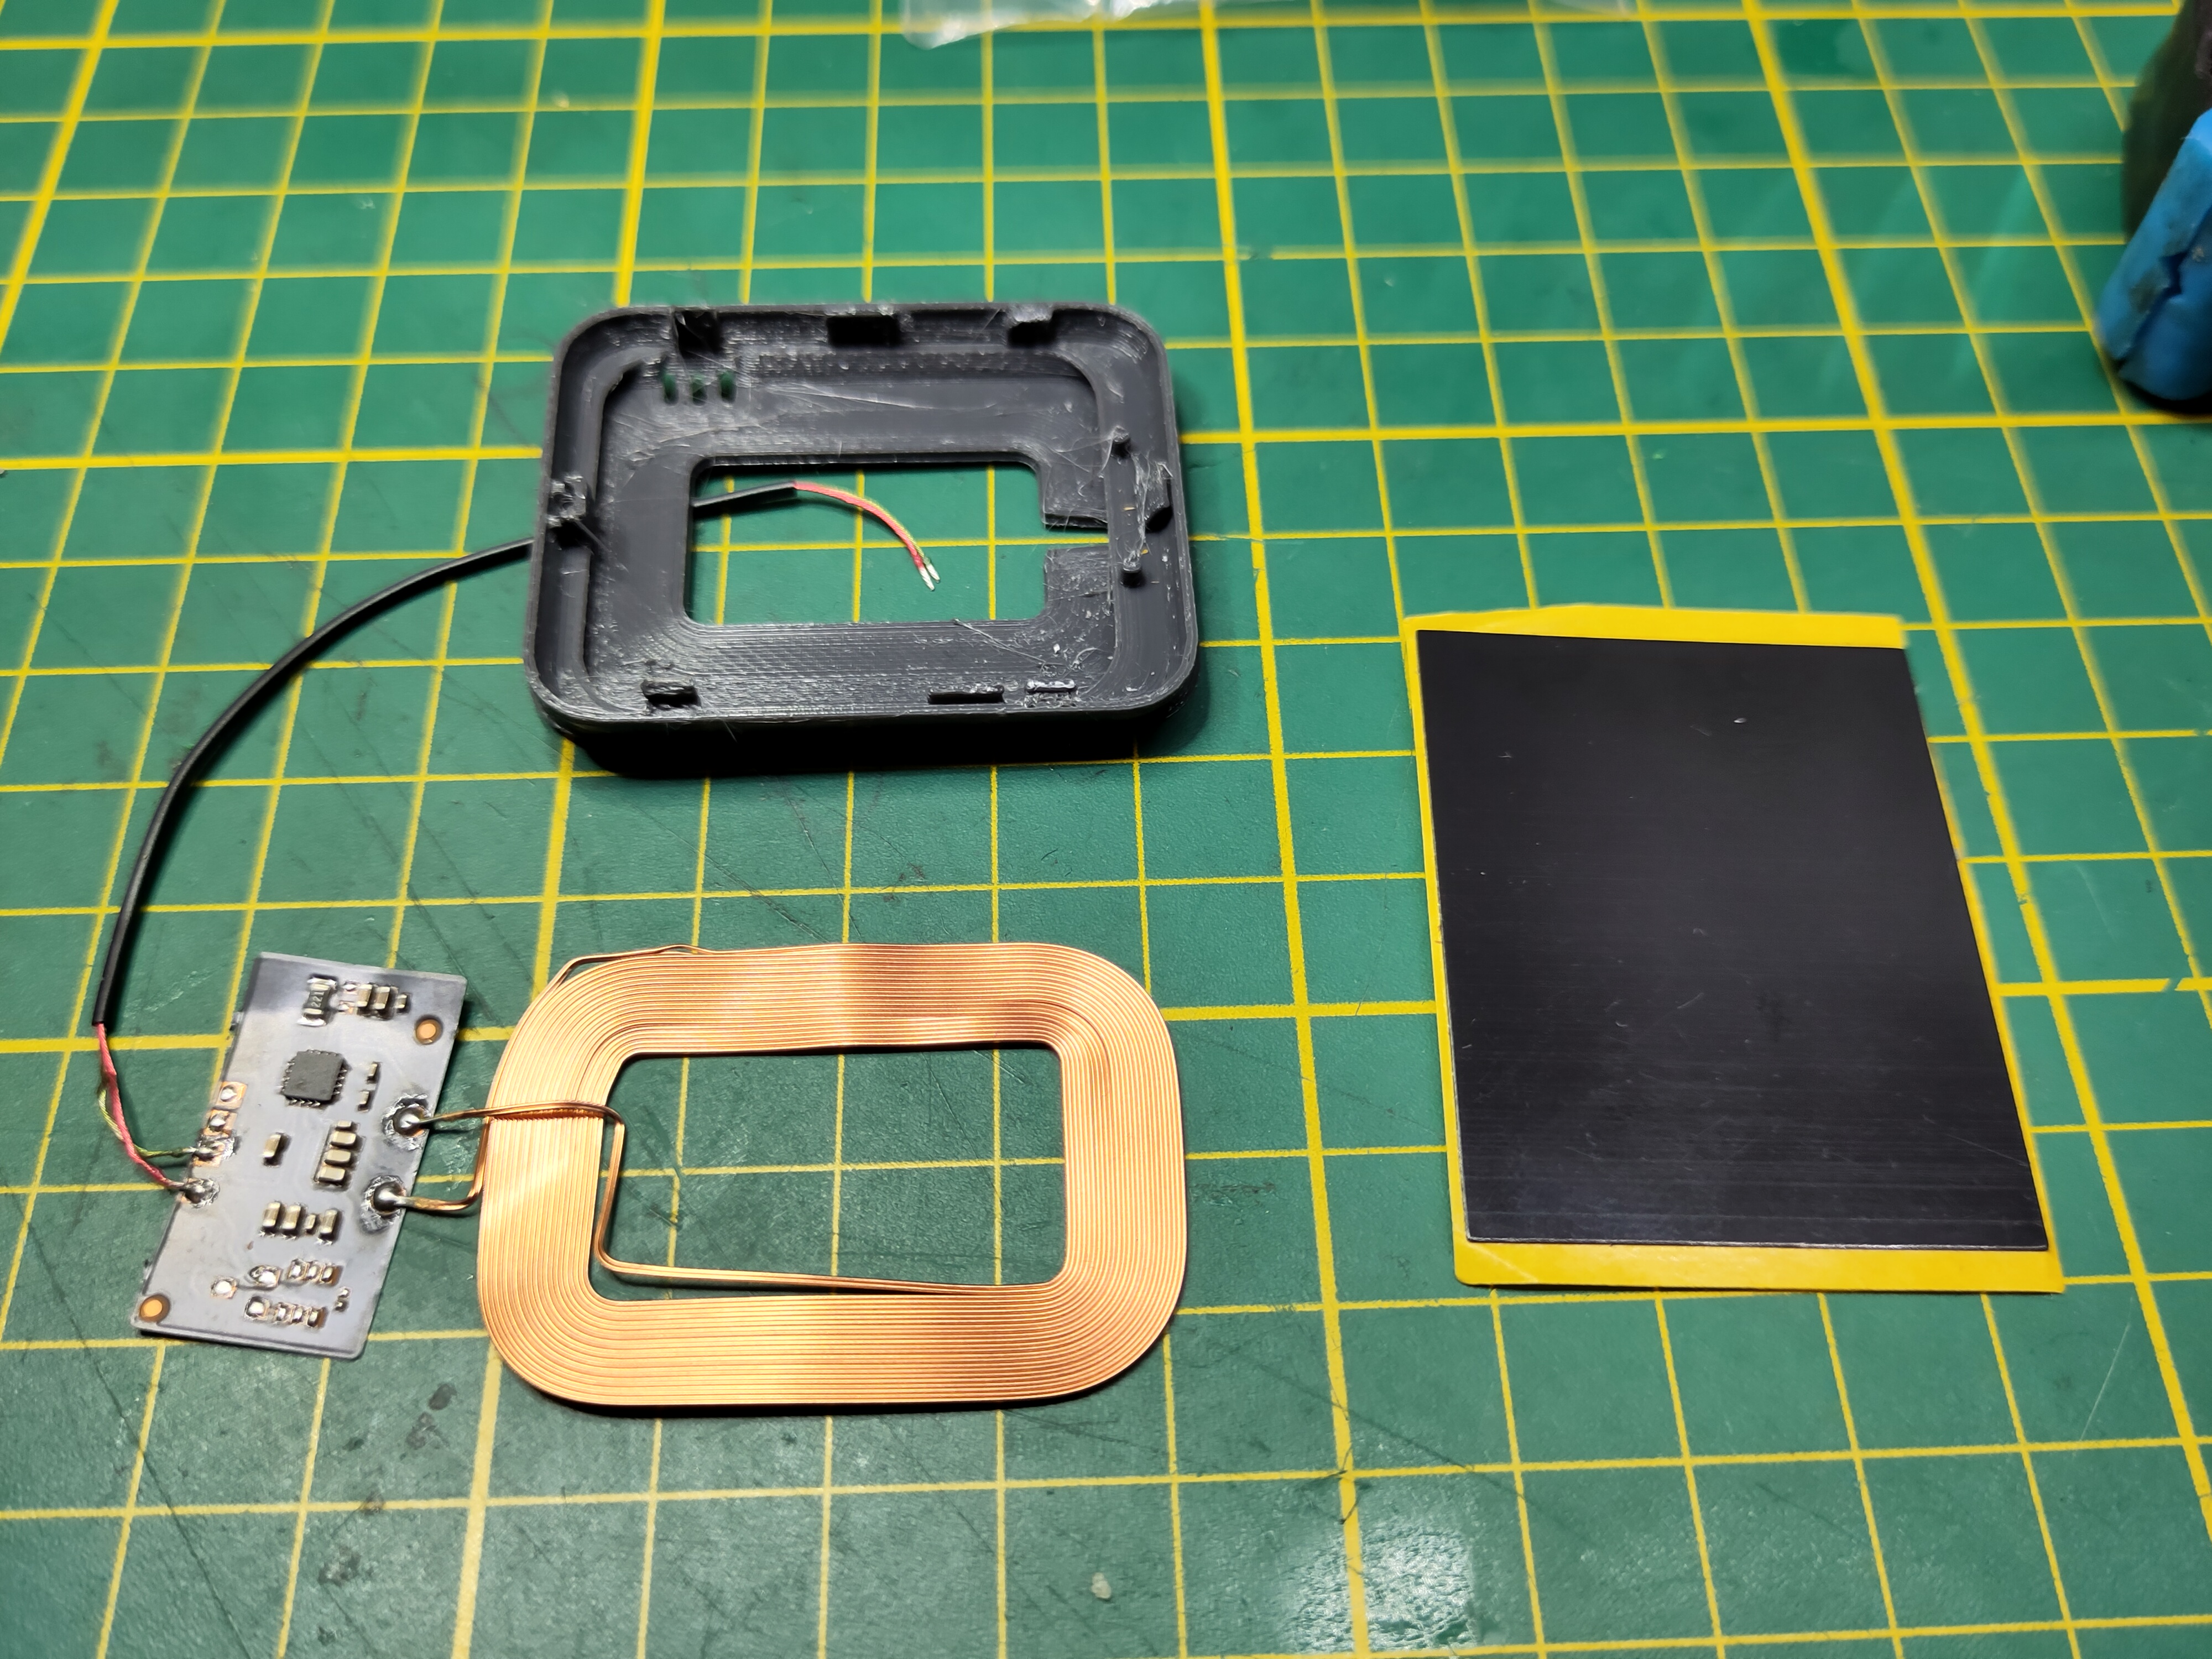
the coil is 42x32, slightly smaller than the T-Watch body, but bigger than the base of the standard case back. You also need t have the ferrite (magnetic) shield under it with some overlap. I routed the coil wires round the shield so that the pcb is above the coil center.
Thanks - unfortunately the upgraded part is like the ones I have (extracted from a vinyl wrap that makes up a cellphone adapter). they’re roughly rectangular whereas the one you have looks shorter, and square (or perhaps it’s bigger, and square).
I think I may better off trying to find the type that fit into Apple’s magnetic alignment frame but your link may still be useful to save me the trouble of removing the wrap in the short term.