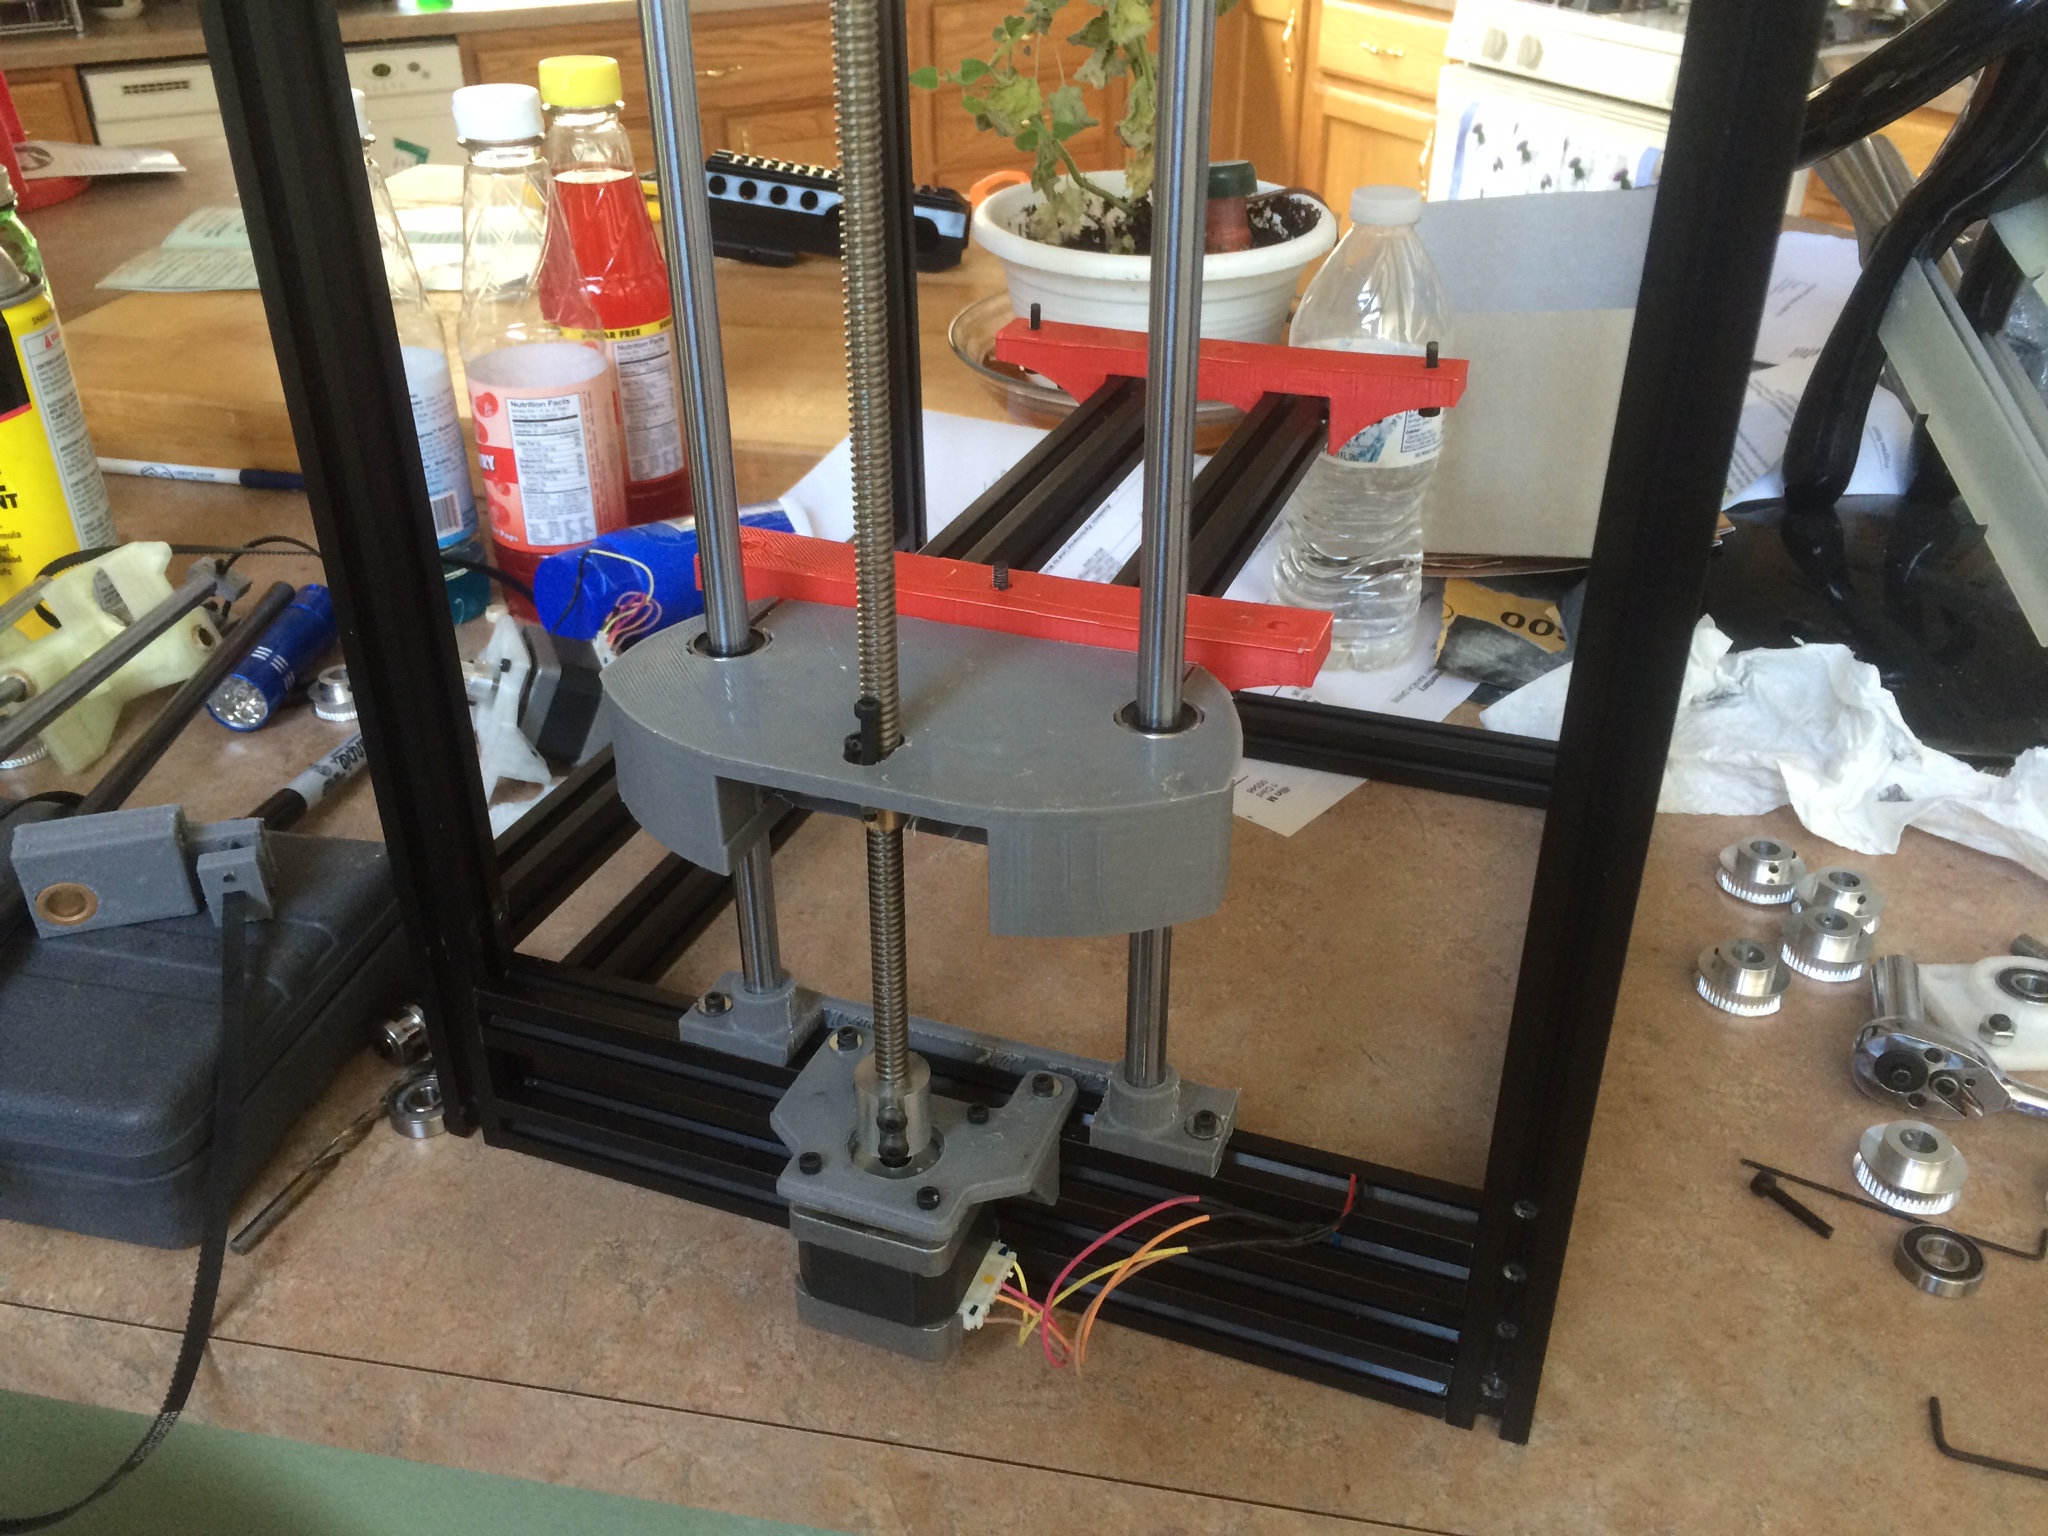
Z-stage installed. #ingentilere What’s not obvious about this printer’s design is the reuse of other parts. It’s using the motor mounts and carriage from @Eclsnowman , and the Rod holders are designed to use his motor mount for the Z-stage.
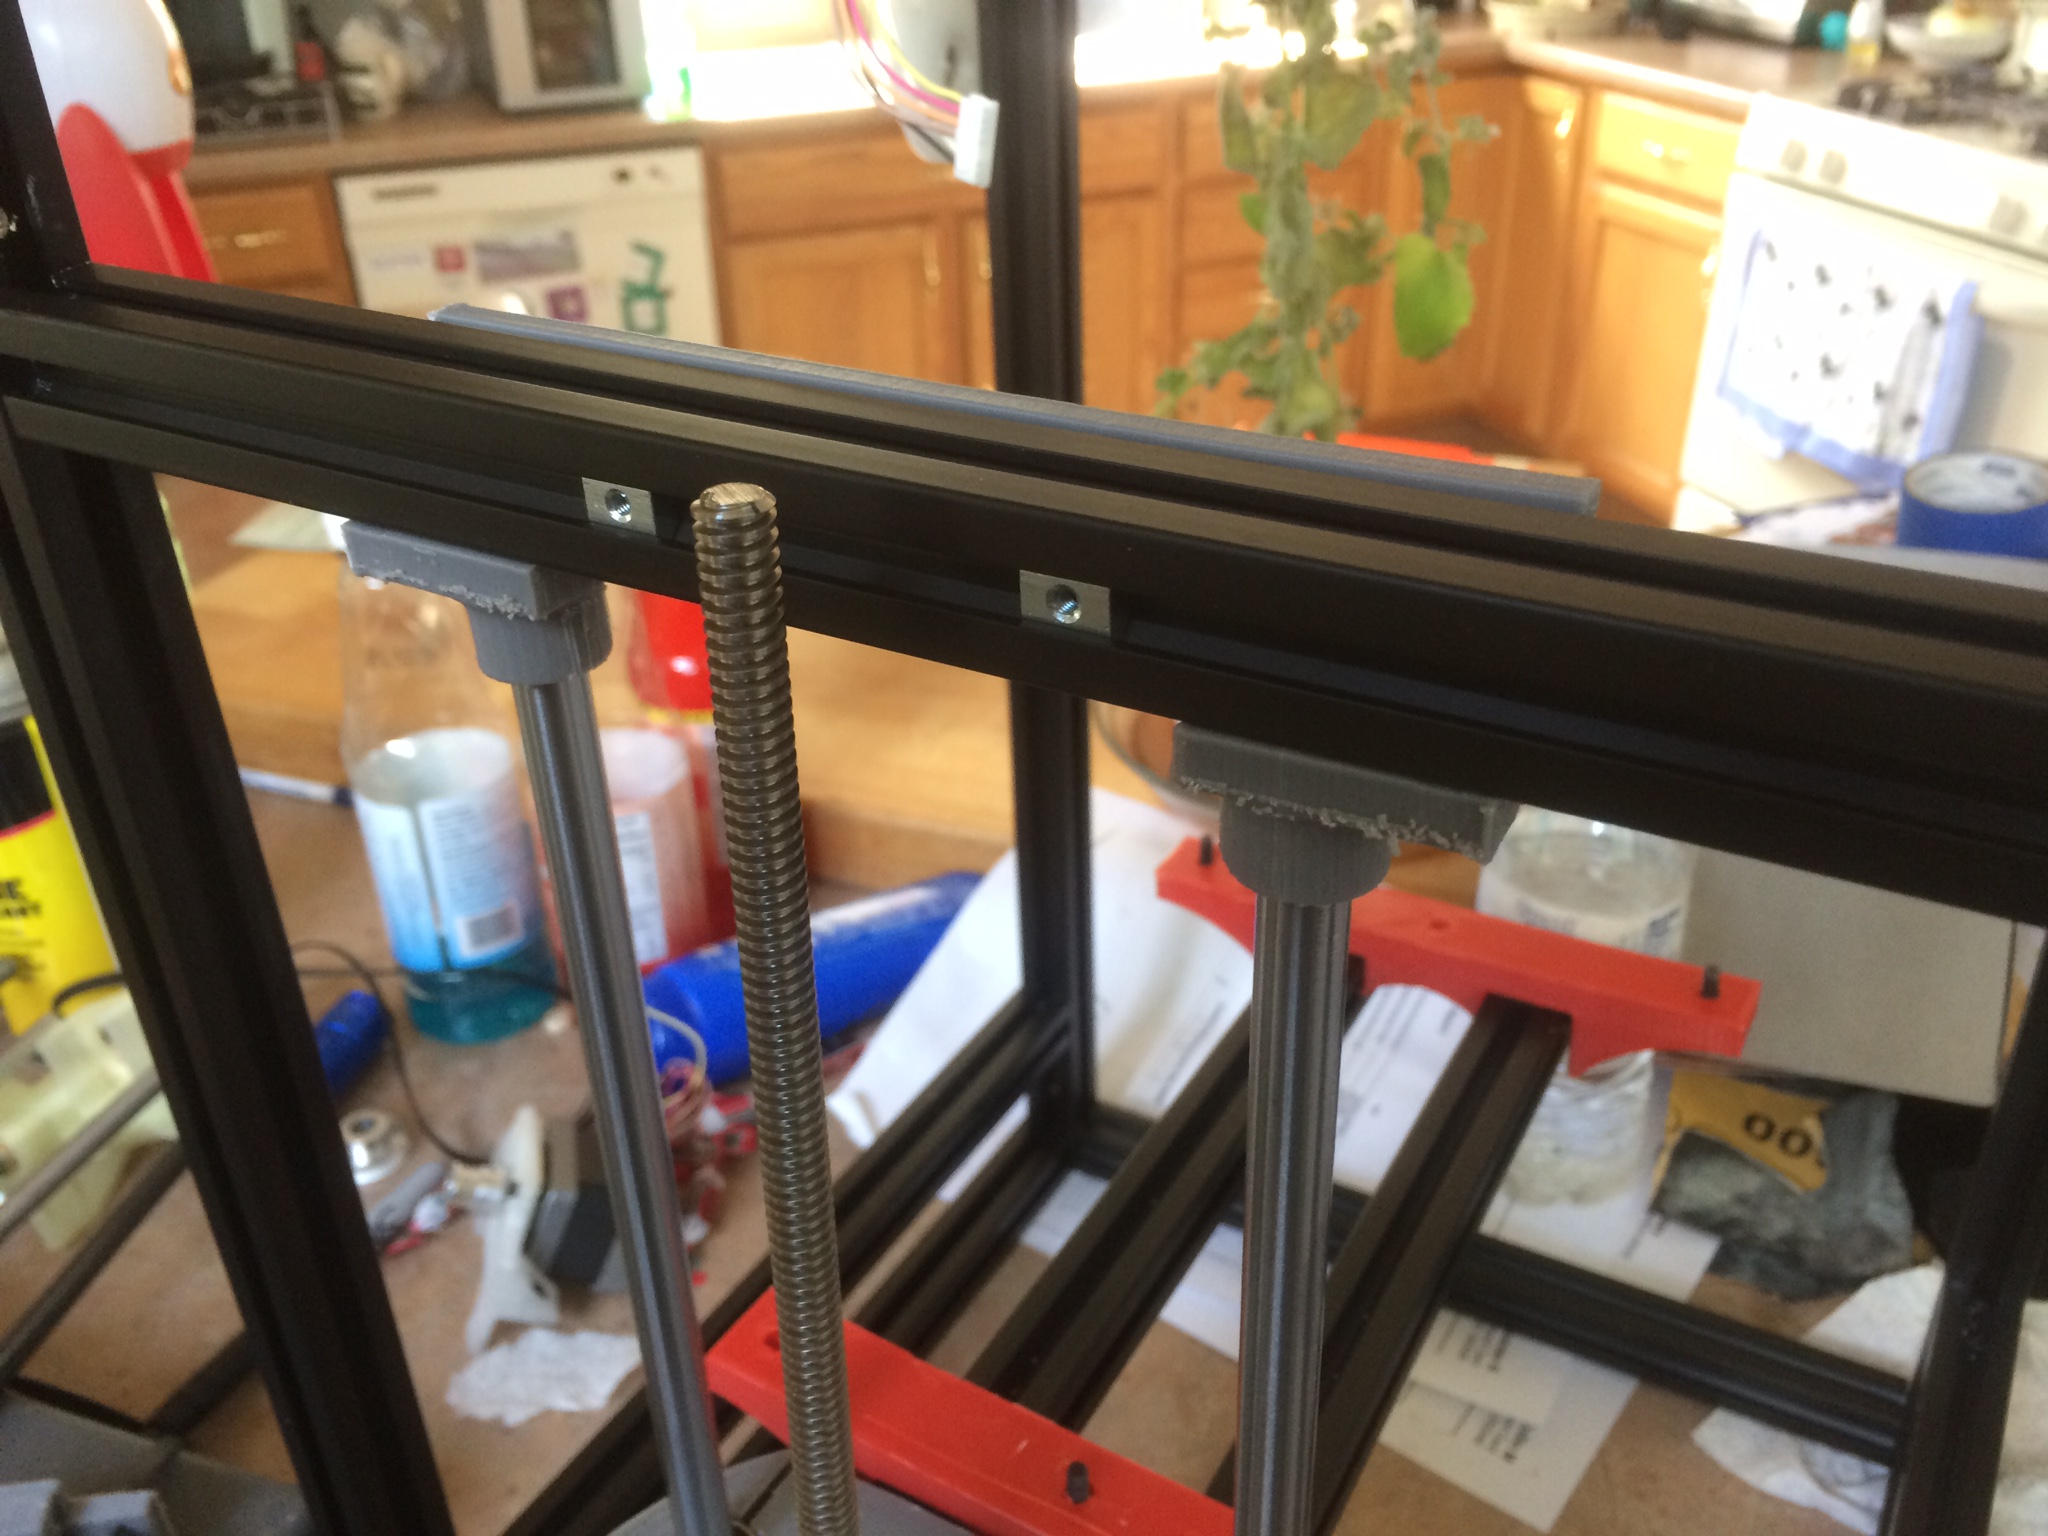
The frame is held together using Button Head Screws, the same screws are used to support the external shaft mounts (You’ve gotta wedge a screwdriver in while tightening the nuts to keep them from spinning.) but the shaft mounts are simple to print.
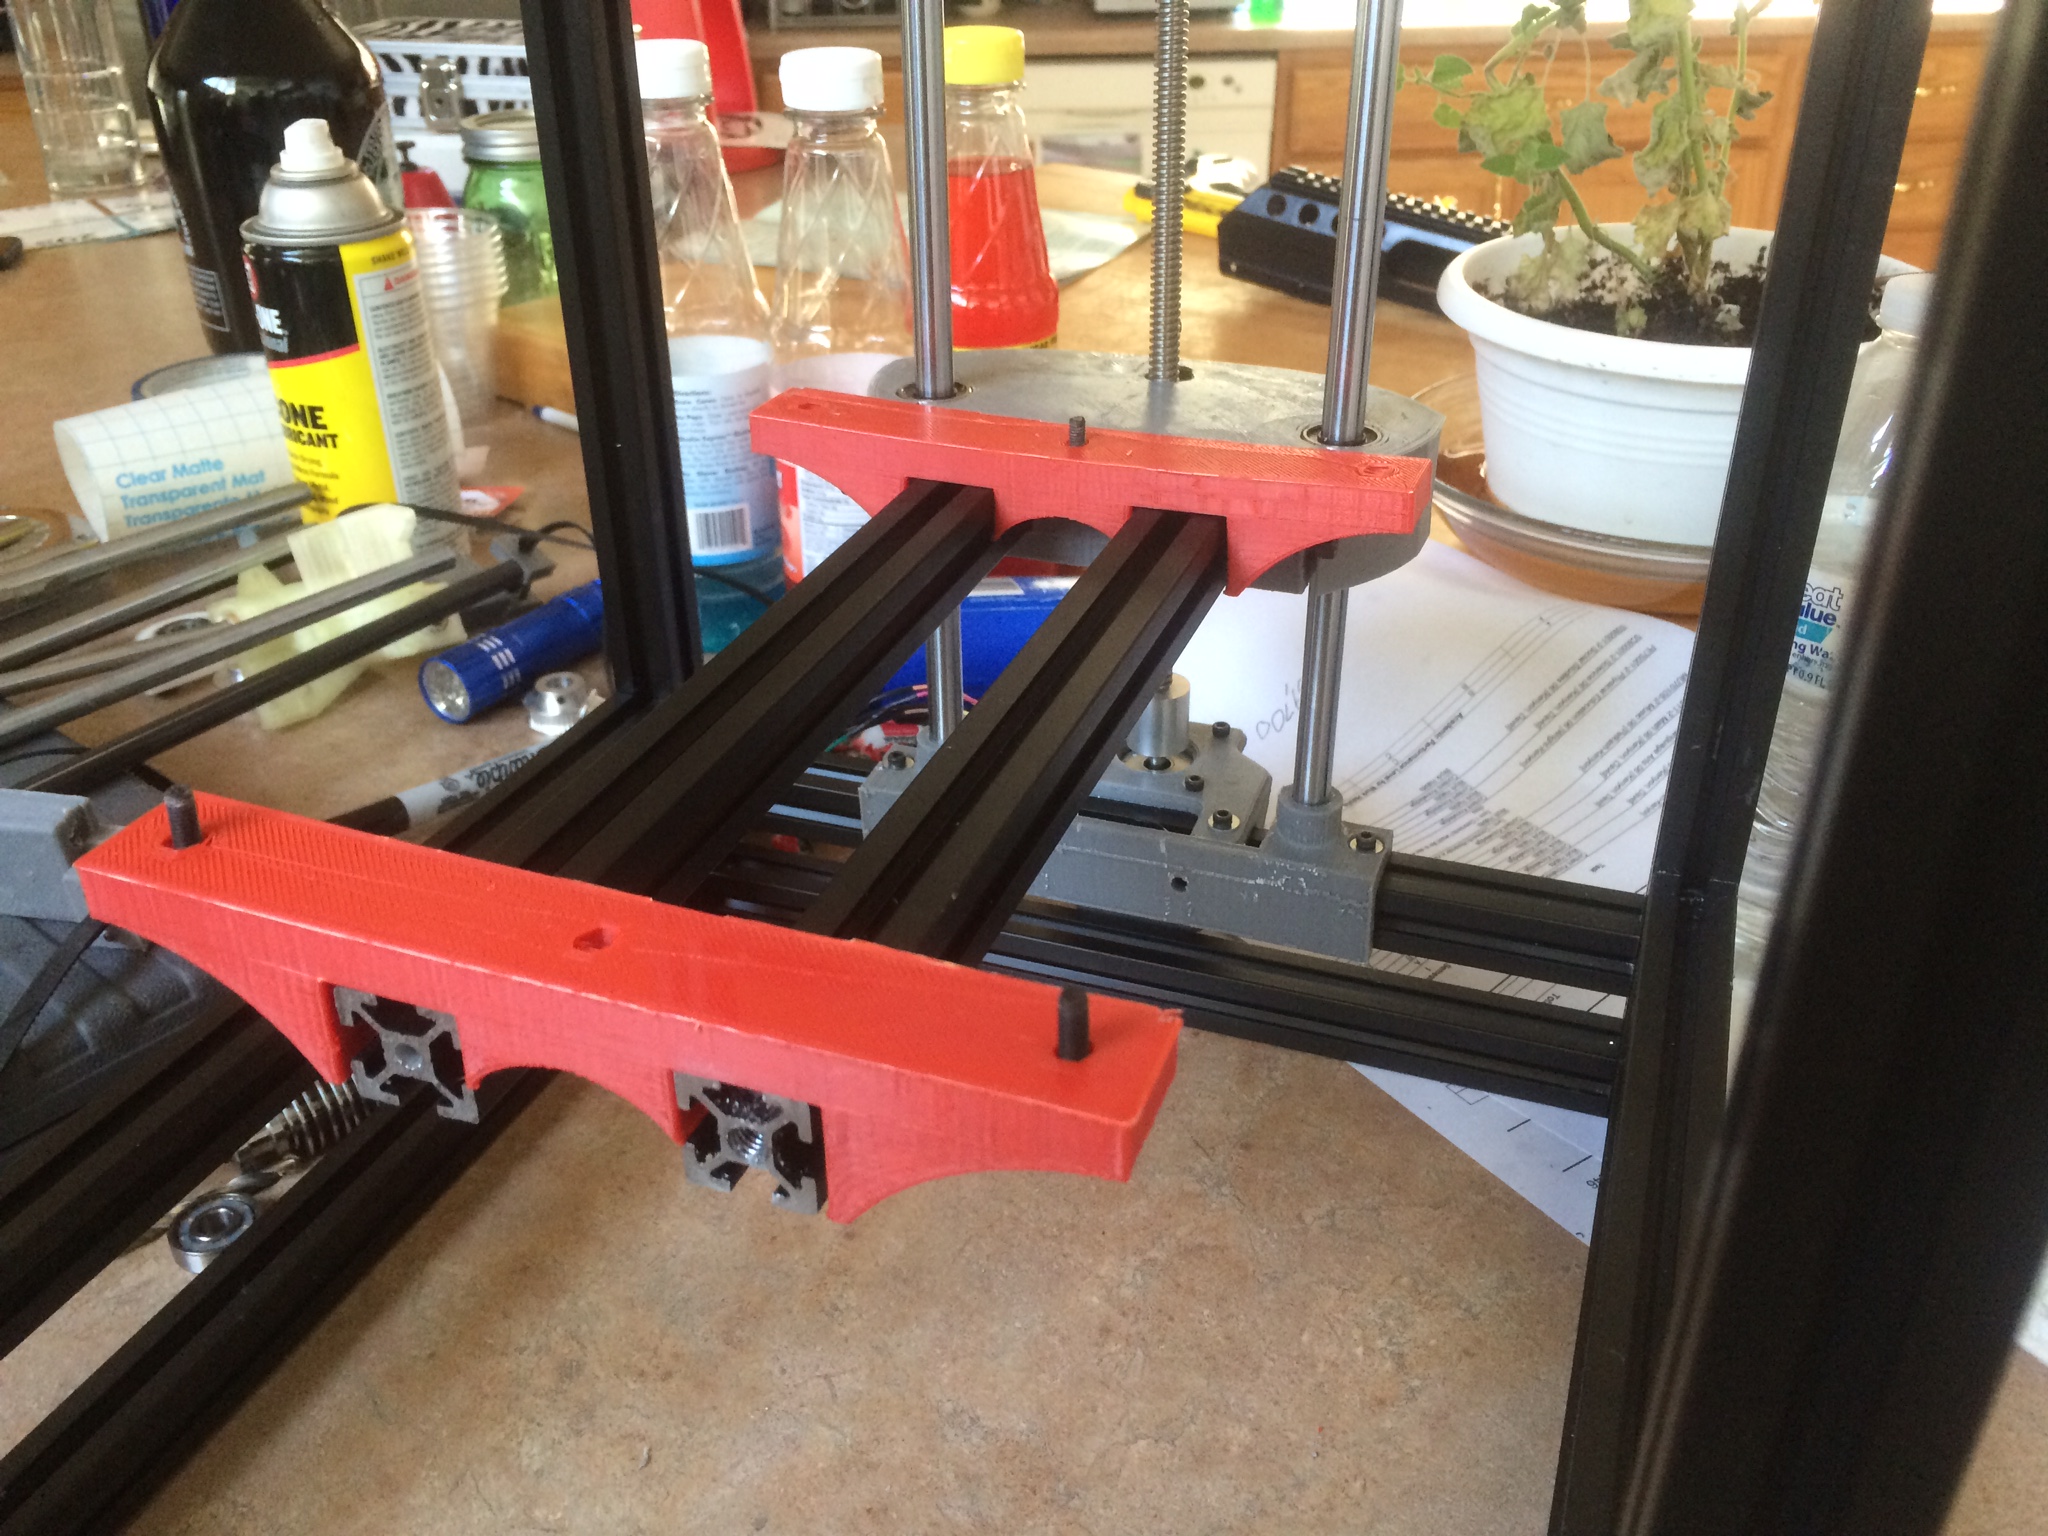
The Z stage consists of two Rod retainers, the Stage lift, and the bed supports. What isn’t obvious, is that it can be duplicated and mirrored for a larger printer with a heavier stage. The Rod retainers are on opposite sides of the extrusion so that the top has clearance for restraining the leadscrew if it needs it. (There’s a notch in the lift that will require some backlash adjustments in the firmware, but that’s done to decouple the leadscrew from the lift.
Currently there are 6 types of printed parts unique to this design. You calibrate your printer so that the parts are to your spec and you just tell it to go to town. 8 of one kind, 4 of another, two each of this and that part.
I’ve been hoping to keep oddball screw size count down, but these printers don’t really lend themselves to that. You’ve still gotta buy some t-nuts and a buncha hex-head screws. I also like the printer at this point as you can see the mechanism…adding the electronics just makes everything look yucky.