@donkjr not sure if the pwm is working correctly. In the test gcode i posted above I set the power level to s 0.2 and the laser runs about 12ma if I set it to s 0.3 it runs at 24ma. when I have the M2 nano board it would cut the 3mm mdf at 12 -13 ma now with the MKS at 24ma it almost makes it way through. @Paul_de_Groot the E2 pin is the laser fire pin the Fan pin is the pwm.
My config didnt upload Ill try again.
# Robot module configurations : general handling of movement G-codes and slicing into moves
default_feed_rate 8000 # Default rate ( mm/minute ) for G1/G2/G3 moves
default_seek_rate 8000 # Default rate ( mm/minute ) for G0 moves
mm_per_arc_segment 0.5 # Arcs are cut into segments ( lines ), this is the length for
# these segments. Smaller values mean more resolution,
# higher values mean faster computation
mm_per_line_segment 5 # Lines can be cut into segments ( not usefull with cartesian
# coordinates robots ).
# Arm solution configuration : Cartesian robot. Translates mm positions into stepper positions
alpha_steps_per_mm 158.2 # Steps per mm for alpha stepper
beta_steps_per_mm 158.2 # Steps per mm for beta stepper
#gamma_steps_per_mm 400 # Steps per mm for gamma stepper
# Planner module configuration : Look-ahead and acceleration configuration
planner_queue_size 32 # DO NOT CHANGE THIS UNLESS YOU KNOW EXACTLY WHAT YOU ARE DOING
acceleration 300 # Acceleration in mm/second/second.
#z_acceleration 60 # Acceleration for Z only moves in mm/s^2, 0 uses acceleration which is the default. DO NOT SET ON A DELTA
acceleration_ticks_per_second 1000 # Number of times per second the speed is updated
junction_deviation 0.05 # Similar to the old "max_jerk", in millimeters,
# see https://github.com/grbl/grbl/blob/master/planner.c
# and https://github.com/grbl/grbl/wiki/Configuring-Grbl-v0.8
# Lower values mean being more careful, higher values means being
# faster and have more jerk
#z_junction_deviation 0.0 # for Z only moves, -1 uses junction_deviation, zero disables junction_deviation on z moves DO NOT SET ON A DELTA
#minimum_planner_speed 0.0 # sets the minimum planner speed in mm/sec
# Stepper module configuration
microseconds_per_step_pulse 1 # Duration of step pulses to stepper drivers, in microseconds
base_stepping_frequency 100000 # Base frequency for stepping, higher gives smoother movement
# Cartesian axis speed limits
x_axis_max_speed 30000 # mm/min
y_axis_max_speed 30000 # mm/min
#z_axis_max_speed 200 # mm/min
# Stepper module pins ( ports, and pin numbers, appending "!" to the number will invert a pin )
alpha_step_pin 2.0 # Pin for alpha stepper step signal
alpha_dir_pin 0.5 # Pin for alpha stepper direction
alpha_en_pin 0.4 # Pin for alpha enable pin
alpha_current 0.8 # X stepper motor current
alpha_max_rate 10000.0 # mm/min
beta_step_pin 2.1 # Pin for beta stepper step signal
beta_dir_pin 0.11 # Pin for beta stepper direction
beta_en_pin 0.10 # Pin for beta enable
beta_current 1.2 # Y stepper motor current
beta_max_rate 10000.0 # mm/min
gamma_step_pin 2.2 # Pin for gamma stepper step signal
gamma_dir_pin 0.20! # Pin for gamma stepper direction
gamma_en_pin 0.19 # Pin for gamma enable
gamma_current 1.5 # Z stepper motor current
gamma_max_rate 100.0 # mm/min
# Serial communications configuration ( baud rate default to 9600 if undefined )
uart0.baud_rate 115200 # Baud rate for the default hardware serial port
second_usb_serial_enable true # This enables a second usb serial port (to have both pronterface
# and a terminal connected)
#leds_disable true # disable using leds after config loaded
#play_led_disable true # disable the play led
pause_button_enable true # Pause button enable
#pause_button_pin 2.12 # pause button pin. default is P2.12
#kill_button_enable false # set to true to enable a kill button
#kill_button_pin 2.12 # kill button pin. default is same as pause button 2.12 (2.11 is another good choice)
#msd_disable false # disable the MSD (USB SDCARD) when set to true (needs special binary)
#dfu_enable false # for linux developers, set to true to enable DFU
# Extruder module configuration
extruder.hotend.enable false # Whether to activate the extruder module at all. All configuration is ignored if false
# Second extruder module configuration
#extruder.hotend2.enable false # Whether to activate the extruder module at all. All configuration is ignored if false
# Laser module configuration
laser_module_enable true # Whether to activate the laser module at all. All configuration is
# ignored if false.
laser_module_pin 2.4! # this pin will be PWMed to control the laser. Only P2.0 - P2.5, P1.18, P1.20, P1.21, P1.23, P1.24, P1.26, P3.25, P3.26
# can be used since laser requires hardware PWM
laser_module_max_power 0.8 # this is the maximum duty cycle that will be applied to the laser
laser_module_minimum_power 0.1
laser_module_tickle_power 0.1 # this duty cycle will be used for travel moves to keep the laser
laser_module_default_power 0.1 # active without actually burning
laser_module_pwm_period 200 # this sets the pwm frequency as the period in microseconds
switch.laserfire.enable true #
switch.laserfire.output_pin 2.6v # connect to laser PSU fire (^ = active HIGH, v active LOW)
switch.laserfire.output_type digital #
switch.laserfire.input_on_command M3 # fire laser
switch.laserfire.input_off_command M5 # laser off
# Hotend temperature control configuration
temperature_control.hotend.enable false # Whether to activate this ( "hotend" ) module at all.
# All configuration is ignored if false.
# Hotend2 temperature control configuration
temperature_control.hotend2.enable false # Whether to activate this ( "hotend" ) module at all.
temperature_control.bed.enable false #All configuration is ignored if false.
# Switch module for fan control
switch.fan.enable true #
switch.fan.input_on_command M106 #
switch.fan.input_off_command M107 #
#switch.fan.output_pin 2.4 #
switch.fan.output_type pwm # pwm output settable with S parameter in the input_on_comand
#switch.fan.max_pwm 255 # set max pwm for the pin default is 255
#switch.misc.enable true #
#switch.misc.input_on_command M42 #
#switch.misc.input_off_command M43 #
#switch.misc.output_pin 2.4 #
#switch.misc.output_type digital # just an on or off pin
# Switch module for spindle control
#switch.spindle.enable false #
# Endstops
endstops_enable true # the endstop module is enabled by default and can be disabled here
#corexy_homing false # set to true if homing on a hbit or corexy
alpha_min_endstop 1.24^ # add a ! to invert if endstop is NO connected to ground
alpha_max_endstop nc # NOTE set to nc if this is not installed
alpha_homing_direction home_to_min # or set to home_to_max and set alpha_max
alpha_min 0 # this gets loaded after homing when home_to_min is set
alpha_max 250 # this gets loaded after homing when home_to_max is set
beta_min_endstop 1.26^ #
beta_max_endstop nc #
beta_homing_direction home_to_min #
beta_min 0 #
beta_max 250 #
# optional order in which axis will home, default is they all home at the same time,
# if this is set it will force each axis to home one at a time in the specified order
homing_order XYZ # x axis followed by y then z last
# optional enable limit switches, actions will stop if any enabled limit switch is triggered
alpha_limit_enable true # set to true to enable X min and max limit switches
beta_limit_enable true # set to true to enable Y min and max limit switches
#gamma_limit_enable false # set to true to enable Z min and max limit switches
alpha_fast_homing_rate_mm_s 50 # feedrates in mm/second
beta_fast_homing_rate_mm_s 50 # "
gamma_fast_homing_rate_mm_s 4 # "
alpha_slow_homing_rate_mm_s 25 # "
beta_slow_homing_rate_mm_s 25 # "
gamma_slow_homing_rate_mm_s 2 # "
alpha_homing_retract_mm 5 # distance in mm
beta_homing_retract_mm 5 # "
gamma_homing_retract_mm 1 # "
#endstop_debounce_count 100 # uncomment if you get noise on your endstops, default is 100
# optional Z probe
zprobe.enable false # set to true to enable a zprobe
# Panel
panel.enable true # set to true to enable the panel code
#panel.lcd smoothiepanel # set type of panel
#panel.encoder_a_pin 3.25!^ # encoder pin
#panel.encoder_b_pin 3.26!^ # encoder pin
# Example for reprap discount GLCD
# on glcd EXP1 is to left and EXP2 is to right, pin 1 is bottom left, pin 2 is top left etc.
# +5v is EXP1 pin 10, Gnd is EXP1 pin 9
panel.lcd reprap_discount_glcd #
panel.spi_channel 0 # spi channel to use ; GLCD EXP1 Pins 3,5 (MOSI, SCLK)
panel.spi_cs_pin 0.16 # spi chip select ; GLCD EXP1 Pin 4
panel.encoder_a_pin 3.25!^ # encoder pin ; GLCD EXP2 Pin 3
panel.encoder_b_pin 3.26!^ # encoder pin ; GLCD EXP2 Pin 5
panel.click_button_pin 1.30!^ # click button ; GLCD EXP1 Pin 2
panel.buzz_pin 1.31 # pin for buzzer ; GLCD EXP1 Pin 1
panel.back_button_pin 2.11!^ # back button ; GLCD EXP2 Pin 8
panel.external_sd true # set to true if there is an extrernal sdcard on the panel
panel.external_sd.spi_channel 1 # set spi channel the sdcard is on
panel.external_sd.spi_cs_pin 0.28 # set spi chip select for the sdcard (or any spare pin)
panel.external_sd.sdcd_pin 0.27!^ # sd detect signal (set to nc if no sdcard detect) (or any spare pin)
# pins used with other panels
#panel.up_button_pin 0.1! # up button if used
#panel.down_button_pin 0.0! # down button if used
#panel.click_button_pin 0.18! # click button if used
panel.menu_offset 0 # some panels will need 1 here
panel.alpha_jog_feedrate 6000 # x jogging feedrate in mm/min
panel.beta_jog_feedrate 6000 # y jogging feedrate in mm/min
panel.gamma_jog_feedrate 200 # z jogging feedrate in mm/min
panel.hotend_temperature 185 # temp to set hotend when preheat is selected
panel.bed_temperature 60 # temp to set bed when preheat is selected
# Example of a custom menu entry, which will show up in the Custom entry.
# NOTE _ gets converted to space in the menu and commands, | is used to separate multiple commands
custom_menu.power_on.enable true #
http://custom_menu.power_on.name Power_on #
custom_menu.power_on.command M80 #
custom_menu.power_off.enable true #
http://custom_menu.power_off.name Power_off #
custom_menu.power_off.command M81 #
# Only needed on a smoothieboard
currentcontrol_module_enable true #
return_error_on_unhandled_gcode false #
# network settings
network.enable true # enable the ethernet network services
network.webserver.enable true # enable the webserver
network.telnet.enable true # enable the telnet server
#network.ip_address auto # use dhcp to get ip address
# uncomment the 3 below to manually setup ip address
#network.ip_address 192.168.3.221 # the IP address
#network.ip_mask 255.255.255.0 # the ip mask
#network.ip_gateway 192.168.3.1 # the gateway address
#network.mac_override xx.xx.xx.xx.xx.xx # override the mac address, only do this if you have a conflict
@donkjr From you website I believe that I should be able to use the L wire on the Low Power connector connected to 2.4 (fan neg terminal) and pwm that for laser power ?
I think im getting somewhere with 2.4 connected to L. Laser turns on and off as expected but the power level is always the same no mater what is specified in the gcode around 8ma.
@Ben_Myers do you have a pot on your lps? Try adjusting it.
Btw the actual power is the pots pwm DF * the S pwm DF.
so the actual amps shown are not correct on the analog meter?
@Ben_Myers the ma on the analog meter are correct. The controllers control of current is what I am referring to. The pot can override the PWM control of from the controller.
Turn the pot to its lowest setting and increase it while printing and see if you can go from light to dark, lower current to higher current.
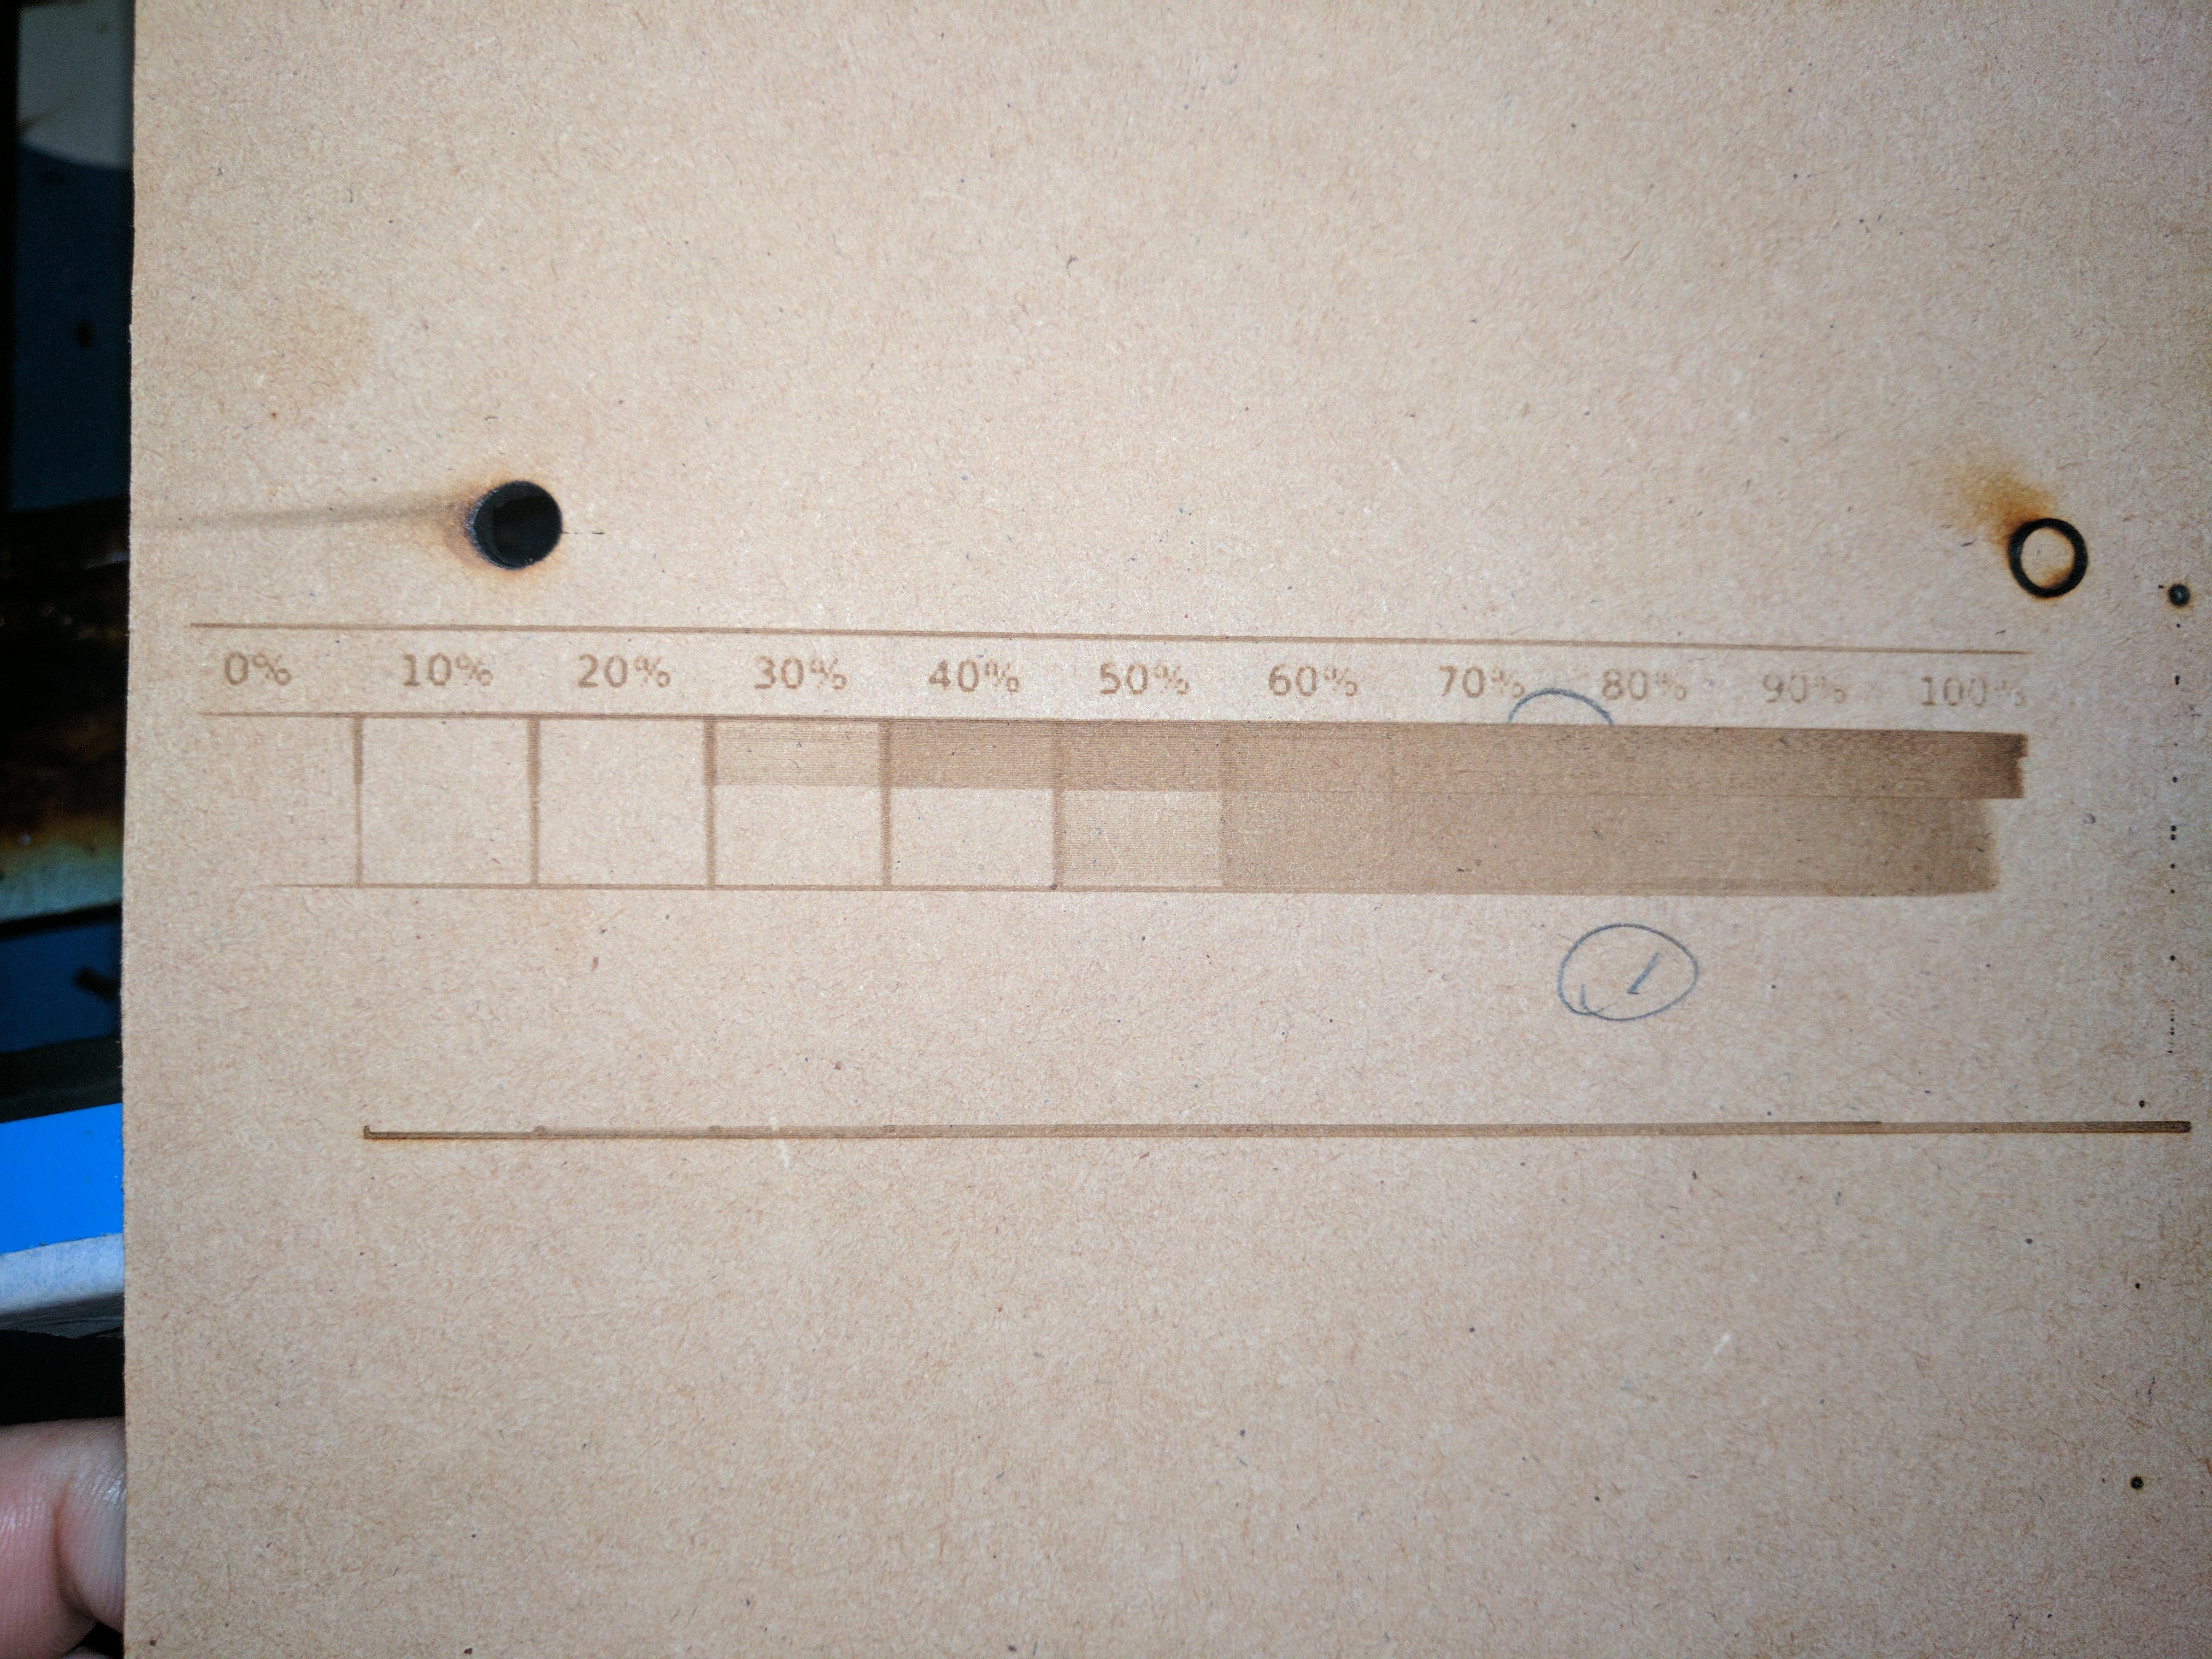
This might be better done by marking a solid fill or grey shade pattern.
Once we get your power under program control we can find out why cutting is not as expected.
All indications are that your PWM is working just not showing it in the print.
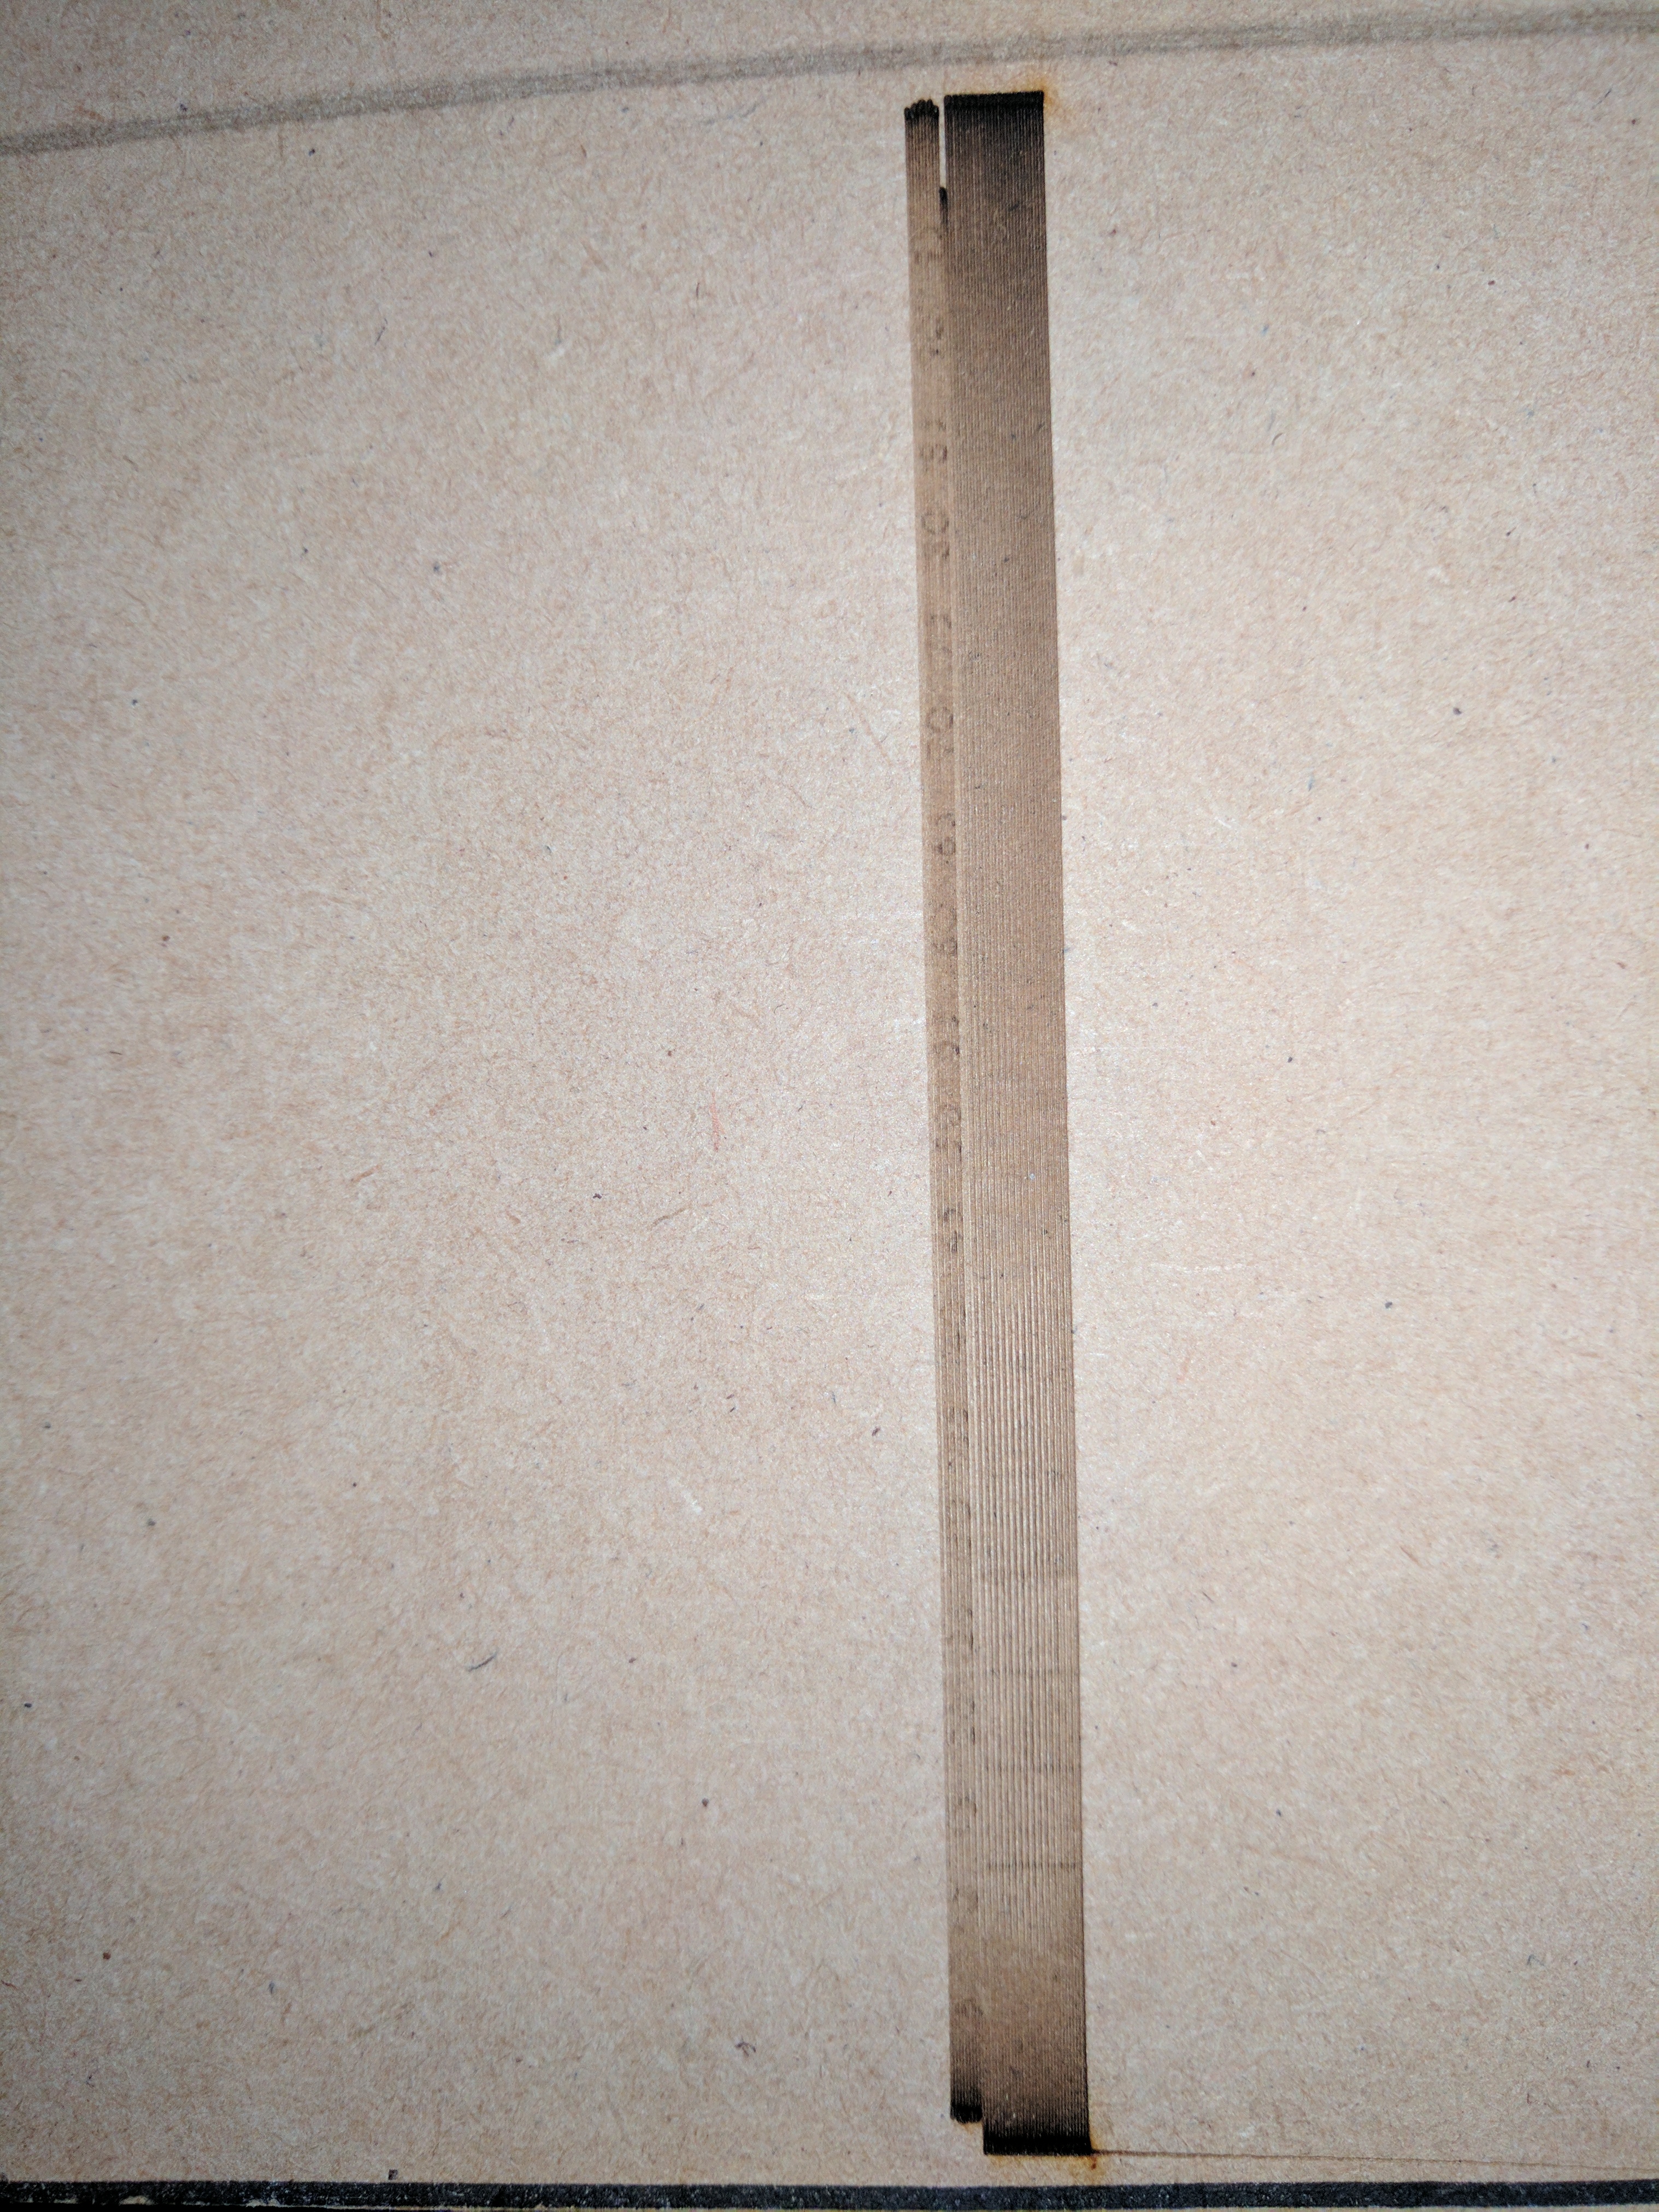
I do have a oscilloscope if it helps. So i am going to engrave a solid black rectangle and slowly turn up the pot.
Ok I have pwm working (somewhat) I have changed laser_module_pwm_period from 20 to 200. when it is set to 20 the power option doesn’t really make a difference when it is set to 200 it definitely makes a difference. Using the same speed and ma as when I had the M2 nano board it doesnt cut all the way through 3mm mdf as it did with the old board. Any ideas?

will keep trying this pattern at different settings
btw I donated to your paypal without you and several other guys, no one would be able to do this… Many thanks.
@donkjr Just thanking you for all your hard work you do for this community and helping me with an unsupported board. I really appreciate it.
1 Like