The Touch-inator and the spine of the sheath were cut from 1/4" plywood. The sheath sides were cut from 1/8" plywood. Prior to cutting, circles were etched deep enough to embed the magnets in the Touch-inator and one side of the sheath.
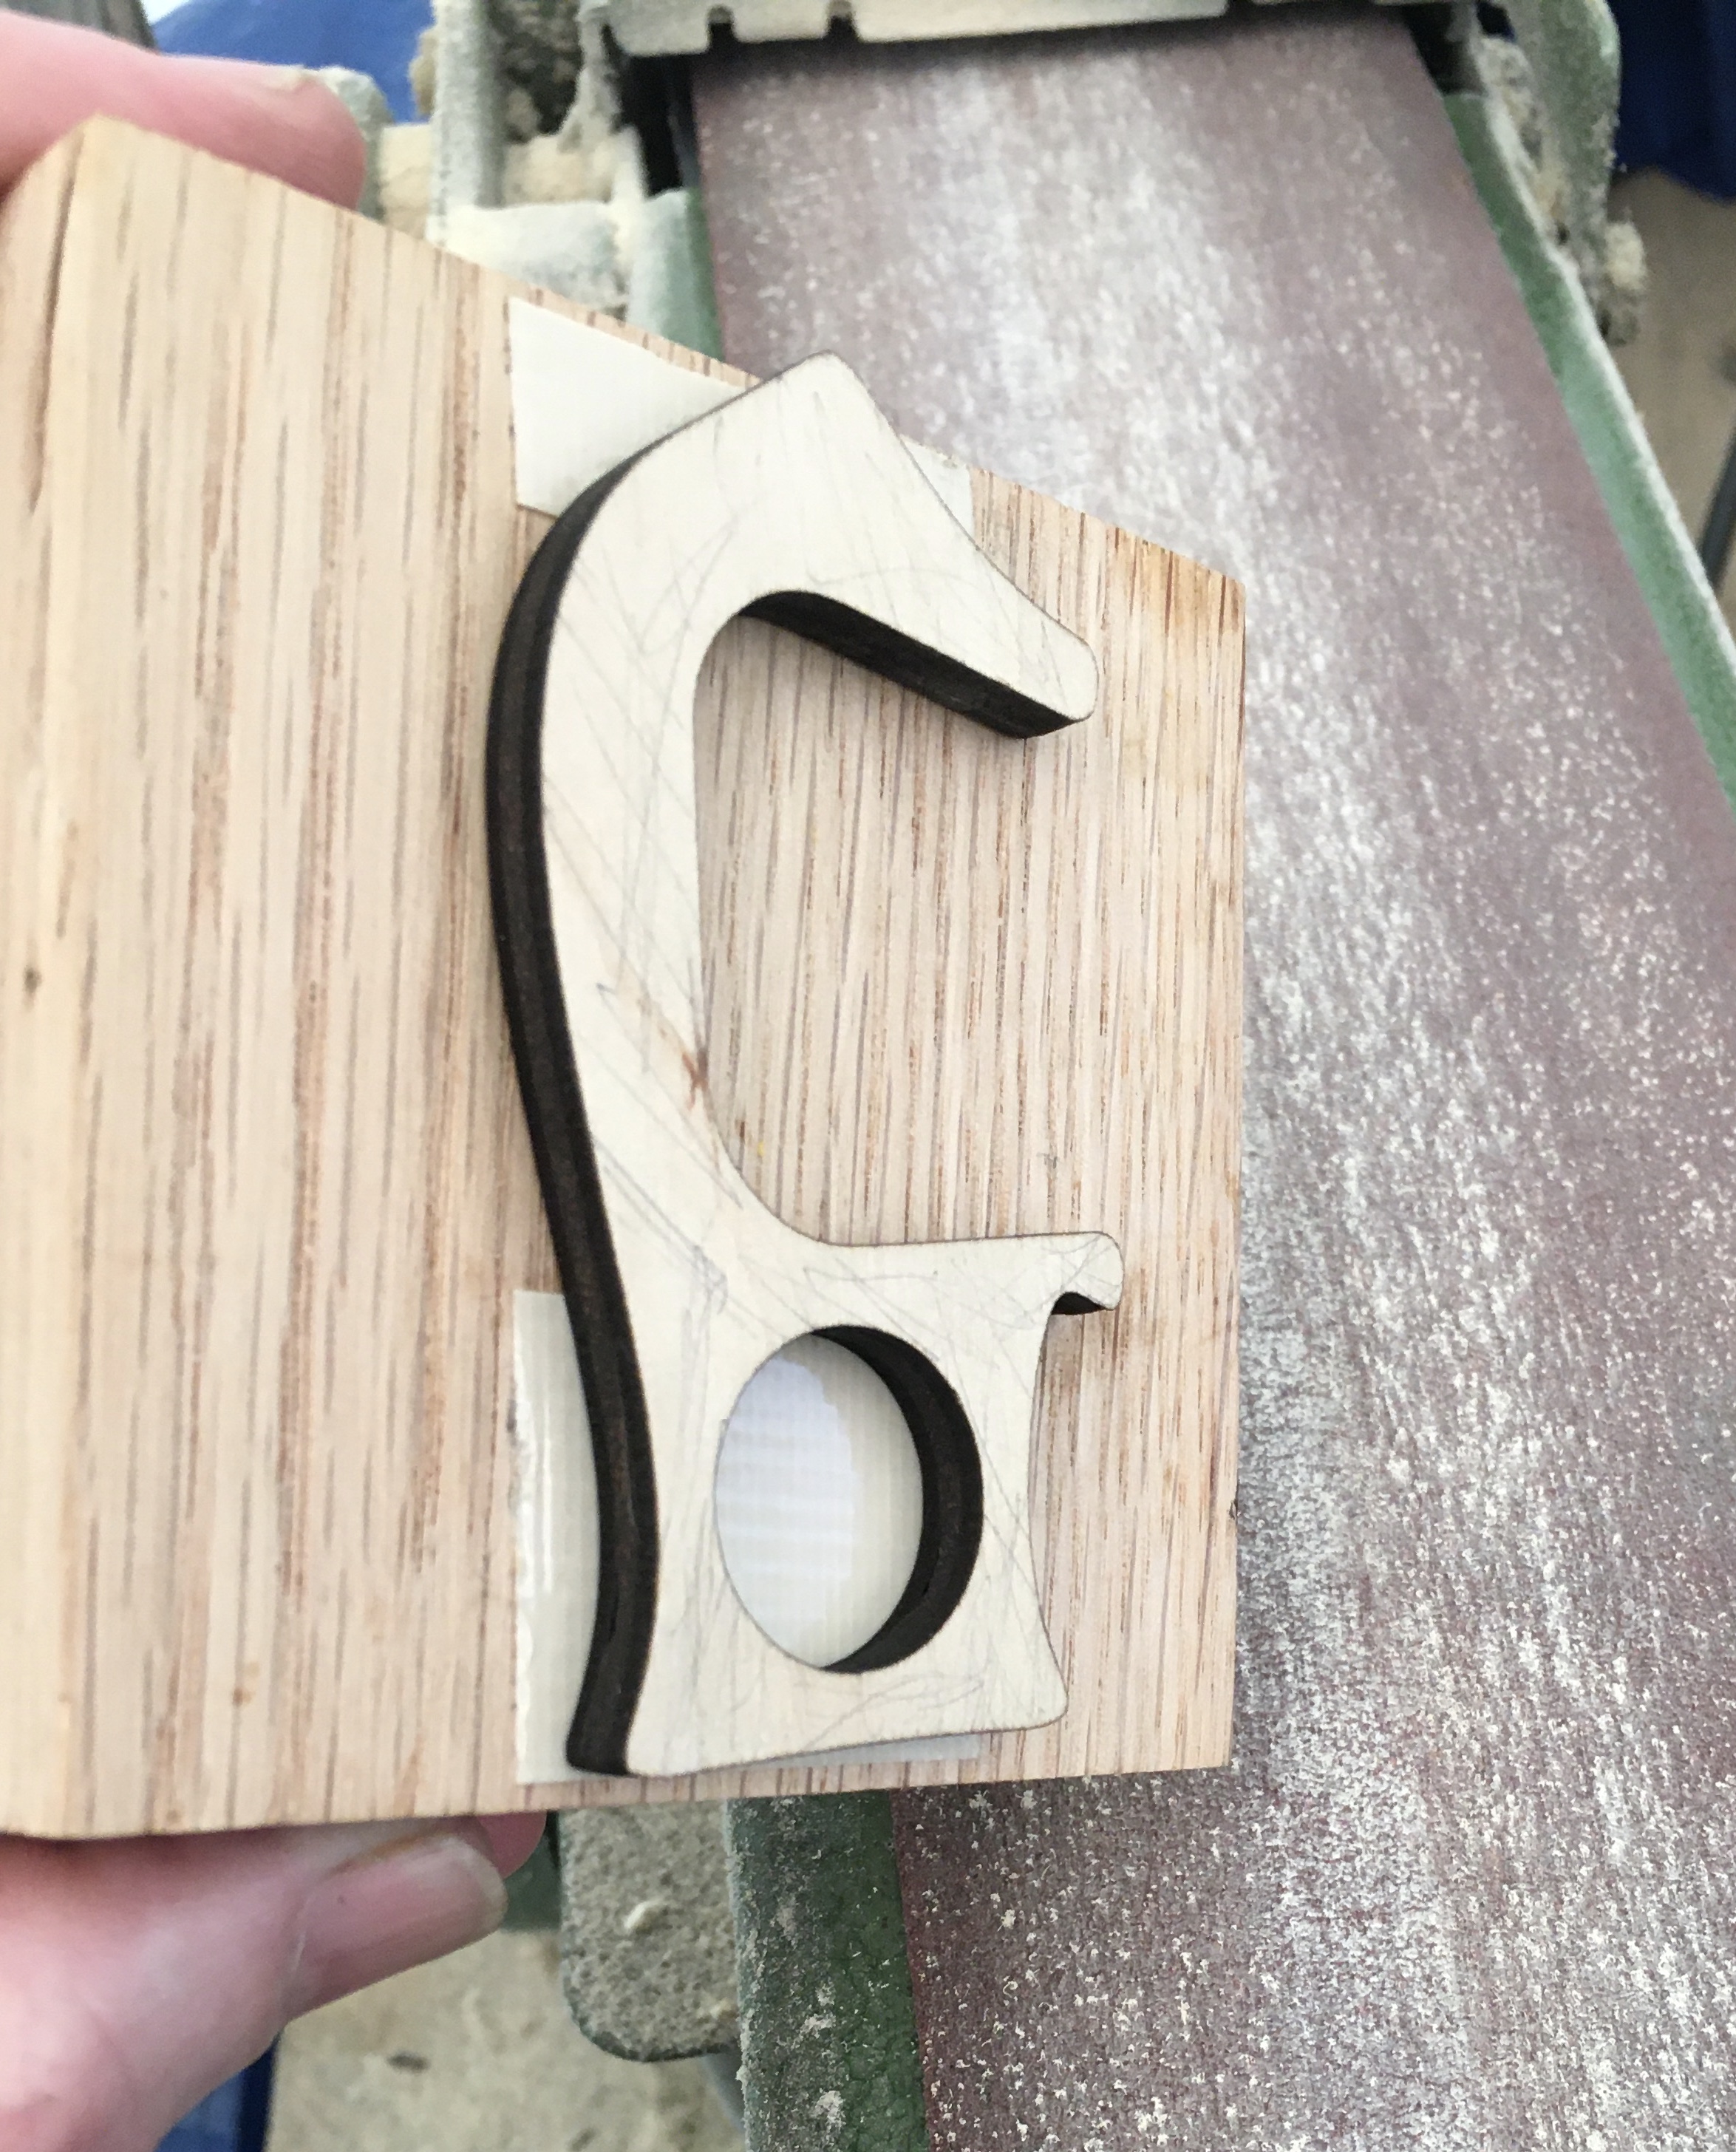
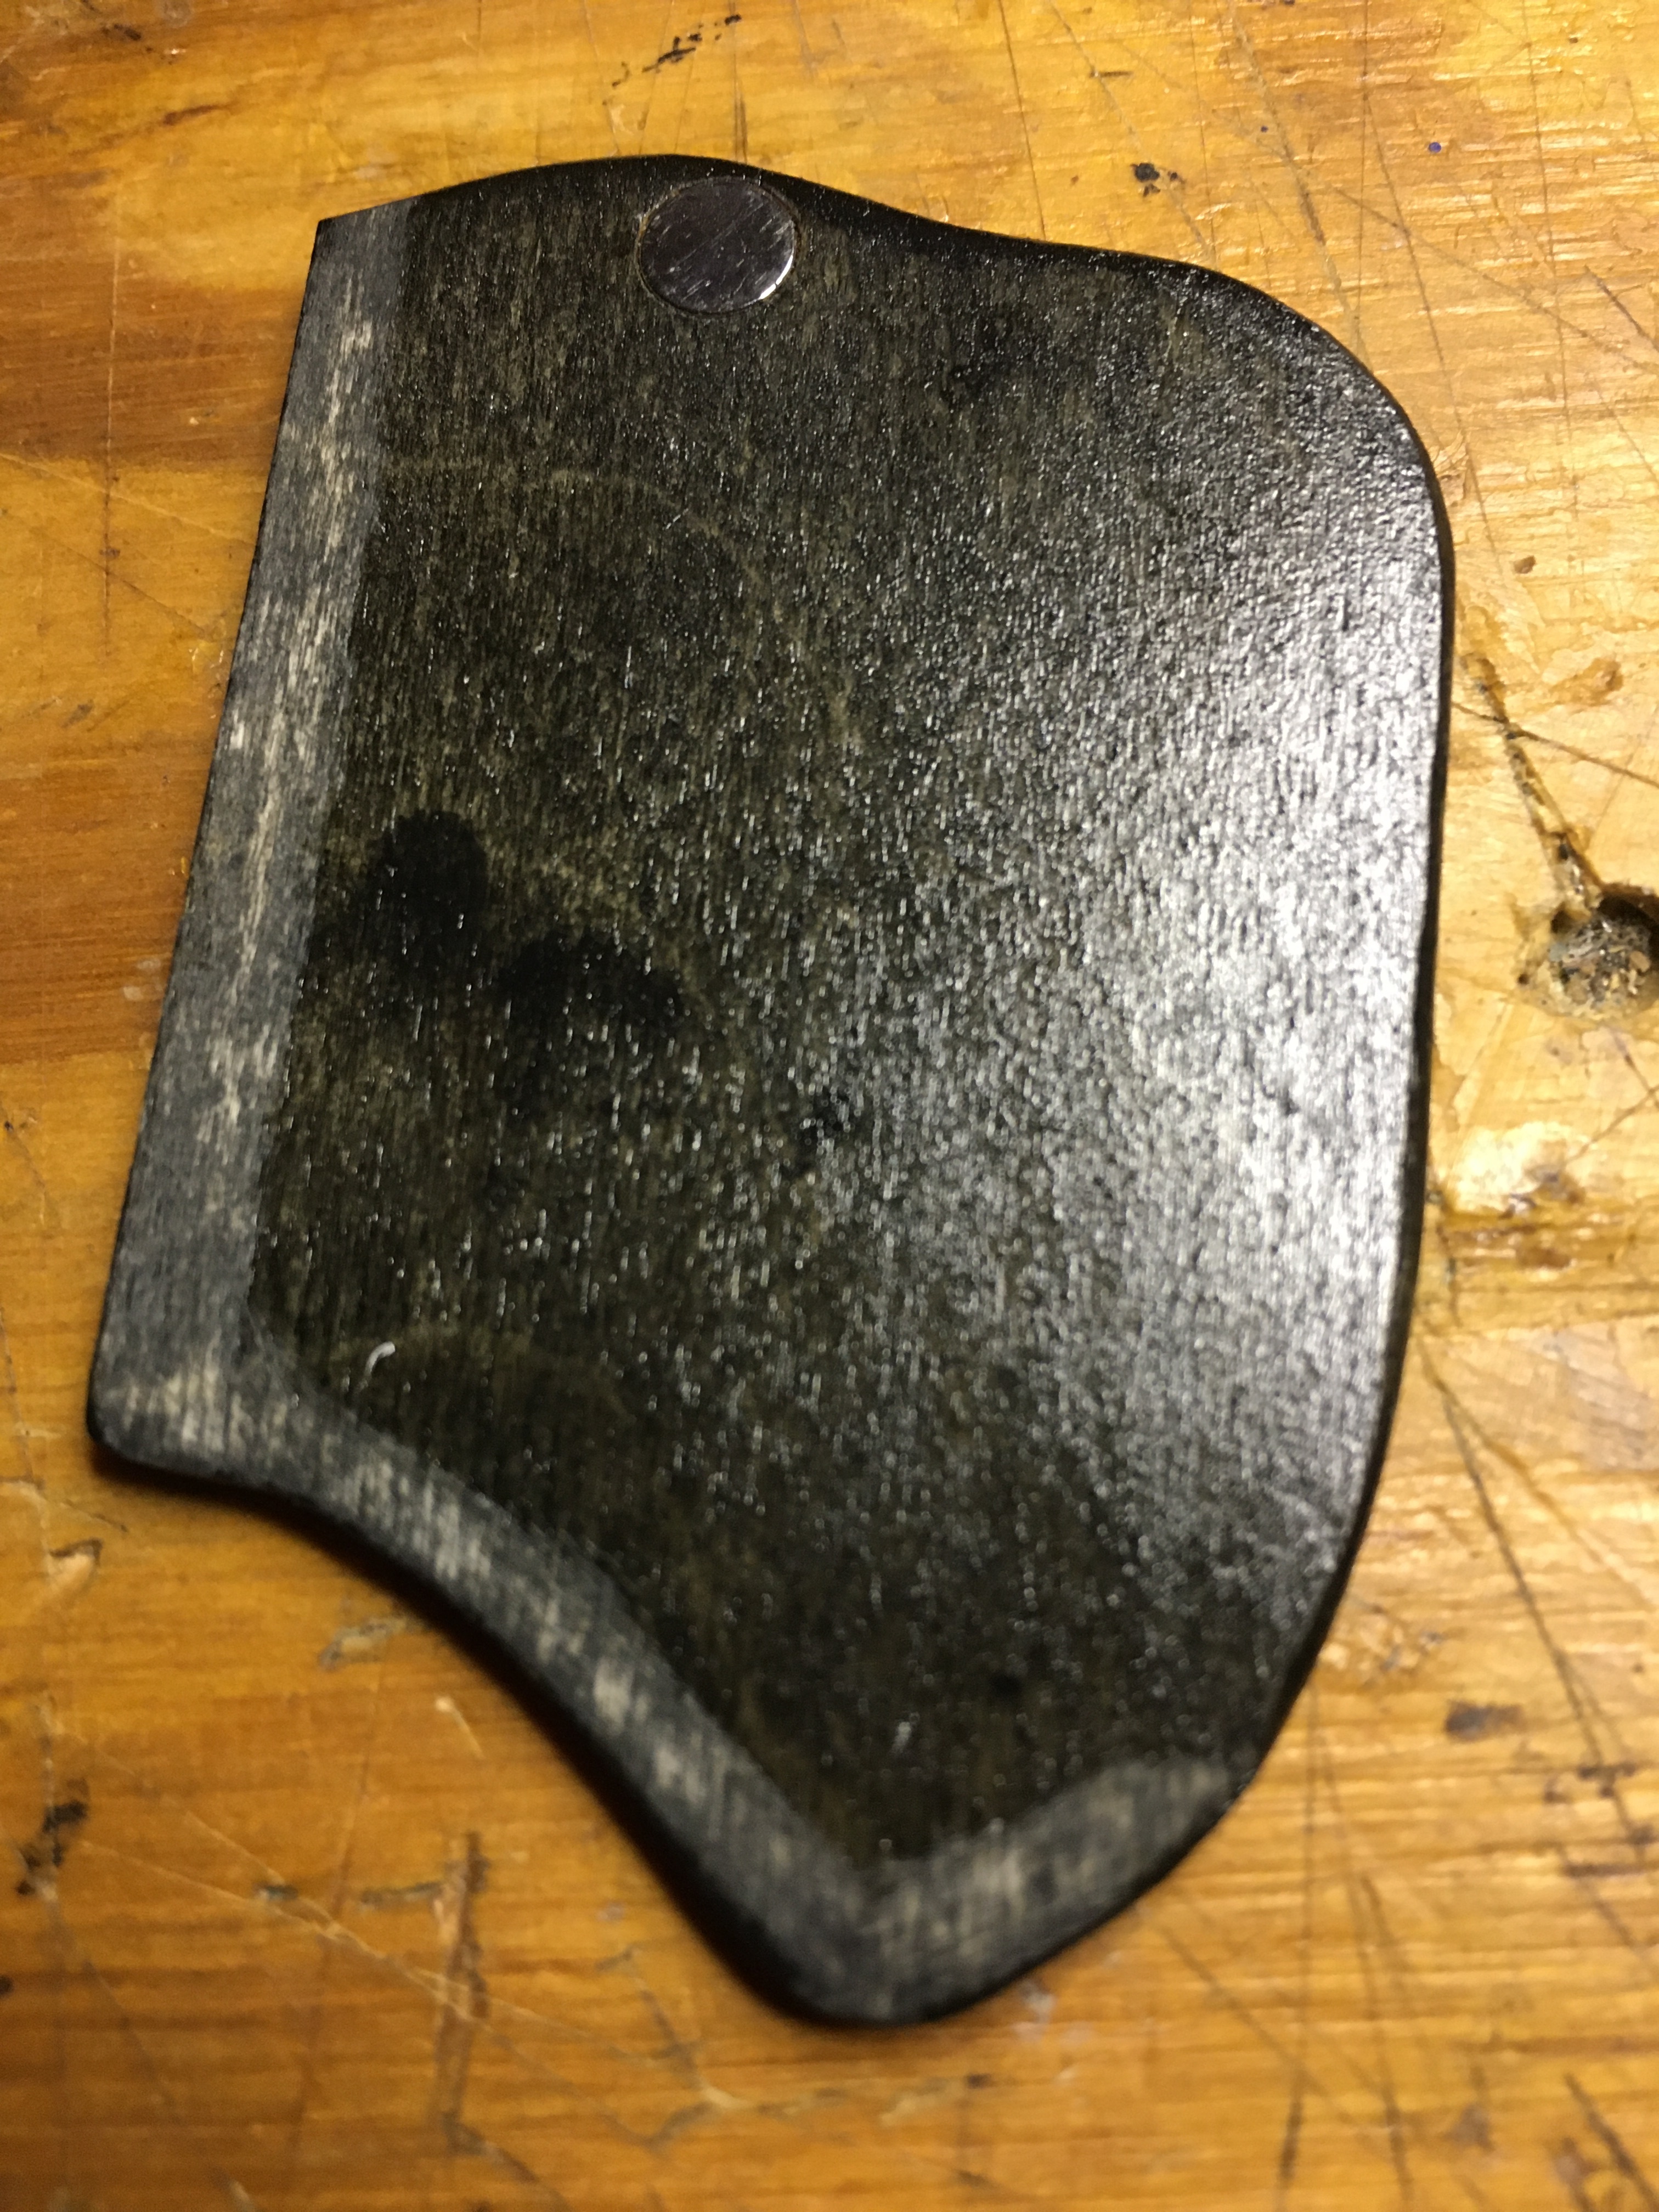
Attached the Touch-inator to a block of wood with double sided tape (magnet etched side down) and reduced the thickness of it by ~ 0.5-0.8 mm on my belt sander. This is necessary to allow for the thickness of the finish and allow the Touch-inator to slide freely into the sheath.
Rounded over all the edges, except for the inside of the sheath sides were they will glue to the spine, with a small sanding drum on my rotary tool.
I chose to stain mine black, but it could be painted any color you want or left natural. For the finish I chose a gloss polyurethane spray. The polyurethane provides a tough finish that is relatively chemically resistant which makes cleaning / disinfecting easier. Applied several coats and allowed to cure overnight.
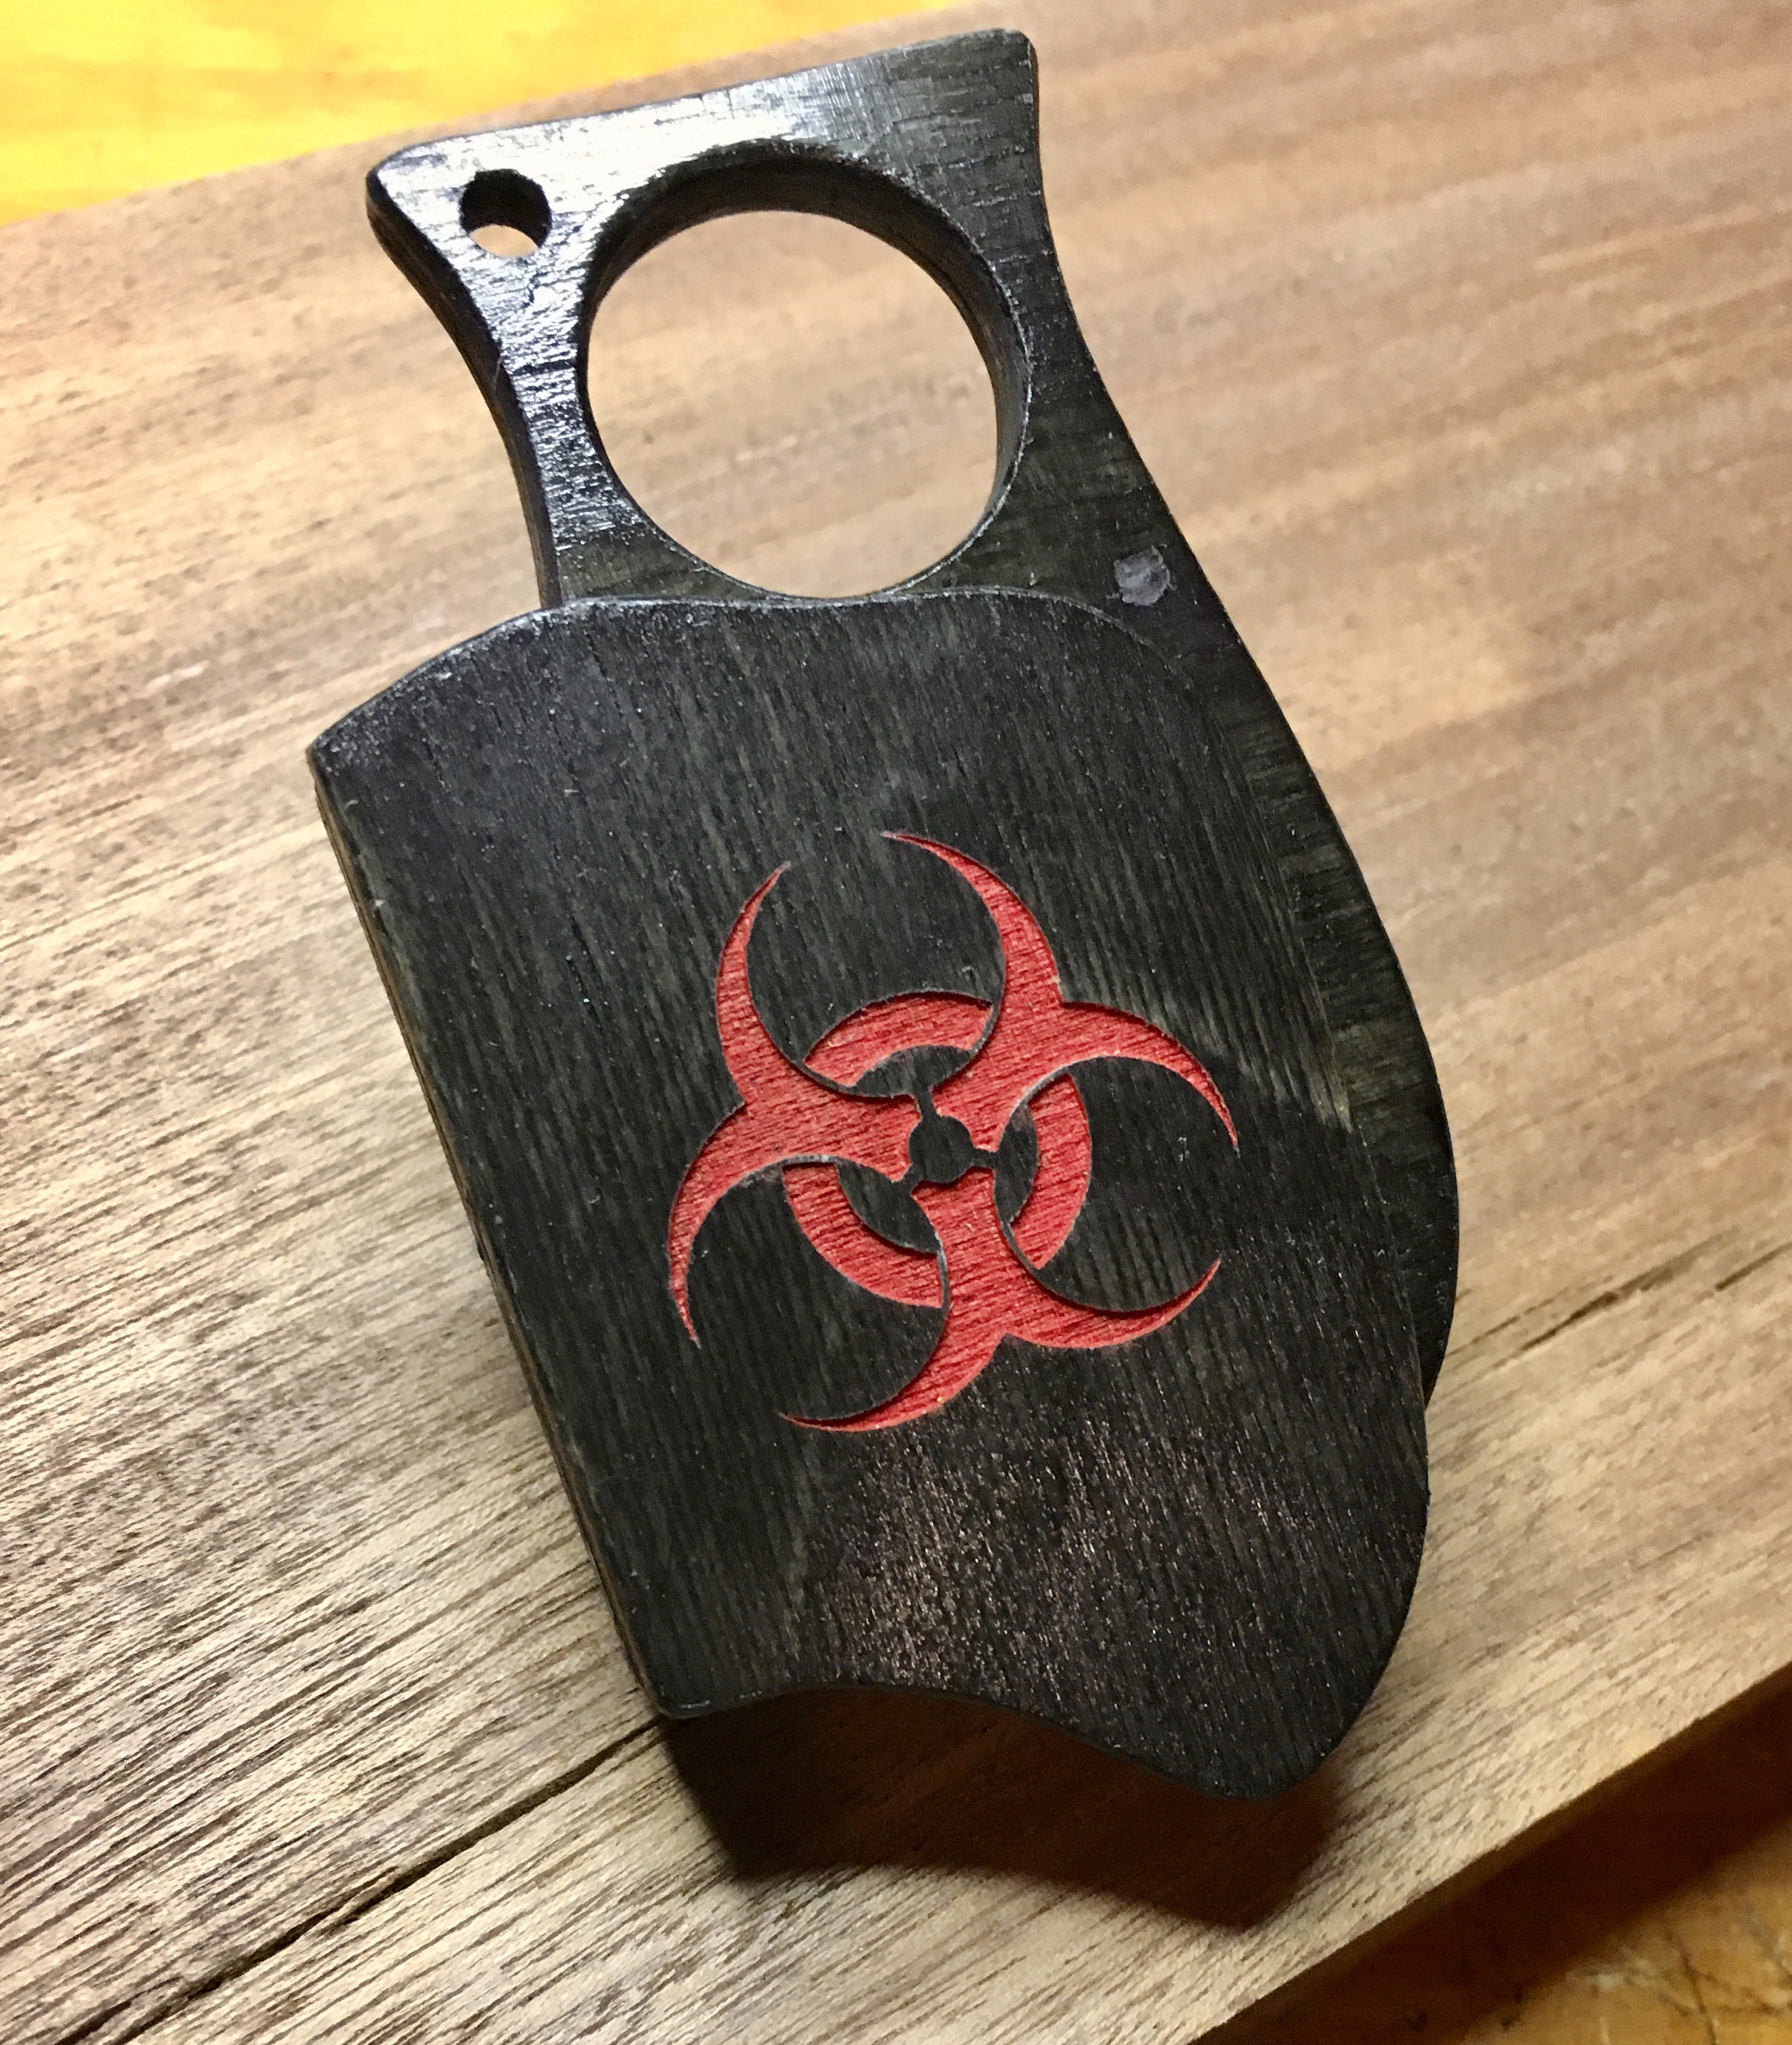
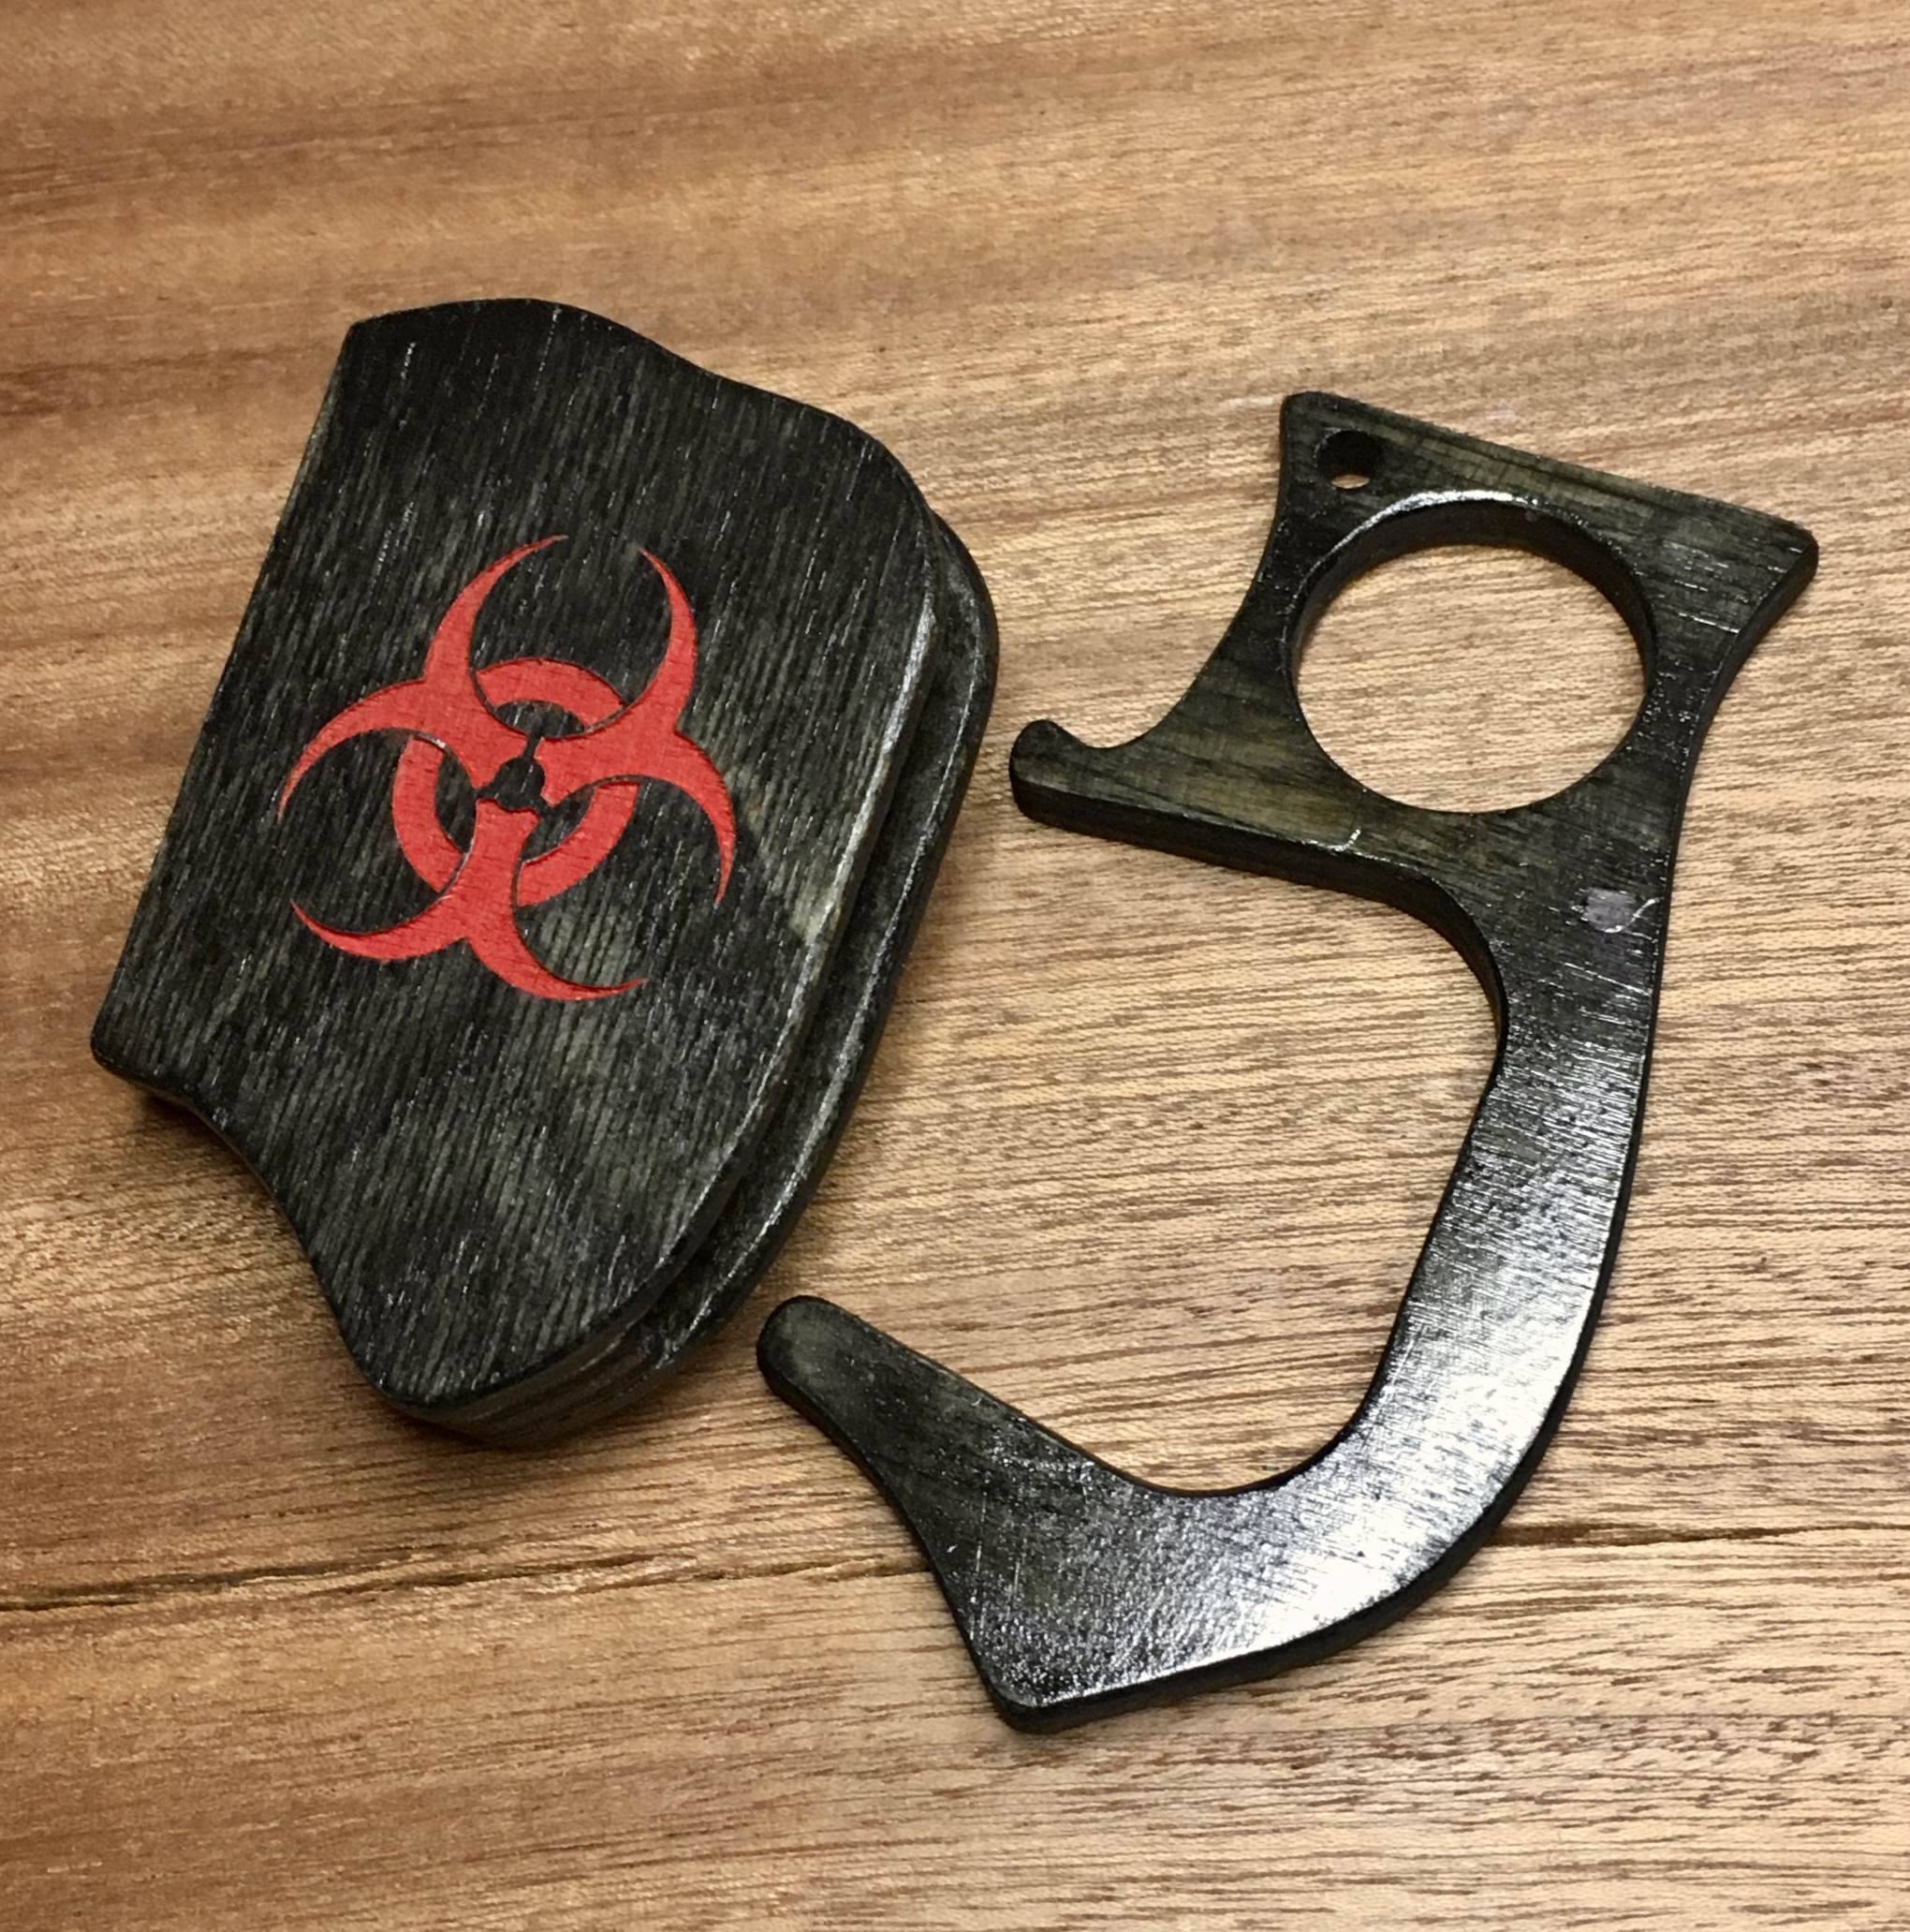
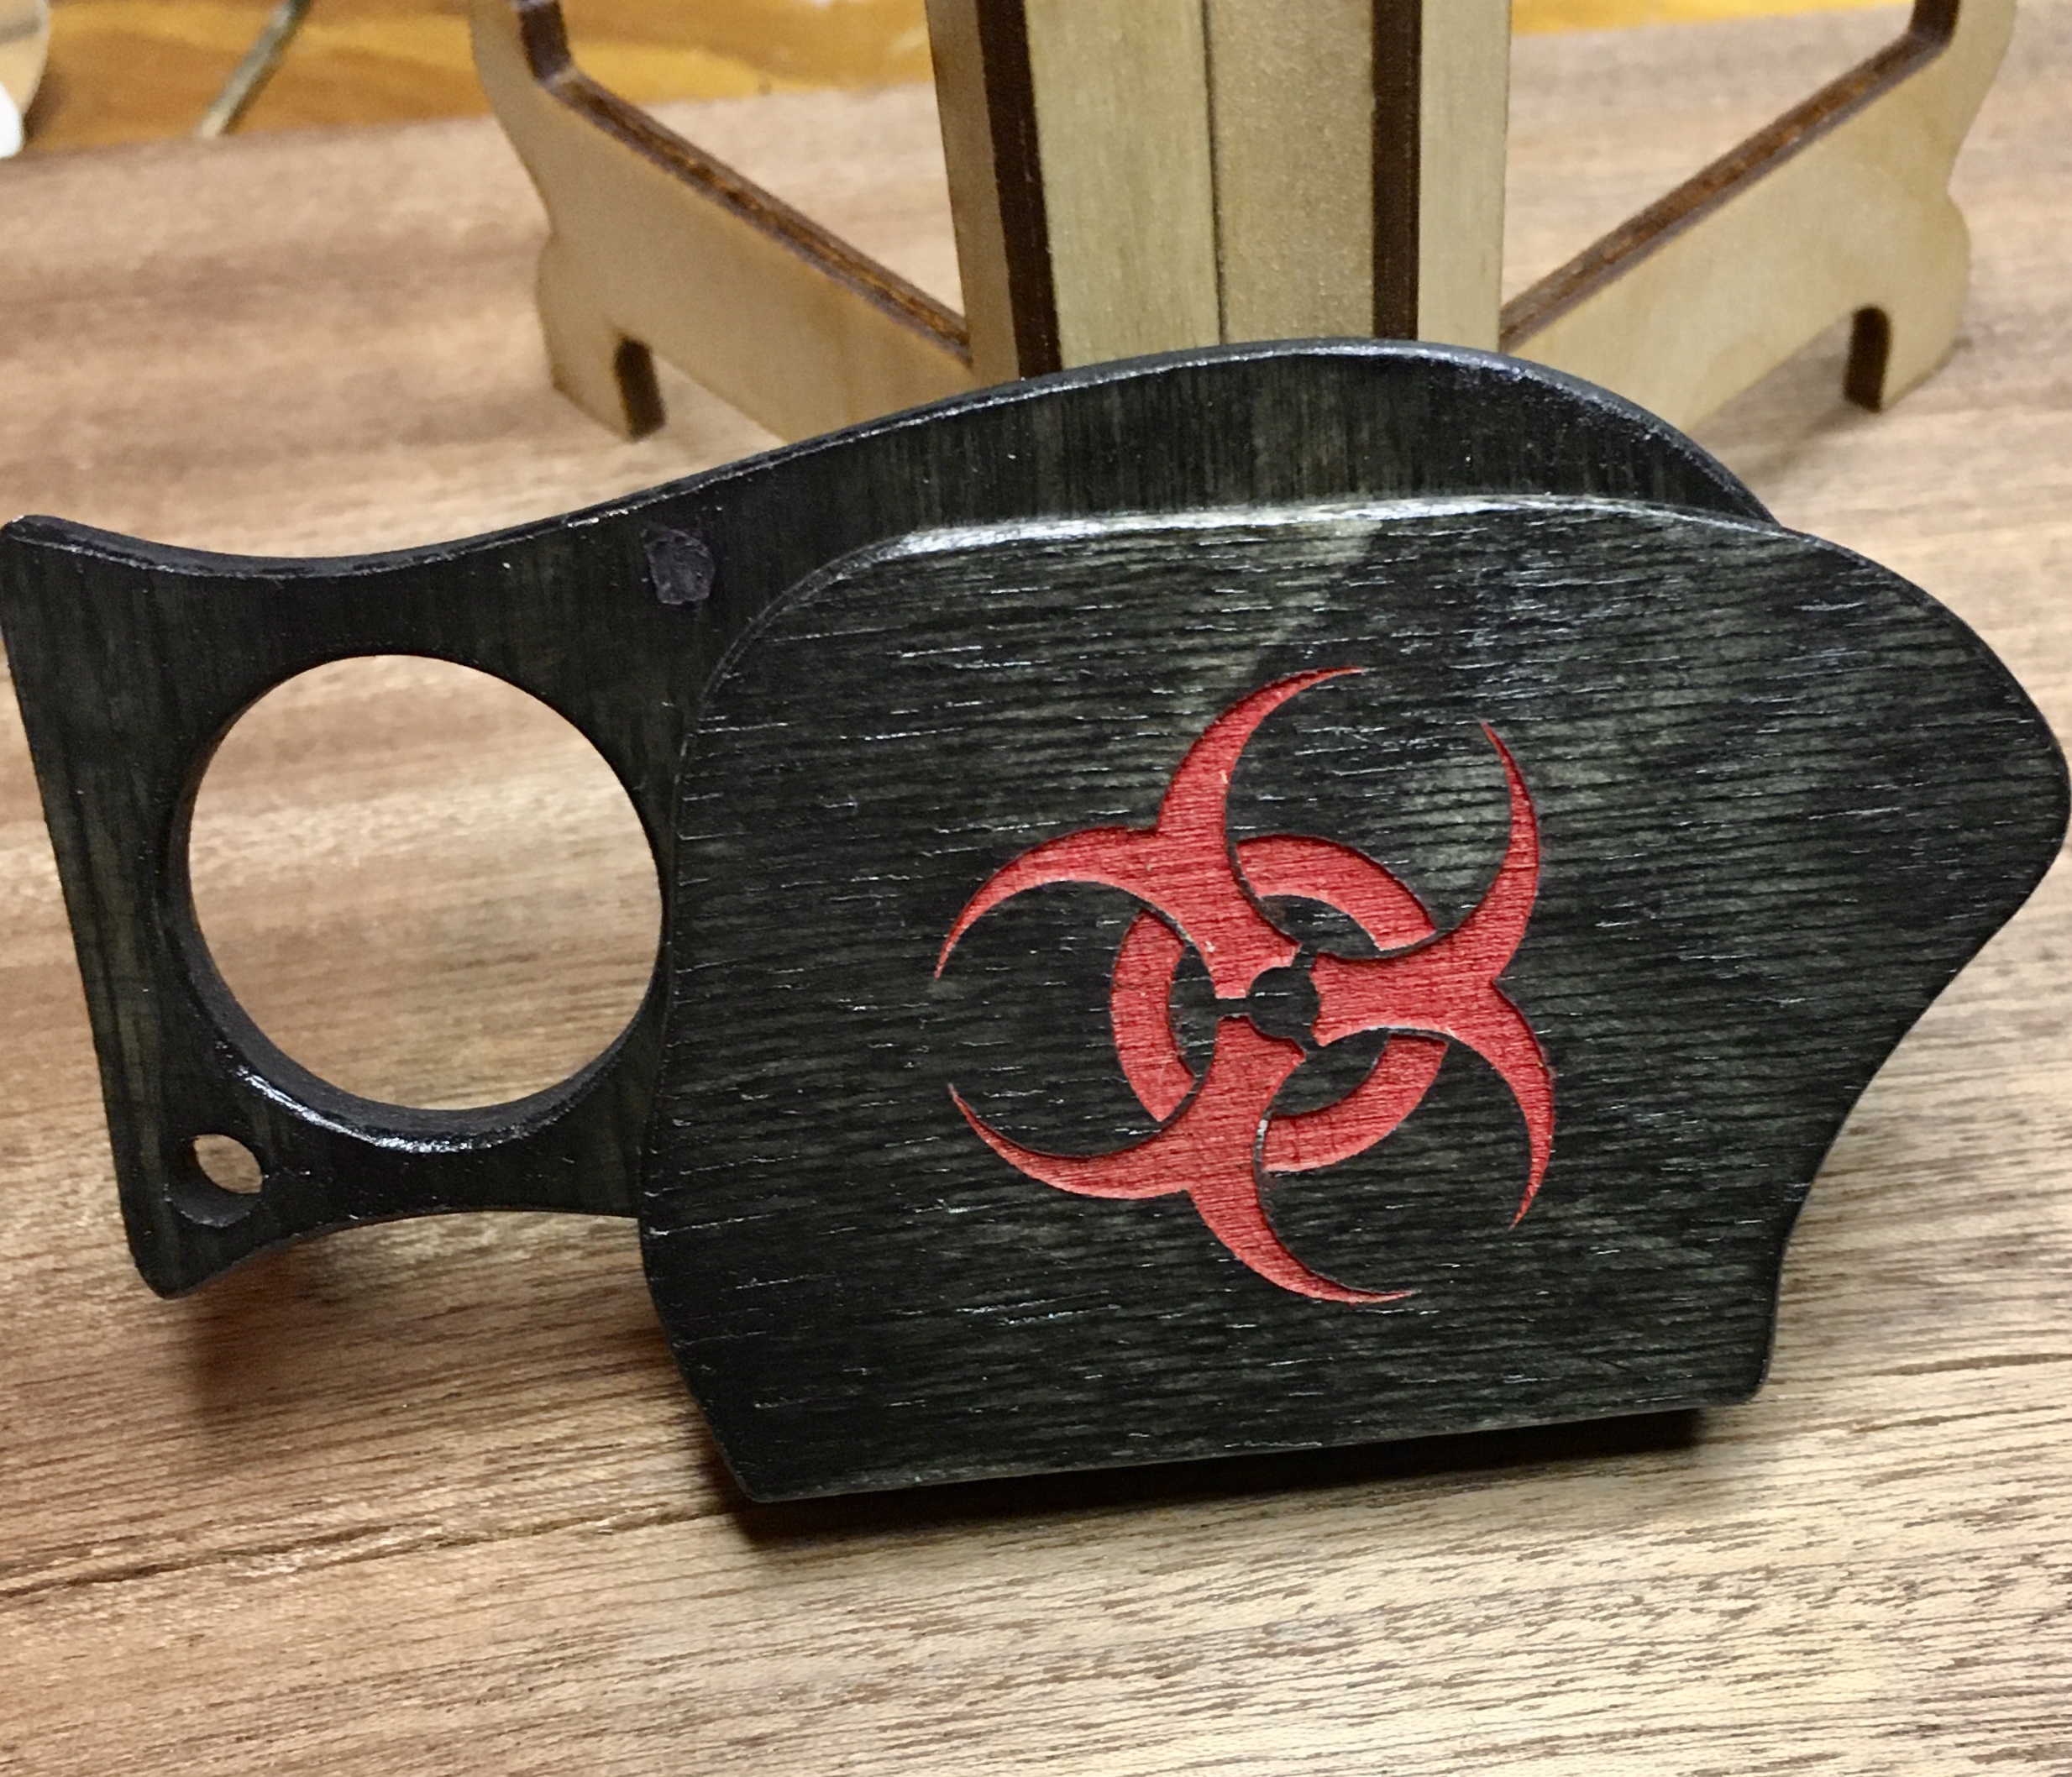
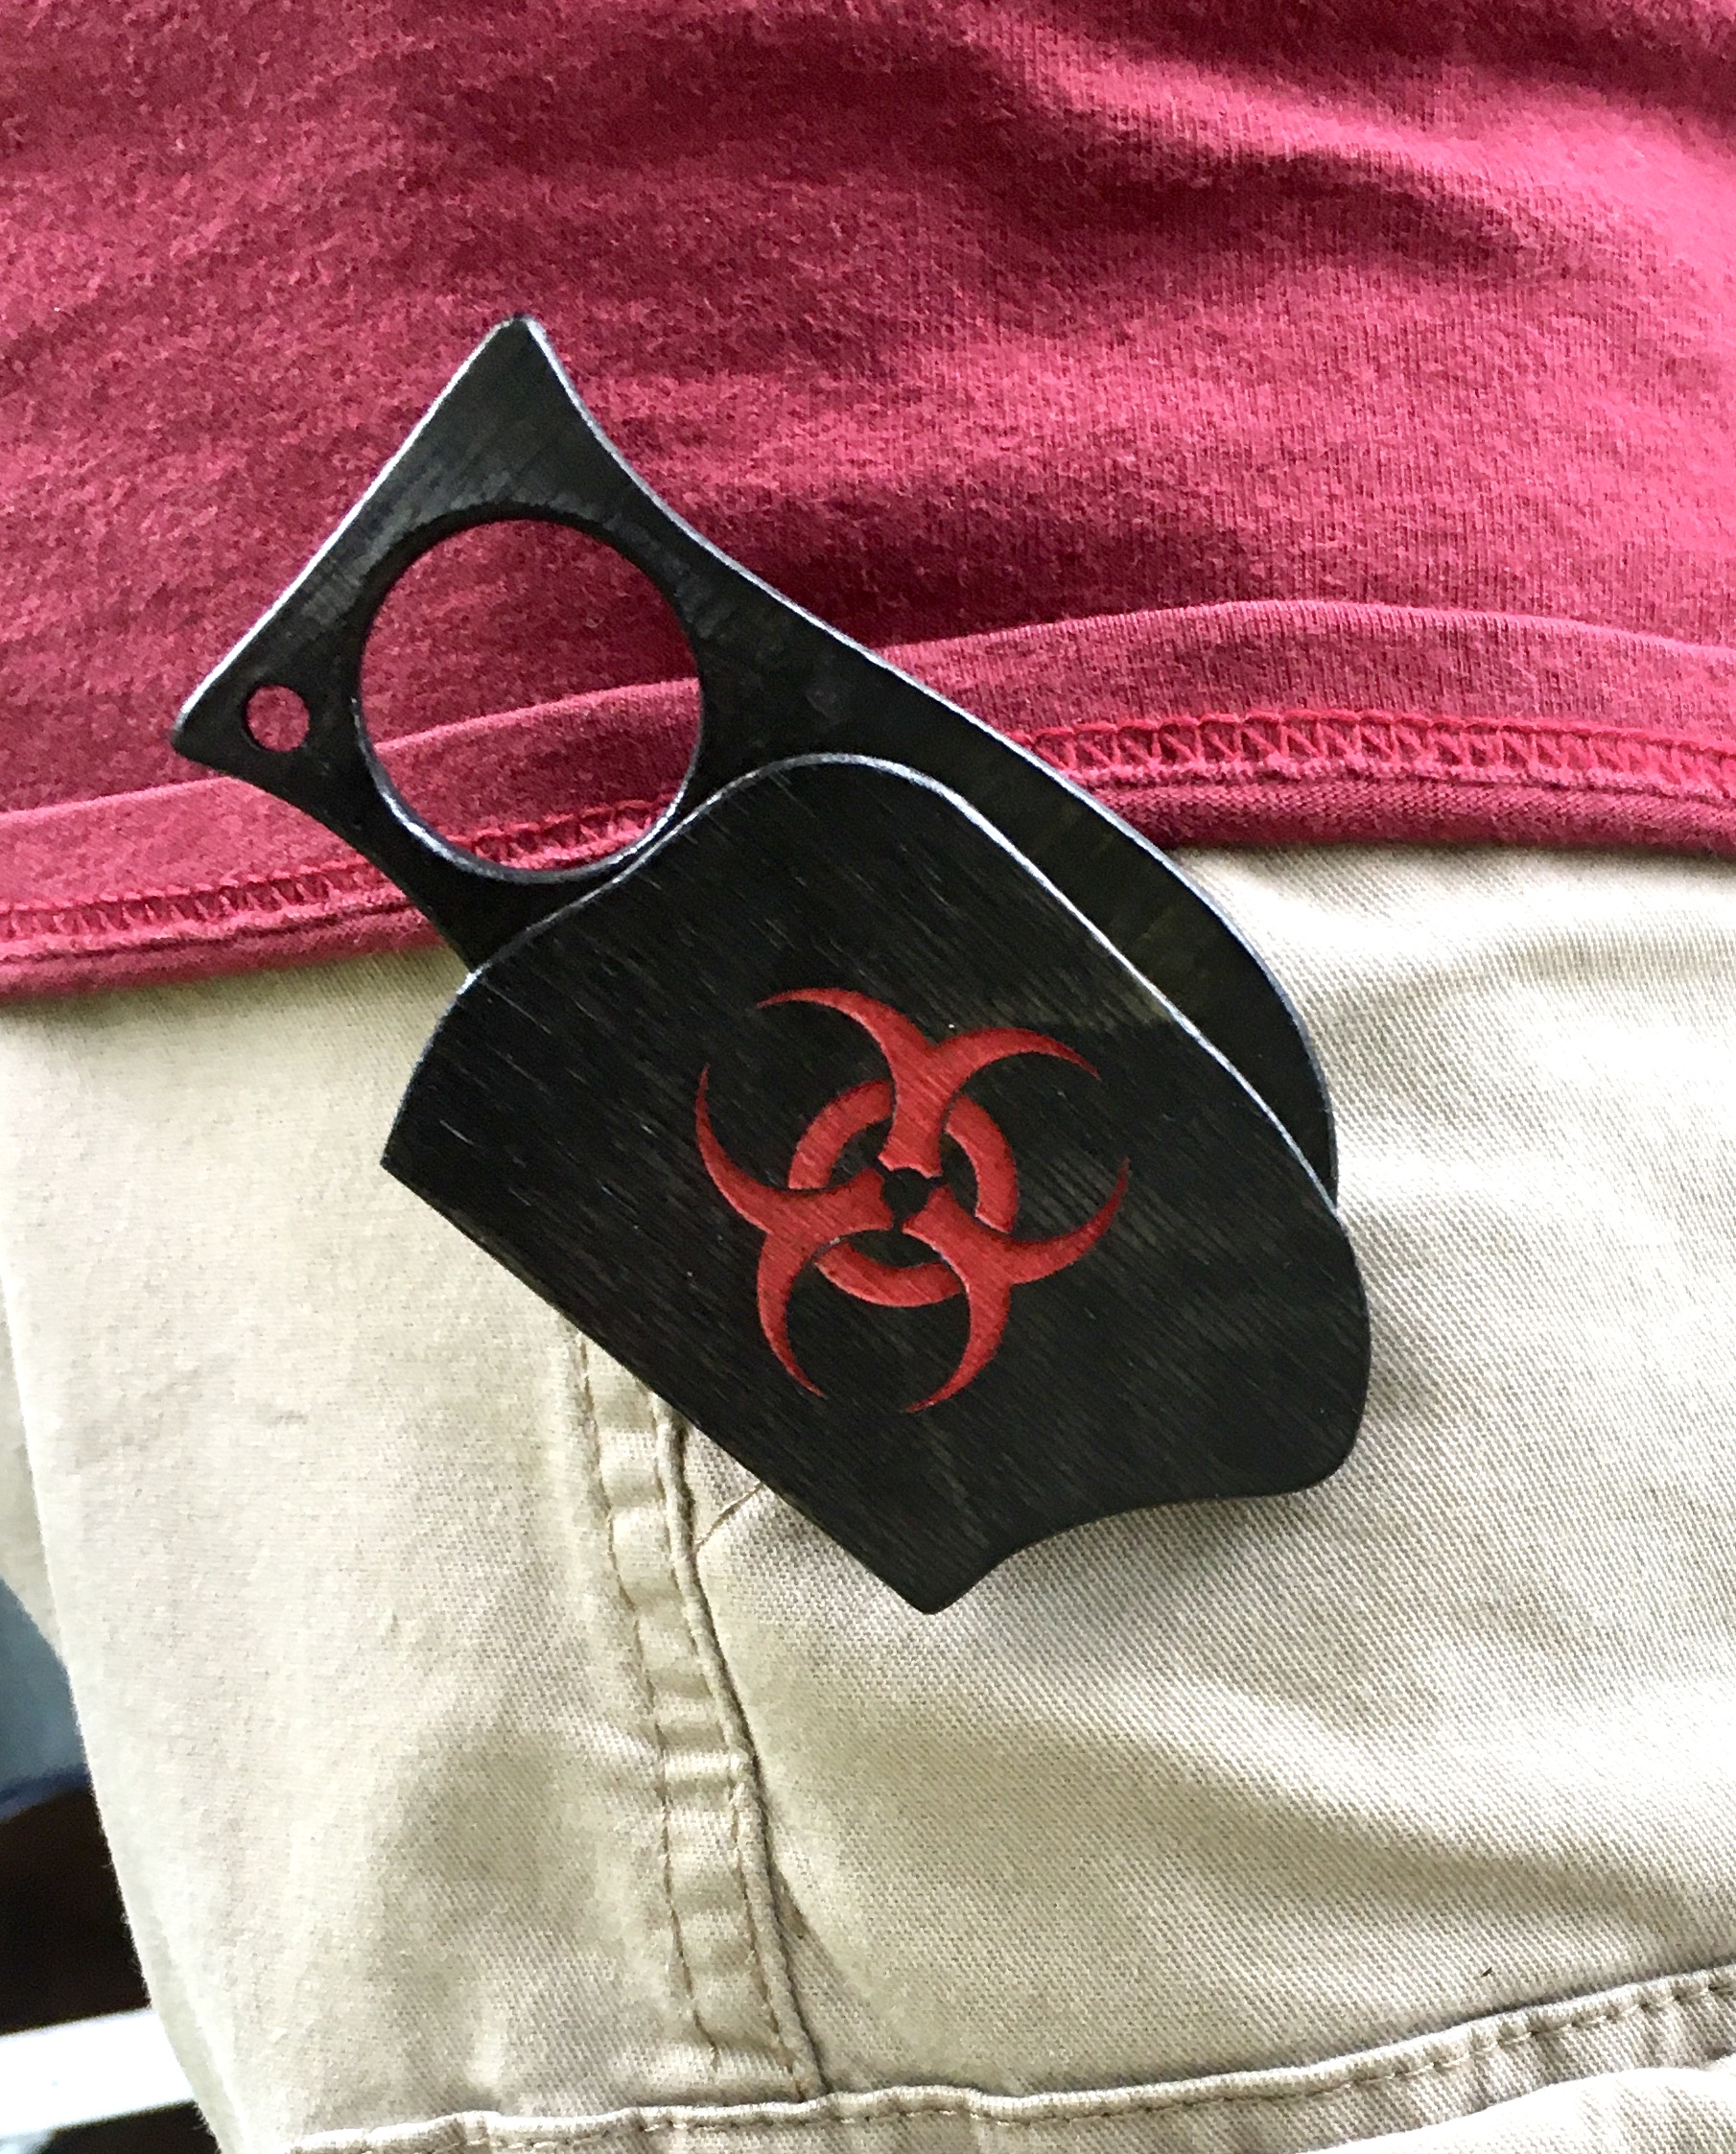
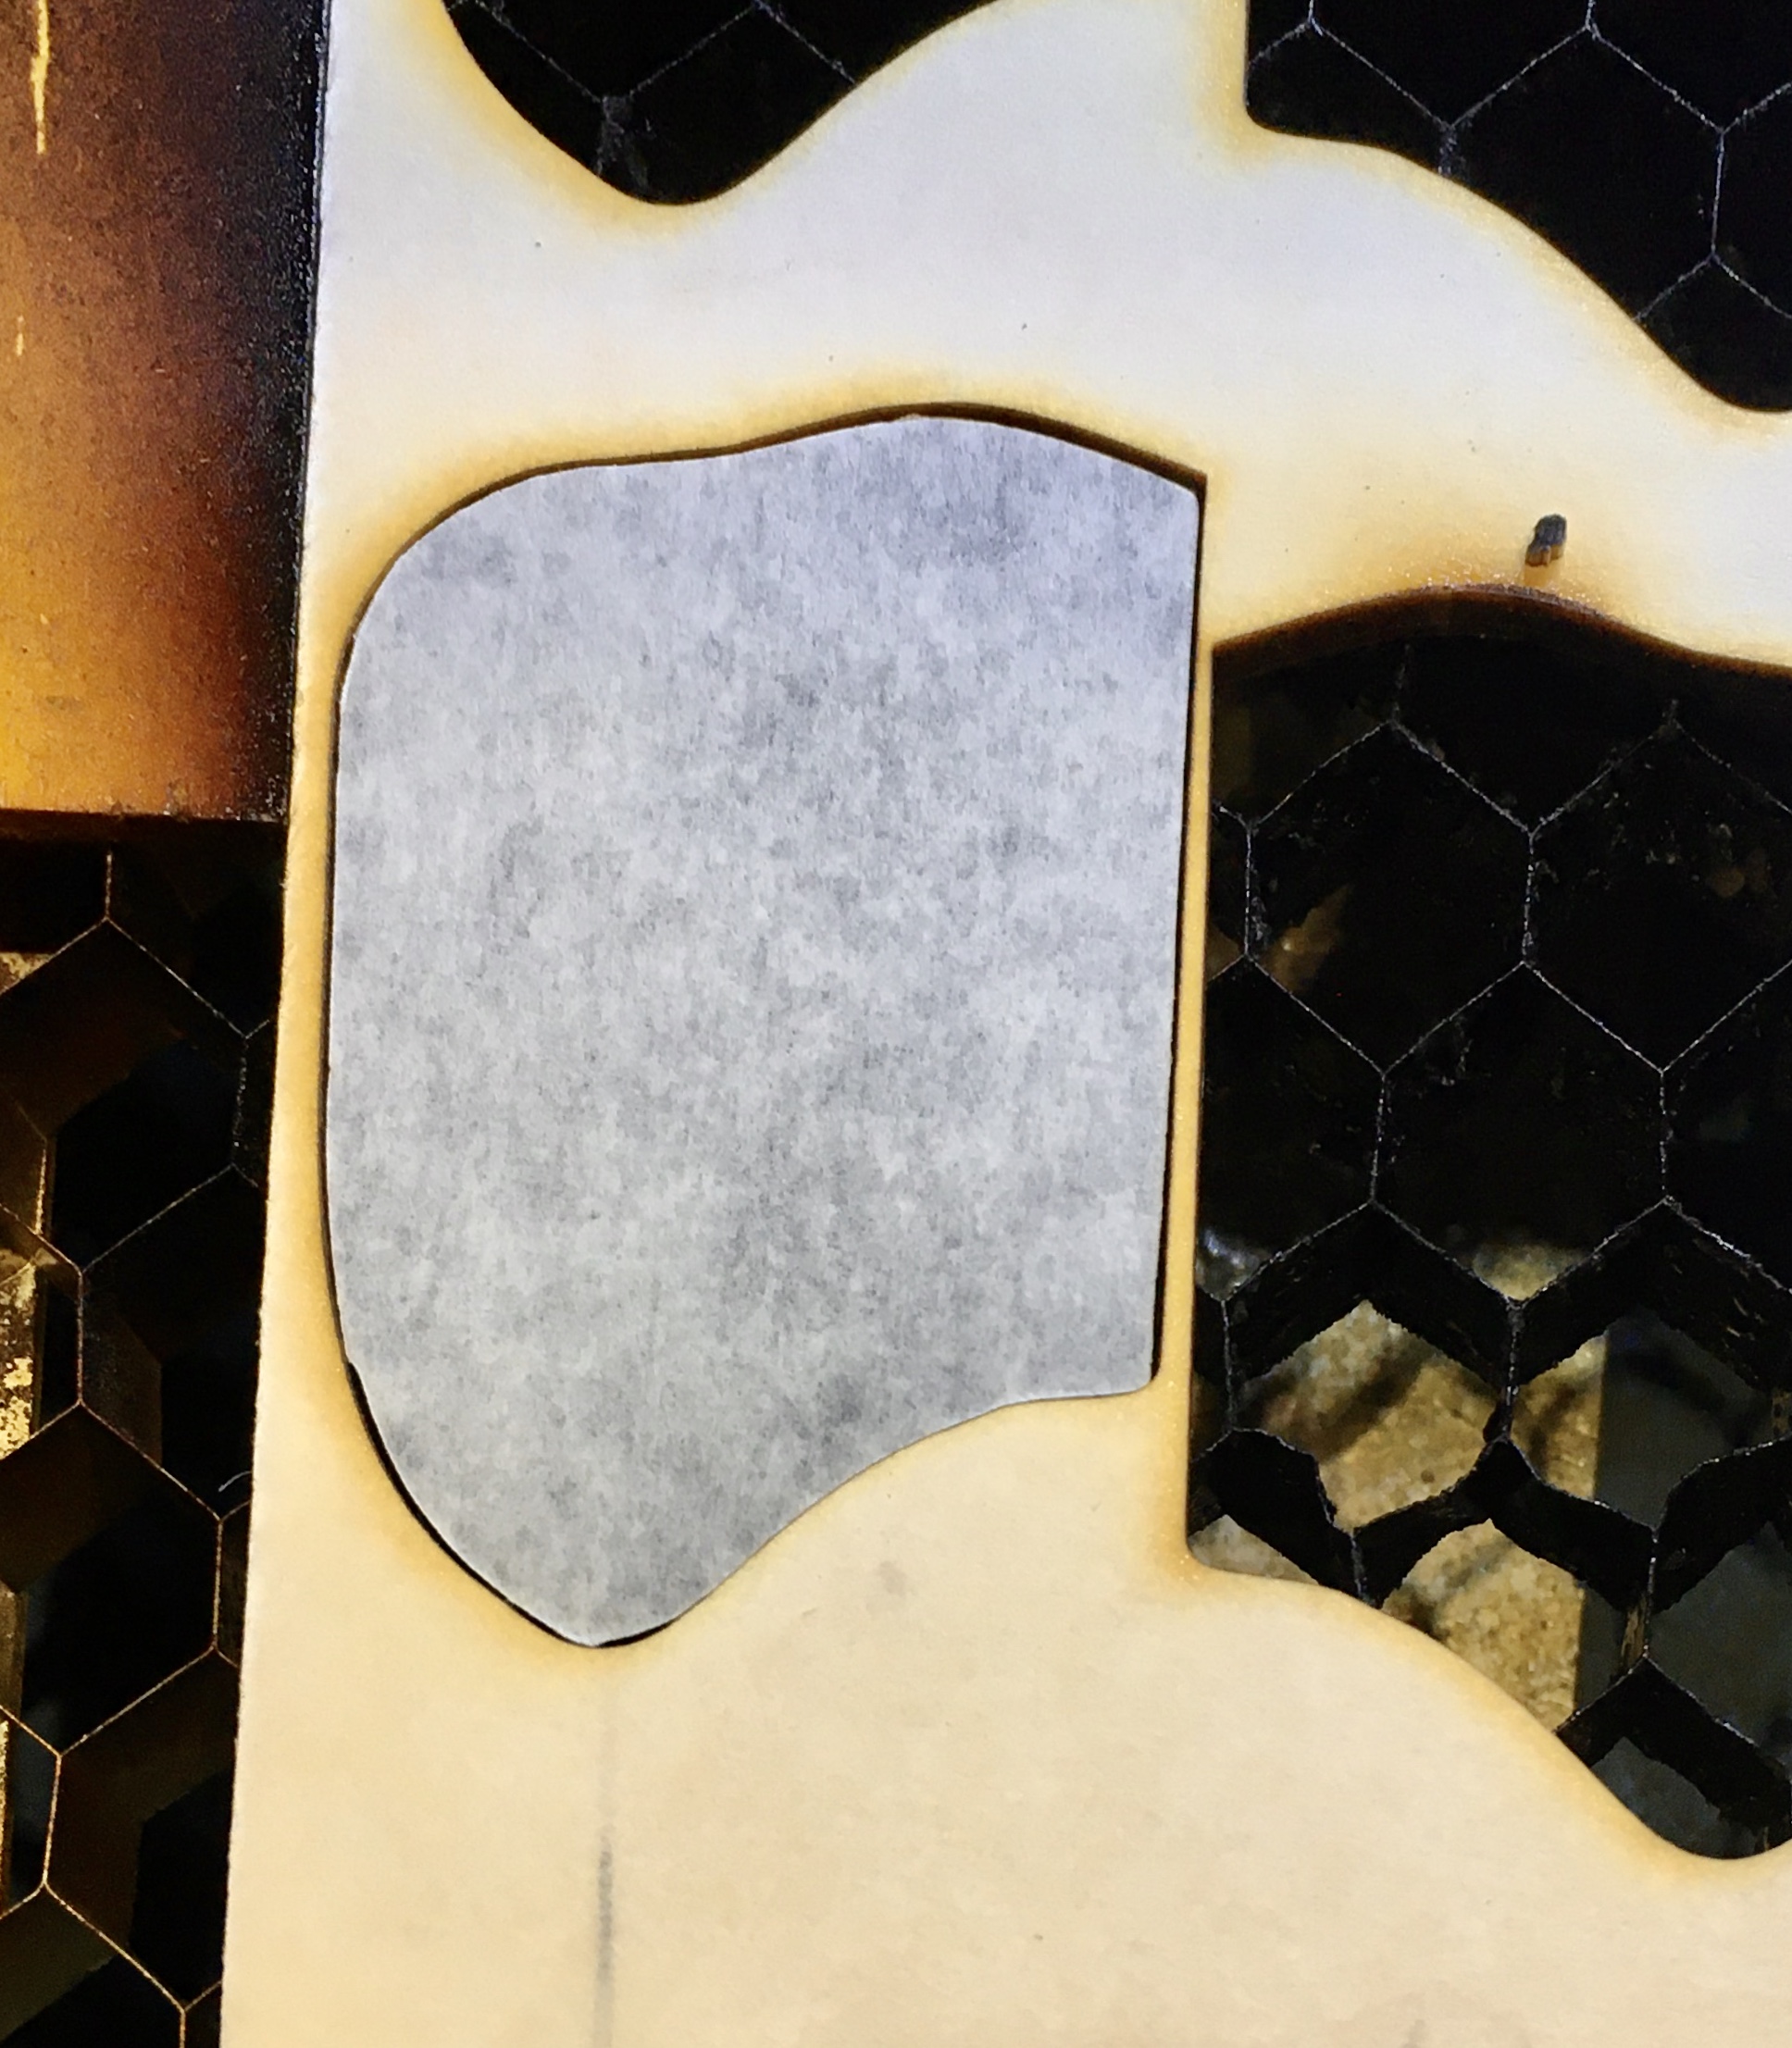
At this point I wanted to add a biohazard symbol. So I masked one side of the sheath, just be sure you are selecting the side that will be on the outside, and etched in the symbol. Used the piece of ply that I cut it from as a jig to make centering easy.
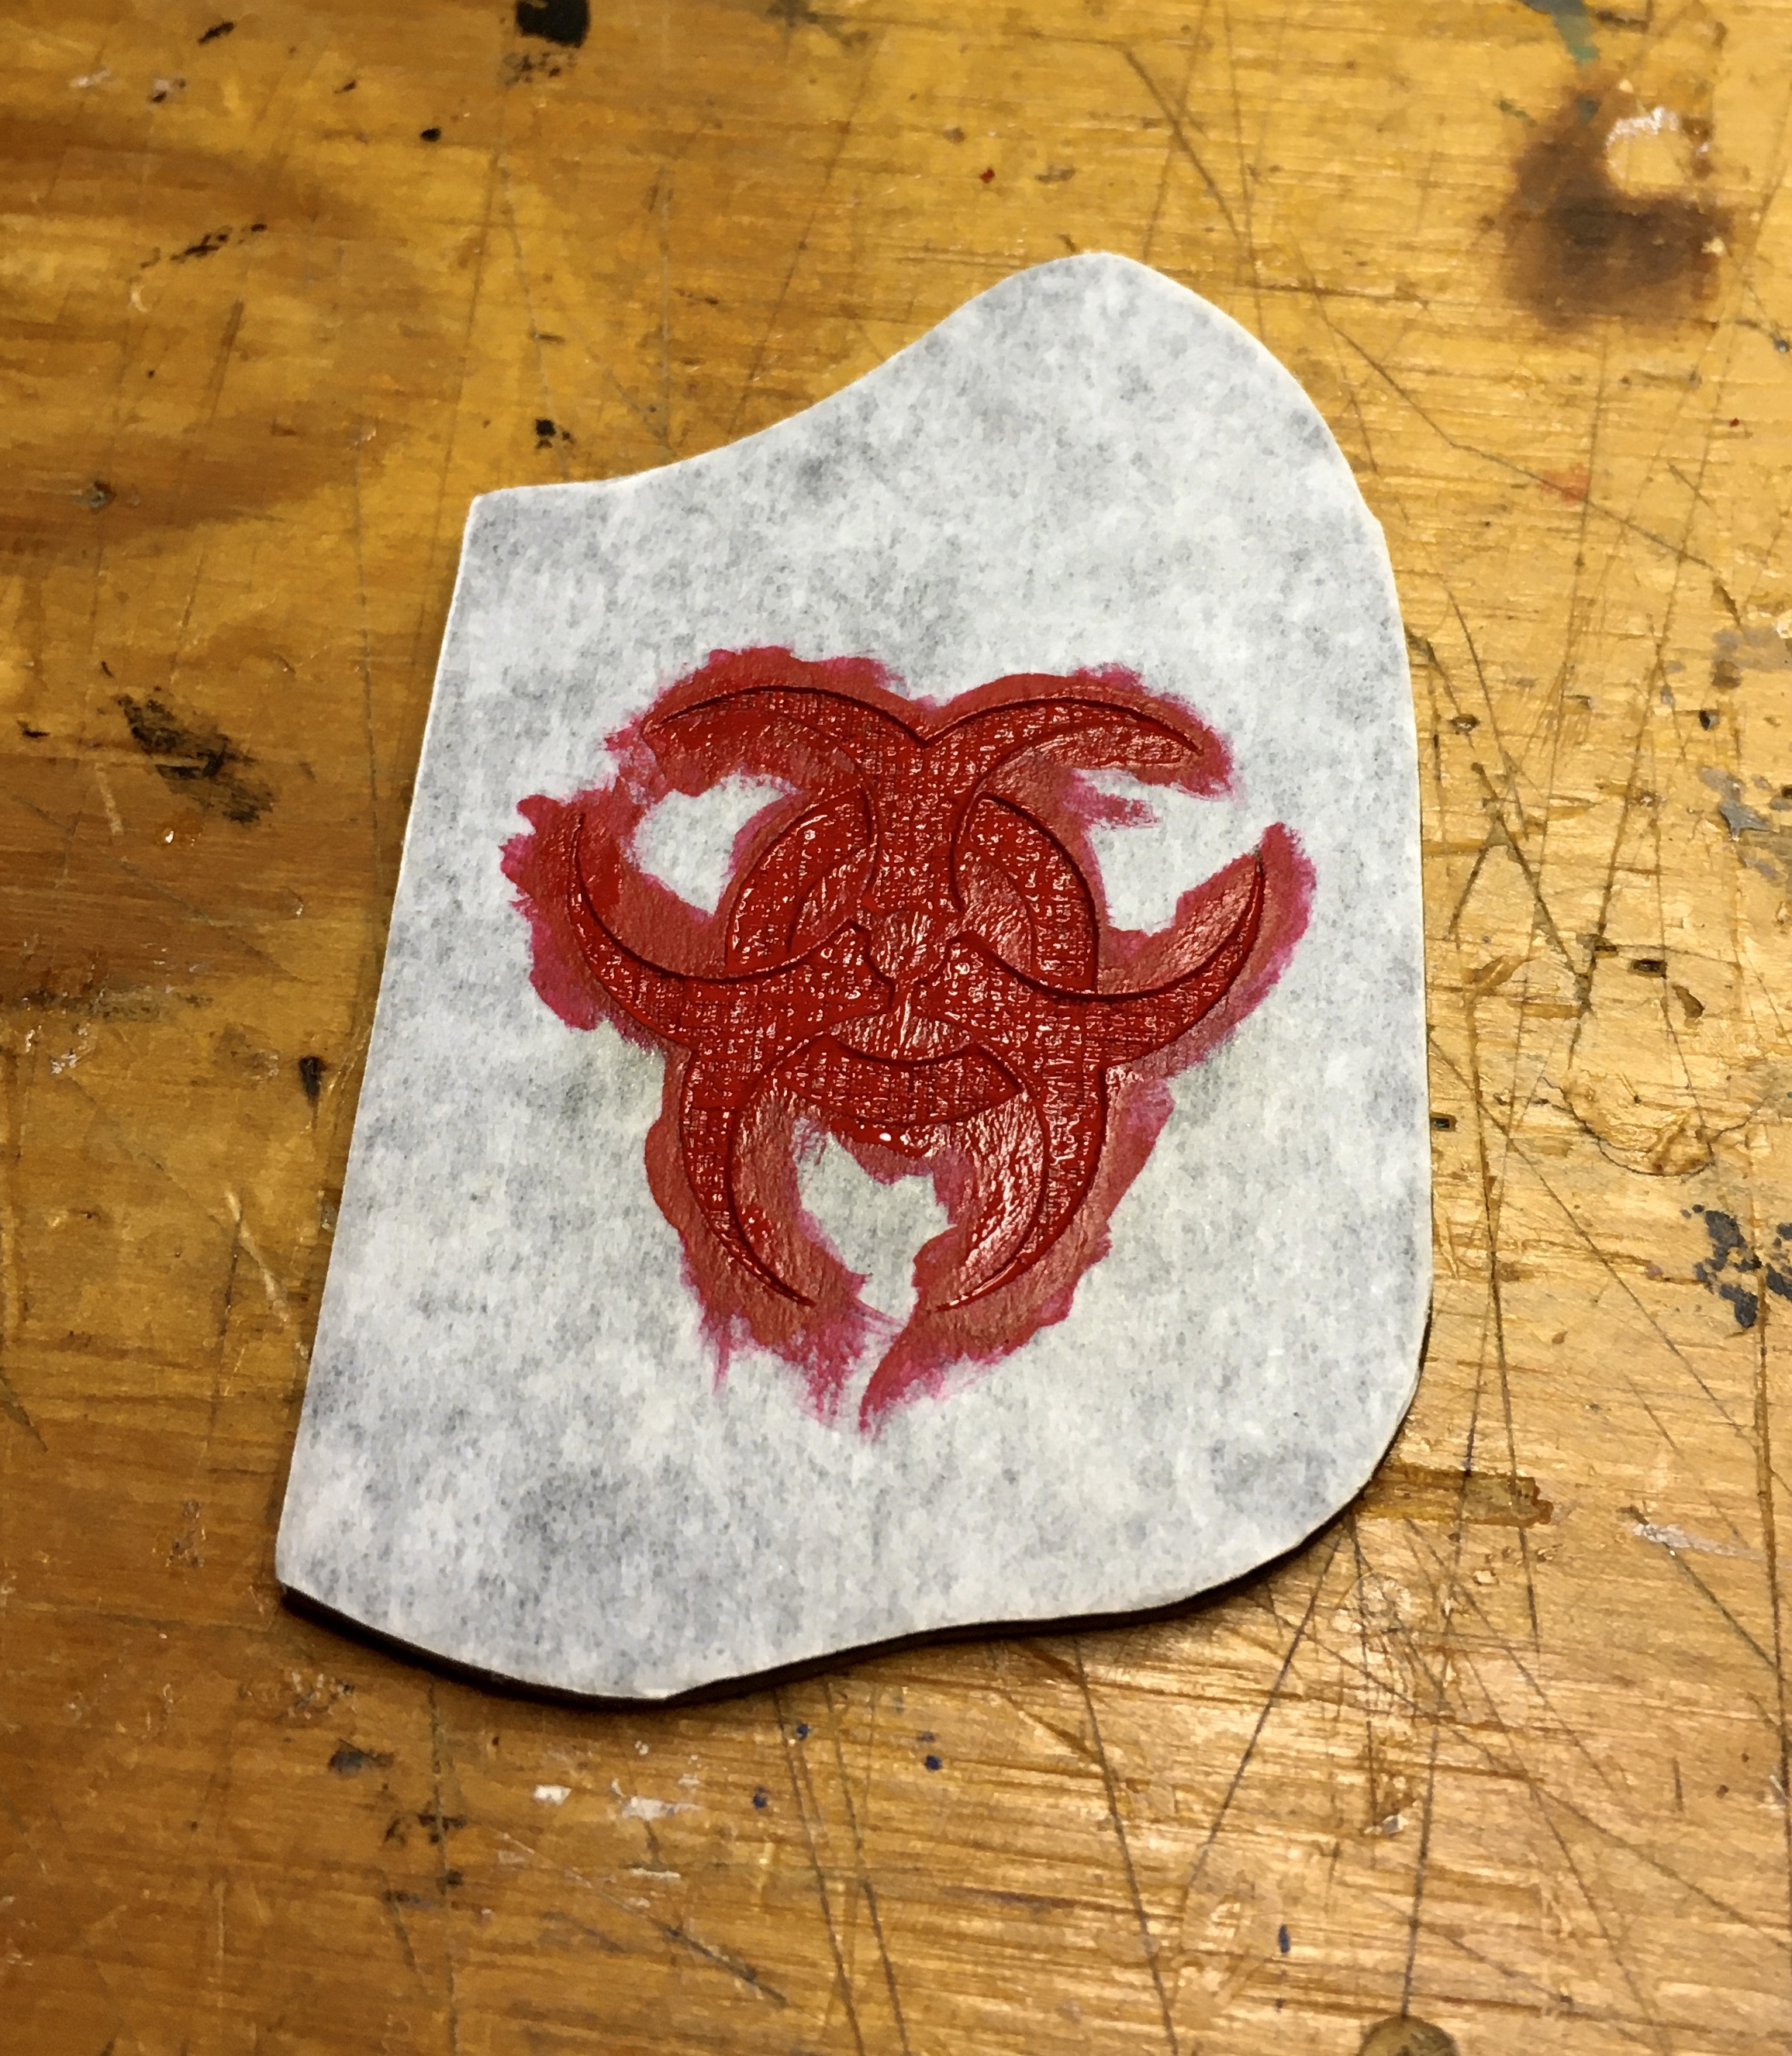
After etching, I painted the symbol red and removed the masking.
I used a 3x1.5mm magnet on the Touch-inator and a 6x1.5mm magnet on the inside of the sheath. I used 2 double stacked 3mm magnets because it turns out that the 6mm is a bit too big to fit the overlap of the sheath side and the next size down I had was the 3mm. One 3mm by itself was not quite enough holding so that’s why I doubled up. A 4mm diameter would probably be better. I sized the holes I etched for the magnets to be a press fit and at this point I added the magnets, making sure they were oriented correctly. It’s possible that another set of magnets will need to be added at the tip to improve retention.
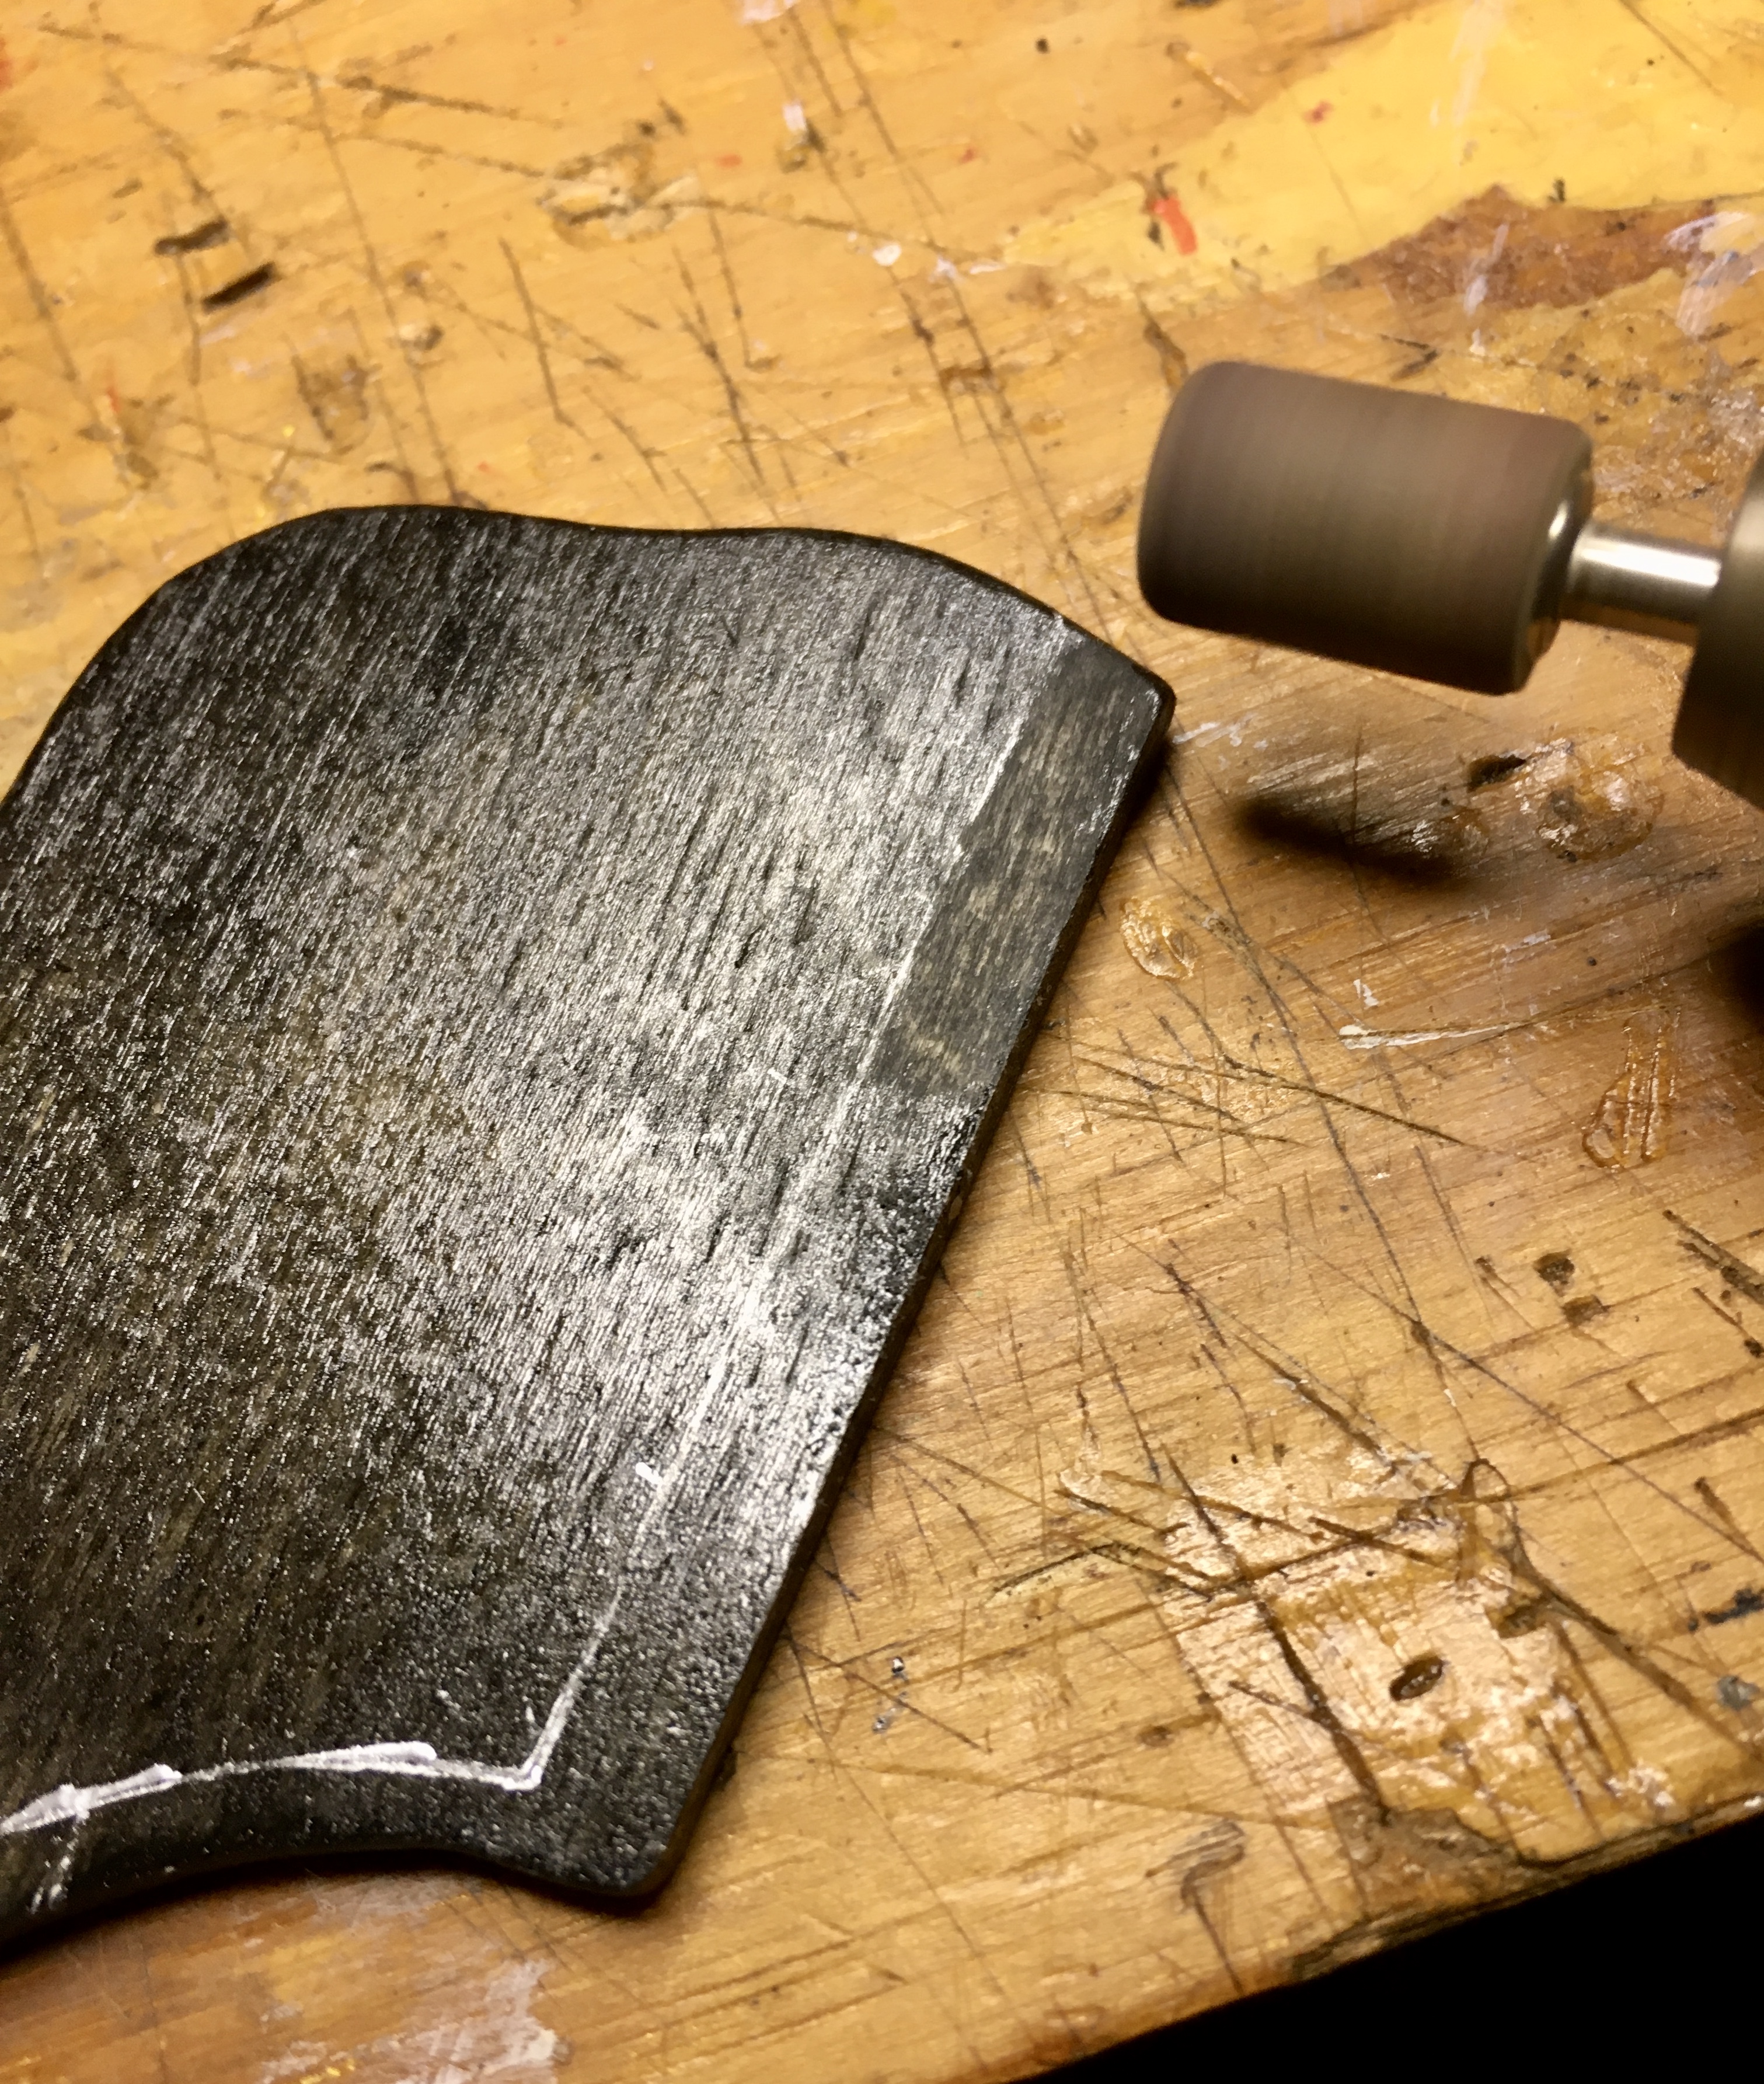
Before gluing the sheath sides to the spine, I lightly sanded off the finish with my rotary tool where the spine will attach. This will ensure a strong bond. I traced out the spine on the sides to see where I needed to sand.
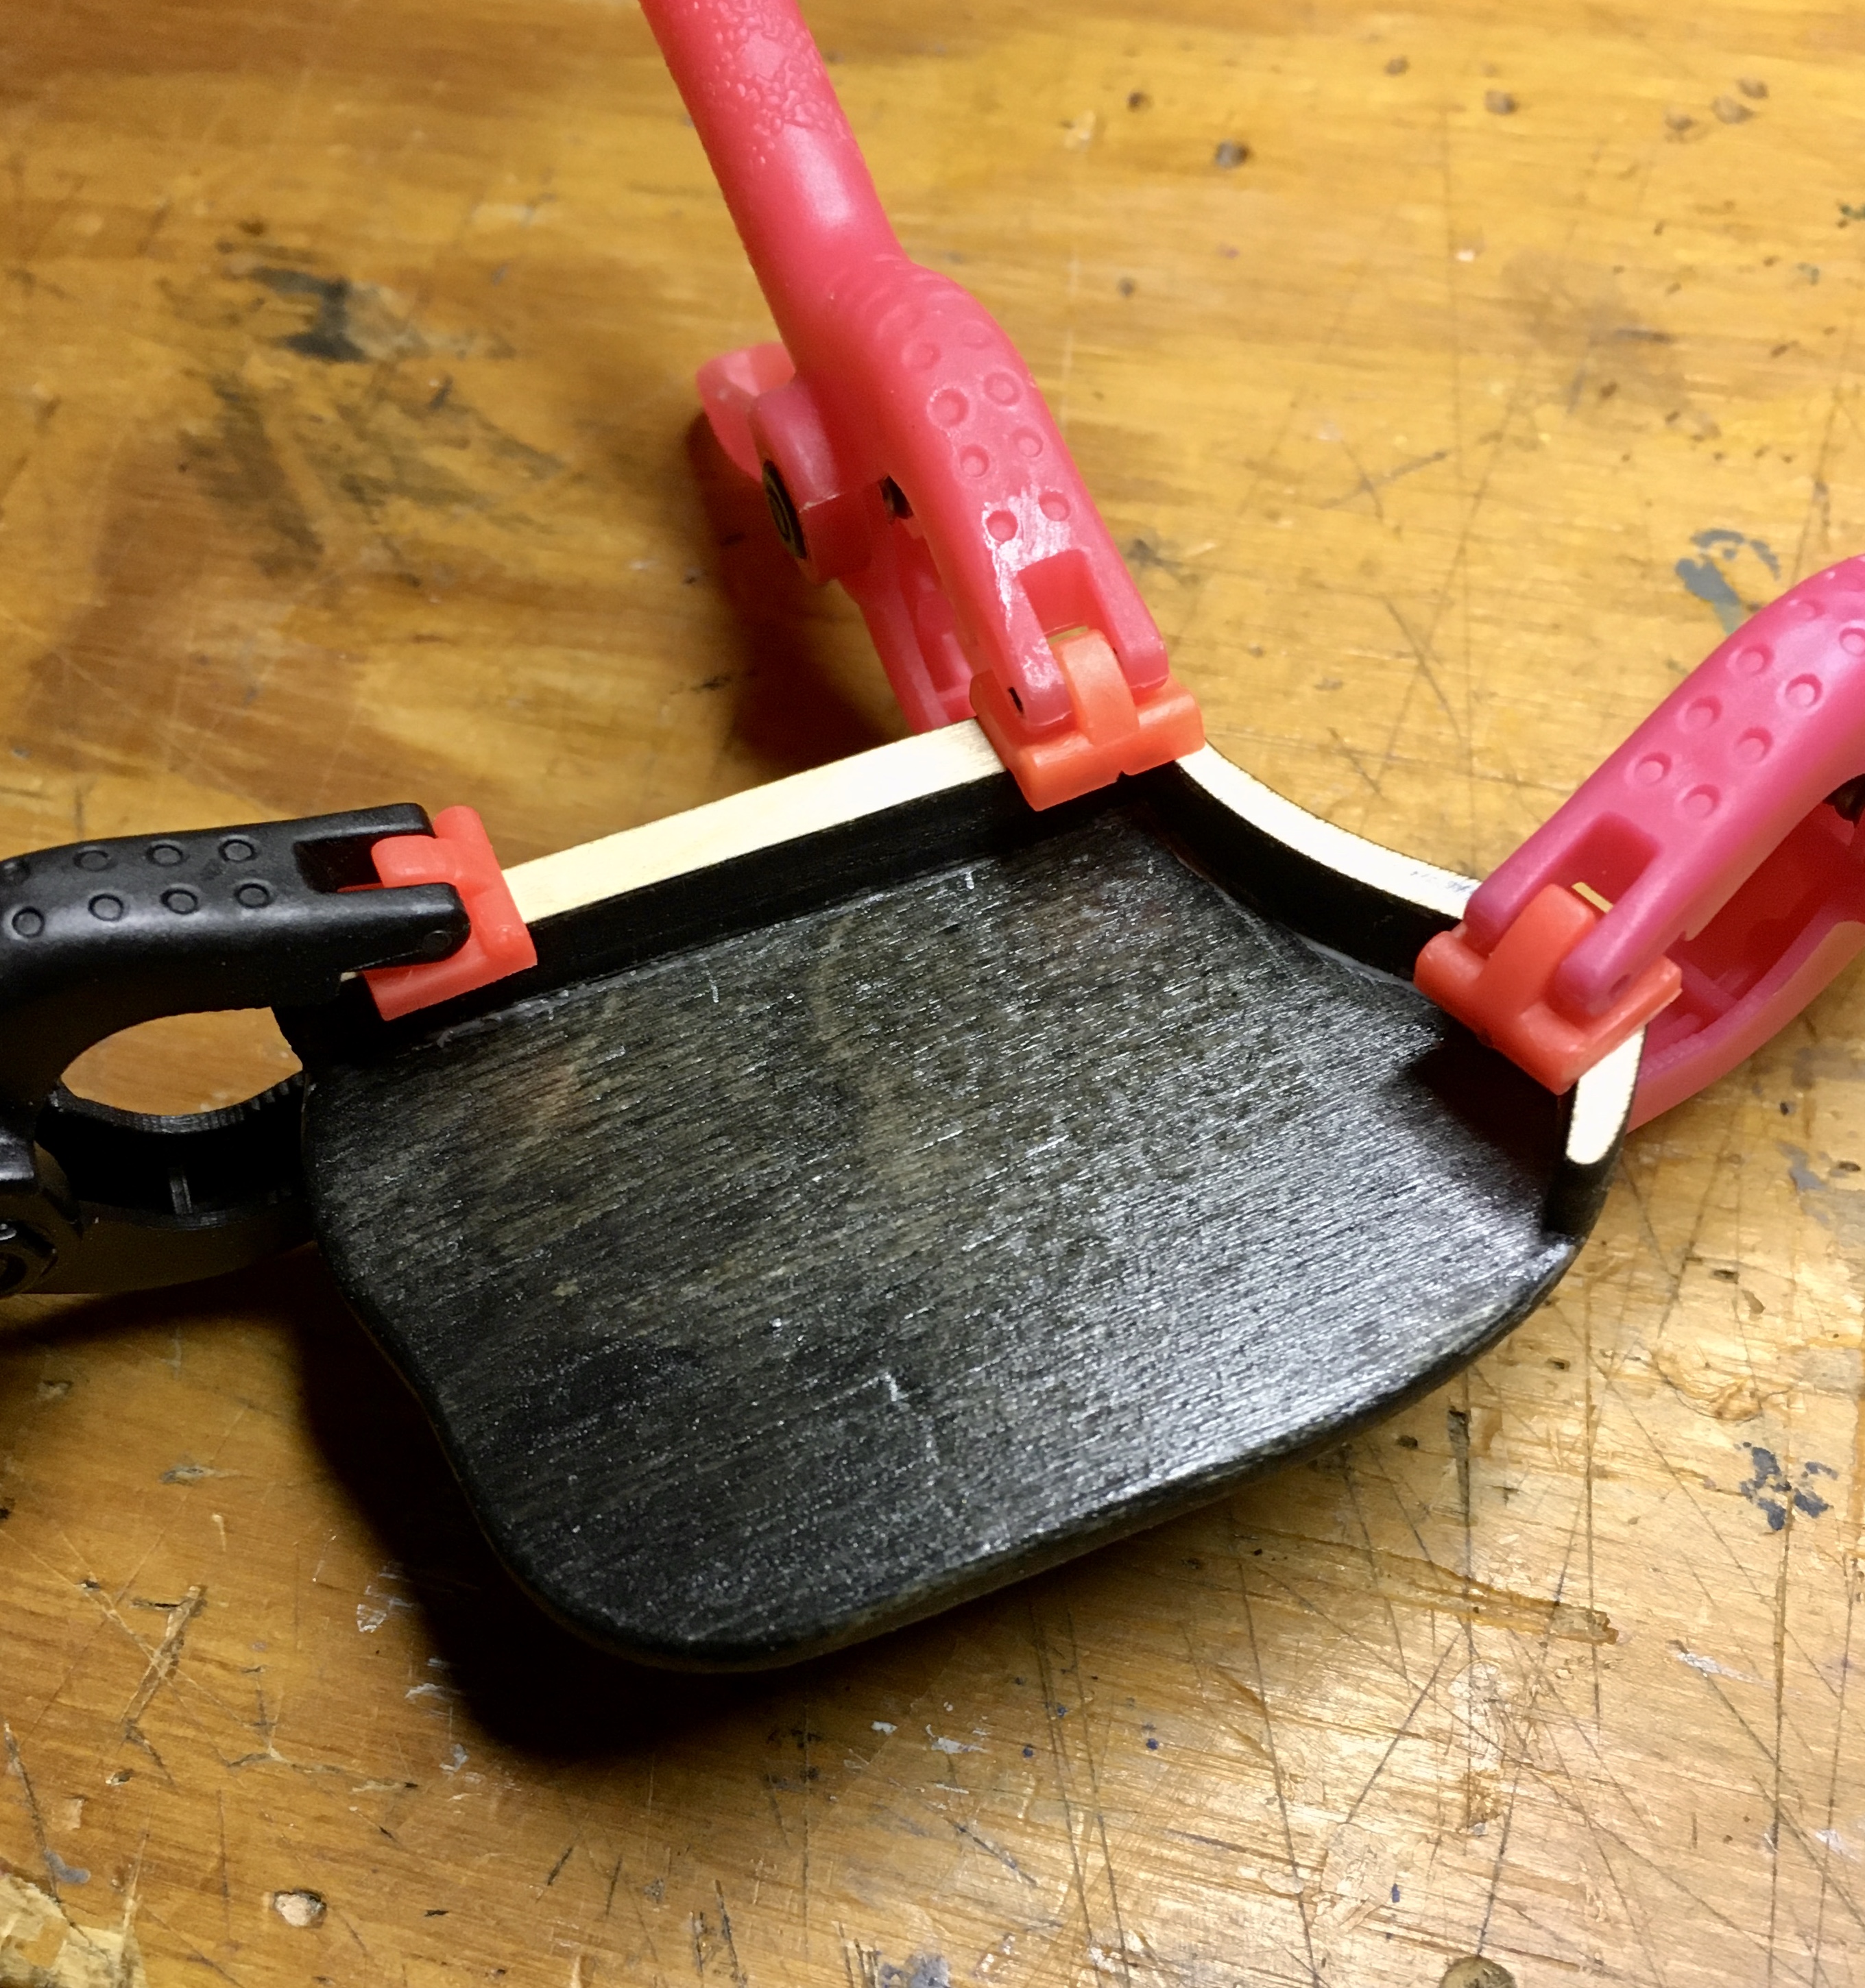
Used wood glue to attach one side to the spine with spring clamps. After the glue setup I glued on the other side.
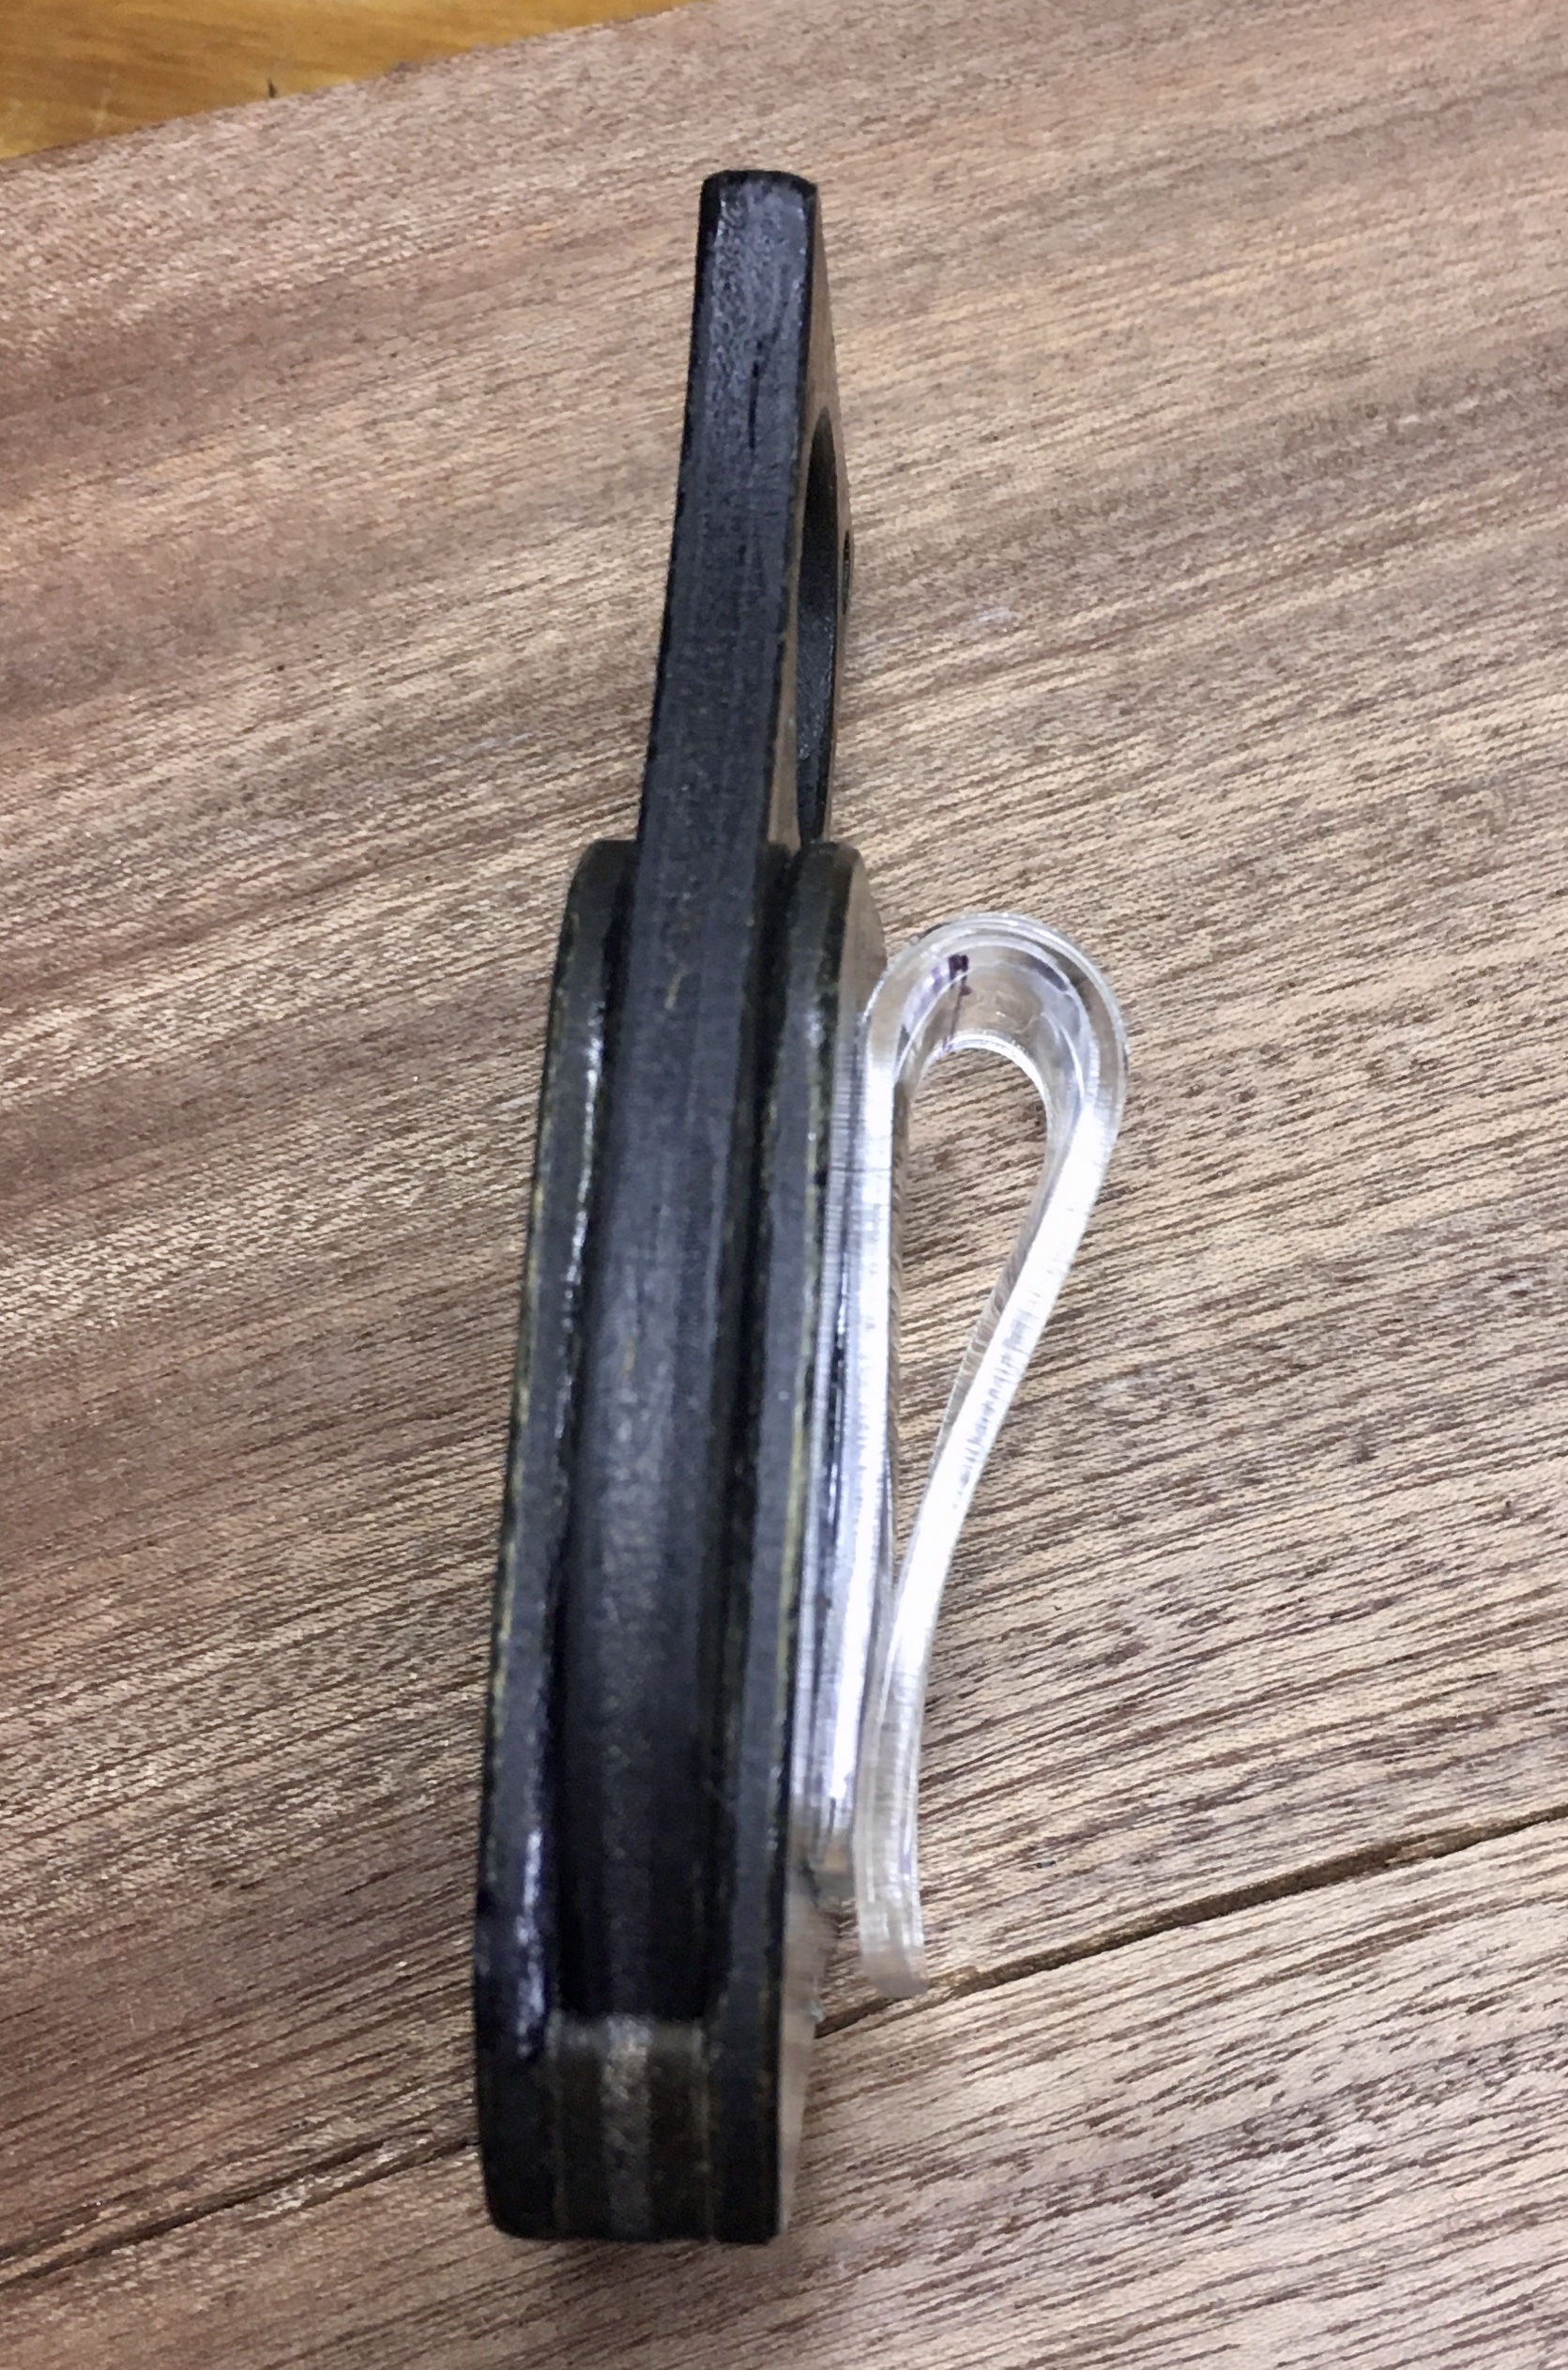
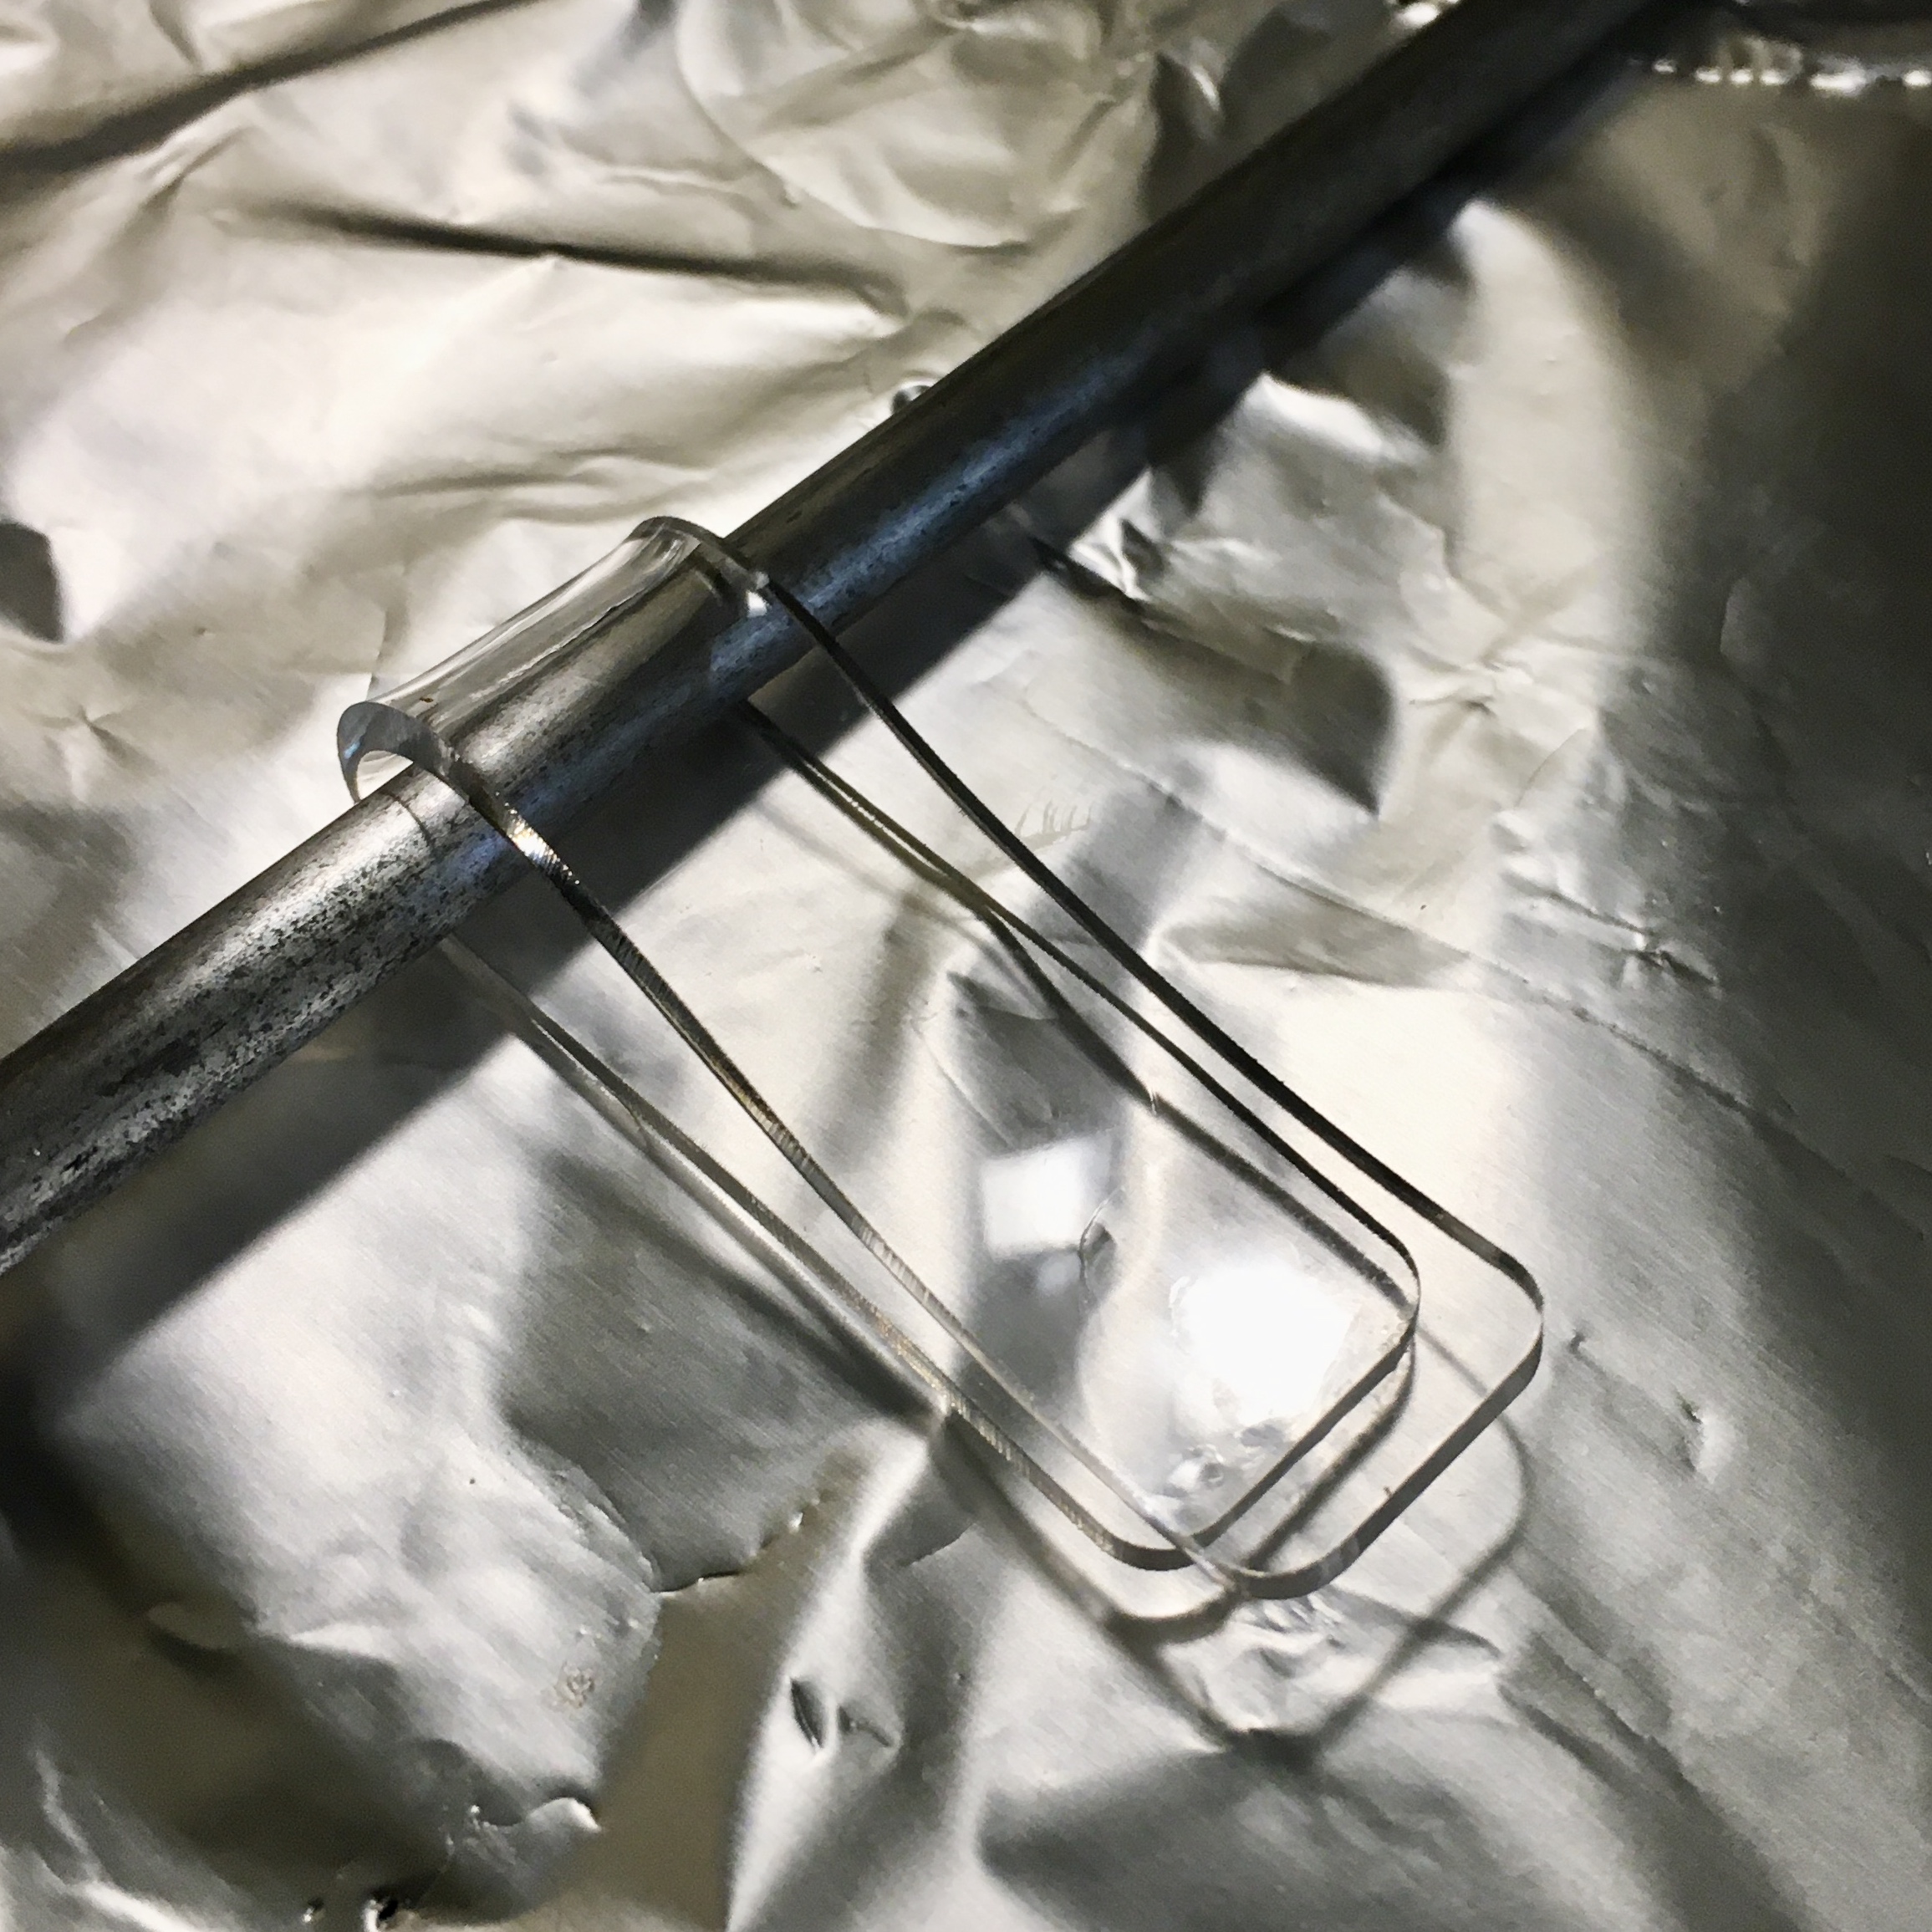
To make the belt clip, I cut out a 15 x 100 mm piece of 0.08" (2mm) Optix acrylic. I marked a line 45mm from one end. 45mm is the length I want to glue to the back of the sheath. I used a metal tent stake with a diameter of ~ 1/4" as the thing I will wrap the acrylic around after I heat the acrylic to form the clip.
Optix acrylic starts melting at 300-315F. I covered a small baking tray with Al foil and preheated the tray and metal tent stake in my toaster oven at 280F for about 8 minutes.
Then placed the acrylic strip into the oven and heated for ~ 2 minutes. Removed the tray and quickly placed the tent stake across the acrylic on the inside of the 45mm mark. Then using some tweezers I quickly wrapped the other end around the stake until it was touching the other end. Added a slight up bend to the end. Kept slight pressure on the folded end until it cooled enough to hold the shape.
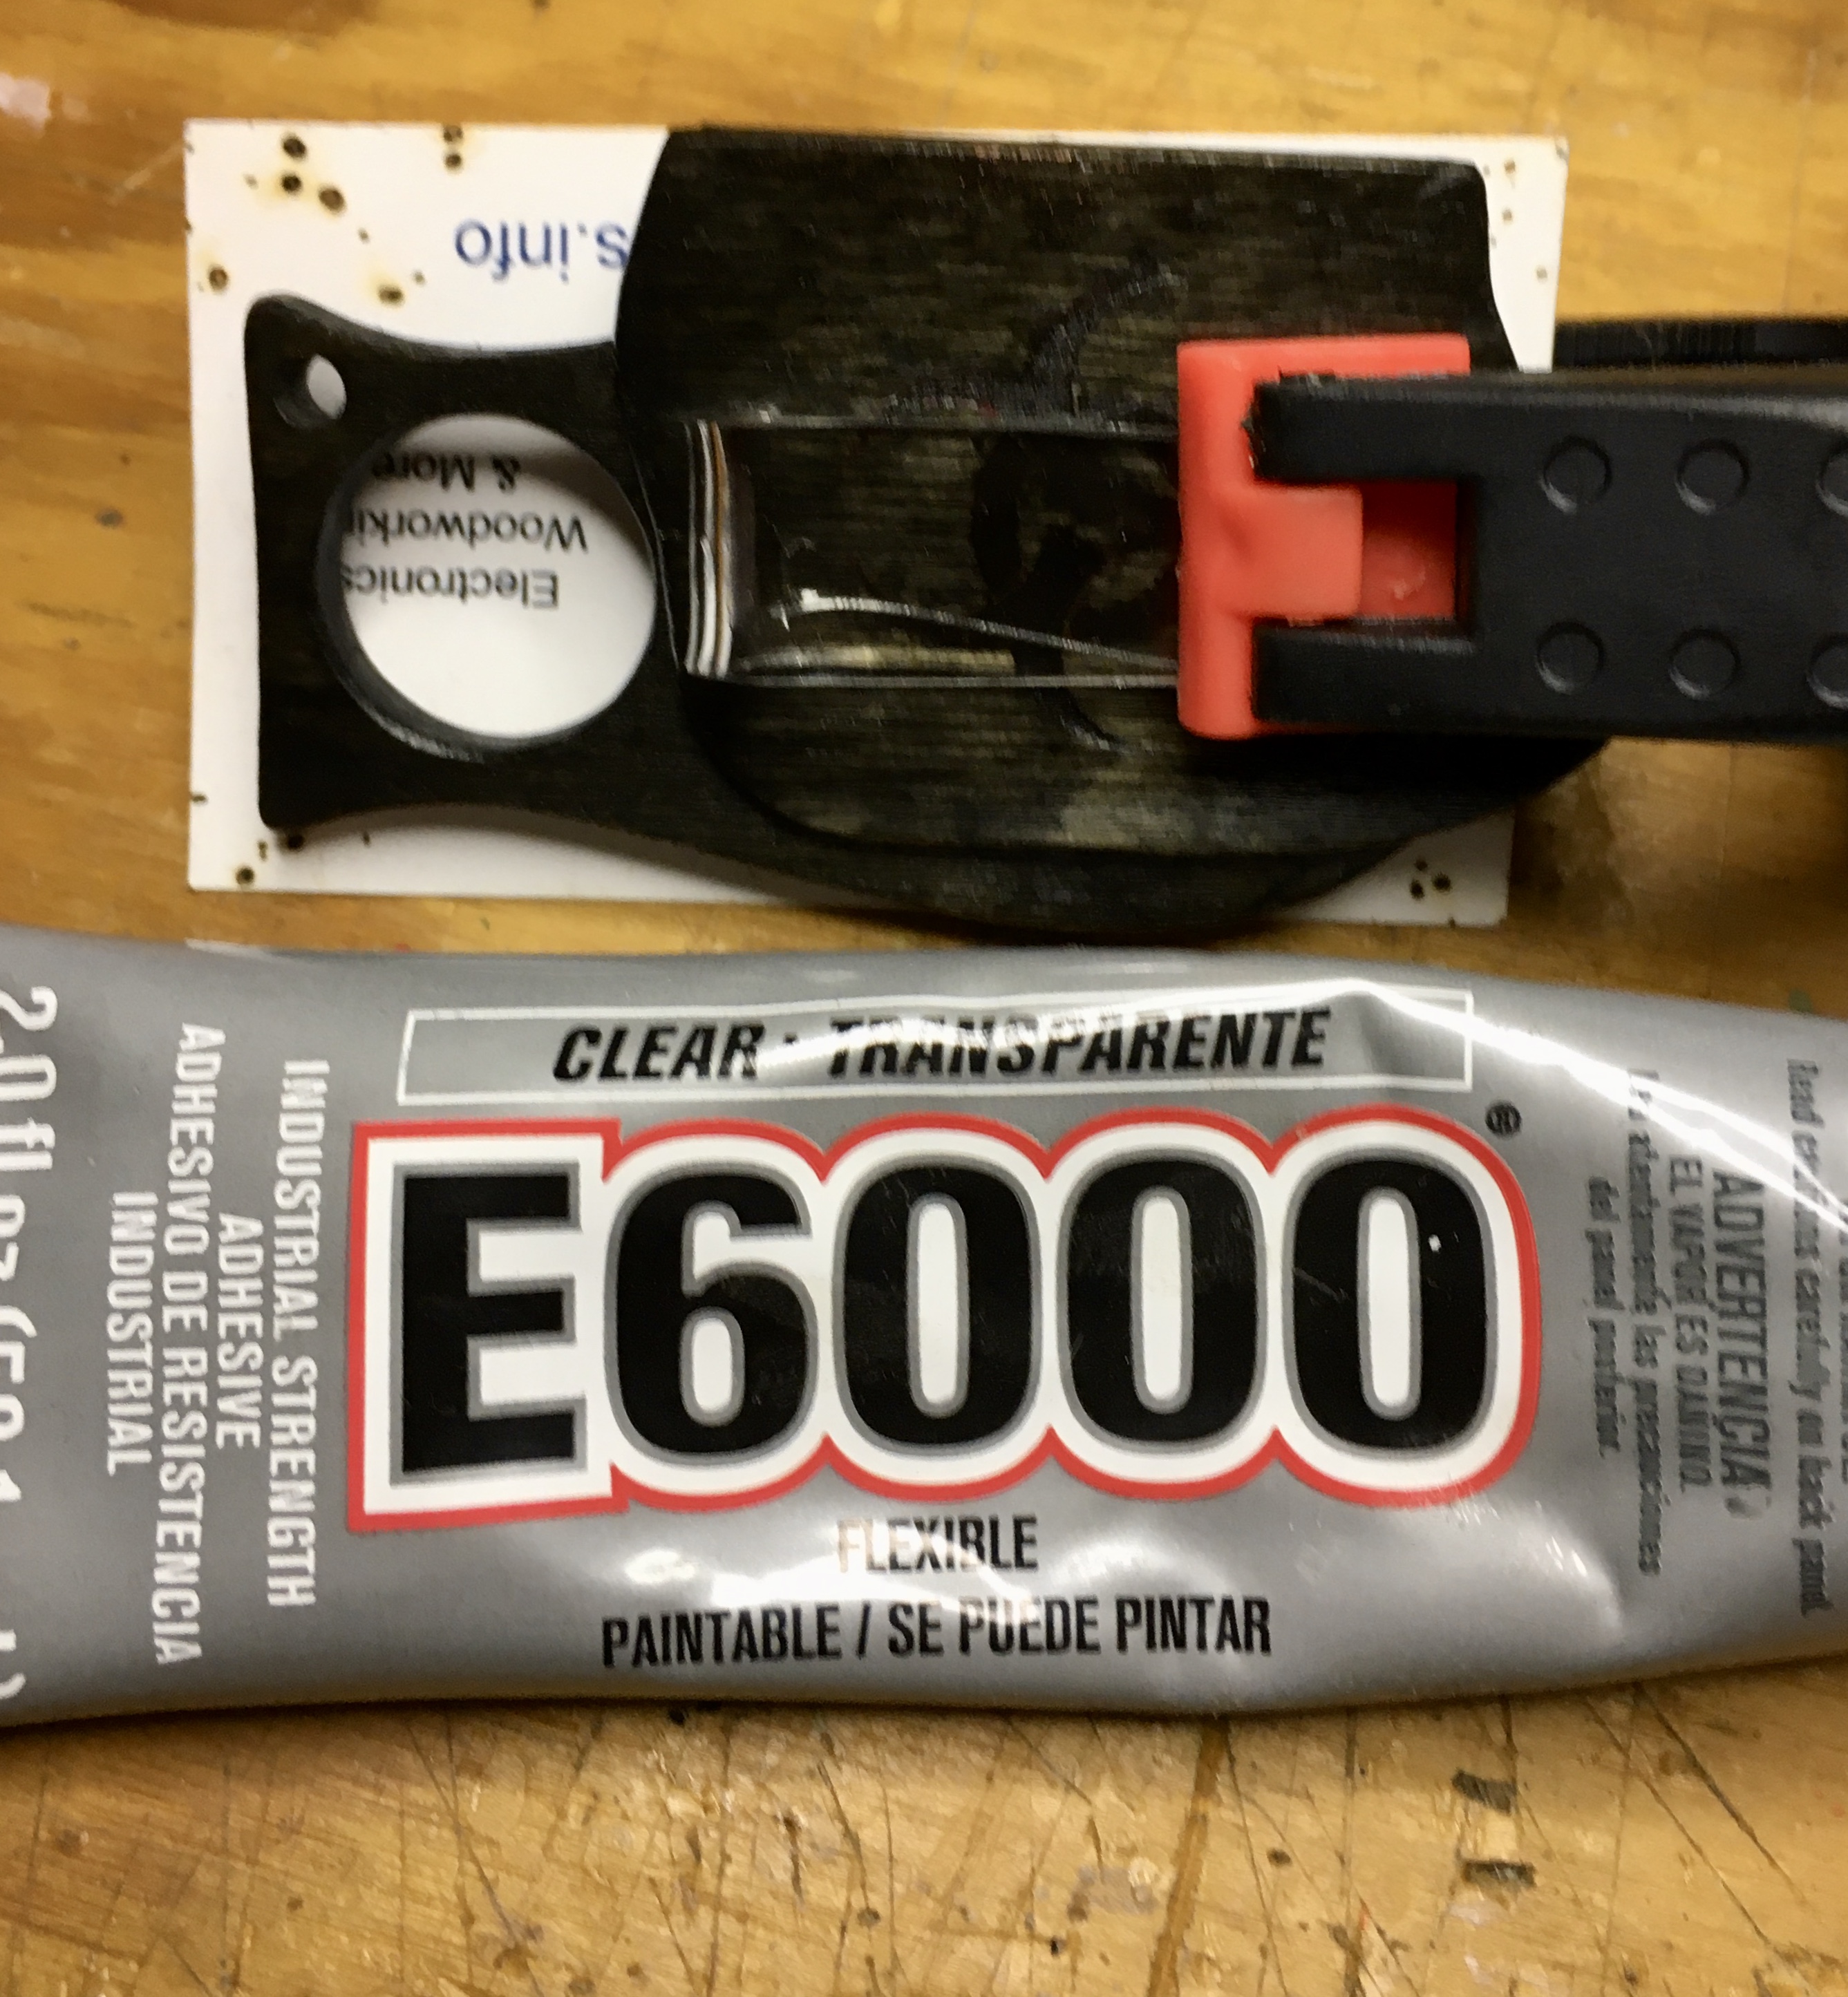
To glue acrylic to wood I like to use E6000 glue. Glued the clip to the back and clamped in place for 2 hours before removing the clamps. Really needs to dry at least 8 hours before pulling on it too strongly.
 The Touch-inator 2020.