The scope appears to have arrived in good shape. Tonight I have to solder all the pieces together.
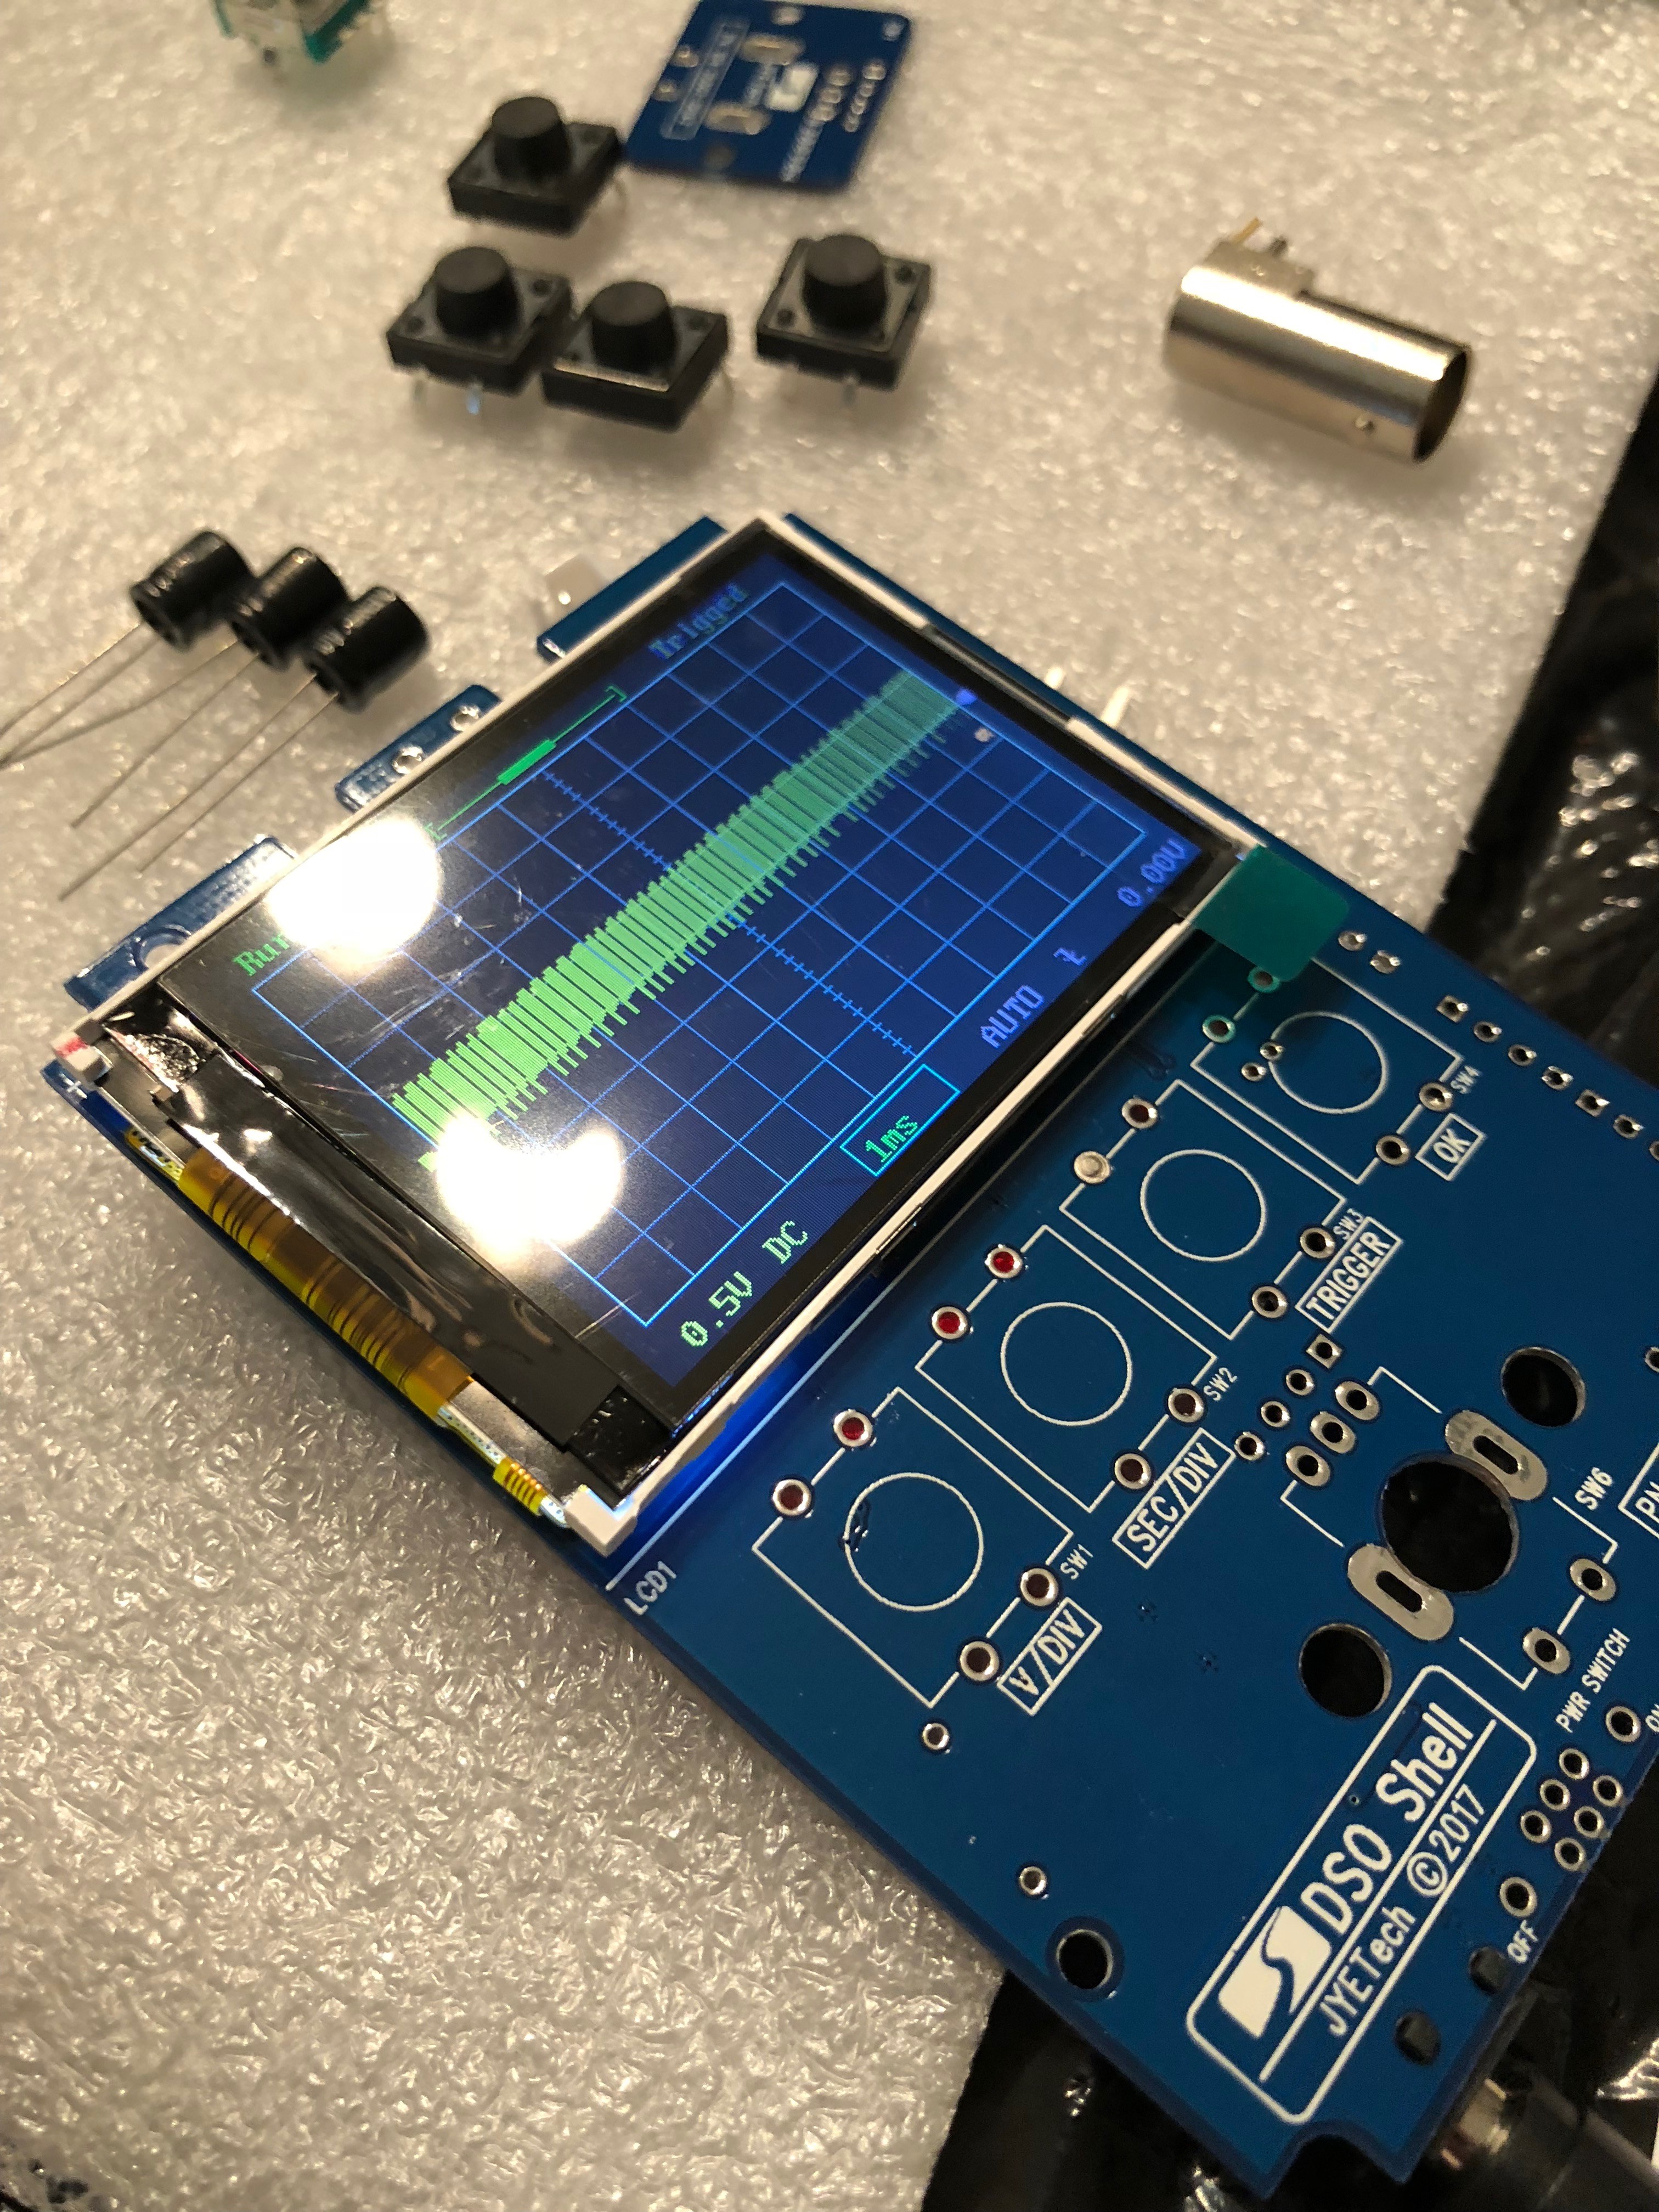

Watch a Youtube video of someone putting it together before you do. Because some bits of it are weird. Like the one knob is upside down compared to how one might think it is supposed to go. The ground stake is a bit of a bone of contention as far as which side of the board it sits better on too. Also you need a pretty strong iron to get the BNC jack soldered to the board. I remember that giving me some trouble. I also used masking tape to hold the screen to the board while I was working on it. It kept the screen from flapping around. That was a trick I picked up off a video. It worked good. I might not have thought about that on my own in the moment either. But it is an idea I wish I could say was mine.
Probably the worst part of the build is not soldering the board but putting the plastic shell together. Once you get it together it’s OK. But it’s like a Chinese puzzle box to assemble. As I can recall you have to slide the one panel on the stake first or it won’t go together? There was something weird about it. Like if you didn’t put it together one particular way forget about doing it. So save some patience for that step. Just don’t get too excited when you’re done with the board because you’re not quite done yet.
But I’m jelly. I love putting kits together. I haven’t done one in a while now. You should get an AVR transistor tester too. They’re great for sorting kit parts out with. Just make sure you get a kit with a TL431. You don’t want a zener diode as your precision reference. There’s so many variants of that now I don’t know what’s the best one anymore. I have 3 of them all different.
This is my favorite of all the ones that I have https://www.aliexpress.com/item/2017-Factory-Price-Original-Hiland-DIY-M12864-Graphics-Version-ESR-PWM-Transistor-Tester-Kit-75-x/32804384432.html But you can probably get it cheaper.
https://www.aliexpress.com/item/2017-Factory-Price-Original-Hiland-DIY-M12864-Graphics-Version-ESR-PWM-Transistor-Tester-Kit-75-x/32804384432.html?spm=2114.search0104.3.15.7e0f23eboKOZUn&ws_ab_test=searchweb0_0,searchweb201602_2_10152_10151_10065_10344_10068_10130_5722815_10324_10342_10547_10325_10343_10546_10340_5722915_10548_10341_10545_5722615_10696_10084_10083_10618_10307_5722715_10059_100031_10103_10624_10623_10622_5722515_10621_10620,searchweb201603_2,ppcSwitch_4&algo_expid=e15469d3-3bef-48da-acb3-5ac18b444cae-2&algo_pvid=e15469d3-3bef-48da-acb3-5ac18b444cae&priceBeautifyAB=0
Got a link to the kit?
@Daid_Braam they’re all over the place. Aliexpress, Banggood, Amazon, ebay. So it depends where you like to shop. 15001K DSO shell should turn it up. It is the redesign of the DSO138 which had a few problems. I think I got mine off Banggood when they were having a crazy sale. I remember paying $14 or $16 for it? They regularly go for around $28 it looks like.
@George_Allen one more thing about building the scope the buttons can go in two ways but only one way is right. So be careful about that. Well I think they go in a bit better the right way. But it is not hard to put them in turned 90 degrees. Mistakes are what cost in building kits so just don’t make any.
Re: holding the screen. A couple YouTube guys I have watched solder sometimes use blue or white tac? Kind of a semi sticky putty. bigclivedotcom has a really sweet assembly jig he bought when he was assembling lots of kits. The bottom frame/vice holds a stuffed board and then the top clamps/hinges on with a foam pad to hold the bits in place, flip the whole thing over and solder the leads. He says it was expensive, but, a quick glance makes it seem like some 15x15 extrusion and some pieces to hook the top and hold the boards and some foam in another frame should make for a good facsimile.
@Kyle_Kerr tacky adhesive like this? https://cdn.instructables.com/F7G/H1LK/IE2FYKZB/F7GH1LKIE2FYKZB.LARGE.jpg
It is something one could use to temporarily hold posters on a wall as well as other arts and crafts kind of things.
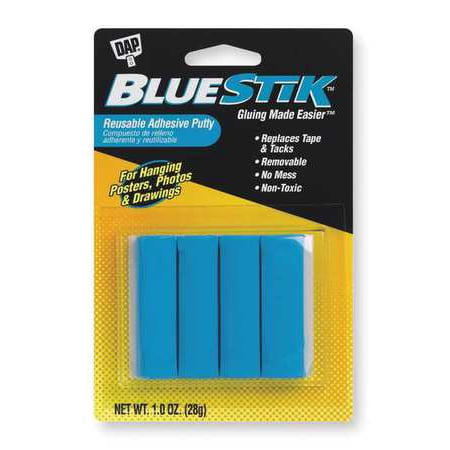
@Kyle_Kerr that’s a picture of blue tacky holding a crystal to a board. I know because I took it 3 years ago.
I got home late. Haven’t had a chance to build the scope. I think I’ll work on it tomorrow. As I thought it might, the 220v outlet won’t be installed until the weekend at the earliest.
@Paul_Frederick I very likely put the buttons in wrong. I didn’t see your whole post. I’ve been working on so many different things. I know for a fact that I made some errors…I put the encoder in before realizing it needed to be soldered to the supplied board. While trying to remove it, it melted. I ordered a replacement from a distributor in the UK. Also, it wasn’t clear which side to solder the power switch to and I later discovered I soldered it to the wrong side. The kit didn’t come with resistor #4. I’m not sure if that is no longer needed or if they just forgot to include it. Also, reading the writing on the parts and board were not designed for someone with my eyesight. I know I will need it though to troubleshoot my wiring. One of the motors on the table was working improperly…I feel it’s a wiring issue related to my wiring of the aviation connectors. I’m headed downtown after lunch to check it out. I think I’m going to resolder all of those connections. I can’t get the spindle wired until next week anyway.
@Kyle_Kerr I got the flow meter yesterday, but I won’t be able to run the spindle until next week. My current issue deals with correctly wiring up the limit switches and re-checking my completed wiring. I have a set of limit switches that have 4 screw terminals (2 labeled NC-normally closed, 2 labeled NO, normally open). None are labeled COM or GND. Unfortunately, I haven’t seen tutorials on wiring this type of switch. Also, I can use my proximity sensors, but others have given cautions. Unfortunately, for the sensors, there are multiple identical sensors on the market that are different. Some are PNP, others are NPN and voltages have to be adjusted down using a resistor. Oh, the challenges.
@Kyle_Kerr incidentally, I have some of that I got a while back…it’s useful stuff. You can use it to temporarily hang stuff on your walls or things. For a while I used it to keep a broken plastic compartment shut in a vehicle I was renting out (a quick jimmy rig). Can’t be tempted to do too much jimmy rigging on this project…Duct tape won’t work! 
I’d try the putty though
Yes, that sounds like a good idea. Actually, I need to scout out where I left that stuff last.
@George_Allen my eyes went on me about 10 or so years ago now. So today I use reading glasses and one of those magnifying visors. Both at the same time! The older I get the more I’m into my optics.
As far as losing stuff goes at one point everyone into this DIY stuff has to gain an appreciation for organization. I know I’ve invested no small effort on my part towards that end. It is an ongoing battle for me too. Because I’m always getting new junk that I have to deal with. So always be scouting out with an eye towards new solutions. Remember the hierarchy of storage. From low to high it is piles, shelves and drawers. So move piles to shelves and upgrade to drawers when you can. Your mantra needs to be, a place for everything and everything in its place. Or what you have will overwhelm you.