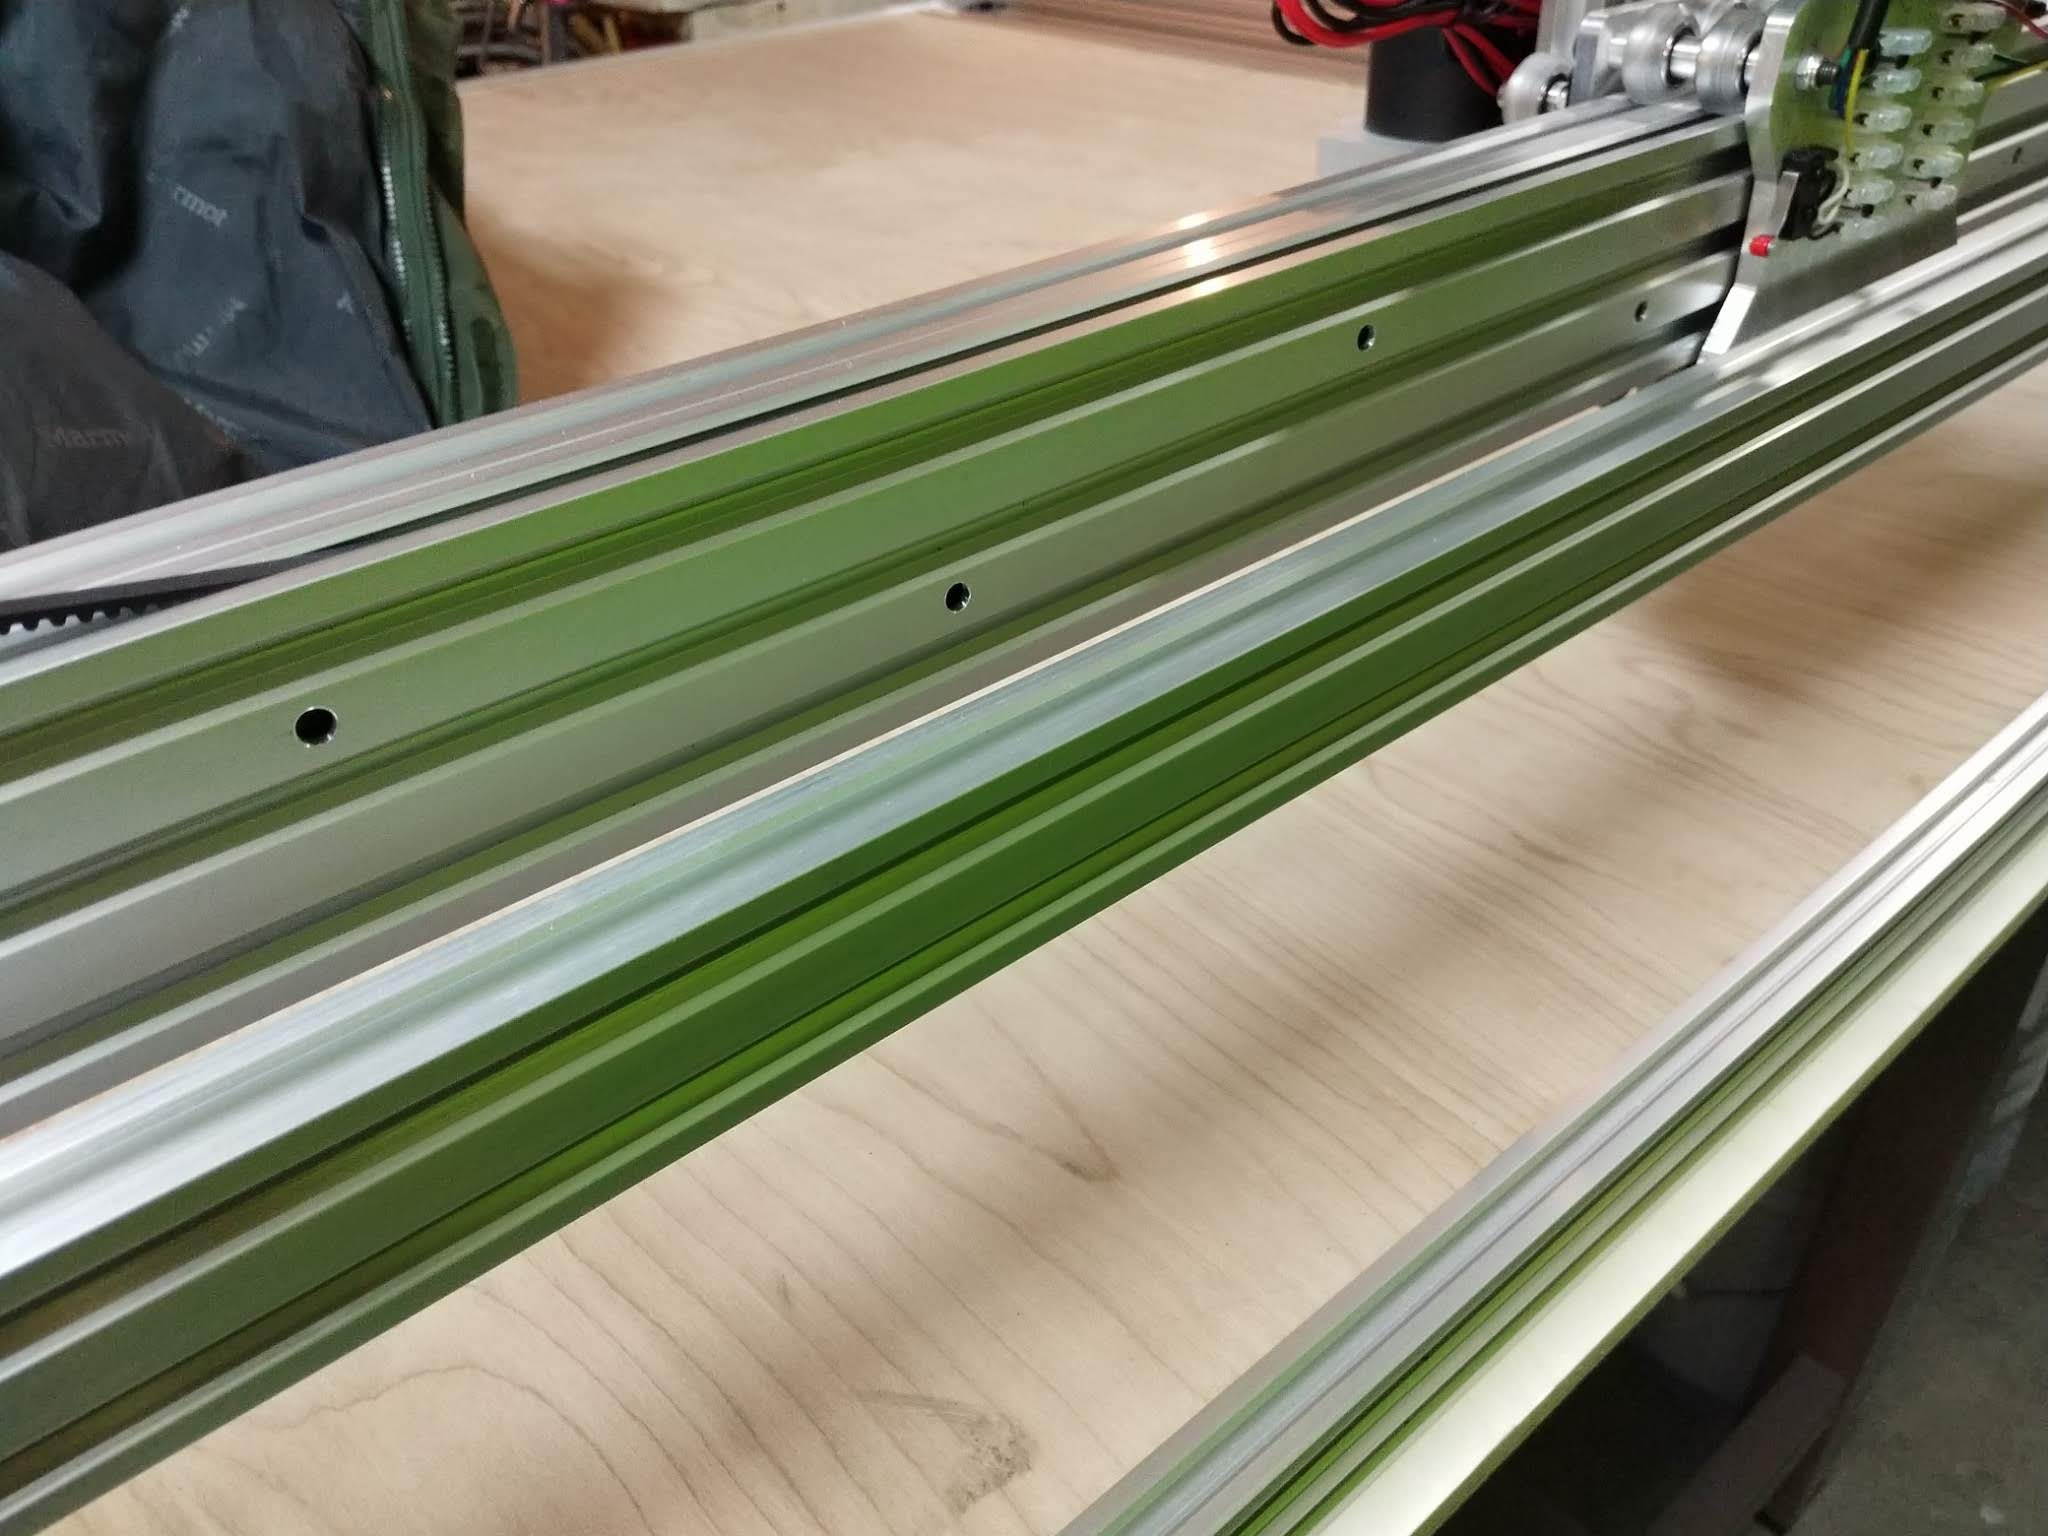
So in between breaking stuff, I decided to try something to help stiffen the X axis up a little. I have the two independent 20x60 beams that make up the X beam. I noticed there is a fair amount of flex, and separation between those two beams when pressure is applied to the Z, X carriage. I was going to drill through them and run some M5 bolts through the channels into tee nuts, but decided to try JB weld epoxy instead.
I just mixed up a big ol’ batch of it, and spread it down the length of the beams on the flats of the channel and sandwiched the two together. I have about 10 C-clamps holding them together right now. I guess I’ll just wait and see how it works out. I figure if it doesn’t hold, I can always go with my original plan. I tried to find 40x60 C-Beam or V groove extrusion, but I guess that is not an available option that I could find.
This was one of my pet peeves with the Ox, the excess flex in the X and Z axis. This is why I designed the Ox HD. It uses 2x 20 x 80’s for the X beam, (held together with 3M VHB tape) and a C-beam Z axis with 8 wheels instead of 6. There is no such thing as a 20x60 C-beam or 40x60 extrusions, at least not in V-slot style.
The later ones I built used a c-beam for the X, with a 20x40 bolted into the channel to stiffen it even more. These mods require new plates, you can get them from Chris Laidlaw (Chrisclub1 on EBay). The Ox HD build is on the Openbuilds forum:
@Darrell_n Thanks for the info. Maybe at some point down the road I can upgrade to something similar. Gonna have to take it one step at a time for now. A mod here and there. The machine really isn’t that bad, and it cuts pretty good for the things I’m making. I’m just trying to make what I have the best it can be. Or at least better than it is without going in debt!
I just drilled inside the slots on the 2 beams and used sheet metal screws to put the 2 beams together. Works great but even with that I still get a small amount of deflection. I have the 1500 x 1500 ox and love it. Only complaint is the deflection.
I’ve considered upgrading to the 40x80 C-beam. The existing front wheels would ride on top of the top part of the C and inside on the bottom part of the C. I would add another set of wheels to run on the underside of the top of the C. The rear wheels would require a new plate or plate extension so they could ride below the 80mm back of the C but I think it could be done rigidly. It would also give you another set of wheels on the front. May be more effort than it’s worth if you can just cut a new set of plates and use the 40x80 with the existing wheels arrangement (just stretched). Also not sure if having the tool on the front part of the C would be less stiff as it’s only that 20x20mm extension holding things. Thoughts?
@Jerry_Hall Mine is the 1500 x 1500 also. The deflection will always be there no matter what, but just those little things have to help some. If we all had piles of cash at our disposal, we would all own steel beam constructed machines that could cut through railroad ties!
@Jace_Richardson You can add all the wheels you want, but the basic issue of flexing of the extrusions will not change. That is where 90% of the deflection occurs. The basic design of the Ox was too light for any serious cutting. In my personal opinion, the original Ox design shouldn’t be made any larger than 500 mm wide. The Ox HD is OK out to 800 mm or so, but there is no point in making it any larger or the thing will flex like a wet noodle. At 1500mm, just pushing on the axis with one finger would cause it to deflect more than 1/4".
It will work OK if you take extremely light cuts, but pushing the system at all will result in major flex and inaccuracies. The OB system has limitations, and if you choose to ignore them, you will have issues. It’s good enough for light hobby use, as long as you know the limitations and work within them.
As someone said, if you want to build a better machine, use steel or at least multiple heavy duty extrusions. Also, the OB wheel support system has extreme limitations as well, any serious design would need heavy duty linear bearings.
Update: With everything all put back together, I can say “Big Difference” from what it was, to what it now is. I really can’t see the 2 beams separating any time soon. Plus, all channels are left unobstructed by using the epoxy instead of bolts. If I need to add additional tee nuts, or whatever, for whatever reason, I can. Been wanting to try this since I first put it together.
It is still a hobby grade machine, but it is now a better, stronger, hobby grade machine! Can I start cutting 1/4" aluminum plates? Well…With light passes, the right bit, and the right speeds and feeds, I can certainly try. A piece of aluminum plate held down near a corner of the bed, I would not be afraid to attempt it.
@Jack_Daugherty absolutely love your digging in. The mod is one that guys have been making since the conception of the design. You have the equivalent of a c-beam with respect to area now. Most guys do go with a bolted connection, cool use of epoxy.
I used to cut aluminum on an OX. In fact not much I haven’t done on one. I was using a spindle with speed control, but try a 1/8”, single flute upcut, understand chatter means you need to dig deeper or go faster.
I drilled through one beam and tapped the other with a stagger pattern on about 20cm centers, fastened through and totally hidden within the profile with hex cap screws. This mod greatly reduced both the total flex of the the beams, but also reduced the tendency of the trolly to rotate while flexing the beams independently. I thought about including double sided tape between, but did not.