So after 4+ years of K40 ownership I was seeing signs that my x-axis belt need to be replaced; fuzzy edged raster engraving and belt slippage at high speed engraving (belt was tight). The x-axis belt takes more abuse from slinging the laser head back and forth, so you would expect more wear then the y-axis. Haven’t seen a good description of the replacing the belt so I’m going to detail mine here.
K40 x-axis belt specs
- Pitch: 2.032mm (0.080”)
- Width: 4.67mm
- Type: MXL
I purchased mine from LightObject
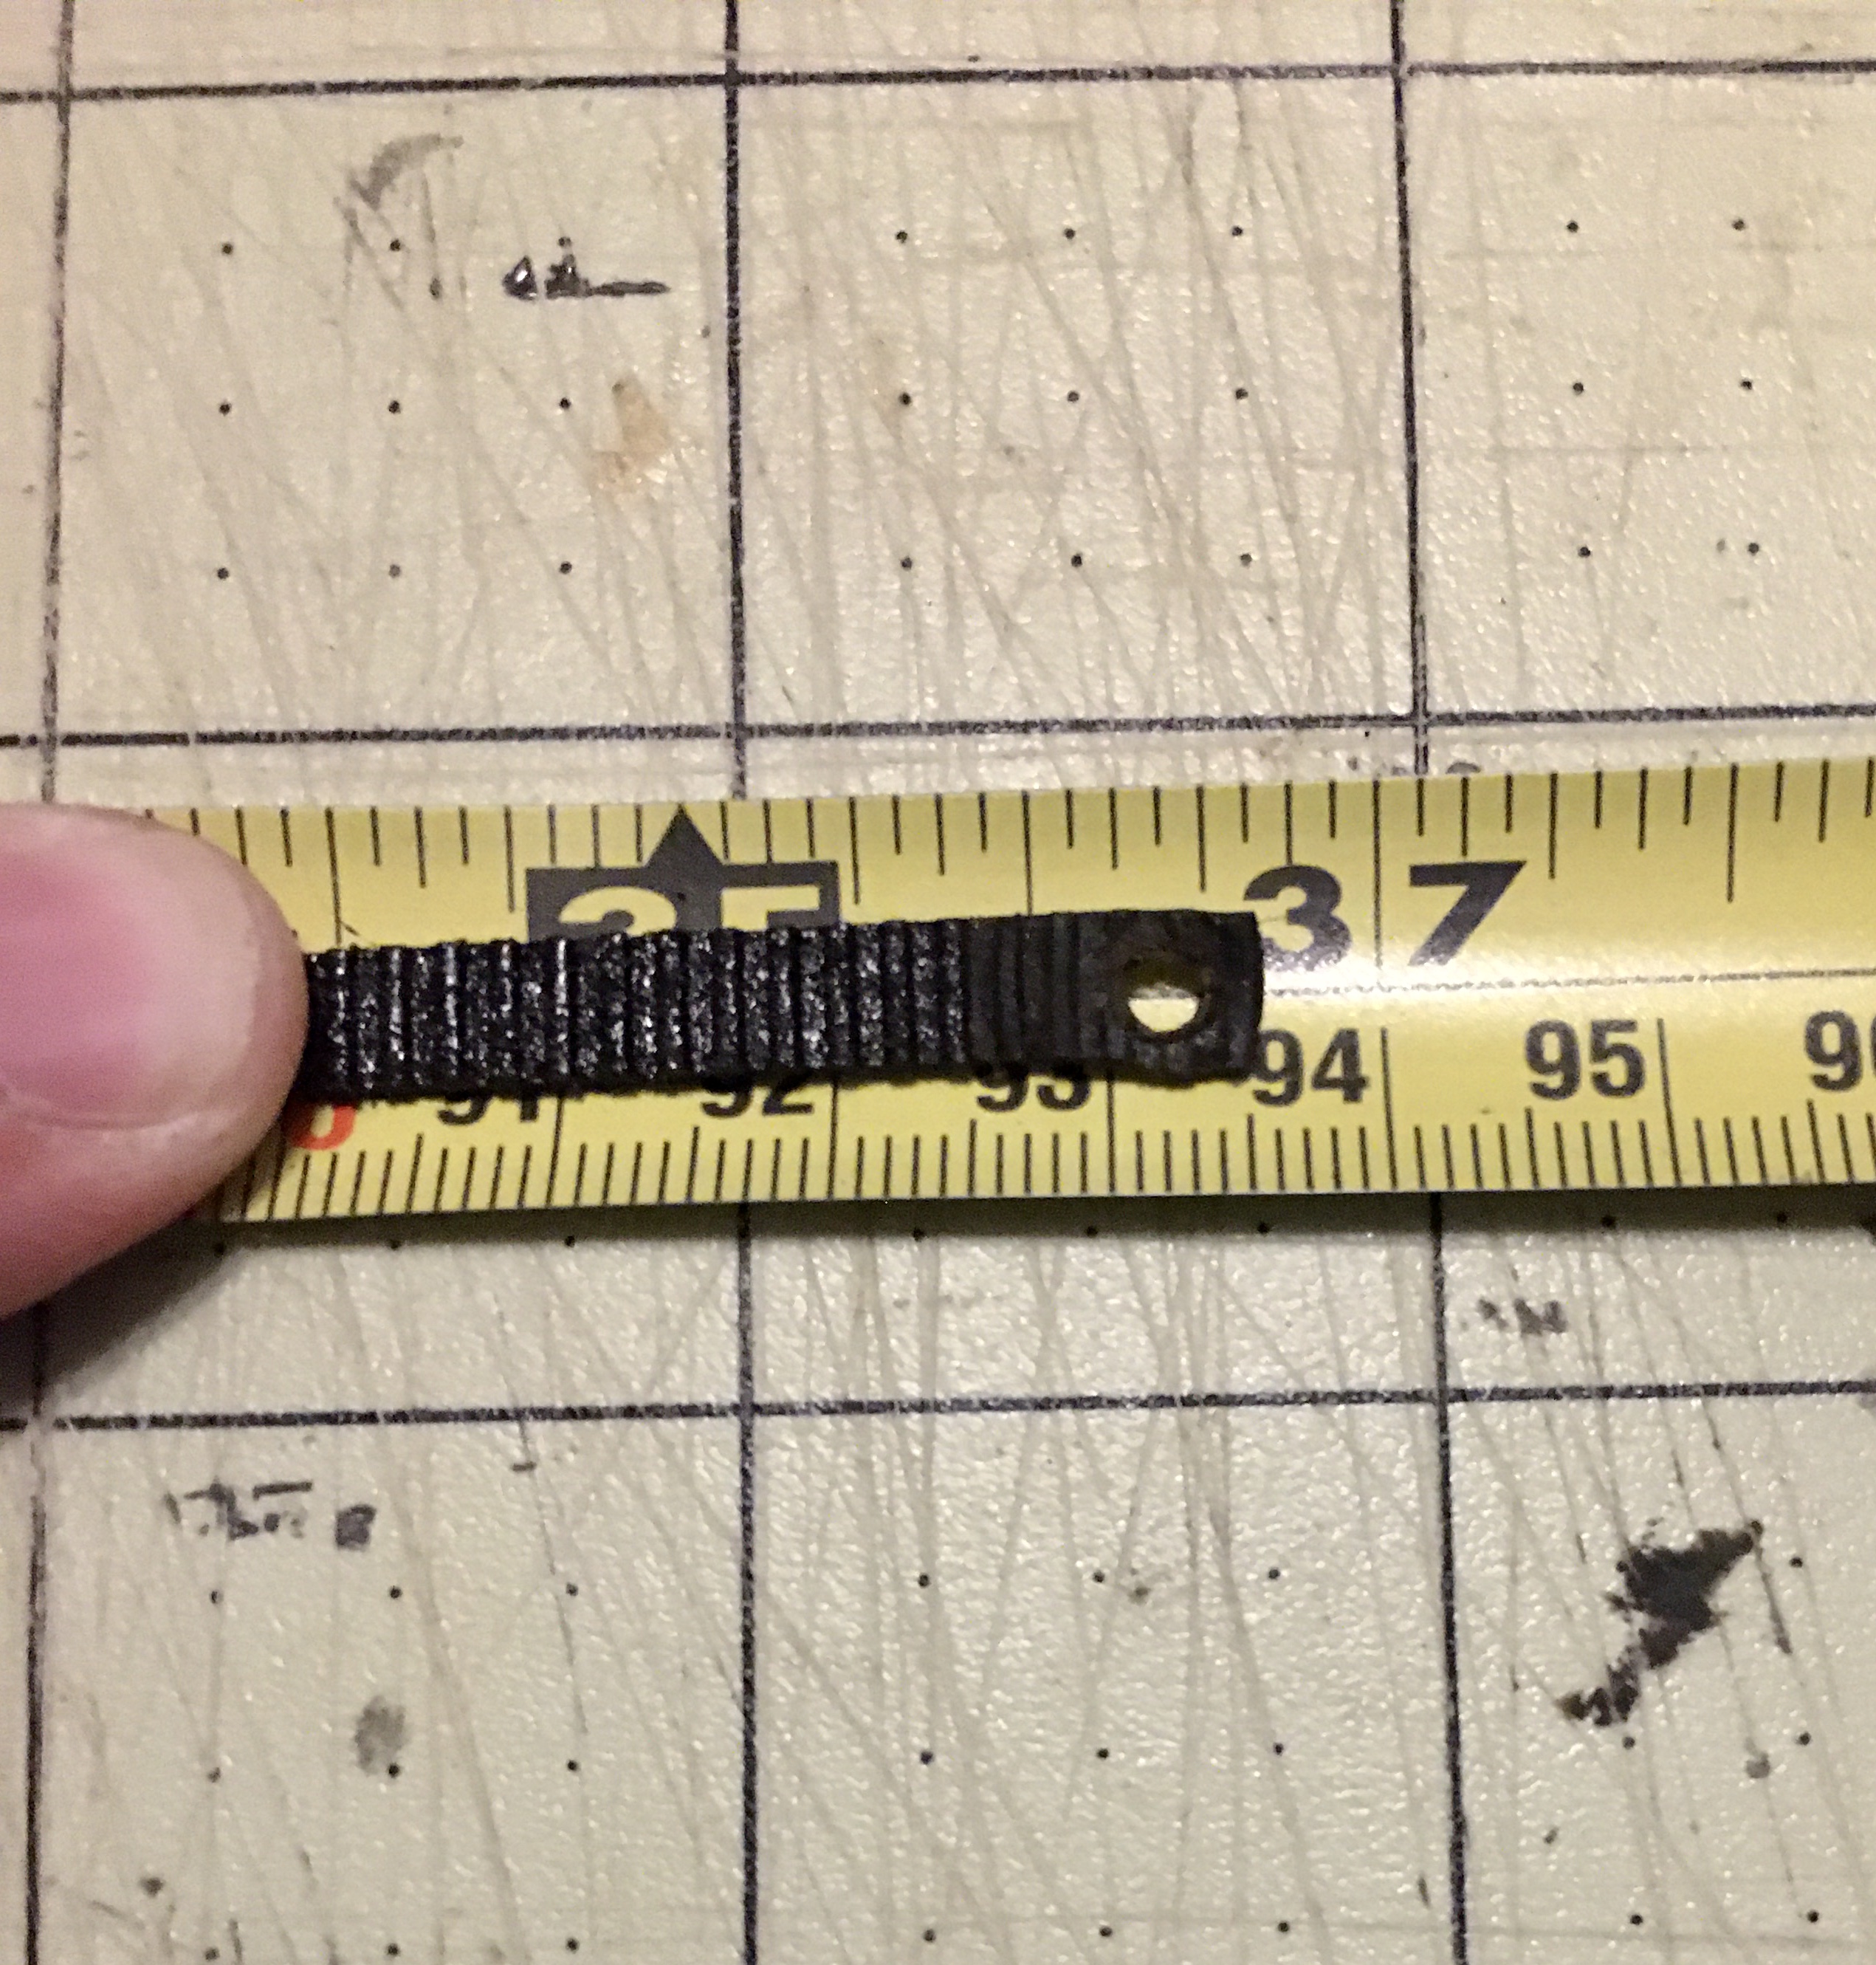
Price is per foot with a 5 ft min order. Supposedly you need 3ft for the x-axis, so I ordered 6ft since I had to order at least 5ft. Turns out you need just a bit more than 3ft (36"). My stock belt ended up measuring 36-13/16" or 93.5cm. As luck would have it the 6ft I ordered had a bit extra and measured 187cm, exactly double the 93.5cm stock length. So I have a back up belt as I hoped I would, probably would have been better to order 7ft just to be sure.
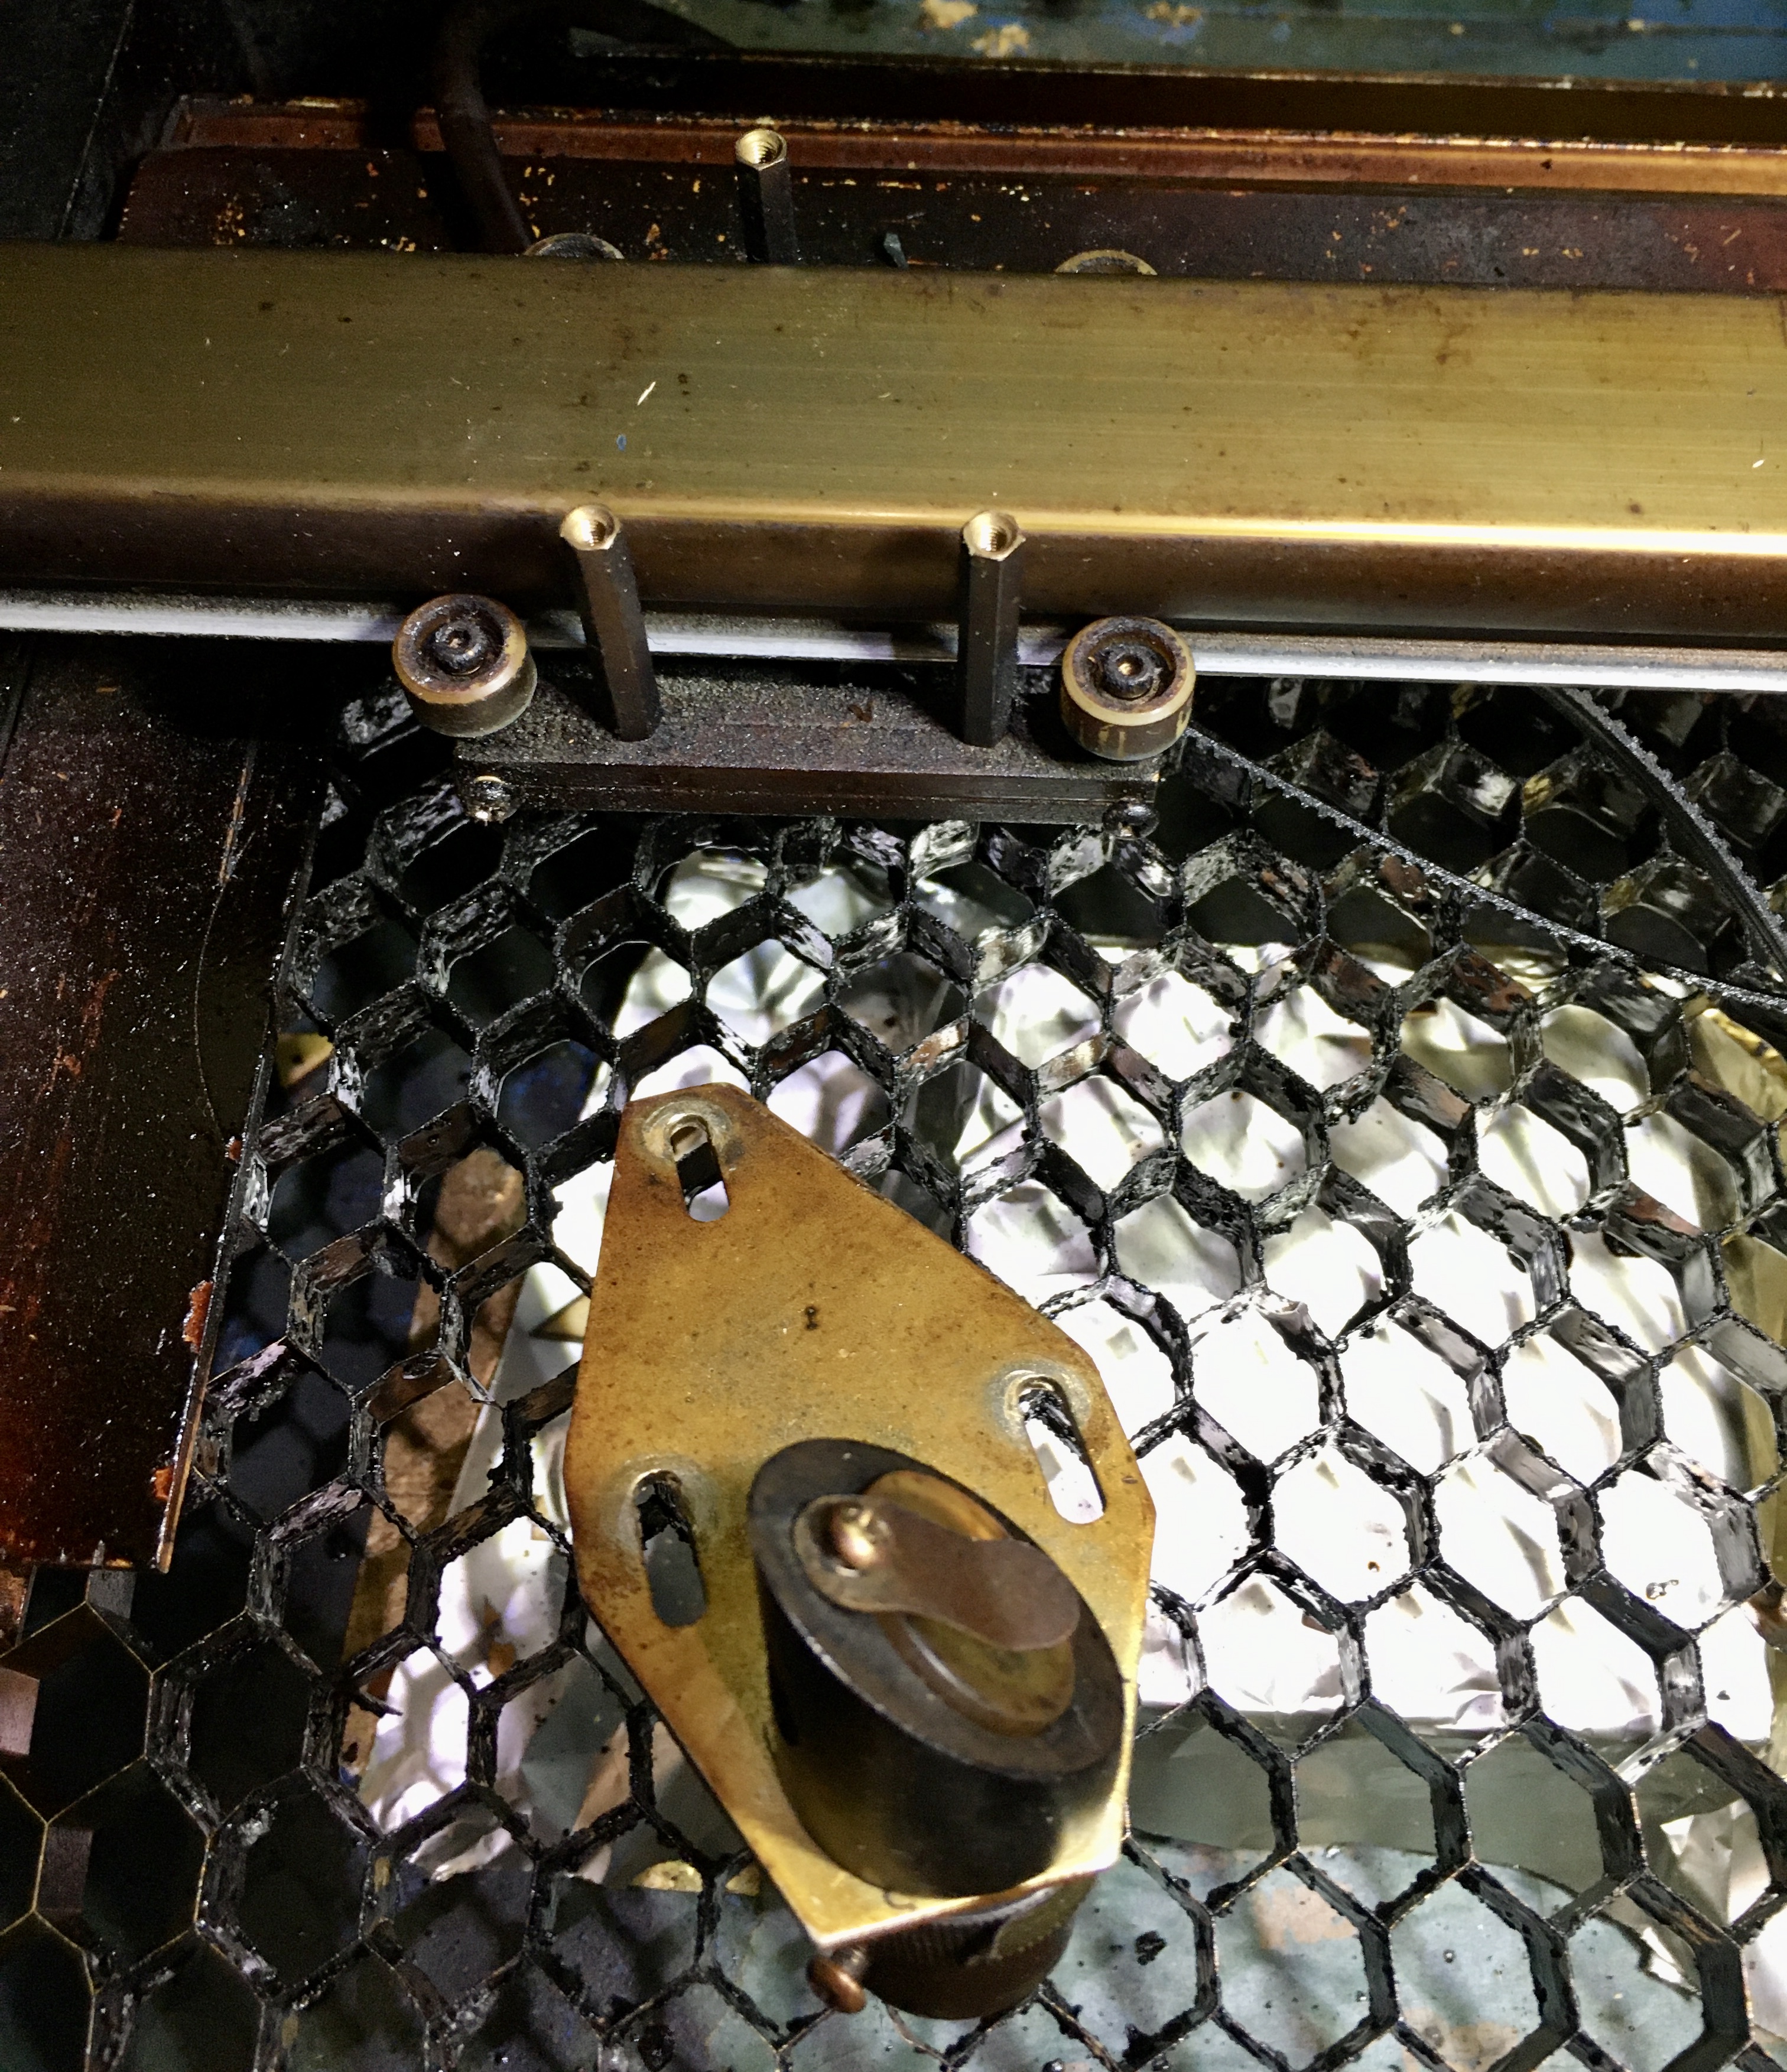
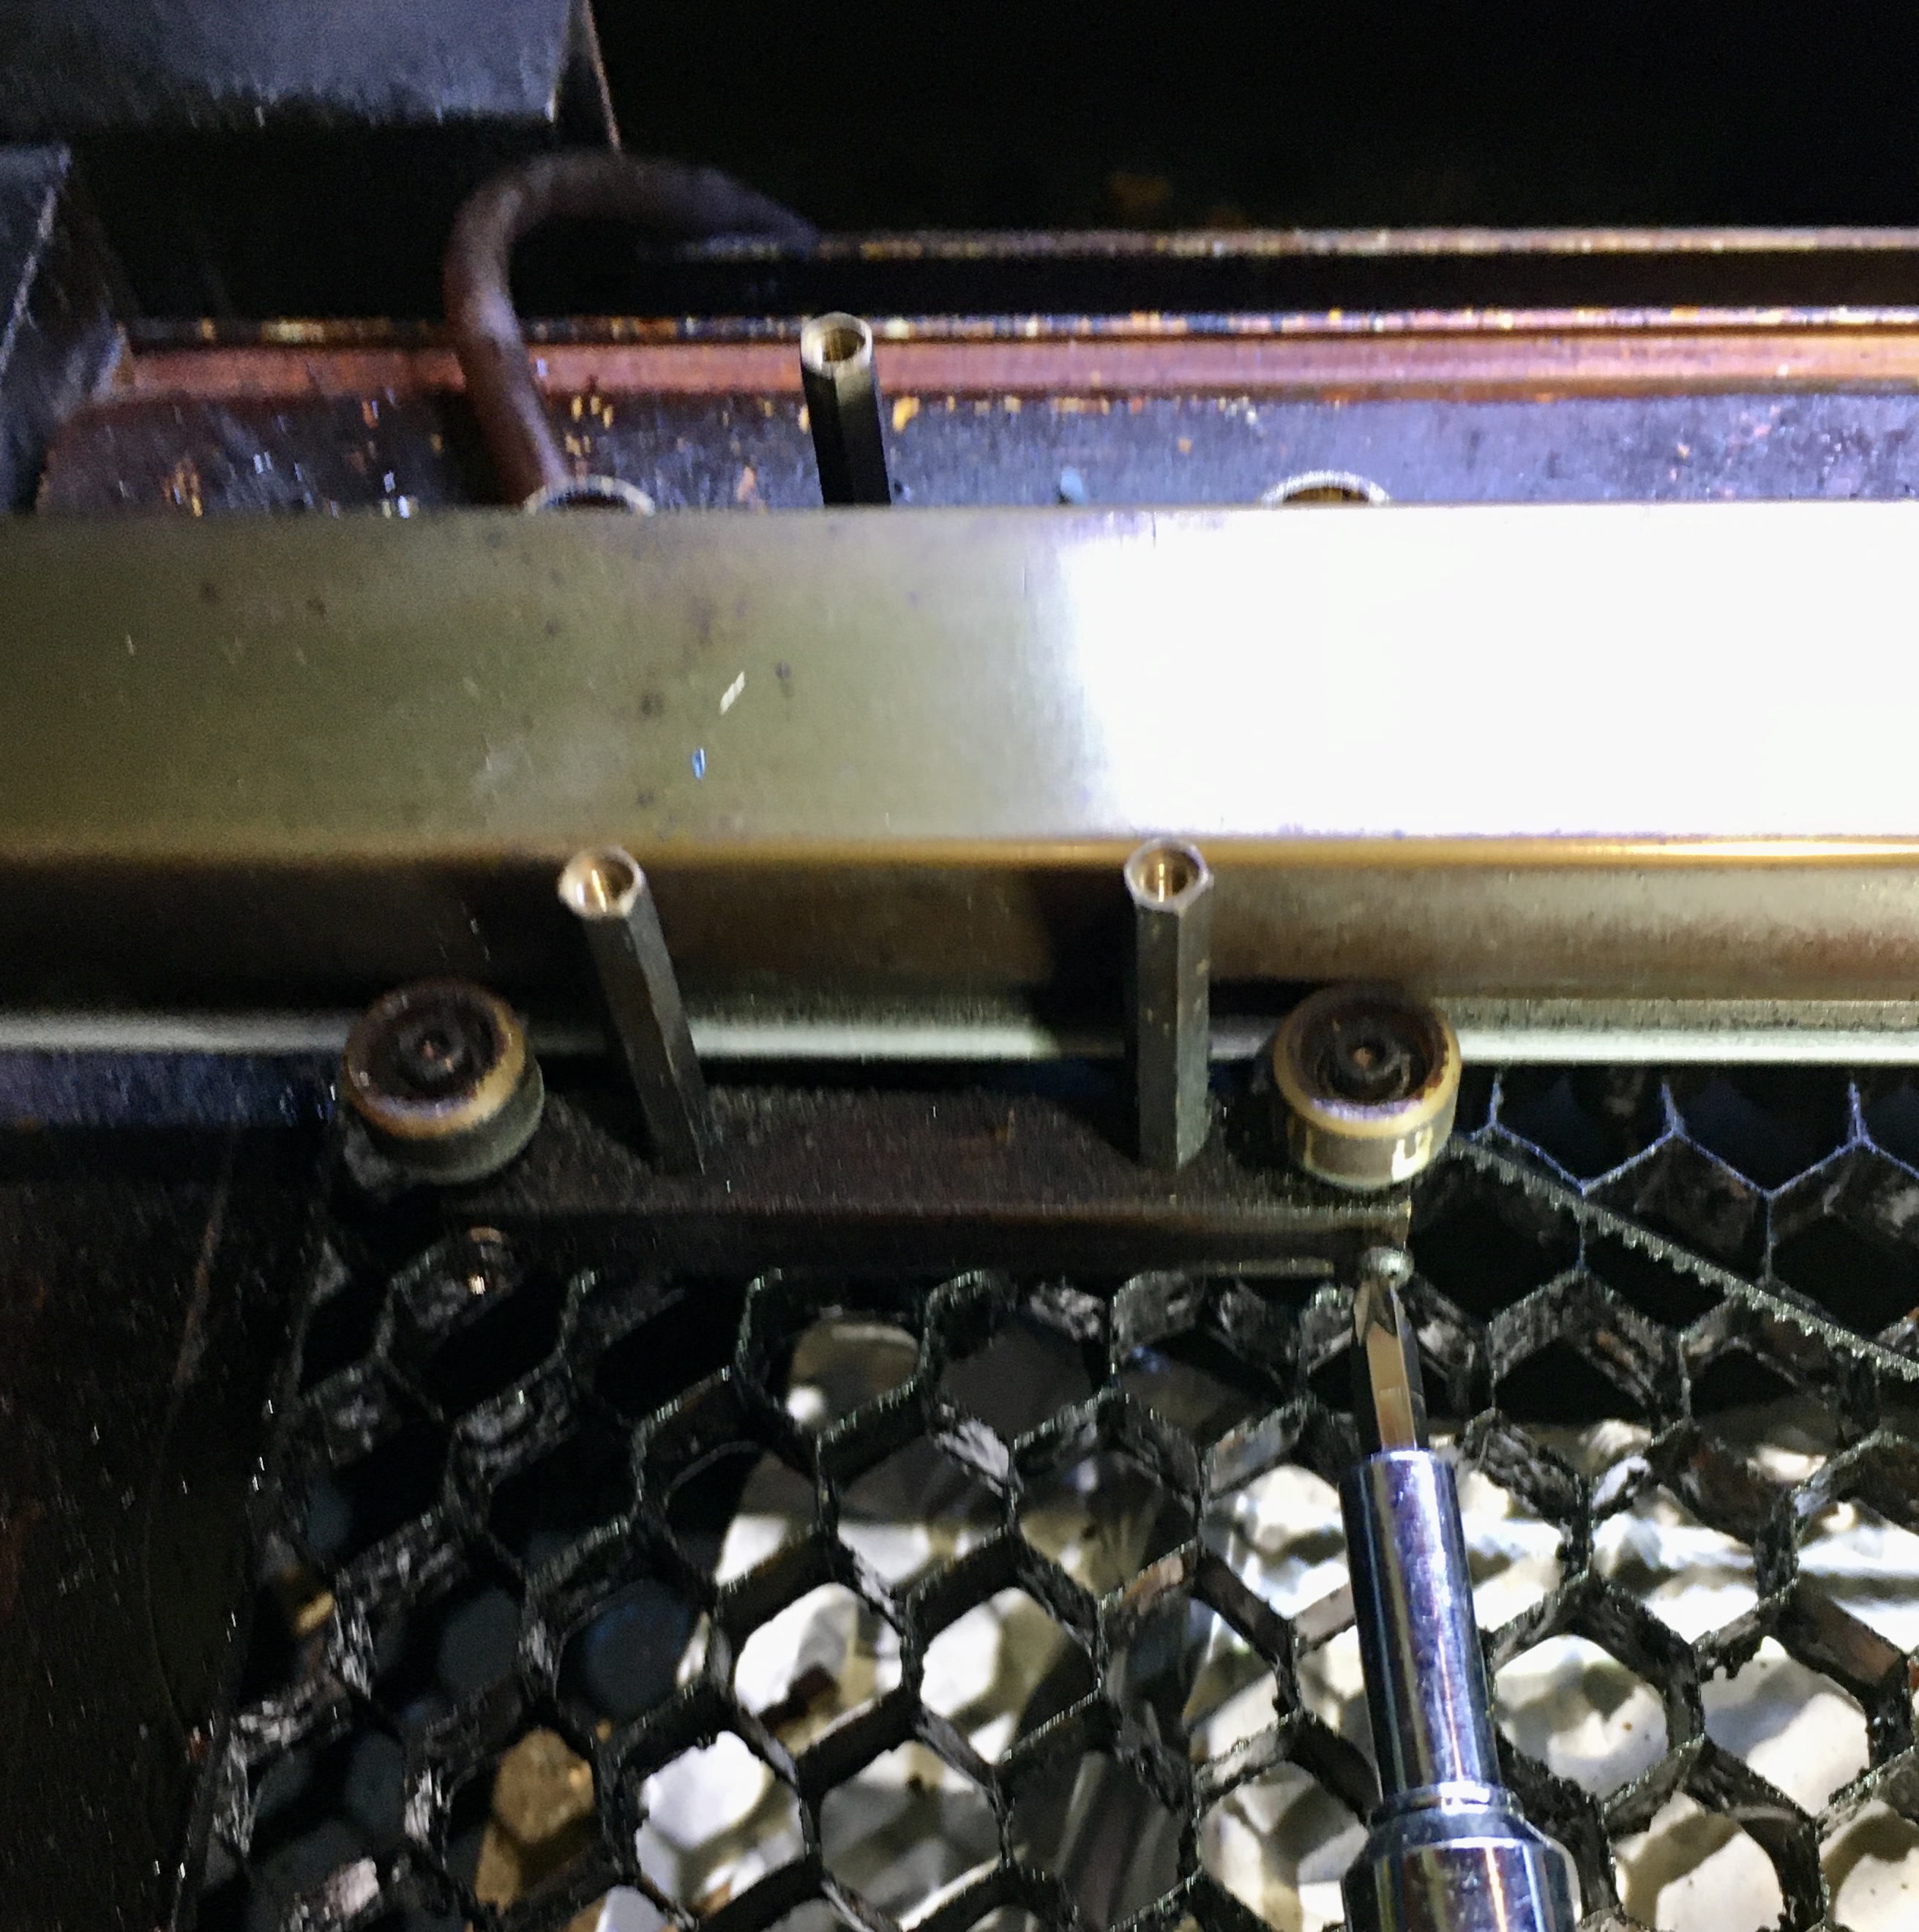
To loosen the belt, slide the rail so that the end of the rail is lined up with the large hole on the right side. You can then access the 2 belt tensioning screws from the LPS compartment.
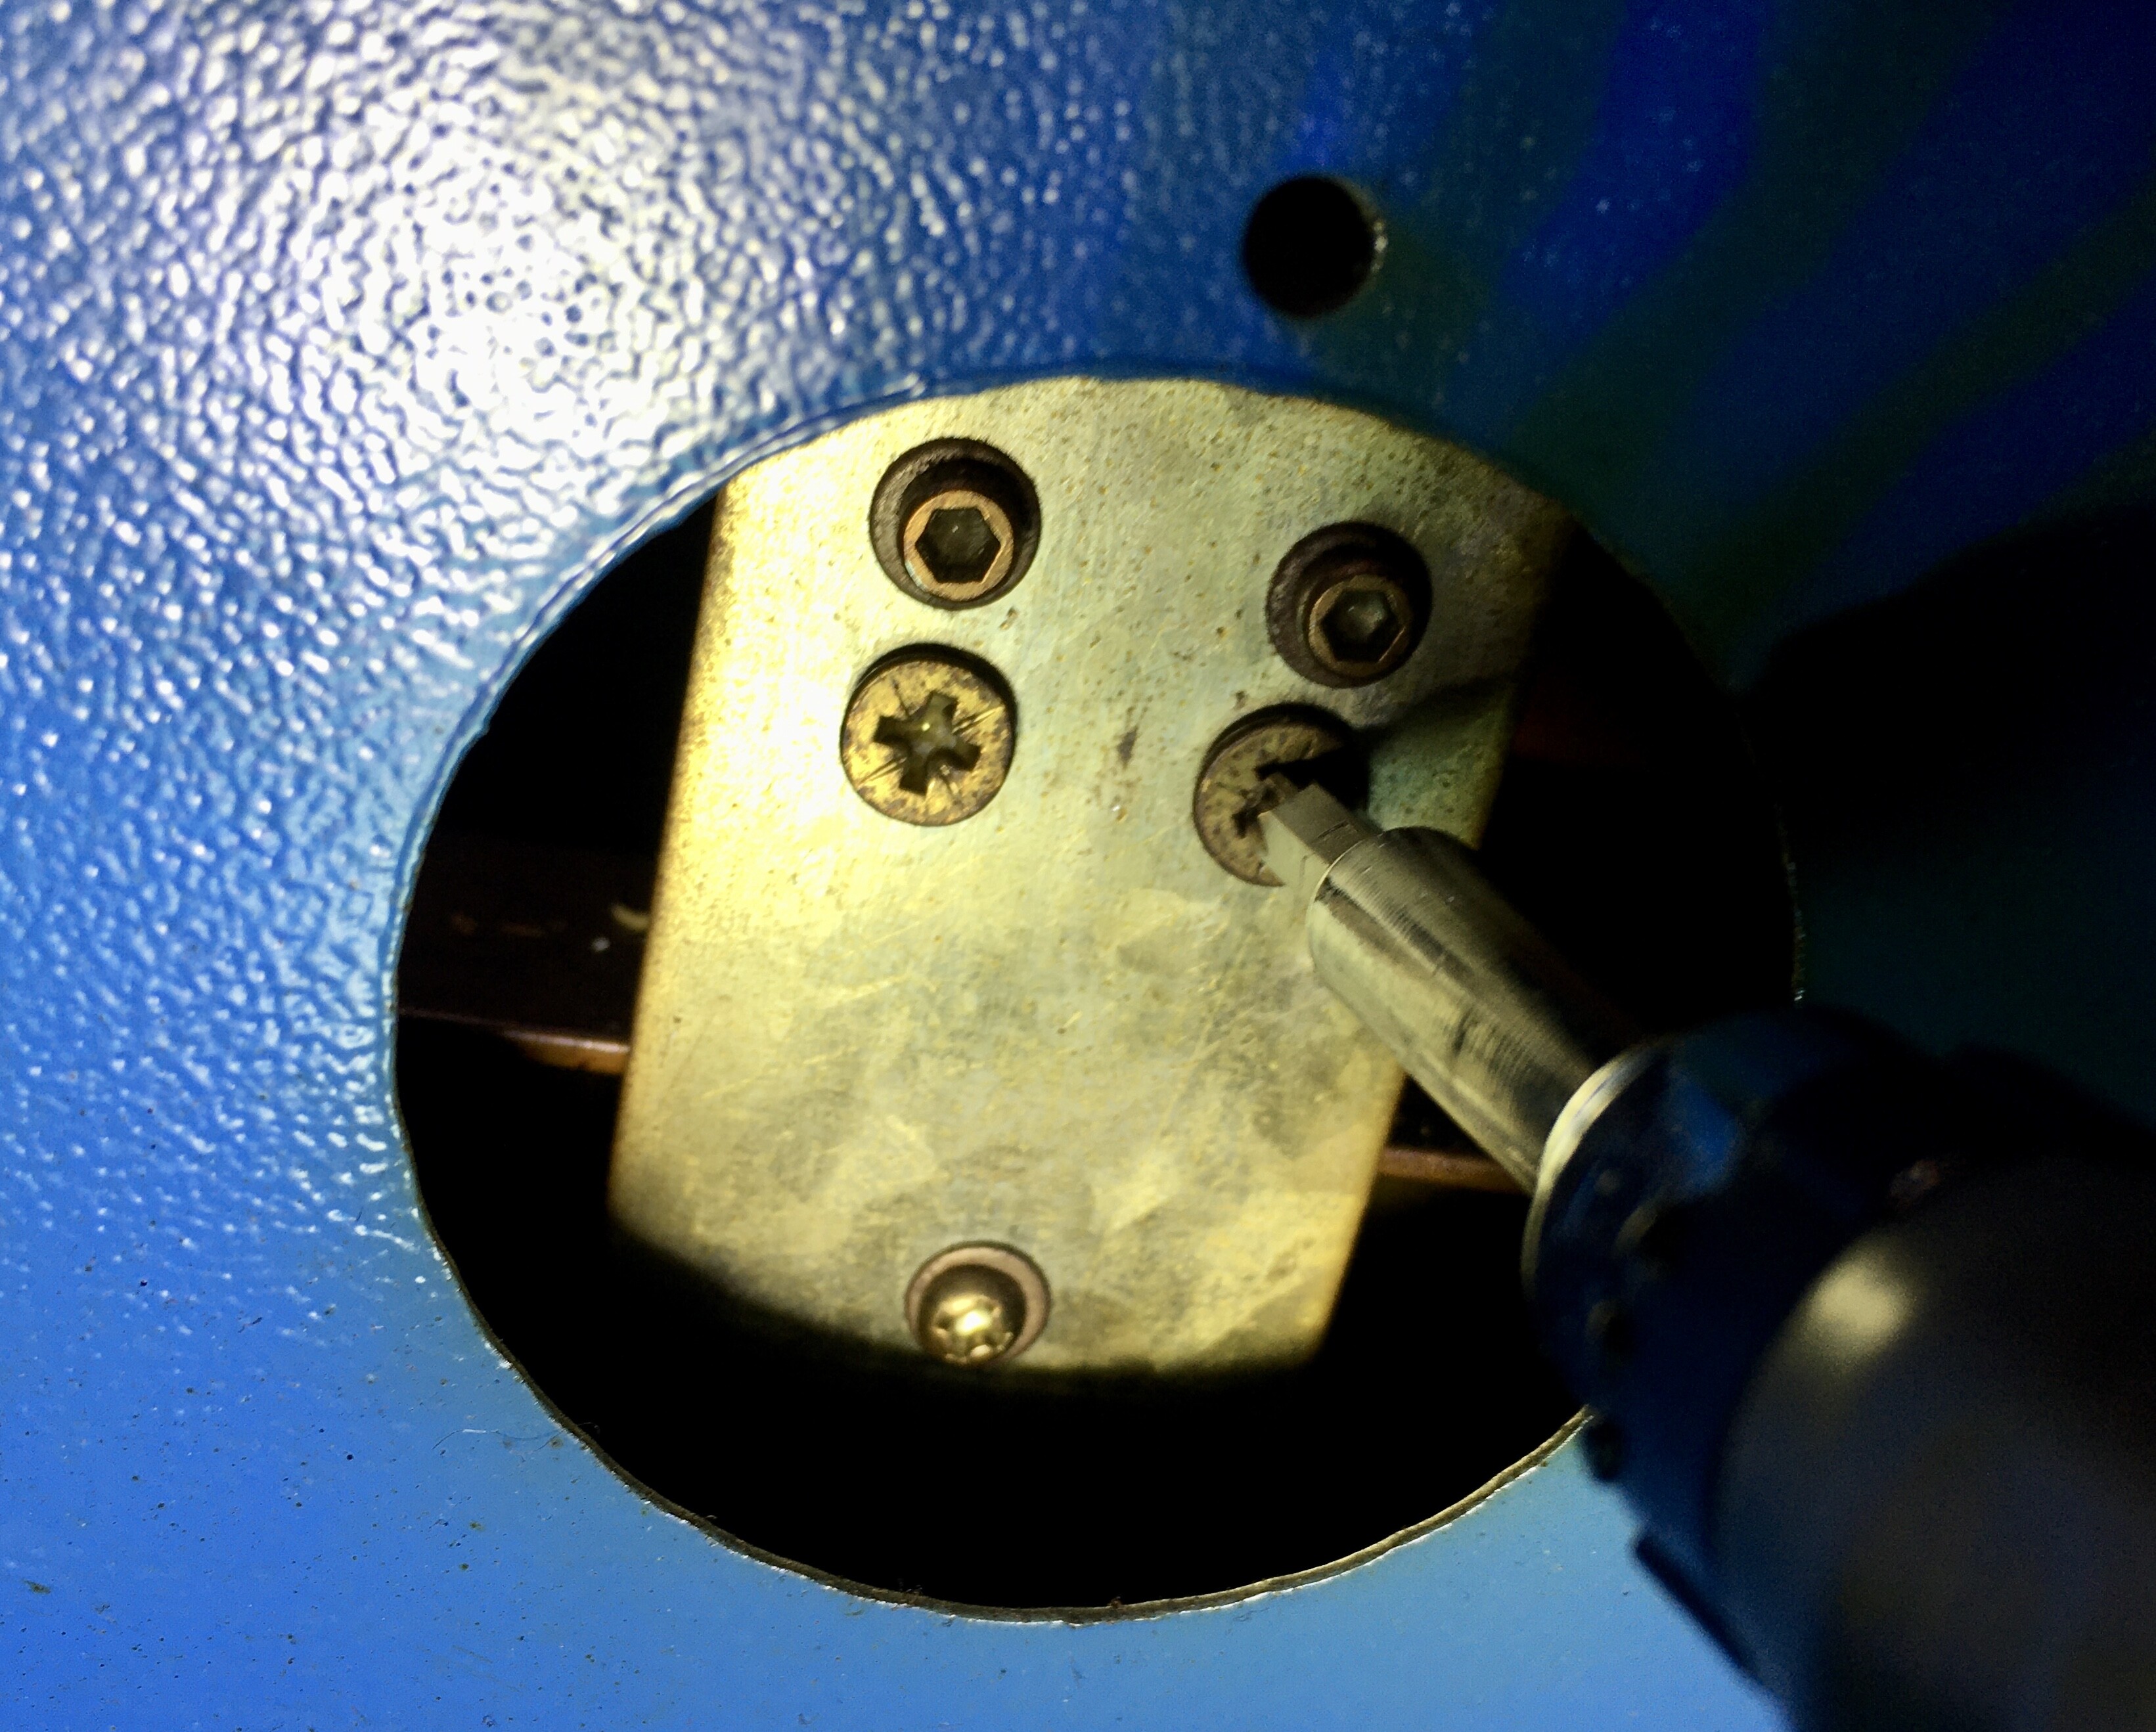
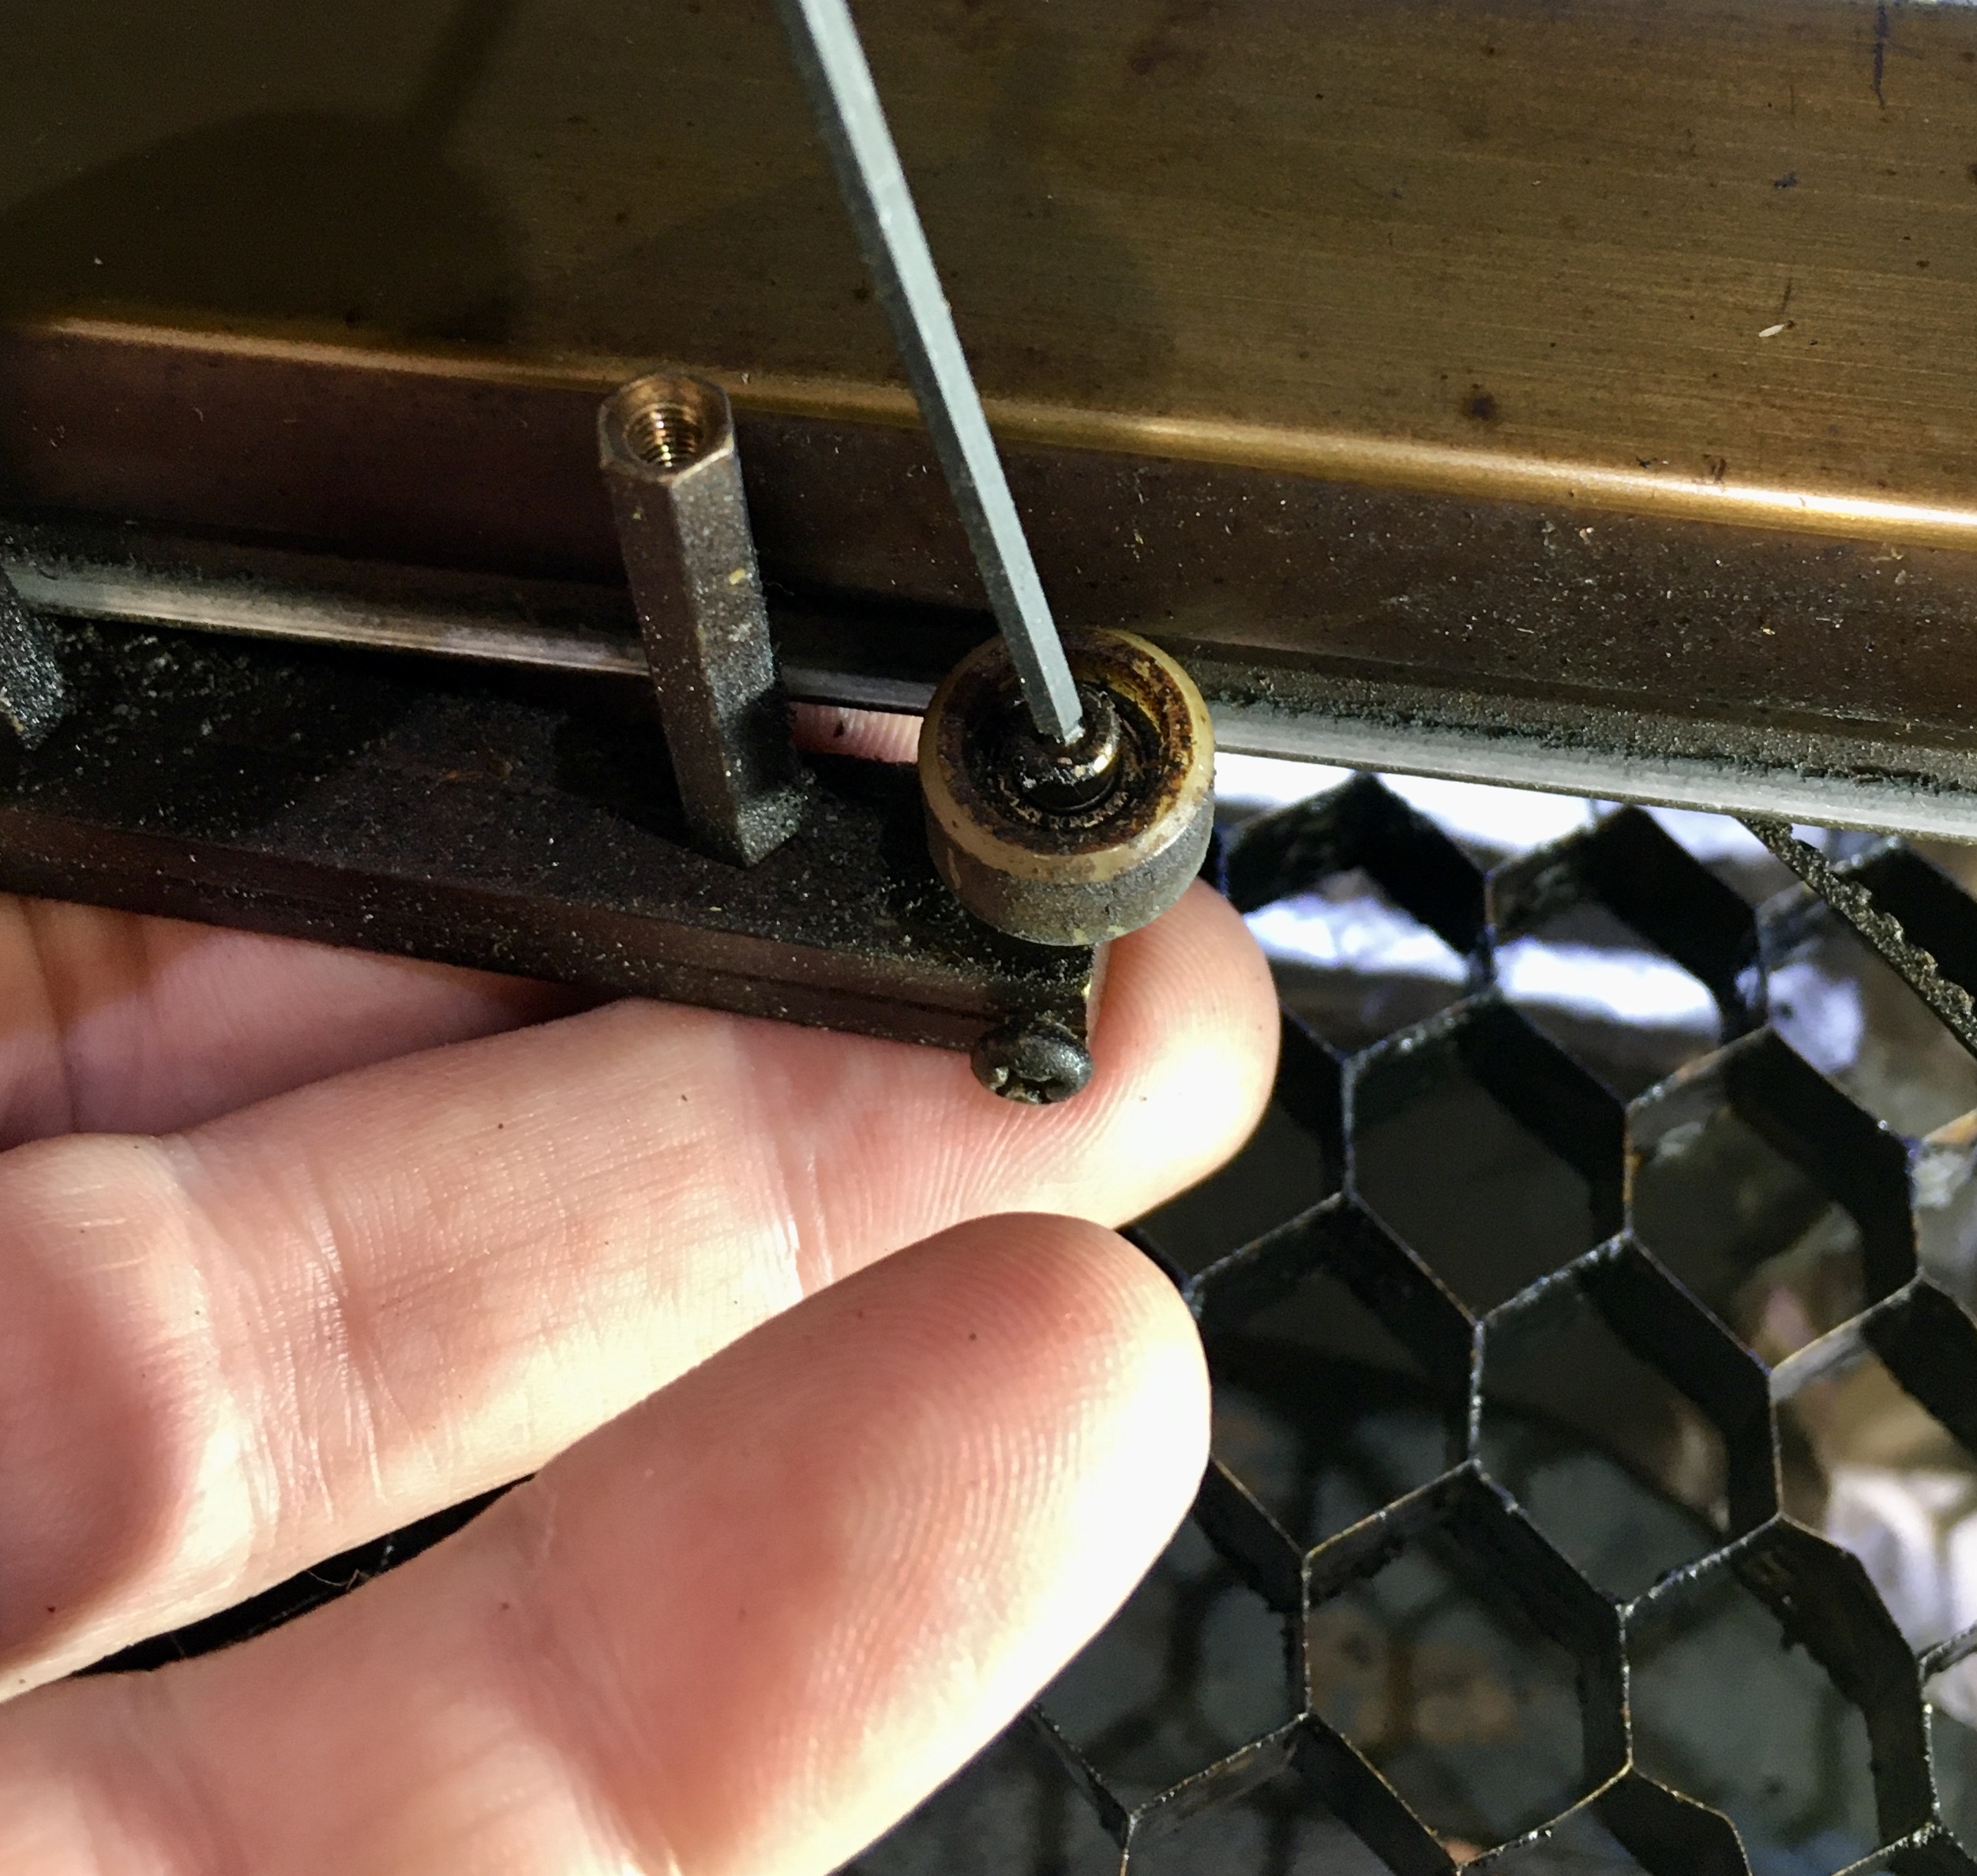
Unscrew all the way to drop the pulley.

Now that the belt is loose you can unloop the left side from the motor pulley and pull the belt back though the rail bracket.
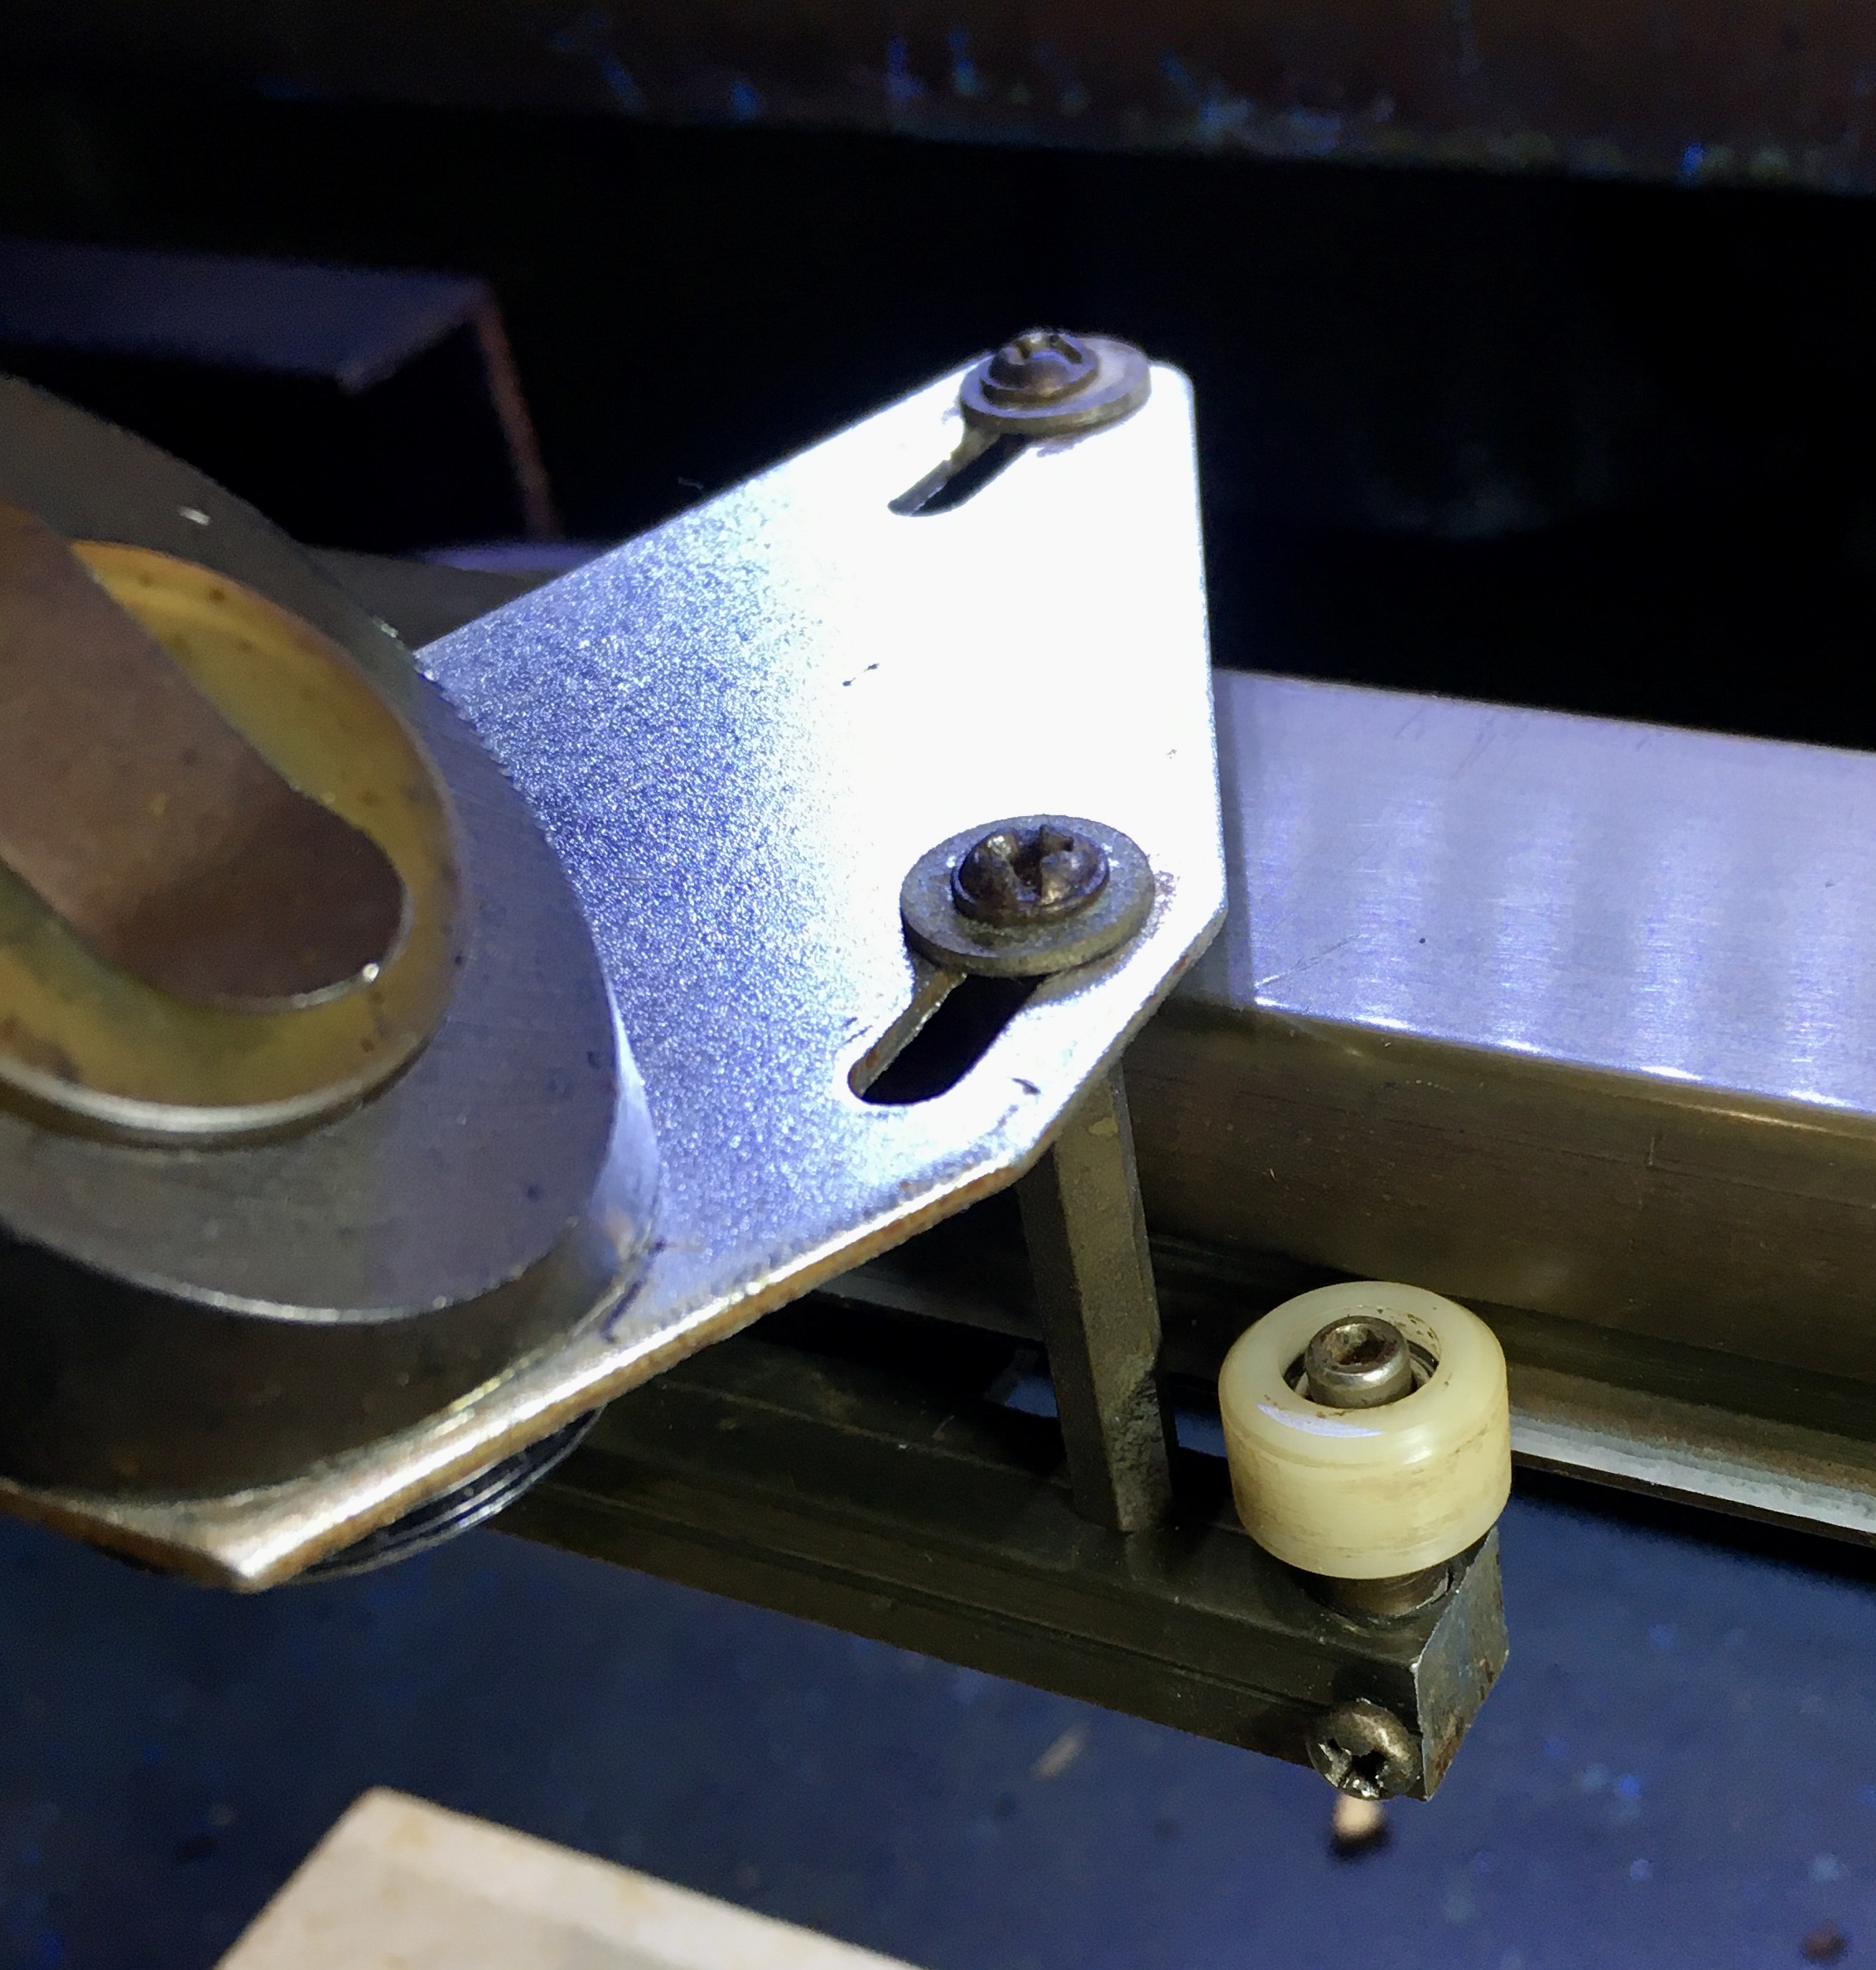
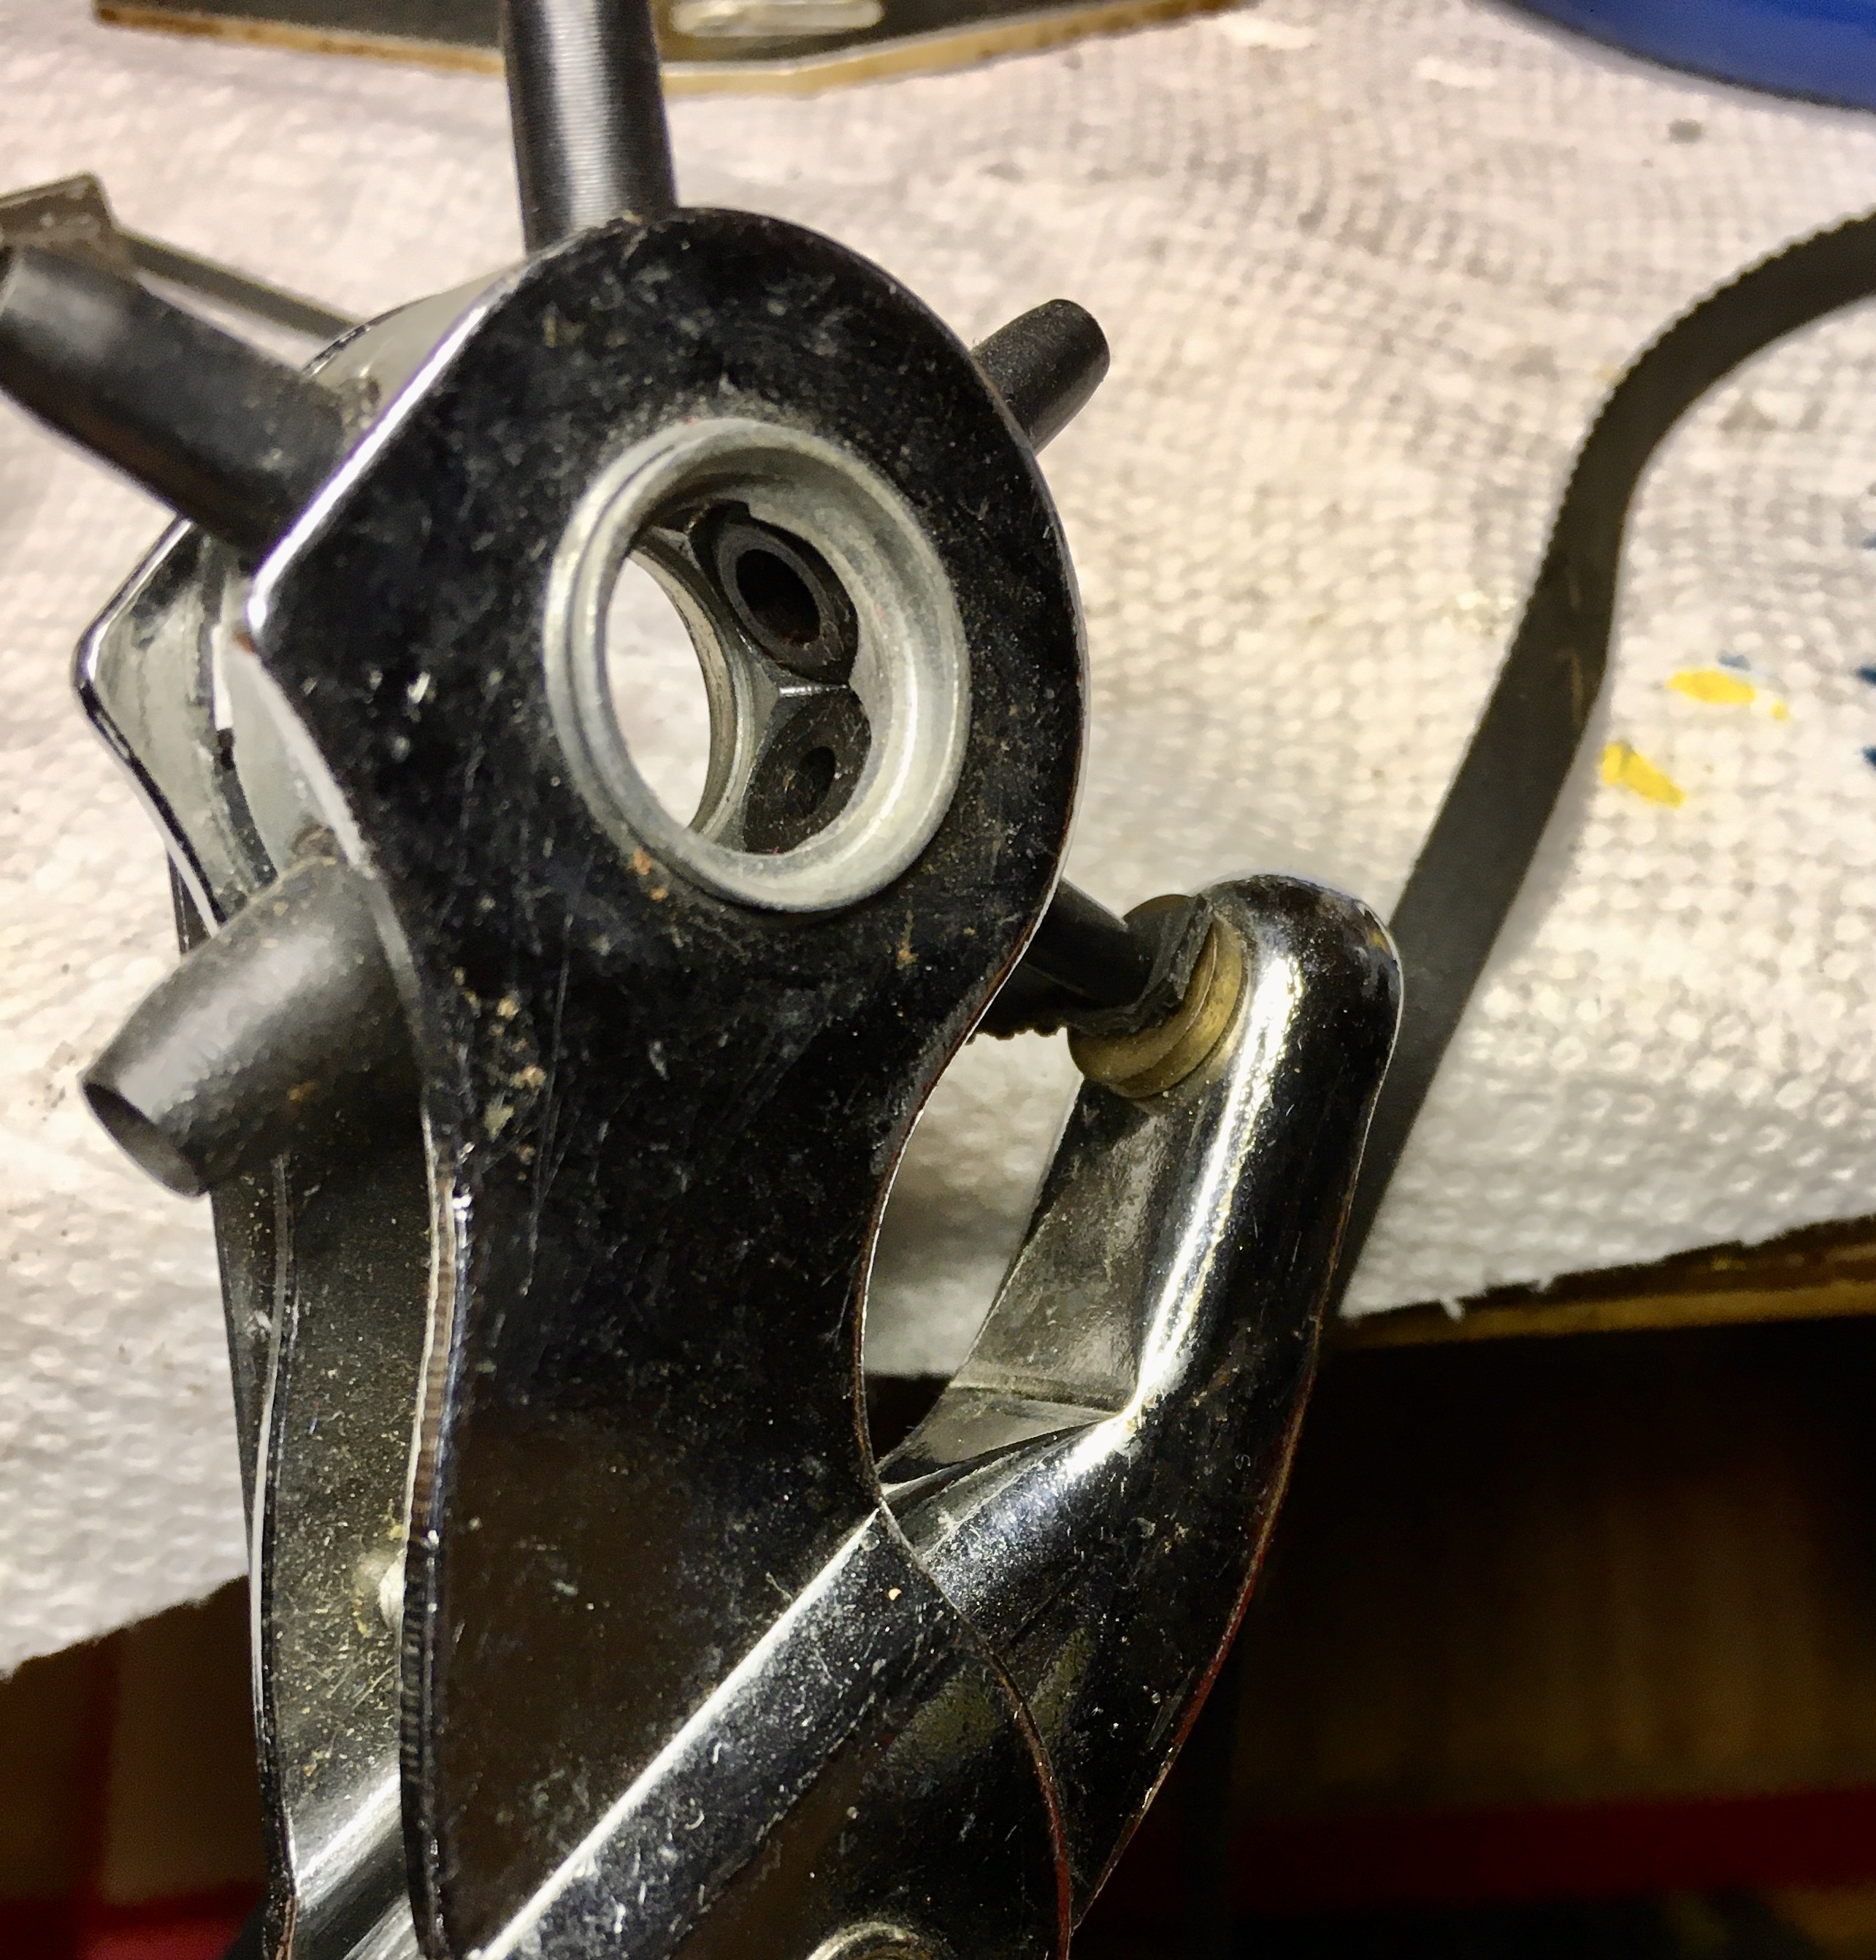
Remove the 3 screws holding the head mounting plate and remove the plate
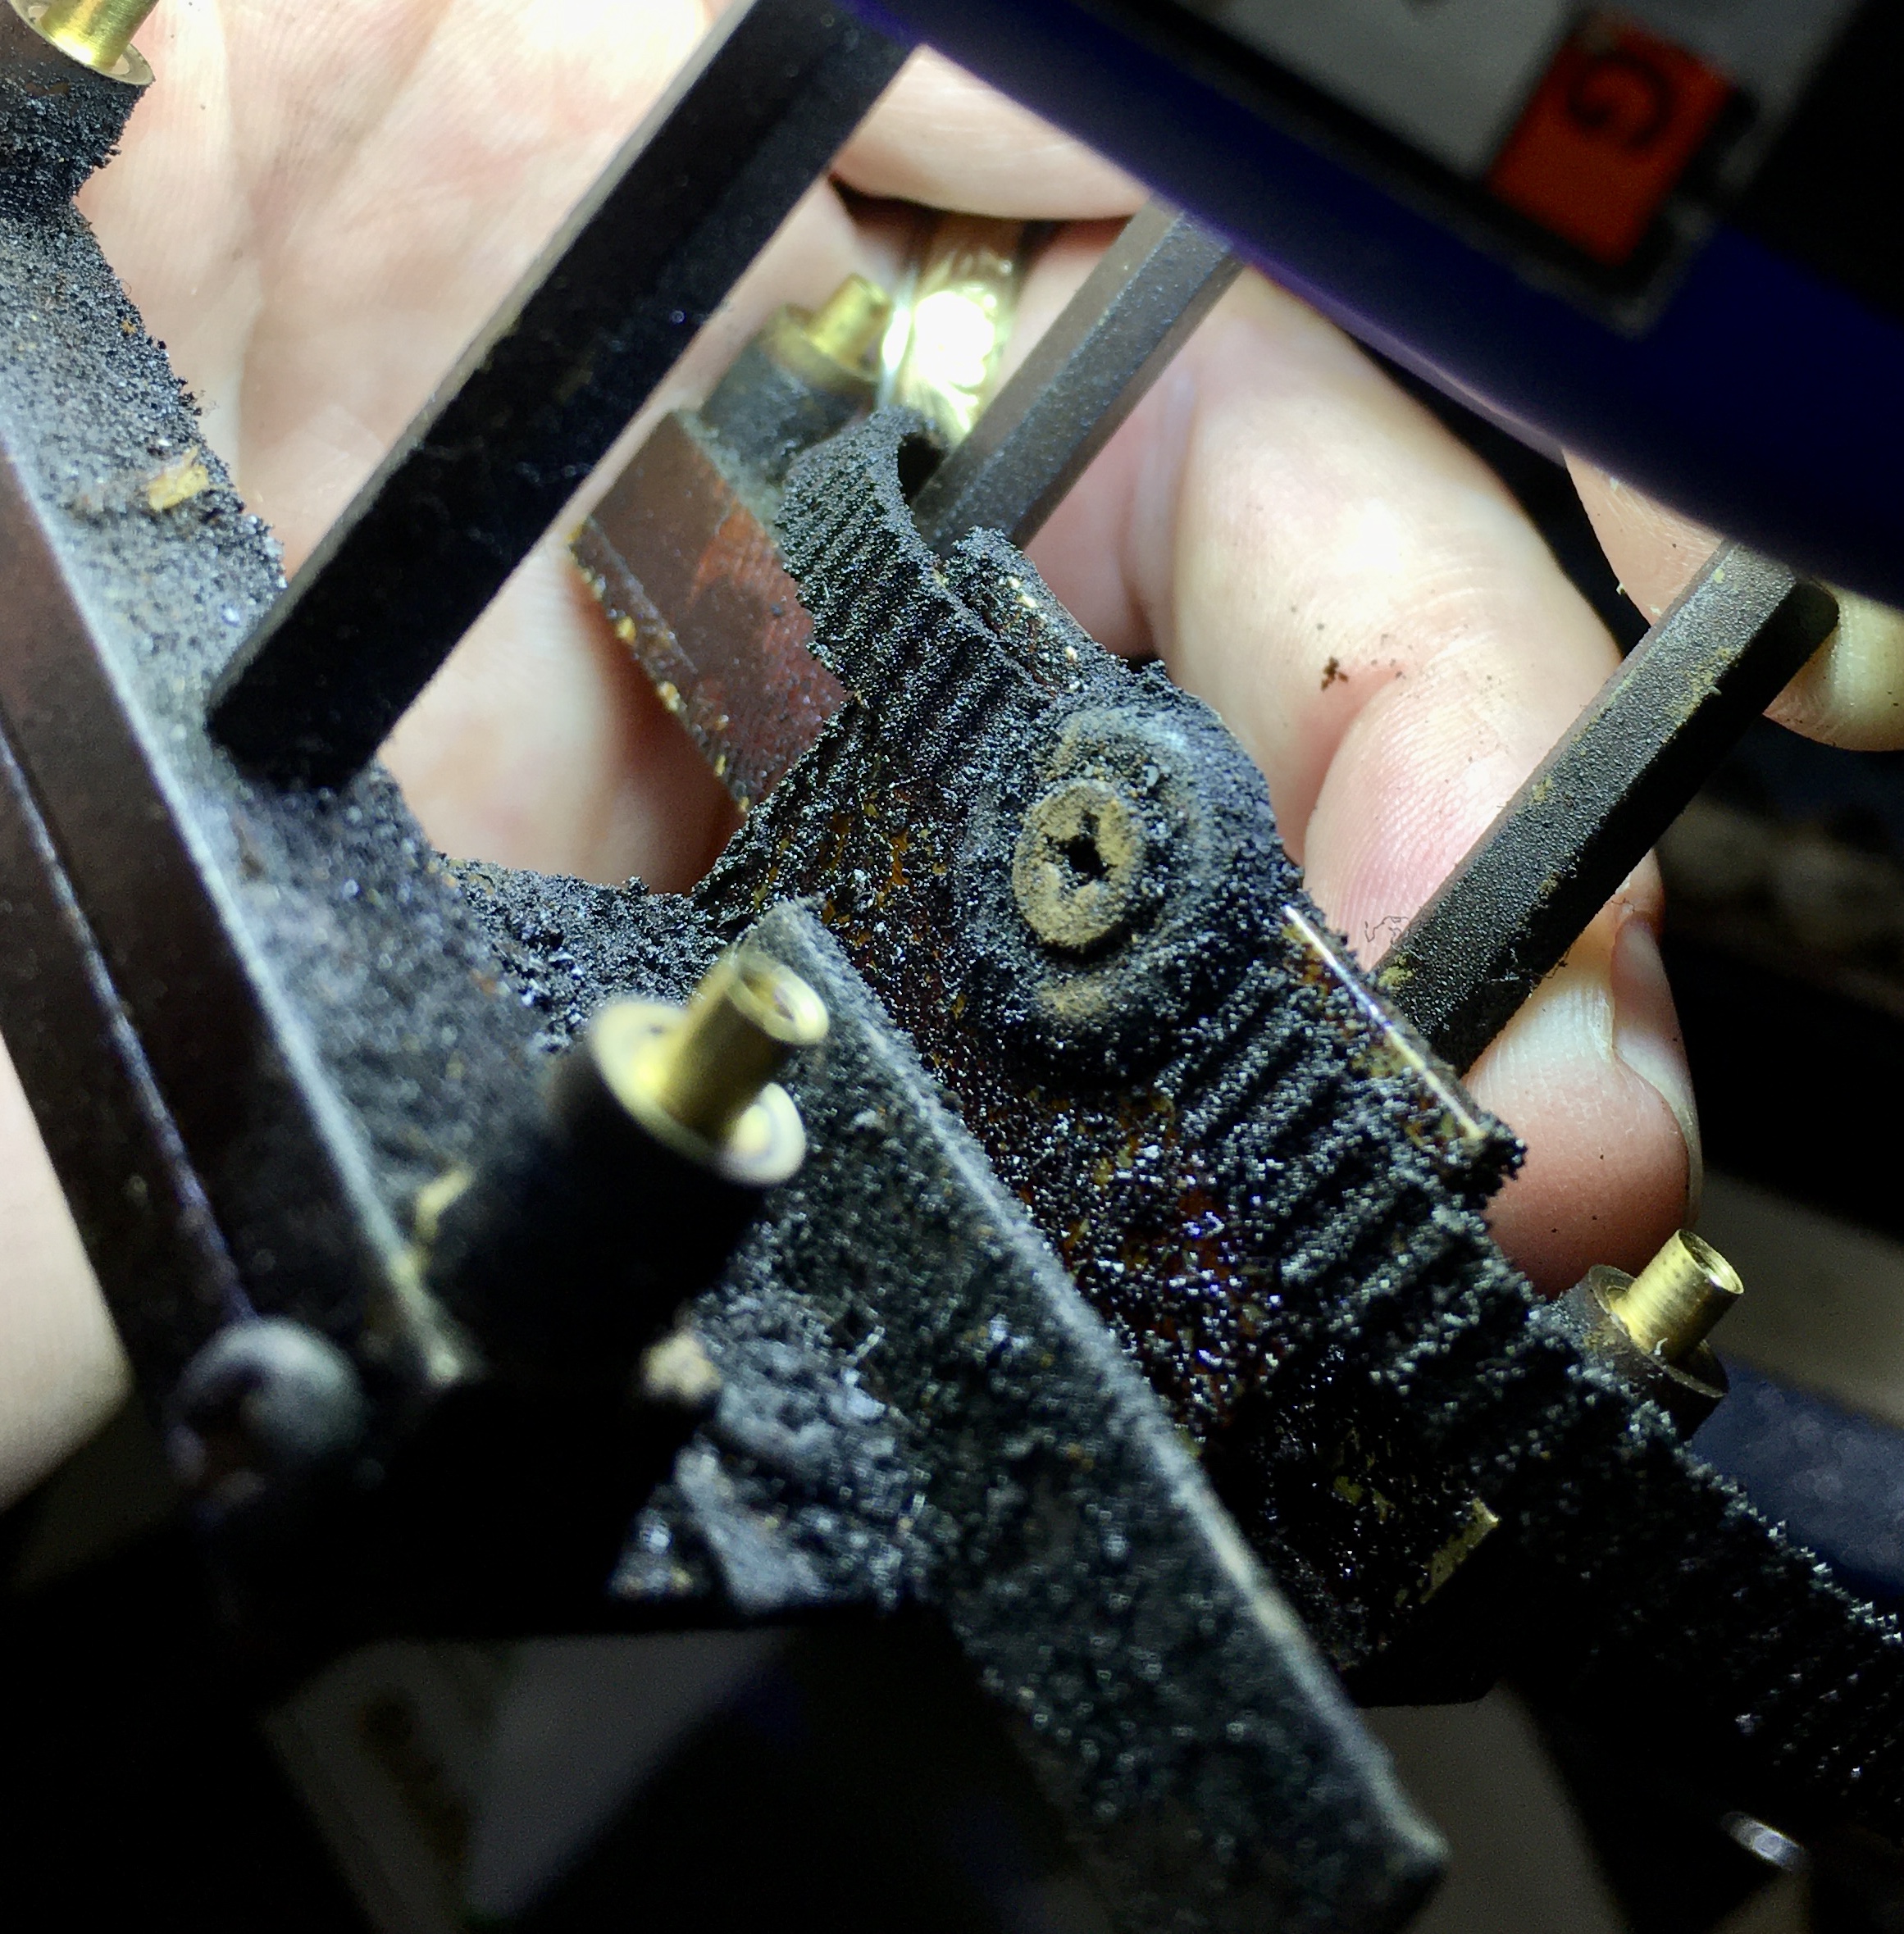
The laser head carriage is held on by the 4 carriage wheels. The wheels are mounted on eccentric posts so you need to first loosen the post screws on both sides. You can then use a 2mm Allen wrench to rotate the wheels away from the rail to drop and remove the carriage. If for some reason one or more of the posts don’t want to fully rotate you would then need to retighten the post screws and then remove the screws for the wheels and take the wheels off.
You can see the screw that holds the belt, so just unscrew that and you can remove the belt. My carriage was pretty crusty with over 4yrs of laser residue build up, so everything is getting a good cleaning.
Removed the wheel posts from the carriage and cleaned the carriage, wheels and belt tightening pulley with hot soapy water and an old tooth brush. Let everything soak a bit first to soften up the residue. When cleaning the parts make sure the surface of the wheels are completely clean of residue. You may need to lightly scrap with your fingernail to get some of the ground in residue off. Also be sure to clean the residue off both sides of the rail where the wheels ride. I’m probably going make this a general PM.
This is what a carriage wheel post looks like. One of my posts was actually binding in it’s hole so I cleaned up the posts with a bit of light sanding with very fine sand paper.

Here is a comparison of the old belt (bottom) with the new belt. You can definitely see the teeth on the old belt are worn down and rounded over.

The new belt needs holes in both ends to allow the attachment screw to thread through. I used a cheap Harbor Freight leather hole punch I had with the smallest punch and it was a perfect fit.
Reattached the belt to the carriage with the screw/washer with the teeth side out, making sure that the belt is not twisted.

Place the wheel posts back into the carriage body and tighten down the post screws. You can then reattach the wheels. Loosen the post crews and rotate the wheels all the way out. You should then be able to fit the carriage back on the rail, may take a bit of rotating side to side. Remember the that the side with the single post for the laser head plate goes on the back side of the rail.
Rotate the wheels on the back side all the way in and tighten down the post screws. Tighten the front post screws just enough so that the posts still turn, this helps prevent the post/wheels from shifting when you do the final tightening. Rotate the wheels in just enough so that they don’t spin freely in place but rather the whole carriage moves when you try to rotate the wheel. If you over tighten the wheels in they will bind on rail. After final adjustments tighten the front post screws and make sure the carriage slides smoothly down the rail.
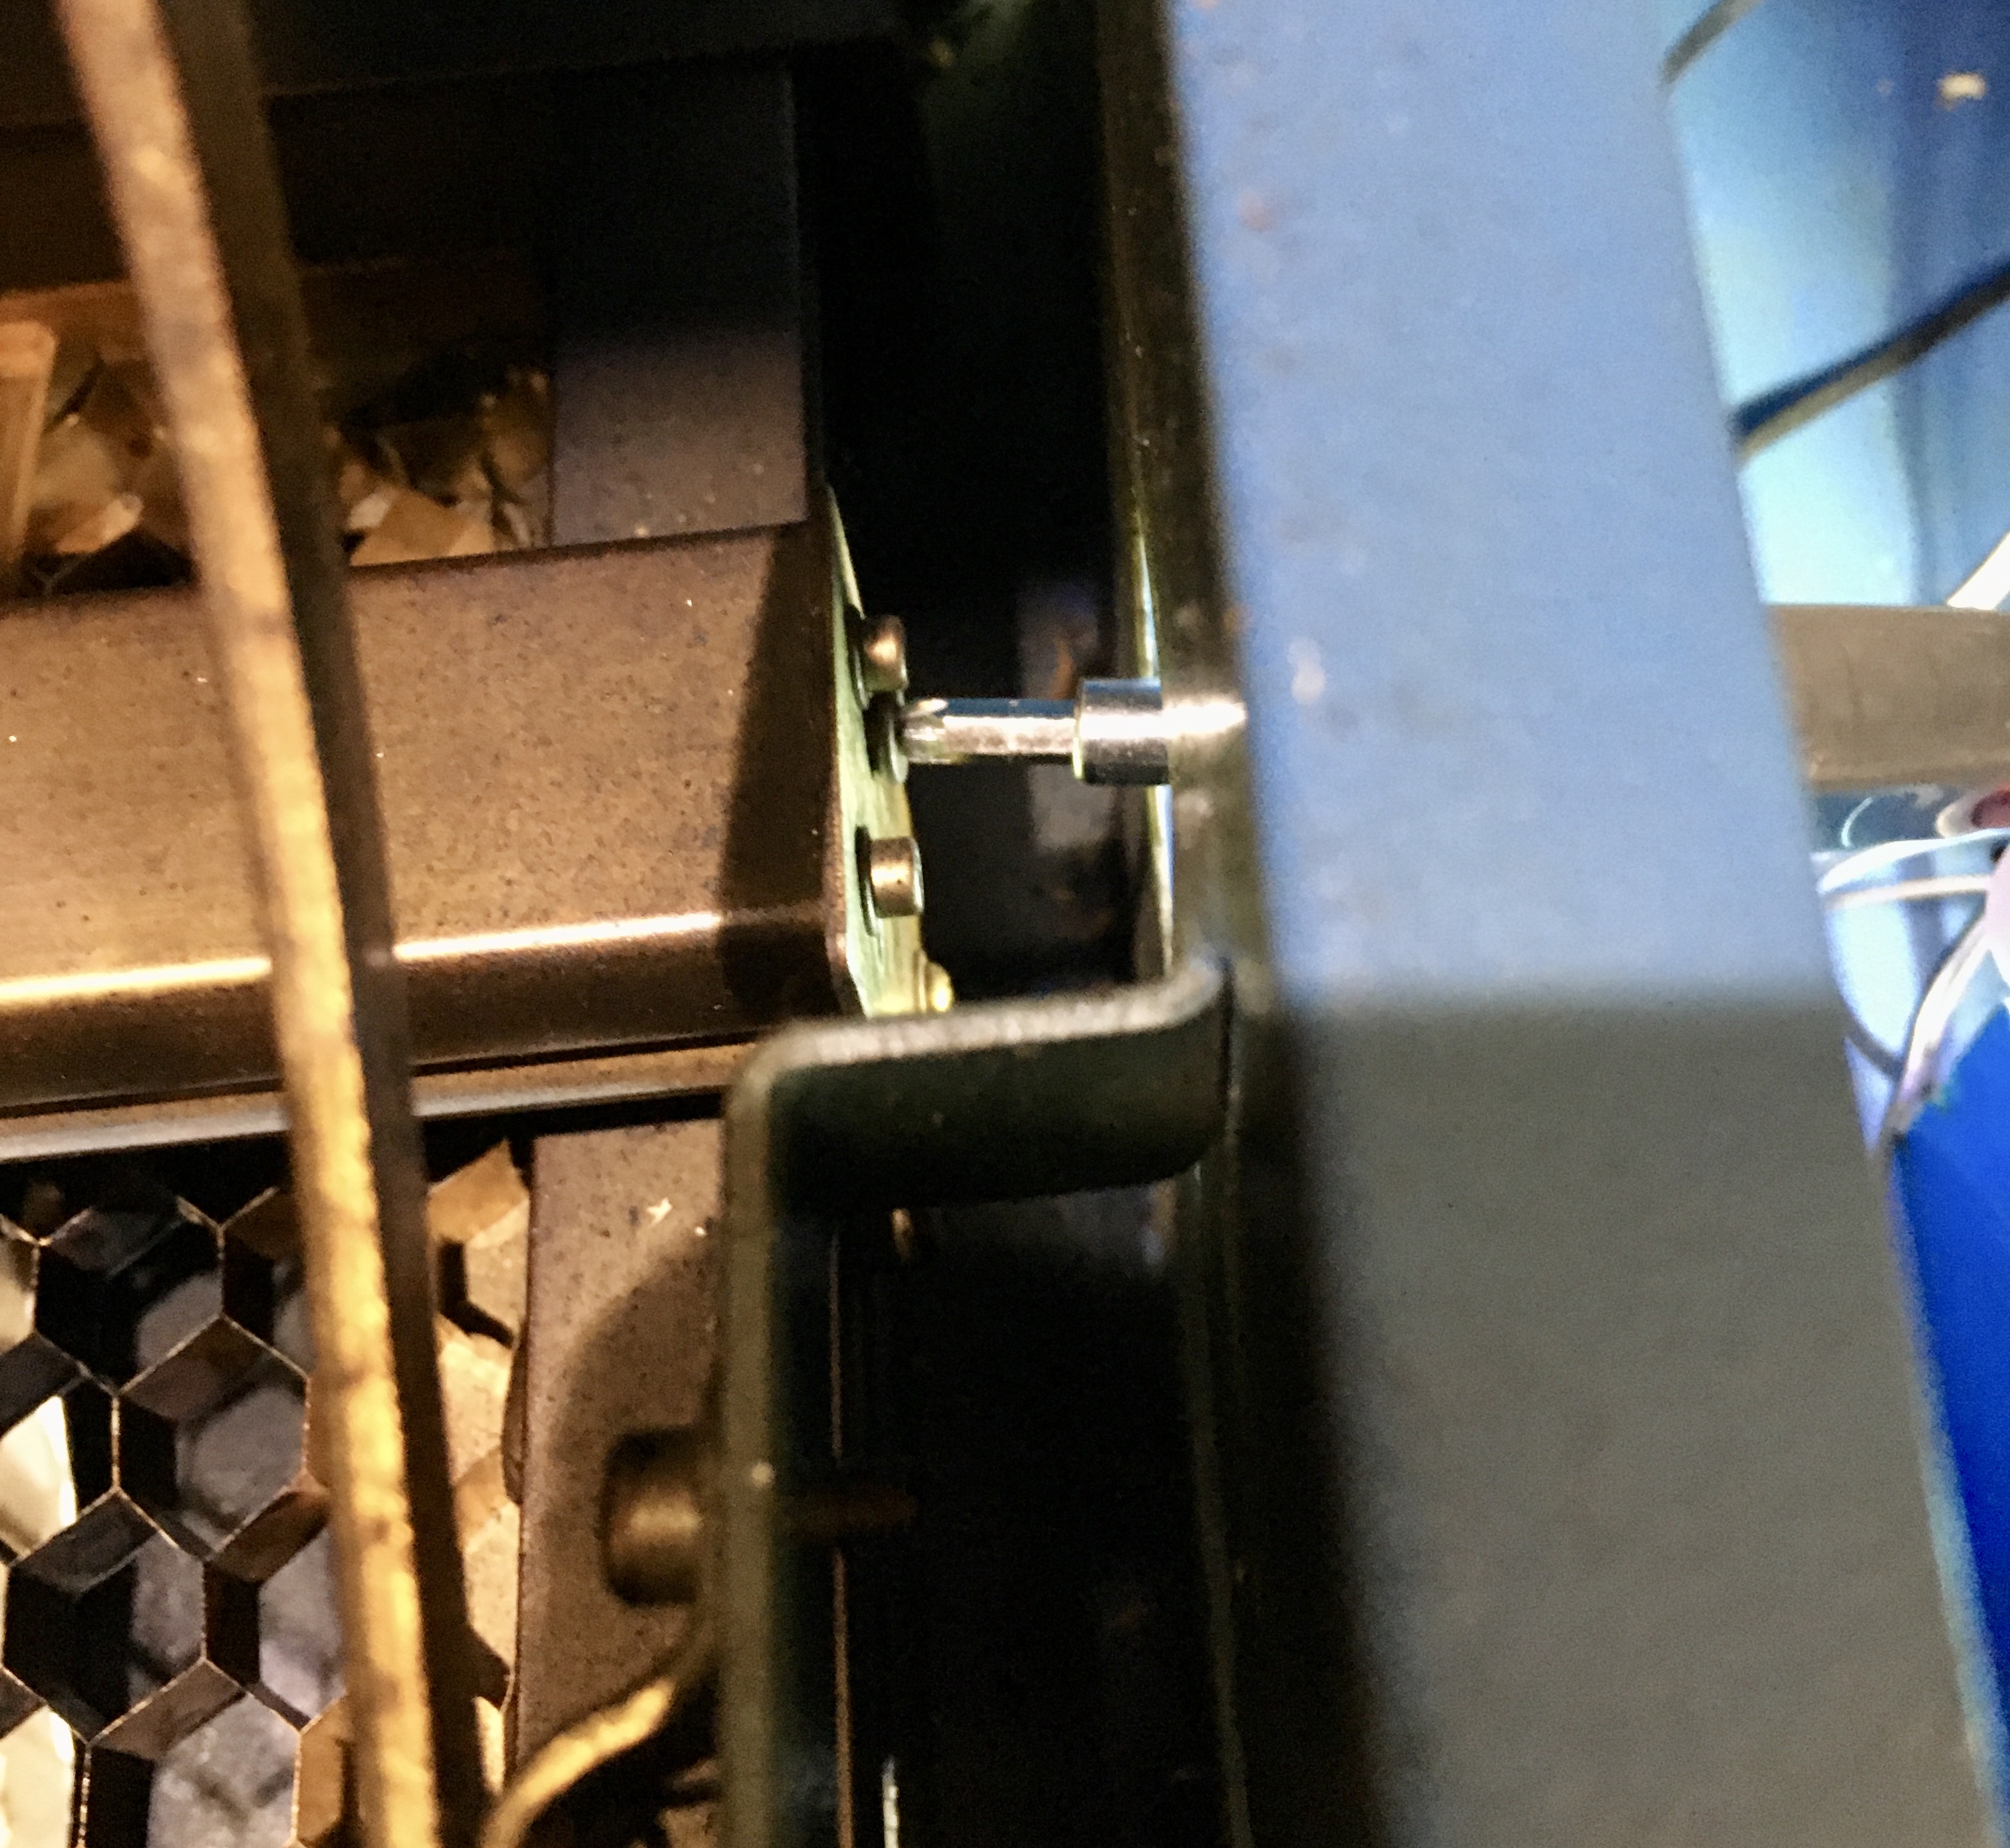
To reattach the belt on the ends, start on the right side. Loop the belt over the tensioning pulley, making sure the belt is not twisted, line it up on the holes and just start the screws. Alternately you can just start the screws on the pulley, without the belt, and push is out all the way to allow it to cant downward. You can then make a loop with the belt and hook it over the pulley.
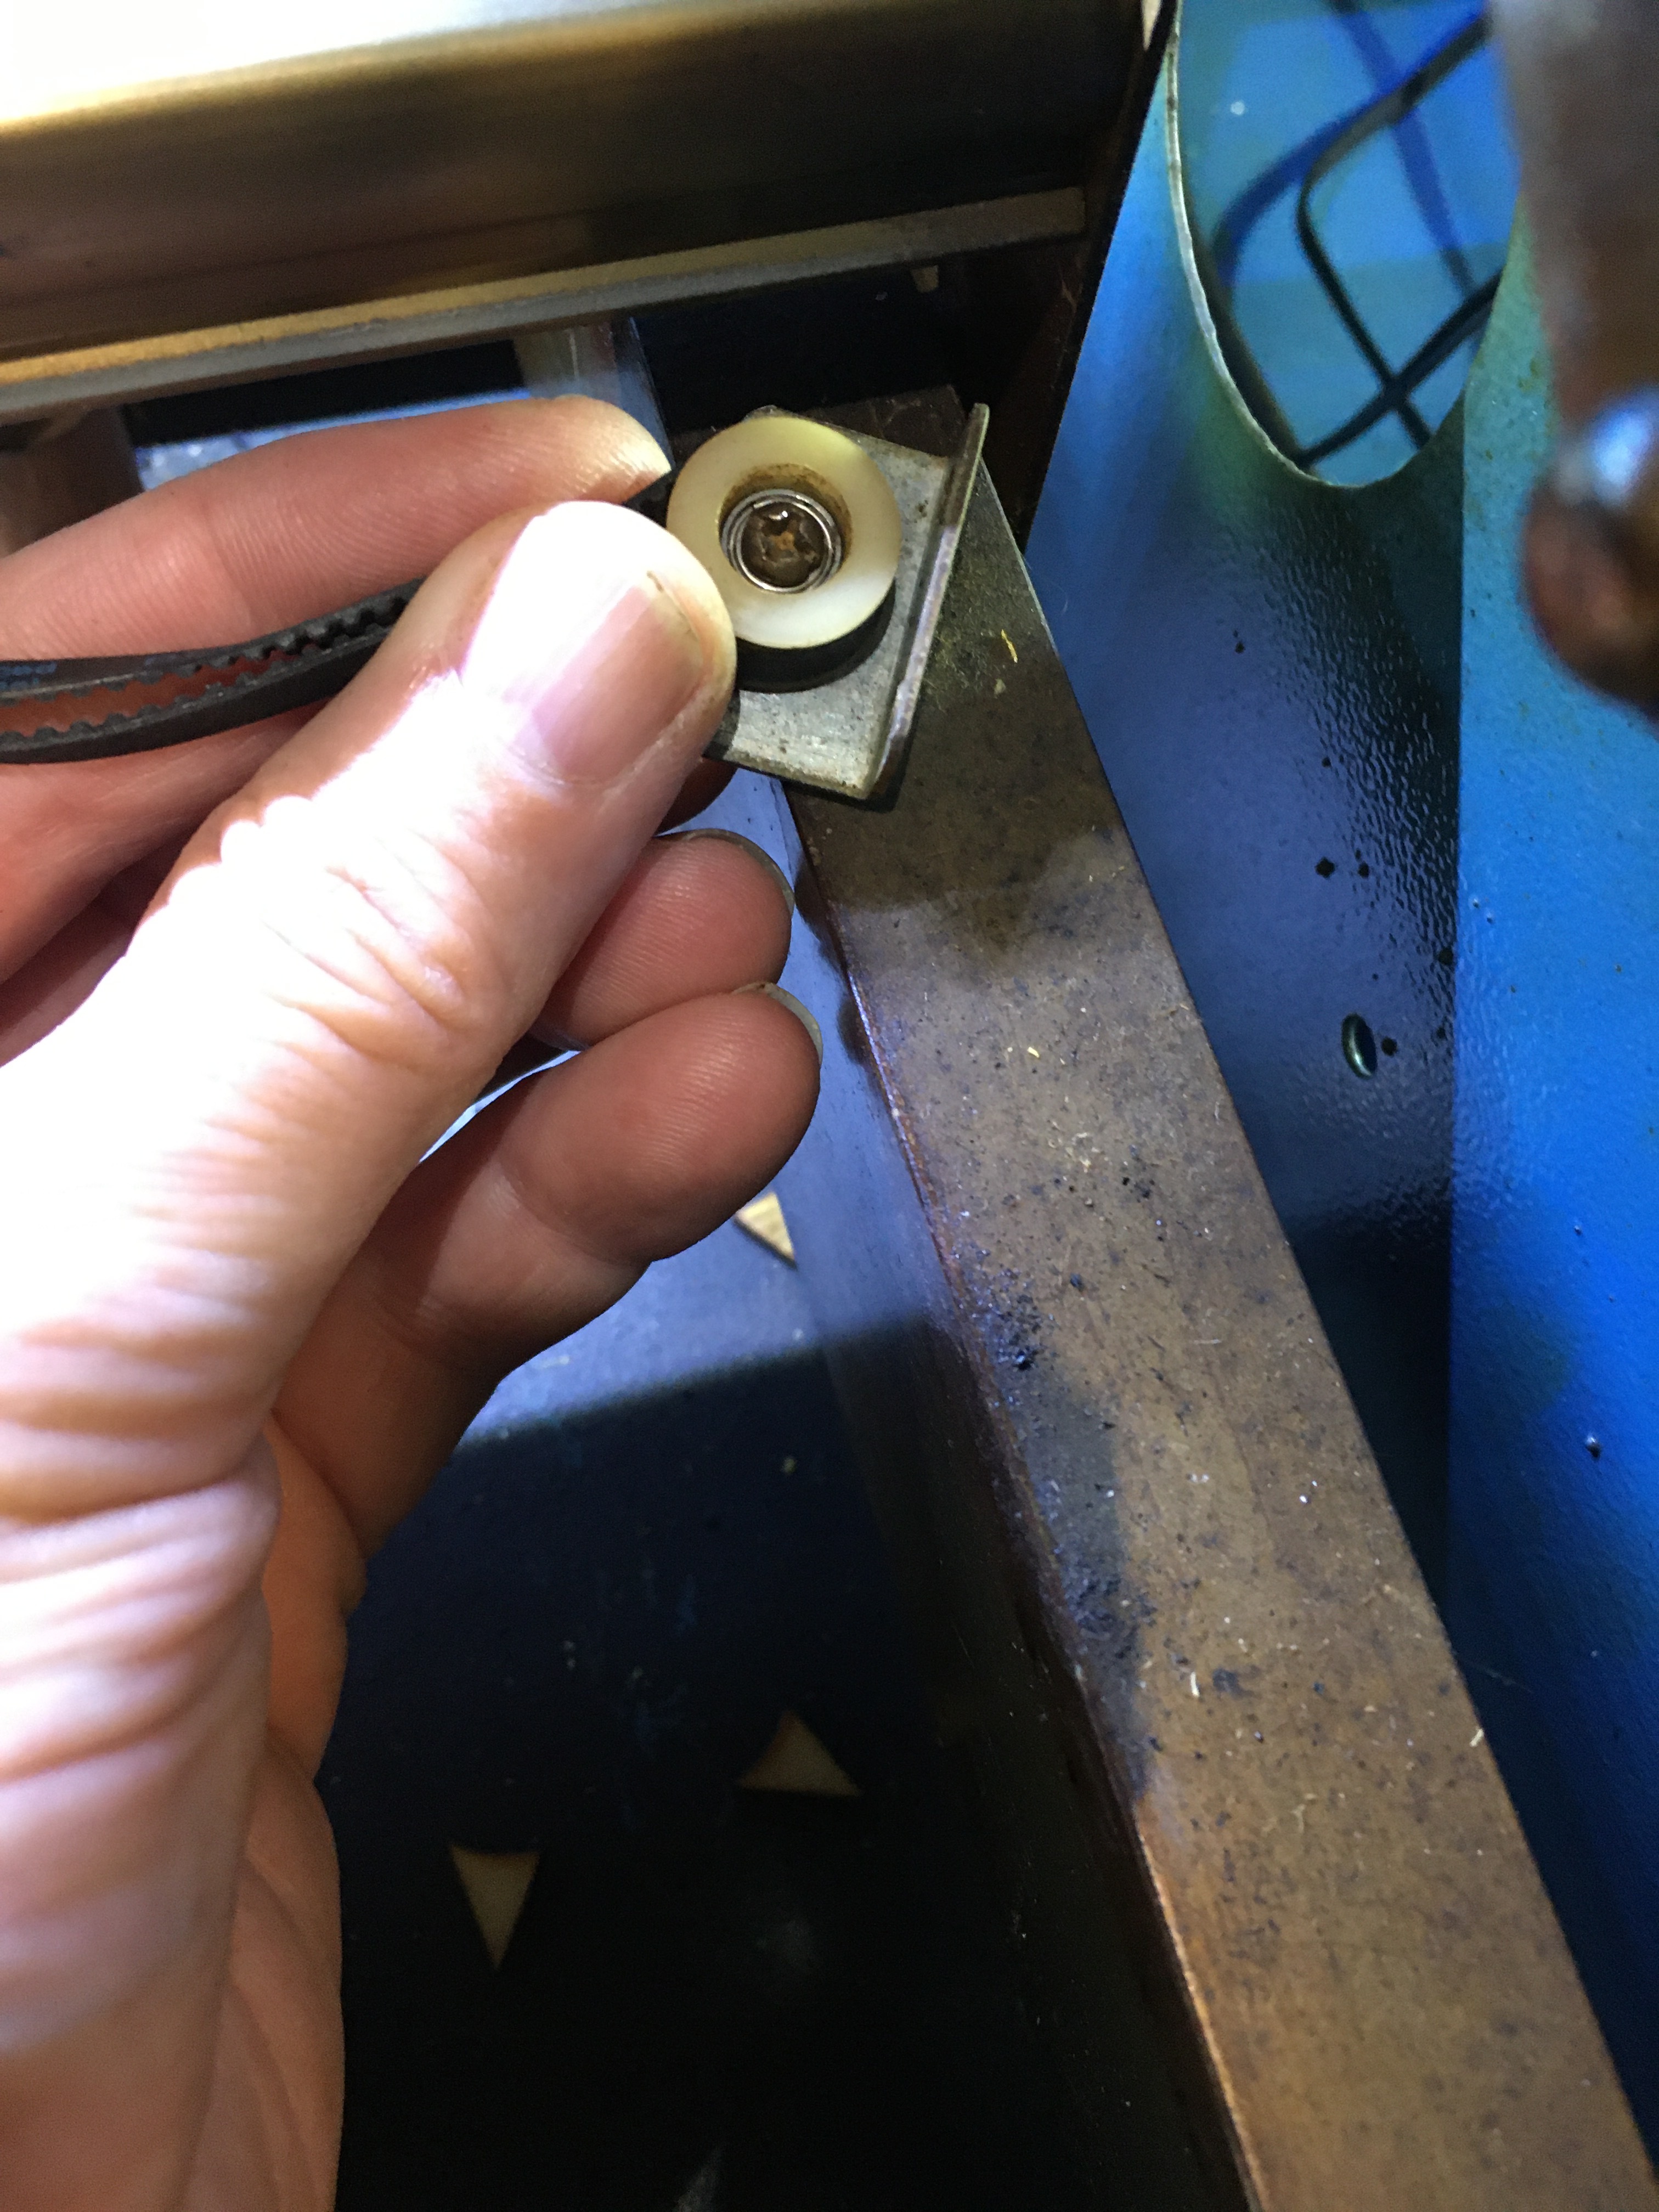
Take up the belt slack on the left side, form a tight loop, feed it through the rail bracket and loop it over the motor pulley. You can then tension the belt by evenly tightening the adjustment screws on the right end. The belt should be tight enough so when you pluck the belt it vibrates a bit. Note: If the belt is too tight it may bind or cause the tensioning pulley bracket to bend, so make sure it slides smoothly after adjusting. Realign the laser head.
My laser head carriage hasn’t looked this clean in a long time.  Much sharper engraving now.