Now that the monocle lid and door window material is on its way, I am starting work on the lid and door frames. Tonight I cut all the pieces (with almost no waste, thanks to Cut Optimizer Online).
I went to assemble the lid and door before I realized, finally, that I can’t both use inside corners on the extrusion the forms them and have captive pieces of polycarbonate in the groove. So now, after cutting all the pieces, I’m pondering how to attach them. Maybe I got the order of operations wrong!
The easiest way is probably the same thing I did with the frame of the Cantilever printer design based on leftovers — for each joint, tap M5 the hole in the extrusion, and drill a corresponding hole for an M5 through the middle of the piece it abuts. There are only two places where I would need two screws to occupy the same place, and there I can use corner plates. 16 holes total I think. And I’m all out of corner plates, so I’ll have to buy or make a few.
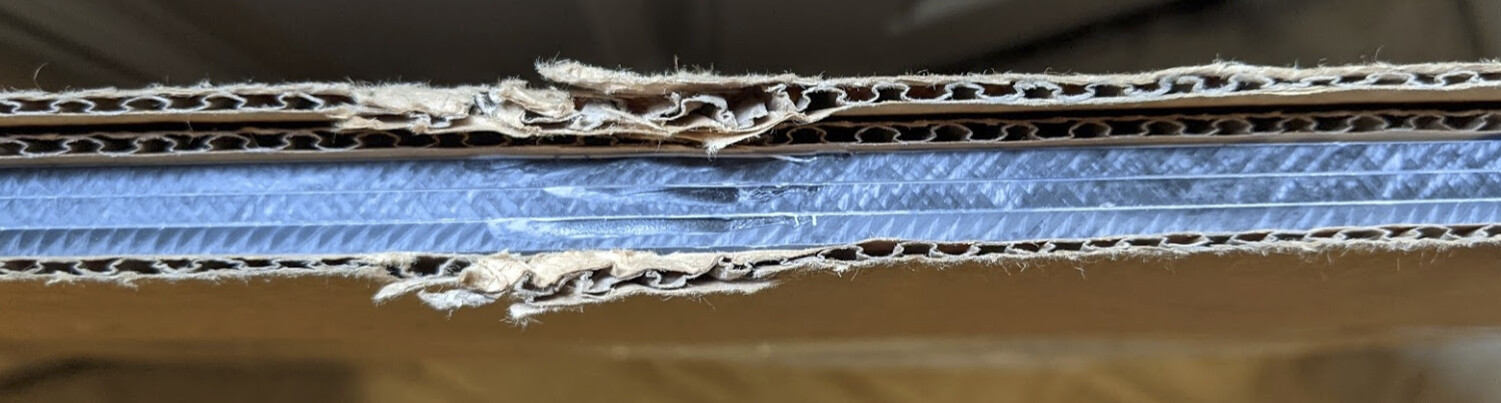
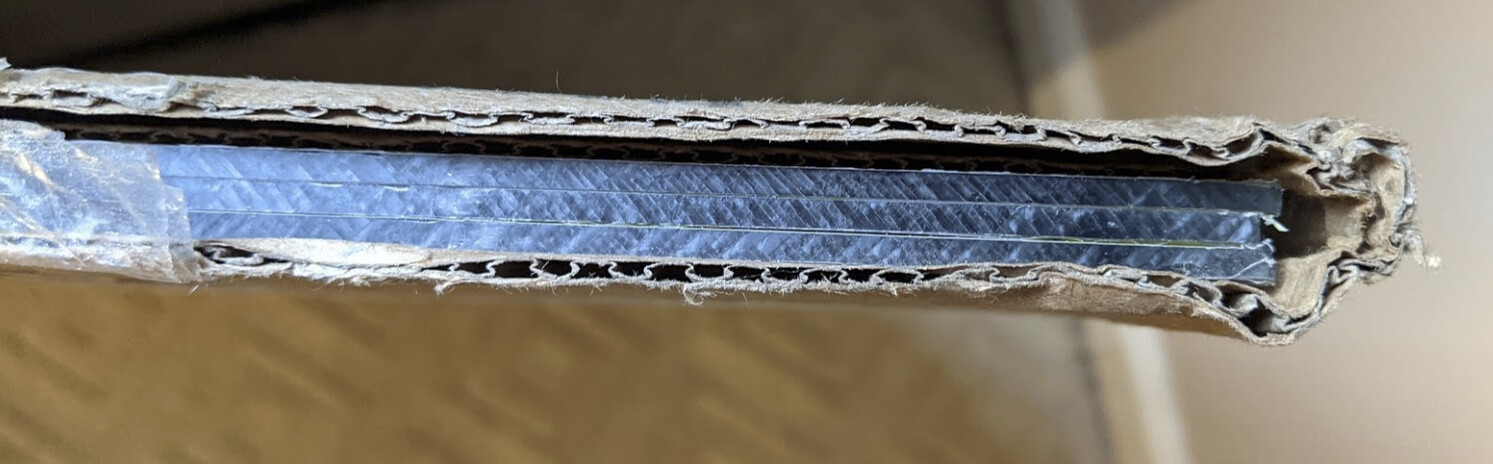
Well, I guess part of the way Home Depot came in with a lower cost was packing, but for $150 I still expected better than this. They wrapped cardboard around two edges, left the remaining edges exposed, and put a couple light pieces of tape that broke in transit. The fact that all three sheets even arrived was a minor miracle.
Polycarbonate is tough and the damage was limited to the edges, and HD came through offering discount for poor packaging and slight damage.
I’m still waffling on UV film. I had been searching for a static cling (not permanent adhesive) PET (not vinyl) sputtered (not dyed) film. That limits my choices a lot. Also, that will be useless without illumination inside the cutter; otherwise it will act like a “one-way mirror” and just get in the way. So maybe dyed cling vinyl (which is relatively cheap) applied to the outside would be a better way to go. For now I’m going to wait and see.
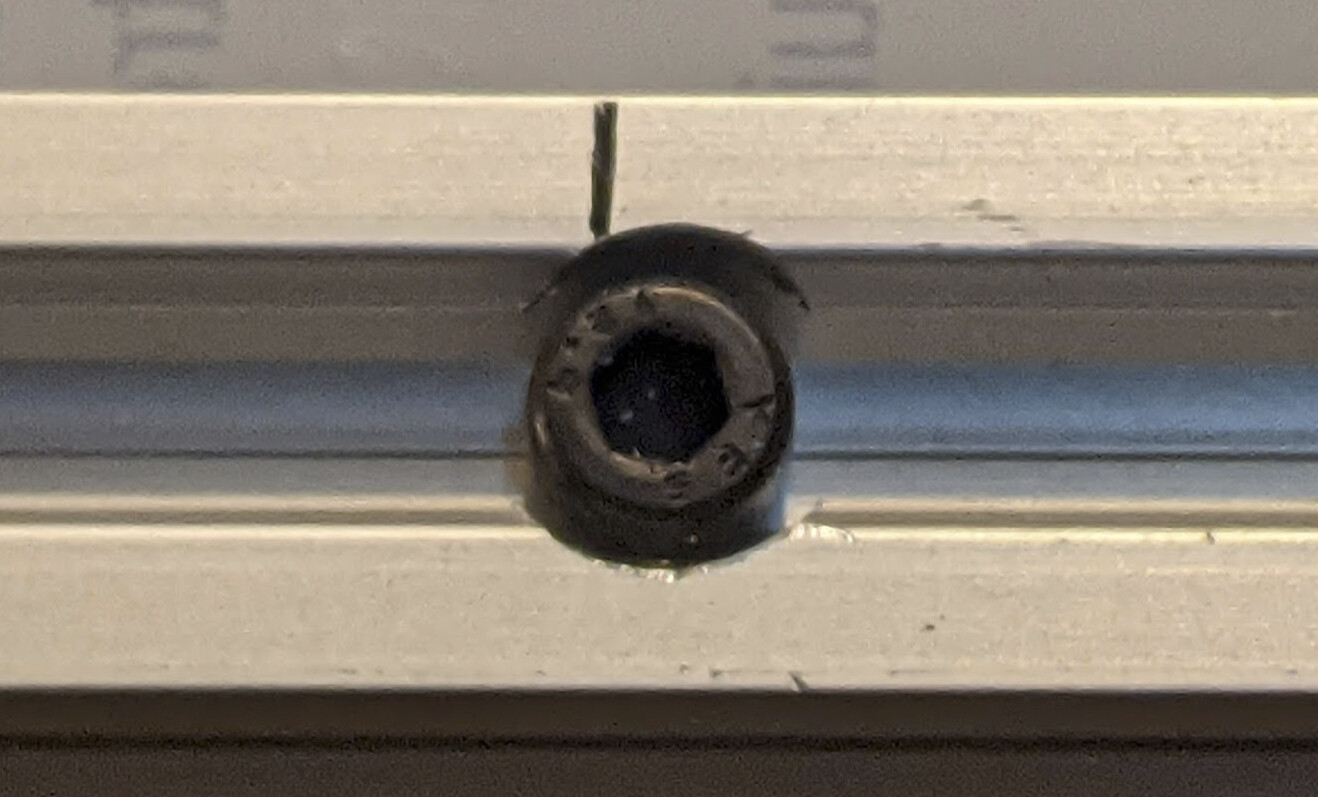
I had a slip-up on the mill drilling holes for the middle support in the front of the lid, so it’s a few mm off center. I’ll have to be careful measuring as a result. But it’s not like this laser cutter didn’t already have some “personality” from other quirks!
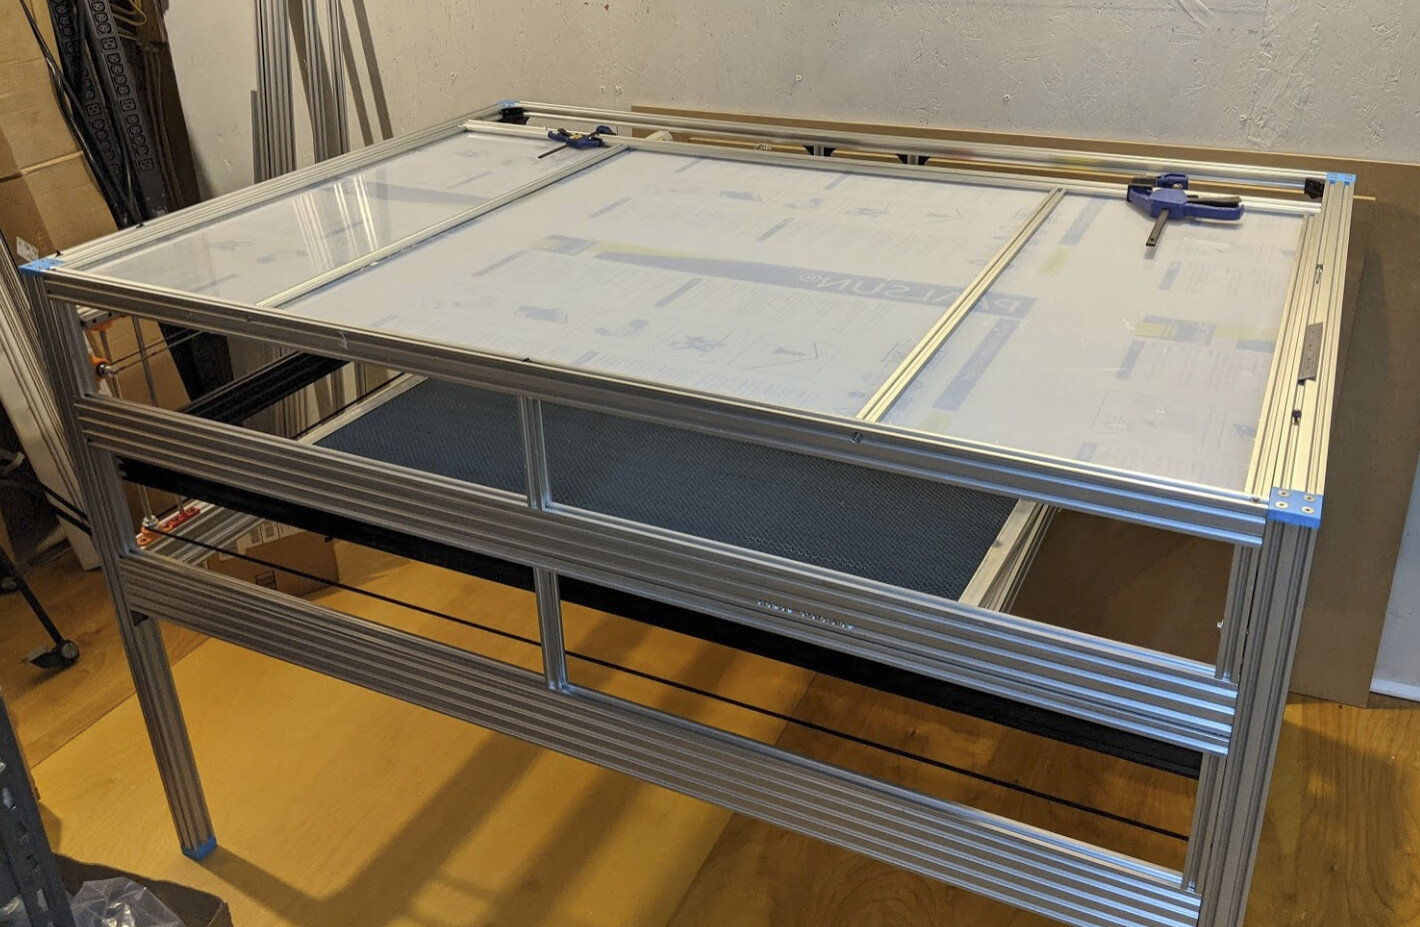
Here you can see the structure. Since I intend to cut mostly in the middle, putting one panel square in the middle of the top of the lid flanked by smaller panels made sense. But no need for extra panels in the front of the lid or the door. So a total of seven panels to cut.
Measuring thrice before cutting once means that we’re going slowly here. It could easily take us over an hour to cut the last three panels (we have cut one of the door panels not yet pictured) when we have our next shop session.
It did take a bit over an hour to cut the remaining panels. No hinges in place, just a couple clamps, and I haven’t removed the cling film yet (I’ll wait until near the end to do that):
I’m currently thinking of locking the panels in place by using screen spline pushed in around the edges.
And I’m thinking about static cling vinyl on the inside so that if it gets fouled I can replace it easily. Obviously if it drapes down into the laser that would be bad, but as long as it stays stuck it should be fine, I think.
I made a few of the cuts 1mm or so oversize (it was tricky getting the fence perfectly aligned) so I used a rasp something like this to shave the oversize edges down until the panels fit:
I did that rather than cutting undersize because I left nearly 2mm on the sides of the largest panel, and it’s looser than I like; I regret the extra space. Hopefully the spline holds it firm.
While assembling it, I realized that I was using the panels, still with the protective cling wrap on them, to hold the hinges and screws. Since polycarbonate is tough but scratches easily, this argues for protective film on the outside.
I haven’t decided whether to try to fit gas springs on the lid or not. I’m not 100% sure that I can fit them in without getting in the way of the laser path, and I can clearly just open the lid far enough that it rests on the wall behind while I’m figuring things out, so no great rush.