I once posted about the idea of printing ABS on $2 plastic from Hobby Lobby. Tonight, I have the results of the long dormant experiment. It works…sort of. The print bonds well to the plastic. The ABS warping will pull the plastic up into a warped shape. The plastic will peel off from the part. The plastic will have melt holes in it from the nozzle if the nozzle touches it during bed leveling. You need something to keep the plastic flat while printing at least the first few mm. I do not know if you could use some spray on glue to hold it down well enough or not. Aquanet Extra Hold hair spray will not work to stick it on ( I am nutty enough that I tried).
What kind of plastic are you talking about? Like, ABS printed onto ABS sheet?
Considering how it developed cracks along any cuts that were too far onto the sheet, it might have been acrylic. It was $1.49 a sheet according to the sticker I just read. It had protective films on both sides. I could not find it on their website just now in the mere minute or two that I spent looking. It had 190 and then 39 after a bit of gap on the price tag. That might be a part number.
Protective films on both sides suggests it was Acrylic sheet. Some of the Stratasys machines (I think) print ABS onto an ABS bed.
Would be funny to print 2 layers of ABS from a friends machine - to glue it down to a machine that wasn’t “ABS capable” and then print on top of the unheated ABS “sheet” that someone printed for you.
I imagine it would work. I also imagine that using a metal bed and either an oven or a heat gun would work to melt some ABS onto the surface. I tried the ABS juice thing, but I do not think I made it right or it was insufficient. It was a bit liquidy and not so much oozy. I think the acrylic would work if I glued it to the bed. Only for a certain number of prints though since the taps on the acrylic add little burn holes. Hmmm…but if you rotate the acrylic, the outer holes will be in different locations and the center would sadly be in the same location. It might be possible to fill the holes with hairspray residue or glue.
Screw it. I am printed with the acrylic taped to the glass at 8 or more points around the edge of the circle. The glass is not attached to the bed as well as I would like, but I think this should work.
I am going to walk away from this while it prints. The adhesion to the acrylic is great. The acrylic is taped well enough that I do not think it will have a chance to curl up much.
I checked on it. Not enough bed squish (the printer just decides all of a sudden to print higher, it seems) caused it to not stick to the acrylic well enough. This would not have been an issue if there was enough bed squish, I am sure.
heh. Or it could have been the tape throwing off the bed readings. (facepalm)
1 Like
Now attempting a print on acrylic clipped to the heated bed set to 60C. No glass in between. It for whatever reason did not have the bed up to temperature. The first couple of layers are crap. That would not had mattered if I printed a raft first. I will let this continue printing for a while anyways. Part of the reason for it looking like crap is that it had trouble extruding filament for a little bit. The initial 3mm are now done, so it is printing with the part/hotend-fin cooling fan turned on. It seems to be putting down better layers now though. It looks like the part will be kind of ugly on the bottom but I think I will let it continue anyways and share a picture when it is done.
Well, it is not warping off the bed any worse than it did on the previous printer with the bed set at 100C. That is still not optimal, but this is an ABS that is something like 4 or more years old. Formulas change. It probably only cost me $15. I have always been the cheapskate. It is black filament too and that color tends to be a pain to print for ABS.
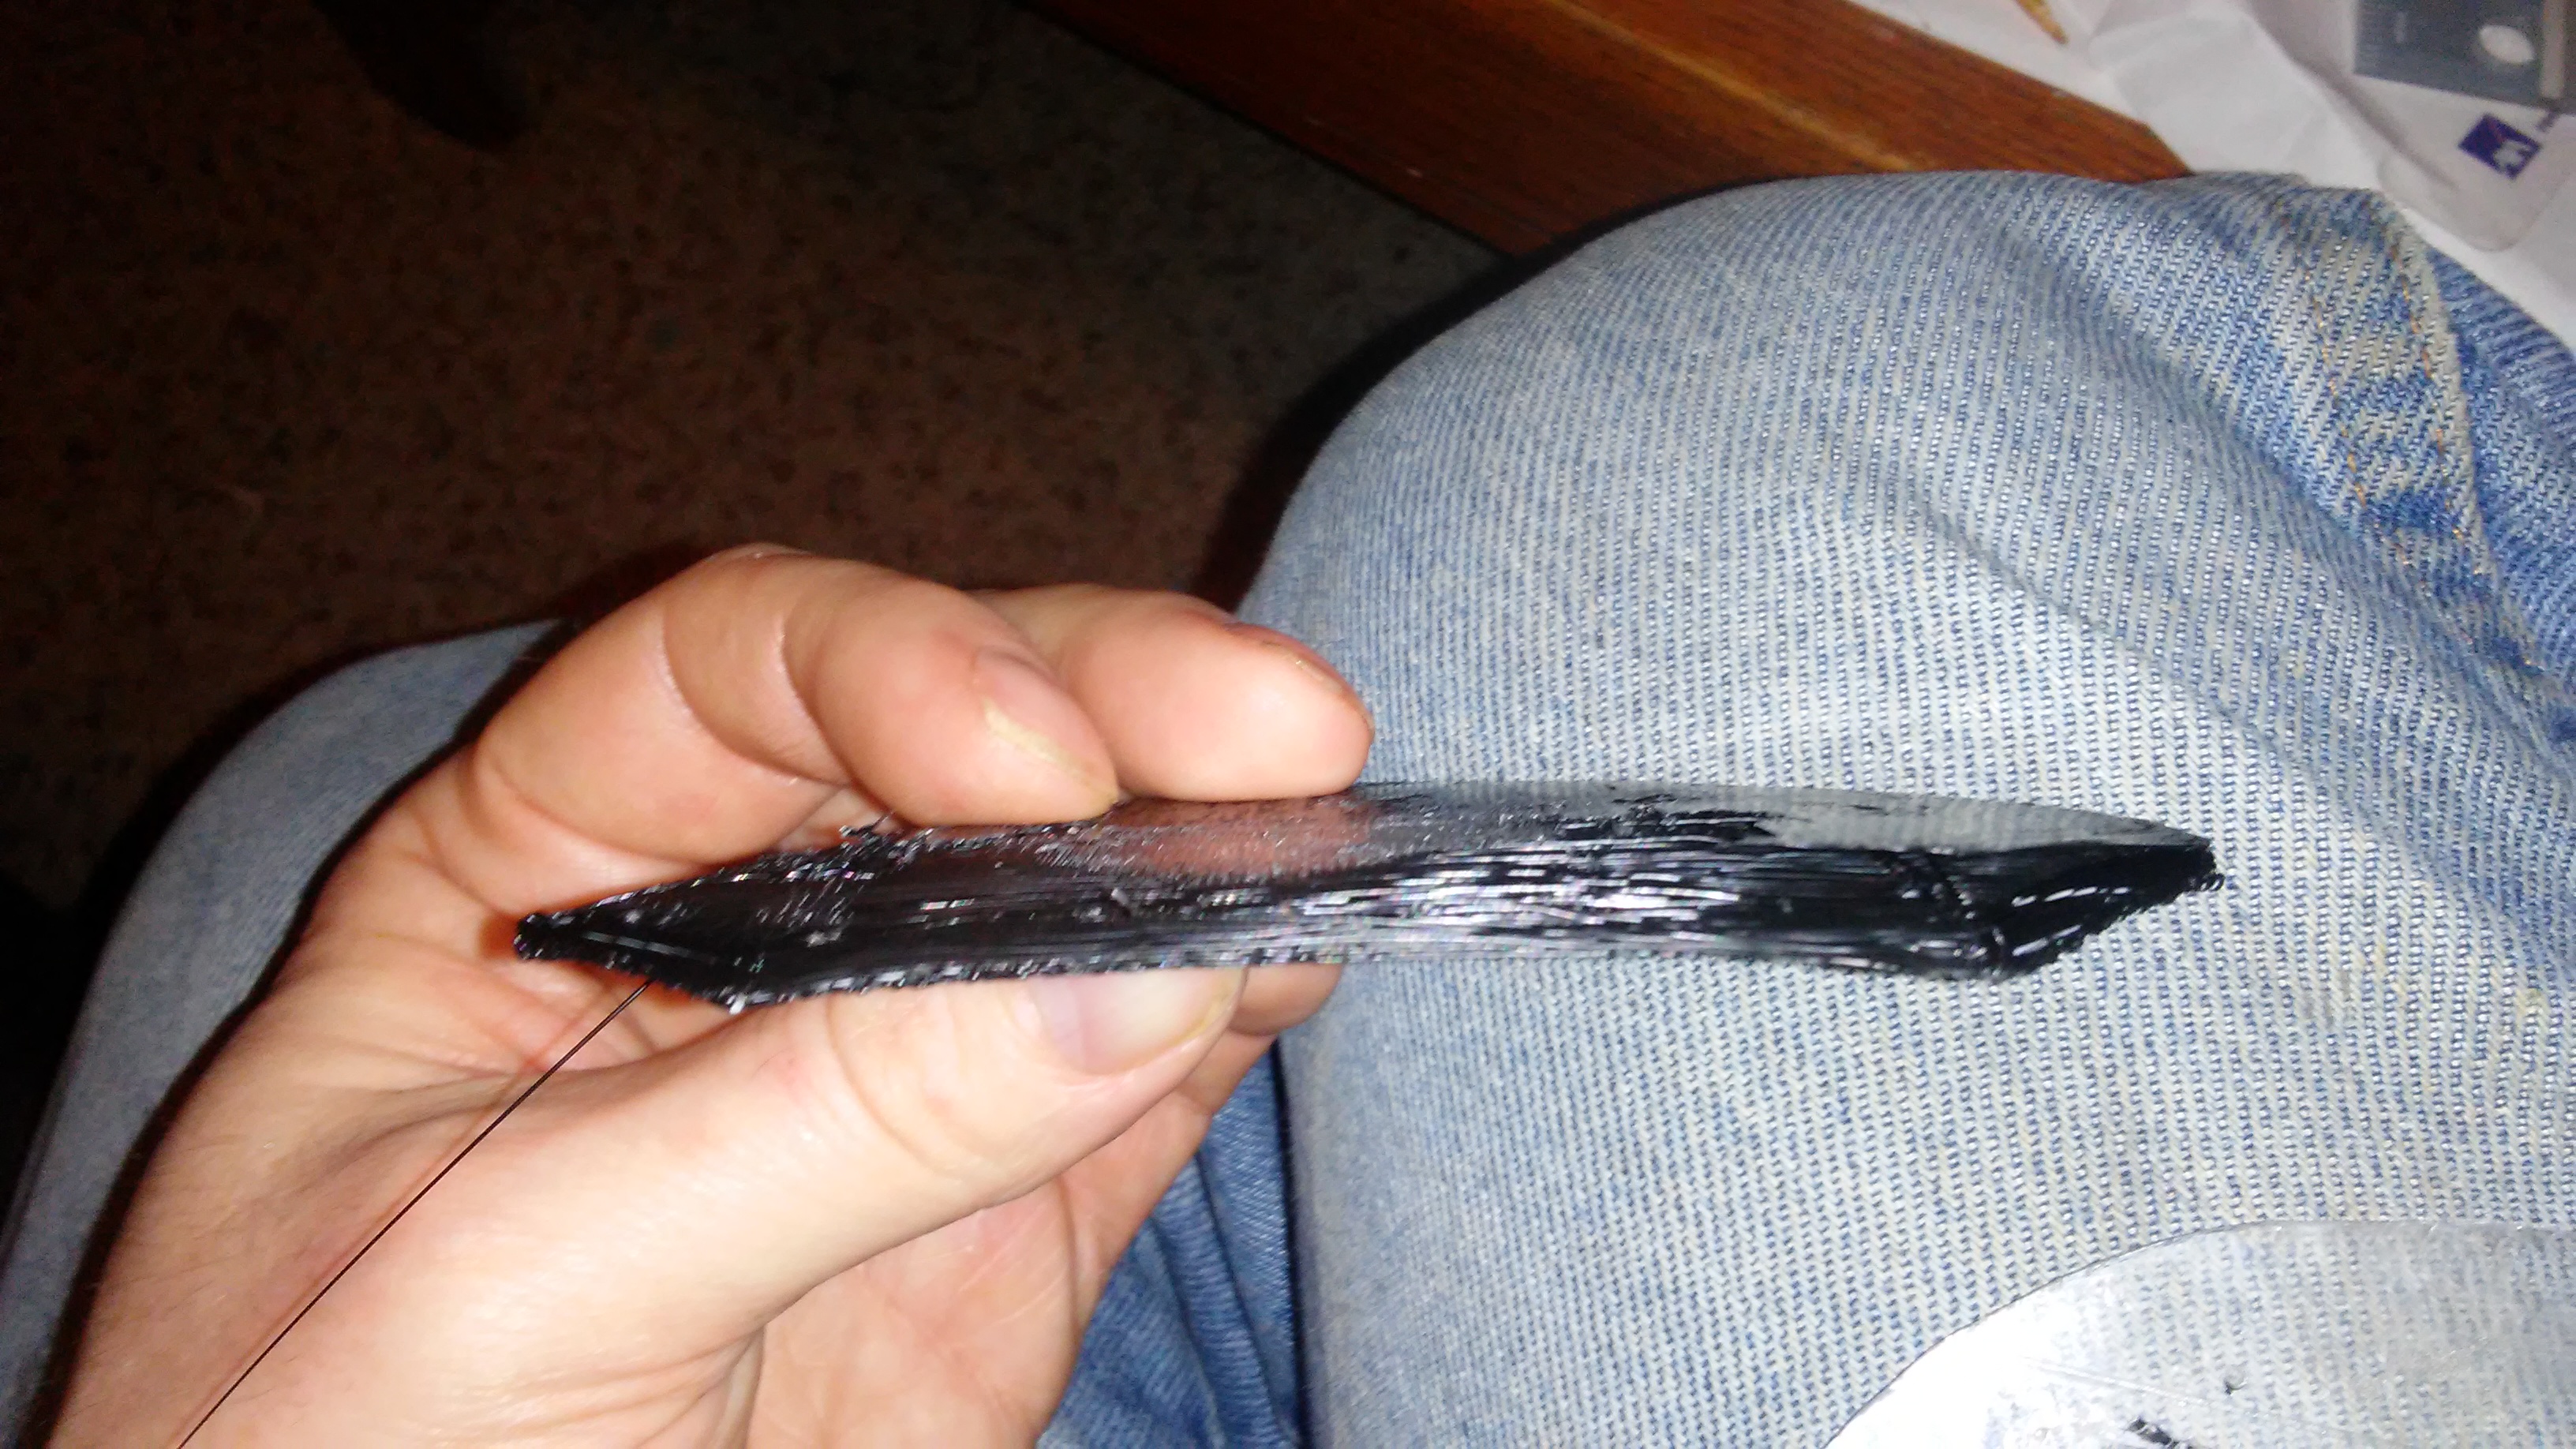
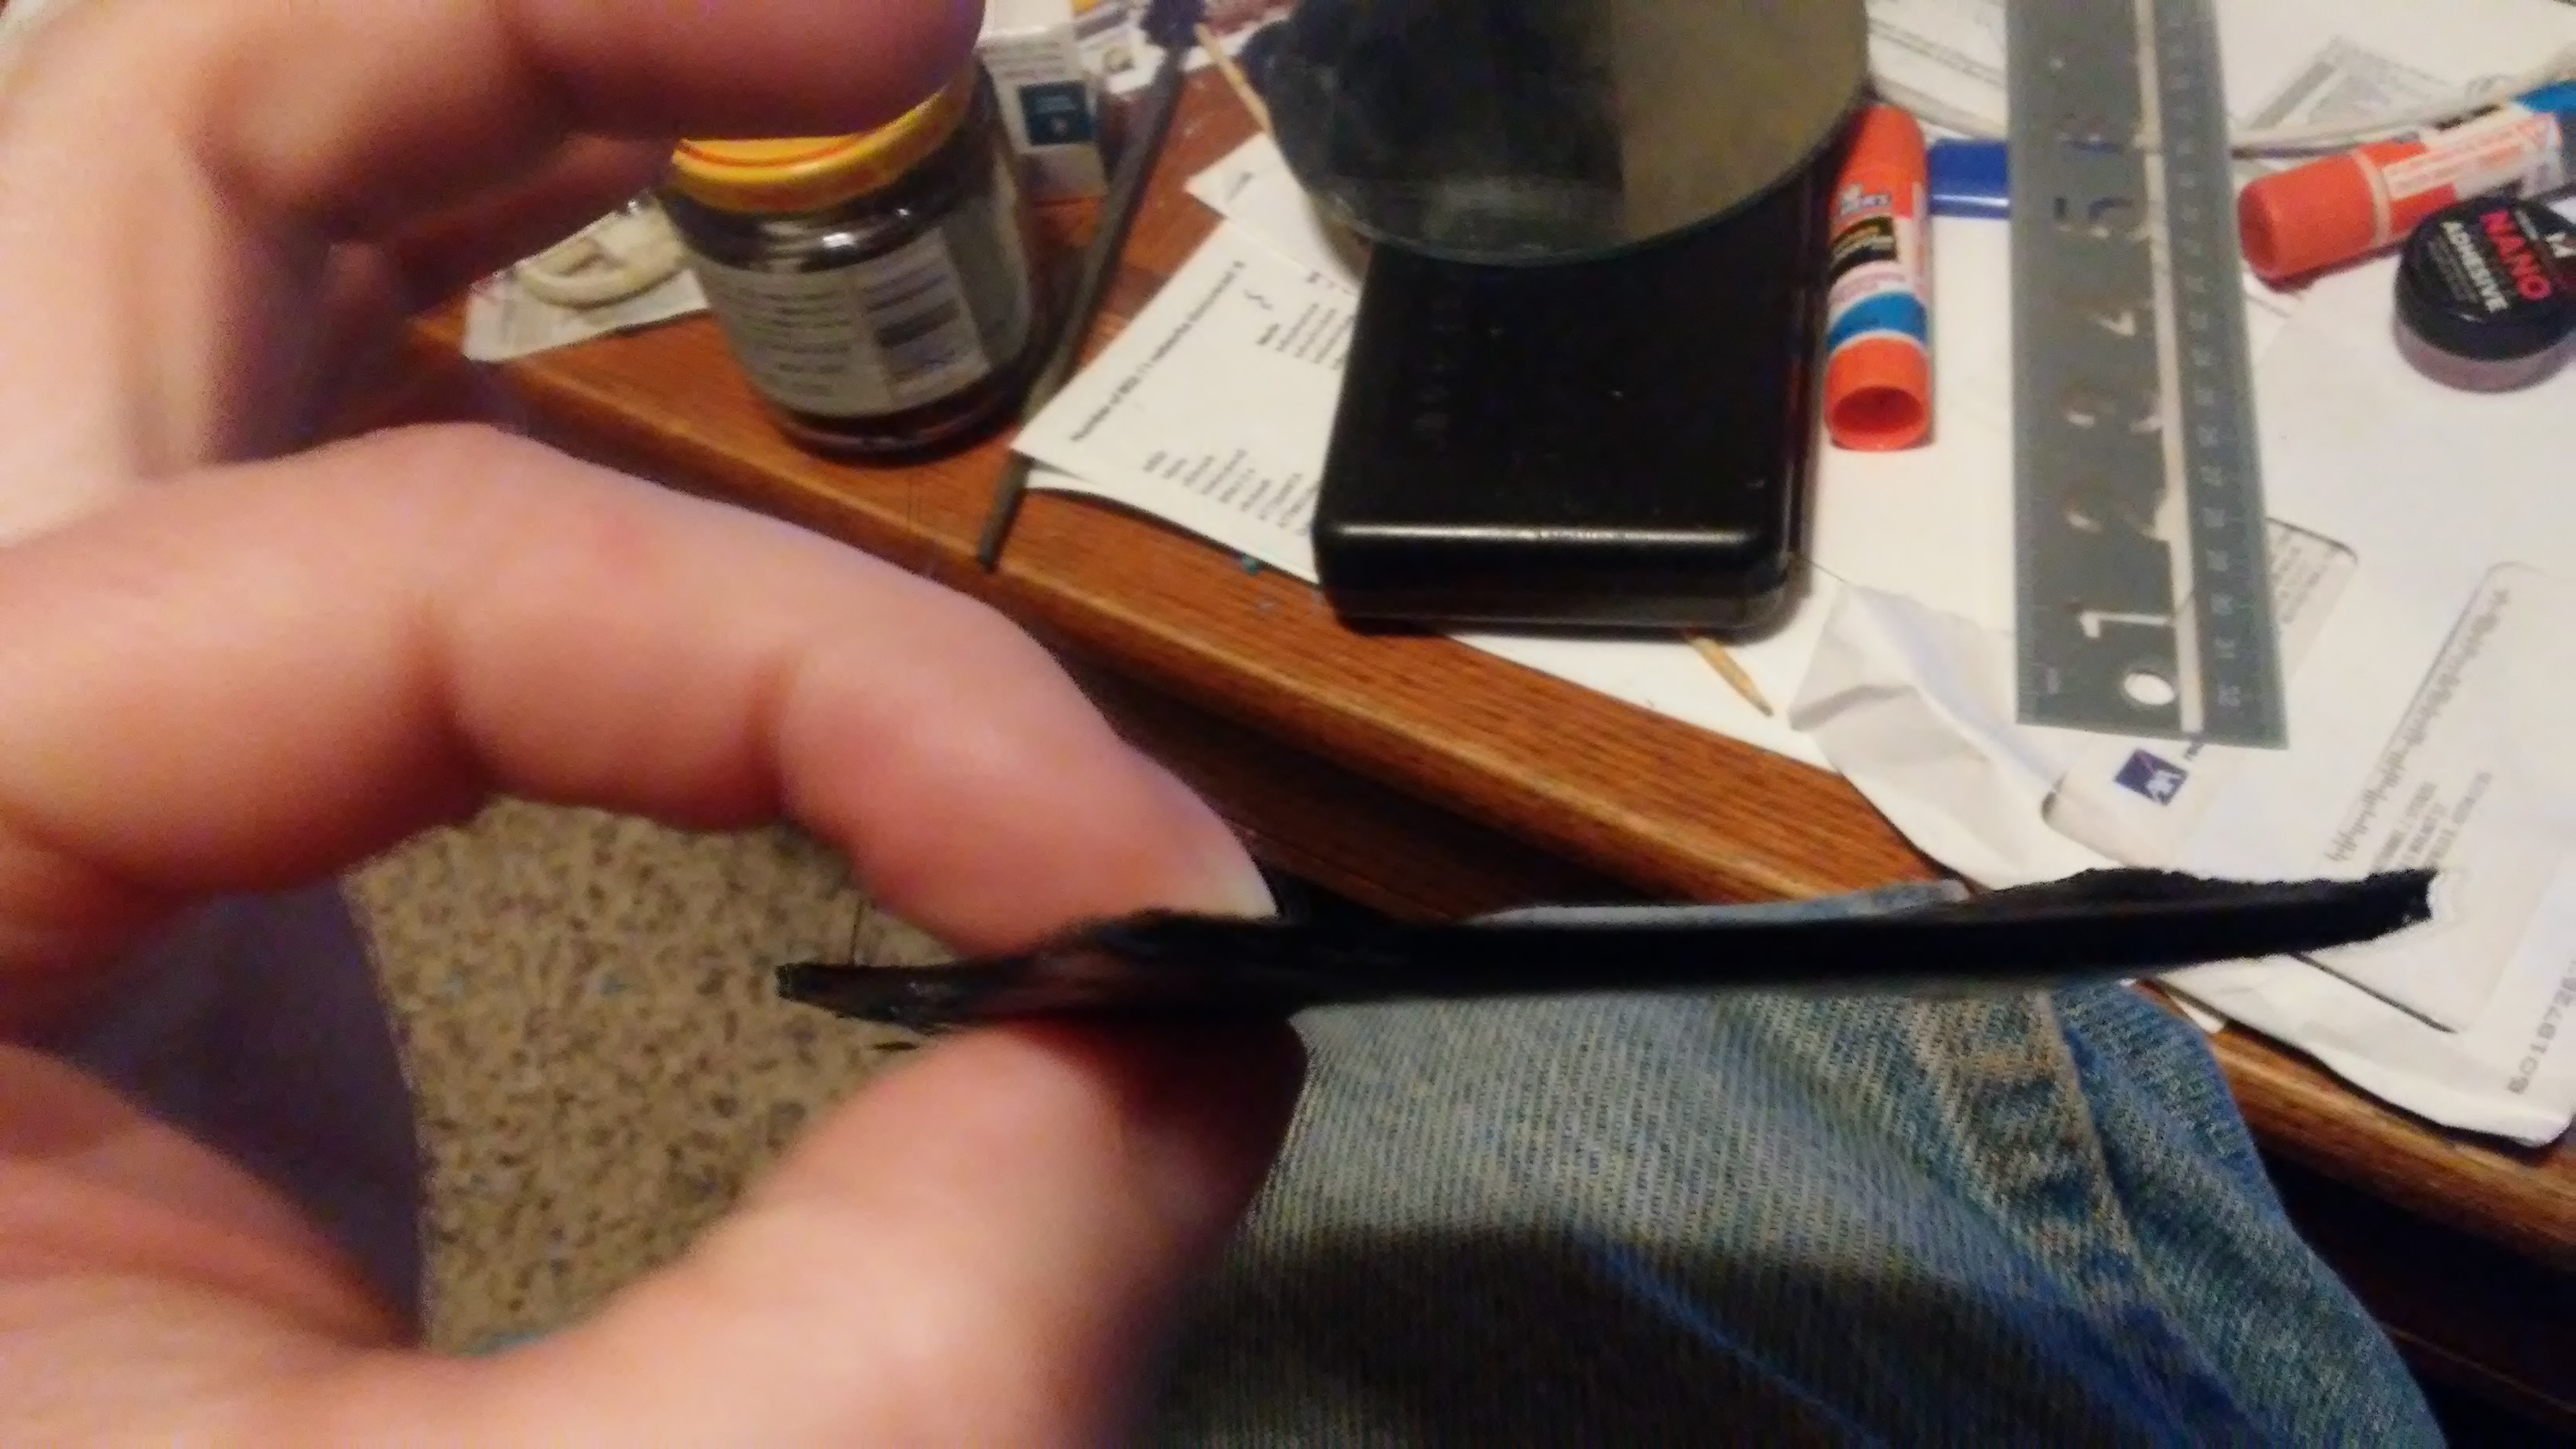
I changed my mind. This is too painful to watch. The curling on the one side is so much. Even if it was no worse than I would sometimes get on the 100C bed, this part is already enough of a failure. Aborting.
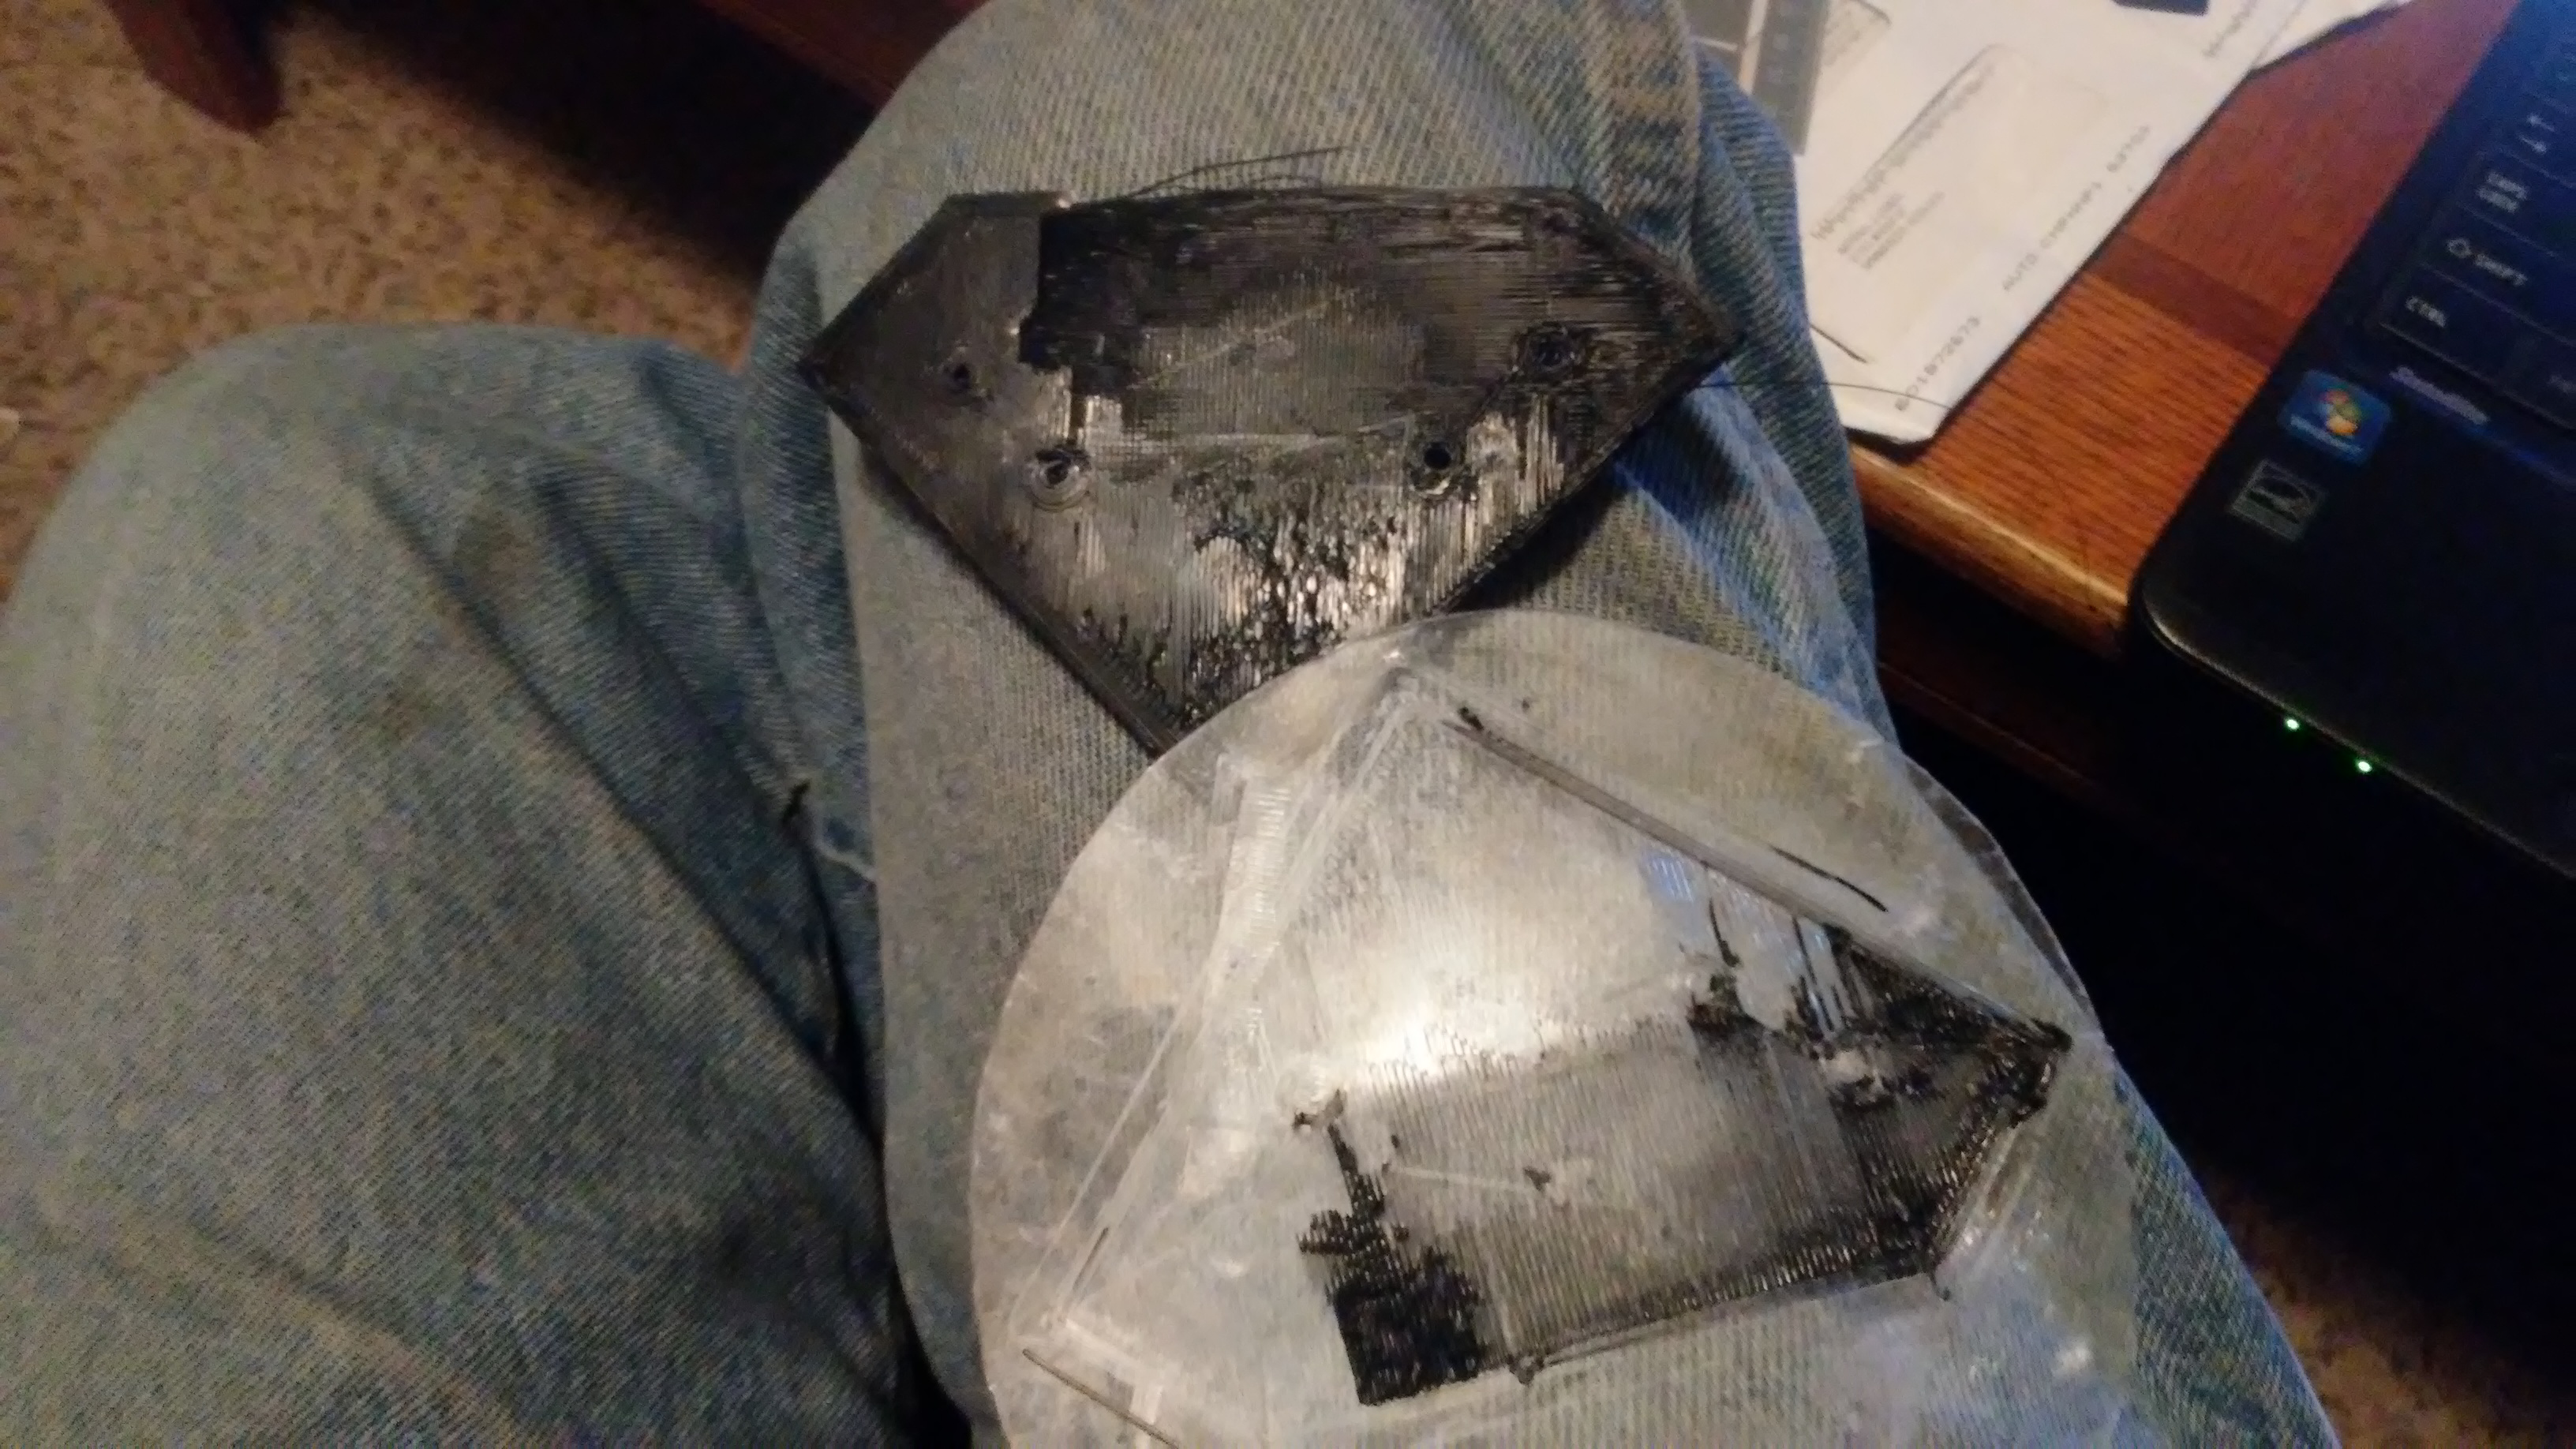
Some of it was so well embedded into the acrylic that it was left behind on the acrylic after separating the print from it. I think the failure can be blamed on the temporary nozzle jam and the bad bed adhesion which can be blamed on the mini binder clips interfering with the bed leveling.
Hmmm…the pictures never uploaded. Crap.
Well, I was attempting this with black ABS which is the worst possible ABS to try to get to work. It has so much dye in it and it has different properties due to that.
There. That is better. Now people can see my crappy results.
I started out an experiment with a light blue PLA raft with multiple top levels. I switched to yellow ABS (which is easier to handle than black ABS) after 1 top level out of 4 top levels. After starting the main part, there were no warping issues but it ended up having an issue of the perimeters of ABS coming off of ABS on one side. Perhaps I have the raft to part separation set to large or something. I am not sure. The rest of the layer seems to be doing well. I did not see any more separation else than in the one place. I resliced it to have a smaller raft, but the PLA was not wanting to push out, so I think that does it for the experiment. I might try the experiment again some other time when I get more PLA.
Can Cura set the raft to be a different filament? I know it can set the infill to be a different filament. Maybe for people with dual extrusion abilities, a person could automatically switch from PLA for the raft to ABS for the main part and print at 55-60C for the bed which would then open up ABS to many more people.
More light blue PLA is ordered. It might not be the same brand. I have no way of telling who made the last set. It was clearance from PrintedSolid before a swap of their “daily” filament.