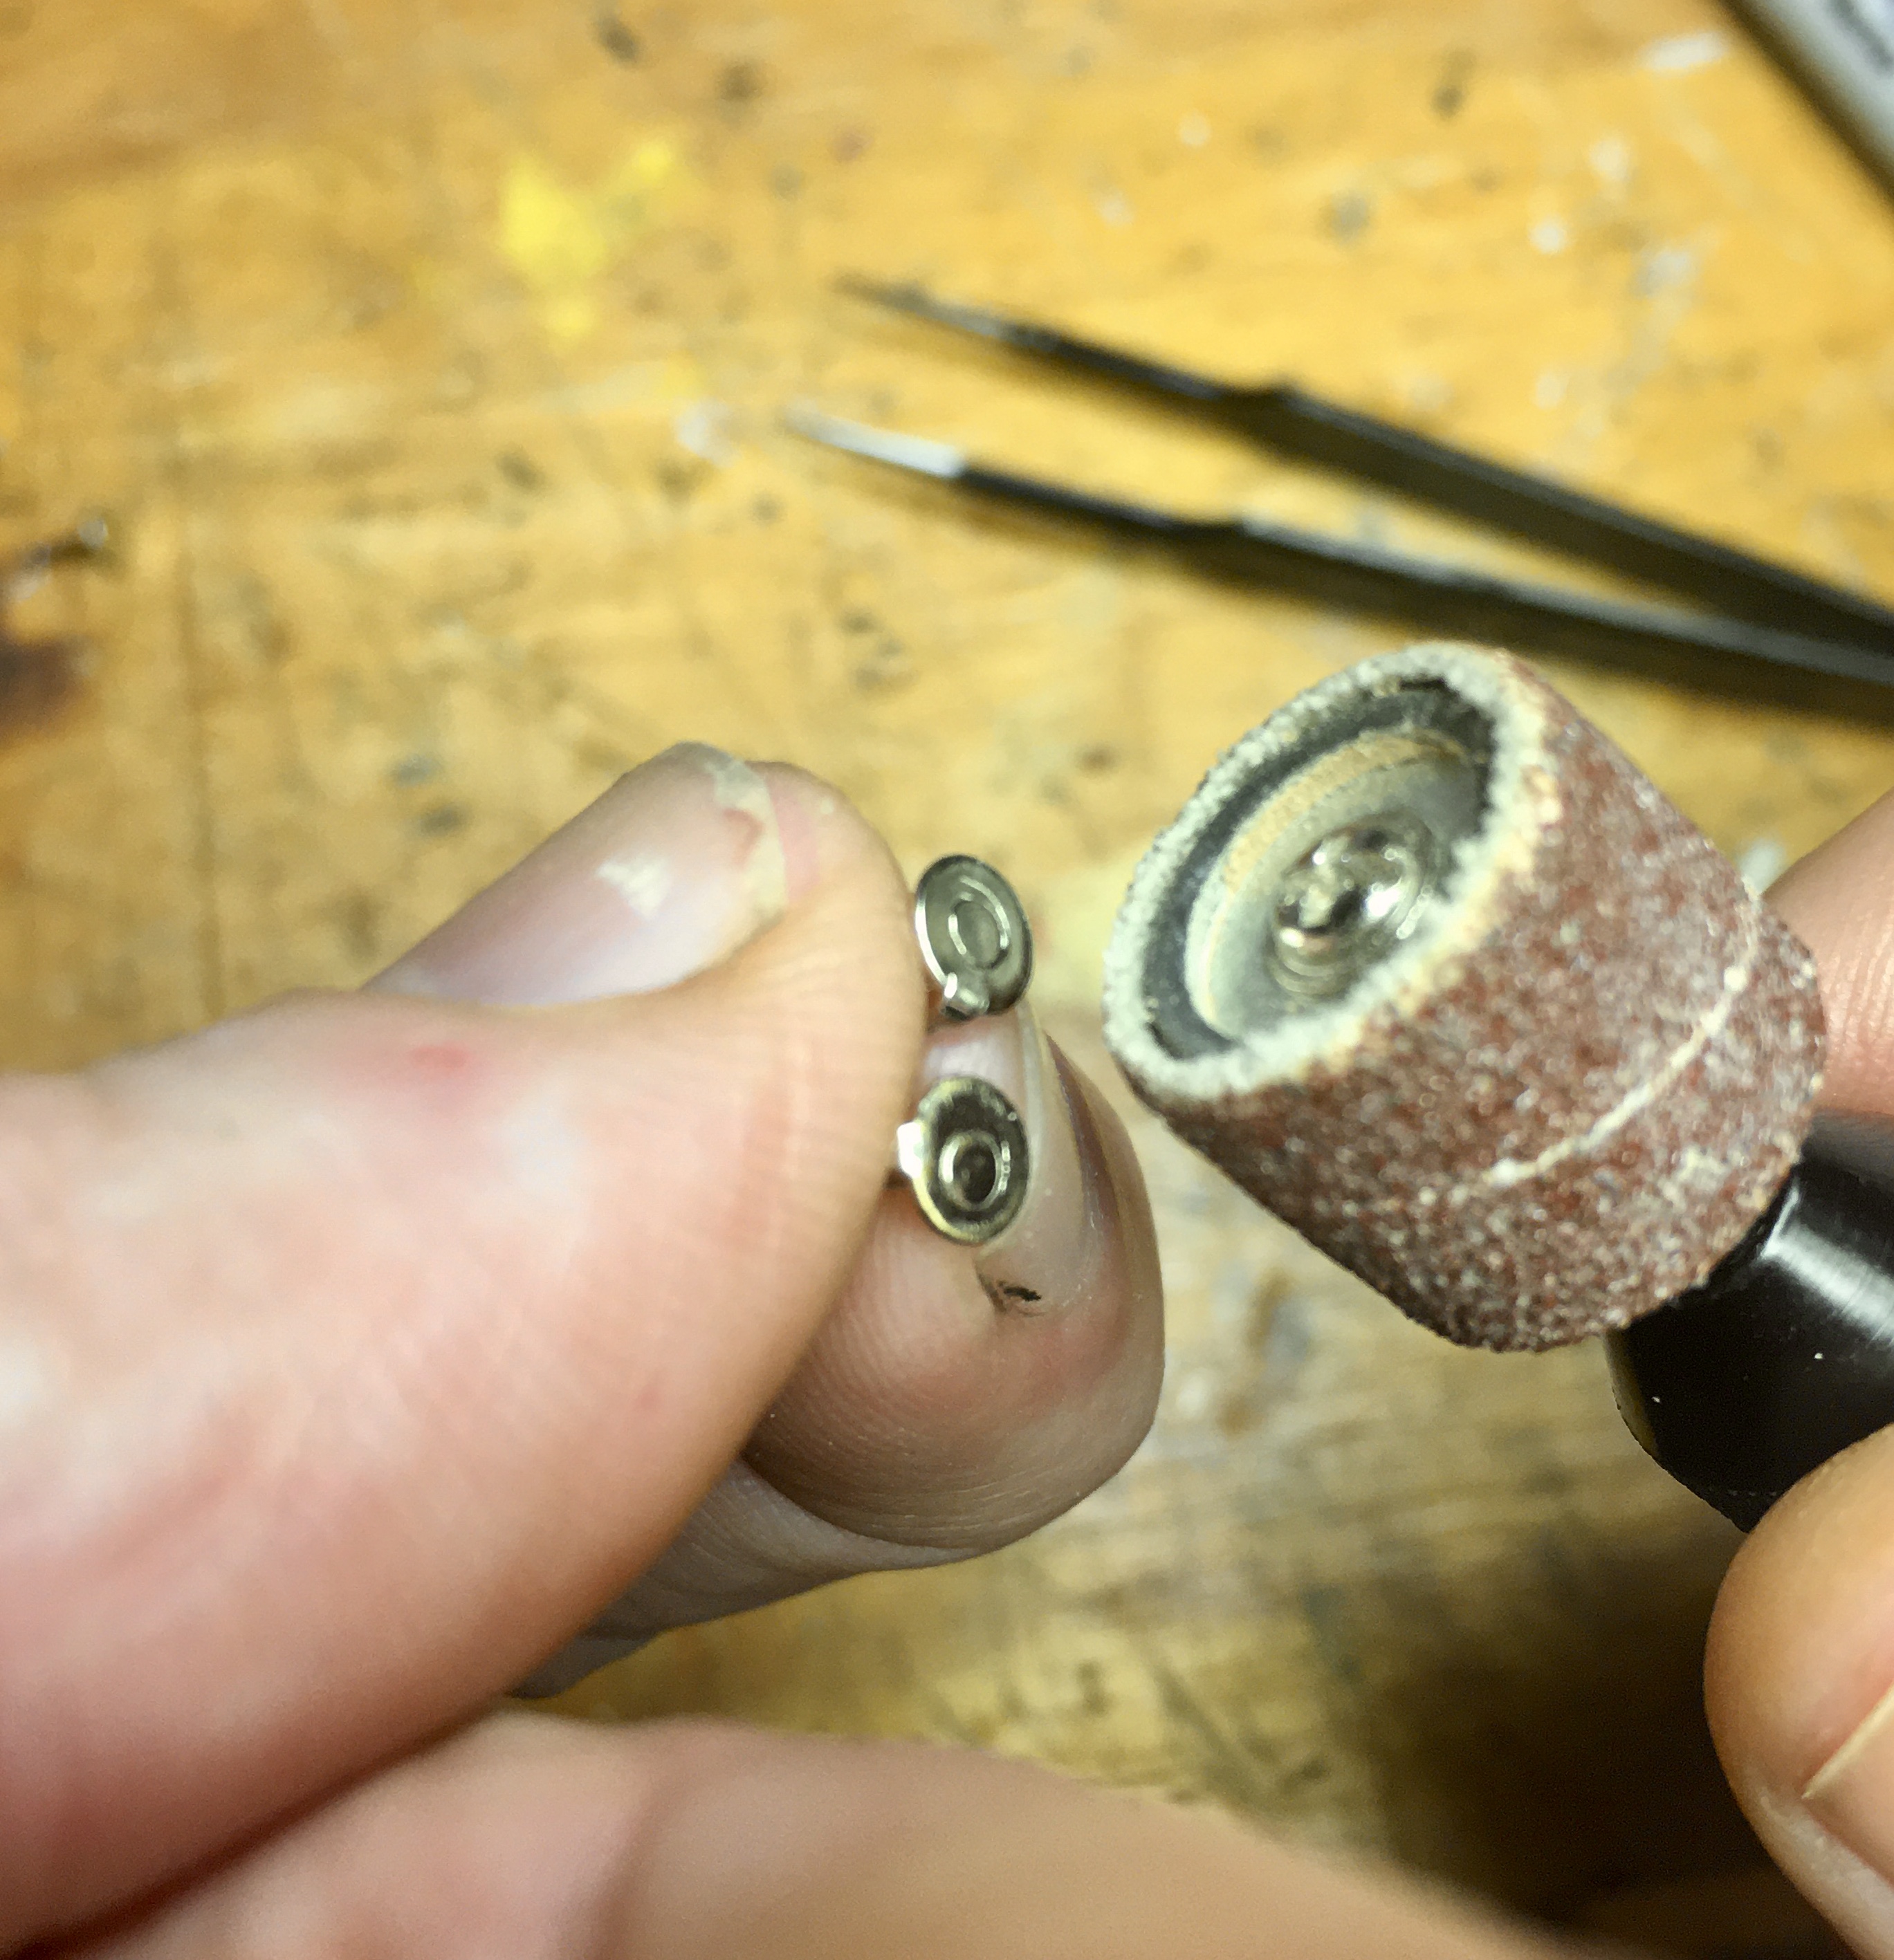
I routinely make laser engraved/cut pins either for commision or for friends and family. For attachment I usually use these butterfly clutch pin back blanks.
They have a good pin length and a 4.5mm glue pad with barb to prevent pin rotation. Usually use CA glue for attachment.
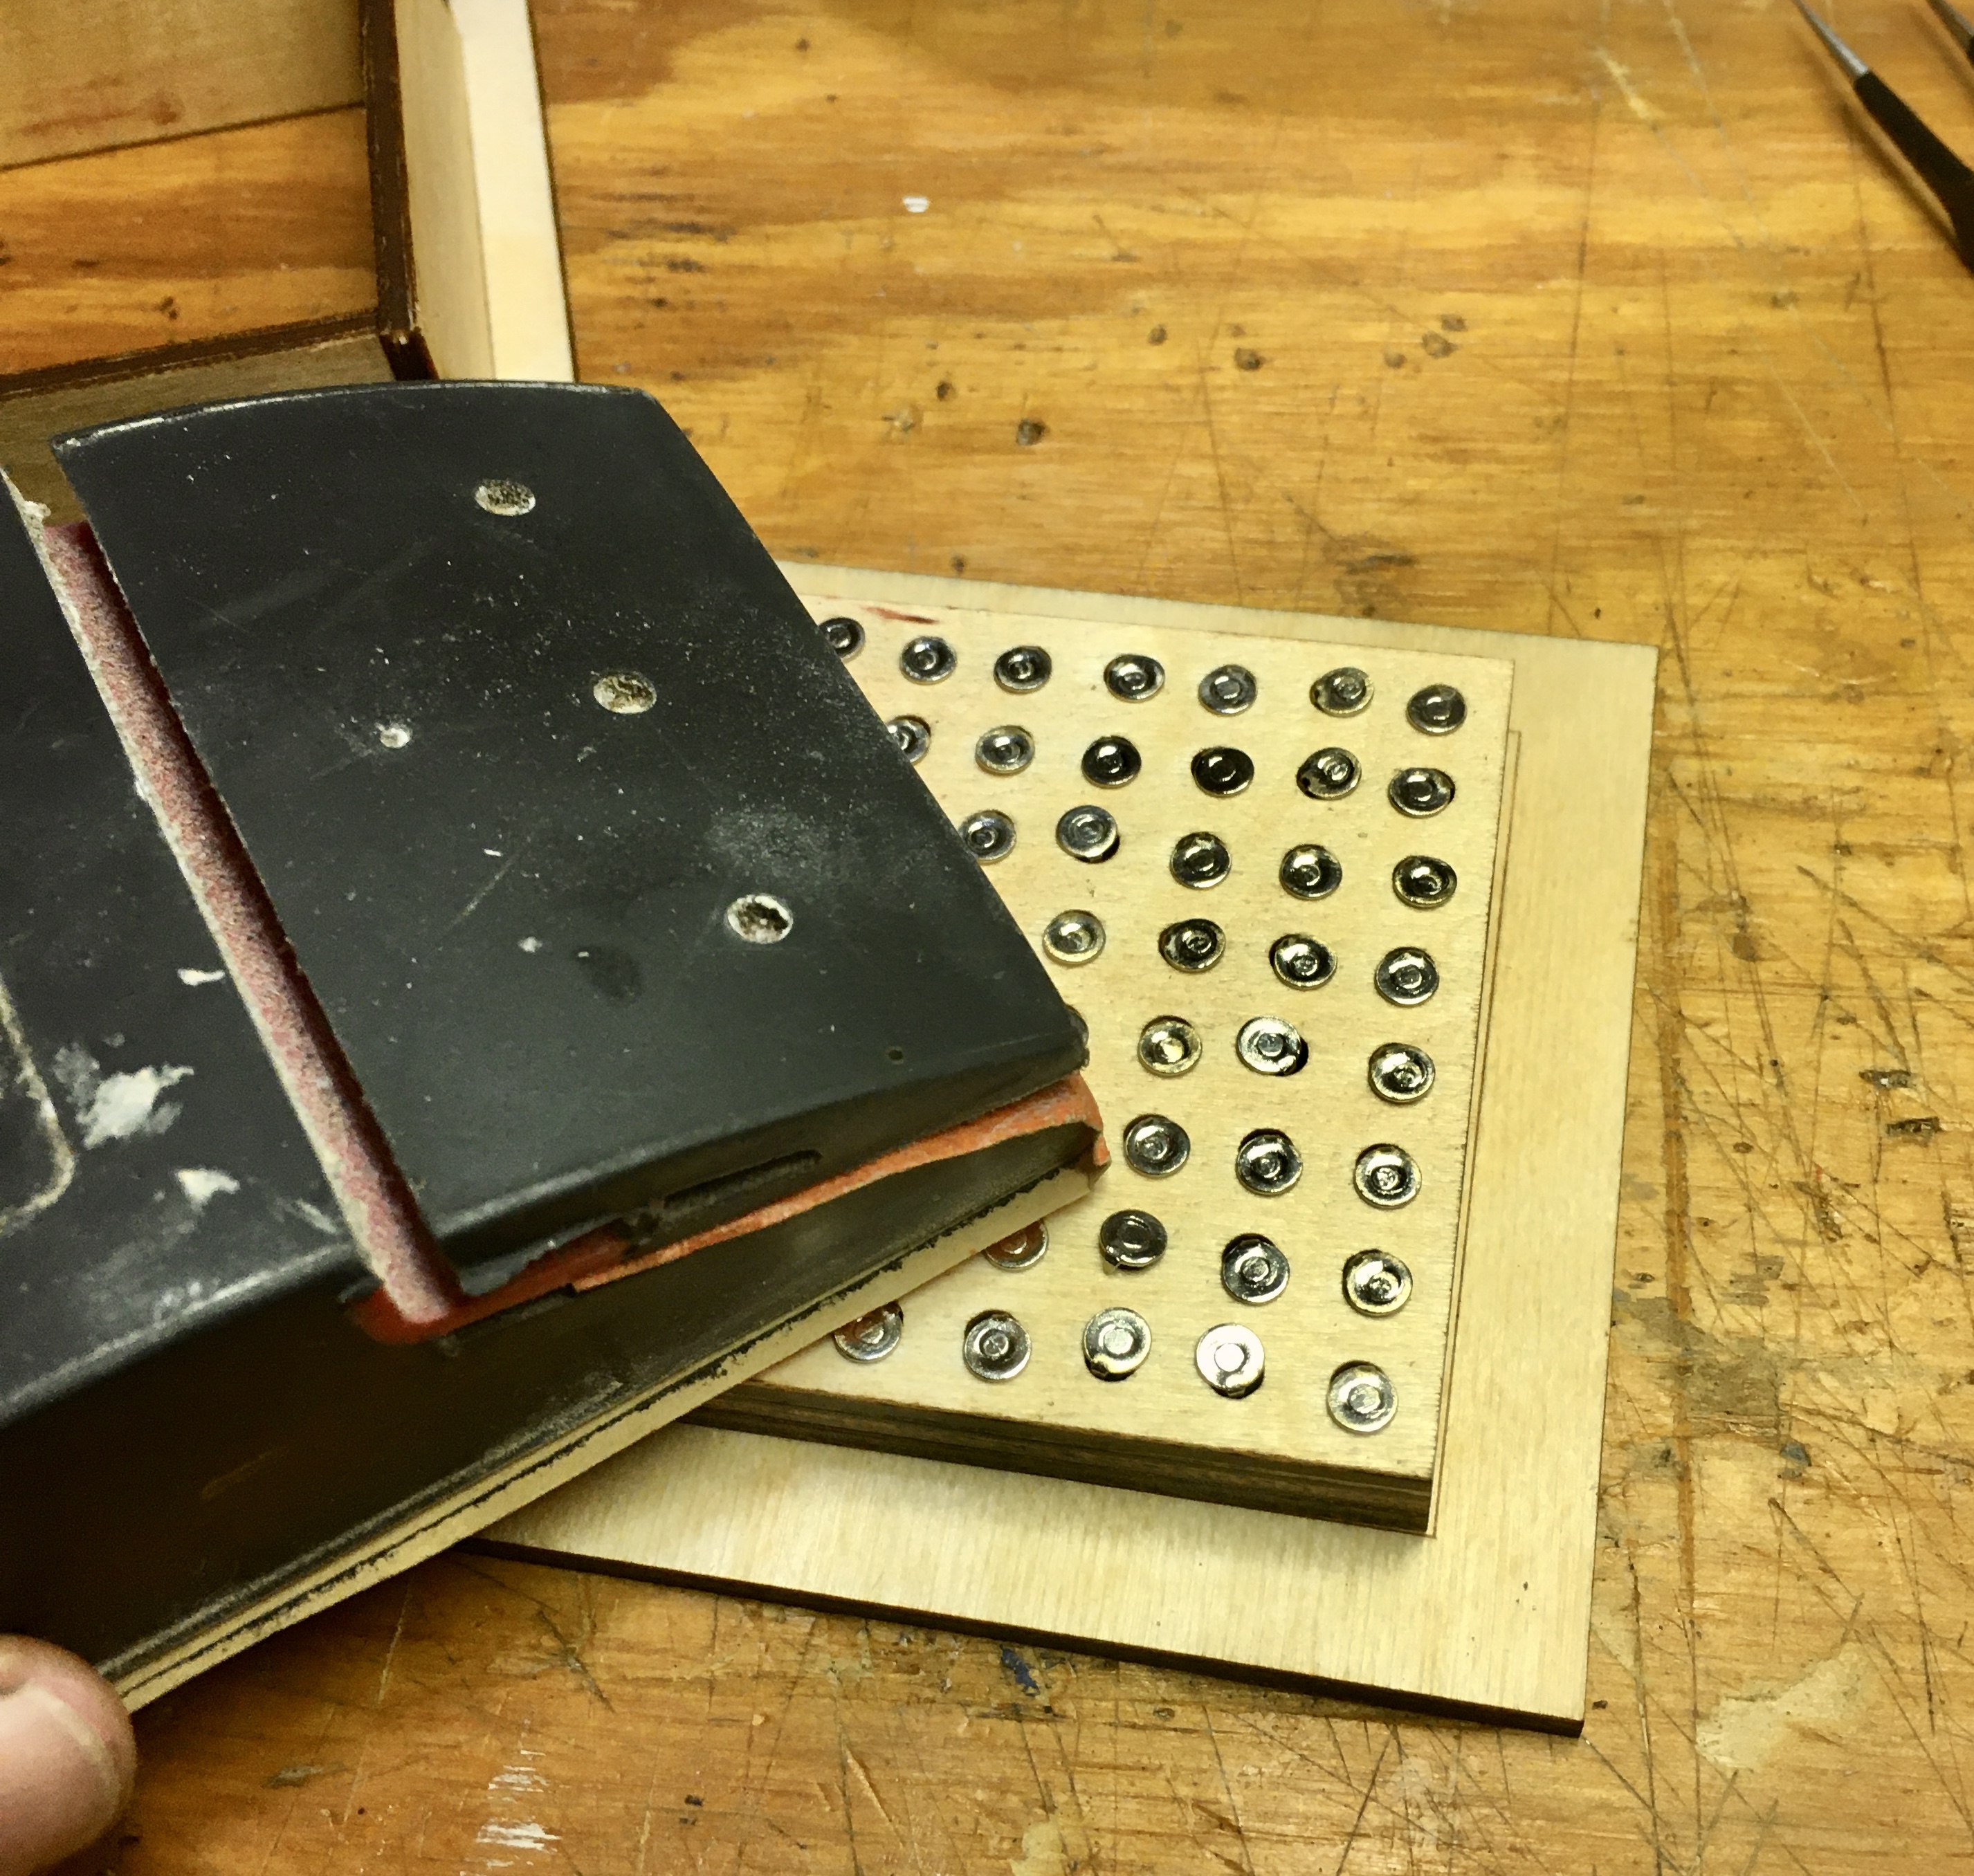
Typical procedure would to be to dump a bunch of pins on the bench, count out what was needed and then stand them up right on the pad one at a time with tweezers. Then grab 2 at a time and hit the pads with a drum sander on my rotary tool to roughen the pads for better gluing.
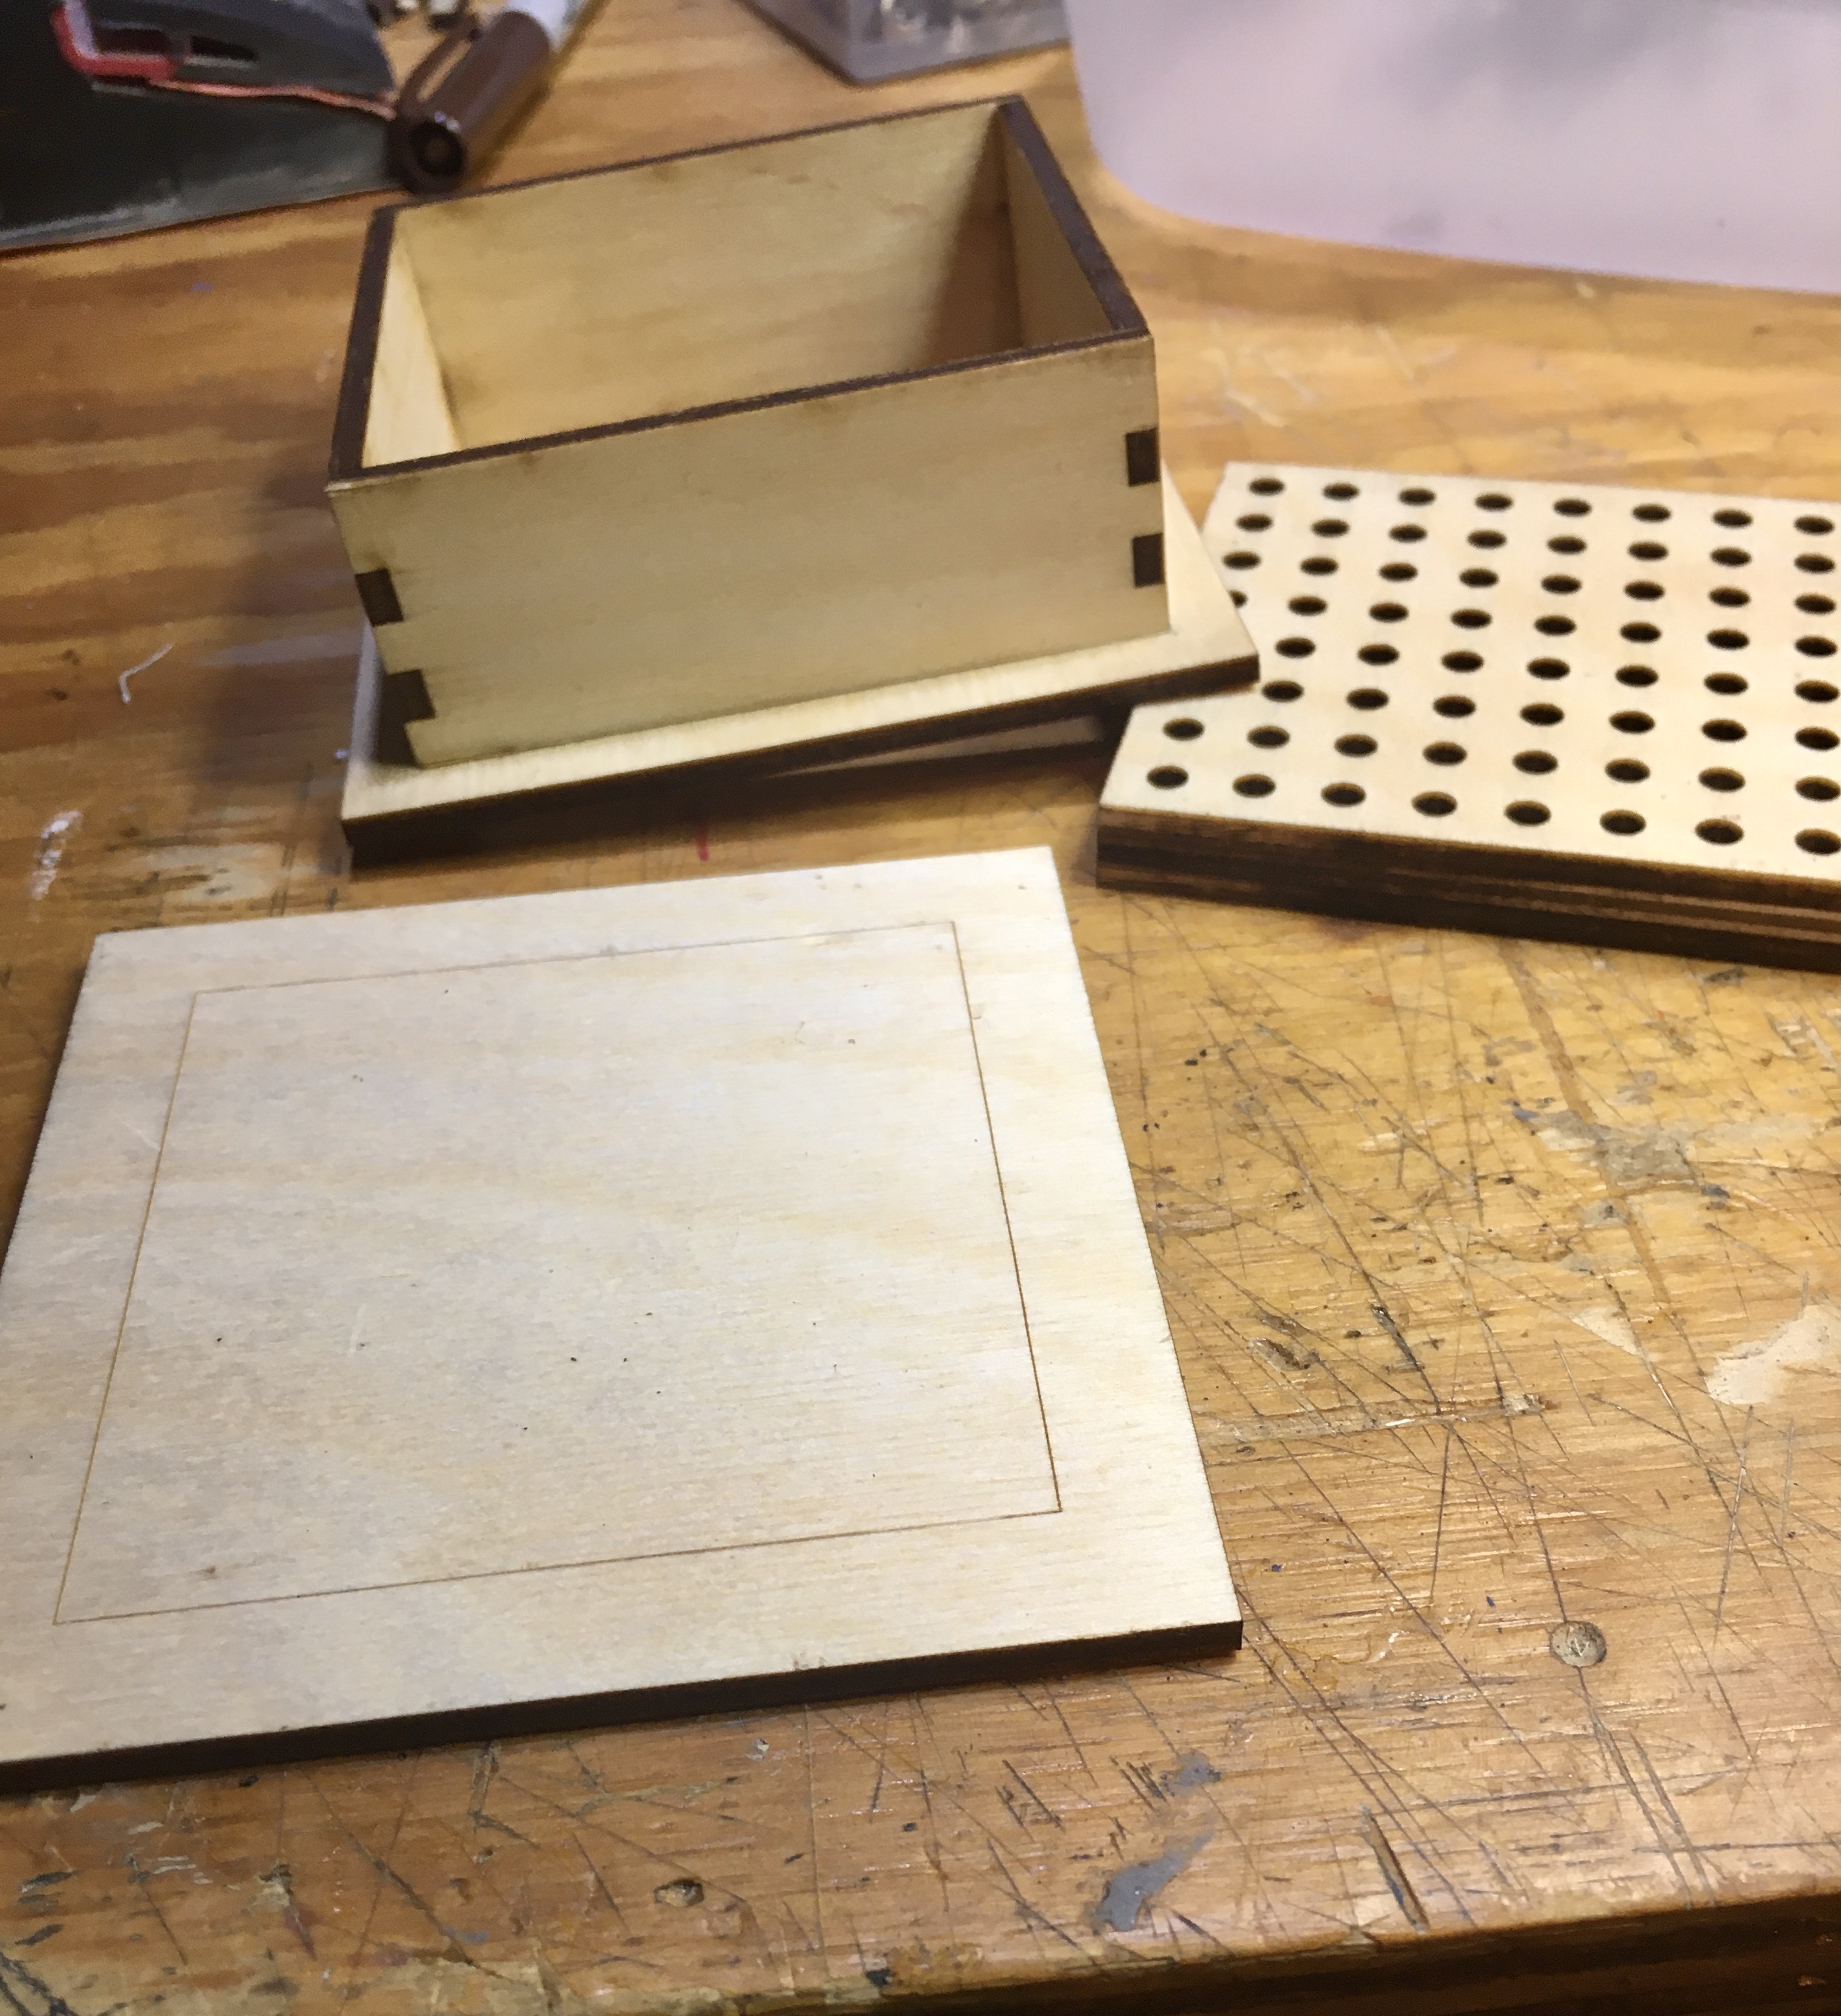
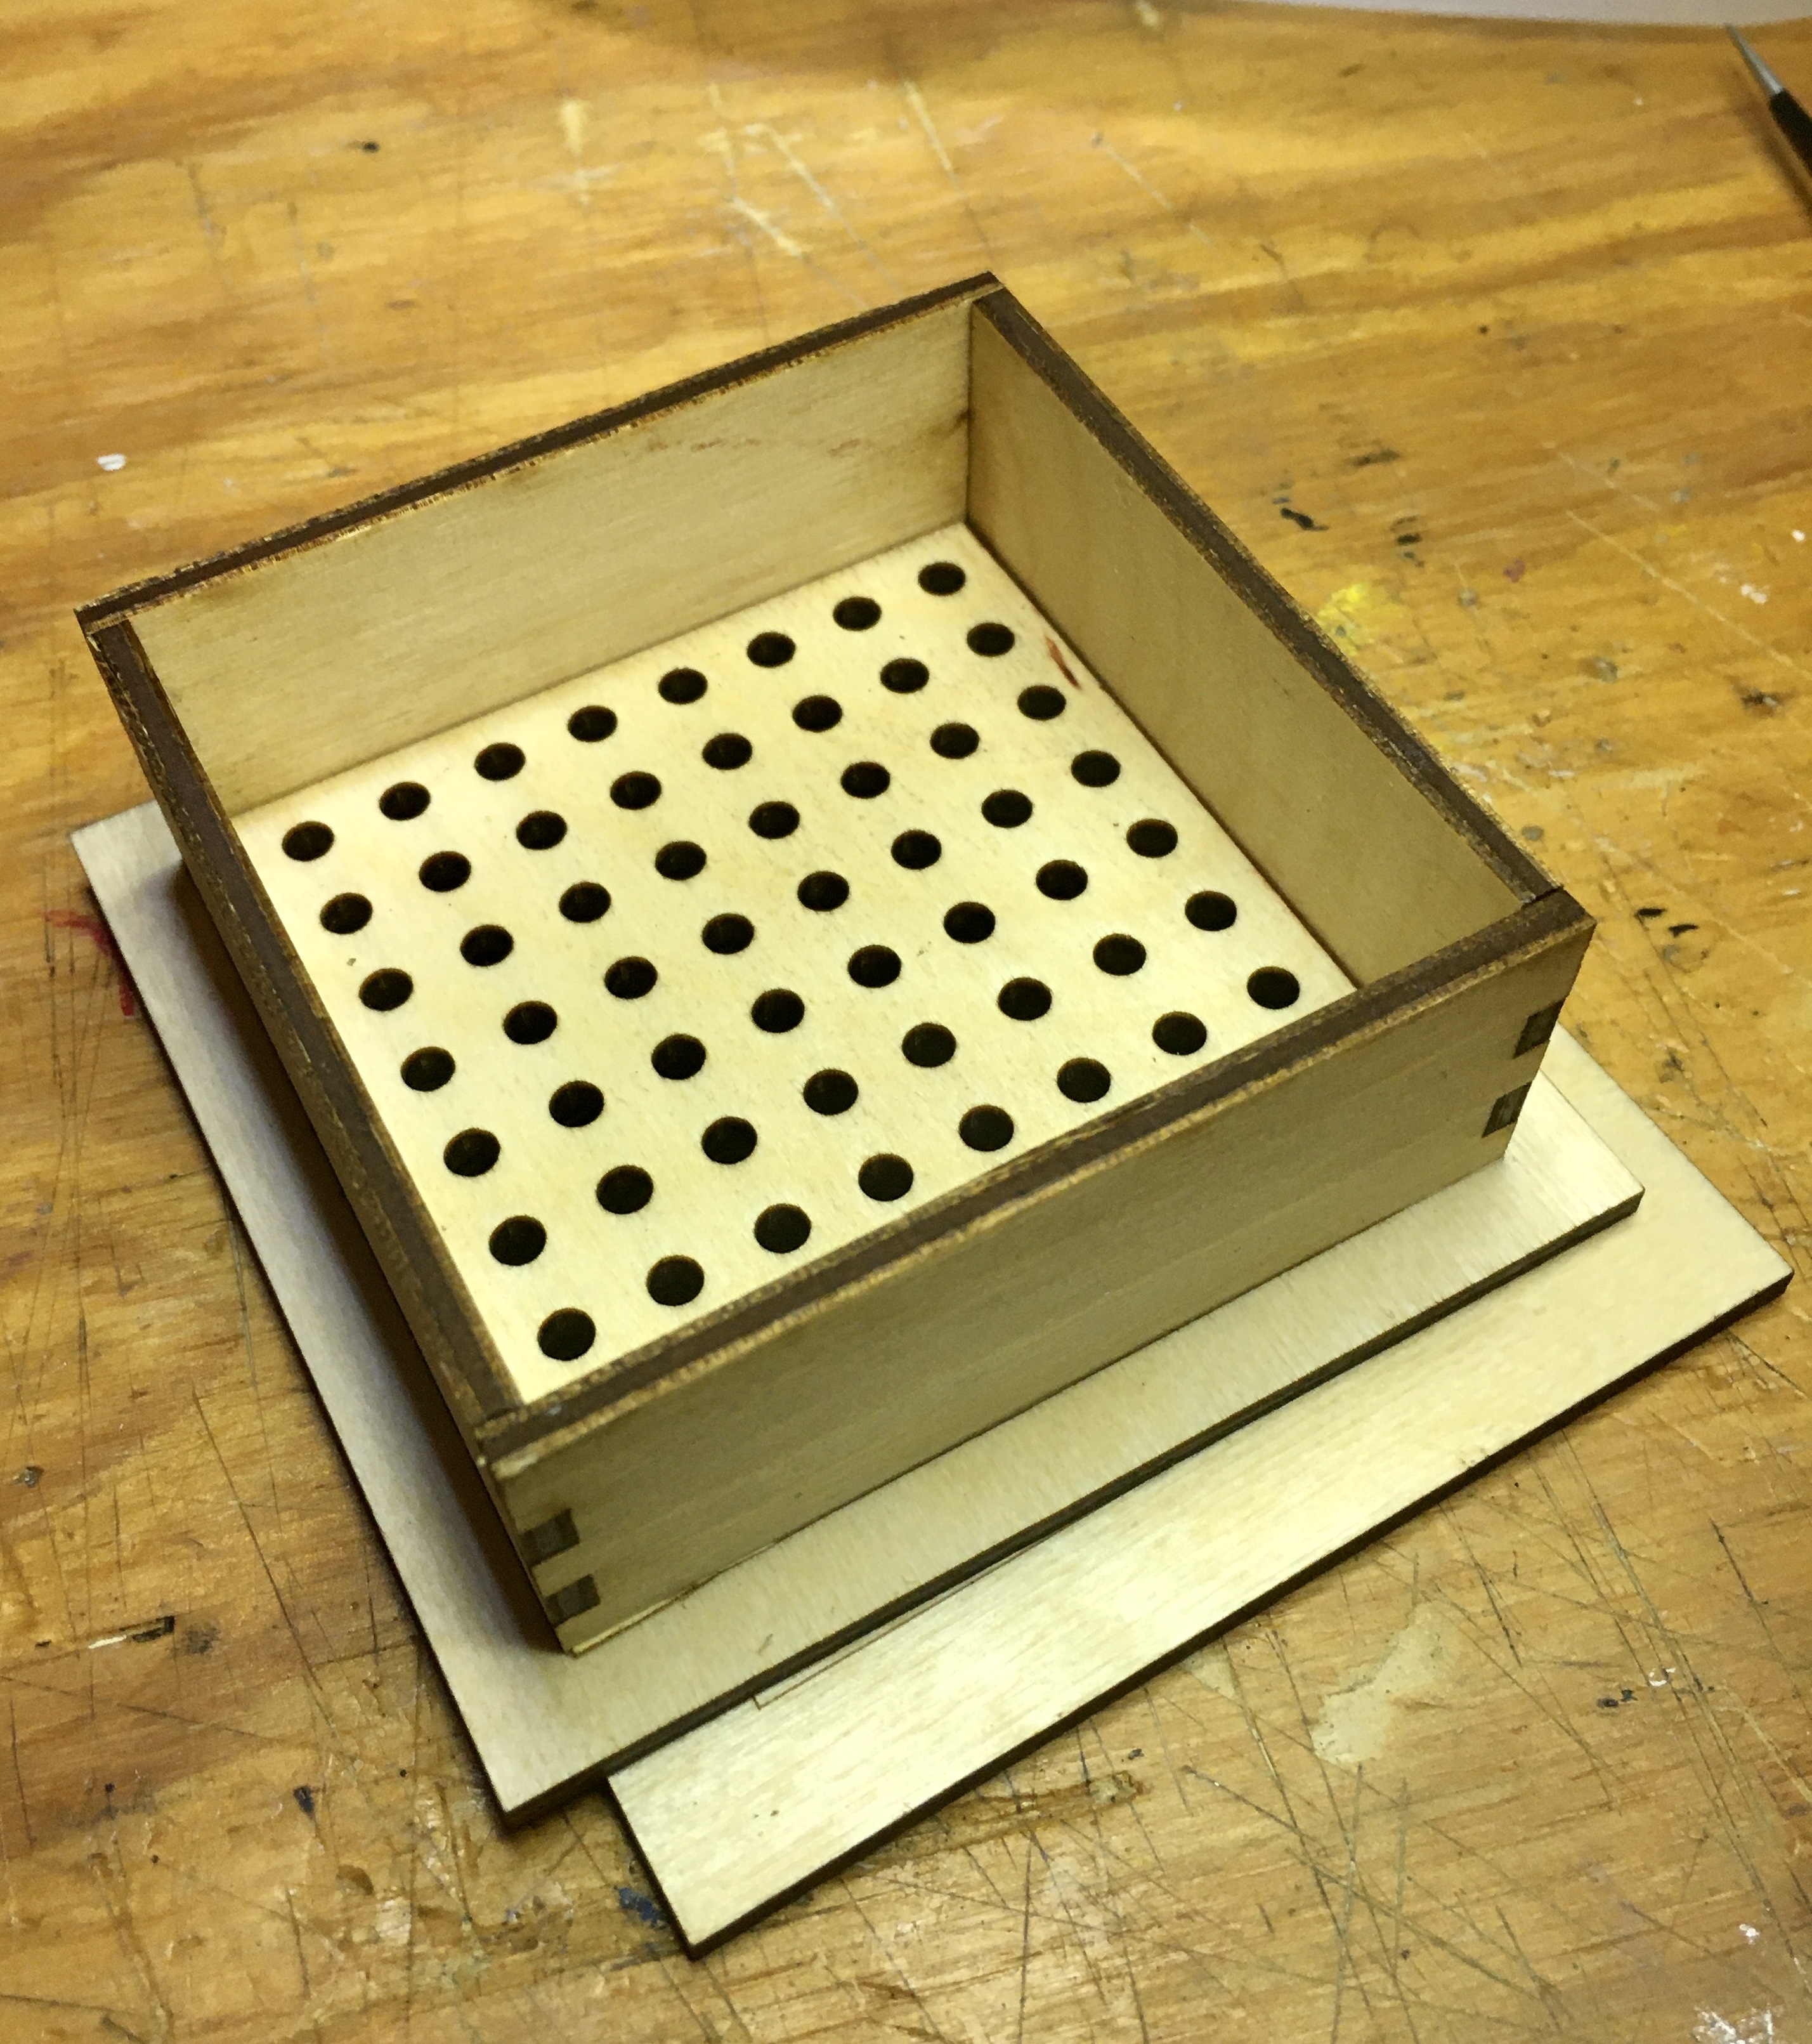
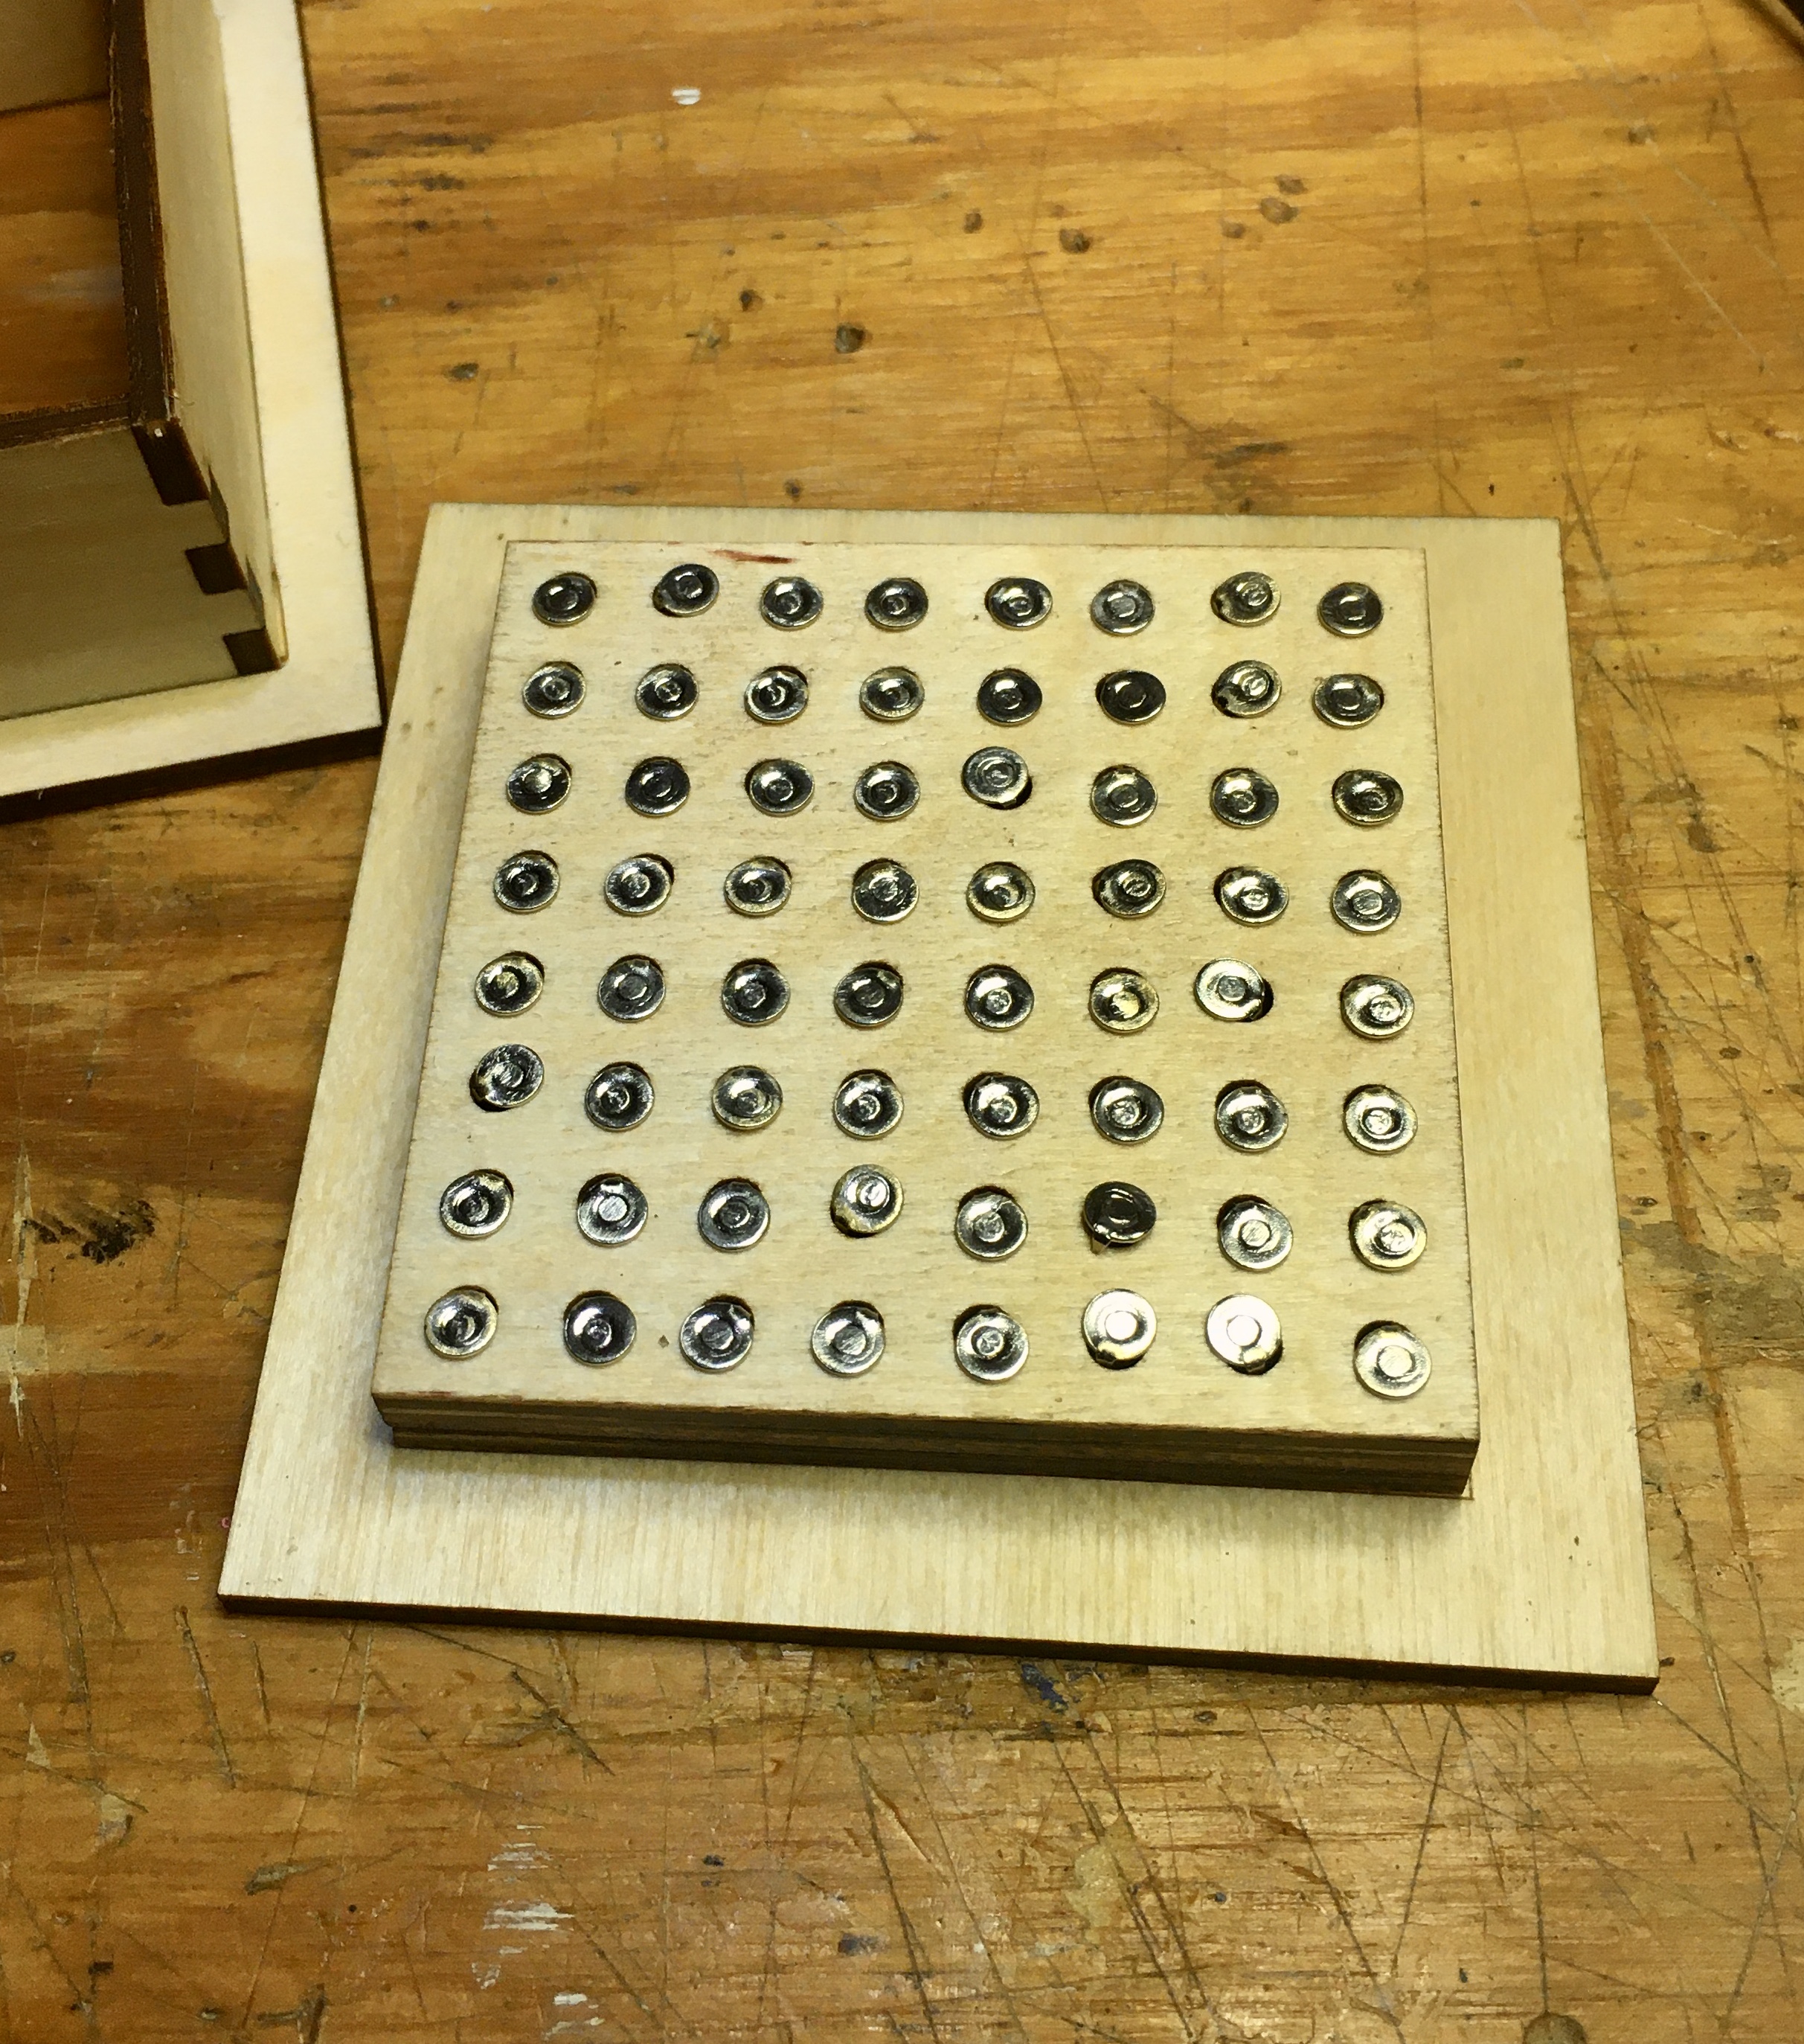
If it’s just a few pins then it’s no problem, but if I’m doing more than 15 or so then it starts being a pain. So I decided to finally make an idea I’ve been kicking around for awhile, a laser cut pin back sorting jig. Basically a shaker box with a screen with holes big enough for the pin ends but not the pads made from 1/8" ply.
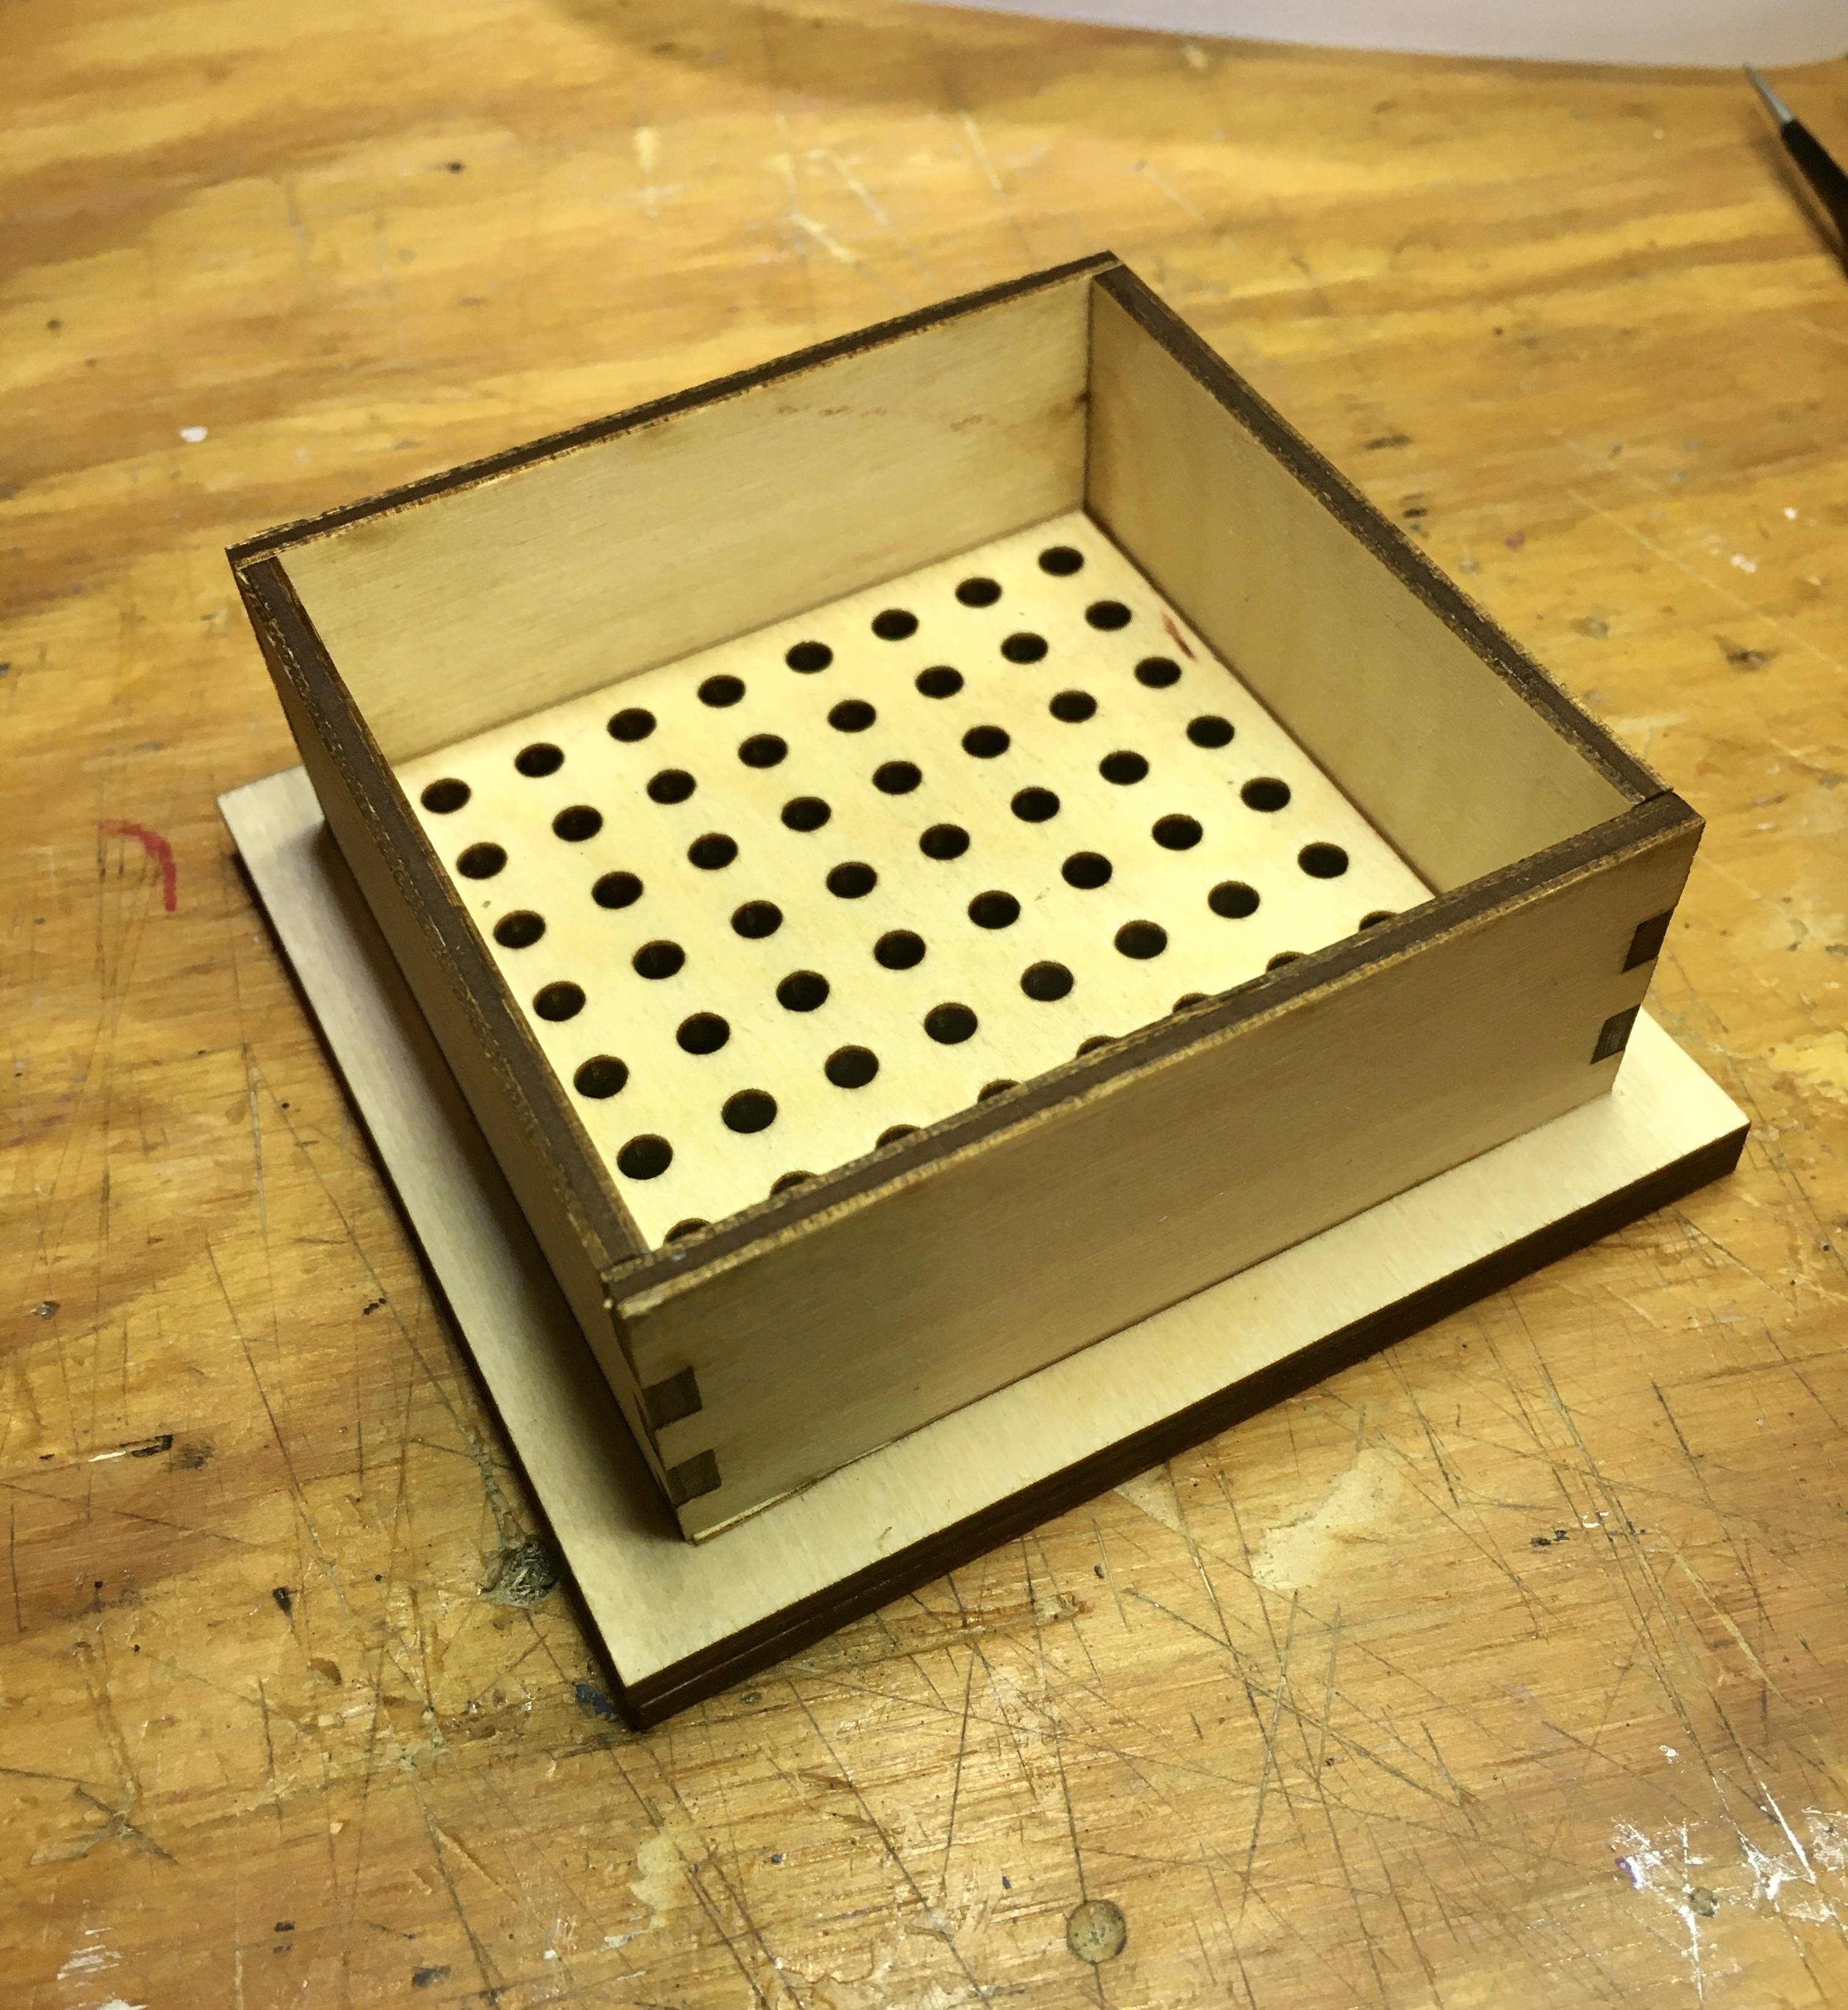
It’s composed of 3 parts; an opened ended shaker box, a screen and a solid pad.
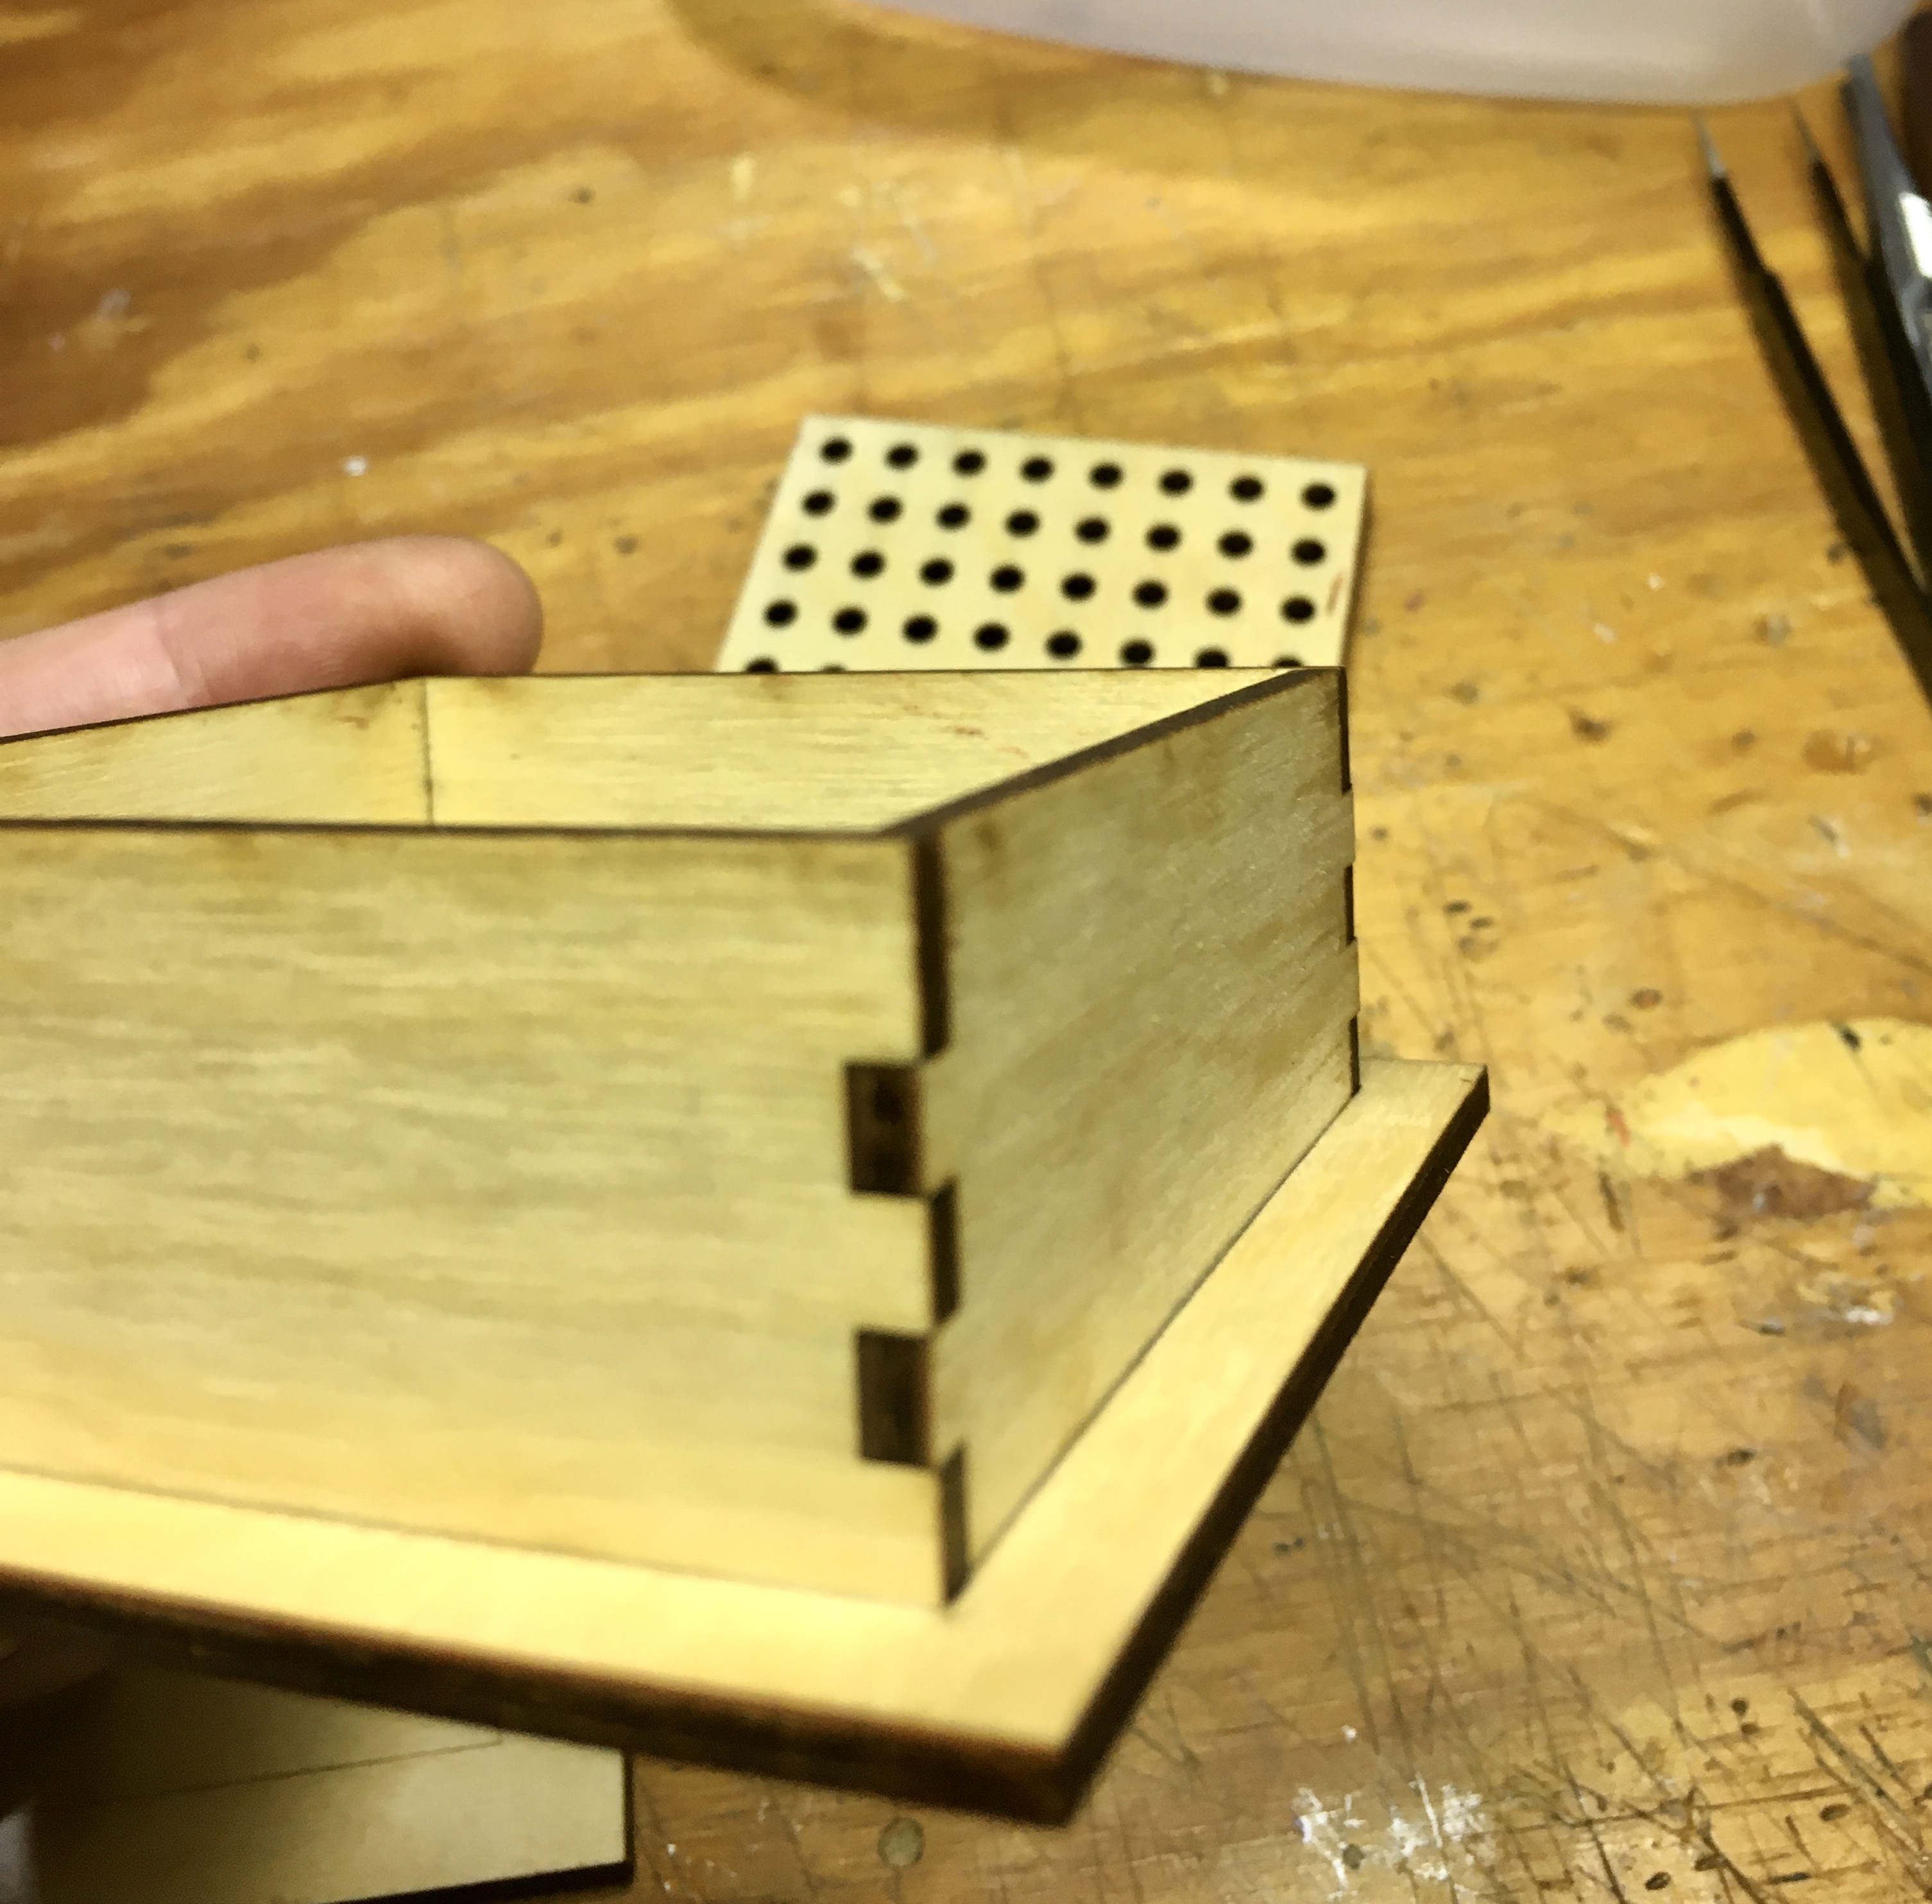
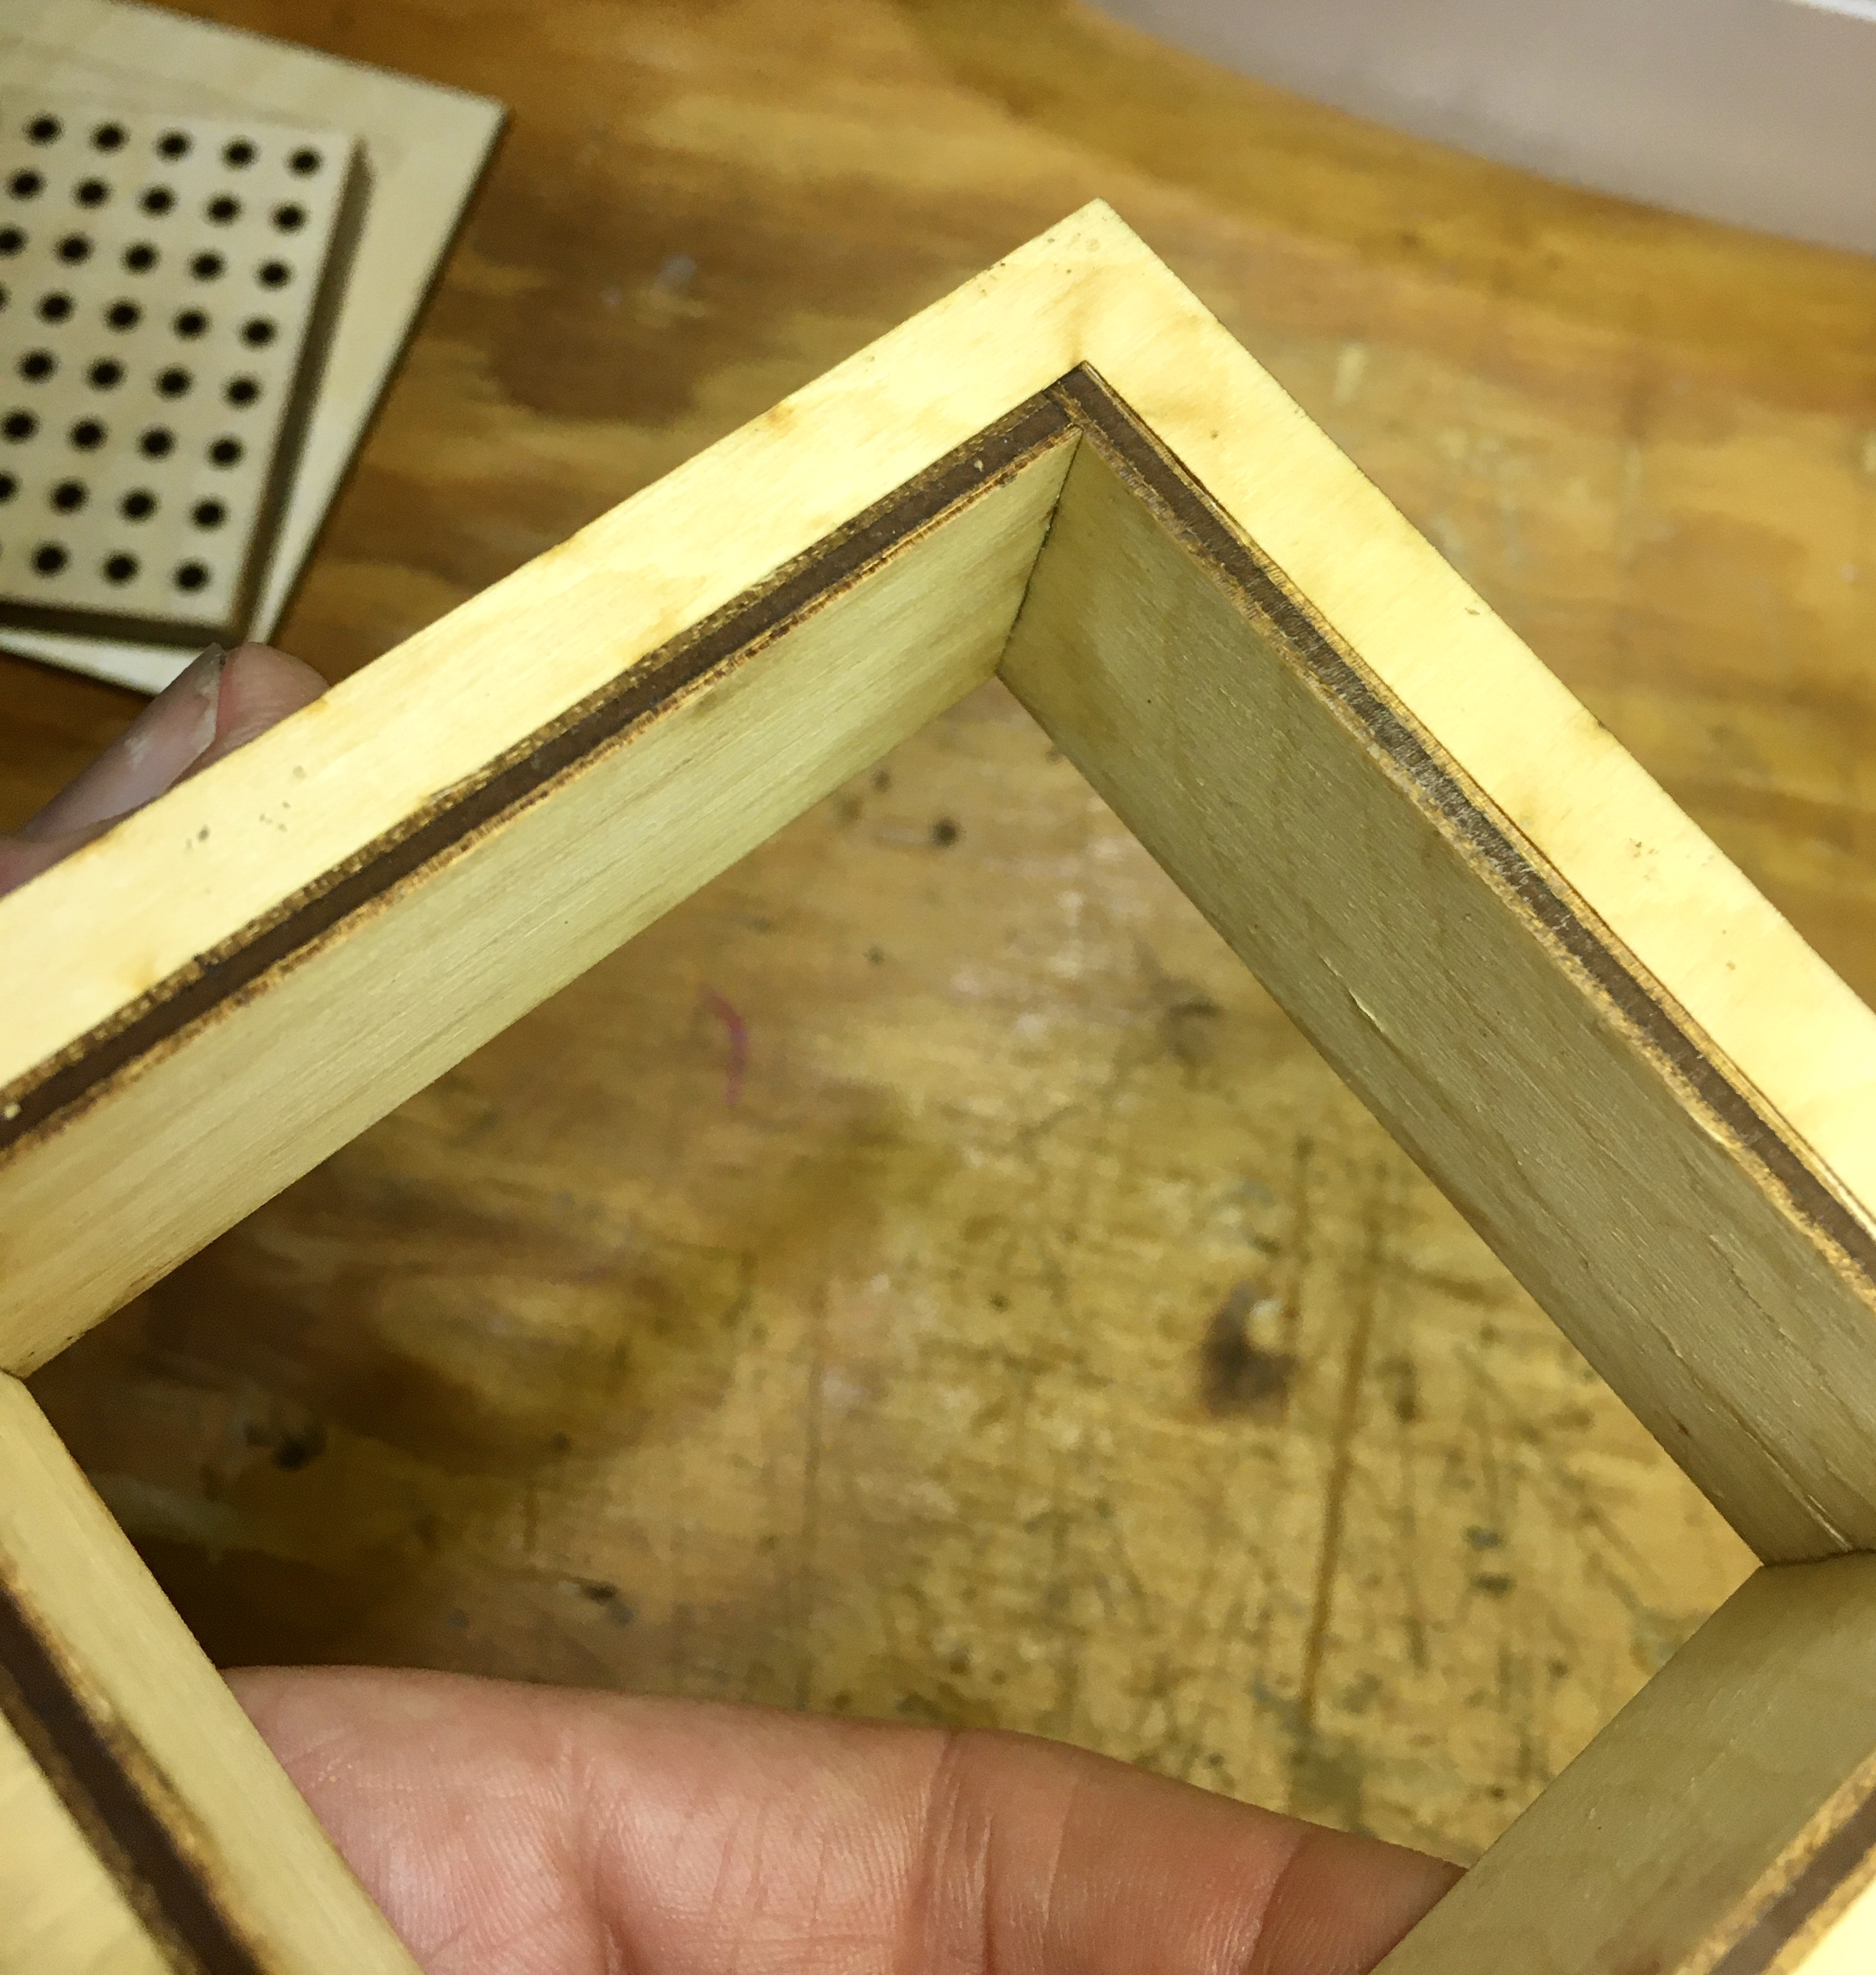
The shaker box is open on both ends. Made using finger tab joints but, with no top or bottom to keep it square, I added a friction fit outer collar around the base. The joints are glue together.
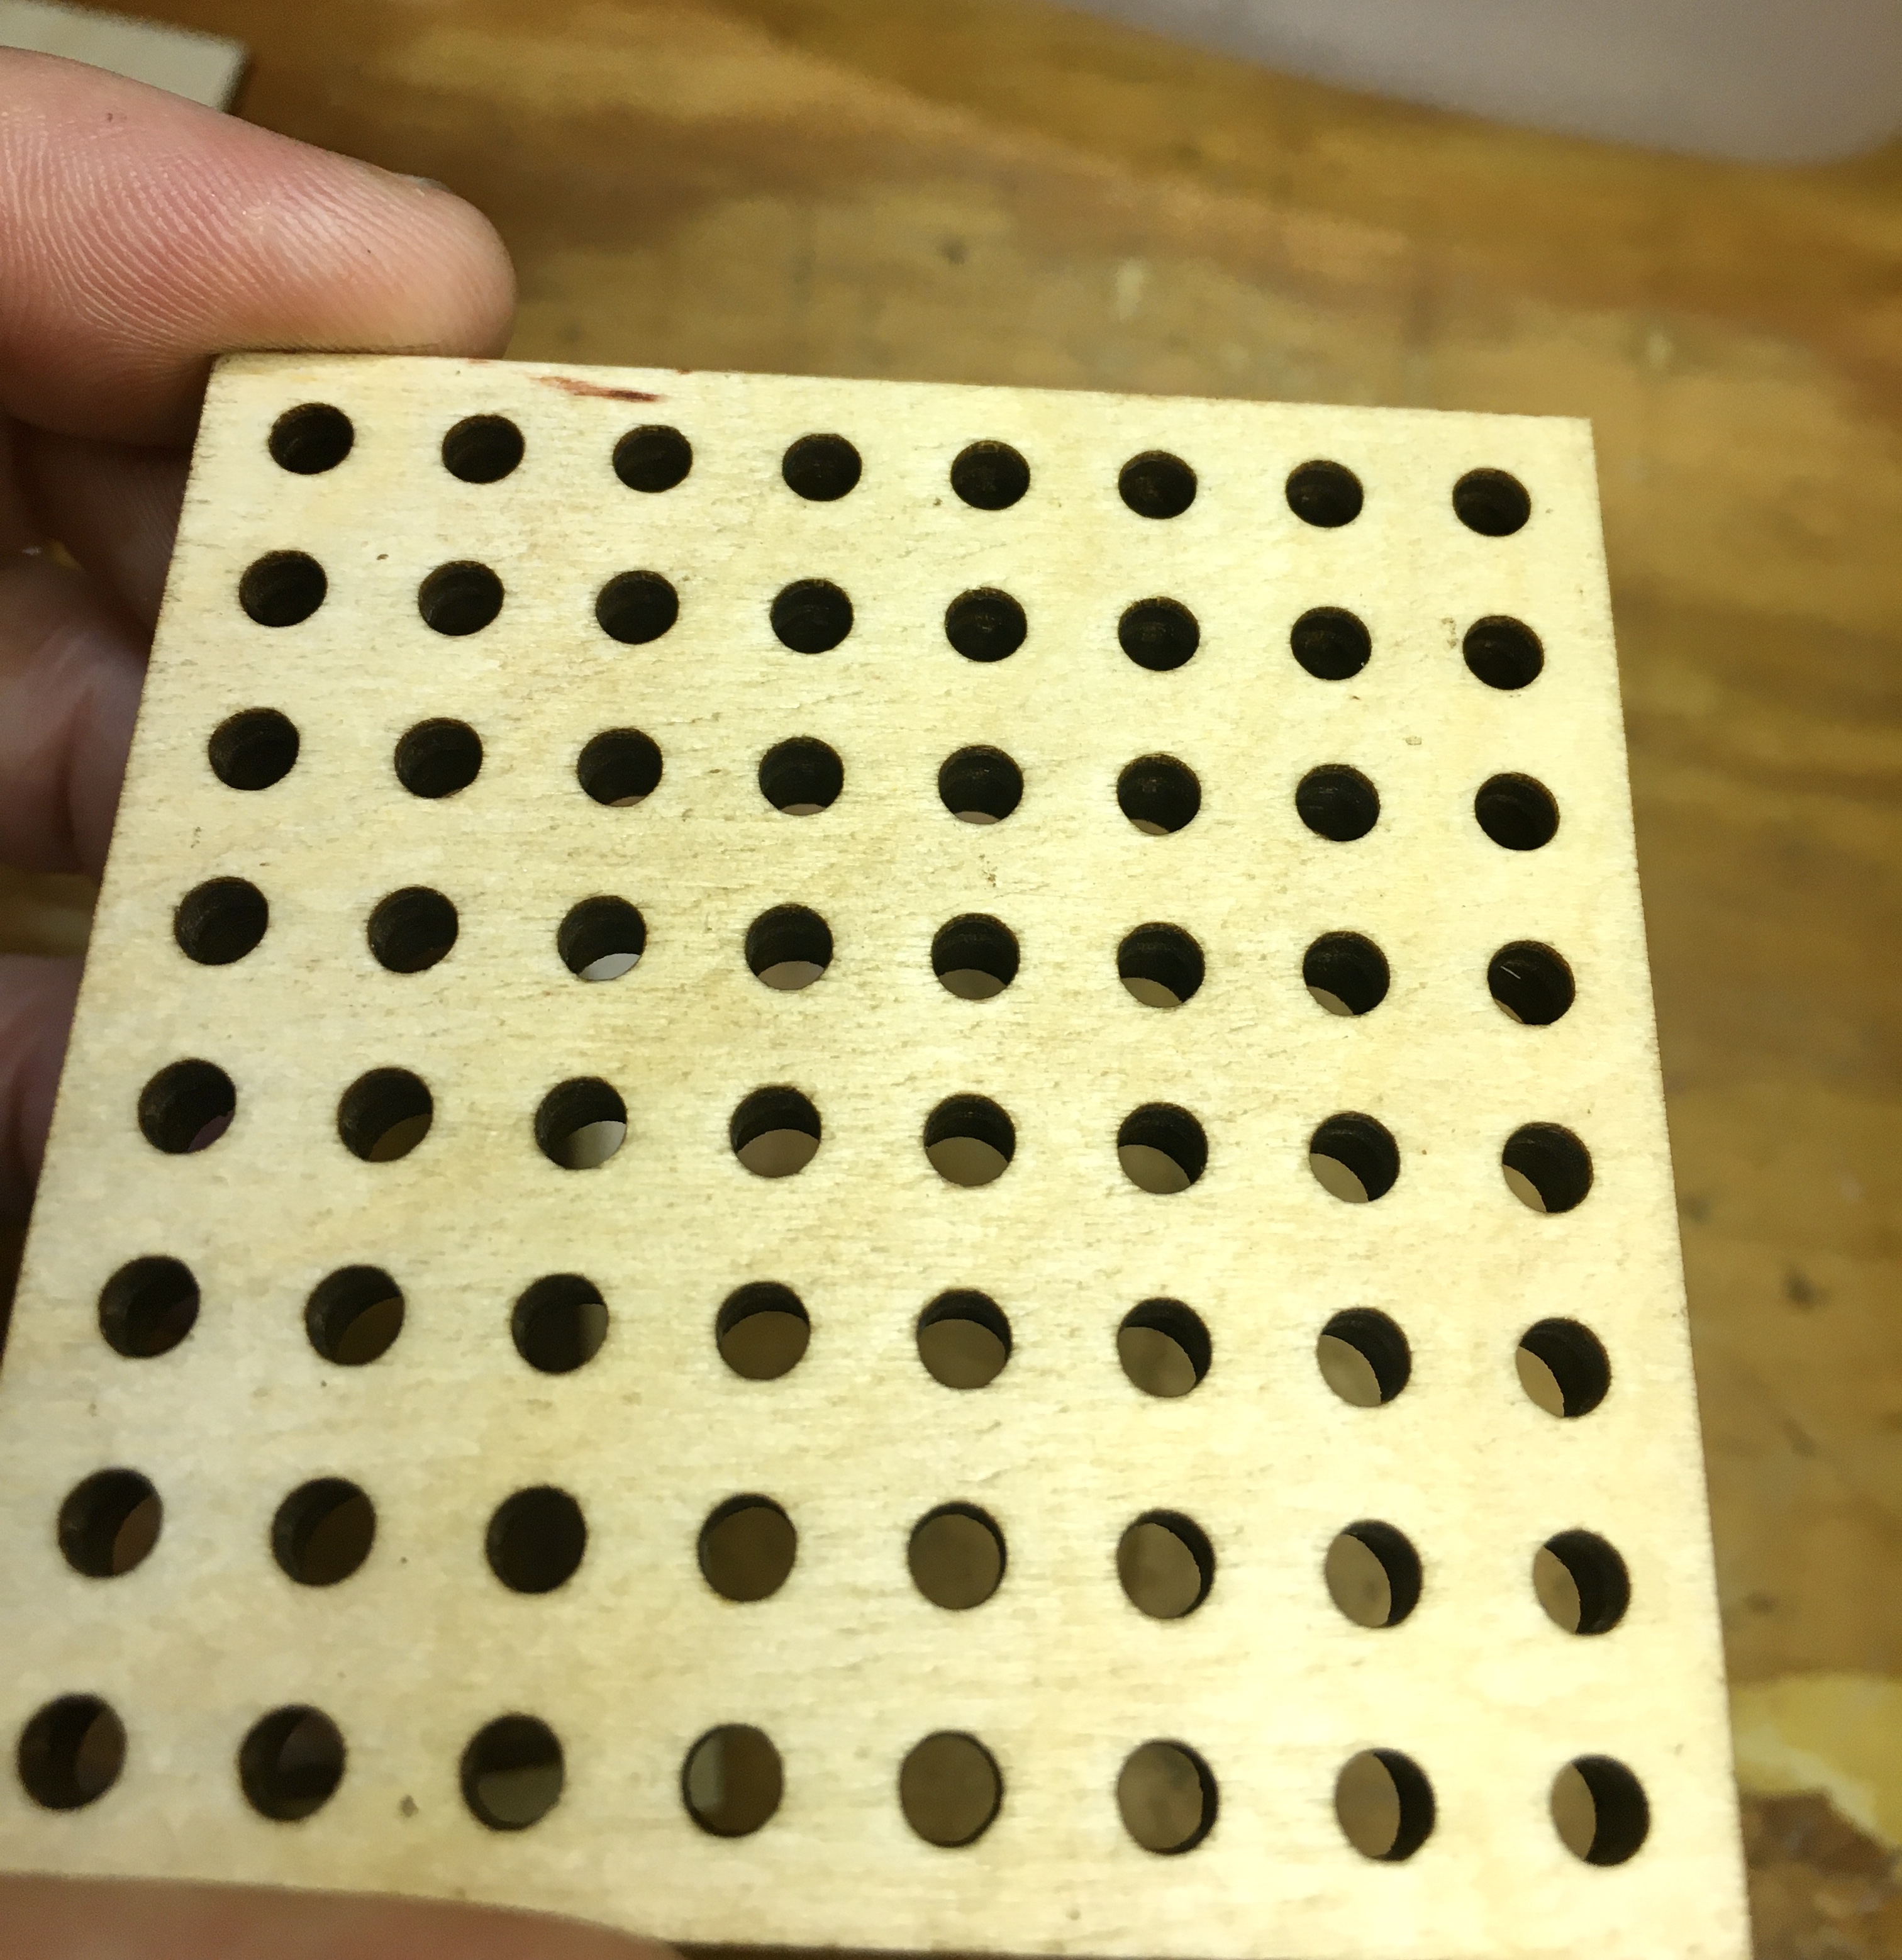
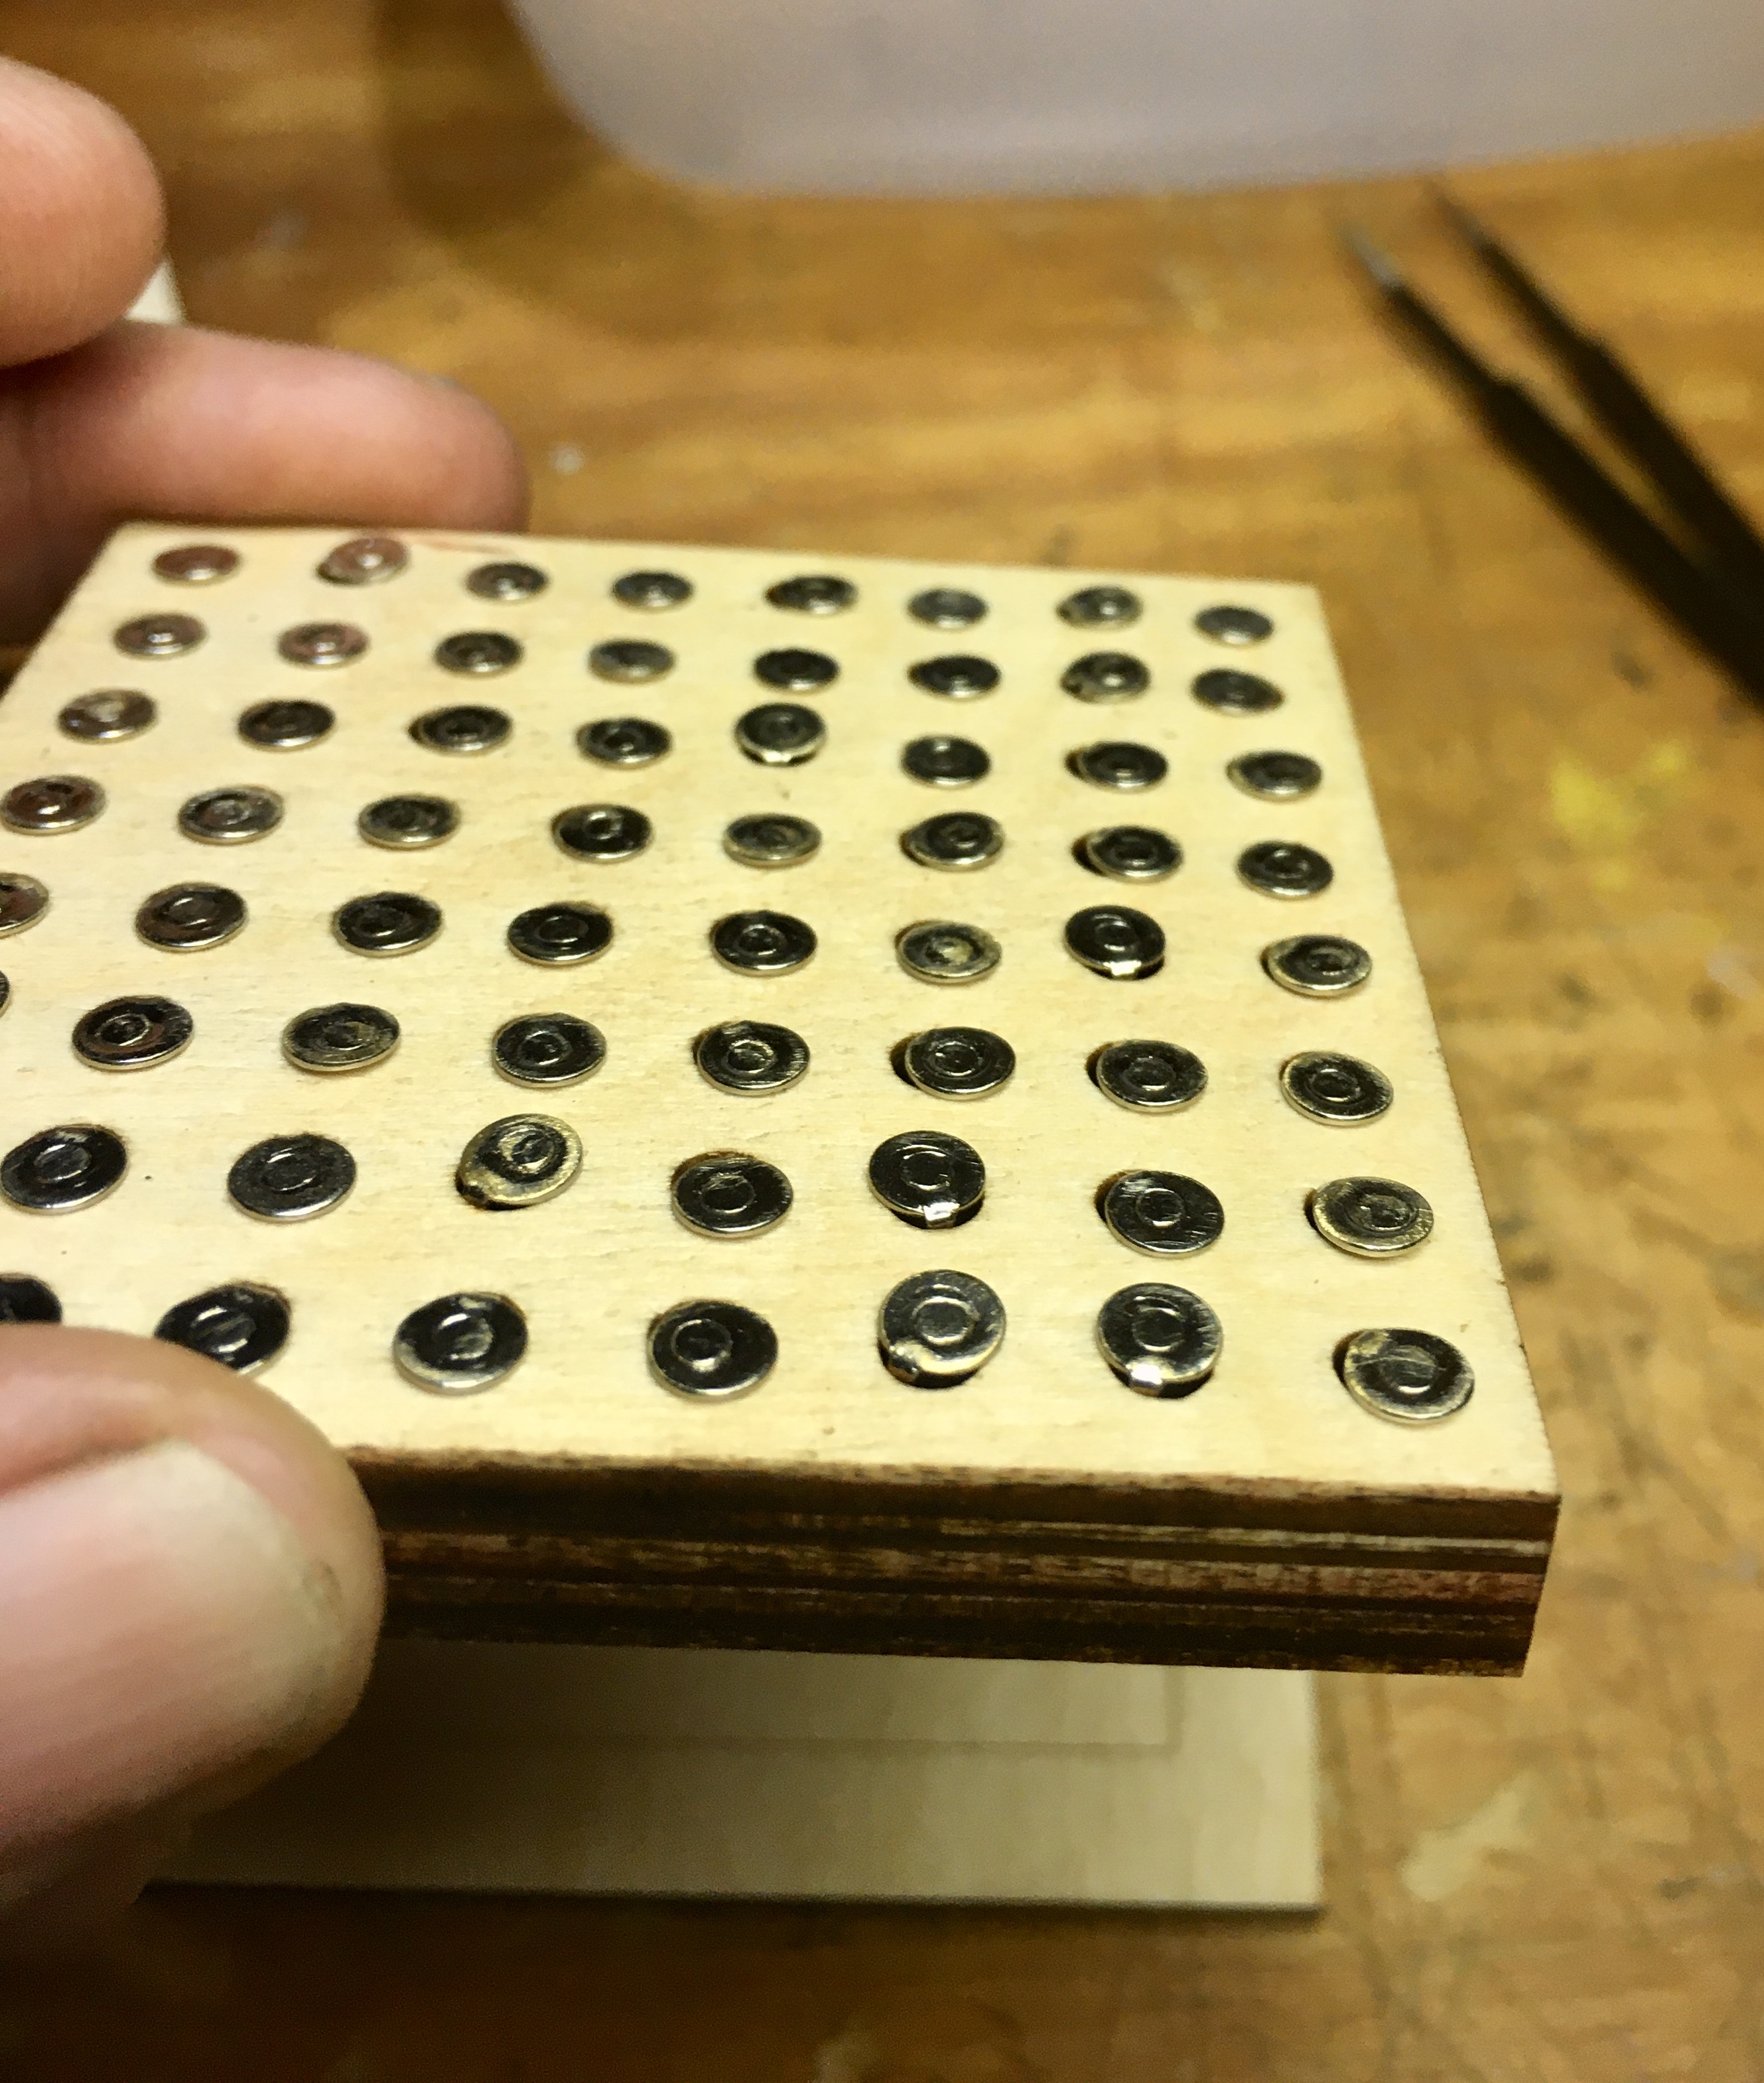
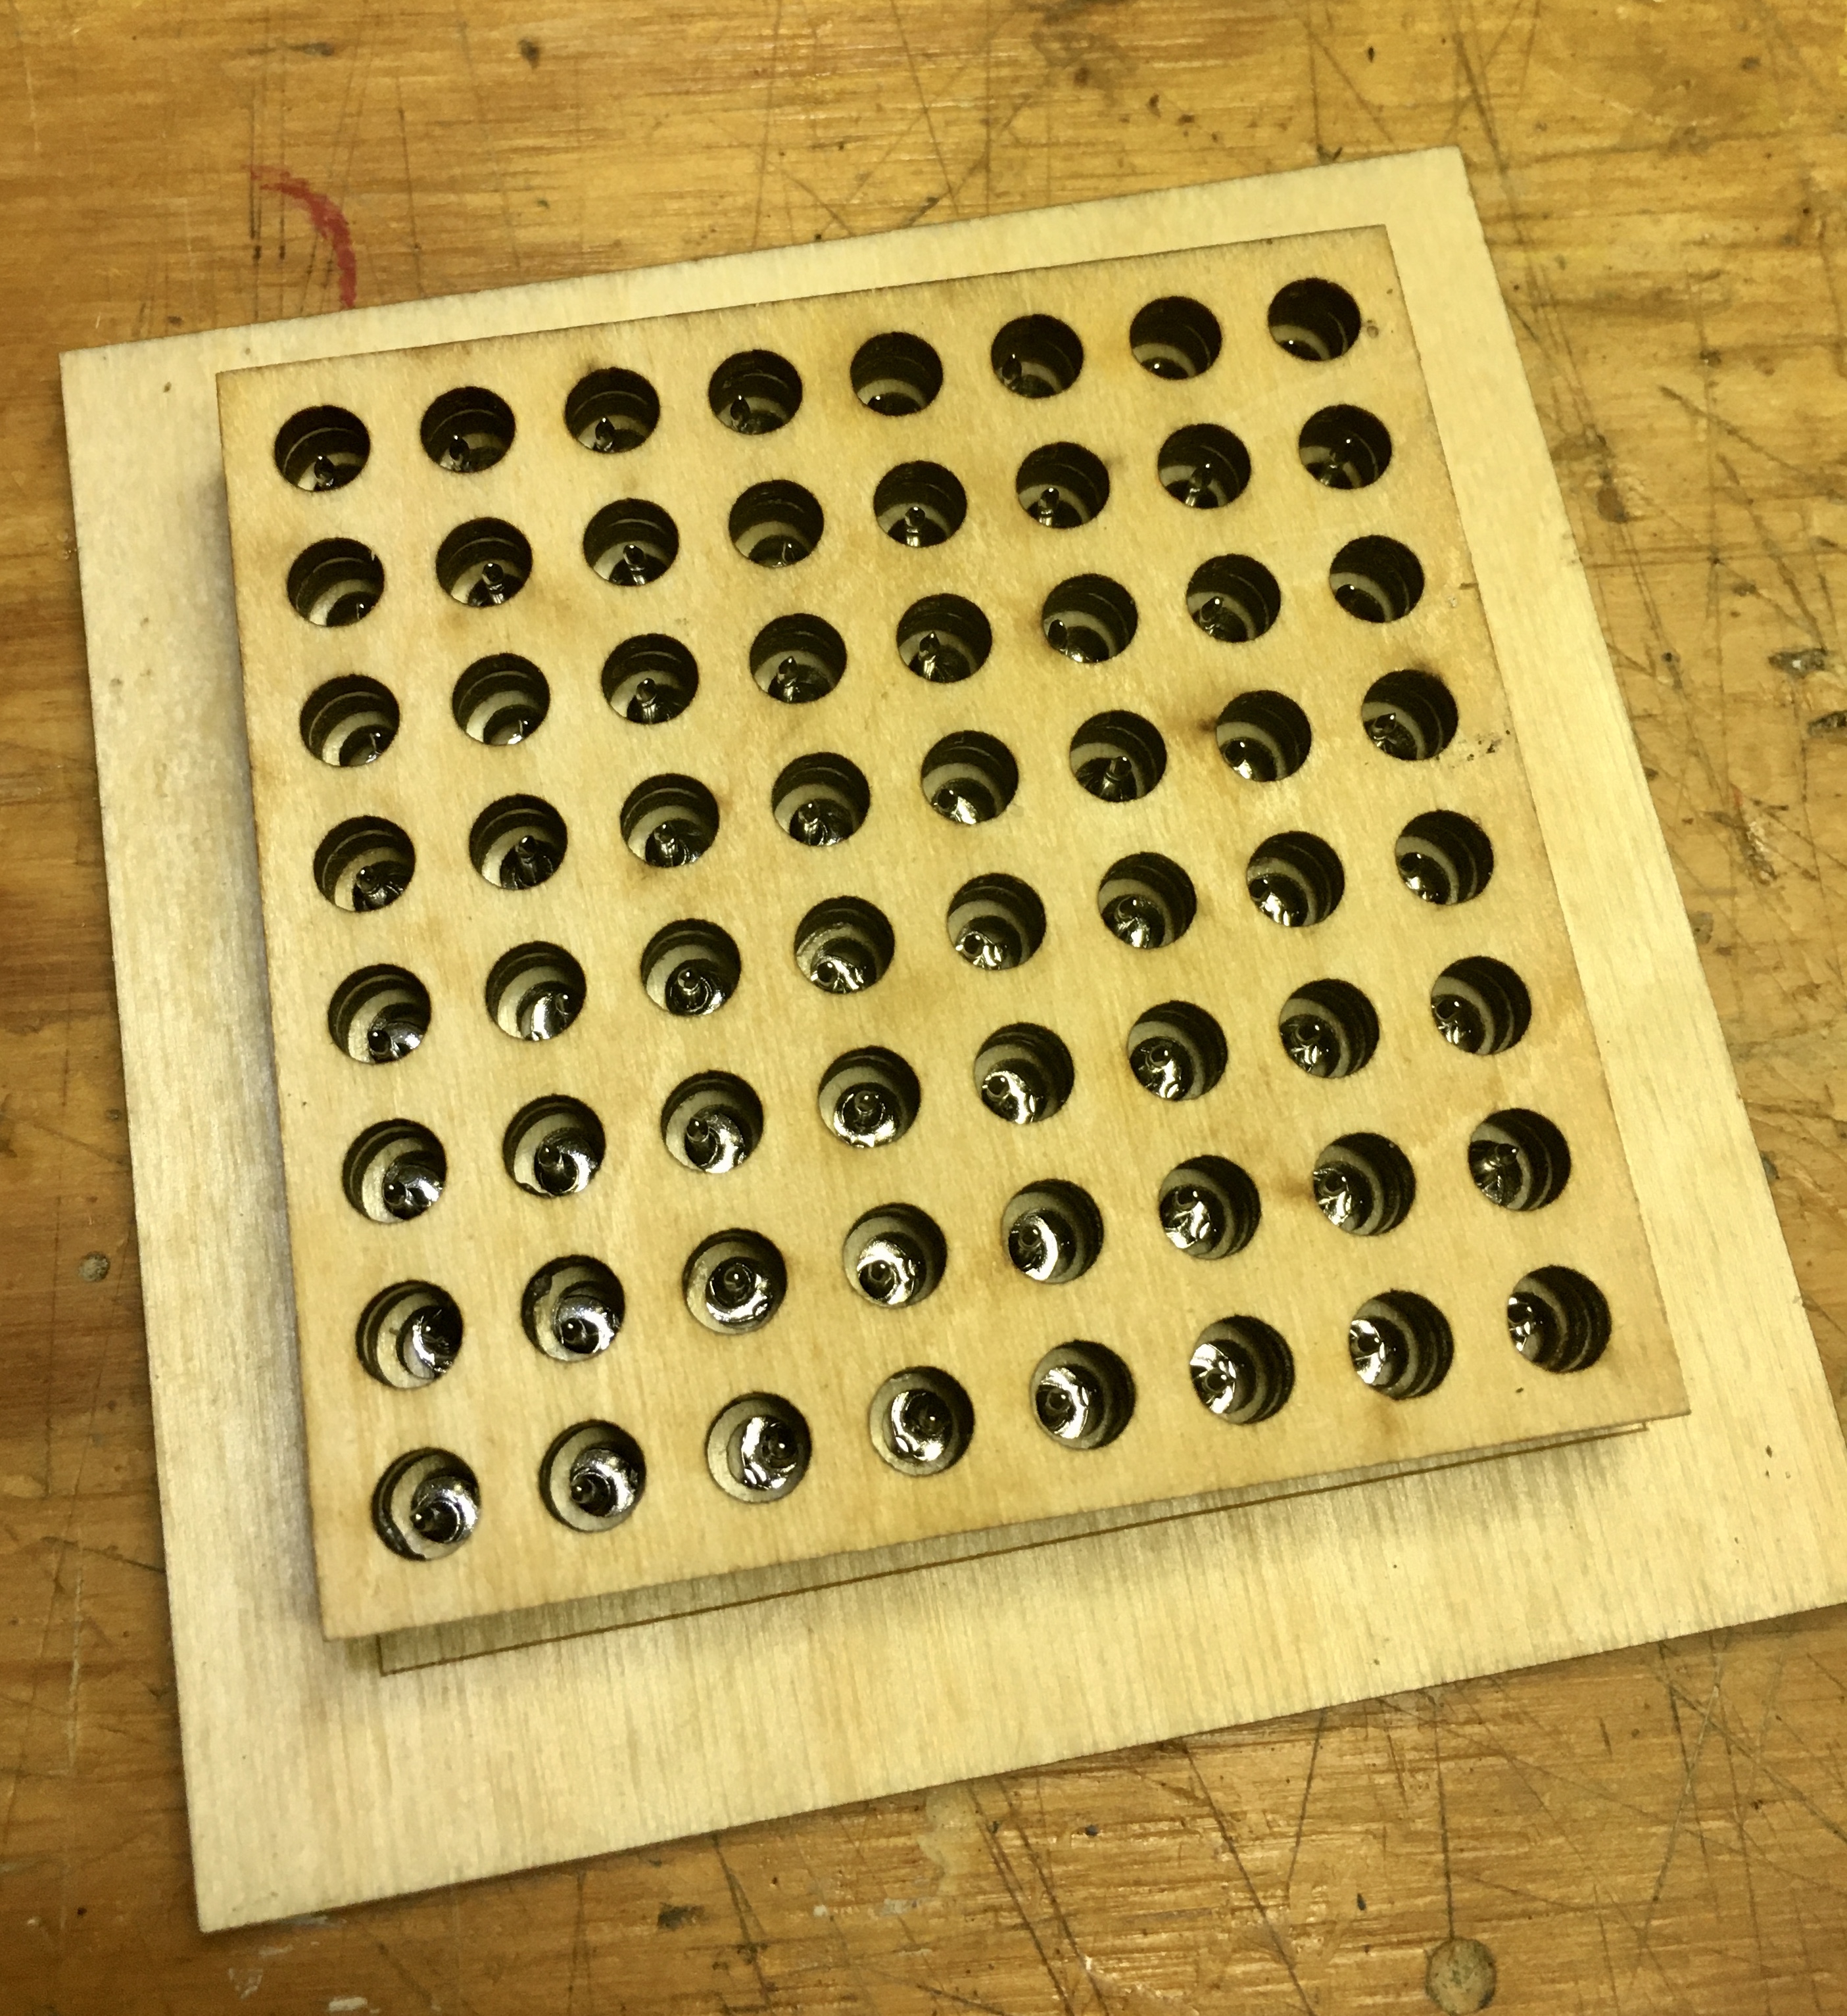
The screen is cut to fit freely within the box and has a 8x8 hole grid. I used 3 layers of 1/8" ply glued together to get the height I needed so the pins hang freely. The the holes on the top layer are smaller than the pad, but larger enough to fit the pin stem and the spur so they sit flat. The next 2 layers have holes that are larger to prevent the pin stems from catching on the side of the hole as they slides in.
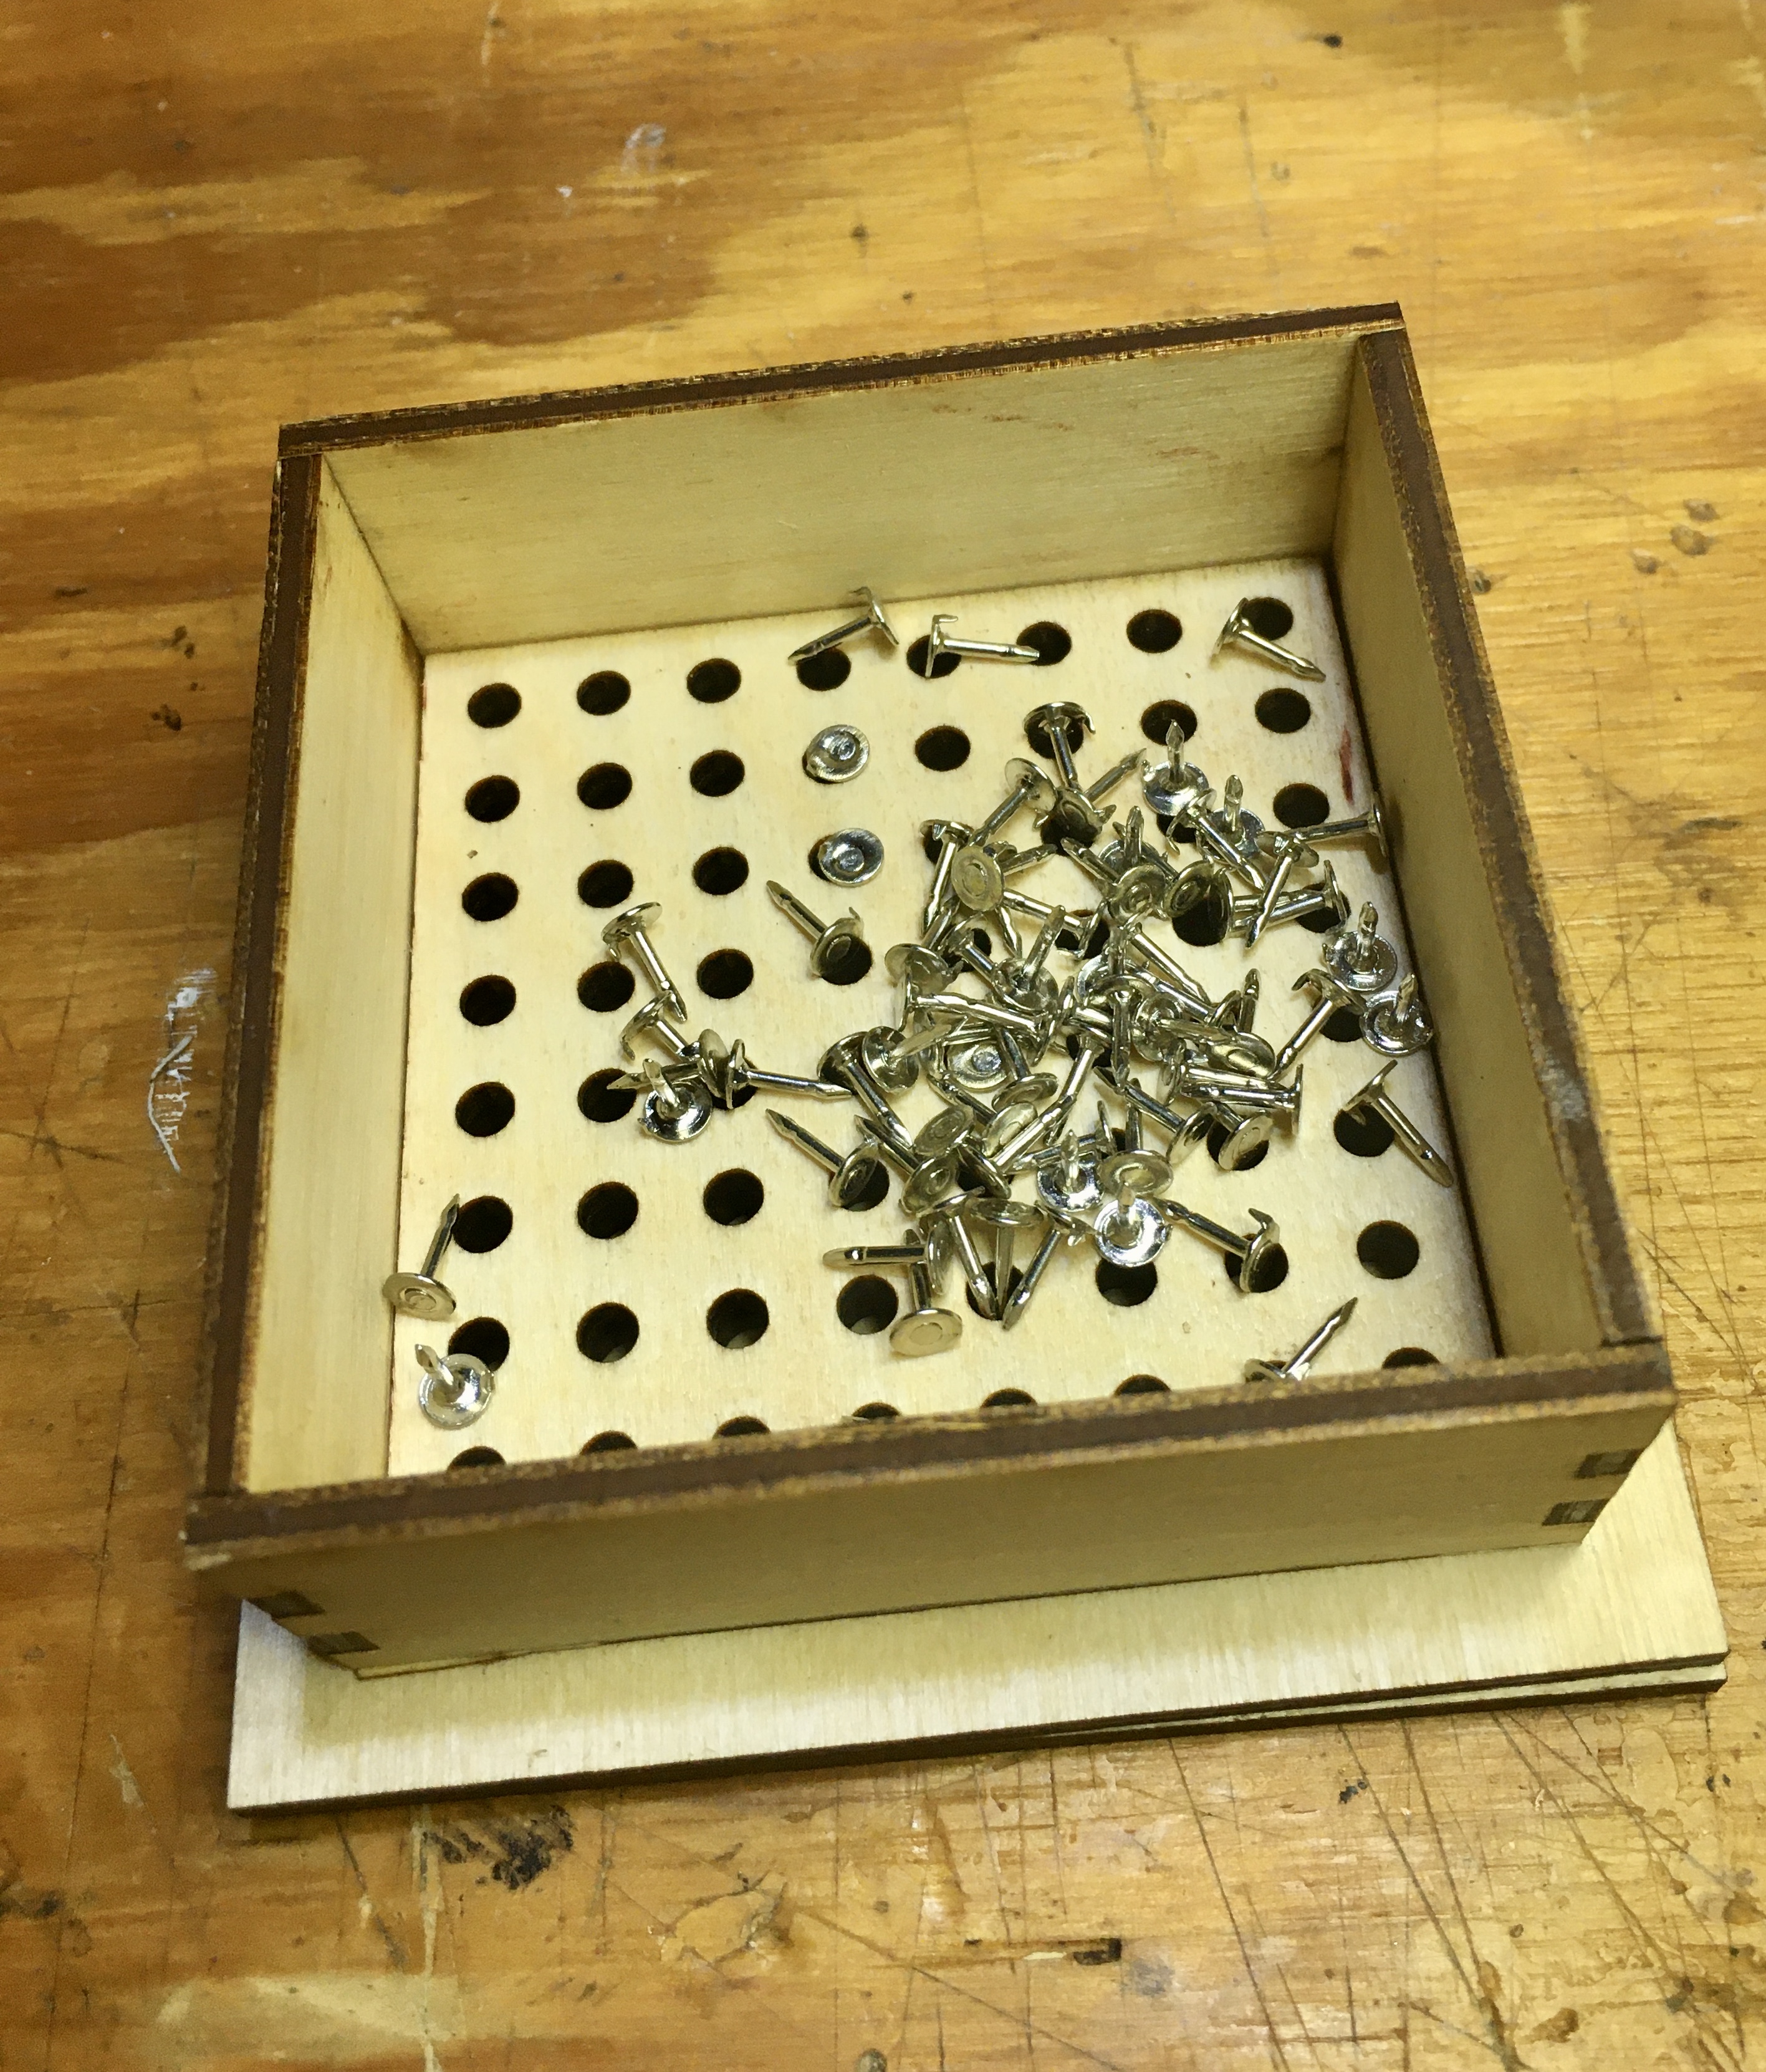
To use, pins are added to the box and, while holding the bottom pad to the box, the box is gently shaken and swirled from side to side for about 30 seconds. Most pins drop in the holes but the last few can be directed into holes with tweezers or don’t even worry if all holes are filled. Excess pins can be dumped off after the box is removed if necessary.
Sweet … I love jigs that make work easier. Sometimes the jig is more fun to build than the project.
Could you replace the last step which flips the pins over face down…
A bed of pins that are just tall enough to push the tack pins up from below i.e. enough to grab them with a tweezers.
Instead of flipping the screen, lay it over this bed of pins so you can put a dot glue on the tack pins and lift it with a tweezers to apply it to the badge?
I don’t know if you are aware of CA accelerator. I use it all the time in the shop but heck your the chemist! You can spray it to the badges in bulk and then when you apply the glue laden tack pin to the badge it will bond nearly instantly.
This is a good reason to build a pick place CNC machine.
Blondihacks on a recent video mentioned that using accelerator was giving a weaker bond from CA and her CA fixtures weren’t reliable when she used accelerator. I’m curious if this is a generally known thing?
I keep a spray bottle of water in my shop for when I’m using CA because I keep my shop around 30%RH…
Like any glue improper use of CA or CA+accelerator can affect the bond. I know that accelerator applied incorrectly for the application can weaken the bond.
All of the brand CA providers also sell accelerator and are pretty clear how to use it. It’s not as simple as glueing the joint with CA and then spaying on the accelerator.
The use of CA glue (or any glue) depends heavily on what surfaces you are glueing and how much strength you need for the application.
I also know that if you apply the accelerator incorrectly most joints will bond but the joint will be weakened. But if you are using it to create a film on a surface, fix a blemish, seal a crack etc. you can get away with dusting the surface with accelerator after the glue is applied.
In most applications the accelerator should be applied sparingly to one side of the joint and CA to the other. Then the two surfaces should be mated.
Applying the accelerator to the joint after mating will cause the CA to set up but it may foam and weaken the joint.
In my experience CA bonds really well on smooth surfaces like glass and solid surface materials.
Like any glueing, the larger the area the better the bond.
It reasonably strong on the correct types of wood but for very strong wood joints I use wood glue.
It makes an impressive finish on wood, particularly pens.
I use it extensively on low force assy that need a fast setup time like this remote control holder.
In this case I apply CA and wood glue on one edge and accelerator on the other. The CA and accelerator hold the assy in place while the wood glue dries.