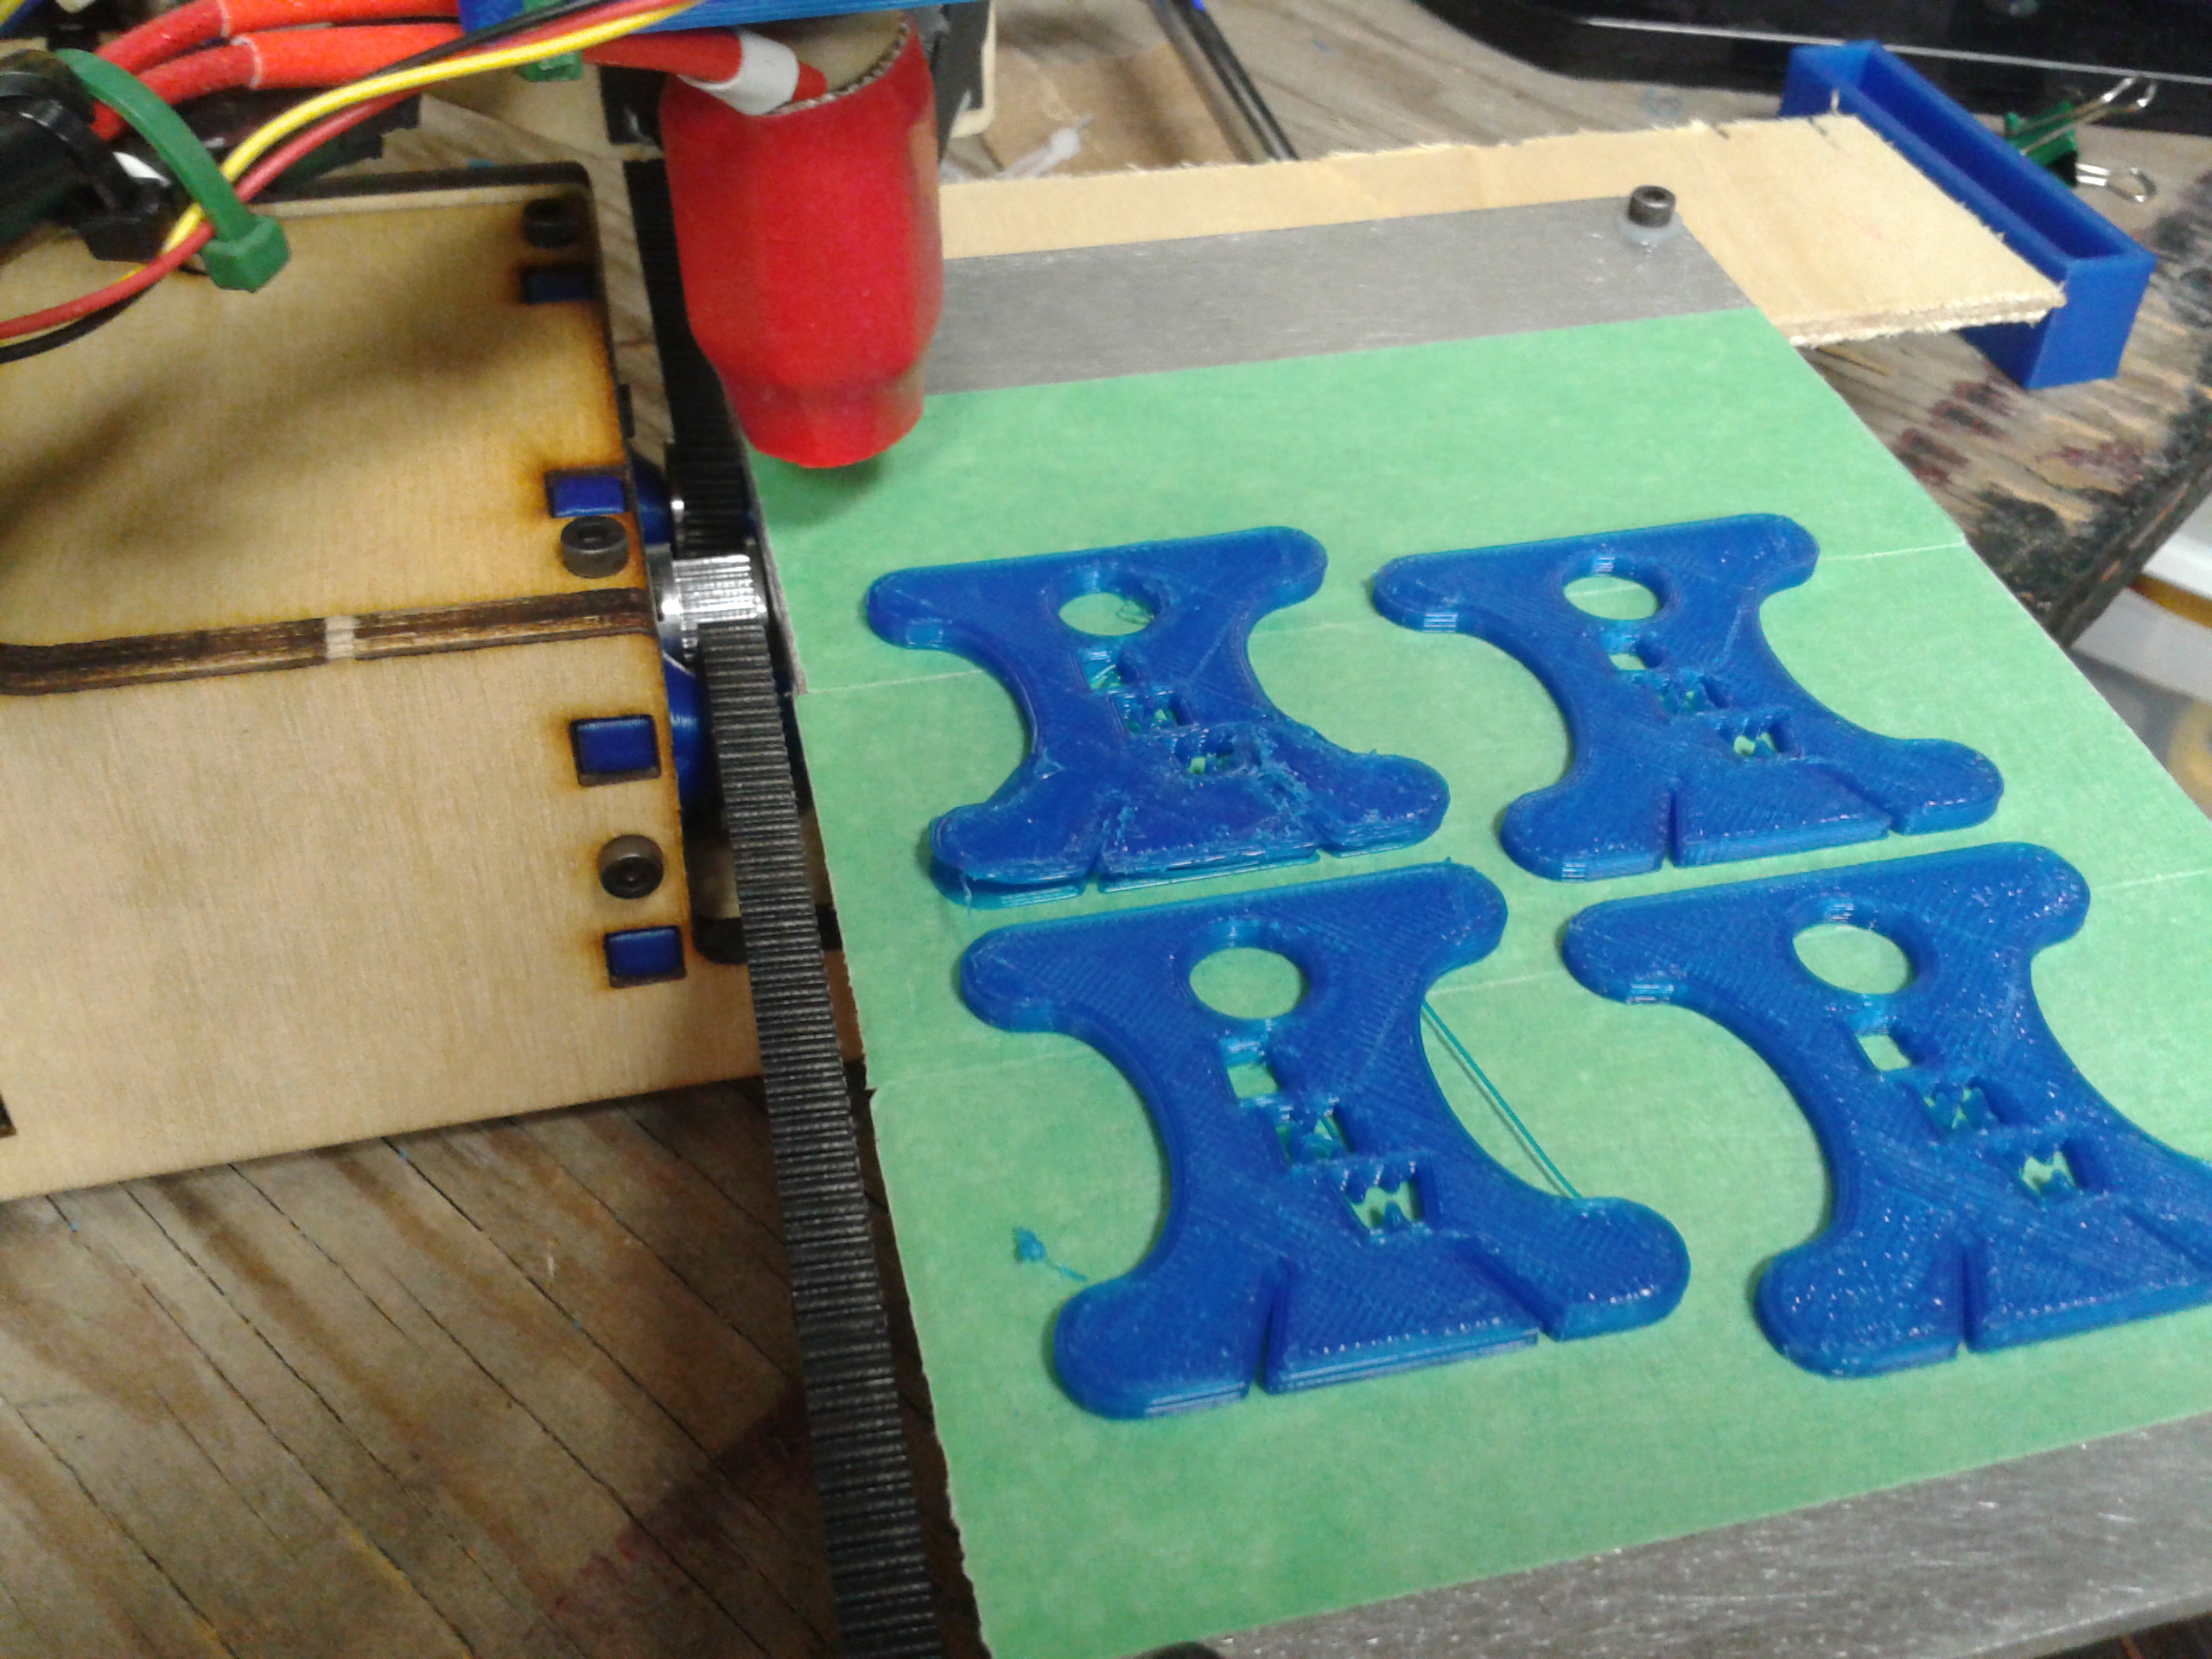
Ok - this is weird. I’m printing sets of 4 thread holders and on over 1/2 the prints, the back left one messes up somehow. It either doesn’t stick to the tape or it gums up somehow. Why just that back one?
I’ve replace the tape a few times. Generally the pattern is:
new tape (the print lifts)
sand the tape (the print lifts a little)
wipe with some alcohol (print sticks so hard I rip the tape removing it)
Use a CAD program, I use OpenSCAD and have no training, to design a square the size of the print area and fit just inside the outer edge of the print bed, ONE layer thick. Then export STL file. Slice in your favorite slicer, I use CURA, for 0.2 layer height, 100 % infill, slow speed - maybe 20 or 30mm/s, save the gcode and print your regular method - either Repetier or SD card.
Stop the print just after the infill begins to get a little bit to measure. Carefully remove from print surface and make sure you know which corner the infill started. Maybe use a little tape and mark two of the corners or mark the home corner.
Use digital calipers to measure the height/thickness at each corner. Adjust the print bed height accordingly. Using this method you should be able to get the print bed level everywhere within 0.02mm.
Option 3 is the most preferable in my opinion. It might be something with the metal bead not being perfectly flat or not getting enough grip on the tape.
Just print about a 150mm disc or what ever fits on your build plate and run about 30mm/s and watch the print. You will be able to see if it is not extruding the same height all the way around
Good option. Speaking of good bed glass sources, if you feel confident cutting glass a cheap full-length mirror can make several bed glass pieces, up to 12" wide. The silver backing helps a little to even out the heat distribution.
For leveling I use feeler gauges. Get it close with 0.006", then bring it down so I can feel the 0.003" gauge get pinched a little … squishing the first layer just a bit gives really good adhesion.
Check your not binding on something on your z height or on the bed. The bed should be flat as its a steel plate. It sounds like the geometry is out in that corner for the nozzle to bed.
Try printing the parts with a raft and see what happens as the raft goes down.
Also, UHU glue, or elmers extra strength stick glues are the current state of the art. Much easier than blue tape. Also Hairspray, but only for pla and abs.
With regards to the error, there could be some irregularities or flexing in your printer if it isn’t rigid enough. This can lead to resonances or error in certain bed positions.
I use a glue stick. You know the one that’s purple and when it dries it’s white. After you remove the item there is usually no glue on it but if it is I just wash it in water. I’m really surprised seeing so many people still printing on tapes.
I also note on some prints, the problem starts showing up on the 2nd or 3rd
layer. The infill doesn’t reach the loops - again, only in the (max X/Y)
corner. The other 3 corners are better.