New to K40 - Hello from Malaysia!

That’s a 3-wire hall effect sensor. The vast majority of controllers do not support these. You’d need something like an Arduino which counts the pulses per second. And if the flow is above some threshold, you’d turn some relay or optocoupler thingy on.

What’s usually used is a simple 2-wire on/off flow switch like an HT-30.

Anyhow, your machine might have a flow switch installed. Pretty much any machine above a K40 has a flow switch installed. There are even a few K40s which came with a cheap plastic one, but those are super rare.

1 Like

Hi @donkjr firstly thank you, you blog has given me a lot of insight on the K40 laser, it was one of the first few sites i’ve been reading since the idea of getting a laser machine.

I believe that the flow sensor i’m getting plays a similar role to the one that you just posted, to electronically cut off if there is a lack of water flow.

The additional flow meter is more aesthetic, but it also have a purpose to hold the temperature sensor.

uh rats… i get it now… i bought the wrong one… now either i ether change the flow sensor to a 2 wire one, or get one of these relays right?

silly me… :man_facepalming:t3:

Nope,
That sensor outputs a rate signal (square wave ) that has to be monitored and converted to an ON/OFF threshold signal.
As @tomatsu points out you would need some electronics or a microprocessor between the sensor and the relay.

3 Likes

Yea, that optocoupler/relay module isn’t enough. You do need a micro controller which counts the pulses per second.

If you’re somewhat familiar with Arduinos etc and programming in C, this might be a fun project. If not, a simple on/off switch is probably the better option.

But check first if your machine already got a flow switch. It’s fairly likely that it does have one installed.

3 Likes

This is what I am going to stick to now, need to stop purchasing things that are wrong and unnecessary.

Thanks @tomatsu & @donkjr for the insights and correction.

3 Likes

I’d suggest that you get your machine and learn how it works, along with it’s idiosyncrasies before you start modifying it.

Only undertake one modification at a time. Don’t modify three things then have to wonder which one broke it…

Always use the KISS engineering principle (Keep It Simple Stupid) it’s a great attitude.

What I’m trying to tell you is what my wifes been after me for 45 years is patience. From the photo, your bill from amazon should help here… lol

It is more than excellent that you have posted here and have gotten some wonderful advice.

The reason I noticed that you had flow sensors was that I have a pair I’m putting in my machine, pretty much the same hardware. So I naturally wondered about your planned use of them. I’m planning on a flow meter and a modification to my air supply system with a Arduino Nano.

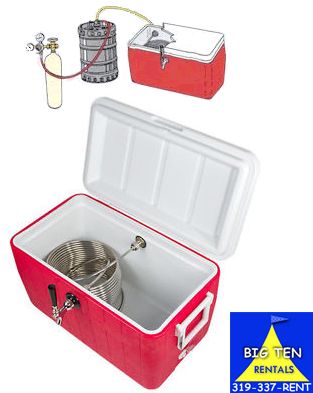
I lived in the SW desert when I got my machine, along with a chiller. The temperatures were over 90 F when I got it and temperatures went up substantially from there. The purchased chiller didn’t work for chilling, but was pumping properly and handling the error control. Used the ice and tubing from the 2nd port of the chiller to loop in the ice bucket (beer cooler). Isolated the distilled water from the chilling water.

I will have to tell you, it got REALLY old dealing with ice and water all the time. Unless you are freezing distilled water, you will be wasting a lot of distilled water. If the distilled water is continually diluted with fresh water there’s not much point in using distilled water.

At you temperature range or where you live, a refrigerated chiller is your only choice over buckets of ice water. If you want to invest in something that in your temperature range is a necessity, buy something like a 5200 series chiller. It’s been the greatest addition as I can freely use the laser anytime I want with the push of a button. They are not cheap.

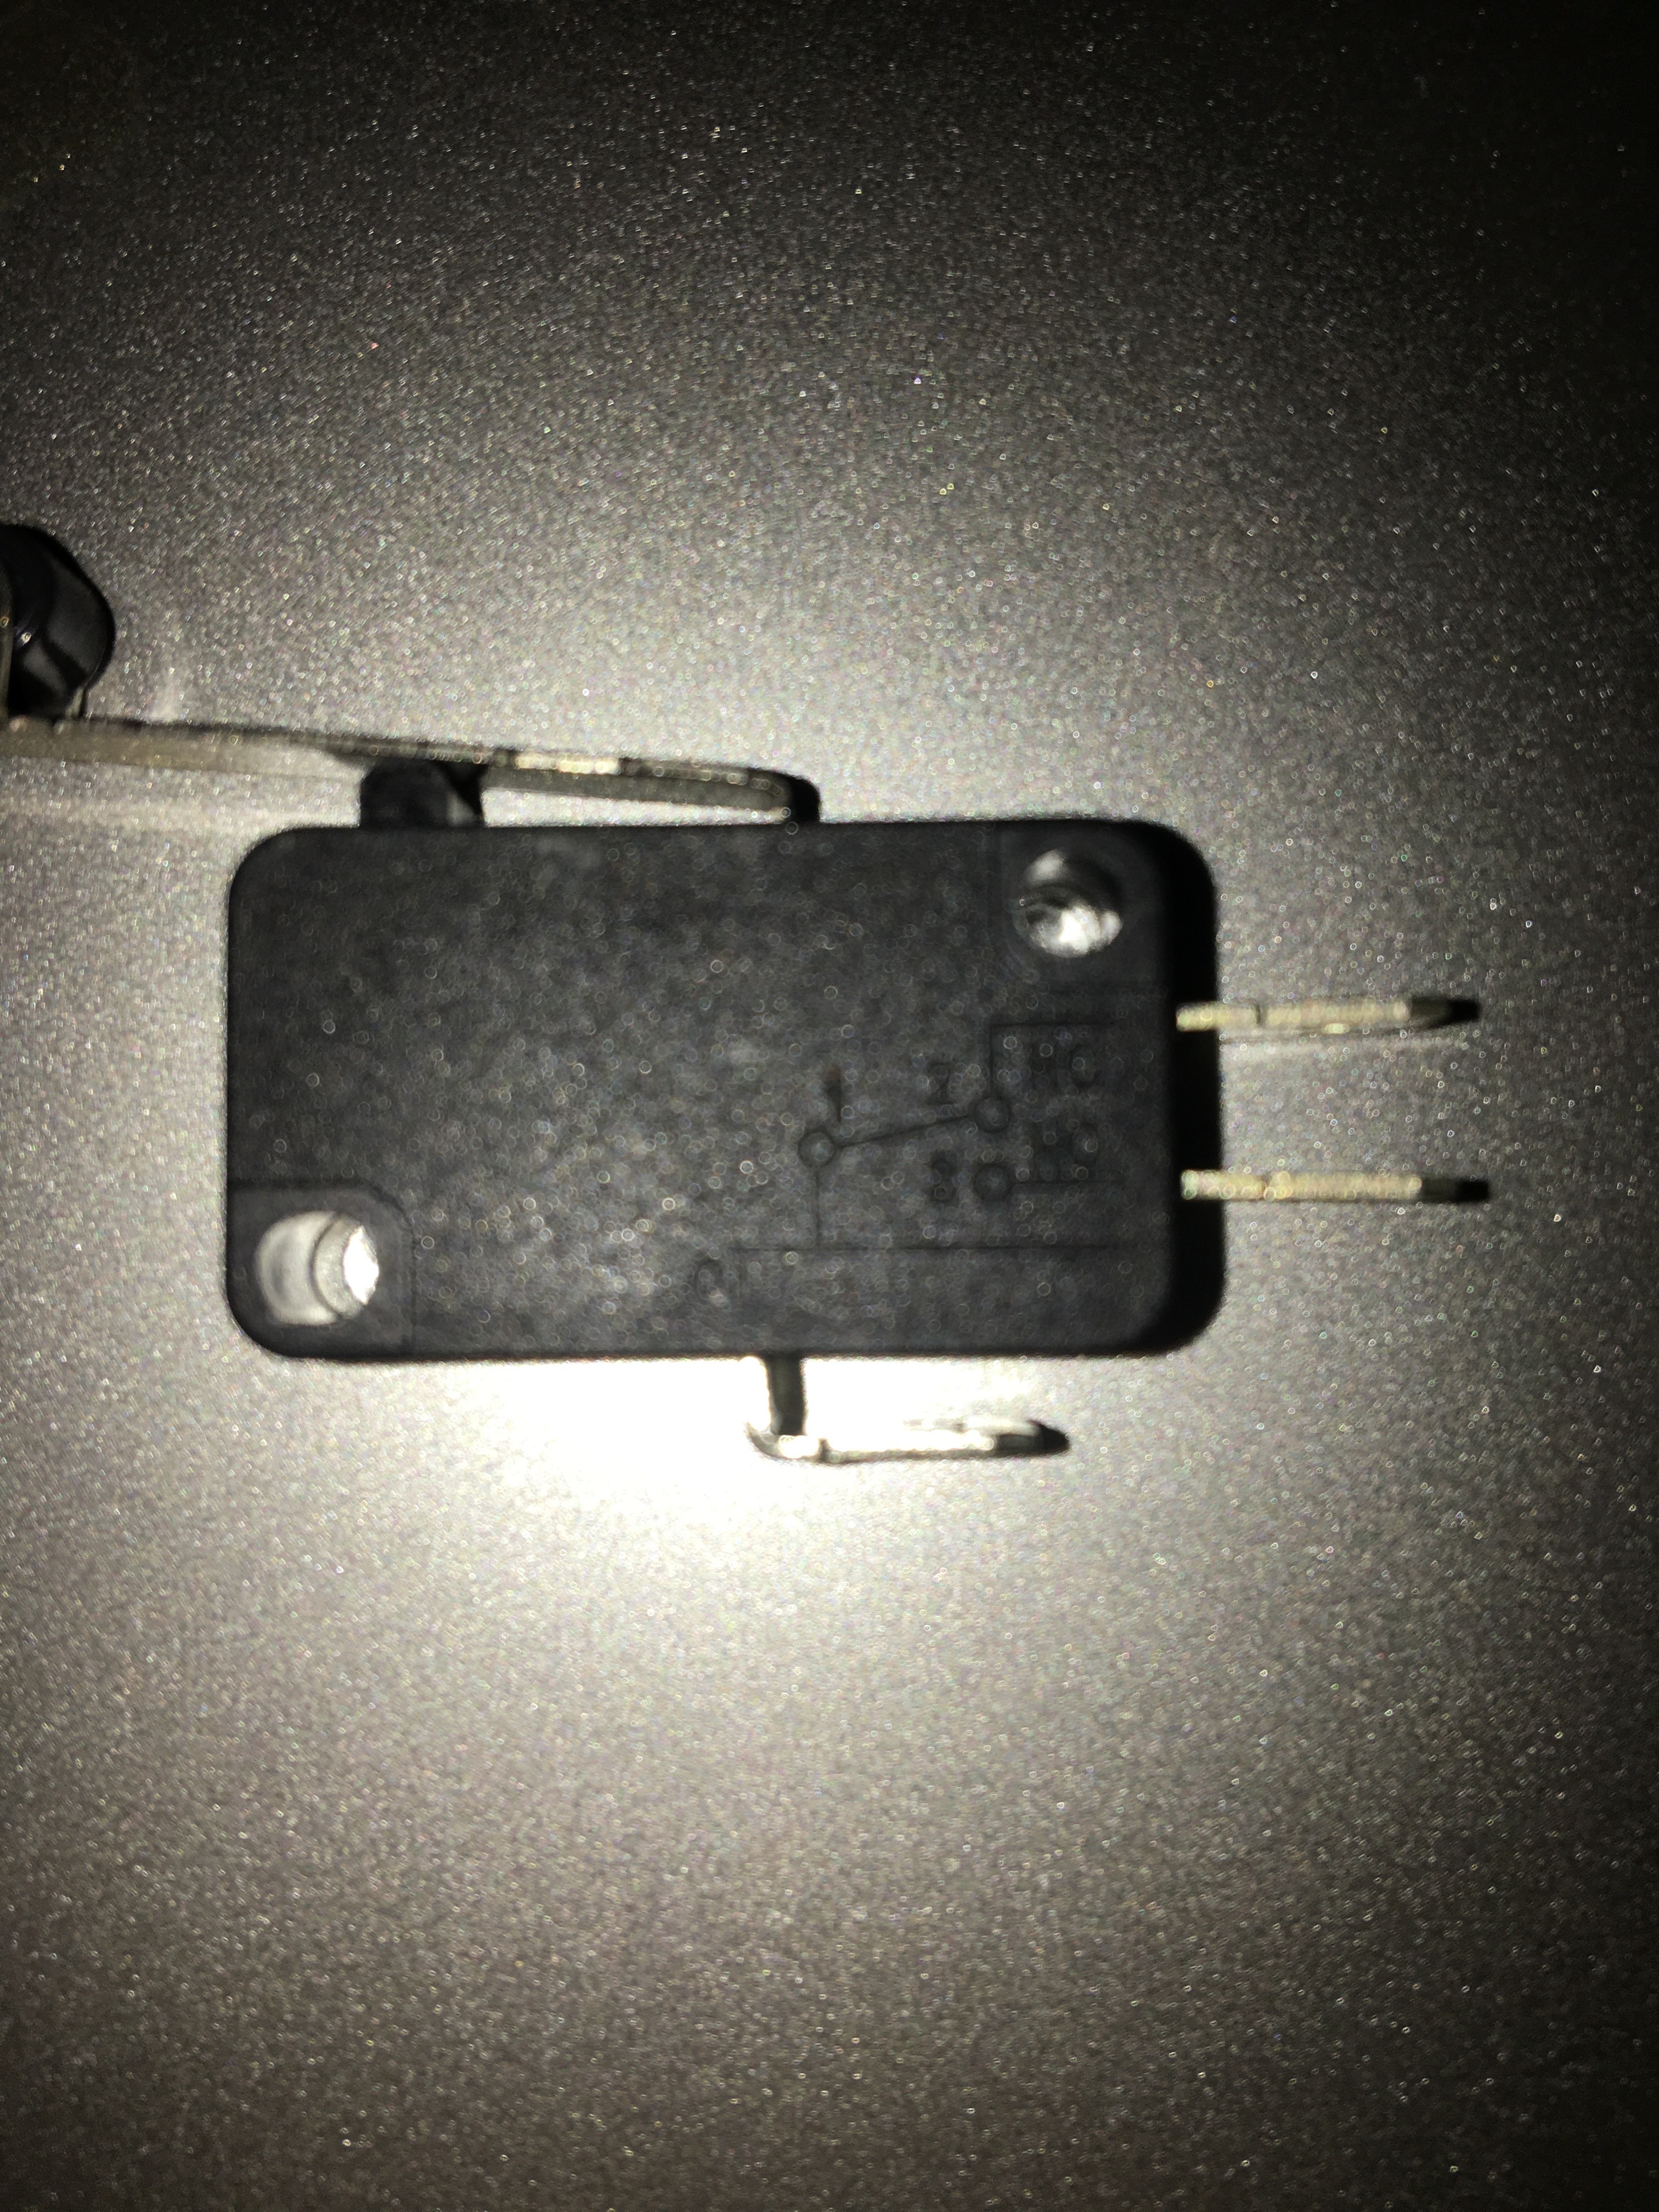
Mine is connected to the Ruida WP1 (water protect) input, so the machine itself doesn’t have any sensors for water flow detection.

@donkjr advised… Be extremely careful of using an indicator that you have to ‘watch’, like the clear one. You won’t see it when you need to. That’s why most of these interlocks are just that, by preventing you from doing it even when you don’t notice.

These things are mesmerizing enough without the requirement to watch other things.

Best of luck… Be following you path, take care.

:smiley_cat:

2 Likes

Jack, most I’ve run across use frozen 2L bottles(or 1L) of tap water and place them into the tub of distilled. The 1L and 2L bottles have very thin plastic so the frozen water/ice take in the heat better than so milk jug plastic bottles. No water exchanges or dilutes the distilled water this way. You definitely don’t want to keep adding water to your circulation tub and want to keep it as clean as possible to prevent contamination. An active cooling system is the ultimate solution.

1 Like

Been there, done that… How long are you planning to run your machine when it’s 85 deg or higher?

How many bottles do you plan to freeze?

Mine was more of a ‘heat exchanger’ isolating the coolant from the chilled water.

You are also transferring ‘debris’ to the circulation water when you open it, and when you put bottles into it even being pretty meticulous.

However you pick to chill it I’m sure you will like the machine…

Take care.

:smiley_cat:

2 Likes

Actually i was planning on making my own cooler unit using an ice box with a copper pipe coiled on the inside, similar to the image below…
d6a6bea5e254457d3bb7cedc8ba14ad5

will also add a pc water cooling radiator between the machine outlet with the hot water, before going into the ice box… so the flow will be:-

tube hot water out → radiator → ice box → tube cold water in
images

The reason for the radiator is so that the hot water will be cooler before going into the ice box instead of piping hot water and the chilled water and ice in the ice box will last considerably longer… i may also put a reservoir somewhere in between for maintenance purpose

With an appropriate flow rate, the water coming out of the tube is typically at most 2 °C hotter than the water in the reservoir.

E.g. if it takes 45 seconds to fill a 1.5 liter bottle with the water coming out of the outlet:

> 1.5 * 4168 / 45
138.93333333333334

Then we’ll get an increase of 1 °C for every ~140 W of waste heat.

Which means that this “hot” water isn’t necessary above the ambient temperature.

If it’s still below ambient, the radiator will heat it up.

A radiator is only helpful if the coolant’s temperature is generally above ambient. I.e. when you don’t cool it with ice or use some kind of refrigeration.

4 Likes

@tomatsu ok, so does this mean that the water coming out of the laser tube won’t be “hot” but just a 2 °C increase from the water that was flowing in?

so assuming i get this right… the maths would be somthing like this:-

water from cooler ~ 18°C —> water from hot side of tube ~ 20°C

Yes, that’s the kind of temperature increase you’ll see when cutting.

2 °C may not look like much, but you have to keep in mind that you’re continuously cycling the same water.

E.g. if you got 10 liters in your reservoir and you want to know how long it would take to heat that up from 20 to 24 °C (by 4 °C) with a 280 W heat source:

> 10 * 4 * 4168 / 280
595.4285714285714

It would only take about 600 seconds or 10 minutes.

3 Likes

@tomatsu thanks, that means i can save some $$$ ditch the radiator. I will still proceed with the copper pipe cooler, which would also mean i have to install a fan over the laser tube because water at 18°C will create condensation, the fan should be able to clear off the condensation from the tube

1 Like

Also, can someone help me on this one… the types of buttons i need for a new panel, do i have the right voltages:-

laser power - 220v
laser on - 220v
test fire - 220v
water pump - 220v
led lights - 12v
air assist - 12v
air extract - 12v

do i have this right?

Laser on and test are logic level, not mains.

You might read @donkjr’s blog posts about K40 wiring to understand better what each wire is for.

2 Likes

Firing the laser and the water protection stuff (which you can also use for an interlock switch) is 5 V. This is logic-level stuff. The L pin is high (5 V) and you pull it to ground (0 V) to fire the laser. The P pin is high and you pull it to ground to enable the laser.

The LED strip which was installed in my machine is a 24 V one.

My air pump, water pump, and extractor fan all use mains voltage. Your built-in extractor fan is most likely a mains voltage one. Check the label. Check the labels of every component. Also check if the amp rating of your switches, relays, connectors, and wires is appropriate. E.g. my small flip switches are rated for 250 V, but only 6 A. I would not use one of those for my 480 W extractor fan, which draws way more than 480 W when it starts up.

If the switch controls some mains-powered thing via a relay, the switch itself will of course only see 24 V or whatever.

Anyhow, my recommendation is to keep it simple. Get it working first and then figure out what you really need. If you got a working laser cutter, you can cut a new panel whenever you want. Heh.

2 Likes

Hi Guys, I’ve got a question, I just realised my interlock switch that I received is rated 15A, 250V AC … is this correct for my machine?

The interlock should be logic level DC. It shouldn’t be on the AC side at all. What you care about is the DC rating (if it has one) but it would be relatively unusual for that rating to be less than 12V. So basically any switch should be fine.

1 Like

there’s some ratings on the side:

So I’m a bit confused

1 Like