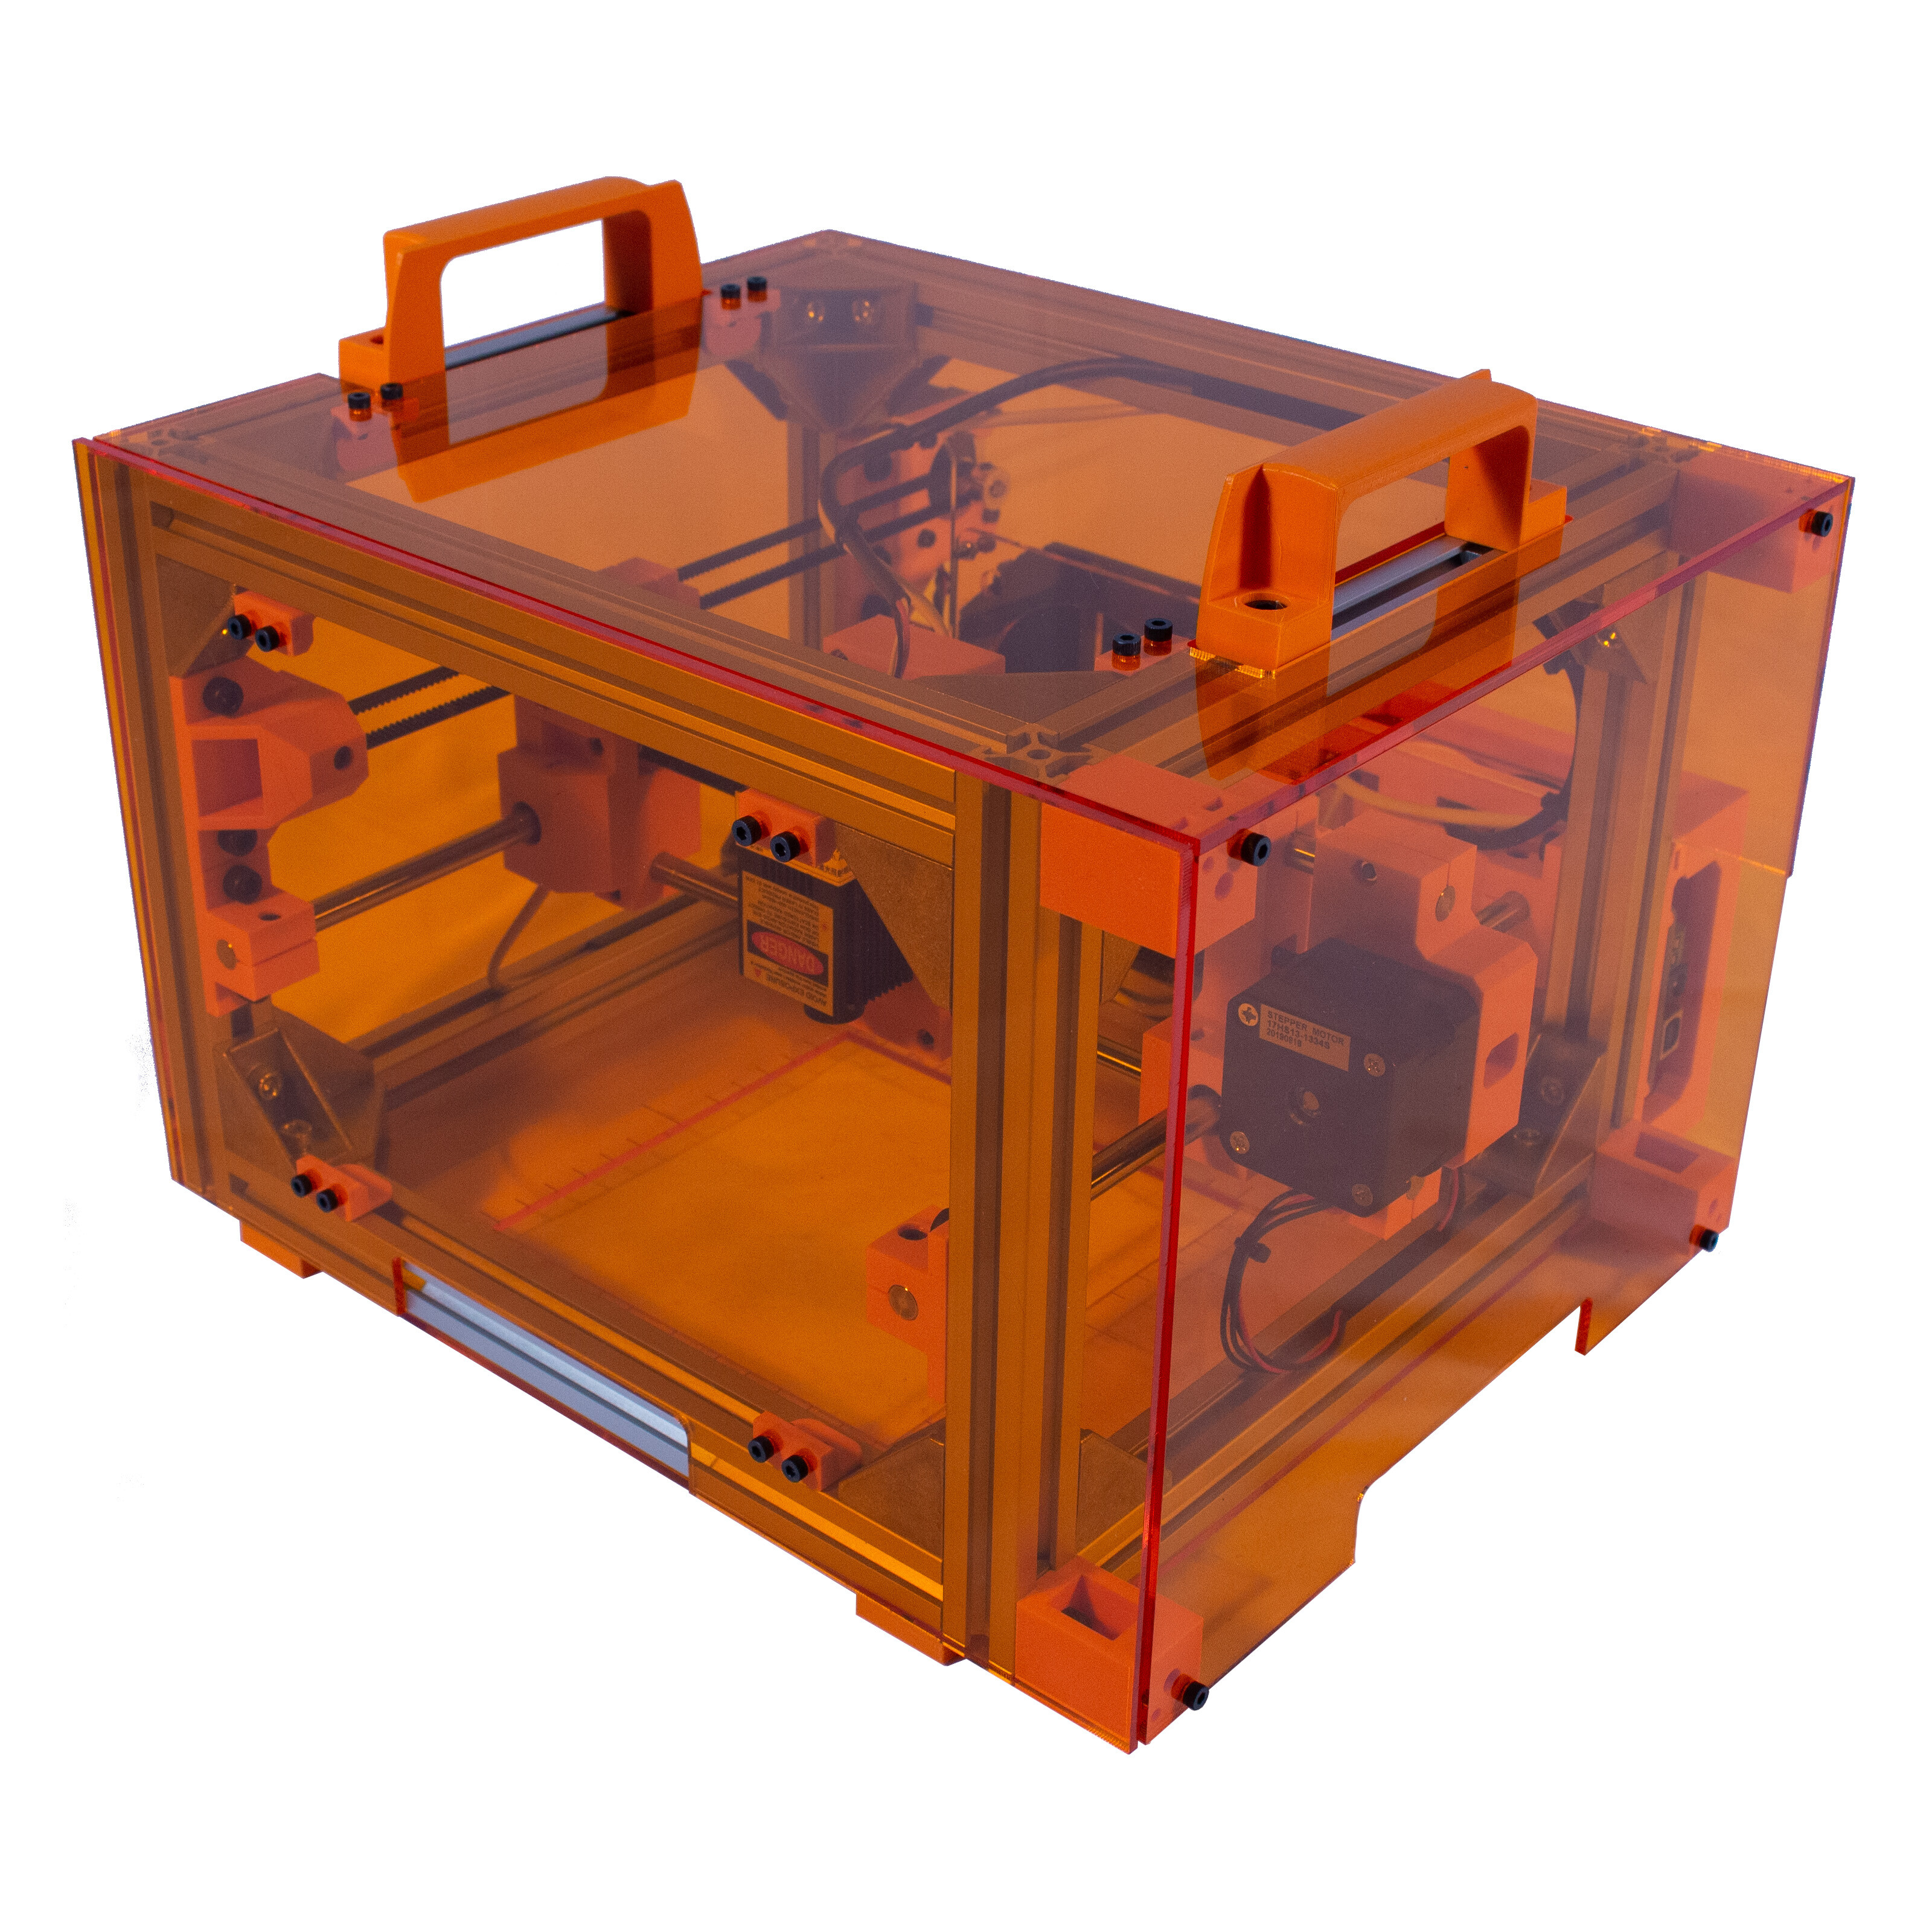
Been working for most of the year on a new laser engraver that I designed in collaboration with a friend who’s a woodworker. Unlike most of the diode engravers it’s designed to be small, lightweight, and portable so that it can be brought to the work piece instead of the other way around. This way you can engrave onto very large pieces. Though, of course it works with smaller things as well.
It’s entirely open source and heavily uses 3D printed components along with standard 3D printer parts and hardware from Misumi.
I will be doing a small run of kits for some beta testers that will be sold at cost. Just trying to grow the user base. If interested in making me do all the procurement work email me via engravinator@maniacallabs.com
Very nice work. I had a similar idea but never implemented it because I do all the work for my friend on my large bed CO2 laser instead of me going to her. The CO2 is faster too!
I’ve got a CO2 laser too but it’s overpowered for a lot of engraving since it’s activation power is ~15-20W. Also this was partly designed for a friend who does a lot of wood working and wanted to engrave on furniture.
@Adam_Haile I agree with everything you are saying. In my situation, I never followed up on making a similar laser due to the need was just not there for the engraving needs of the people who I work with.
The BOM listed is pretty much worst case scenario. A lot of items (that aren’t from Misumi) are more “Market Price” and I just listed whatever I found to be the upper end.
I build the units I have (3 currently) for about $350 each
That’s mostly left up to the user at this point though I’m sure I’ll be releasing at least “reference designs” for that in the near future. Assuming you have a relatively flat and level surface, nothing more than some rubber feet on the bottom (recommended in the coming-soon build guide) is more than enough.
But you may notice that there are cutouts at the bottom of the enclosure panels - This is so that you can attach to the T-slot extrusions. At the least I’ll release a design for a simple L-bracket that attaches there that can then be used to either screw or clamp down the machine. But mostly I find it unnecessary.
Depends a little on your software but there are a couple ways I do this (usually both):
There’s an enclosure panel designed to work with most of the laser modules out there that provides a “targeting frame” of sorts. It’s 135mm square and has tick marks along all sides to aid in visually aligning everything.
In software I tell it to move to X65 Y65 (which is dead center of the work area) and then either using the focusing button on the laser module or a similar option in my software to turn the laser on at ~1% power, I use the laser dot to aid in placement and then make sure in the software my design is centered.
It runs grbl so anything that supports grbl like LightBurn, LaserWeb, LaserGrbl, etc. I use LightBurn because I value my time and puts everything else to shame I’ve even gotten LightBurn to work quite nicely controlling a pen plotter modification that will be available for the machine.