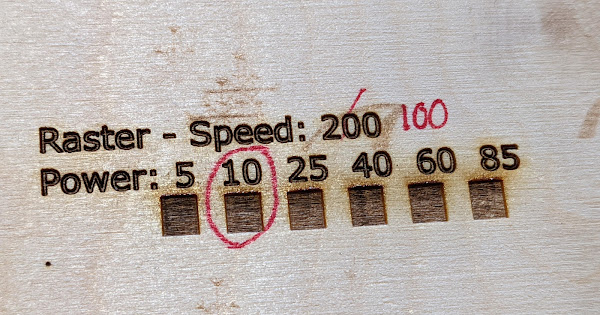
Make sure that the lens is installed correctly. The concave side must face up and the planar flat side must face down to the work piece or work area. In order to cut wood you need to be in focus. A few mm out of focus and the cutting is not happening. I always replace the Chinese lens with a proper USA ZnSe lens. Be care full with handling lenses since three are slightly radio active. User gloves. Good luck.
Thank you - I’ve just re- watched and taken notes again from John Cabrer alignment videos - had a little aha moment and realised I was adjusting at the wrong points with mirror 3 + not moving mirror 2 into the path of the beam and instead wrongly adjusting the screws - I’m going to re-do all this tomorrow when the new mirrors arrive - just realised I didn’t order a new lens for the laser head - would this be something I should do also straight away or see how the new mirrors function?
Sorry for the tonnes of questions and pictures! I hope this can be helpful to someone else who is starting out too! Definitely a novice right now - but I’m deturmined to get it right!  X
X
Back when I first got my K40 I read the K40.se site FAQ from front to back, actually did it before the machine arrived, and later as more people purchased K40s and mirror alignment issues were plenty, the author of the site went back and wrote a step-by-step method many said was the best around. I don’t know if that still holds true but maybe read through this and see if it has something not in the one you followed:
And remember, sometimes the black frame all the motion stuff sits on can be out of whack too. Some have had to put washers/shims under one or more of the 4 bolts holding it down to get all the mirrors and motion elements on a single level plane with the laser tube. FYI, on high-end machines the frame the tube sits on, the mirrors and the motion elements are all one structure. The K40 is great for the price but sometimes we have to adjust things to make it work well once it’s in our own work space.
“The fear you are feeling is a good thing” — but perhaps this will reassure you a bit. Fortunately, you are installing the ammeter on the low voltage side of the tube. There’s 20,000 volts or so going into the end away from the mirror, but on the side where the beam comes out, the side you attach the ammeter to, it’s close to zero—might be around 10 volts between the tube and the ammeter, and closer to zero between the ammeter and the terminal on the power supply.
There is one important caveat: Make sure the connections on those wires connected to the ammeter are secure at both ends. You don’t want them to break, and you don’t want them to detach. As long as they are connected, you are fine, but if they break, paradoxically they are more dangerous…
I think the videos at American Photonics mention that this can be the case. It’s one of the reasons why their tool can really make the process less frustrating. But even if shipping to you is inconvenient, you might find their videos very helpful. For example, I think they explain @Paul_de_Groot’s point about how the lens needs to be mounted to work.
So much better than not asking! ![]()
The usual complaint among regulars here is when people don’t ask questions first and get themselves into trouble.
Please keep asking. Questions can include asking what to buy, including posting links to things to ask whether they are the right thing to buy.
That’s really good to know, I’ve just had a quick eyeball at the gantry and it dies look pretty square but will check this properly after I’ve fitted the new mirrors + lens today! Crikey I hope it does the trick! I’ve bought a new laser head as well with the 20mm mirrors etc, hopefully that will give me a little more wiggle room with alignment!  I’m literally going to have a party if I get this cutting!
  X
X
Thanks so much for the lovely comment and encouragment - you all have really helped me keep calm the last few days!
I will re-read all this info when I fit the Amp meter! and thank you looking at all my pics etc, gives me a little more confidence in the things I’m doing so far! Hehe x
SUCCESS!!! OMG SO HAPPY!! thank you everyone, for being so helpful, you’re amazing!!
So, finally have everything aligned and in focus - the magic mods that made this possible are upgrading the Mirrors + lens (plus the old lens was in upside down and was really messy!) … now the power is Uber strong I’m so glad I put the time into installing the air assist! I didn’t switch it on while doing a test shot and there was flames! No flames at all when the air is flowing so really chuffed about that!
I’ve put together a check list of all the extras I’ve bought to get my laser to this working condition - thought it might be helpful for someone else thinking of getting into this - it’s definitely been an education for me! 
K40 laser - Orion Motor Tech - £429.99
Air Assist:
Compressor - £35
2 x Silicone tubing - £12.38
Adaptors (eBay) - £8
Distilled water - £10
25l bucket - £11.50
Mirrors x 3 - £33
Lens - £17.28
Scissor jack - £12.99
Combination square - £6.50
Honeycomb work bed - £35
Mini fire extinguisher - £20
4"duct hose - £15.98
Cloudray safety glasses - £36
Total spend: £683.62
The first laser I looked at was a glowforge, but the £3000 price tag for the basic was out of my range - I’m really chuffed with what I’ve got now for the money - and I feel alot more confident maintaining the laser after the crash course this week!
I’m sure there will still be bumps in the road and more upgrades to do, but for now I’m a very happy laser girl 
Thank you so much for all you help, your all flippin fantastic! 

Trying to post pics but keeps failing - I’ll set up done links instead 

Glad you got it sorted. They can be frustrating. I’ve had mine 3 years and although I love it sometimes when I tinker with it it goes downhill quickly. I’ve had a few days of “lost power” this week just to find my new laser head wasn’t perpendicular and the beam was coming down from mirror 3 and hitting the hole at the end. All good now. I take it you are in the UK, if you are looking for good 3mm ply try Daisy moon on Amazon. Their stuff is good quality, not bowed and rigid. Enjoy playing with it, I love making personal presents for people.This forum is great for hints, tips and advice.
aww so relieved I can finally cut something! hehe … I’ll try Daisy Room, thanks 
I’m sure ill be forever tweaking things, but for tonight it’s a win! 
This is a great community, I hope I can pay it forward one day soon x
Posting the summary of what you did was already the first step in paying it forward! ![]()
The system should have presented you with a new user tutorial that takes the form of talking in DMs to a “robot” user that should help with the uploading pictures part; it should show up as a small green circle in the upper right. If that doesn’t work, feel free to post in #site-feedback and we’ll help you get squared away on how to do that!
I hope it was helpful, was worried I posted quite a bit! Hehe
Thank you, I’ll do that next time I’m posting pics ![]() xx
xx
Wonderful to see that you were able to get the machine up and running and be able to get the mods installed. I cannot wait to see the wonderful things you will make with your new laser!
Thank you 
 ooo I’m so excited now! My days will be filled with lasers!


 Xx
Xx
Hi guys - I have a quick question if anyone can help - I’ve ordered deionised water, is this safe to use as the laser coolant? Do I need to add anything to it? Thanks so much Donna x
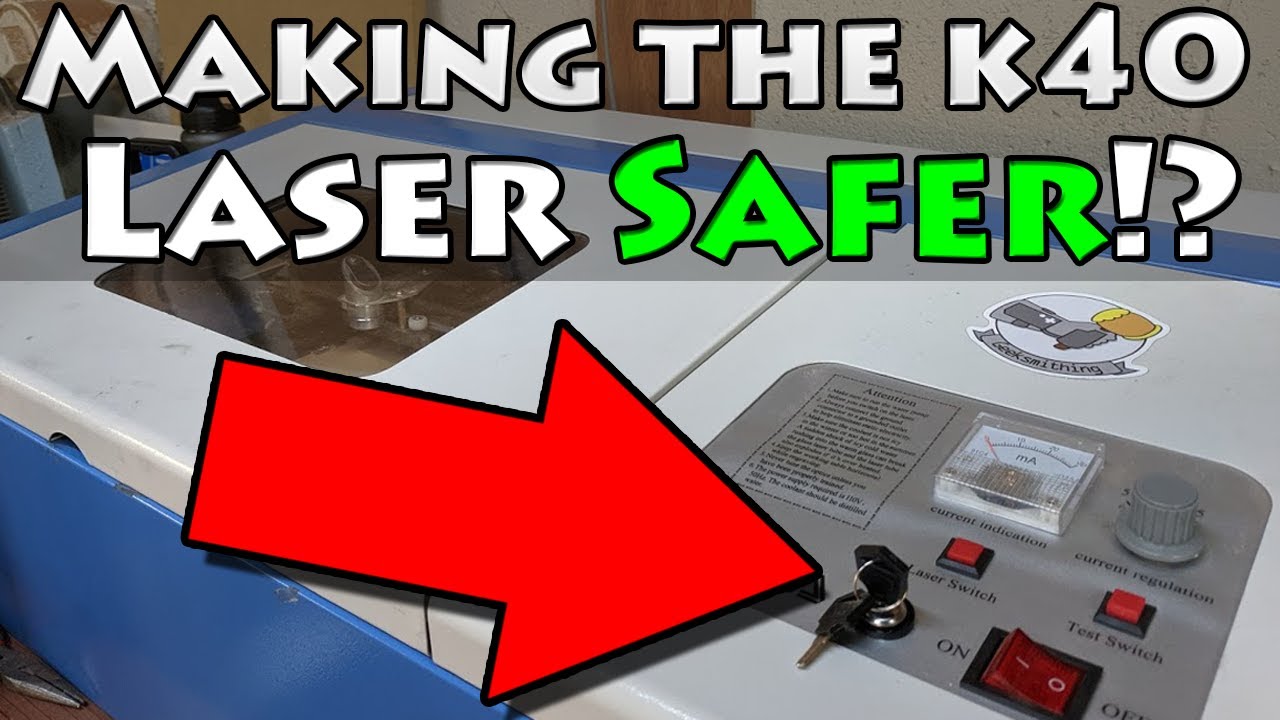
- little add on question / safety checker! Is this a good method for installing the interlock switch?
Do you need special wire due to the voltage etc? Sorry, I’m abit in the dark when it comes to electronics!
Thanks so much x
It looks like you found the thread already where we discussed deionized vs distilled water…
At least in the US, distilled water is available cheaply (about $1/gallon) in grocery stores.
The high voltage is on the power from the wall to the power supply (for you, 220-240V AC) and on the red wire from the laser power supply to the tube (about 20000V DC). The other wires are 5V (almost everything) or 24V (the stepper motors that drive the carriage around).
The wires that control whether the laser fires or not are 5V. Those don’t need special wire.
The first safety interlocks you want are for the door; to only fire the laser with the door closed. If you want to add a key you can, but don’t add a key instead of door switches; that would just be an illusion of safety in my opinion…
Ooo I missed that reoky - thank you! So DI water is fine and won’t arc the laser?
Great, Dave has some speaker wire he says will do the job, is this ok? (we’re putting the interlock for the door) … x


