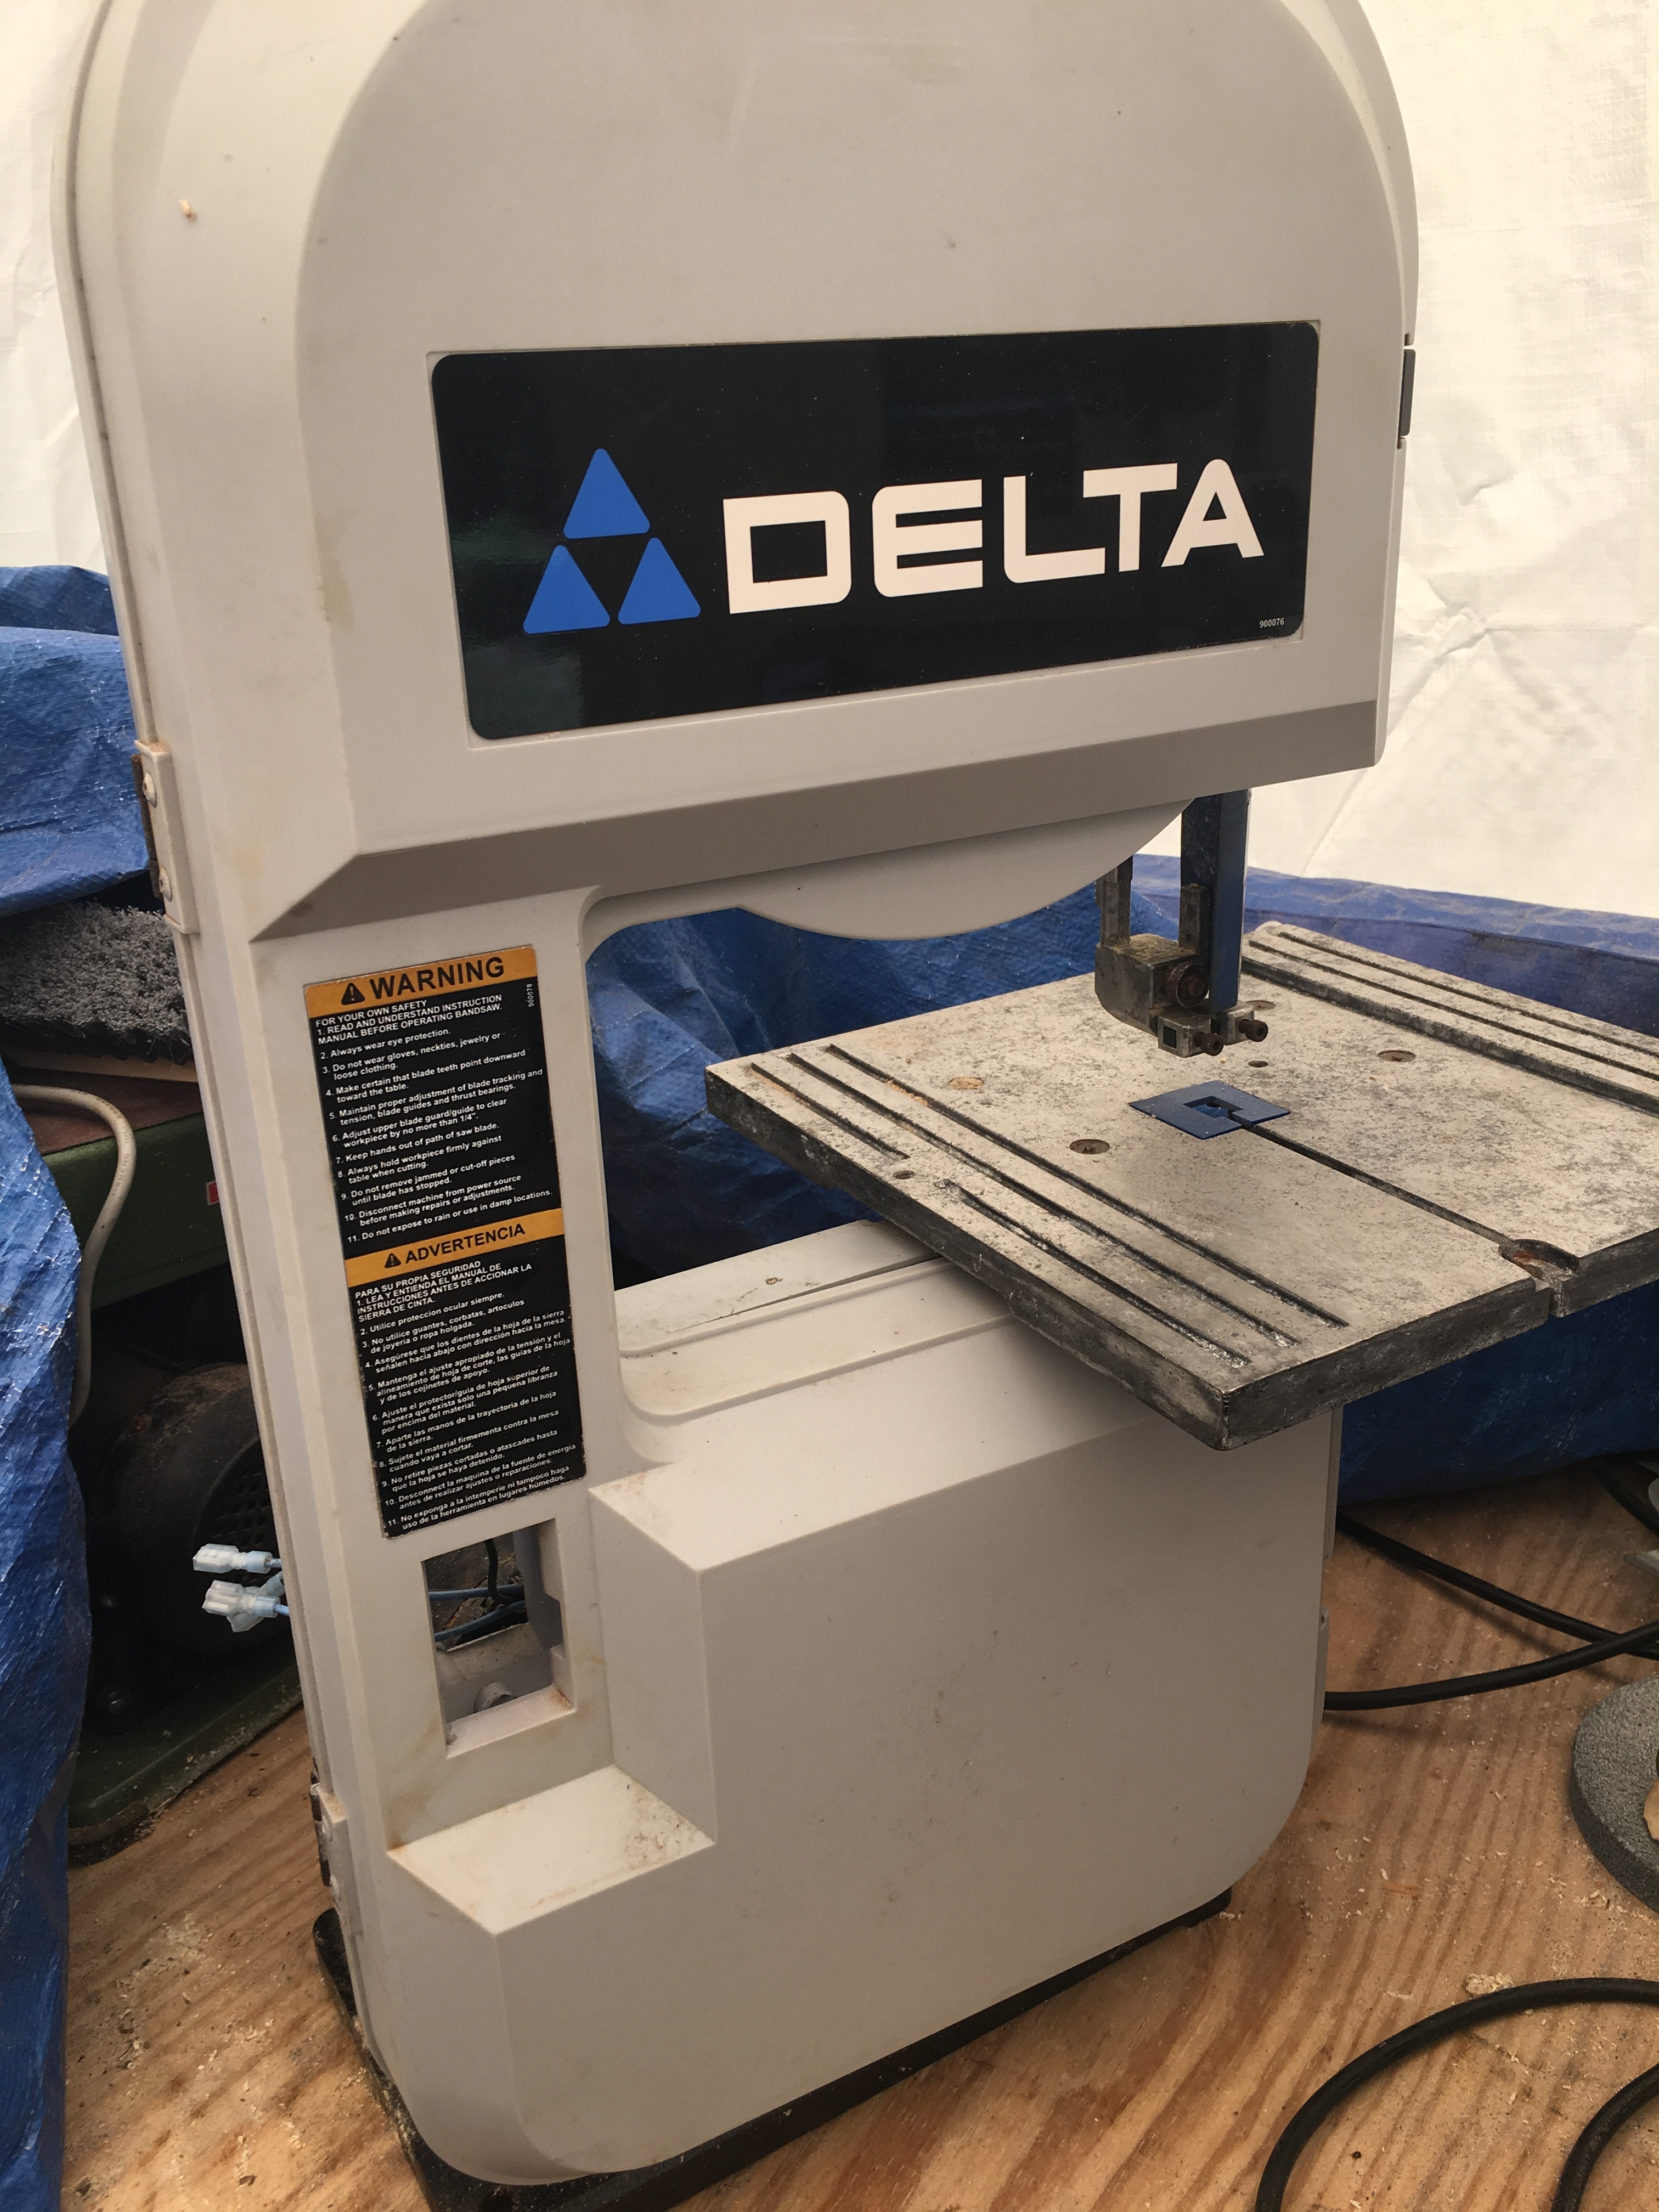
The other weekend I was driving through my neighborhood and I noticed a small pile of “junk” on the side of the road in front of a house that was just going on the market. Looked like someone had cleaned out the garage. I cruised by slow eyeing the pile for anything interesting and, just as I was about to pass the pile, I noticed out of the corner my eye in the back a 9" Delta Benchtop bandsaw (28-150). I knew exactly what it was because I have almost the same model in my shop. Stopped and looked at it and it was missing somethings and looked like it had gotten wet. Threw it in the back of the truck for at least spare parts for my bandsaw.
Took a good look at it later and it was missing the power switch, power cable, the front and back switch box panels, a motor run capacitor that lived in the switch box. and the table tilt adjustment knob. Also has a broken door latch and some general corrosion. As long as the motor still worked it looked salvageable.
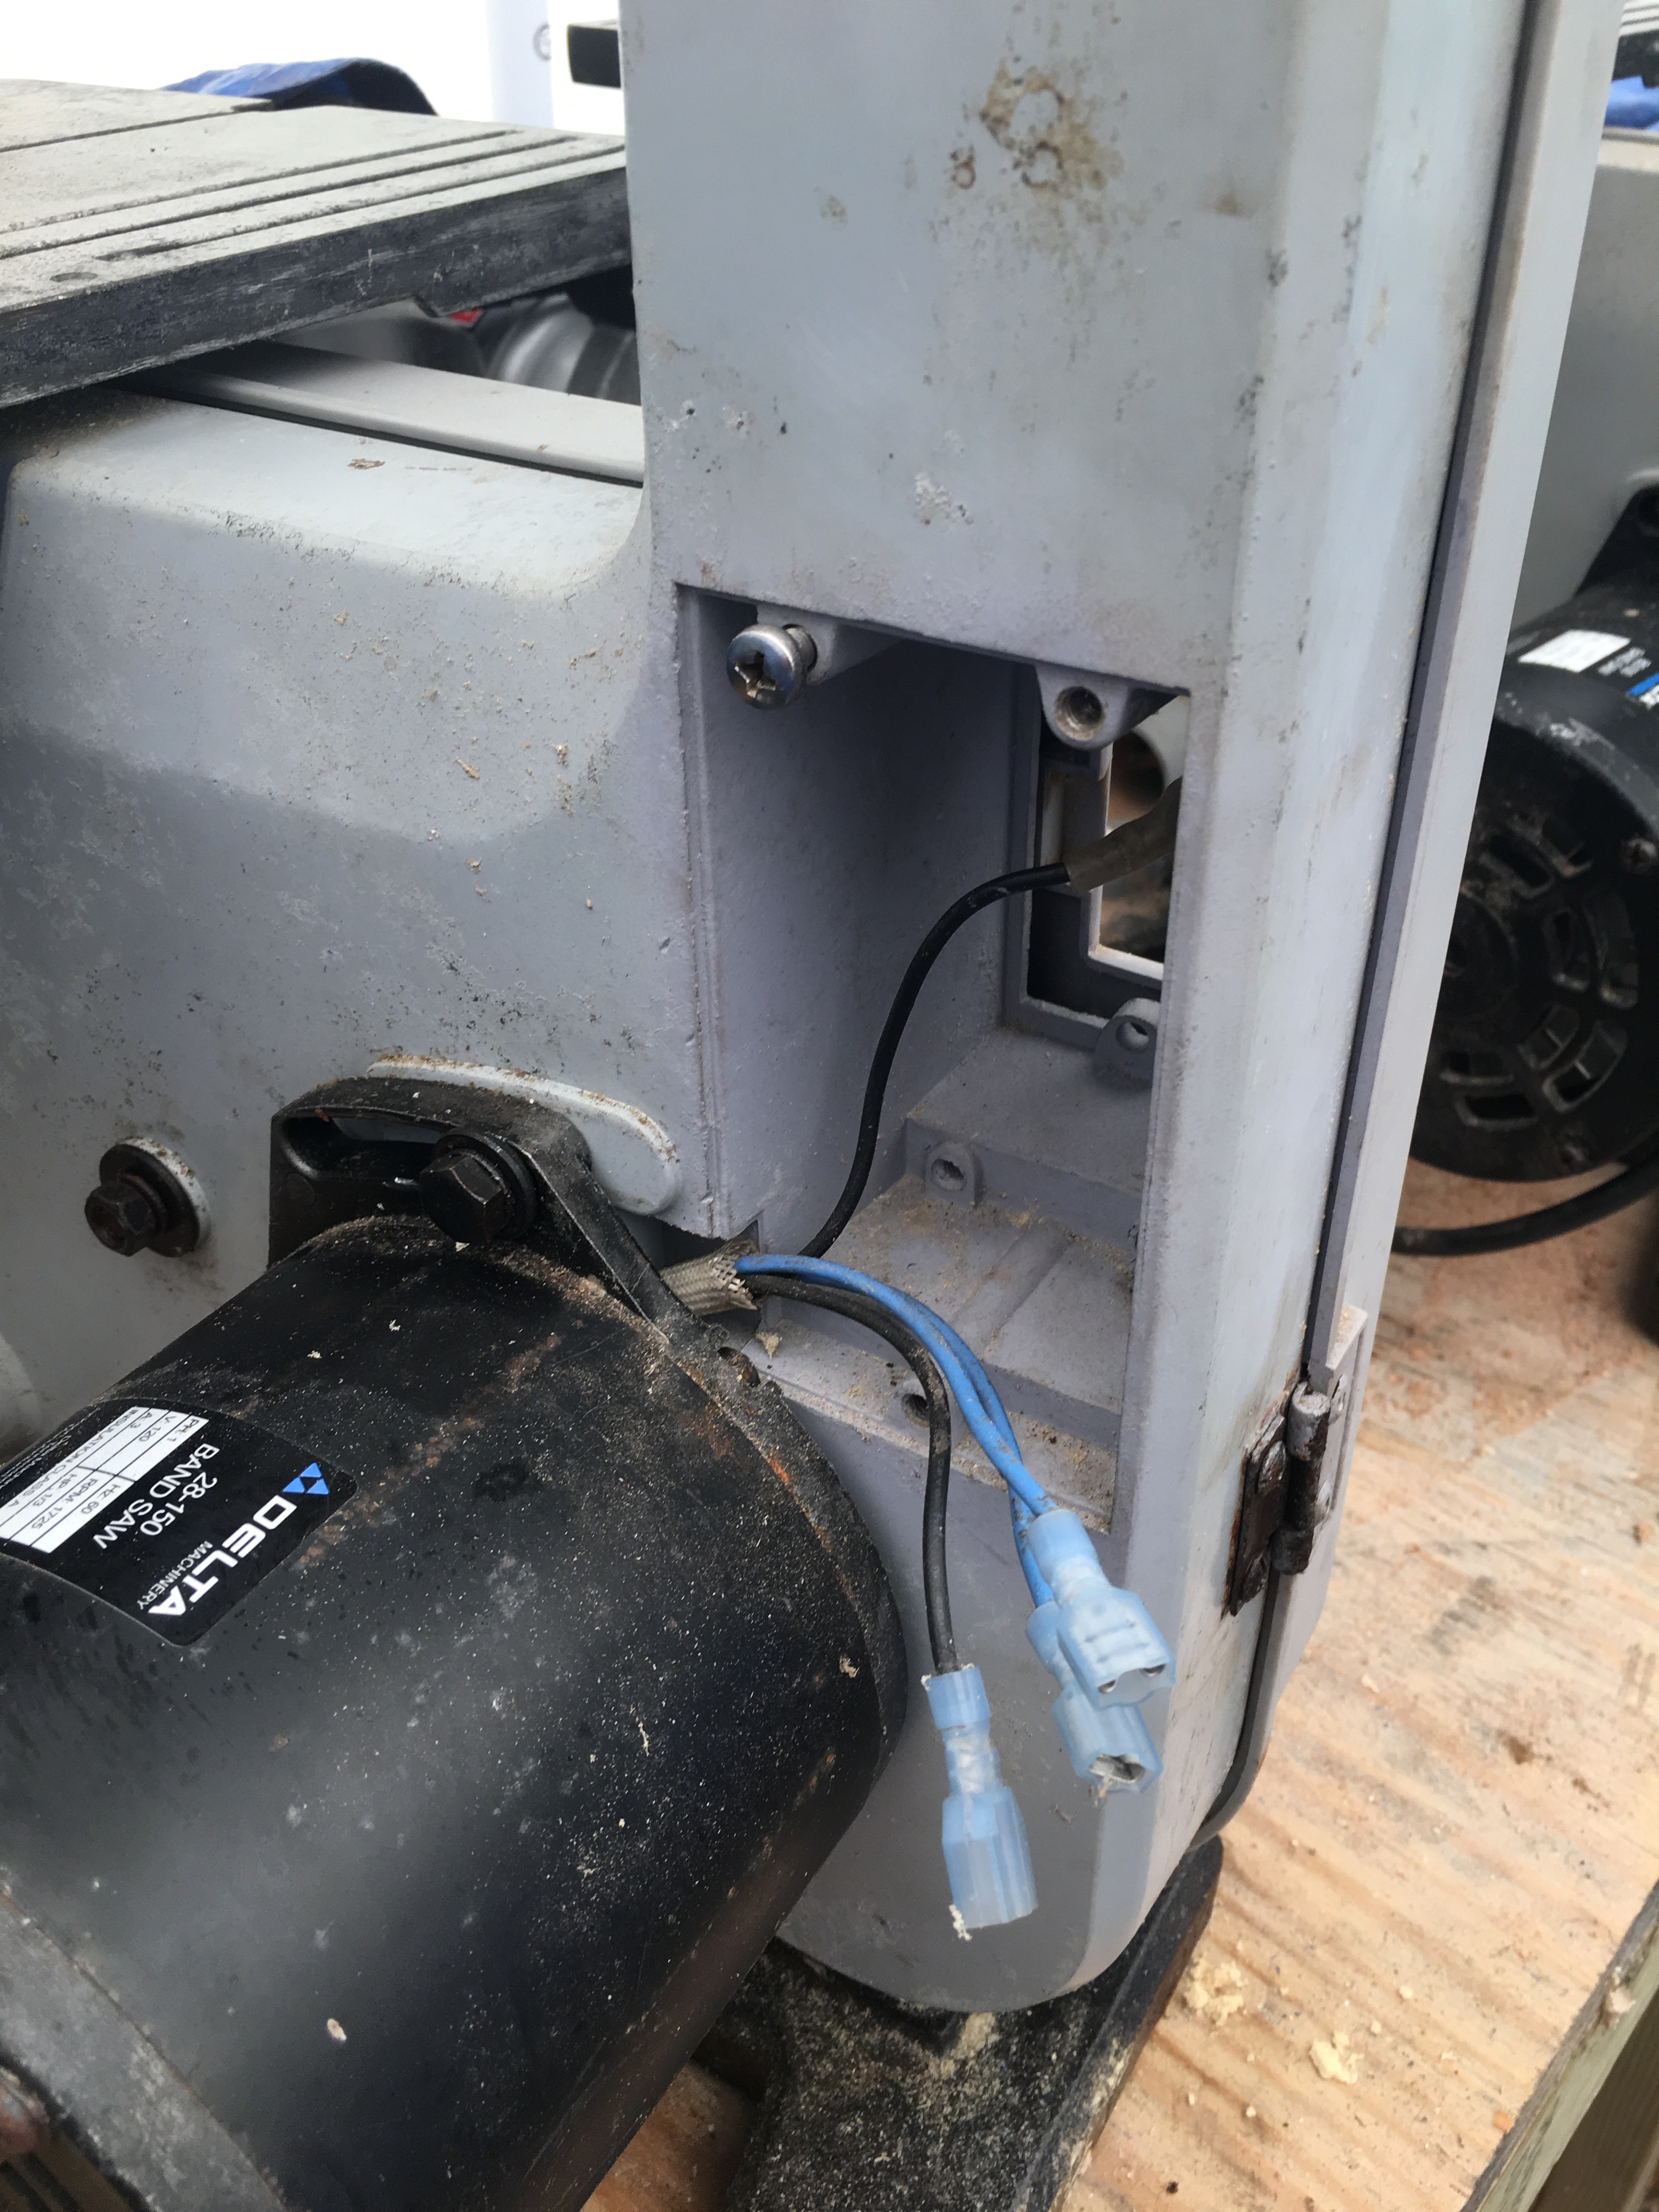
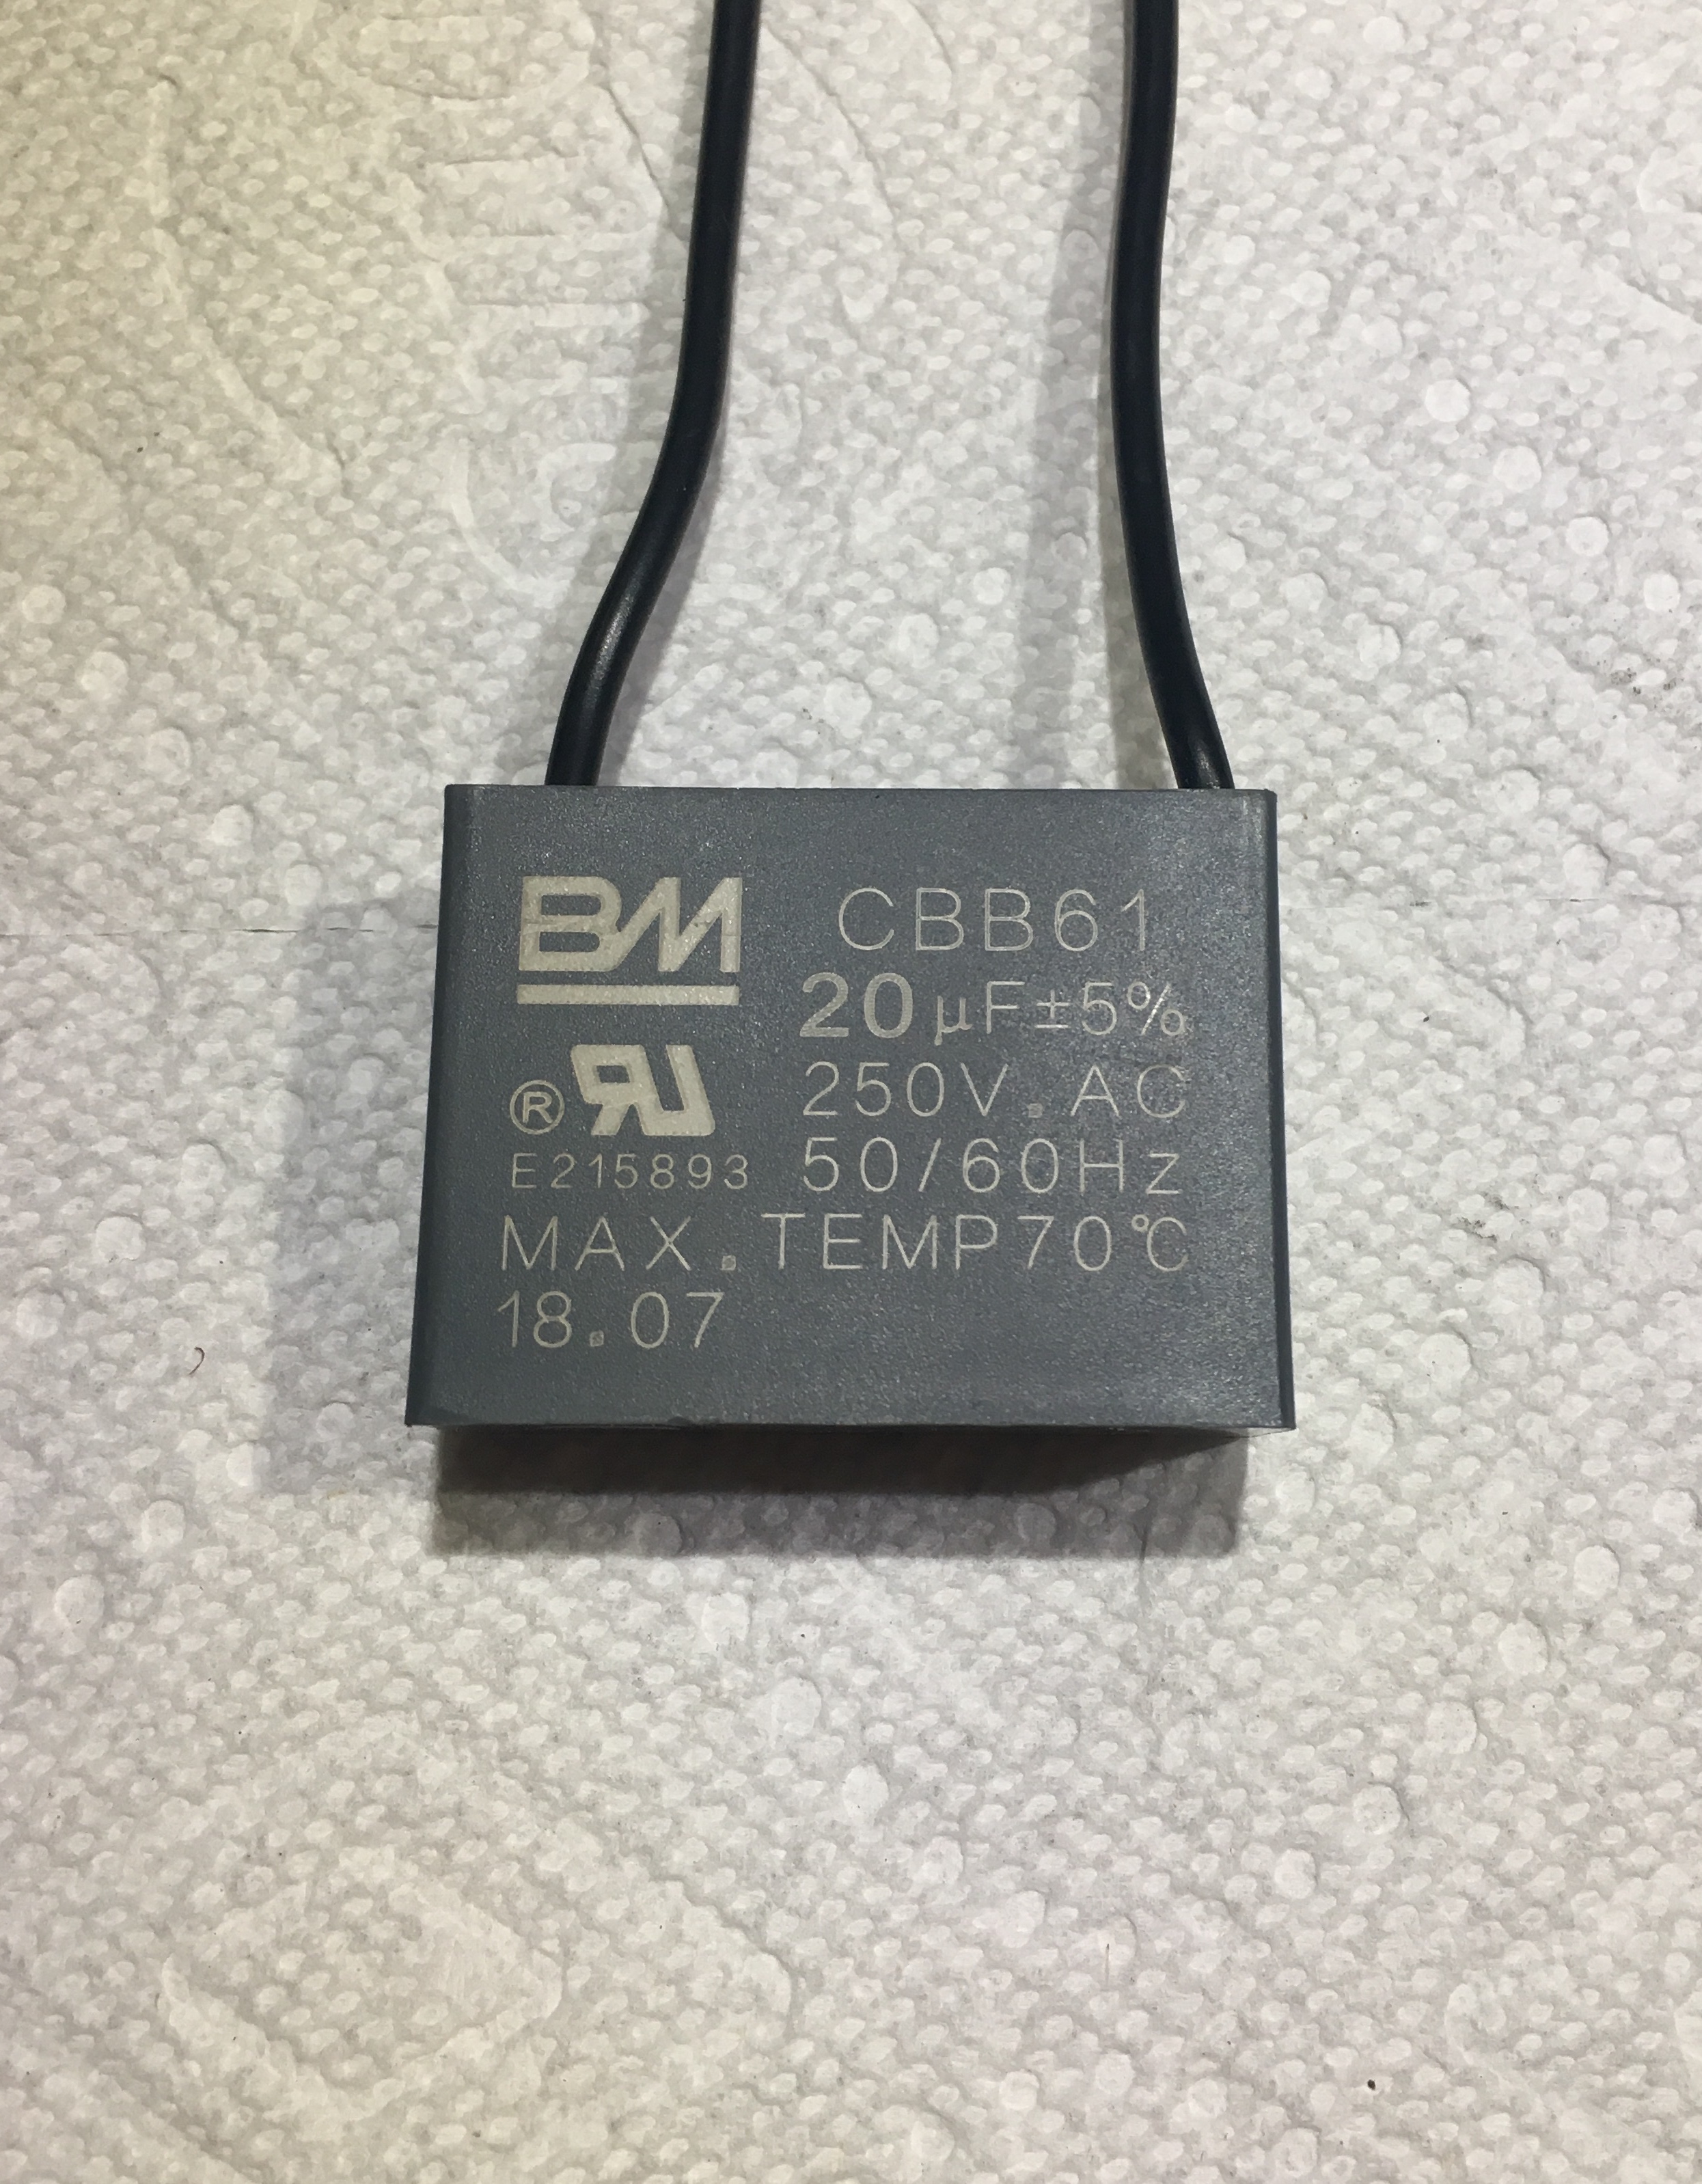
I looked through my supplies and found a toggle switch that would work and an extra power cord. Delta doesn’t make these benchtop bandsaws any more, but I was able to locate a replacement run capacitor of the right specifications on amazon for $8 shipped. Didn’t want to put too much work into it until I knew the motor was all right. The capacitor arrived today and I wired up the motor and it ran fine. So let the work begin.
Not sure what I’m going to do with it at the moment. Might keep it so I can have bandsaws with different blades without having to change and retune the guides or donate it if can find a worthwhile program that can use it.
Sure …I have two, one is a large throat I leave a 1" 3TPI blade for cutting timber.
The other is a HF that I leave a small high tooth count blade for cutting odd metal and plastic shapes.
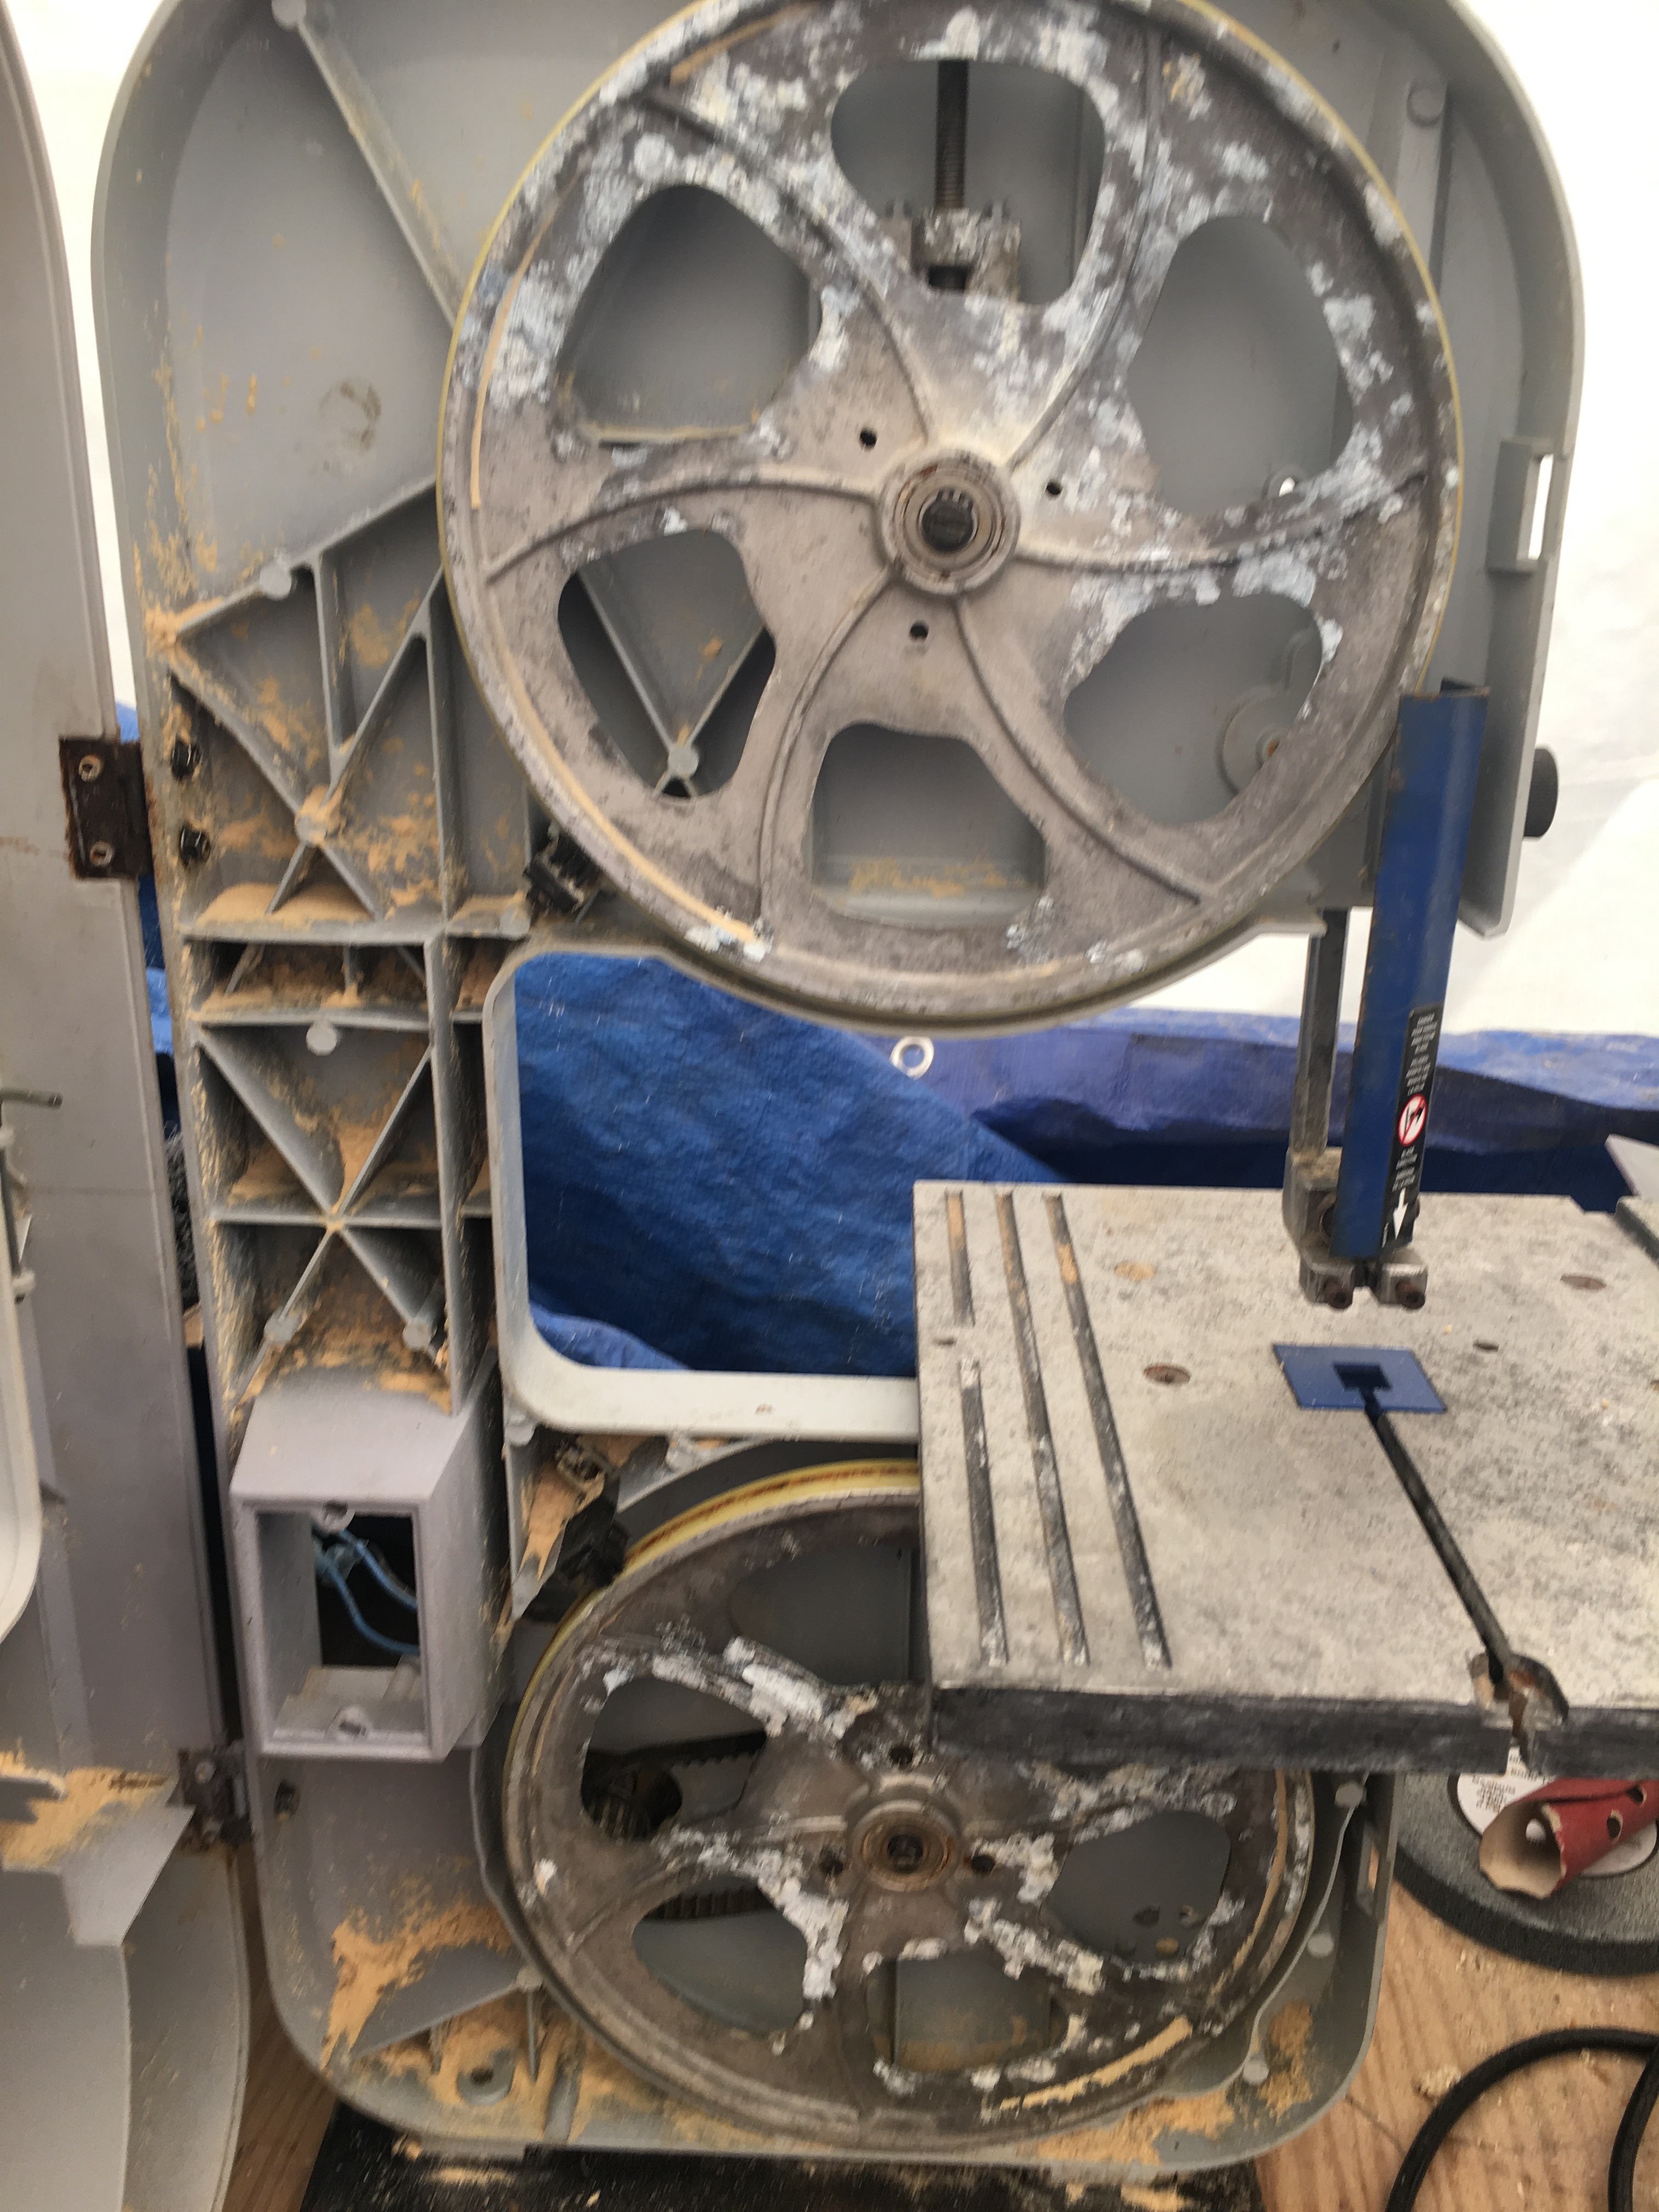
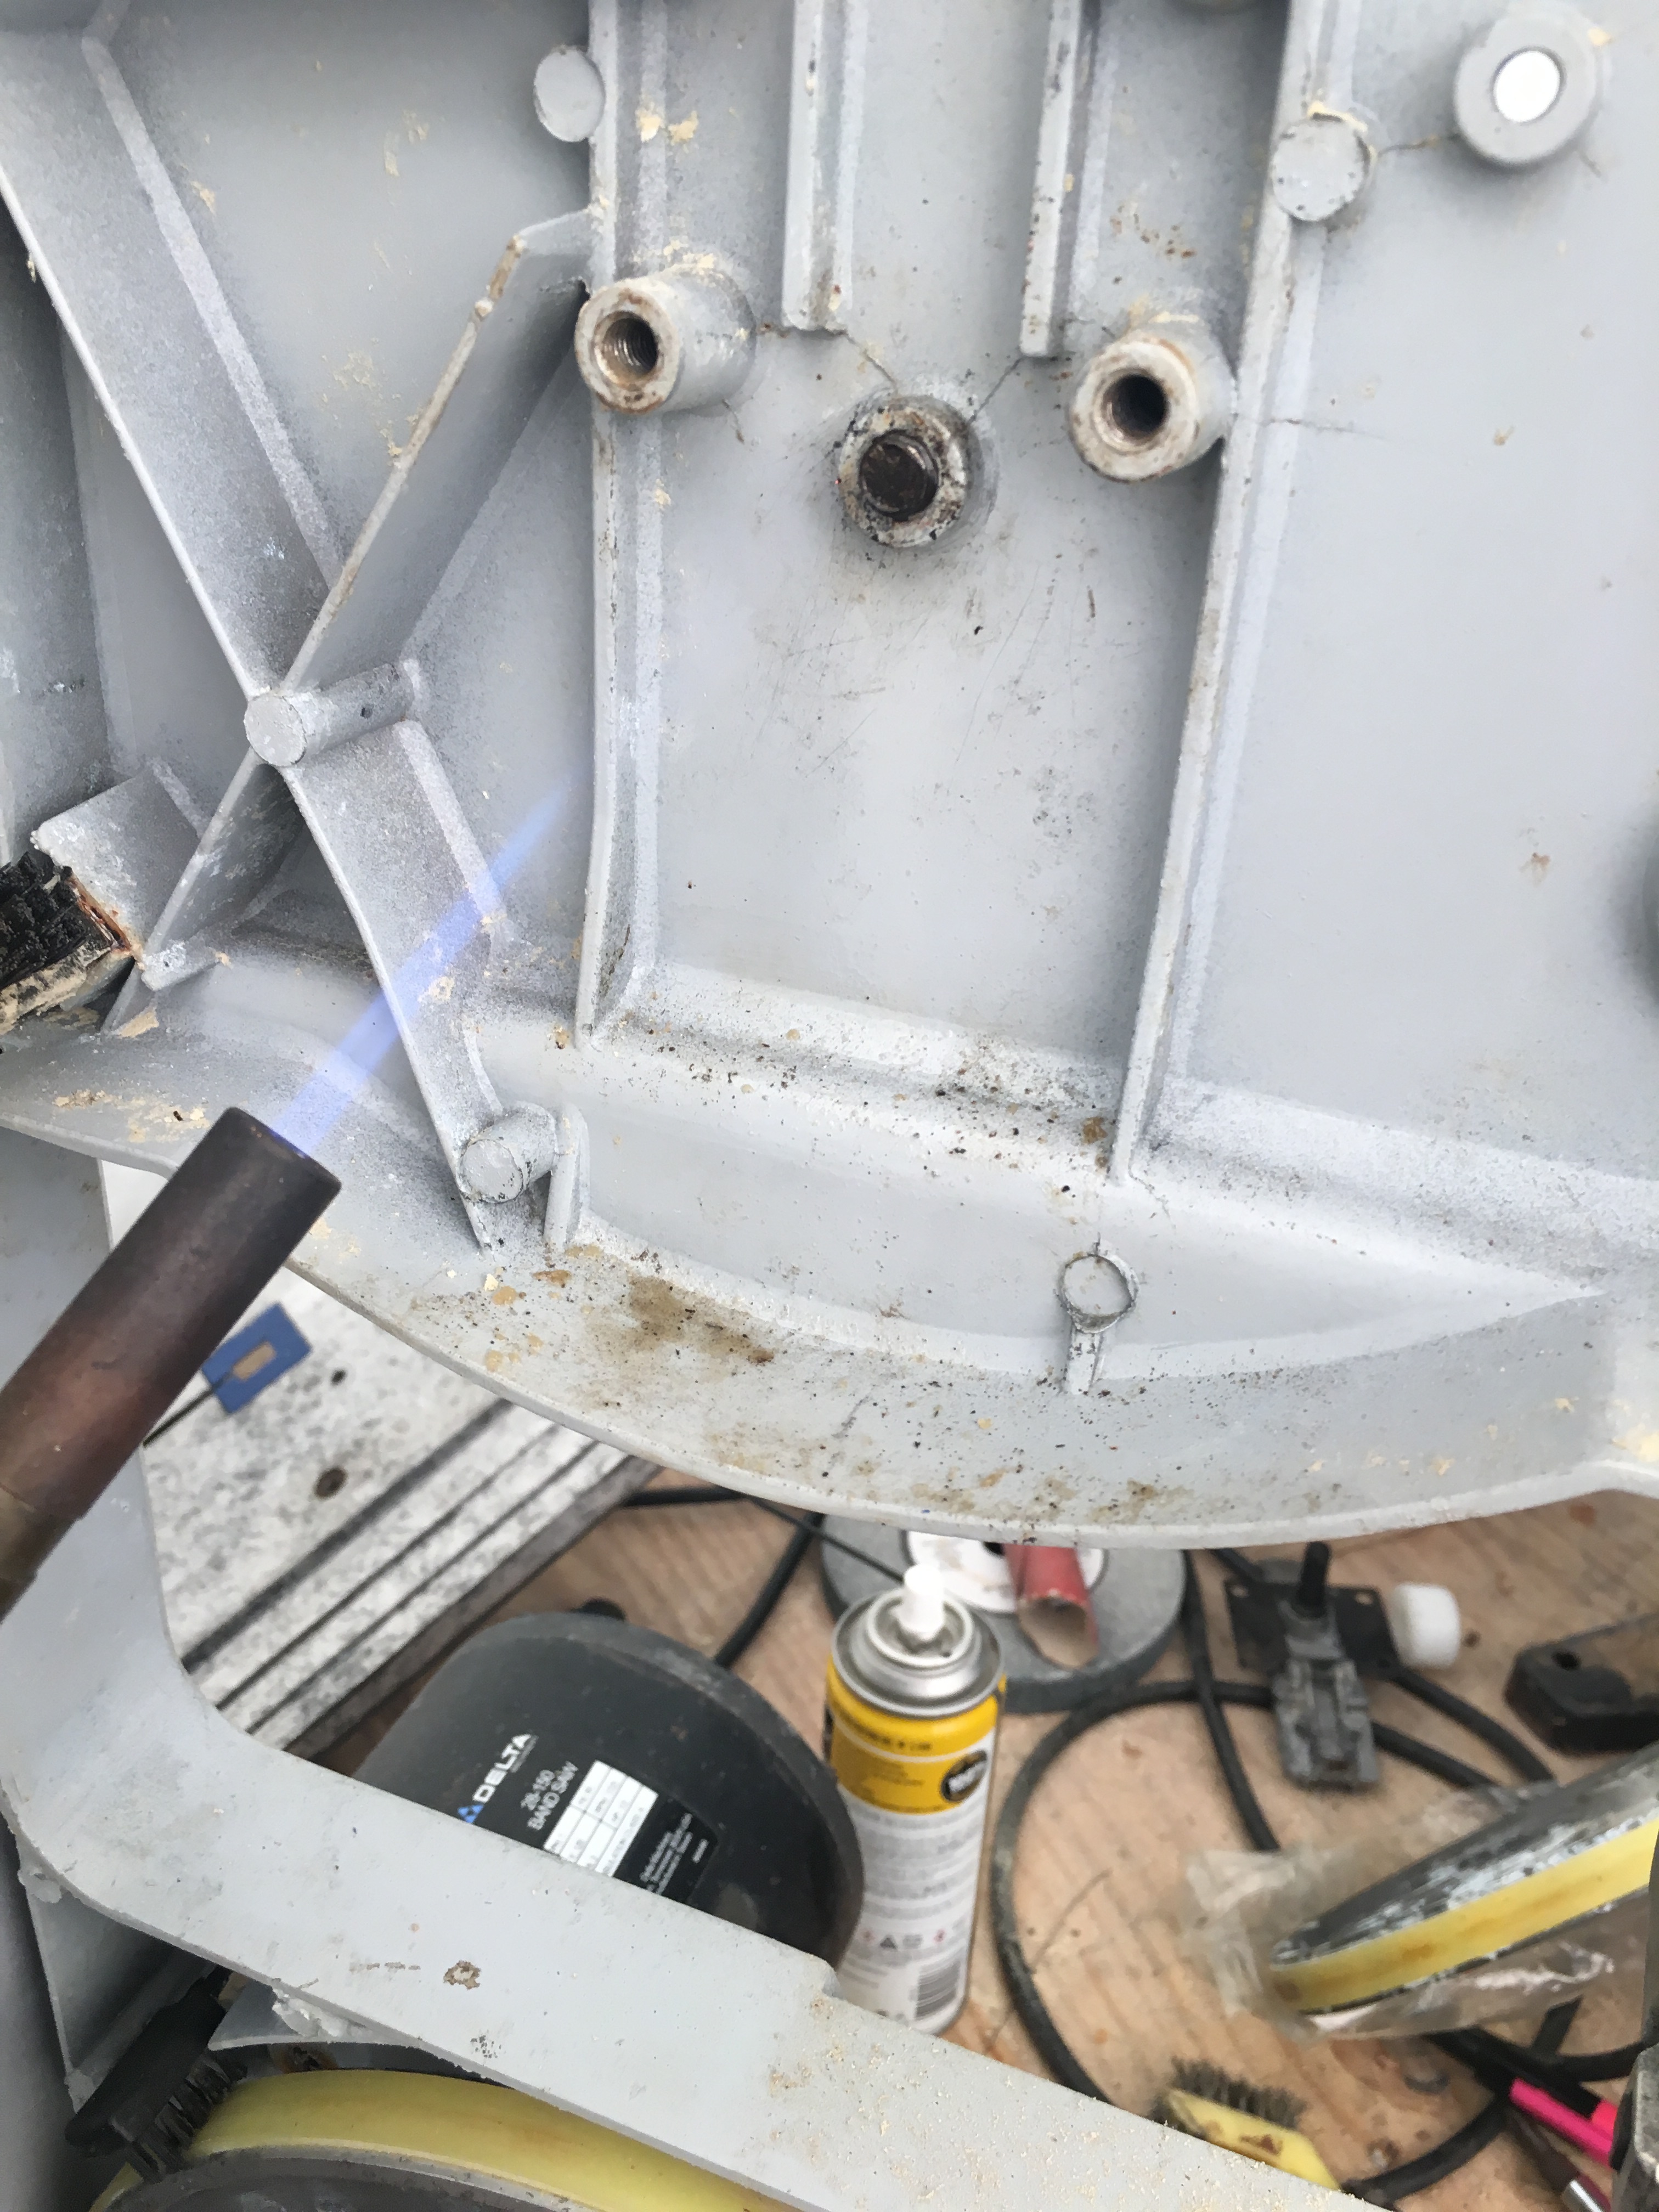
Currently tearing it down and cleaning up corroded parts. The lower wheel wasn’t turning freely so I removed it and oiled the bearing. Spinning smoothly now. Might have to replace the bearing at some point.
This is the back of that wheel. This thing definitely has gotten wet at some point. Not sure why the aluminum has gotten so corroded. Probable chemically induced by the associated steel rust, but it would require an added component to facilitate the reaction…hmmm.
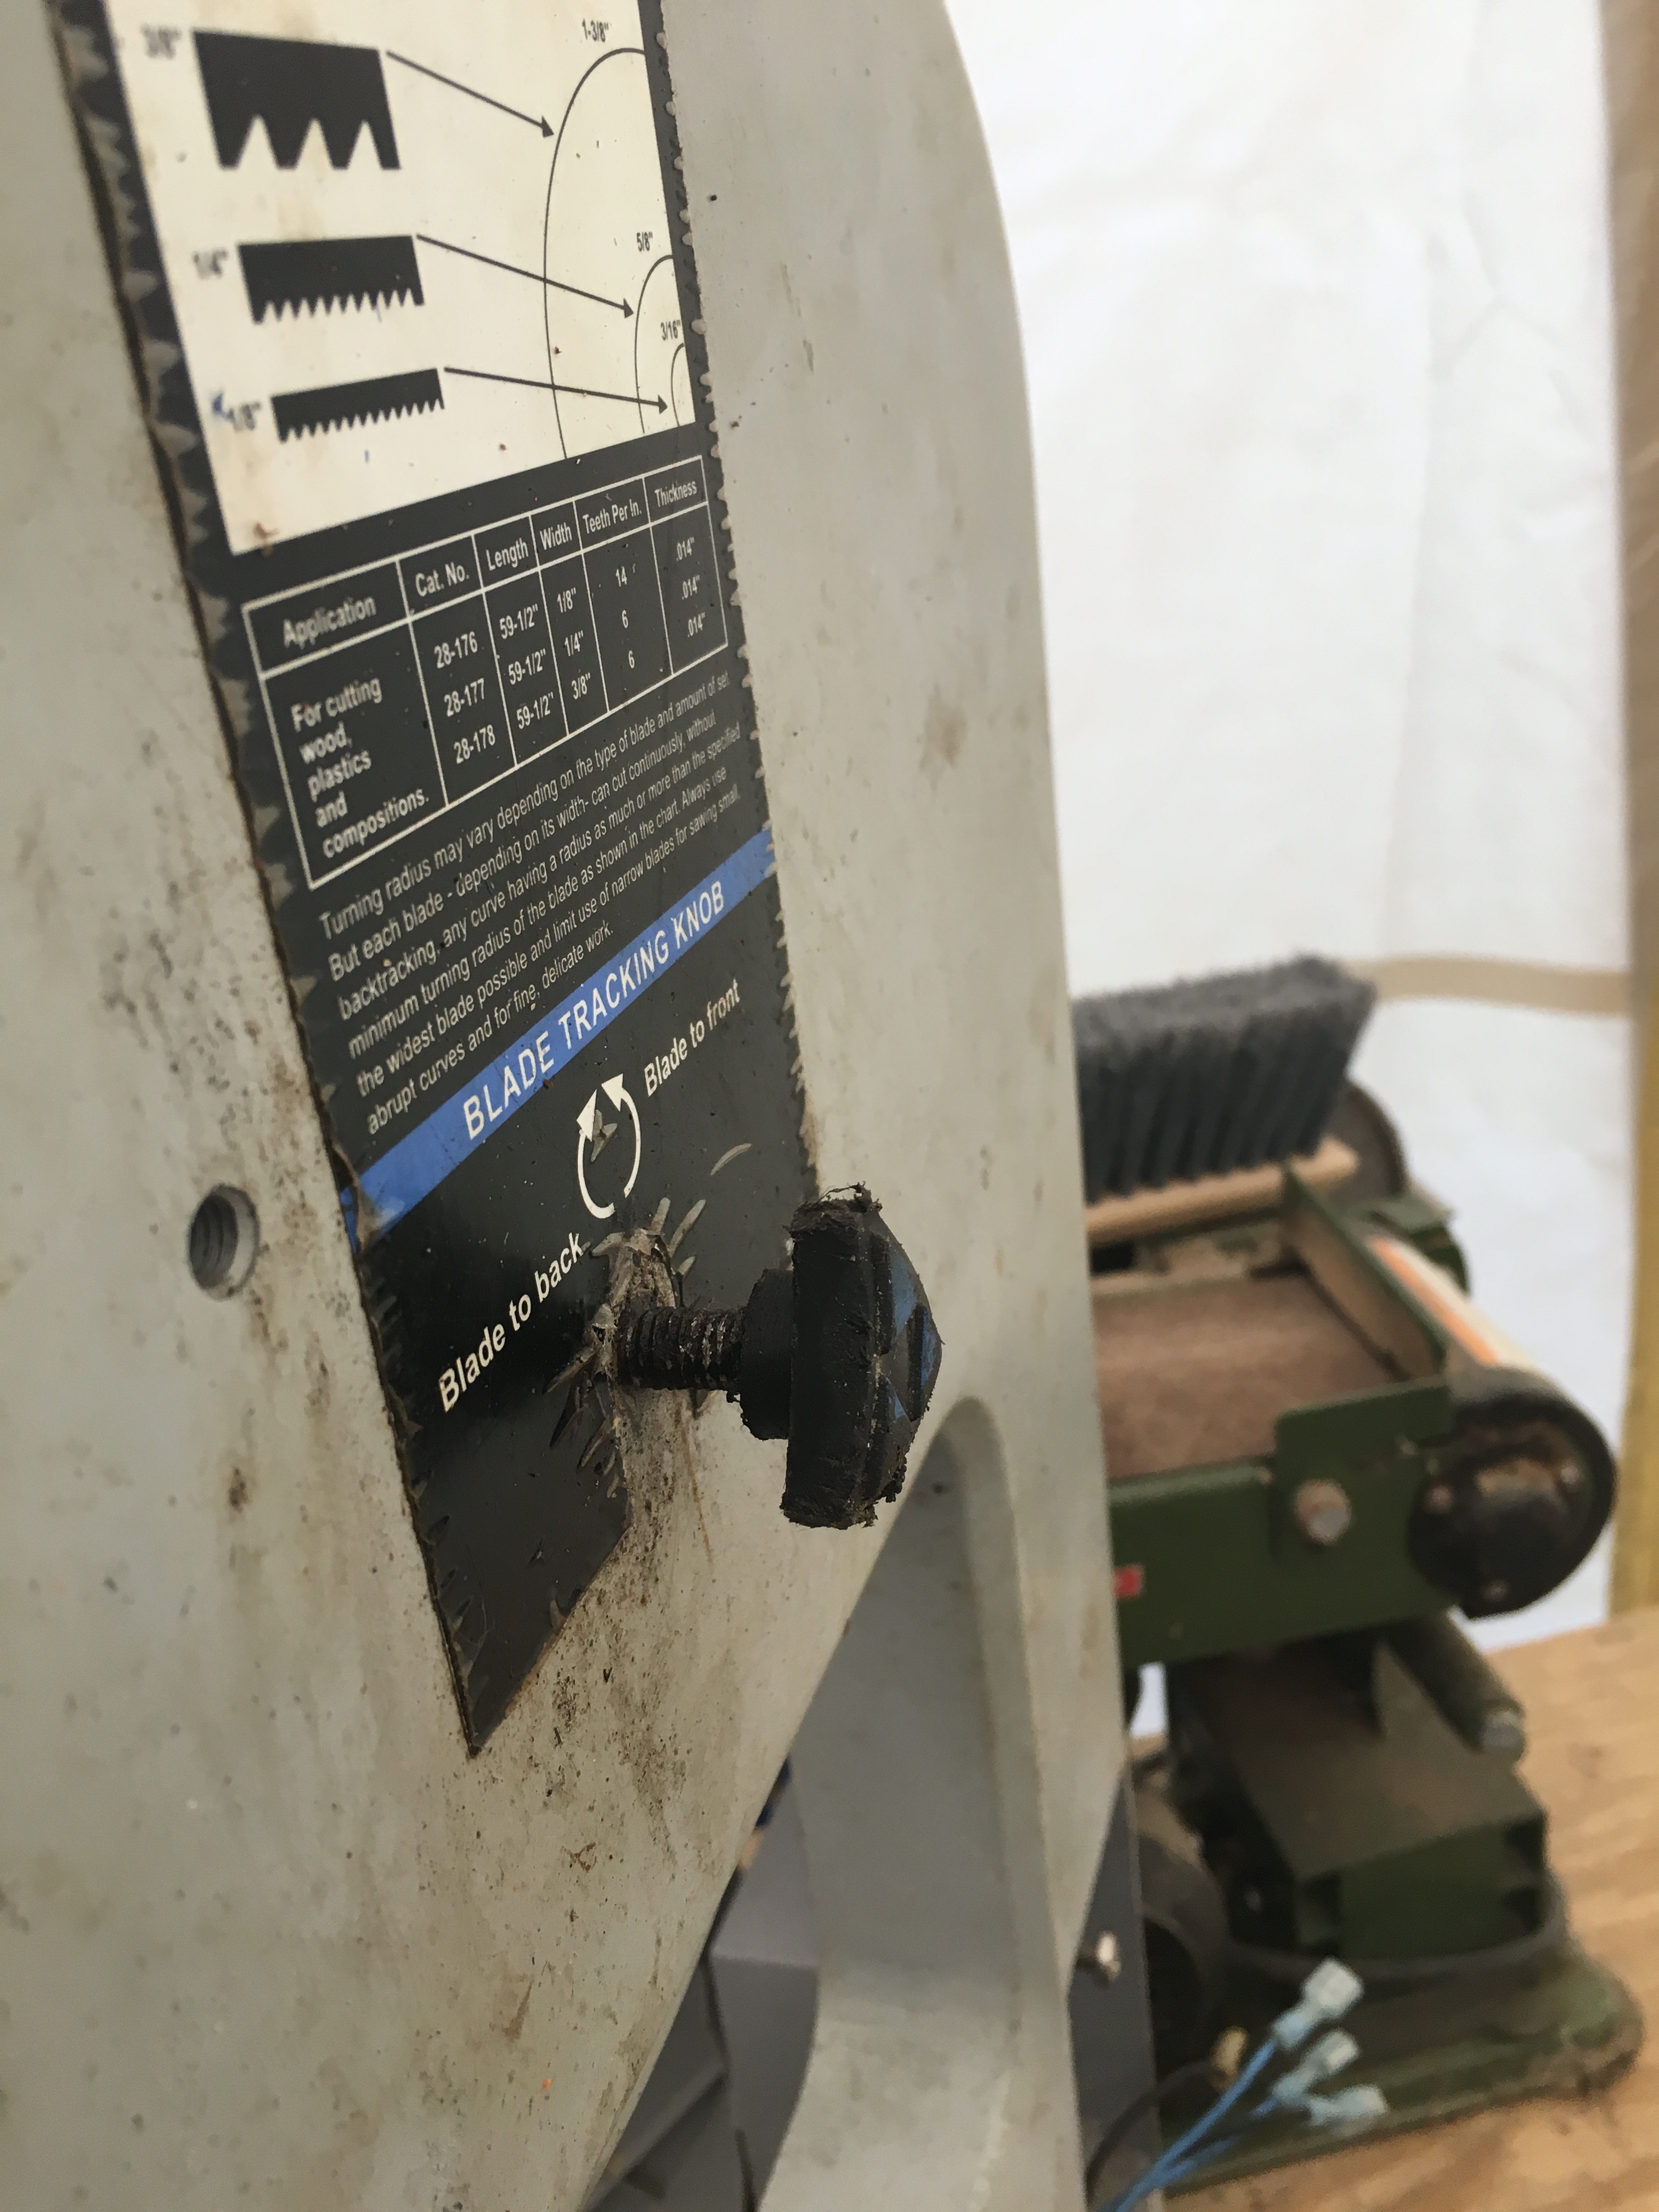
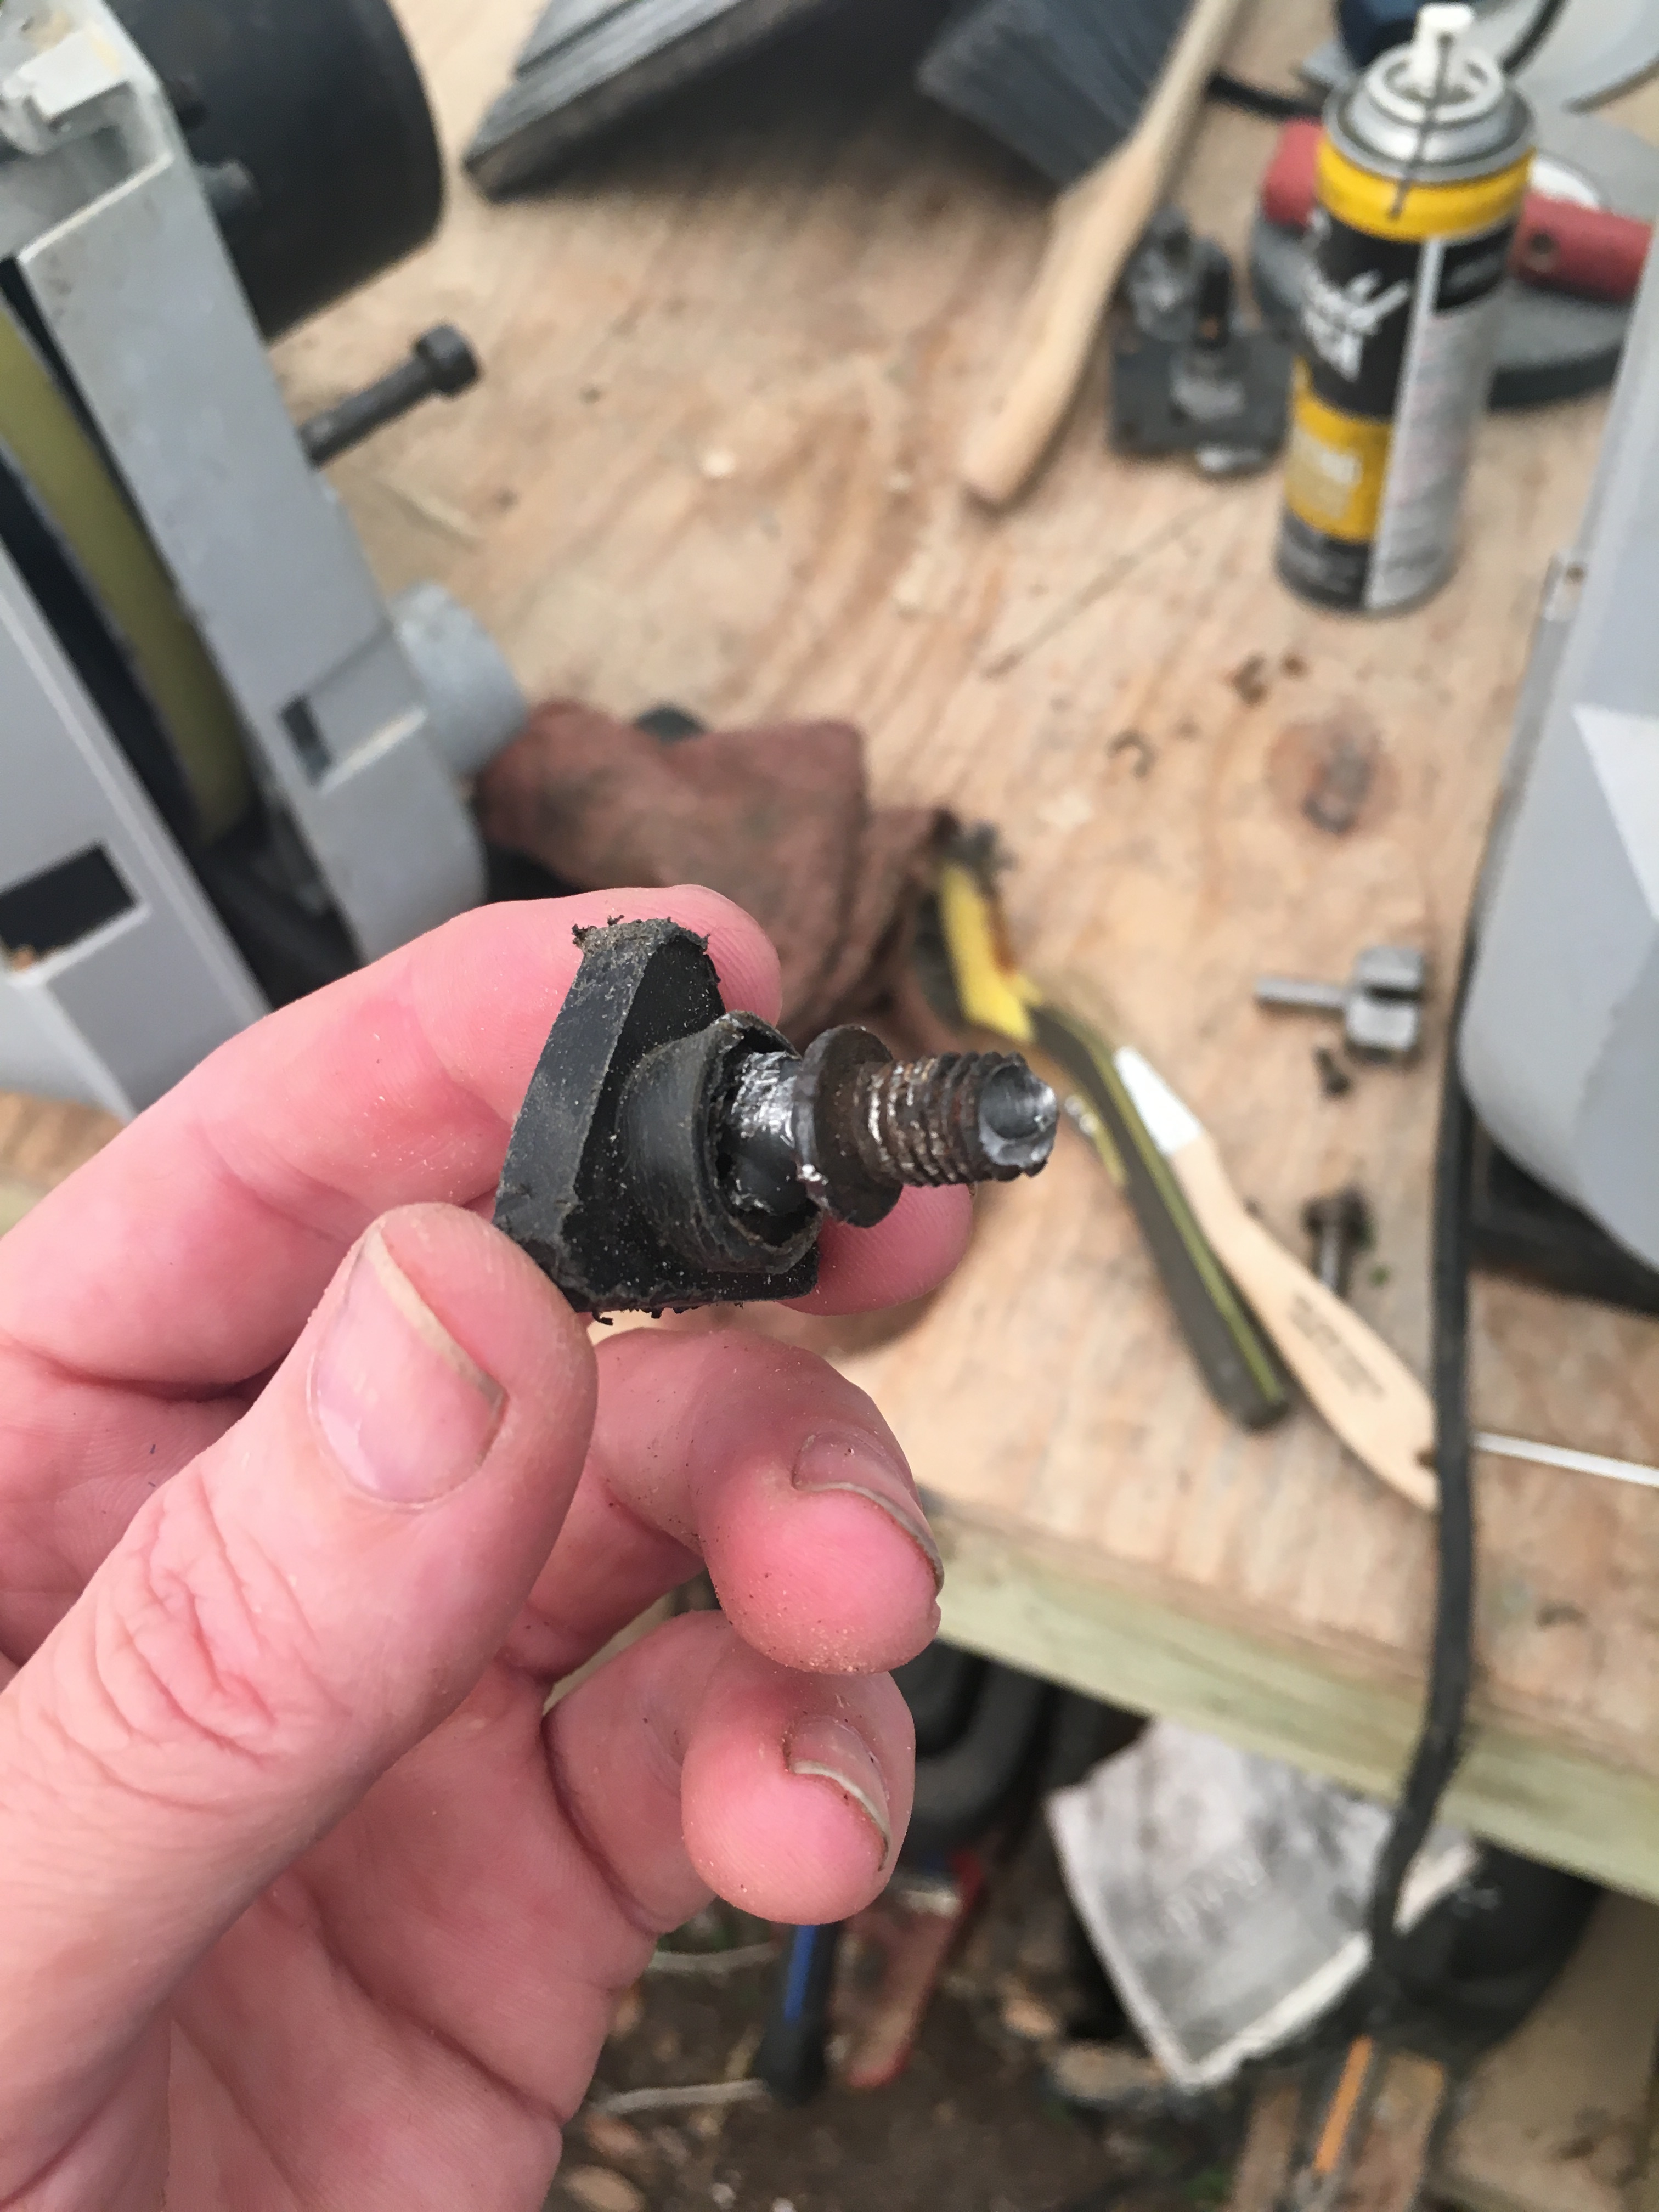
Hmmm Houston we have a problem. Trying to remove the blade tracking adjustment screw knob on the back and it’s corroded tight. Applied some penetrating oil and been tapping with a hammer but it’s not budging. Need to get to the other side of the screw. Going to require me to pull the wheel and bearing from the shaft. Now have to find my gear puller.
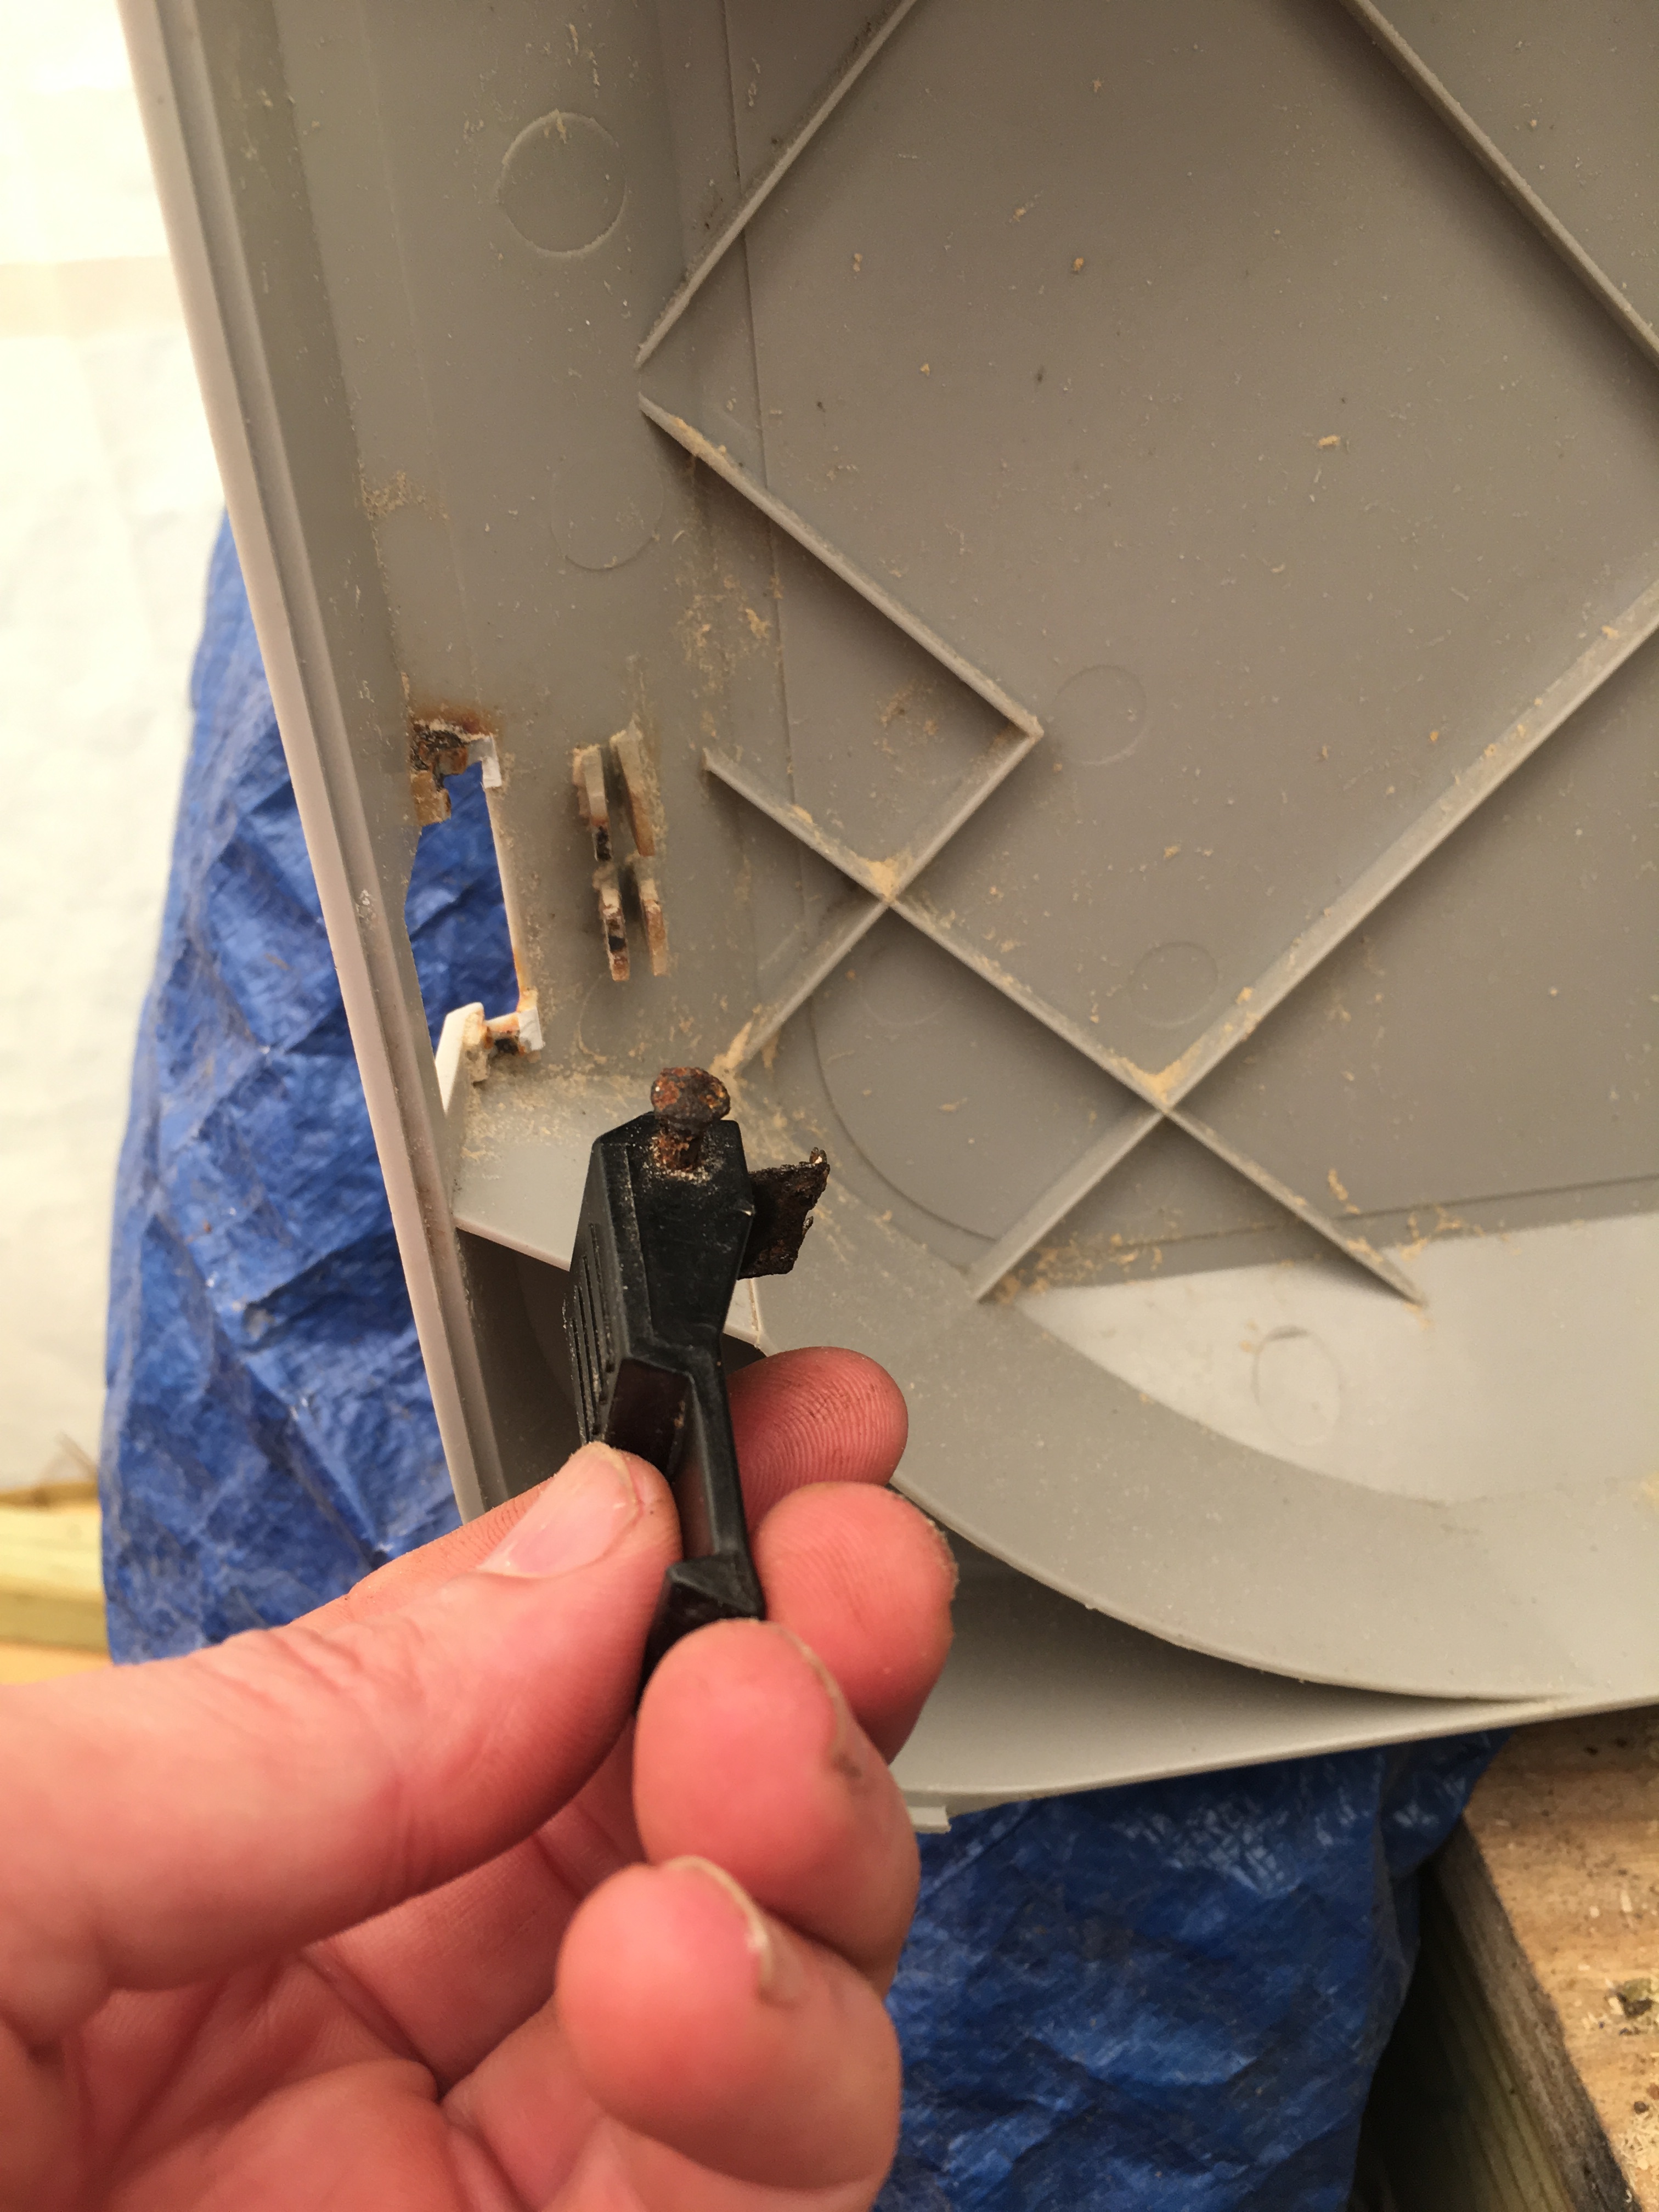
Well that didn’t work. Guess I’m going to have to drill it out from the end. Hopefully as I drill to bigger diameters the threads will loosen up at some point so I can save the threads.
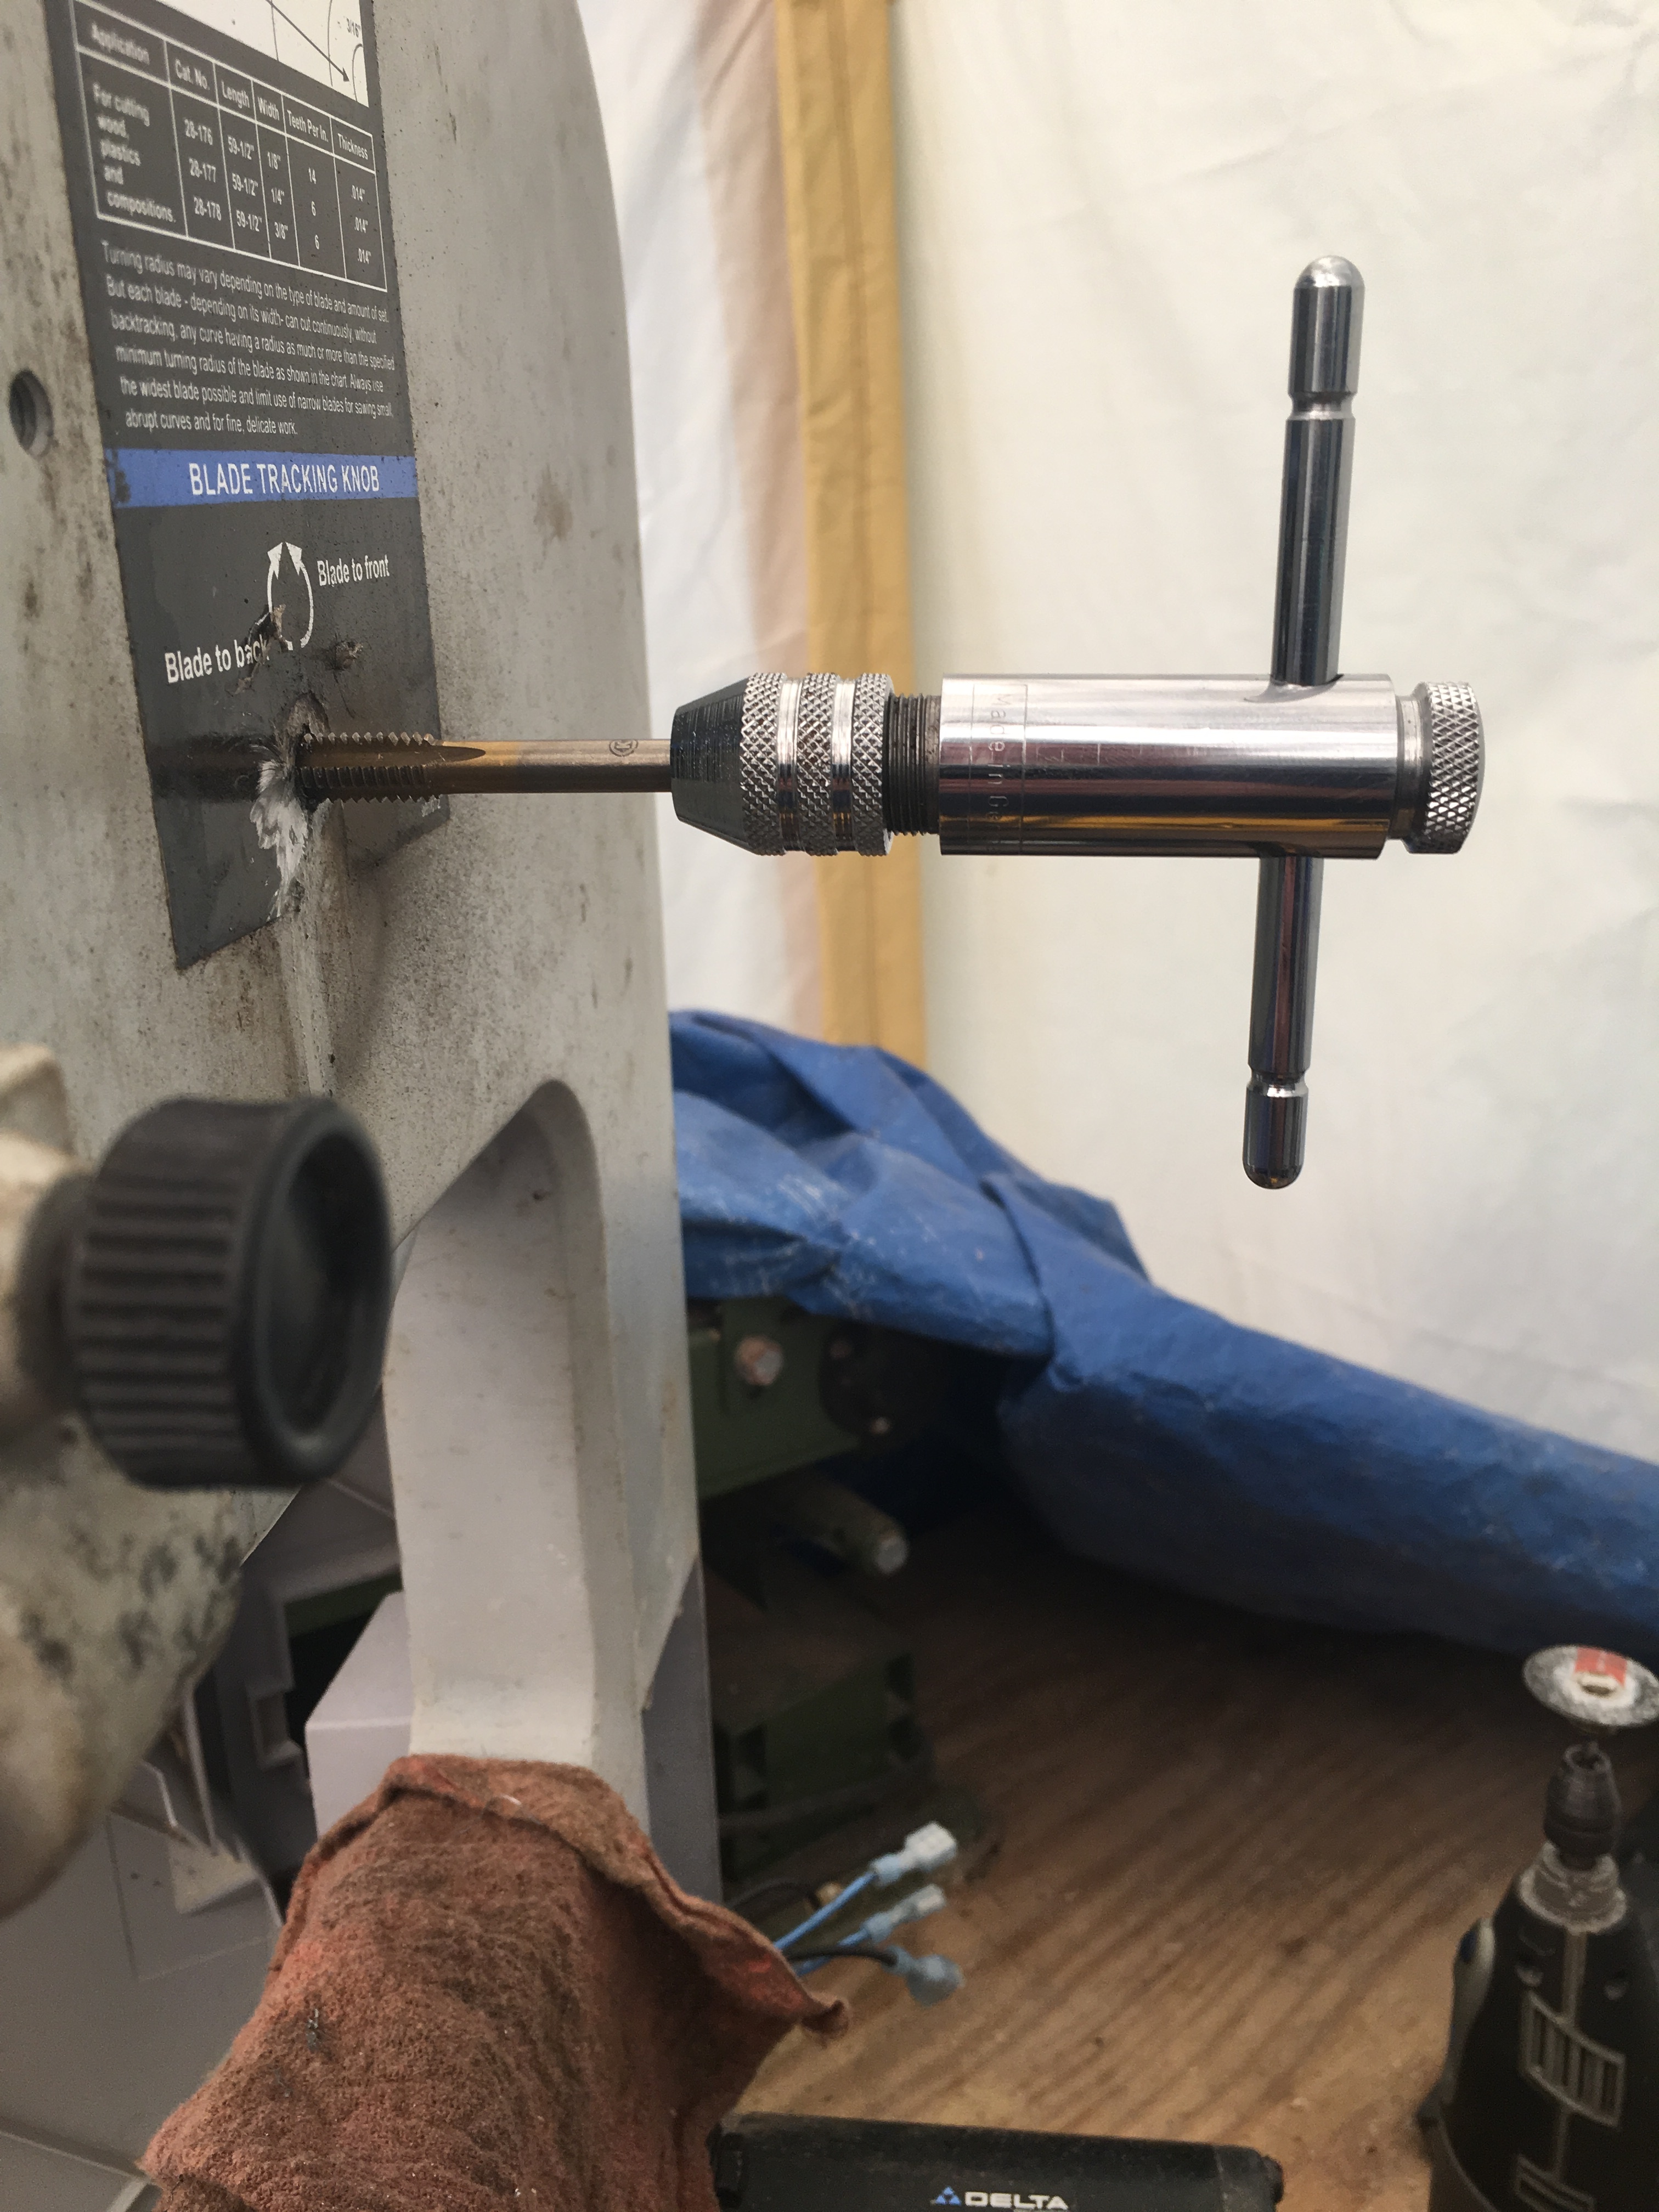
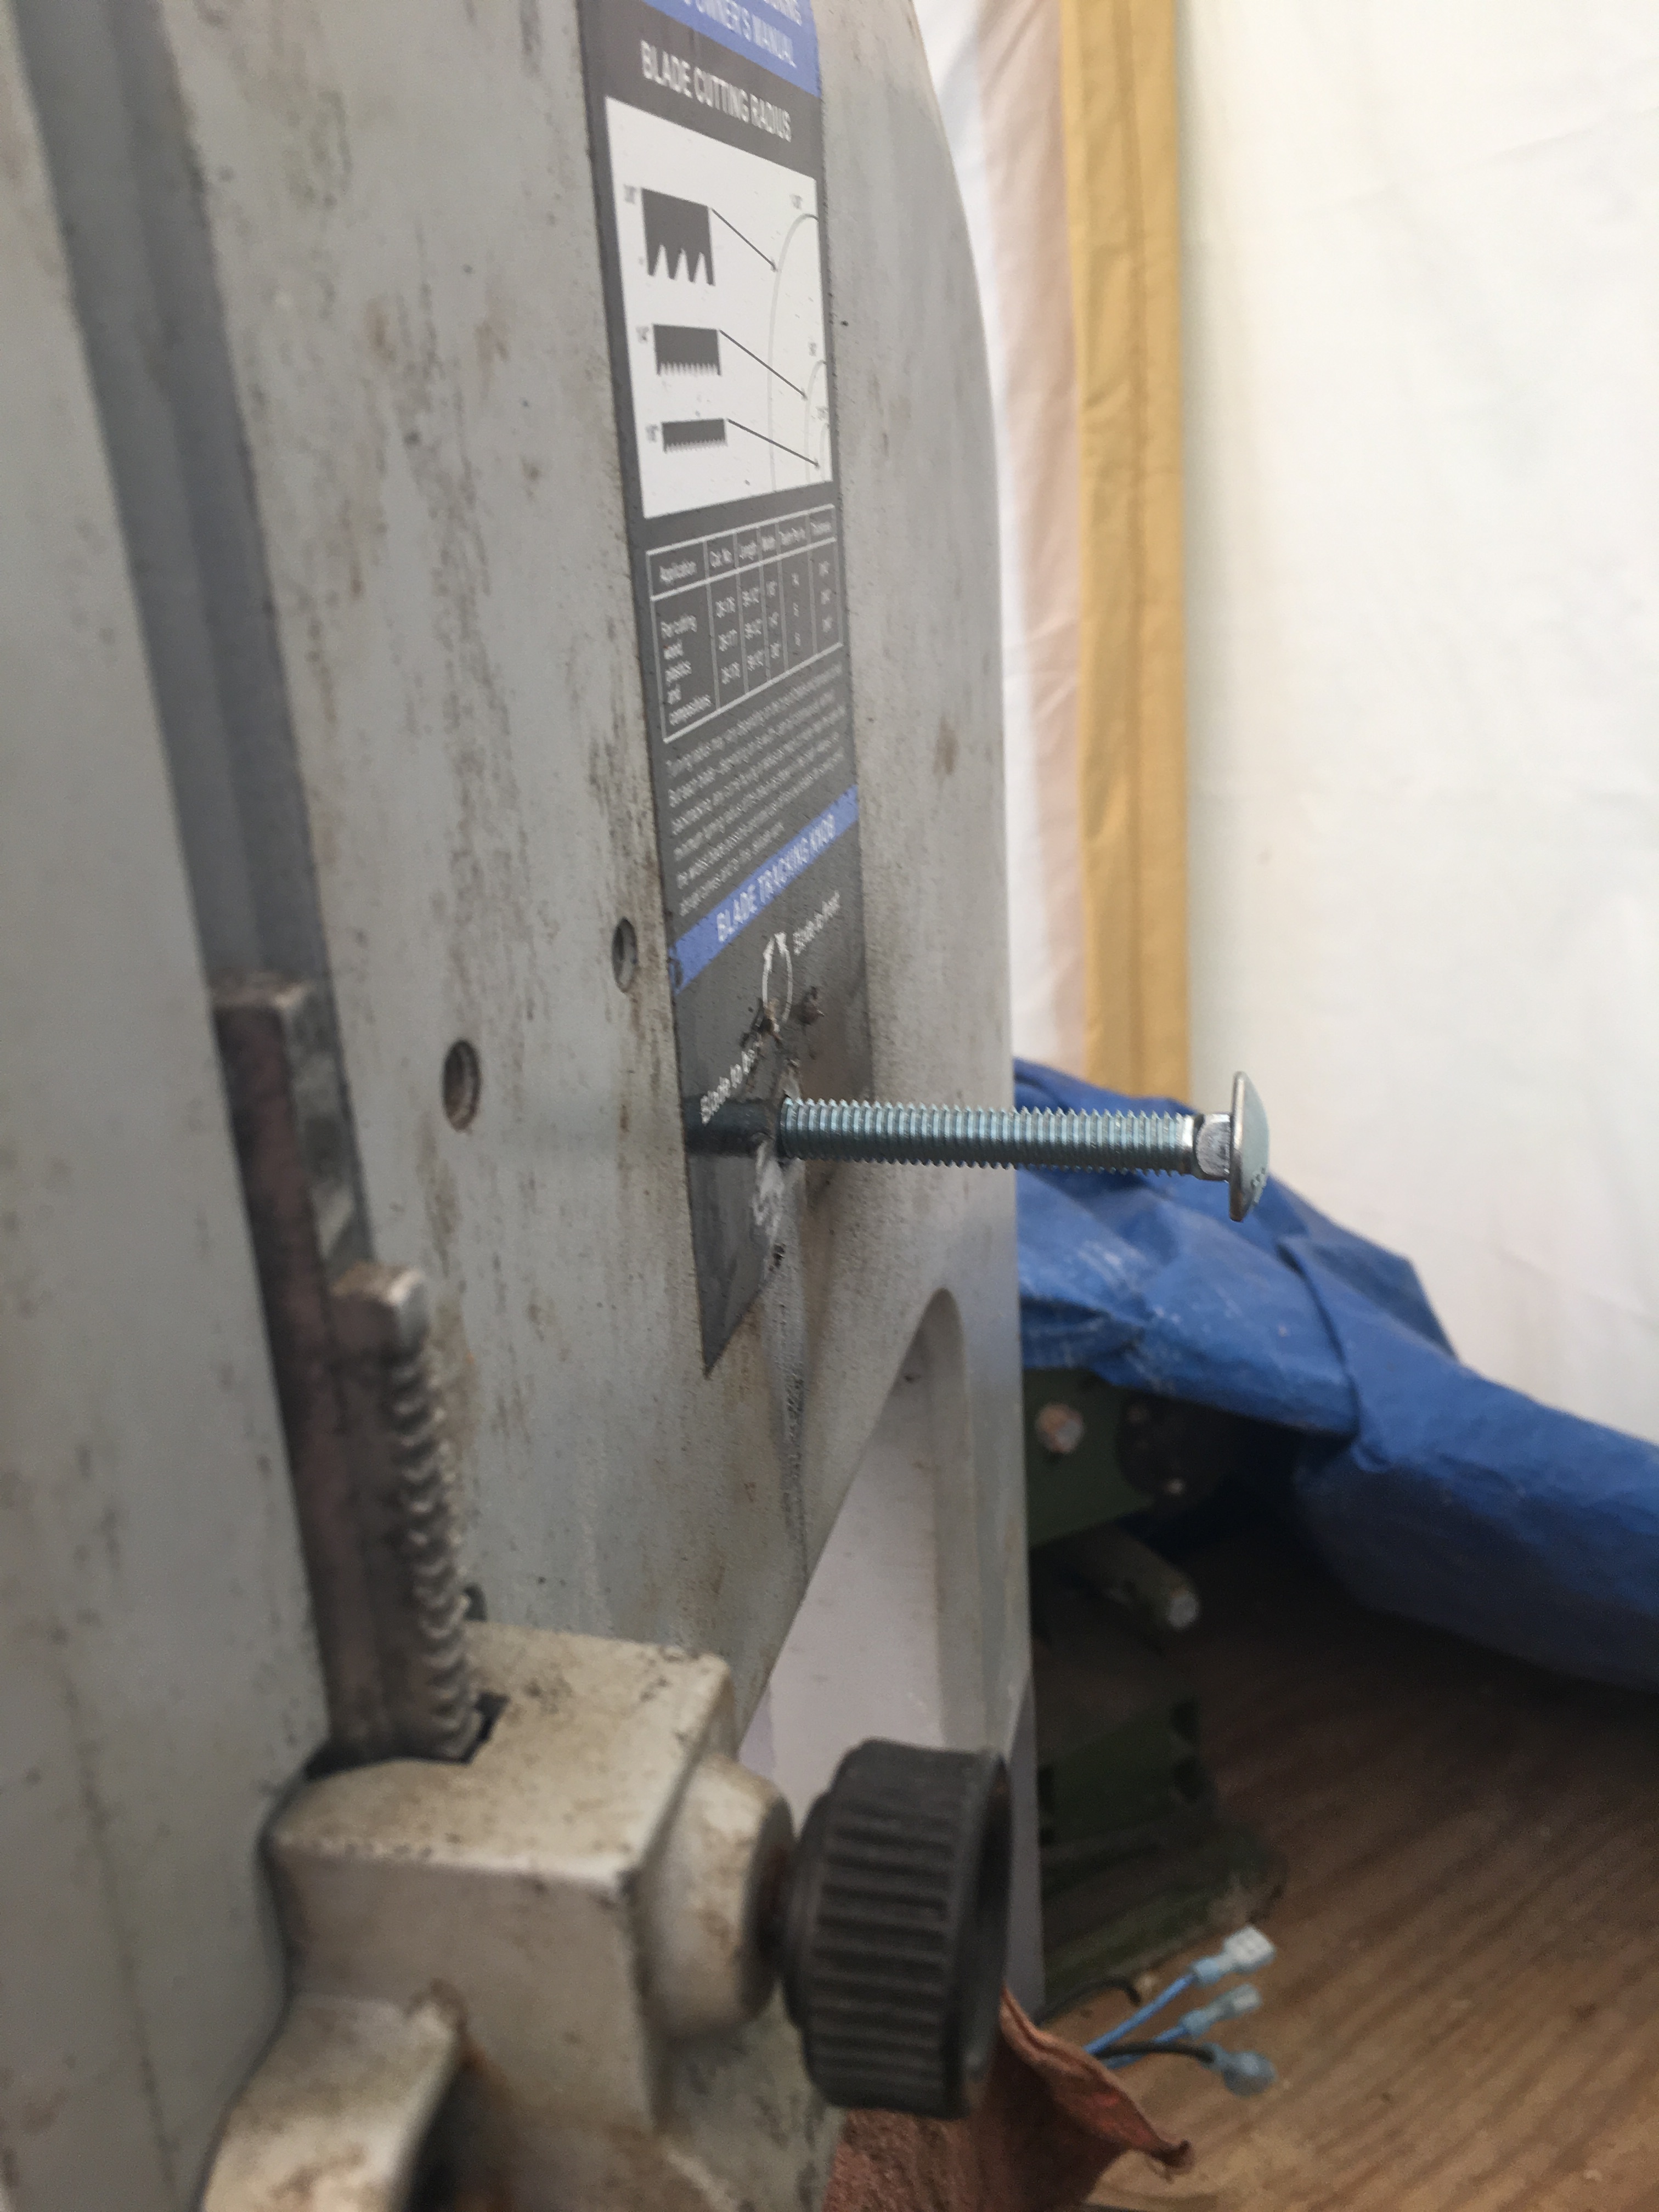
Good news / bad news. Good news is that I got the bolt off. Bad news is that it was only the outer end, the threads never loosened up. Going to completely drill it out and tap new threads.
Successful retapping. Even Had a correct size bolt on hand. Will have to make a knob end and get a new compression spring to tension the bolt, the old spring was too corroded. That’s it for the day. May tried to pick back up tomorrow afternoon.
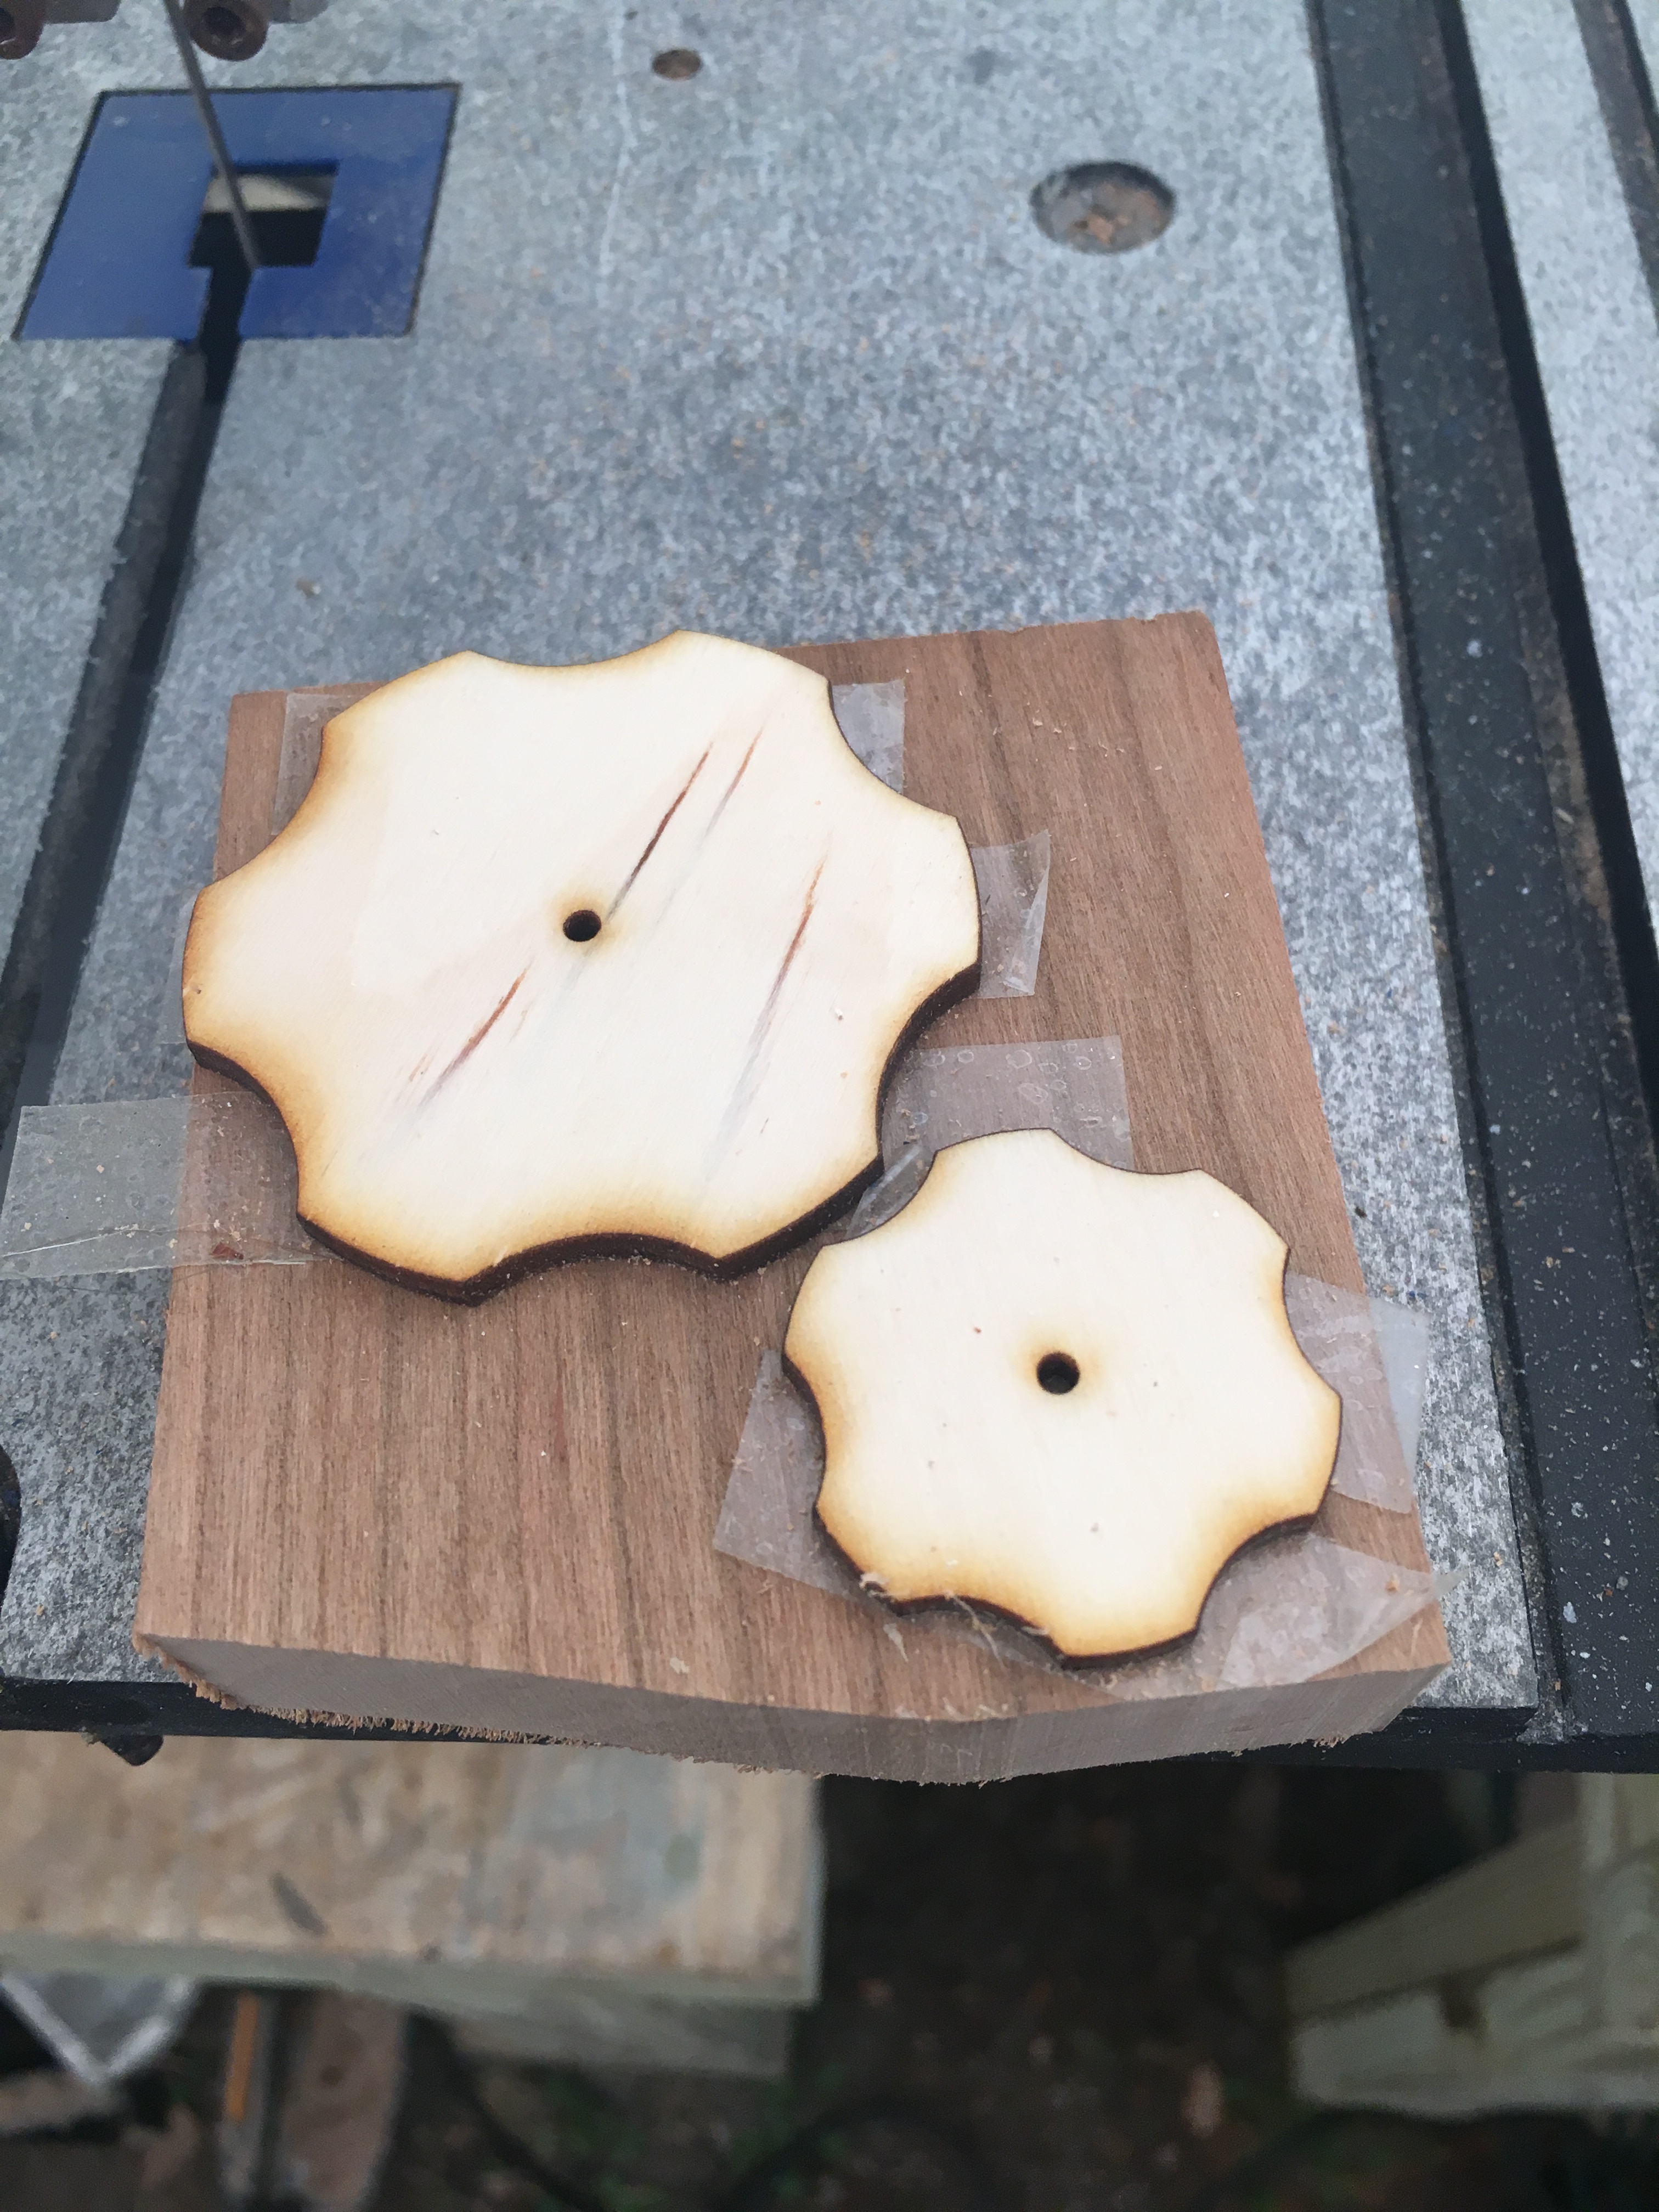
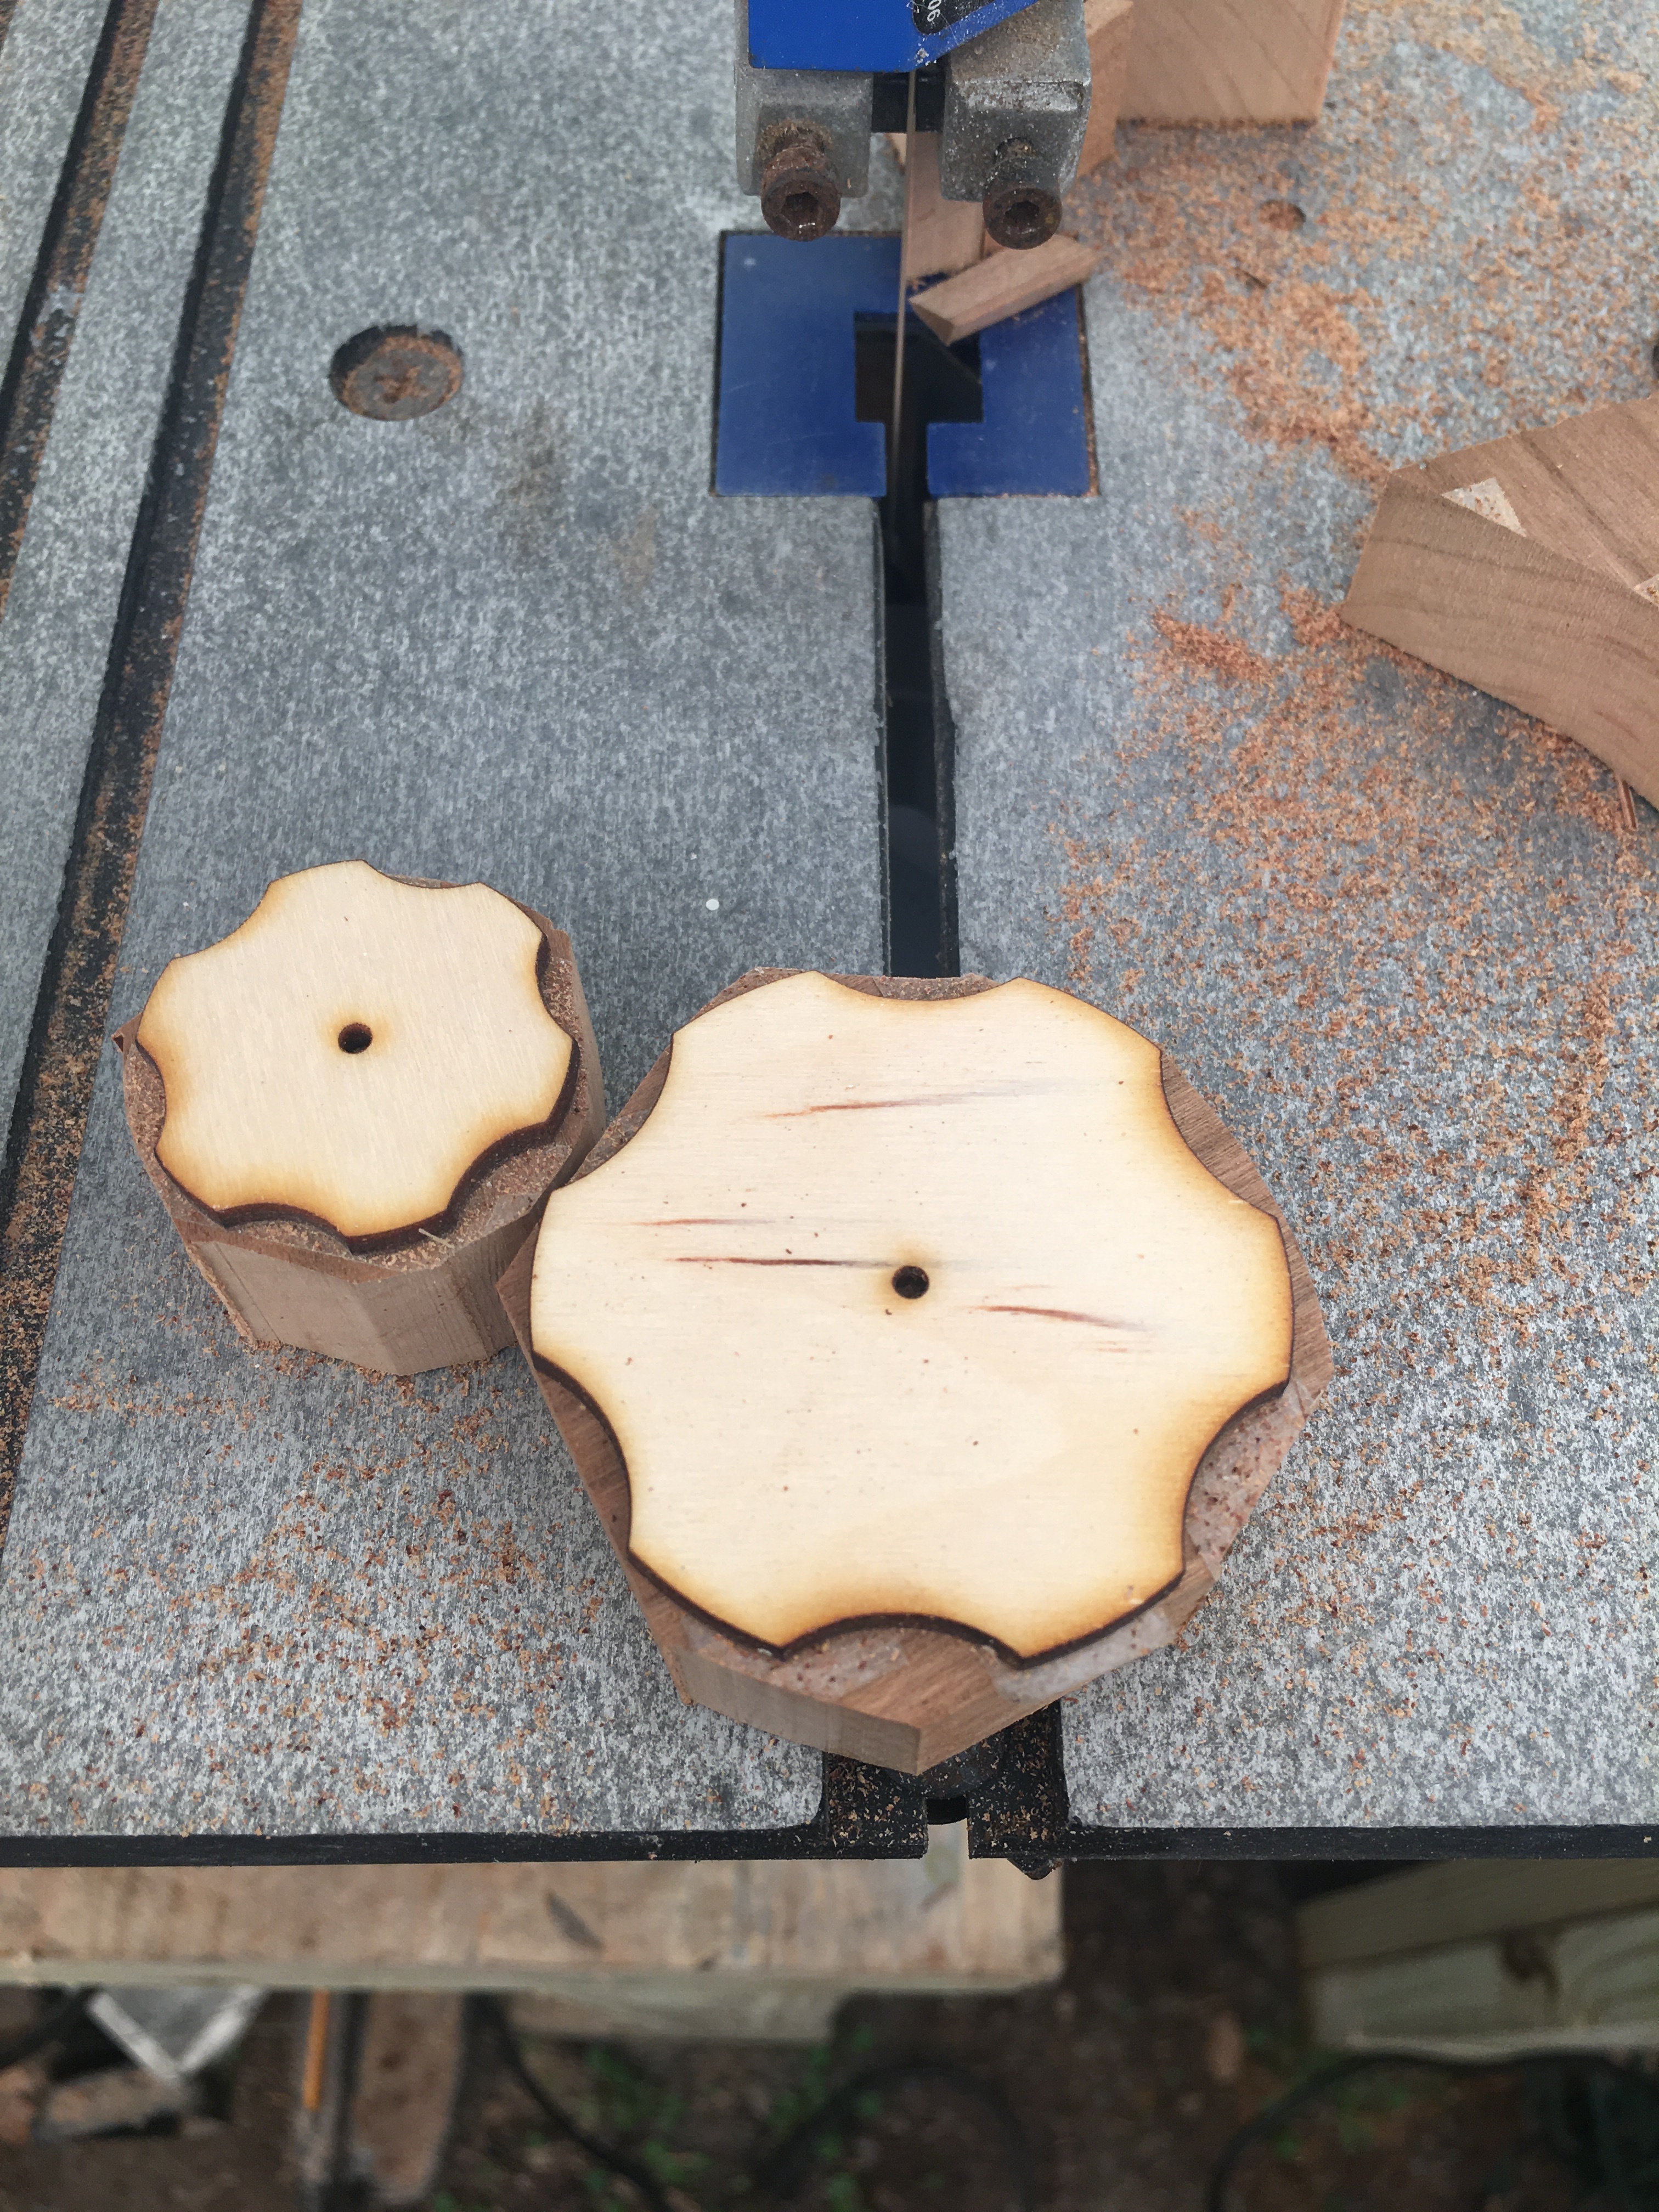
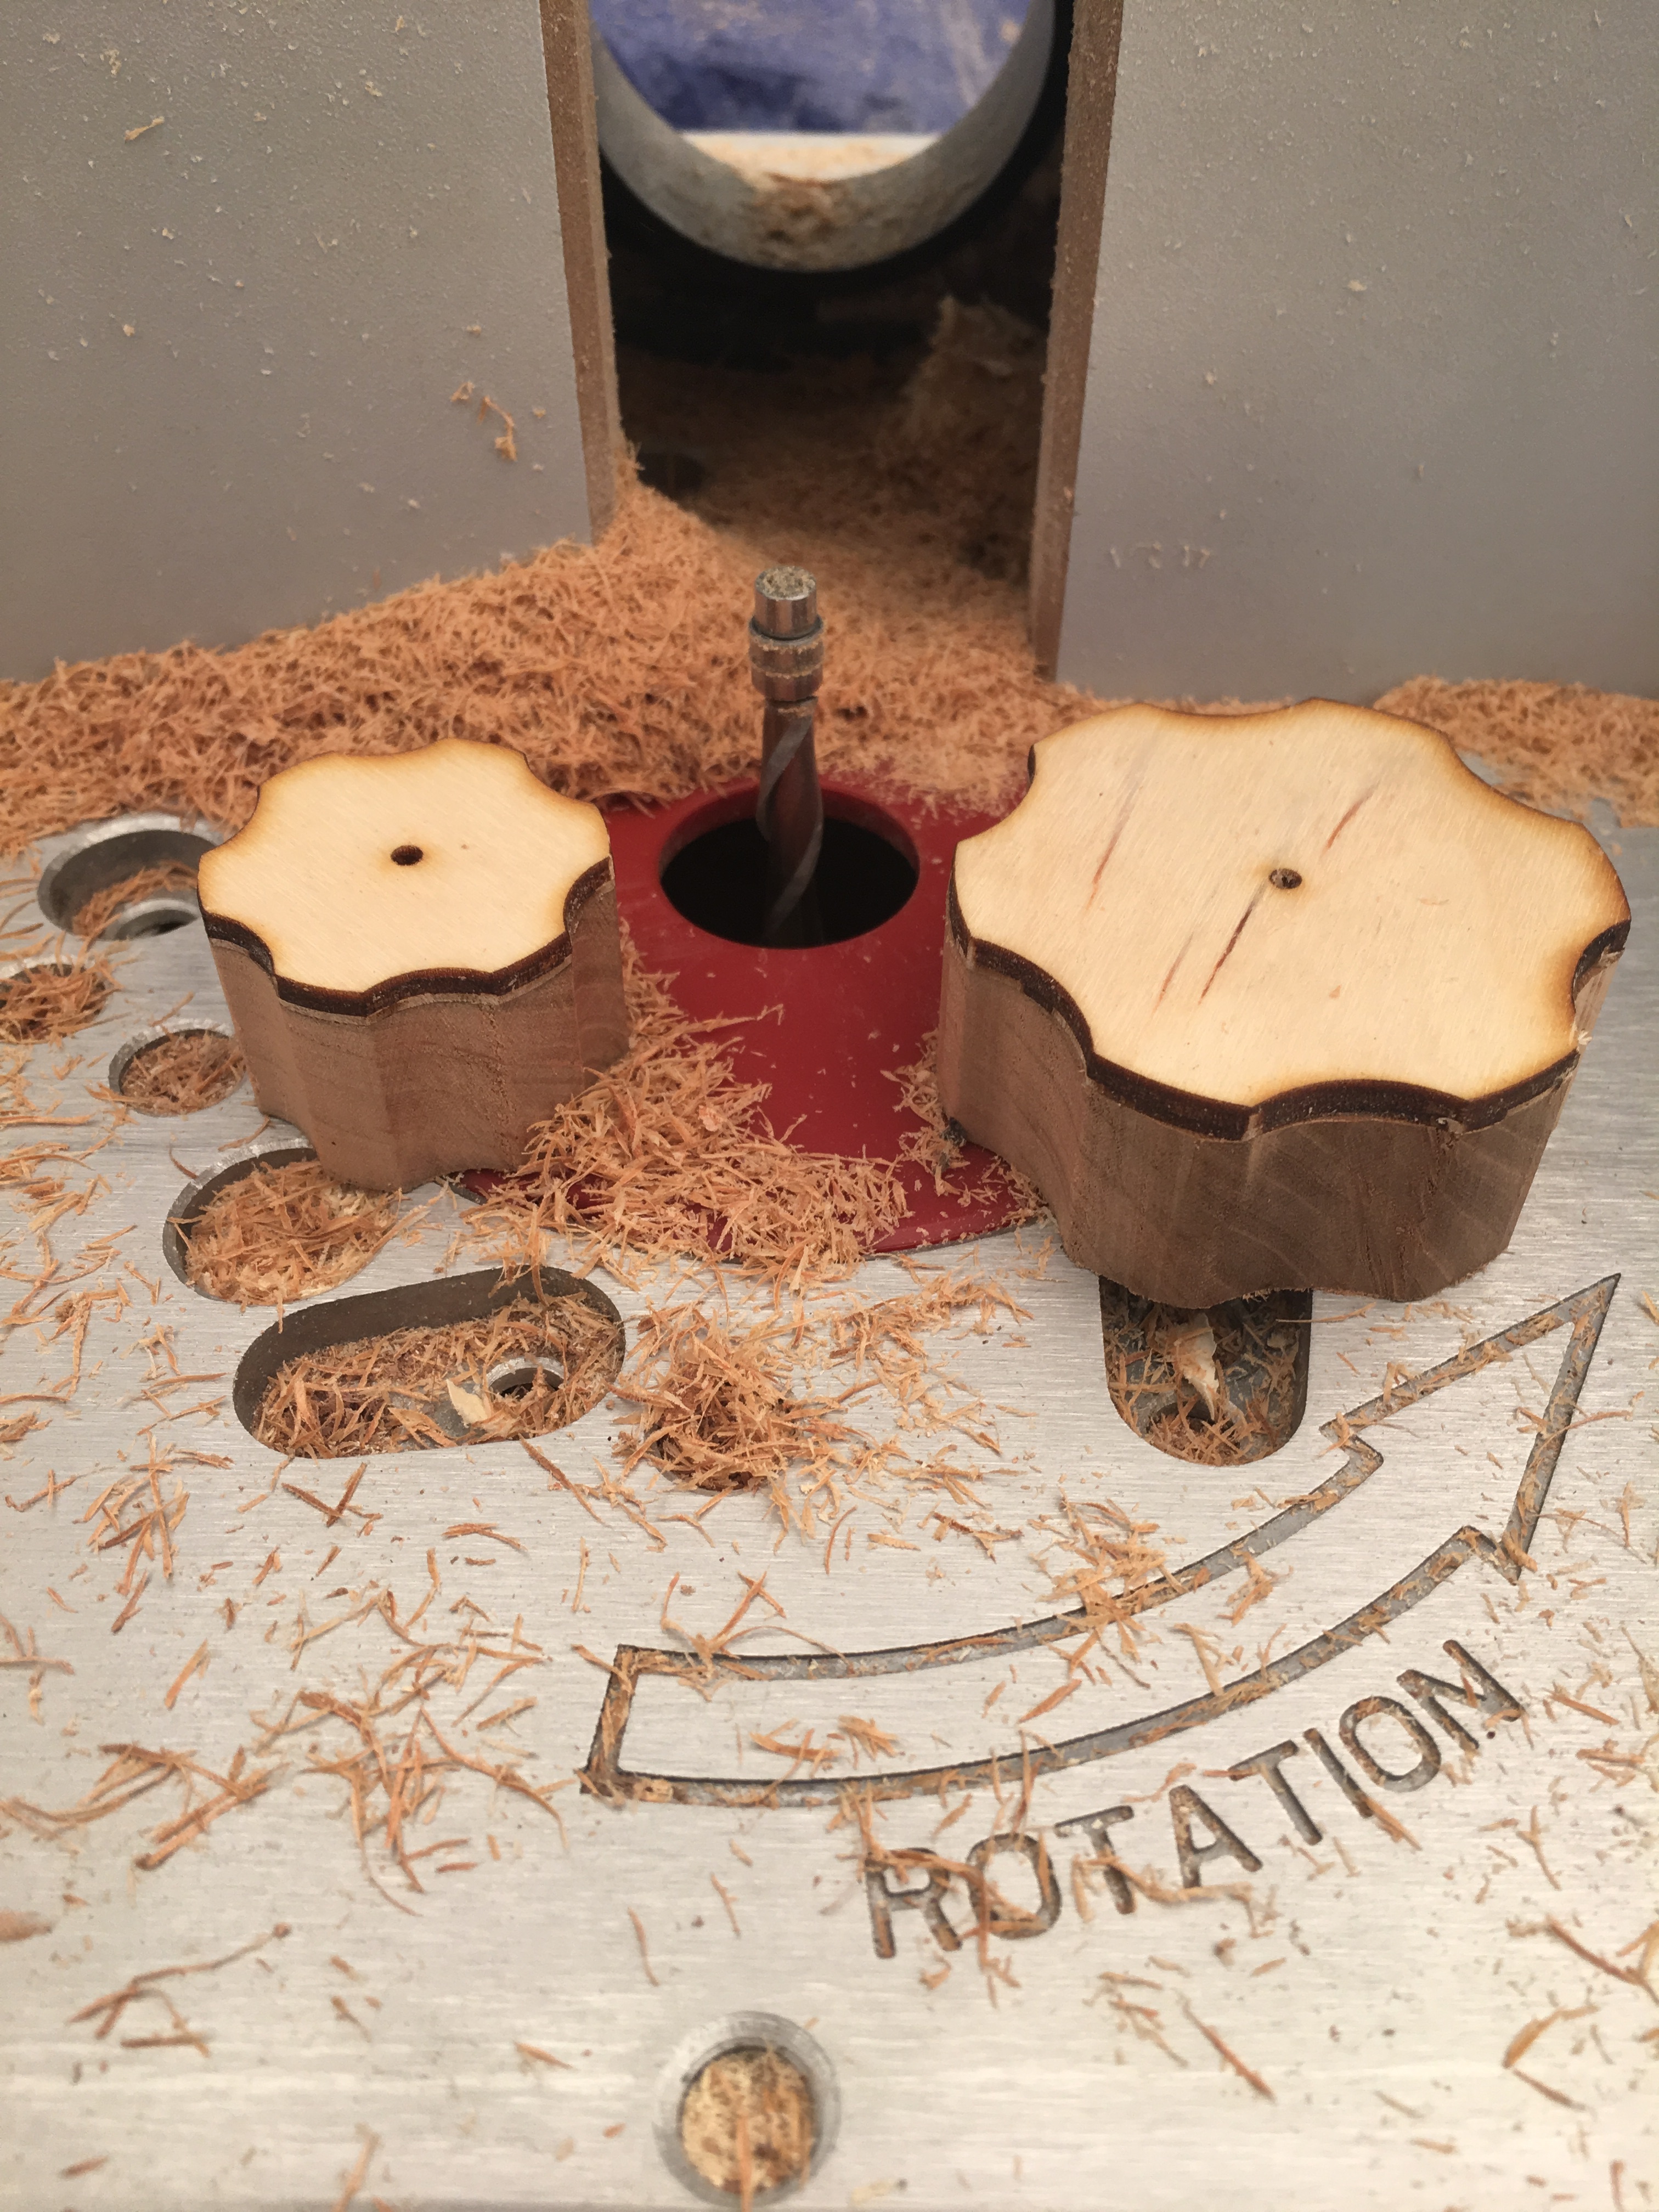
Making replacement knobs. One for the blade tracking and another for the table tilt. Designed and laser cut the knob patterns from 1/8" ply. Used double sided tape to attach the patterns to a scrap piece of 3/4" cherry. Used my original bandsaw to cut the pieces out close to the pattern. Had previously bought a spiral upcut bit, with a flush bearing on the end, to do pattern cutting on my router table. First time using it and it worked pretty well. Definitely need to cut close to the pattern first, especially for thicker material, as it’s not going to remove tons of material quickly. Also had to set the speed of the router to the lowest setting to help keep control of these small pieces and work slow.
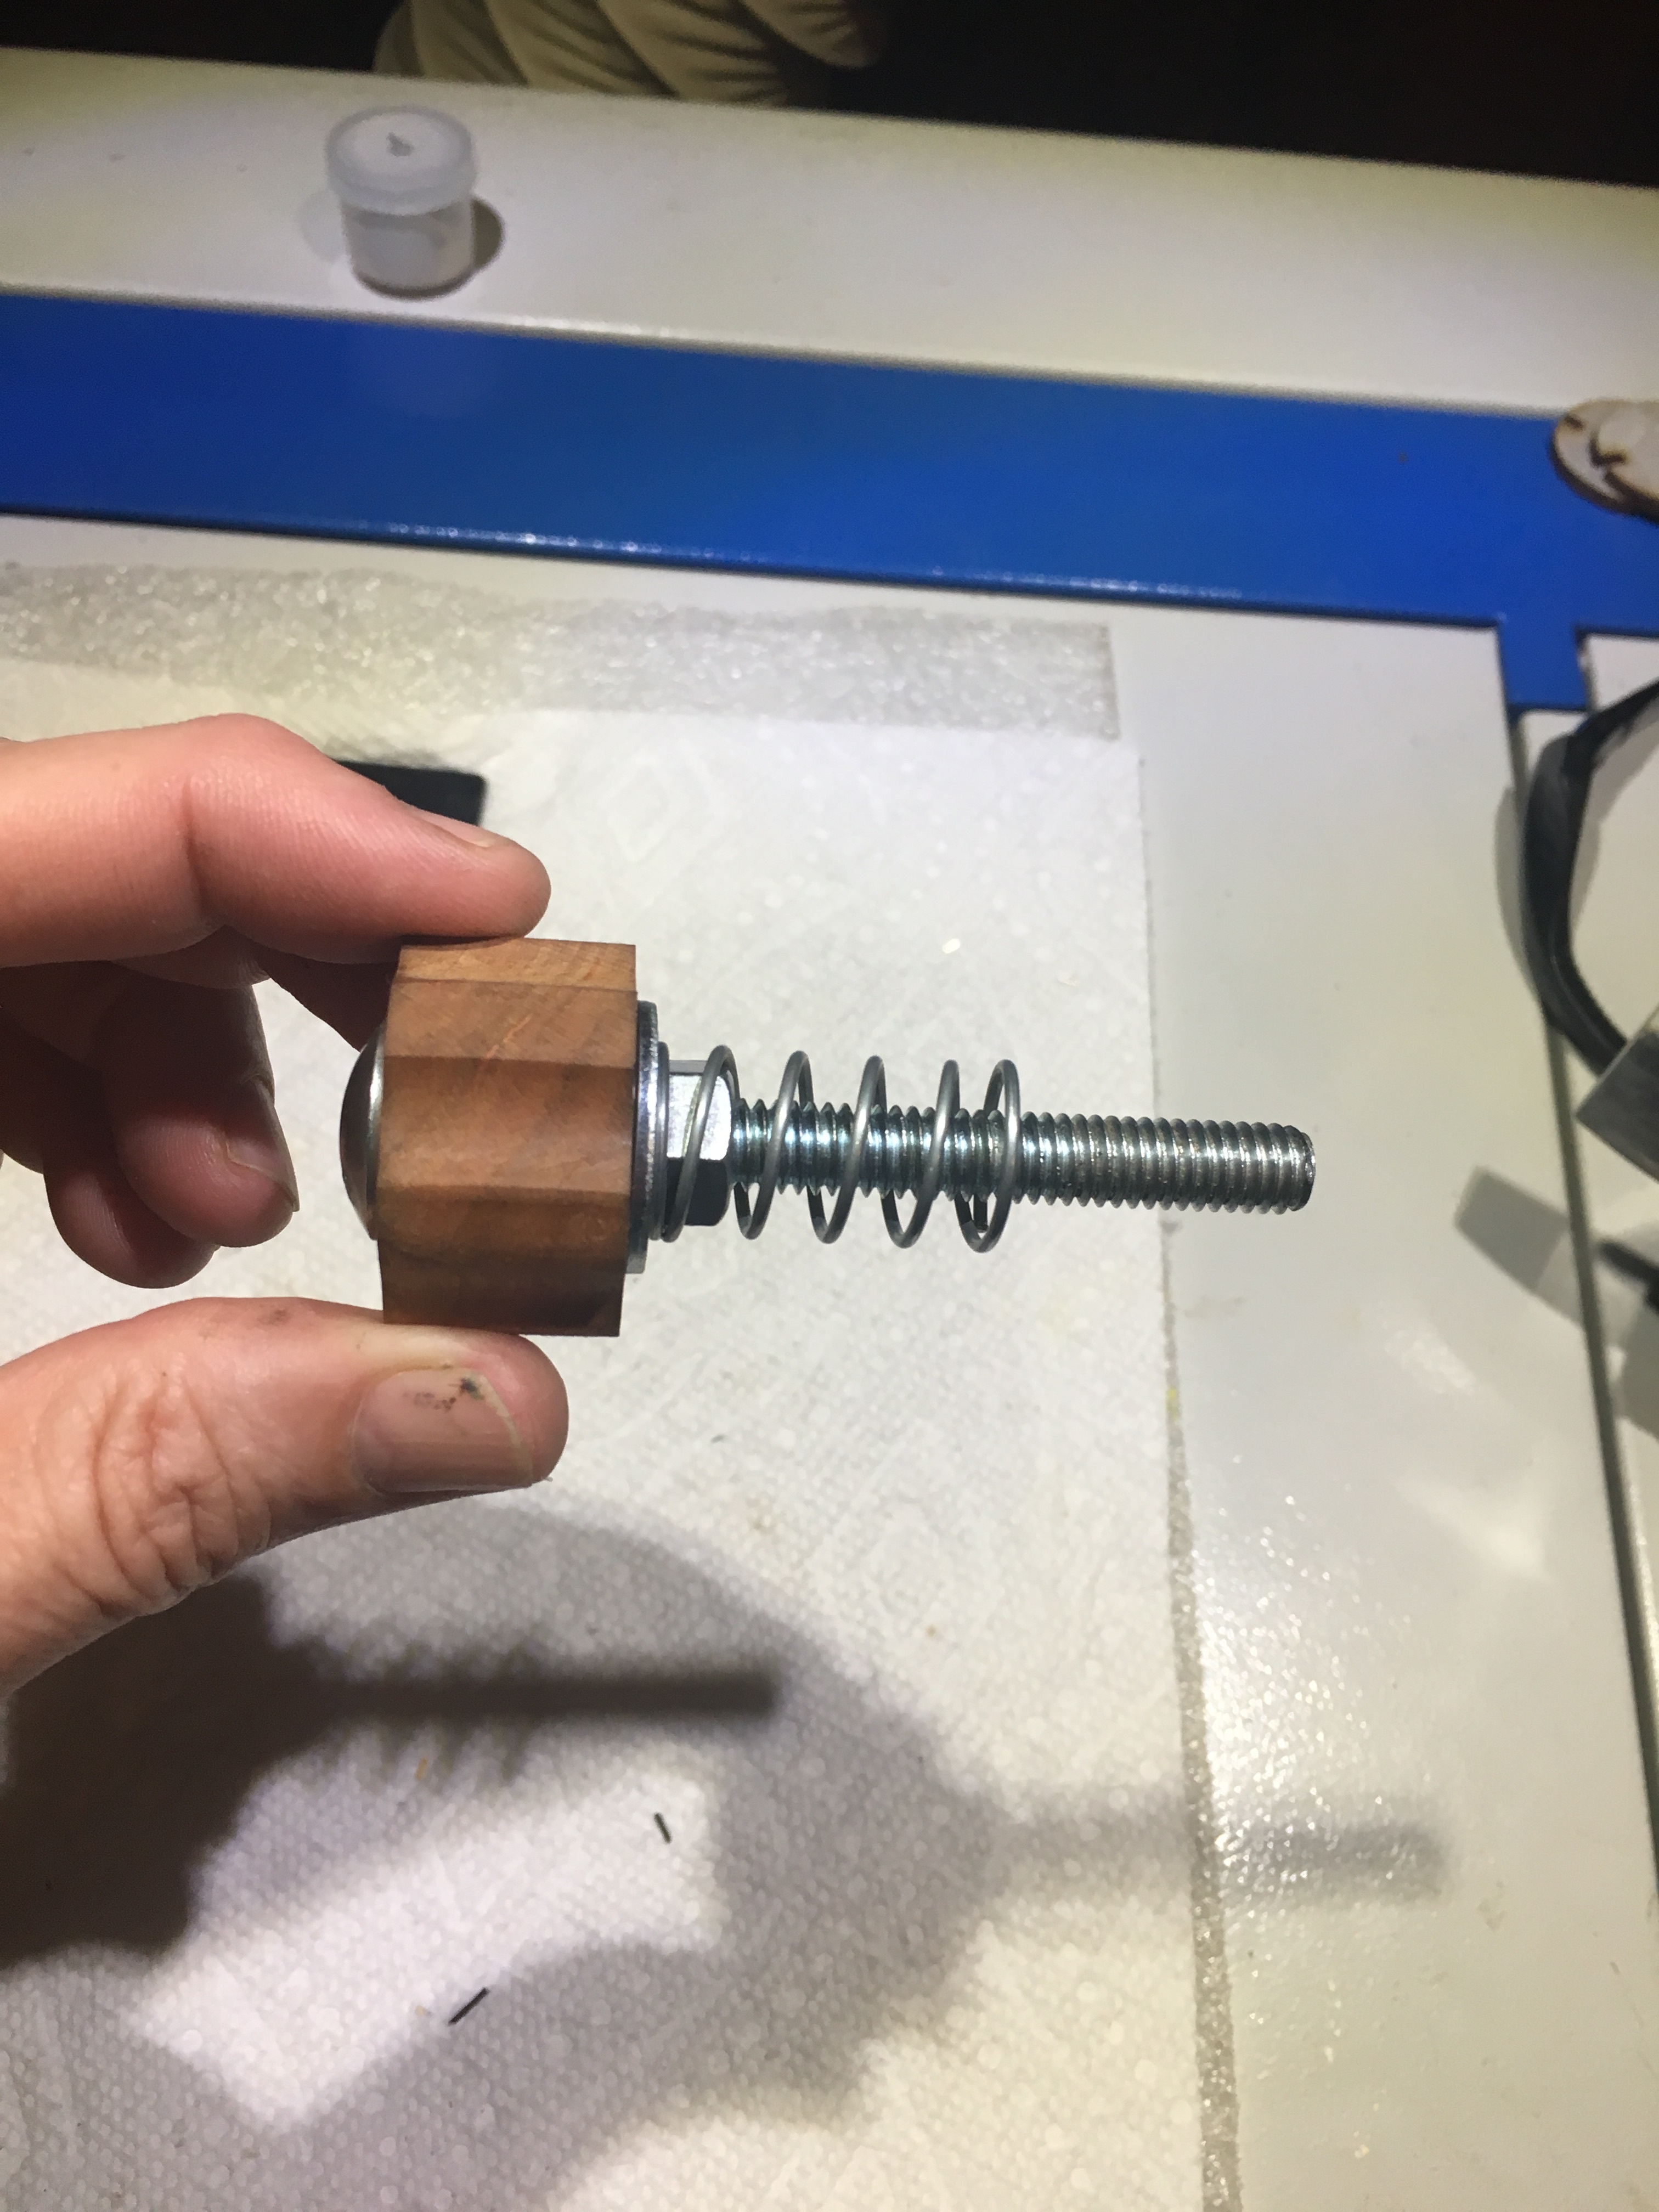
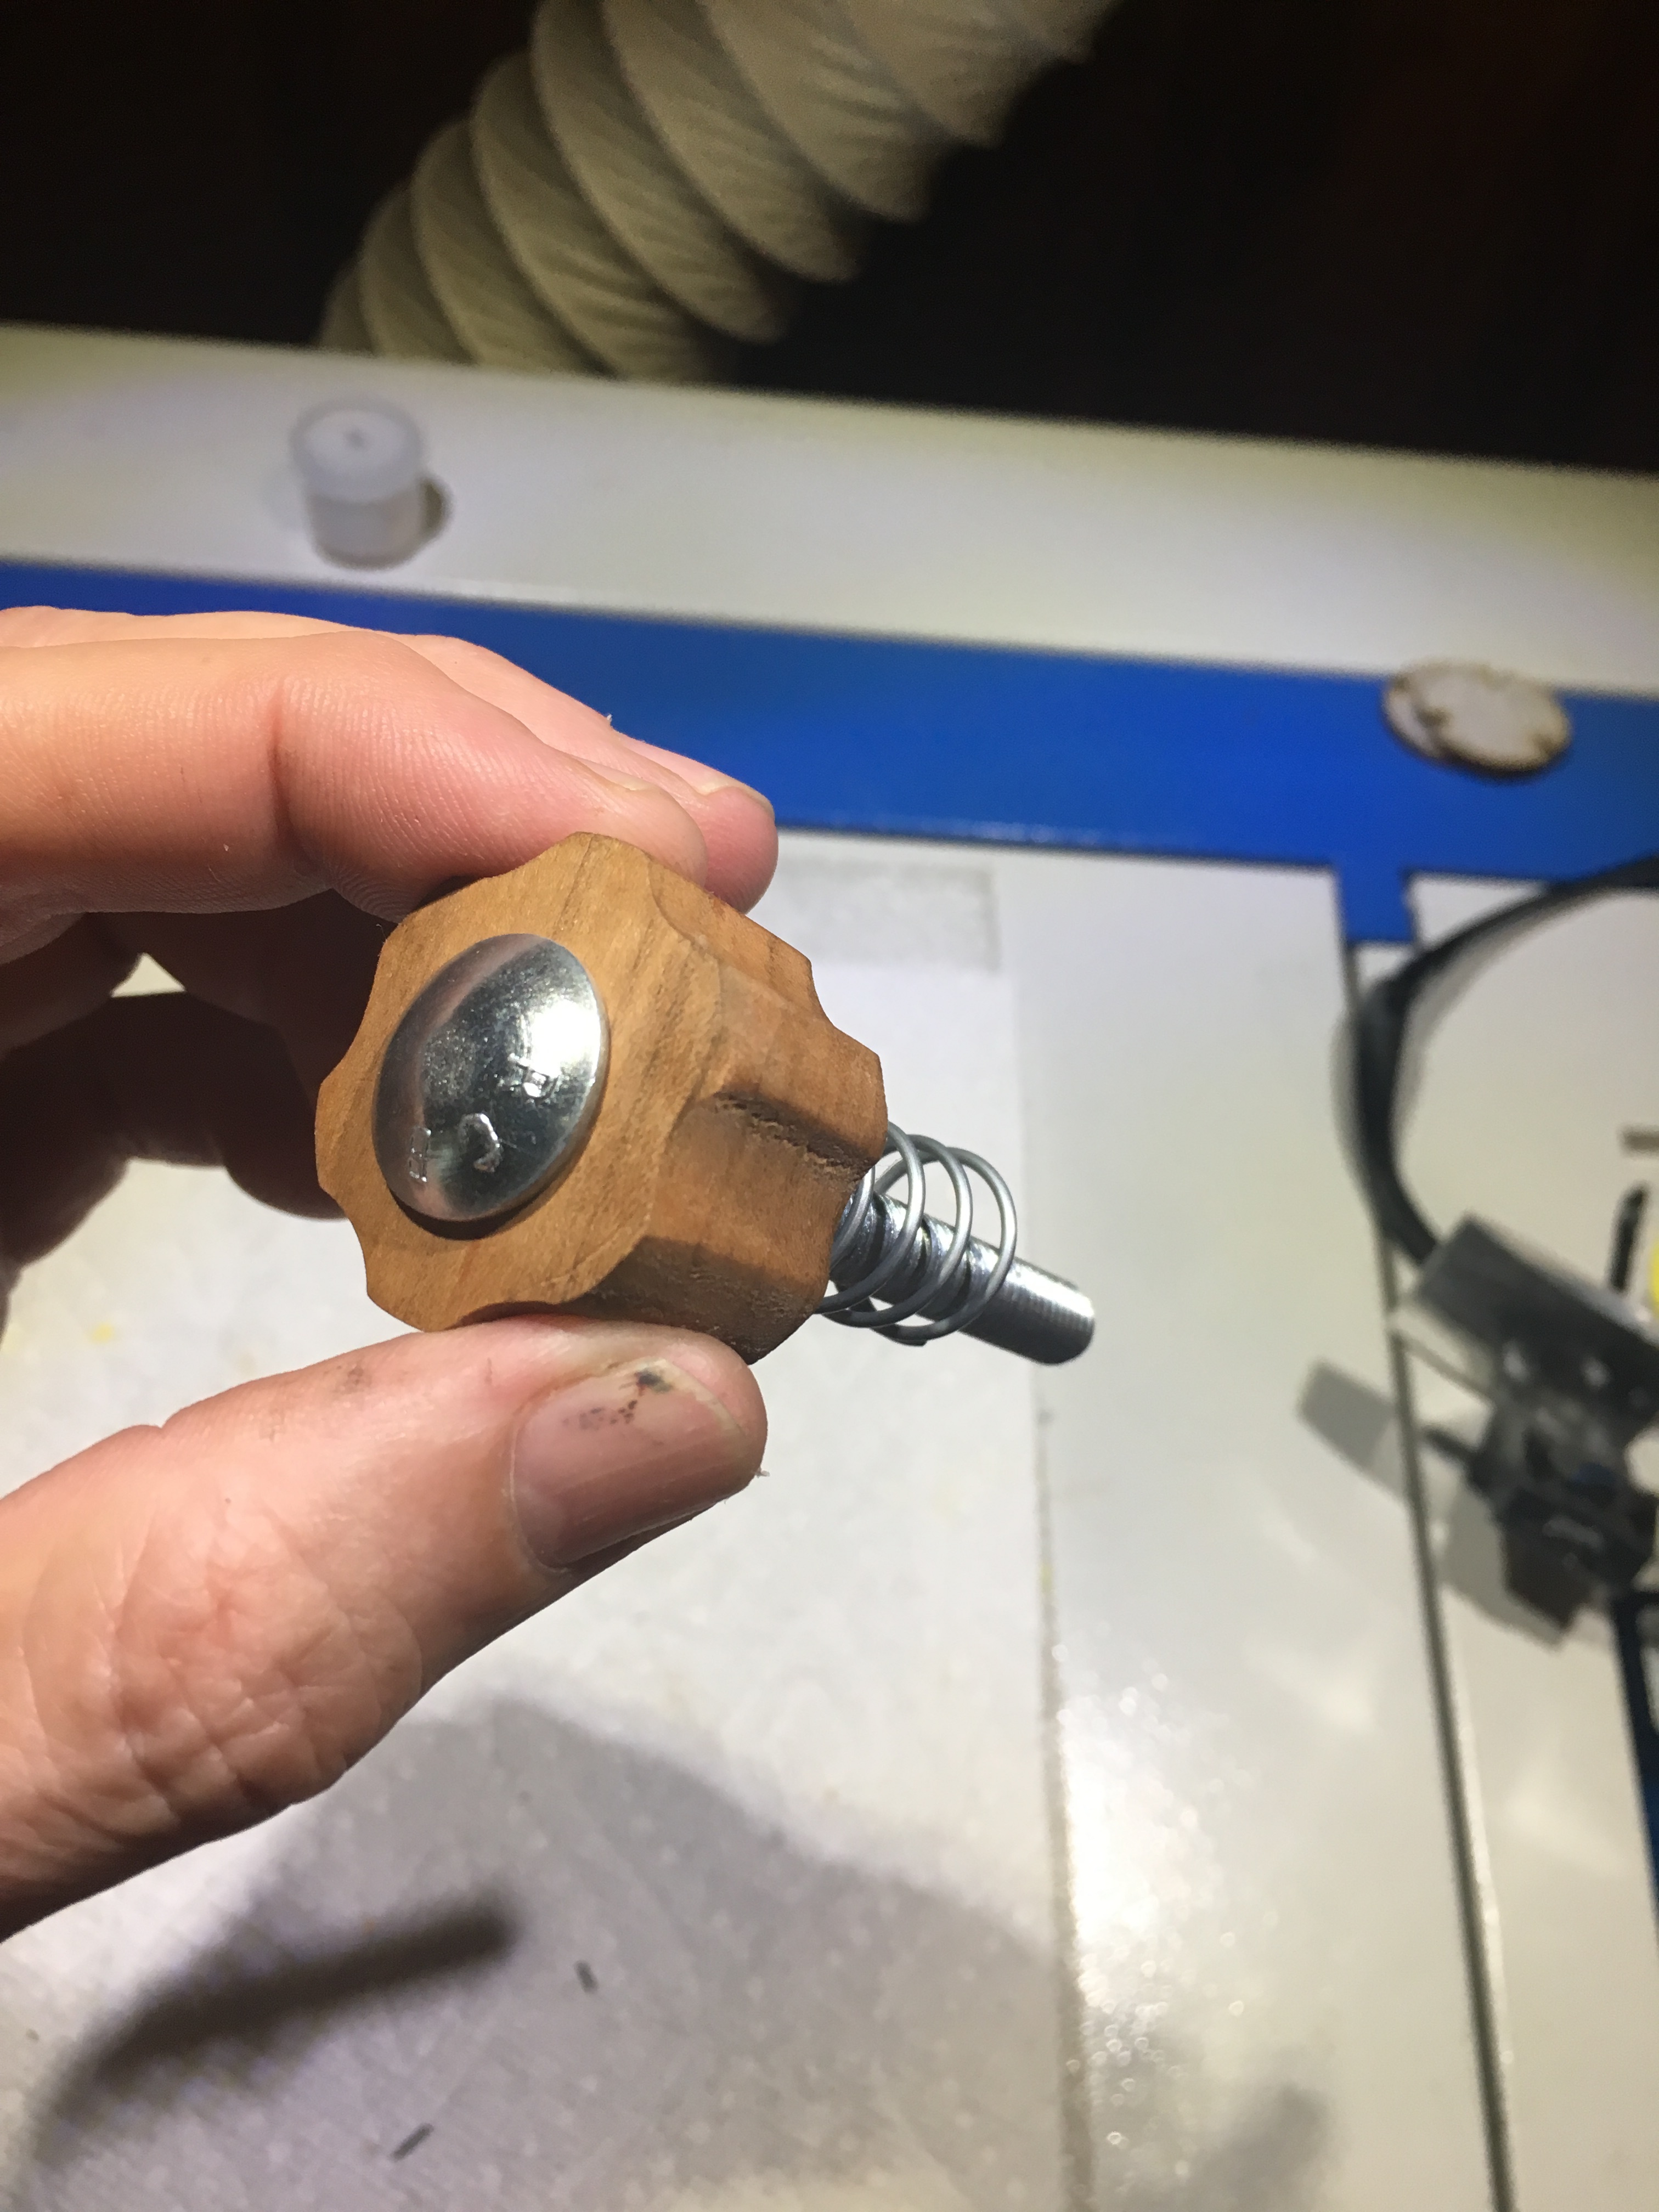
Drilled a hole and inserted the carriage bolt for the blade tracking into the smaller knob. Used a washer and nut to sandwich the knob and added a tension spring. Will just have to figure out the extract length I need and shorten the bolt a bit so the tension spring gets compressed.
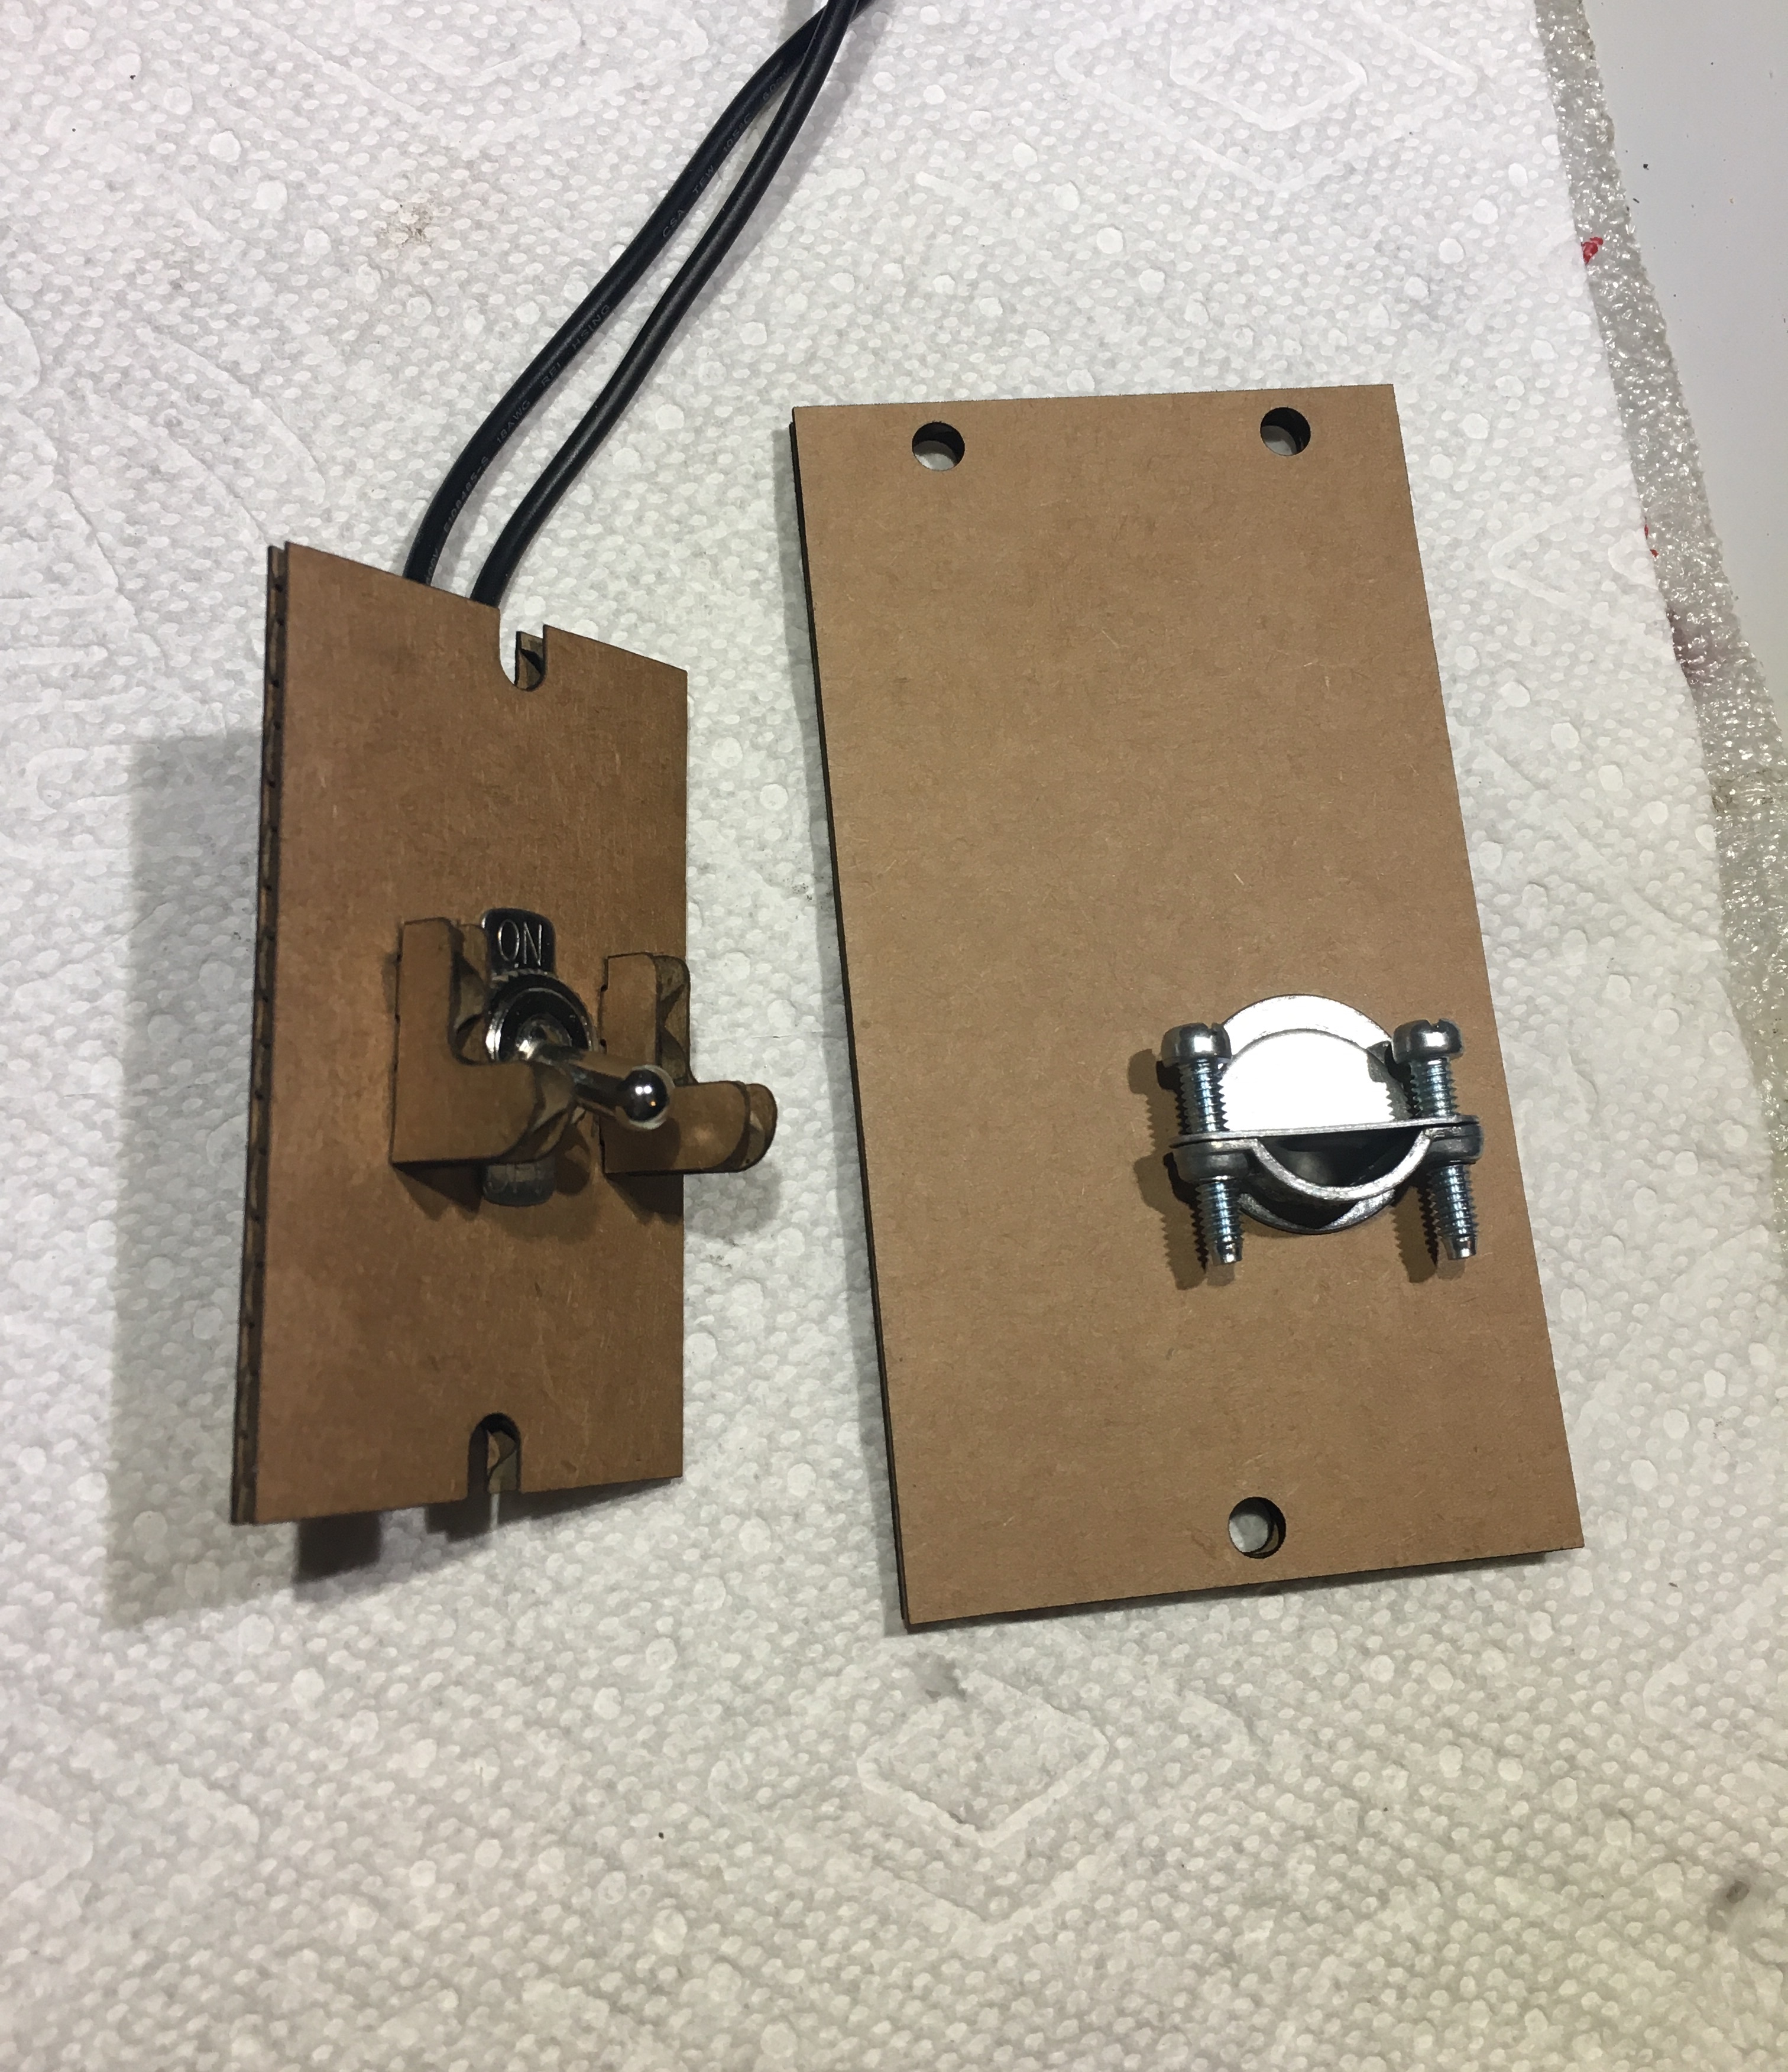
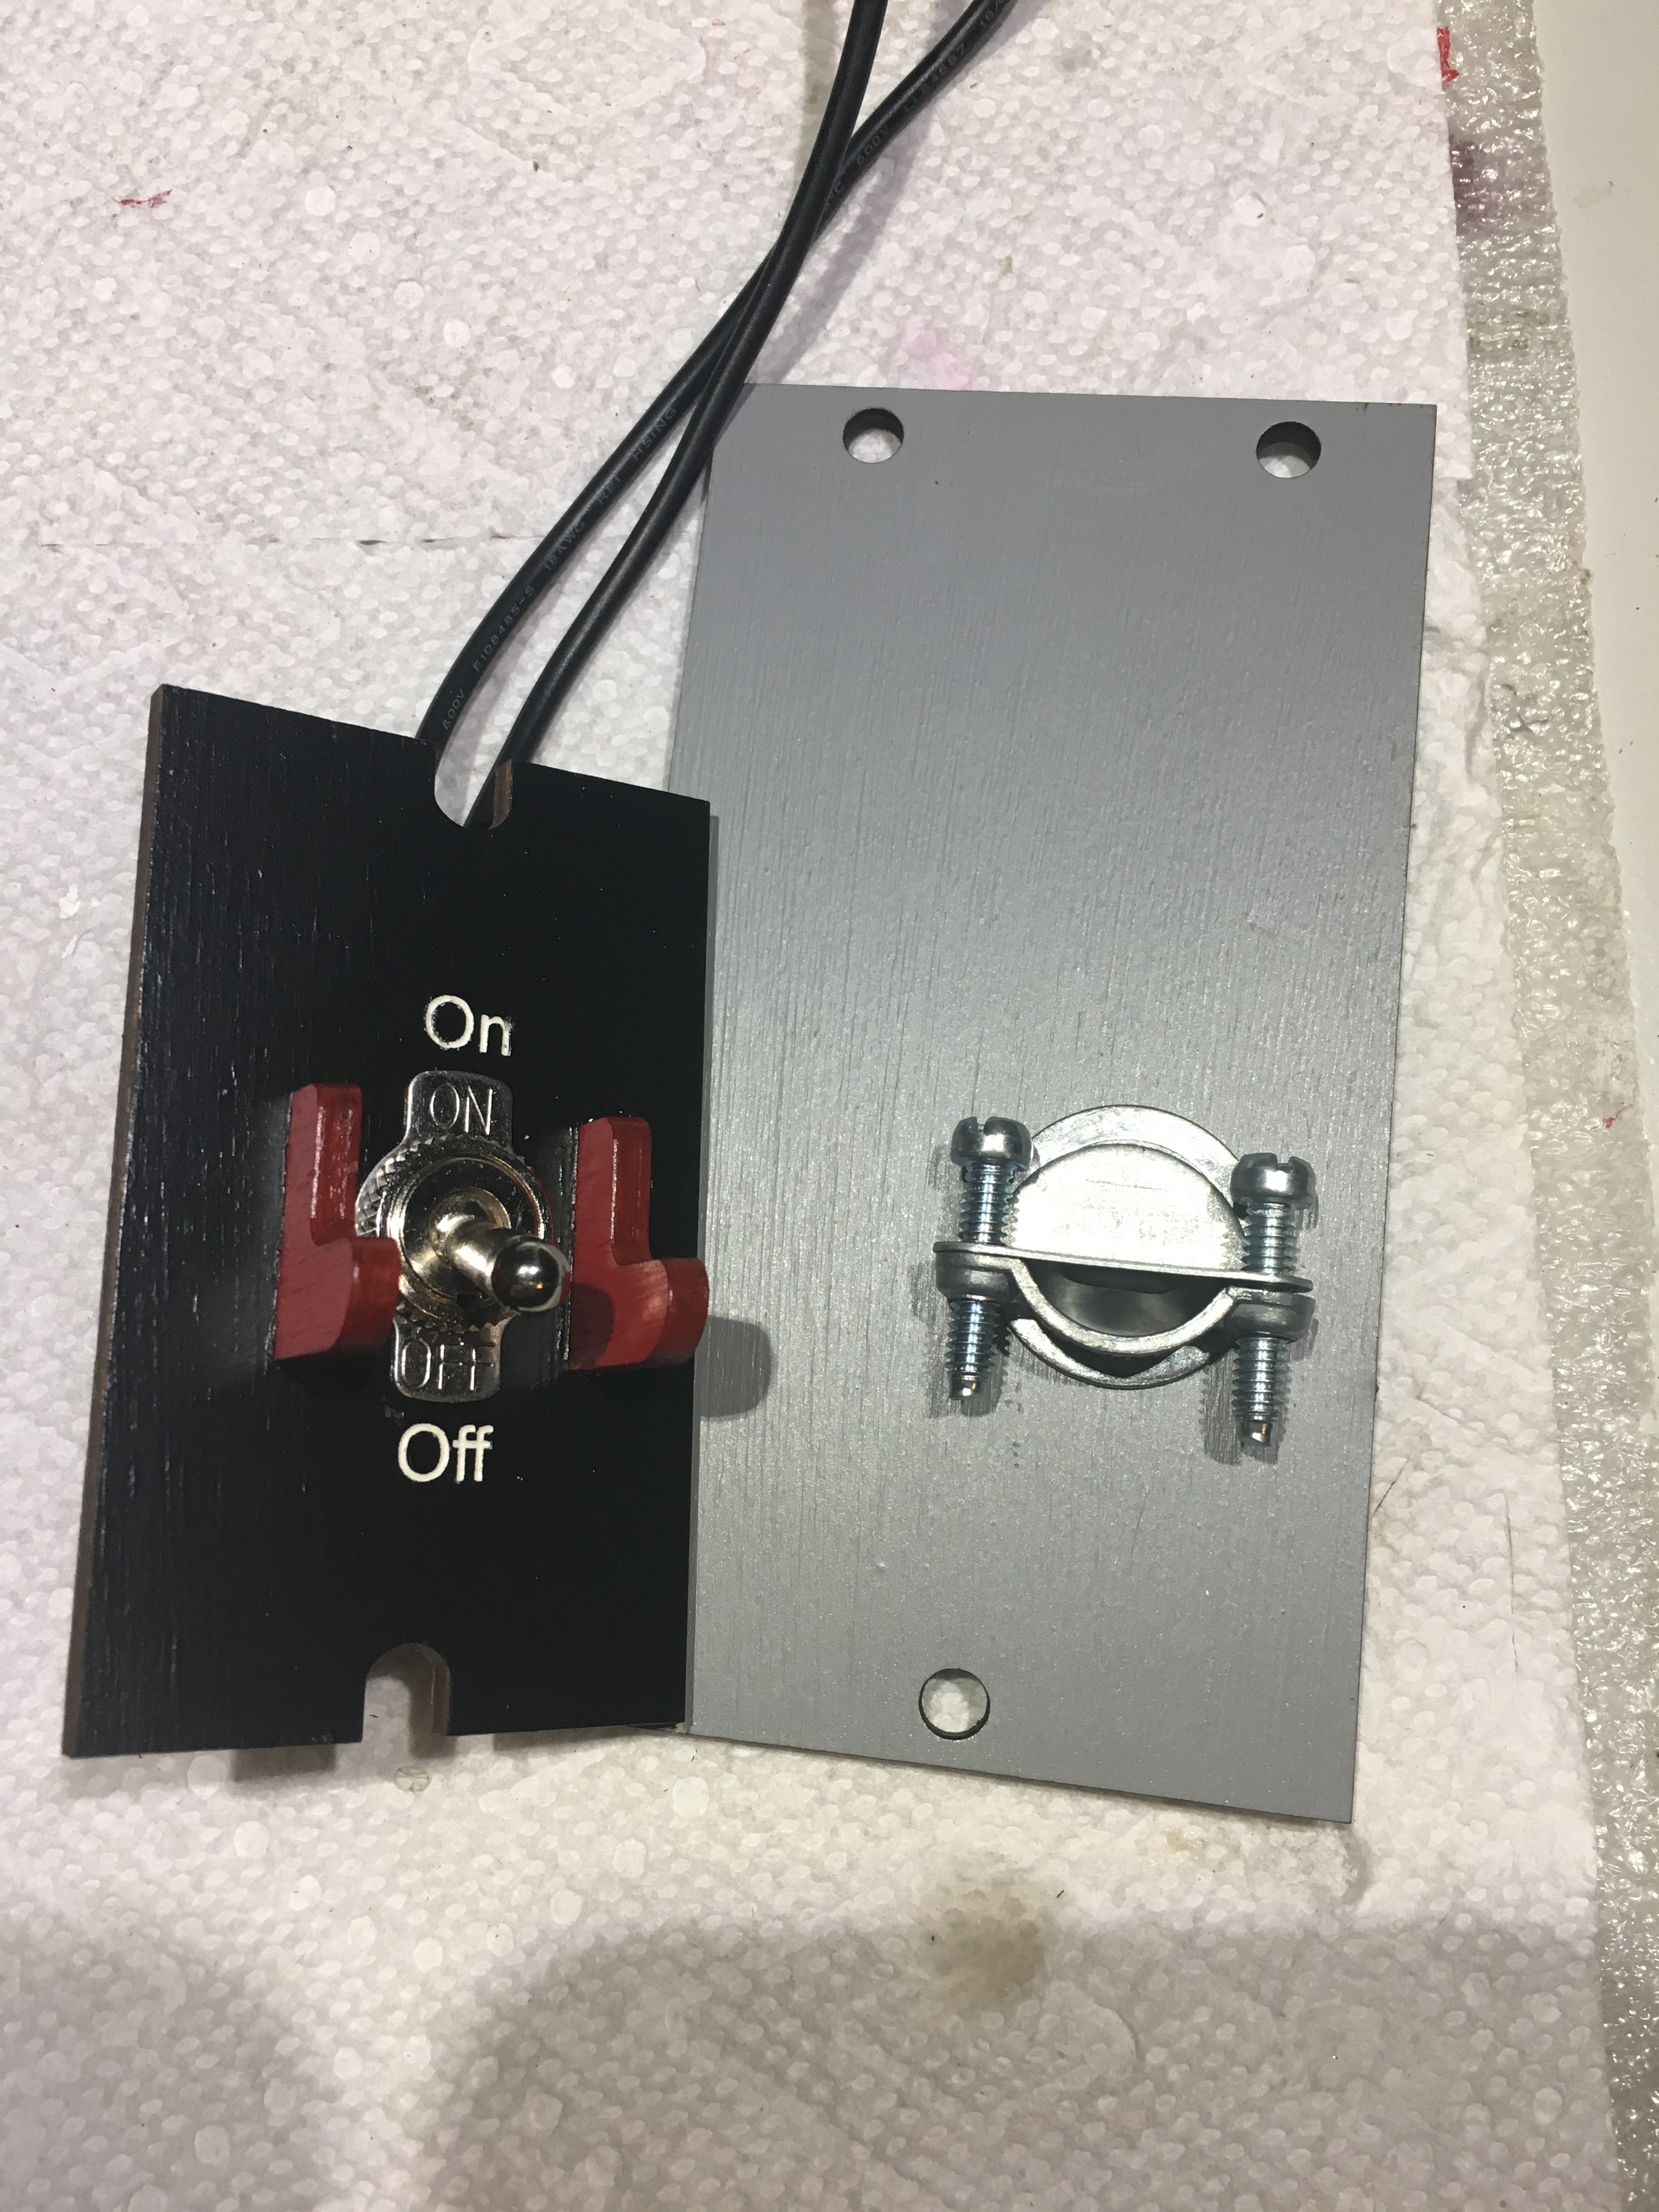
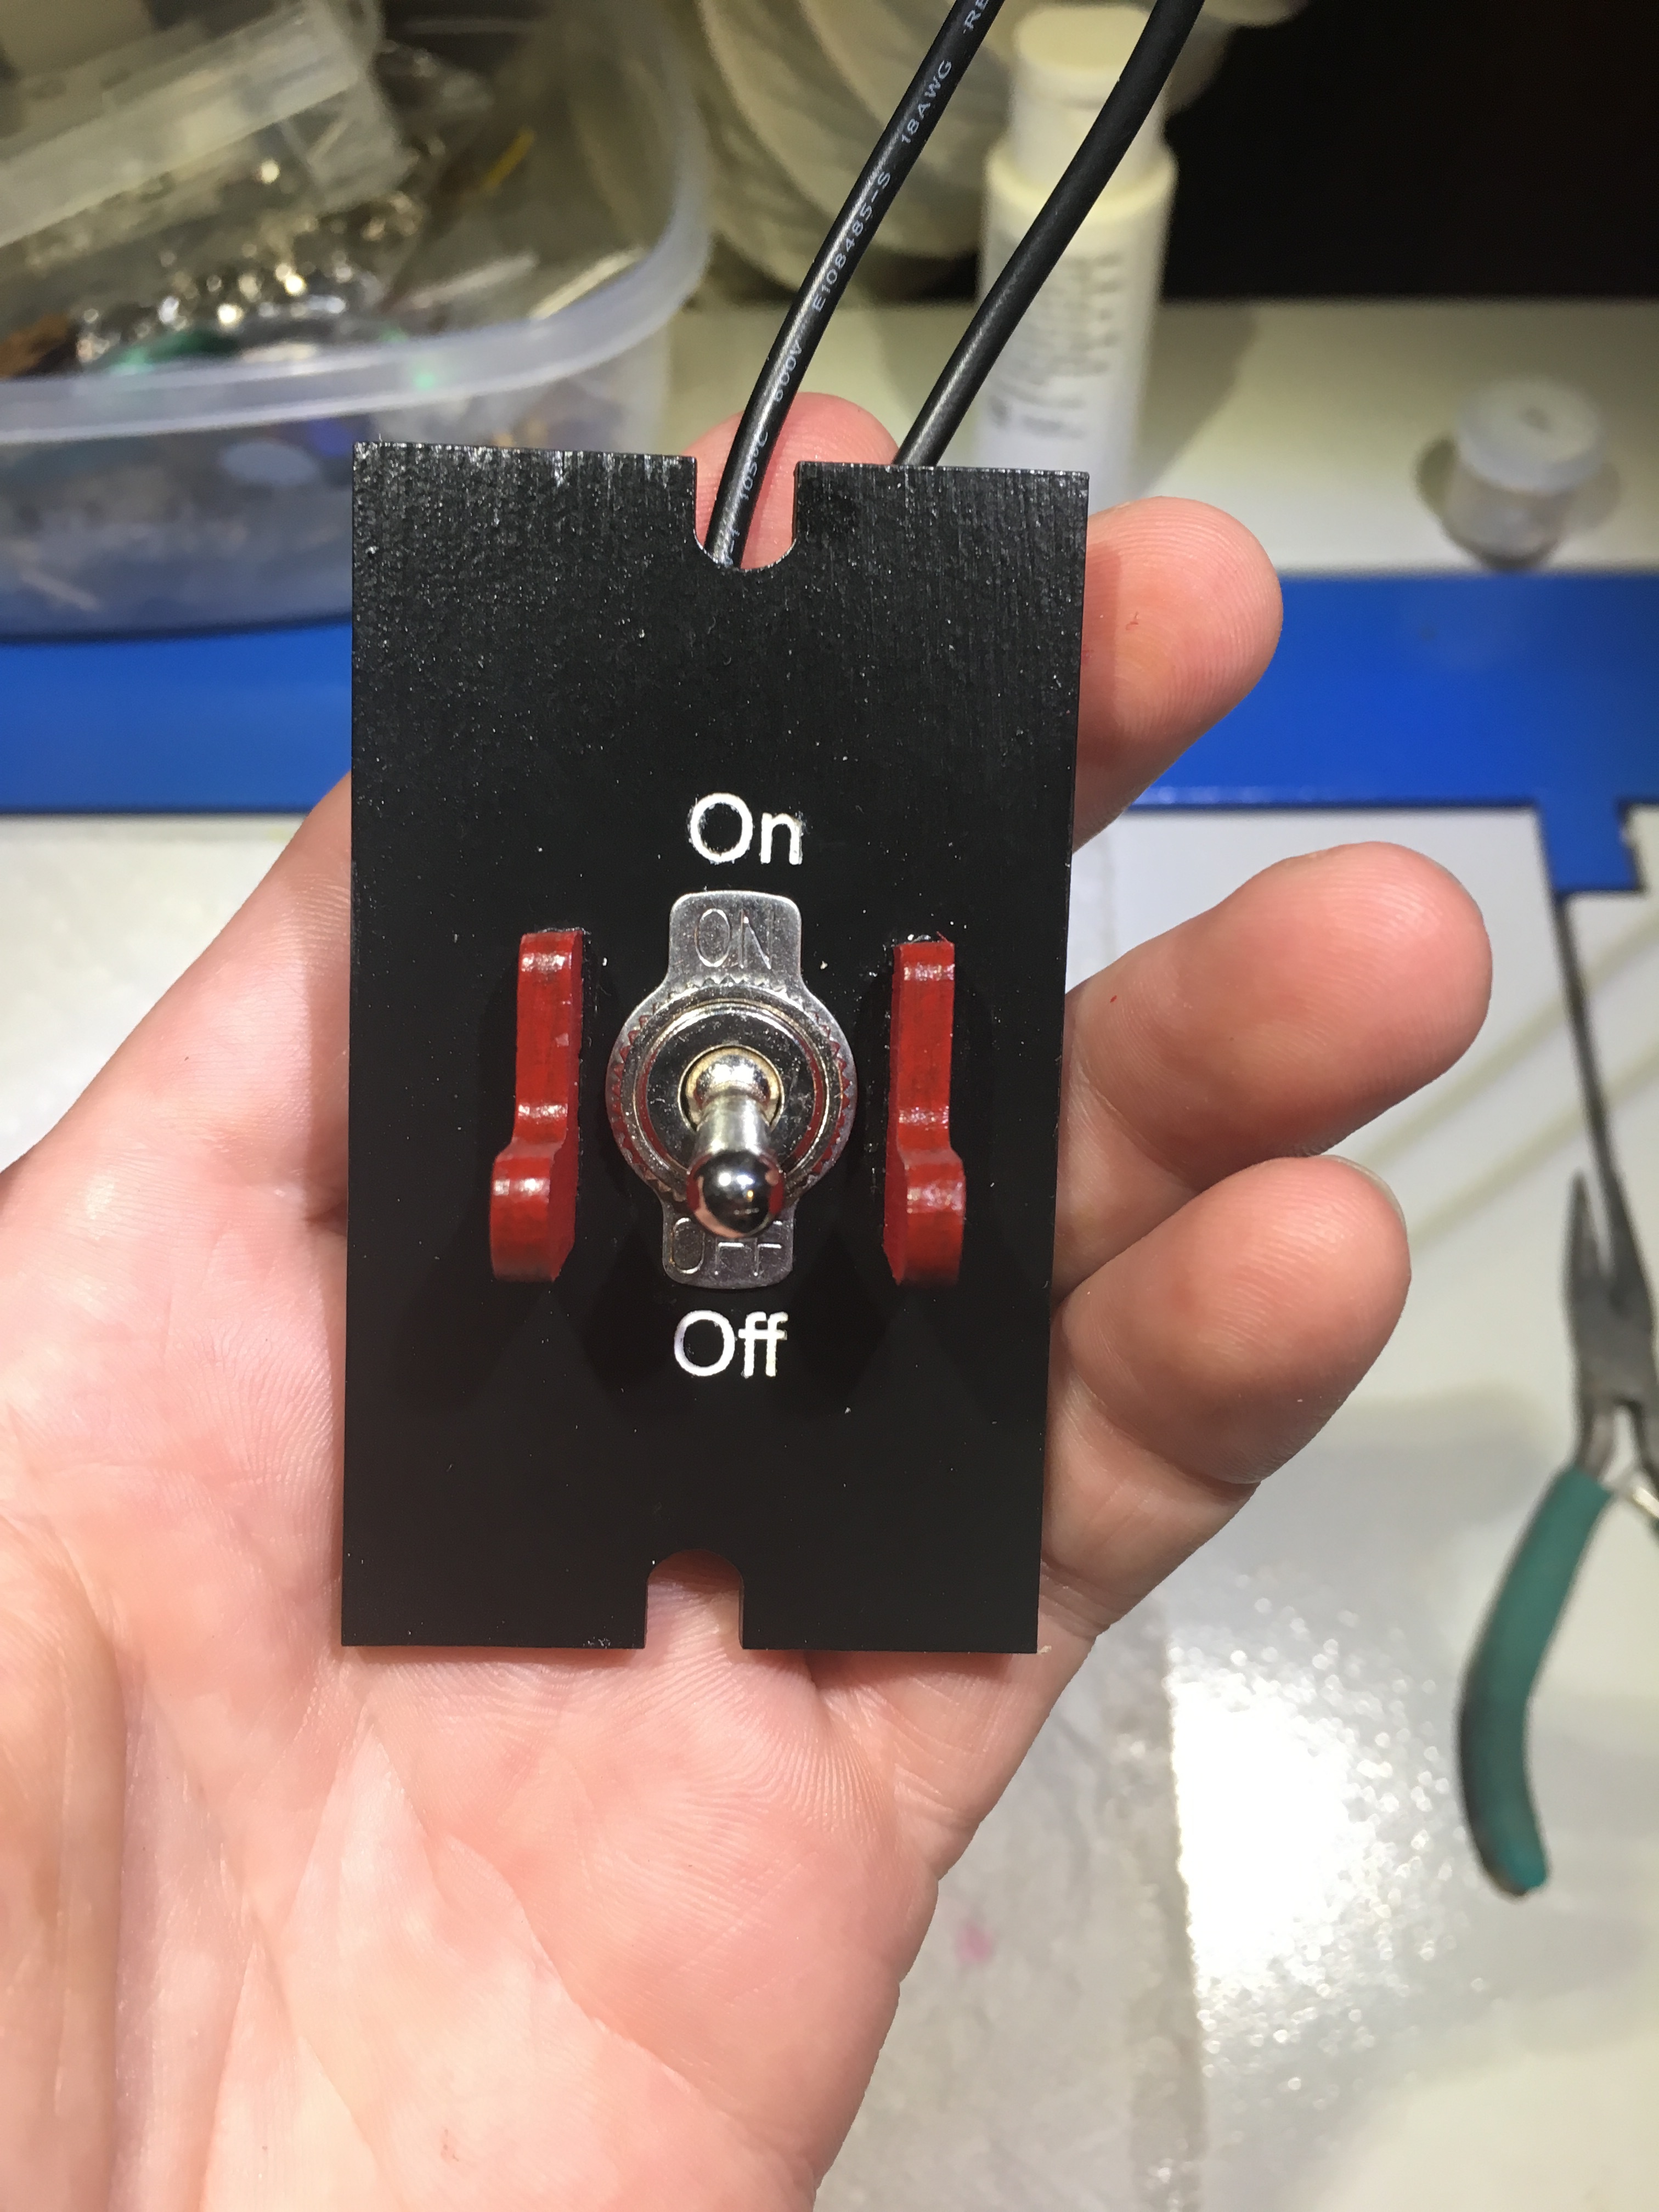
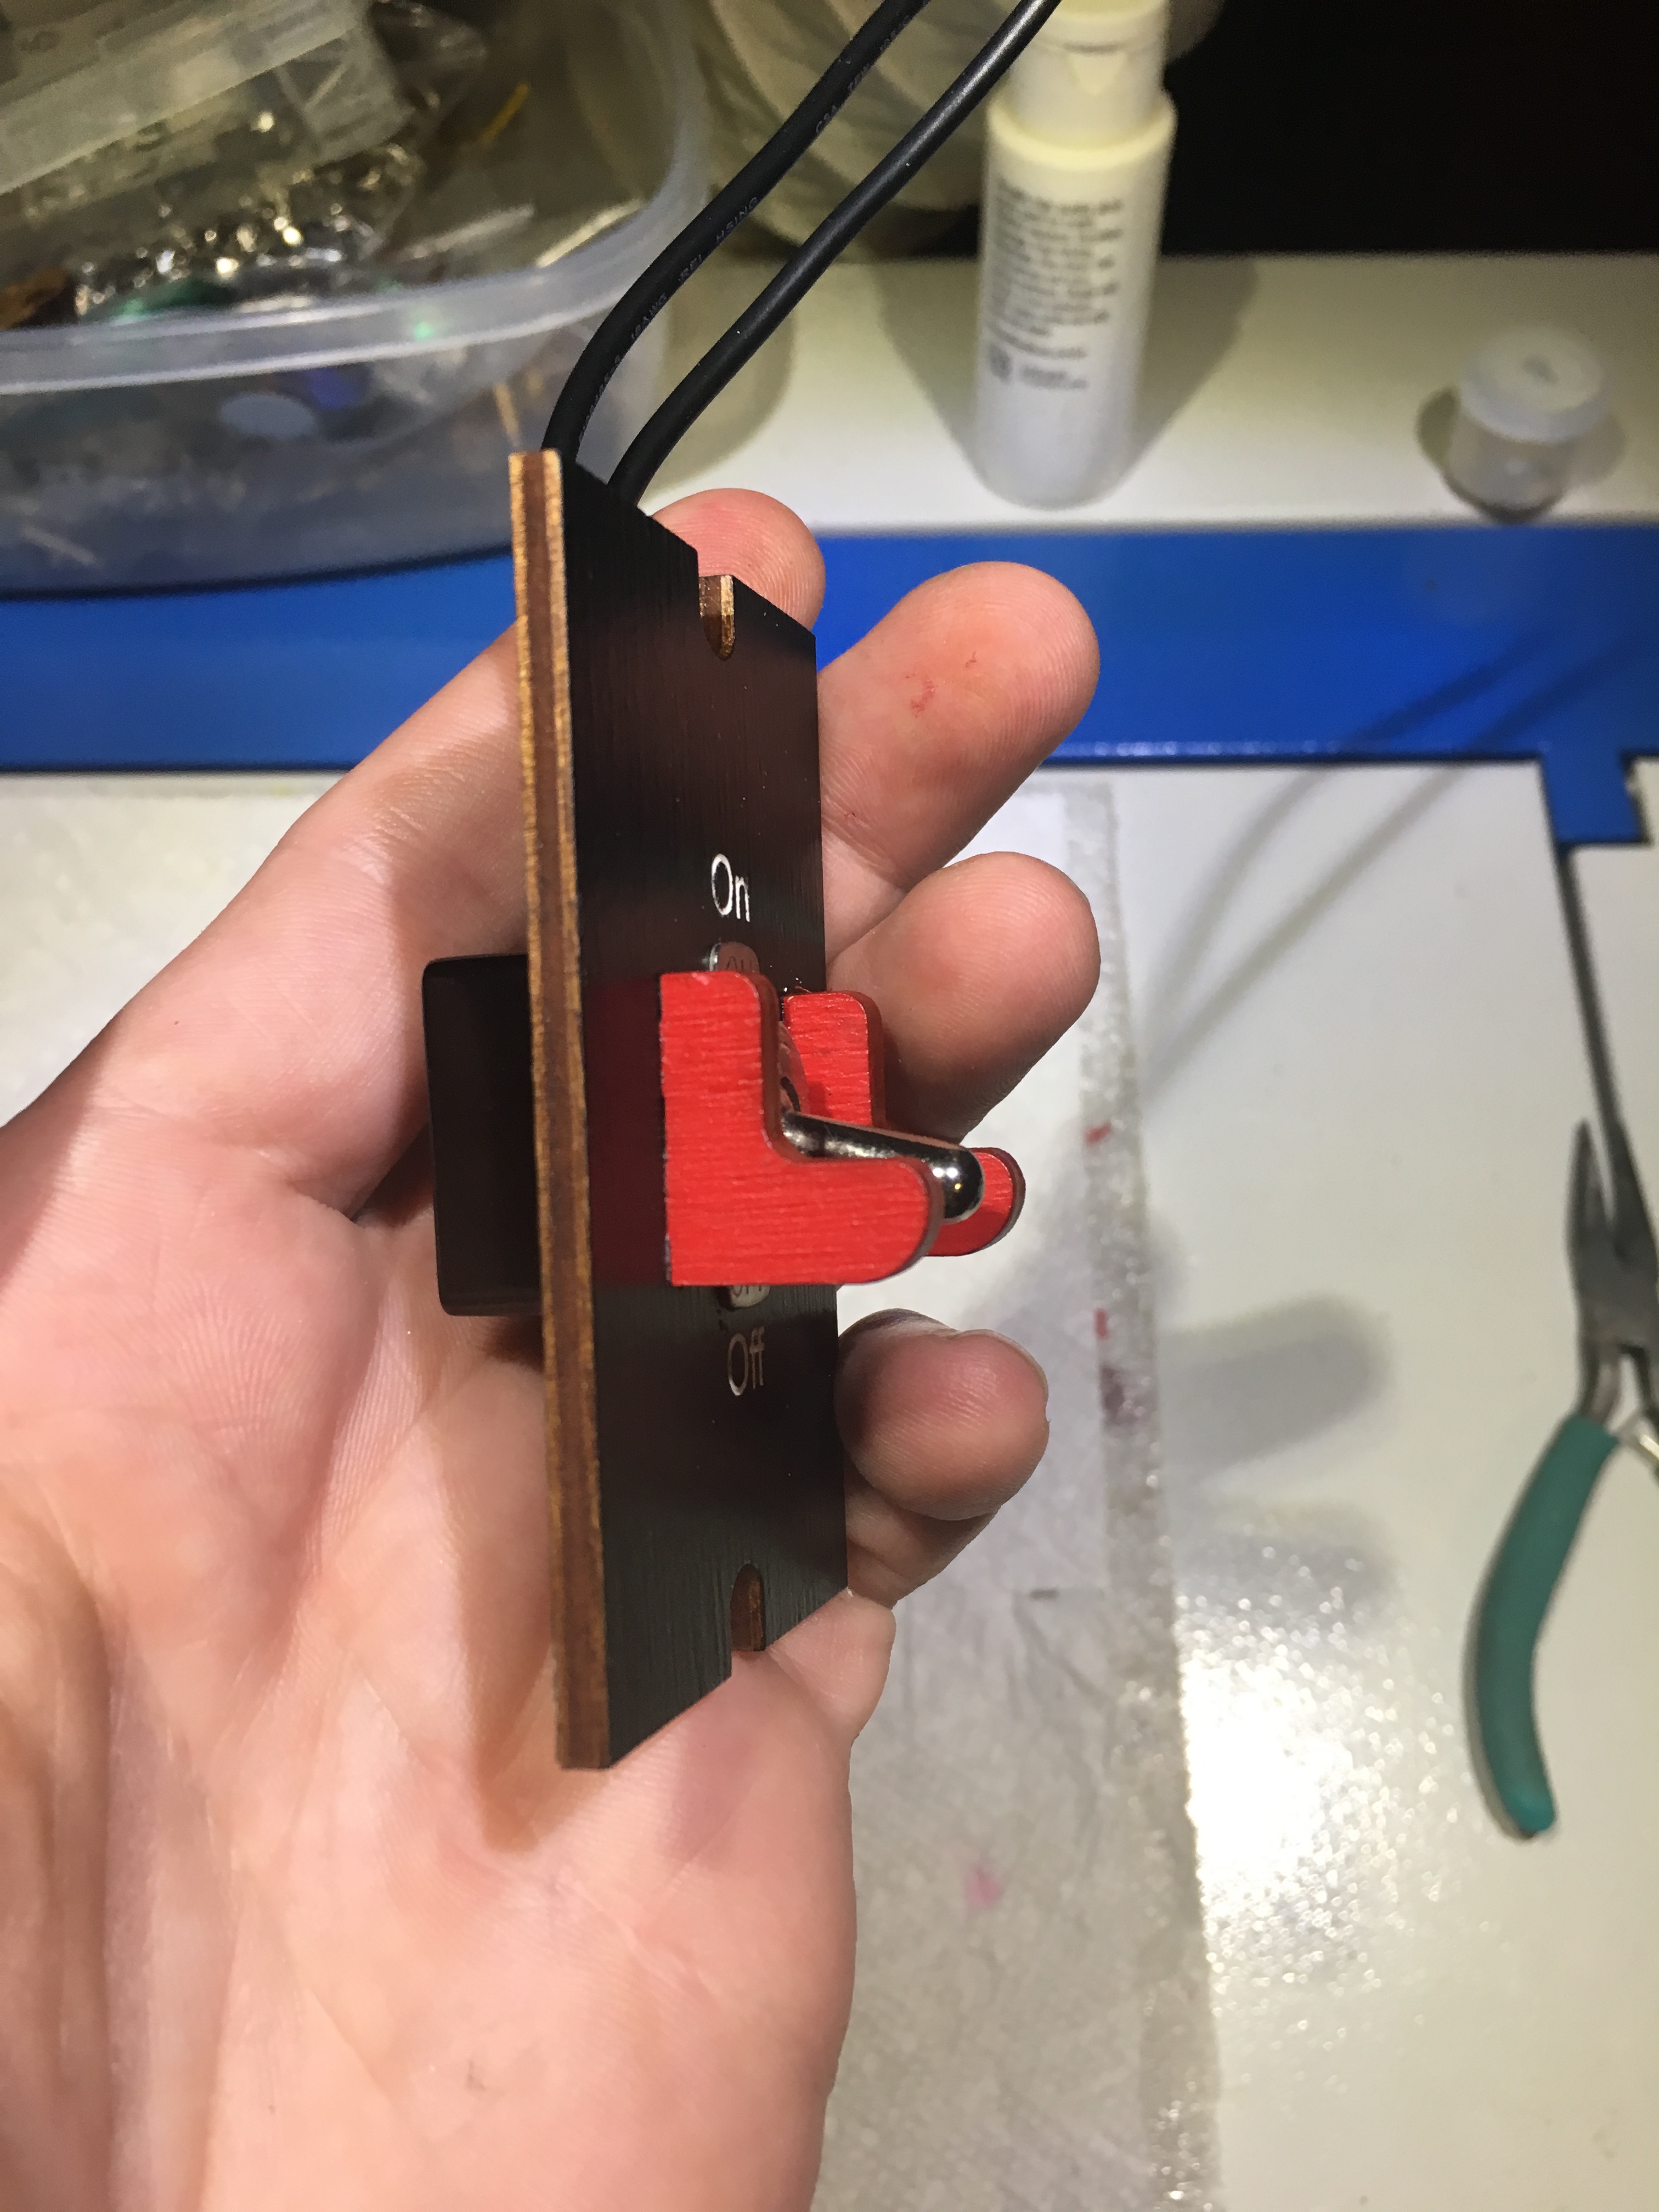
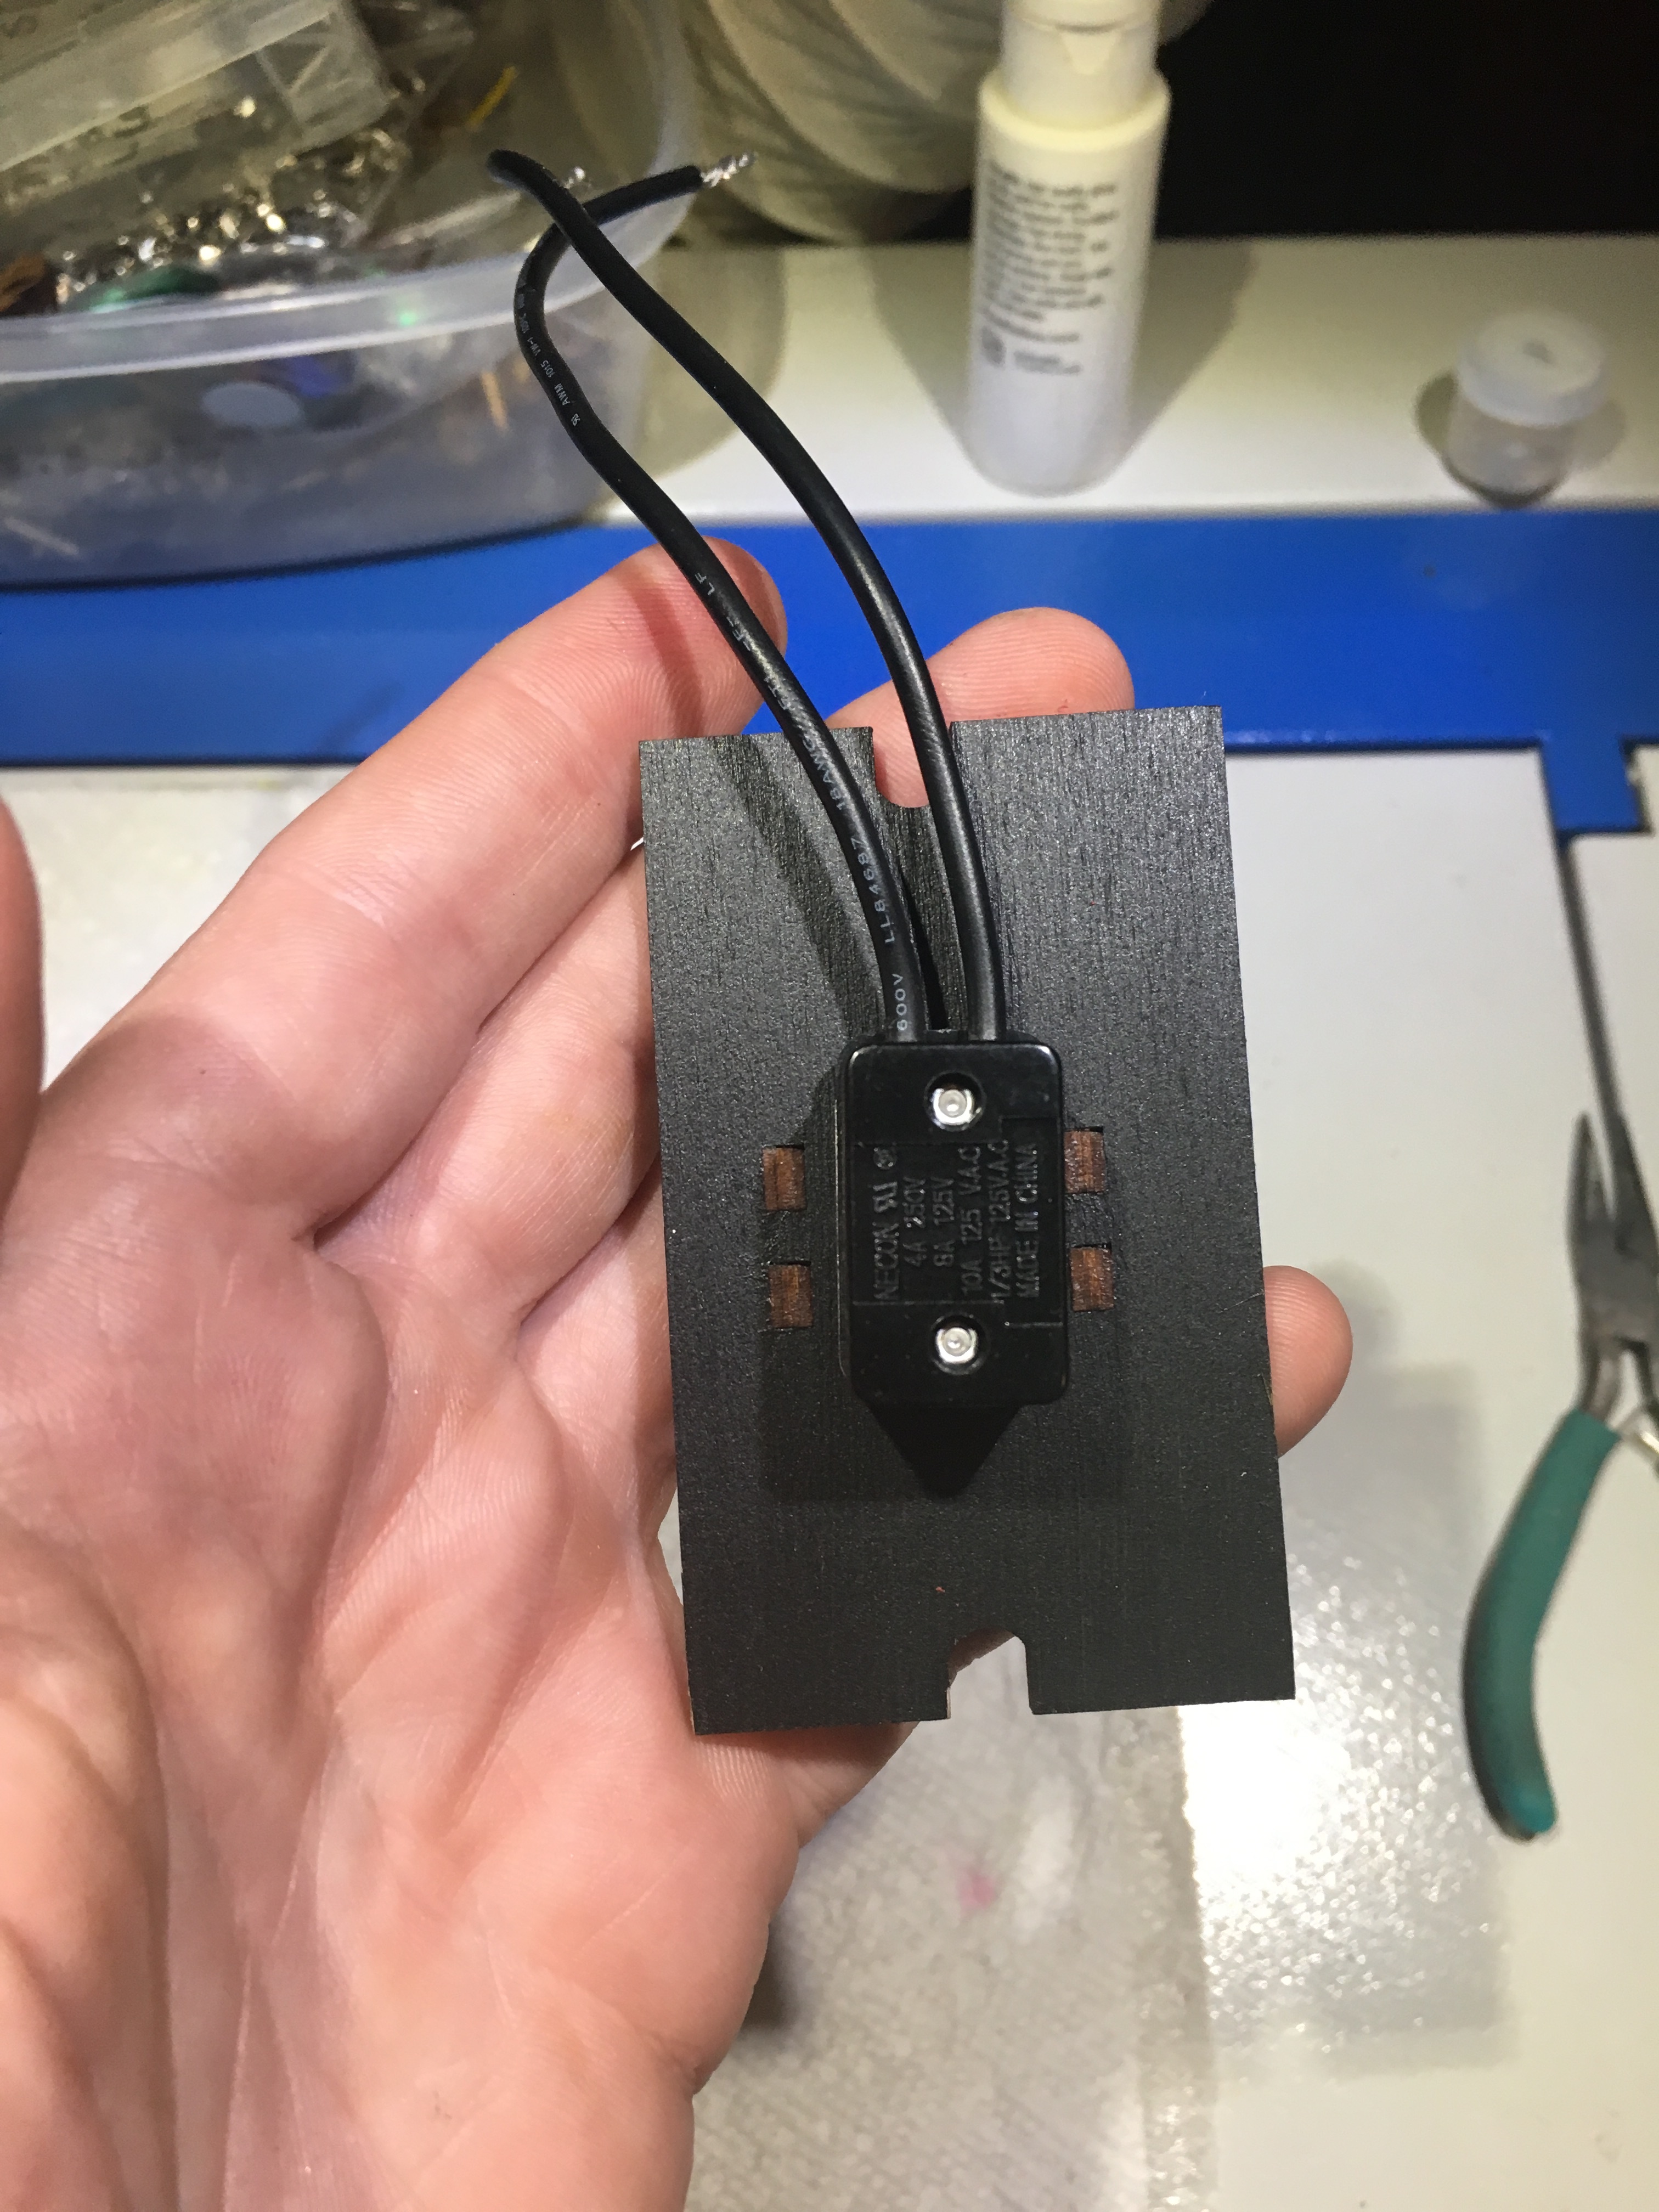
Made the new front and back switch compartment panels. Laser cut from 1/8" ply.
Because I’m using a toggle switch, rather than a paddle or other low profile switch, I thought it was important to add switch guards to make it more difficult to accidentally turn on.
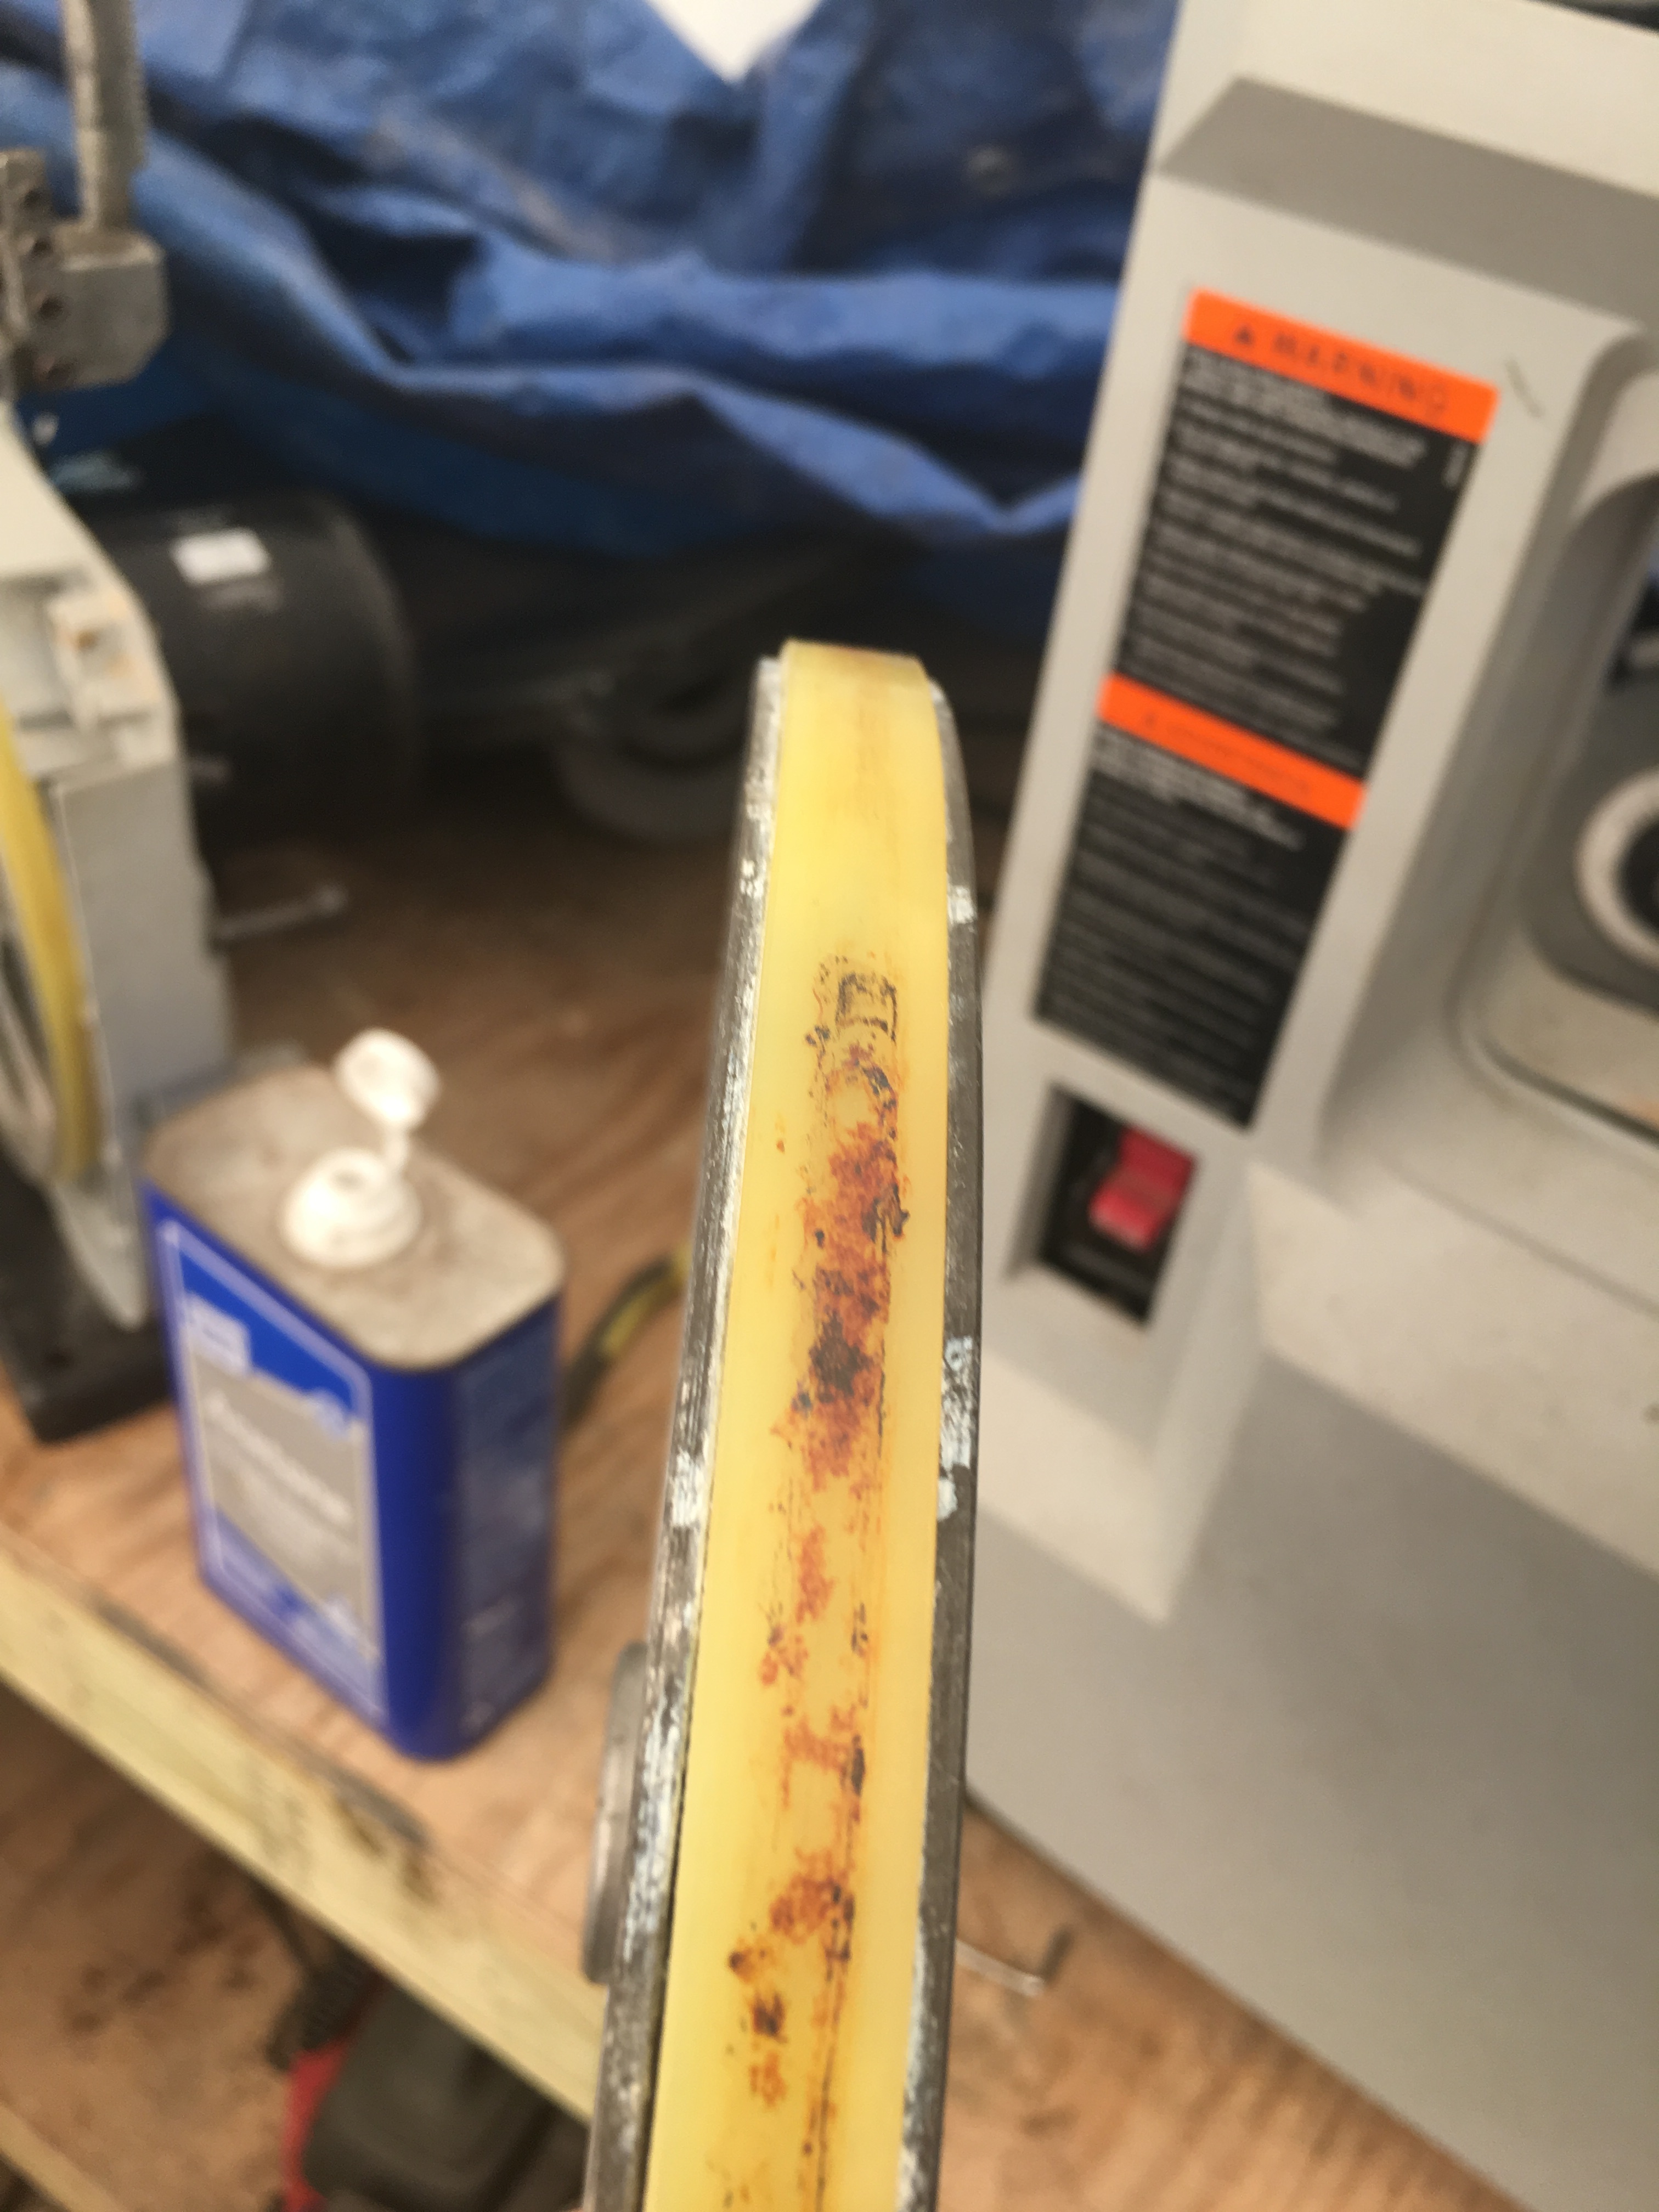
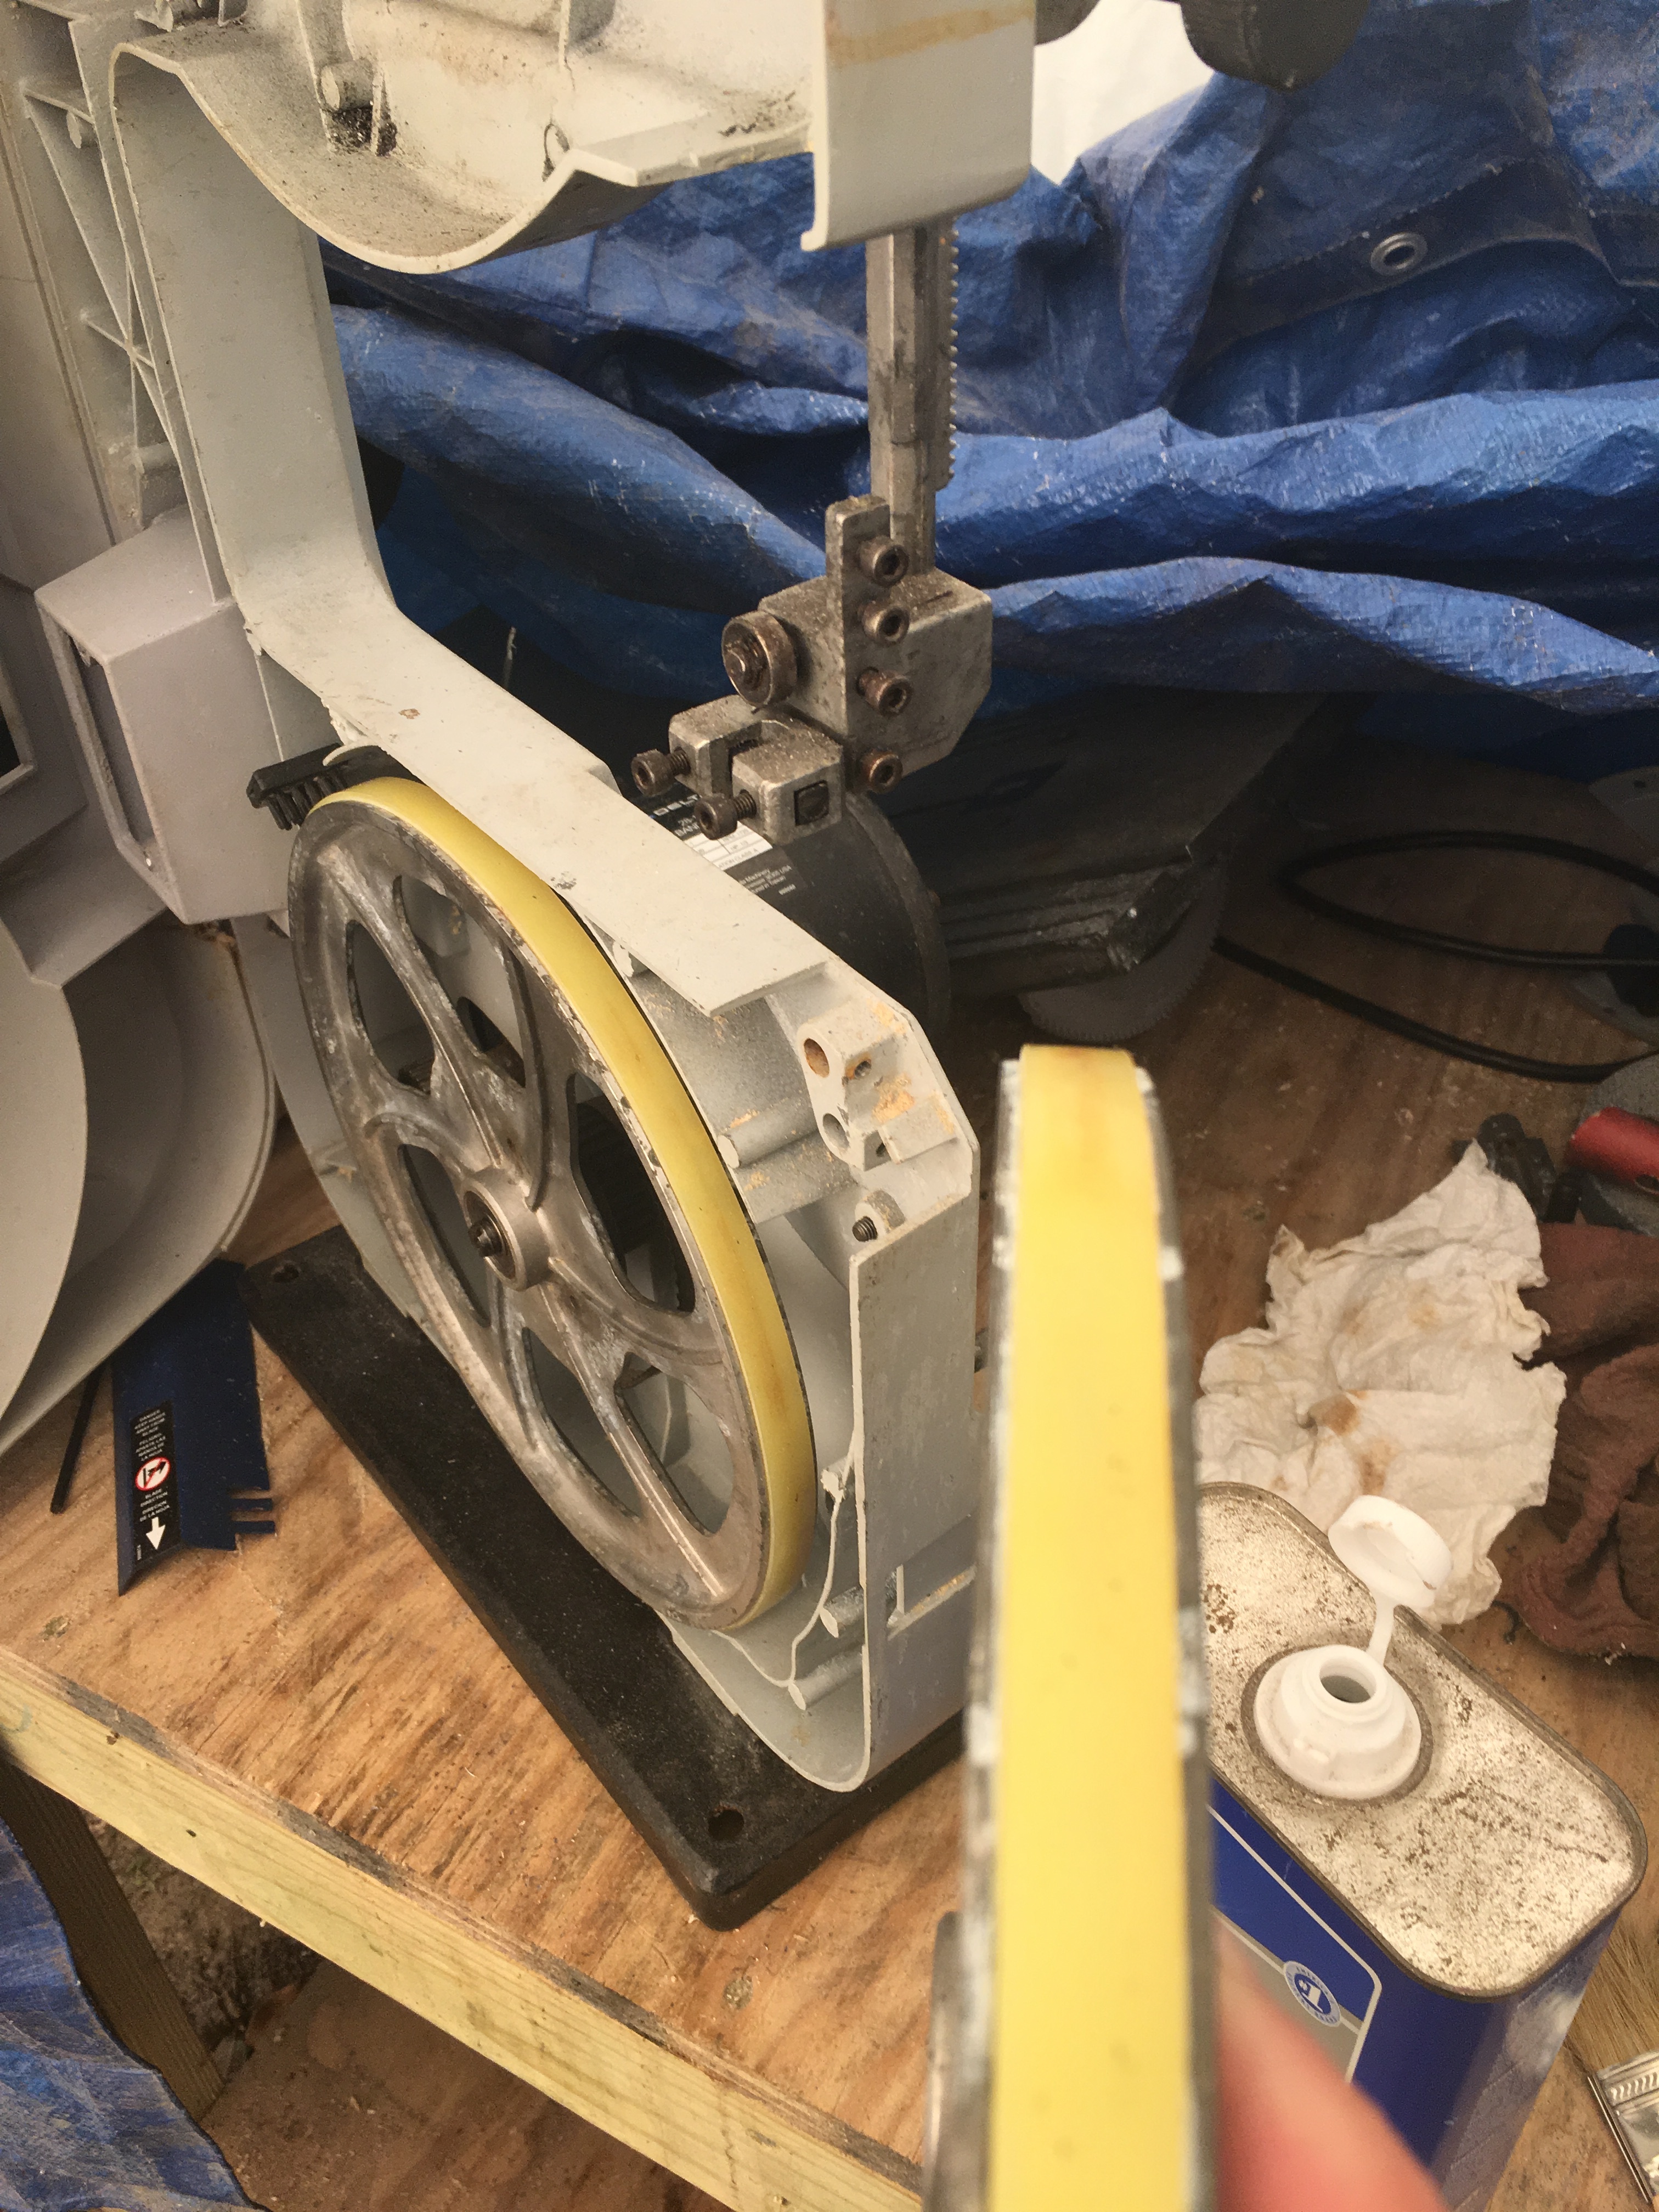
The tires on the wheels had embedded rust from the blade. The rust would not come off with regular cleaner and a scrub pad. Decided to try a little acetone on a paper towel hoping the acetone would slightly soften the surface of the rubber releasing the rust. Worked like a charm with no damage to the tire.
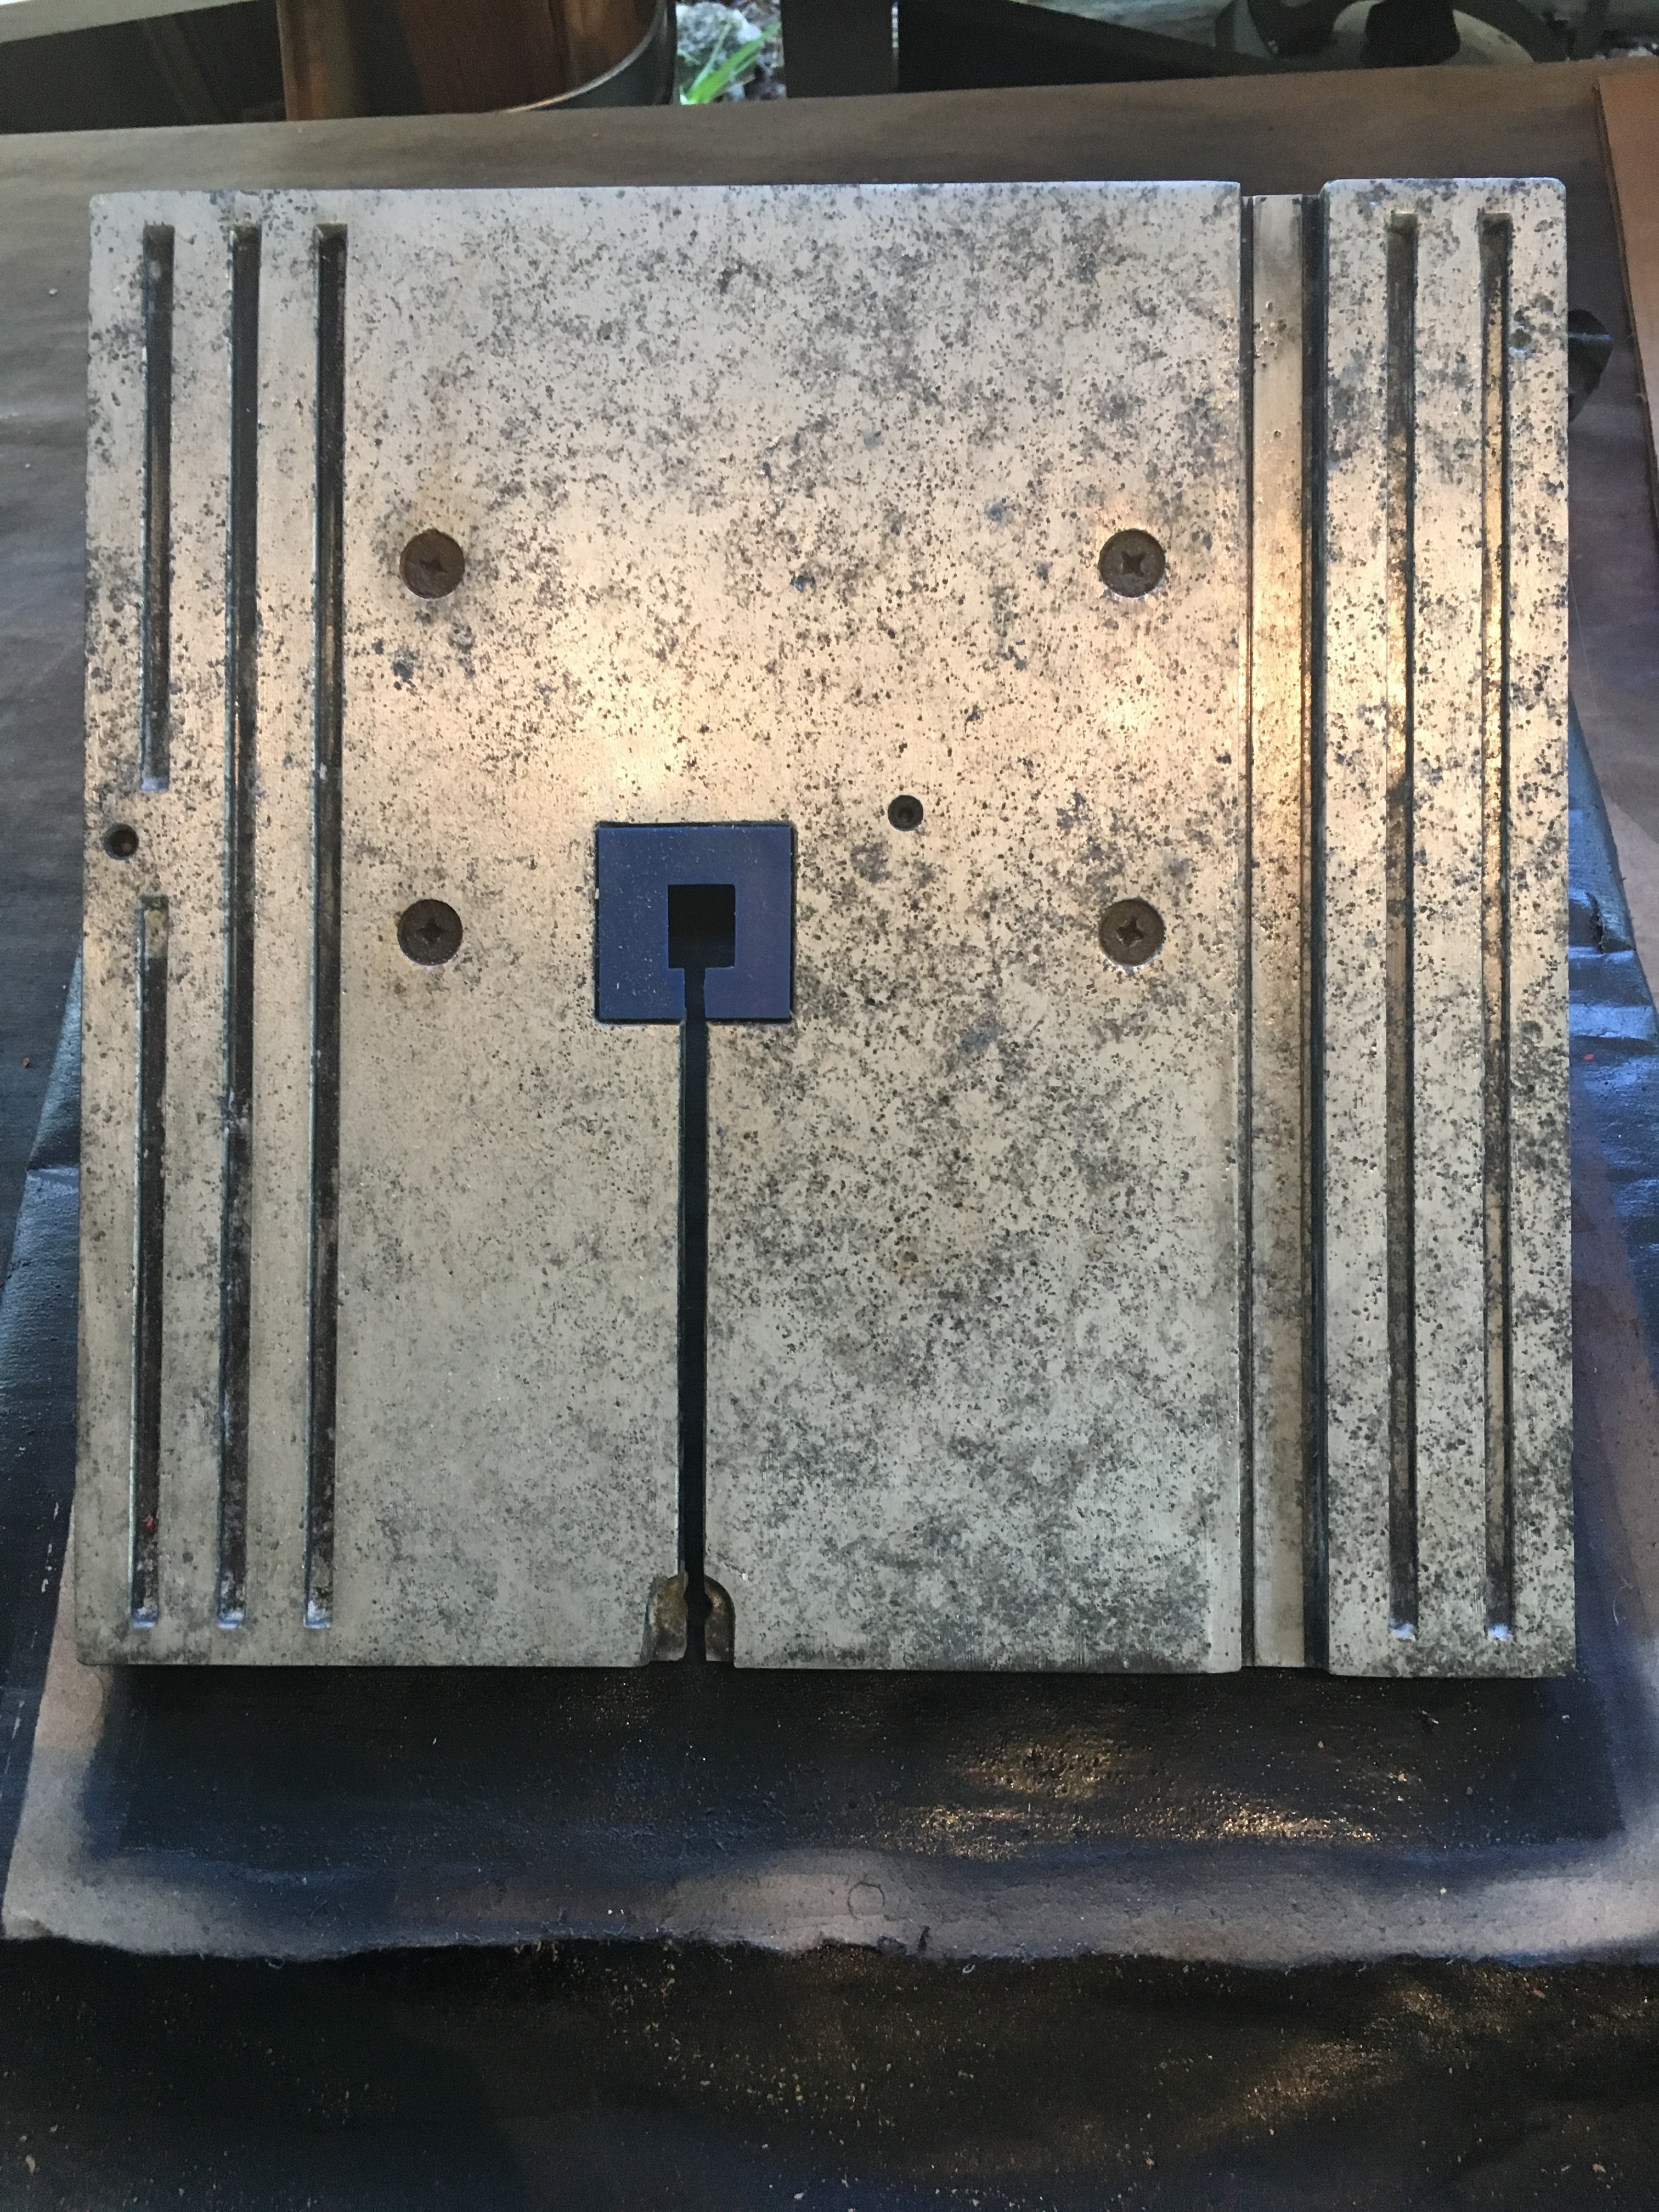
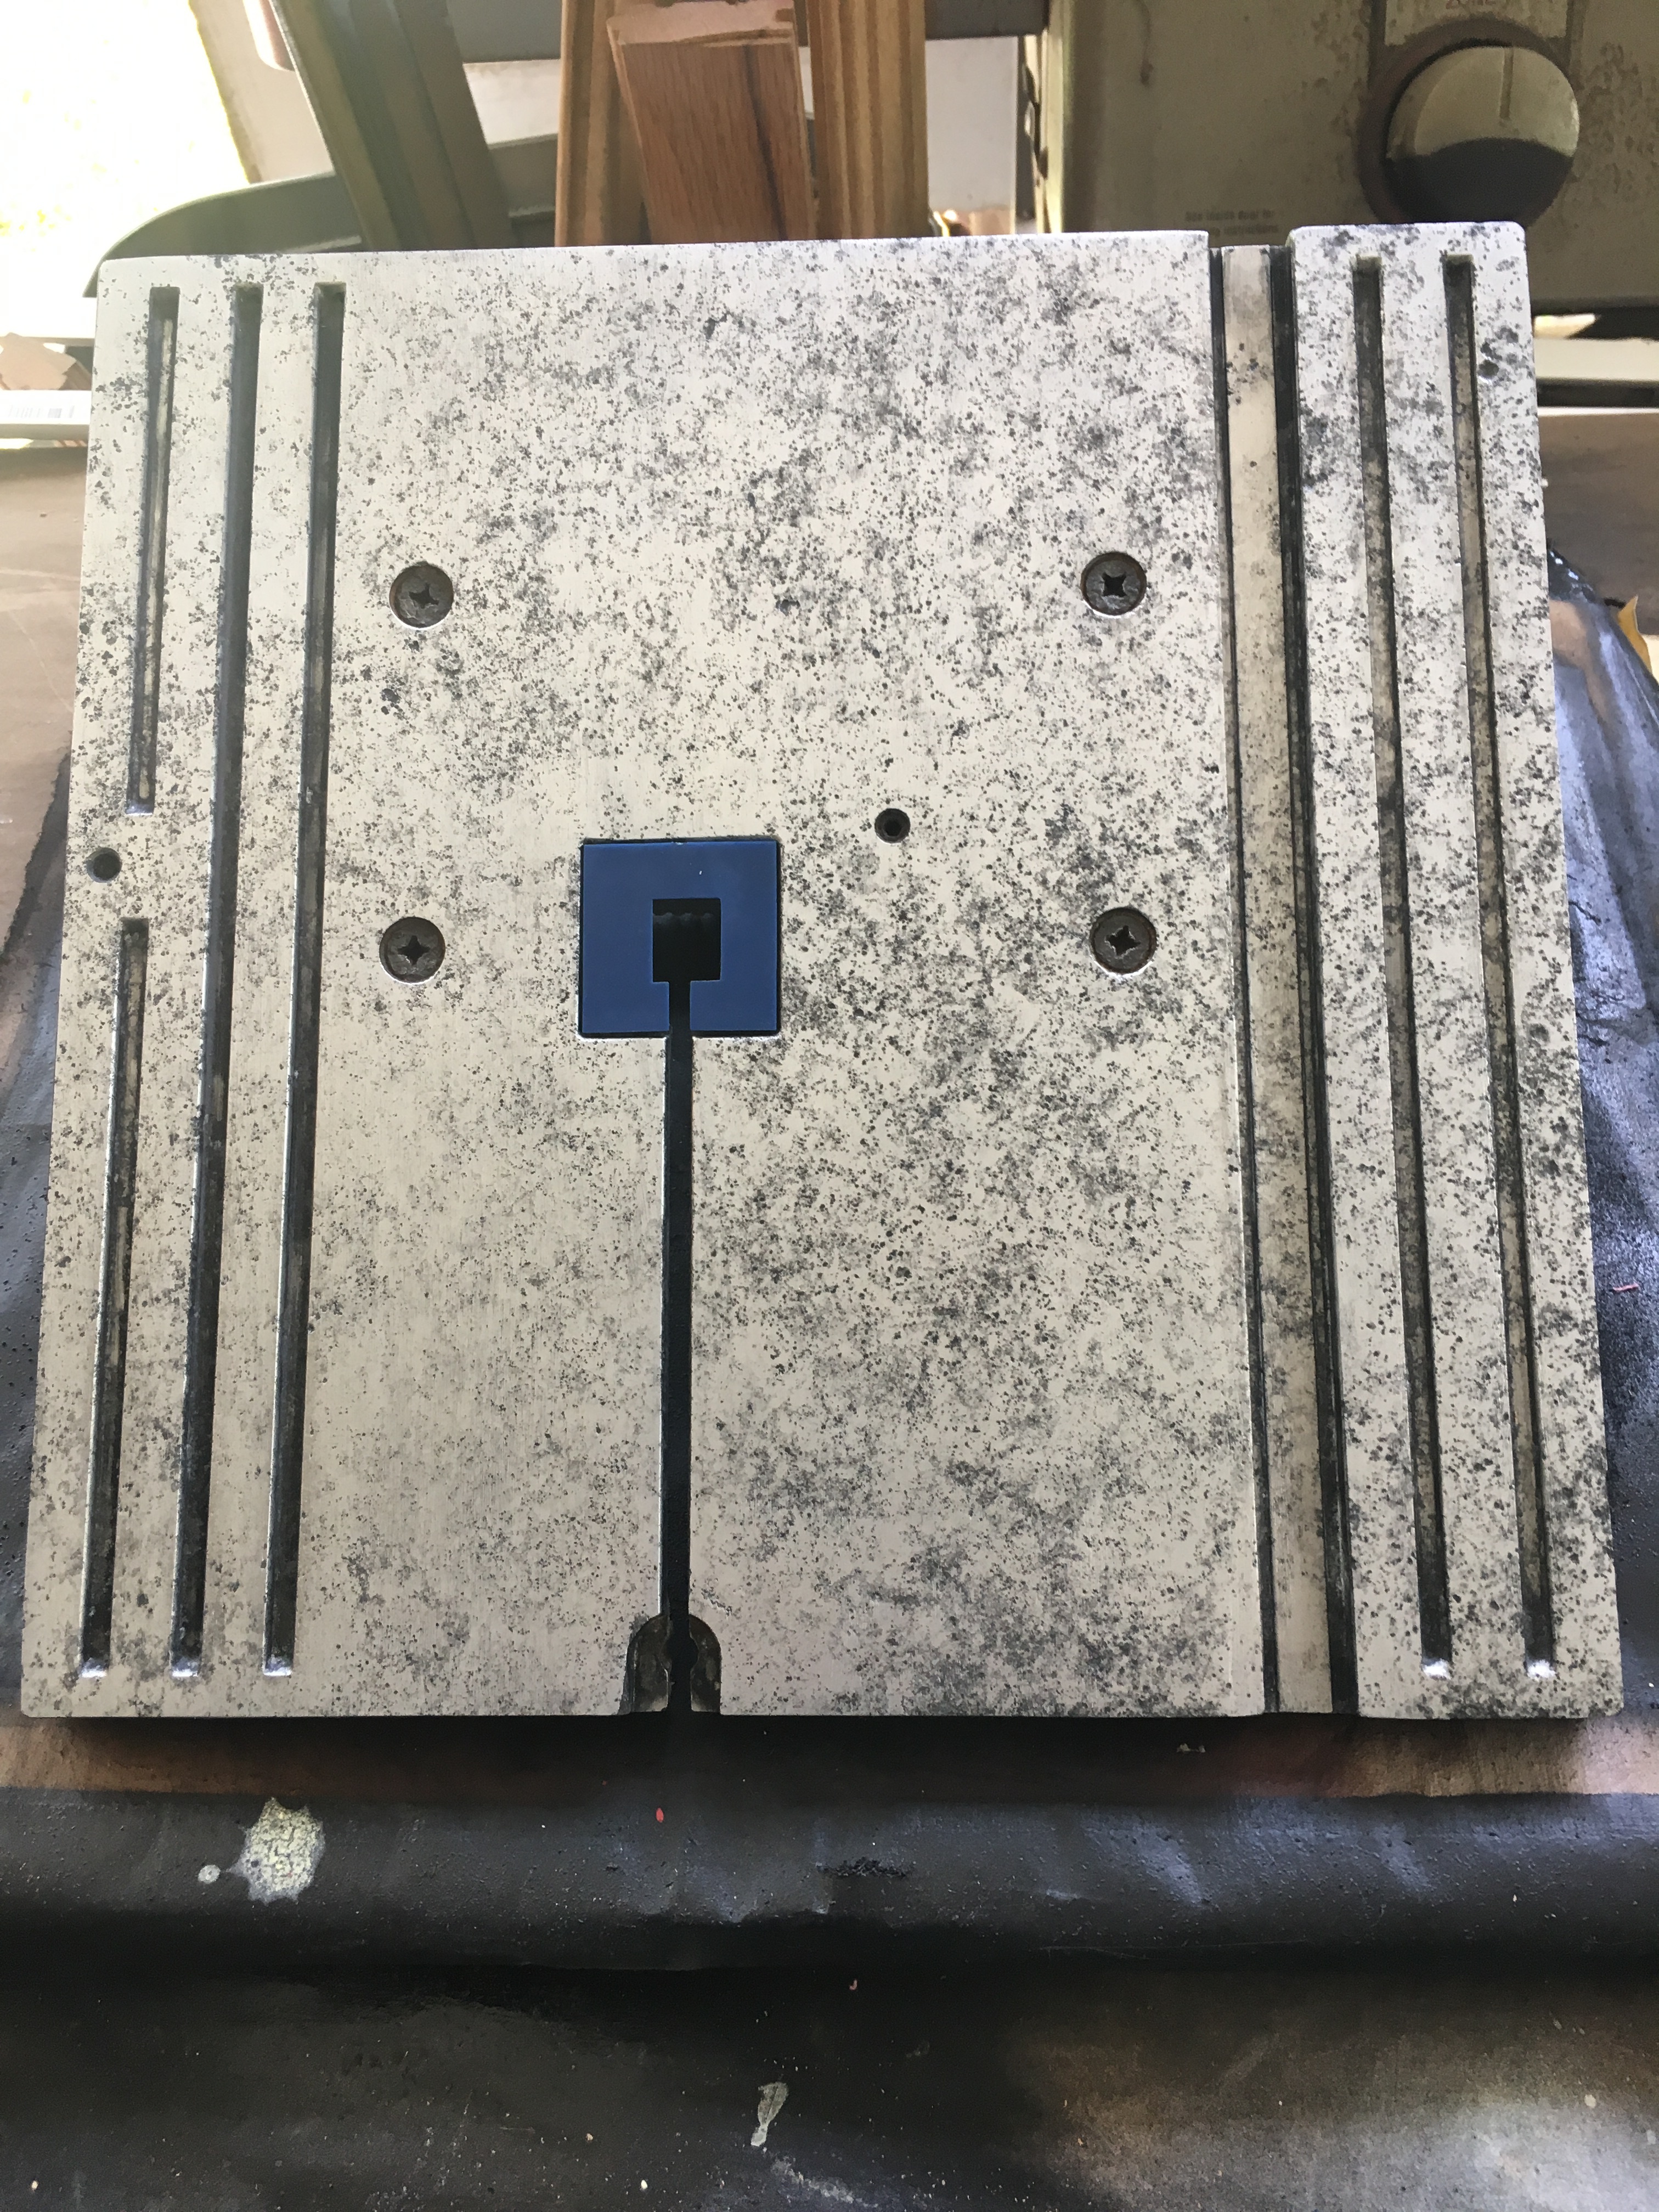
The aluminum table was a bit rough / pitted so I sanded with 120 and then 220 grit sandpaper with the orbital sander. Put a rag in my vibrating palm sander and polished with some brasso metal polish. Not much visible change, but it’s definitely smoother when I run my hand across it. Decided against doing a hard resurfacing which is what would be needed to remove all the pitting and discoloration.