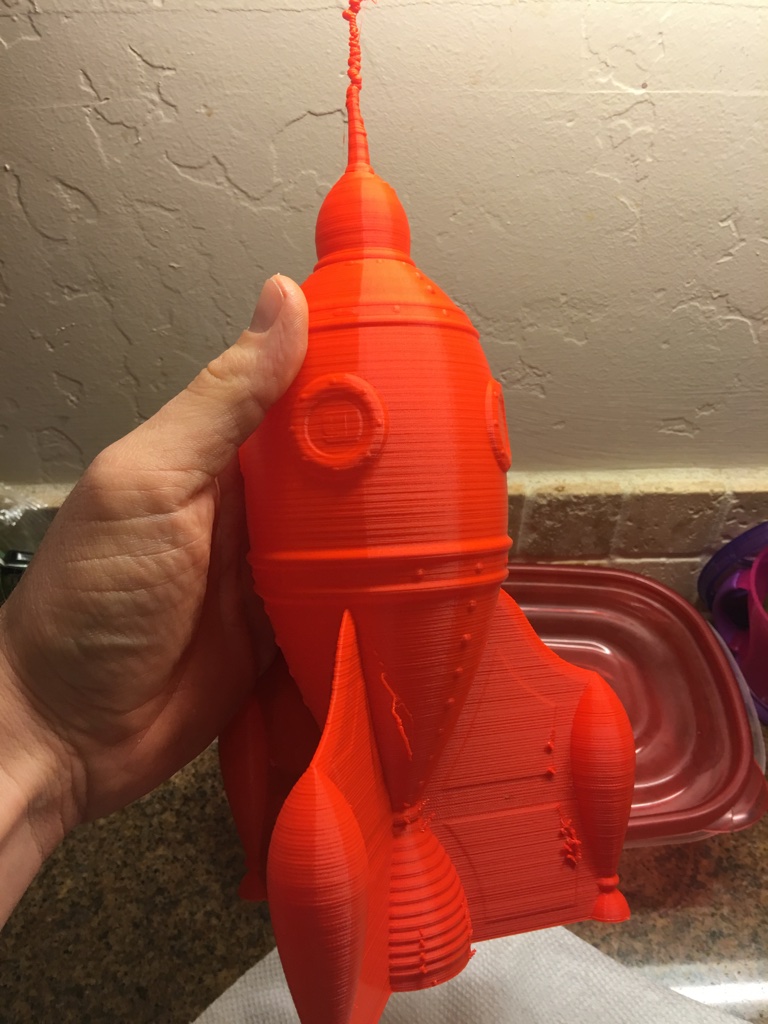
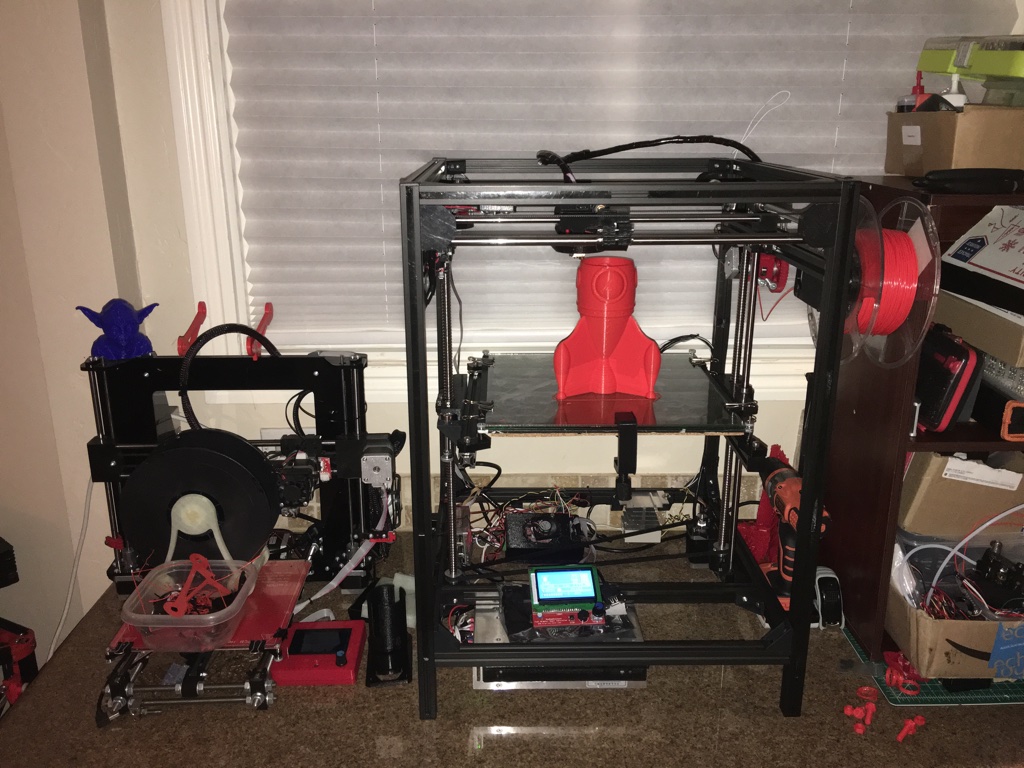
My Eustathios Spider came to life in mid-January!! TLDR: All worked well and several mods have panned out, all is owed to this community.
-
Researching and building this has been the most fun I’ve had in a long time, and I am tremendously grateful to this community.
If YOU have posted, replied, or commented in the past year or two, I have probably read and benefitted from your contributions… So, thank you to the HercuLien and Eustathios Builders community so much…
Of course, special thanks to @Eclsnowman , who makes it a priority to support the builders, who is a ready and steady source of encouragement, advisement, and expertise - and makes efforts to be super responsive even with his two little boys asleep at his side and quietly typing out a message on his phone - kudos to you sir…
Super big props to @Walter_Hsiao for great upgrades. Please put your Tiko down and keep 'em coming :).
I greatly benefitted from @Ted_Huntington 's post on a build step-by-step. It is brief, yet sufficiently comprehensive.
Surprise thank you award to @Stefano_Pagani , your efforts, obstacles, and willingness to engage the community for solutions and support has been super duper helpful for me to learn from.
Very much looking forward to @Helmi 's work on carriages, keep it coming.
Many more not directly mentioned here, as addressed above, thank you…
Findings on my build, challenges, things that worked well, continuing needs
MODS THAT WORKED FOR ME - YMMV:
RAMPS 1.4 = simple to configure, super cheap and reliable, works for the time being.
graphite infused brass bearing / ninjaflex sleeve for the carriage: More because the BOM push-fit bushings were not to be found. Though, I did eventually buy the teflon(?) alternatives from SDP/SI, while not currently installed, they seem to fit fine on the rods.
300mm x 300mm MK2a PCB heatbed and one 350W PSU: I love this solution, saved good amount of money, avoided wiring to mains voltage (because I am liable to start a 2nd fire), avoided finding/milling a custom aluminum plate…YMMV, but I am very happy with this for now. +Eric Lien informed me that 350w would be insufficient (thank you!), and so I throttled the bang-bang max on the heated to give me some headroom. Again, seems to be working alright, takes a few minutes to get to 50c, not planning on using ABS.
PLA+ printed parts: eSun PLA+ or PLA Pro as it’s called. works fine, no cracked parts.
Ball screws stock from Golmart: I increased my Z height by 75mm. Golmart (aliexpress) has a 500mm ball screw in stock, just ordered it straight w/o any customization, and it works fine. Definitely should have asked them to reverse the nut though, even after reading WARNINGS and printing Walter’s nut reversal tool, I lost ball bearings and screwed it up…Nuts are now running with 8 less and 13 less bearings, respectively…Seems OKAY but, we’ll see, and - Dont. Do. That
Misumi 30% off: New accounts promotion for 30% off, I had to ask for it. That saved loads on the frame, brackets, rods, etc.
RobotDigg FTW: I got almost everything from RobotDigg (more than is referenced on the BOM). Major savings going that route, and RobotDigg had great support.
FURTHER CUSTOMIZATIONS:
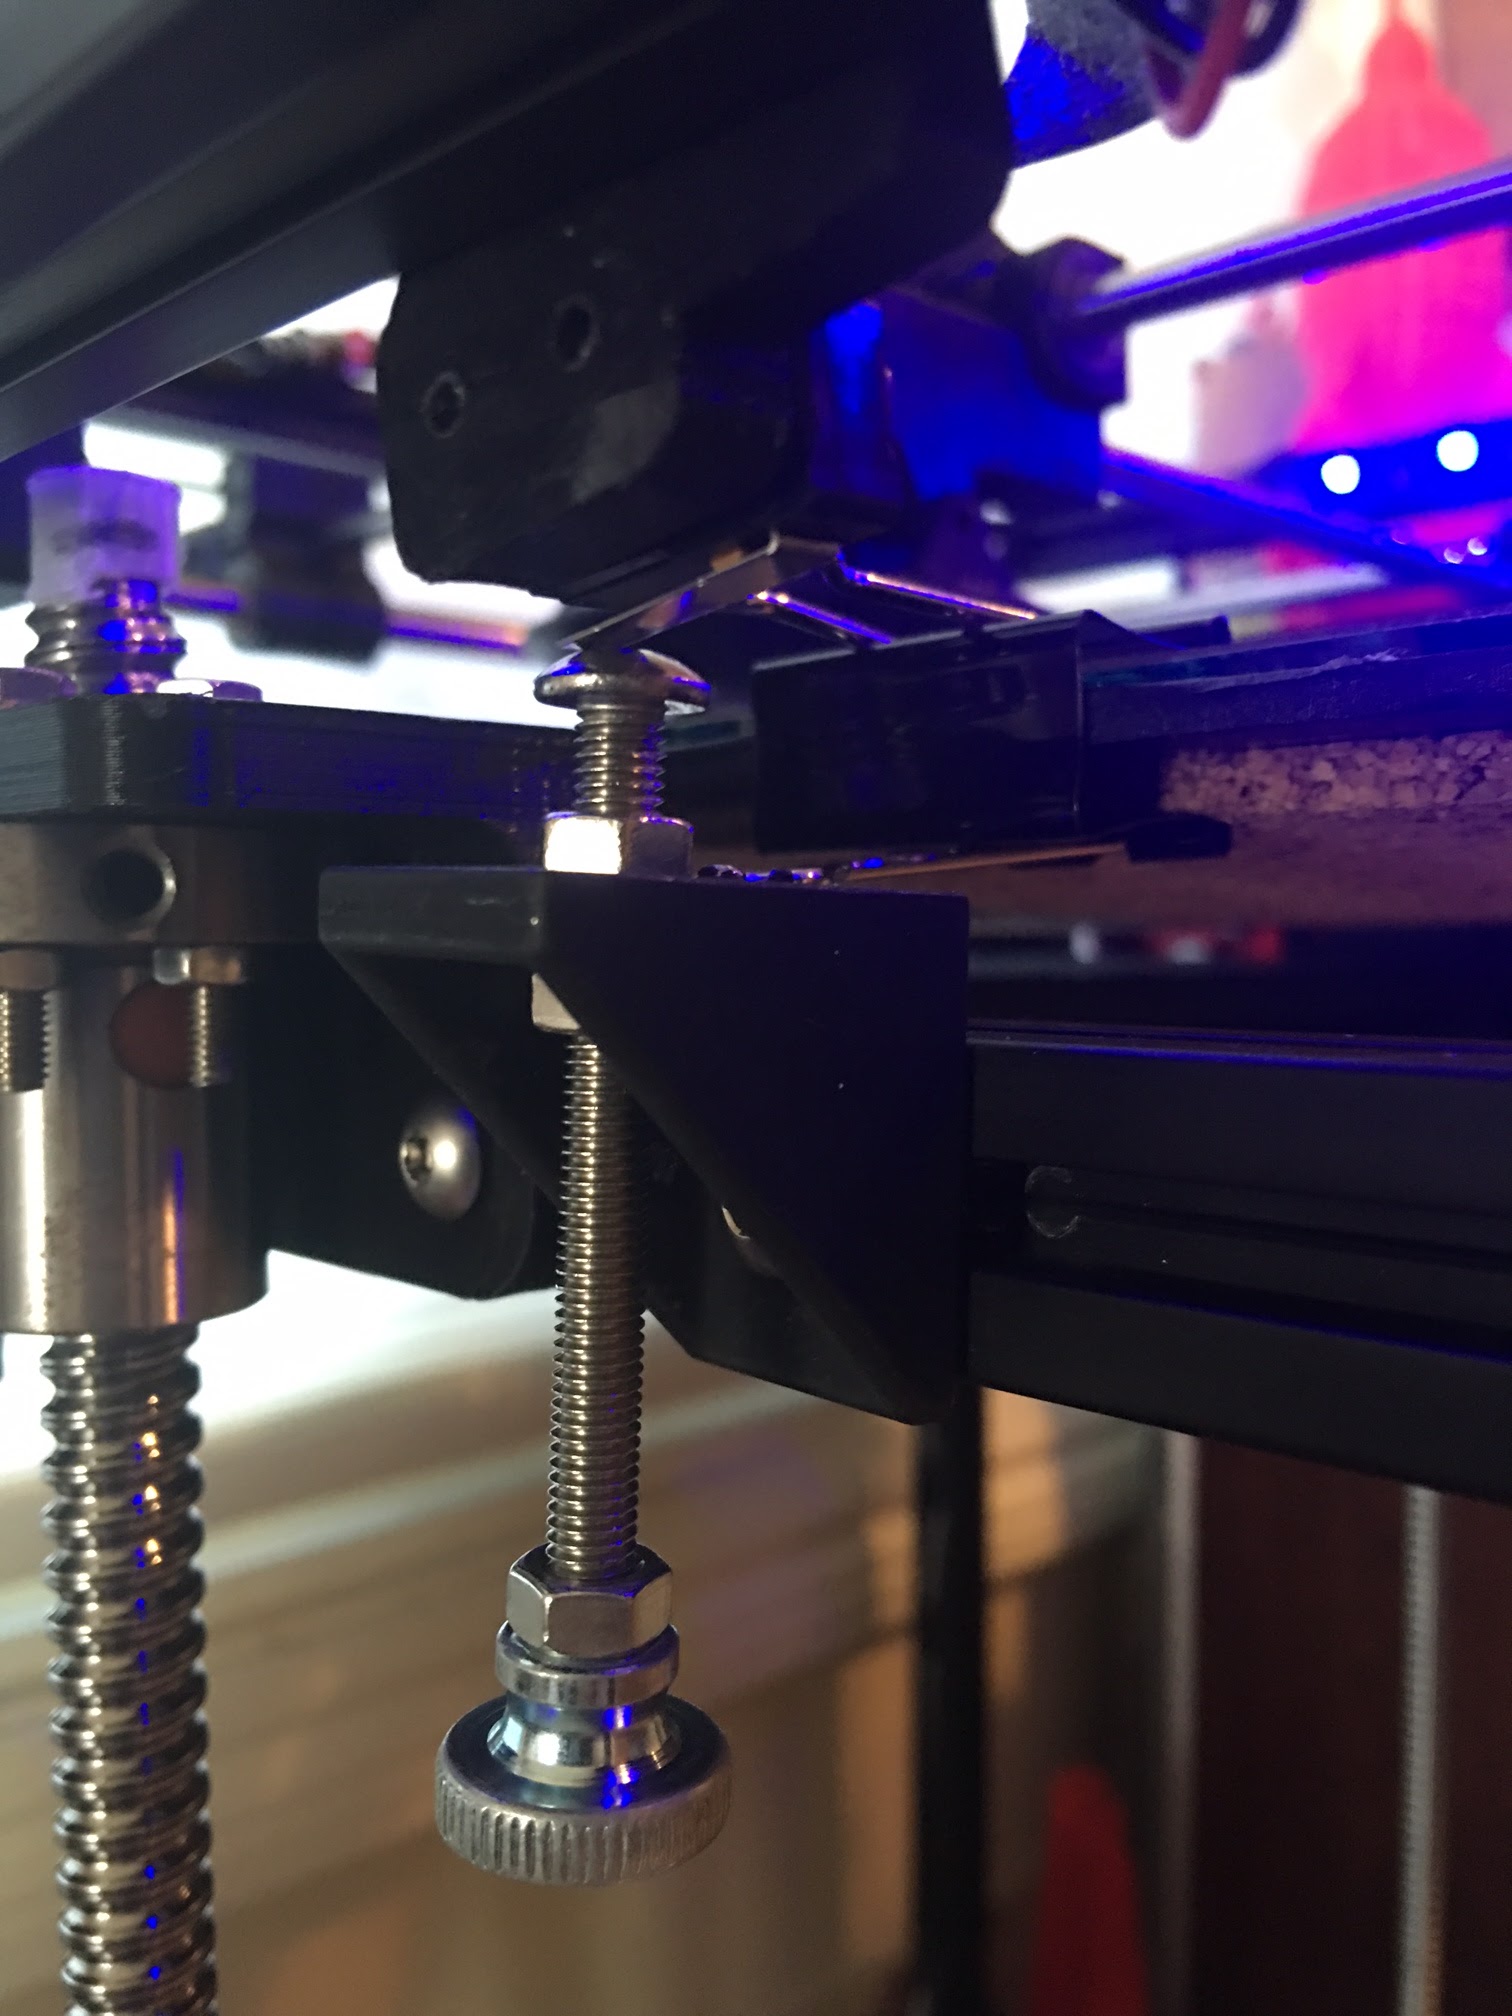
My custom Z stop: Dead simple, precise, easy, and reliable. This is a legit upgrade - picture attached.
- Affix one corner bracket to the bed support extrusion below the Z endstop, flat end facing up.
- Insert longish M5 screw with head facing the endstop. nut above the bracket and below the bracket.
- Insert nut and, in my case, an M5 thread-knob-thingy.
- Adjust as needed with easy access, excellent precision and repeatability.
Chinese Volcano: Love this, compliments the great speed capabilities of the Eustathios with a .8mm nozzle and great melt for super fast printing. Awesome.
AND NEXT UP:
I am now working on installing a Diamond hotend. I purchased an RRD Fan Extender and a Stepper Expander x2 (admittedly, at this point, it would likely have made more sense to get one of the Smoothieboards that are universally lauded, which is of course still an option…).
I purchased the BIQU Diamond hotted from Amazon. It is cheap (~$40), complete (includes fan, heatbreak, pre-wired and assembled) but BEST OF ALL it comes with a carriage that is a direct fit for the Eustathios. I’m not even sure how this is possible, it’s so serendipitous. I was trying to figure how to adapt it to the gantry and pouring through Thingiverse and it arrived, I inspected, and I literally need to do nothing. Just so amazing…
If you got to the end of this post, you earn a medal. Good for you.