Which would be a better choice? I have a homemade 2 axis laser that I kinda struggle with getting consistent results. I just thought to ask in an experienced place if another firmware may be able to help? Running grbl now and being a bit light on education (newbie) I thought that maybe this would be a better choice to make?
Thanks if you read this
Jerry
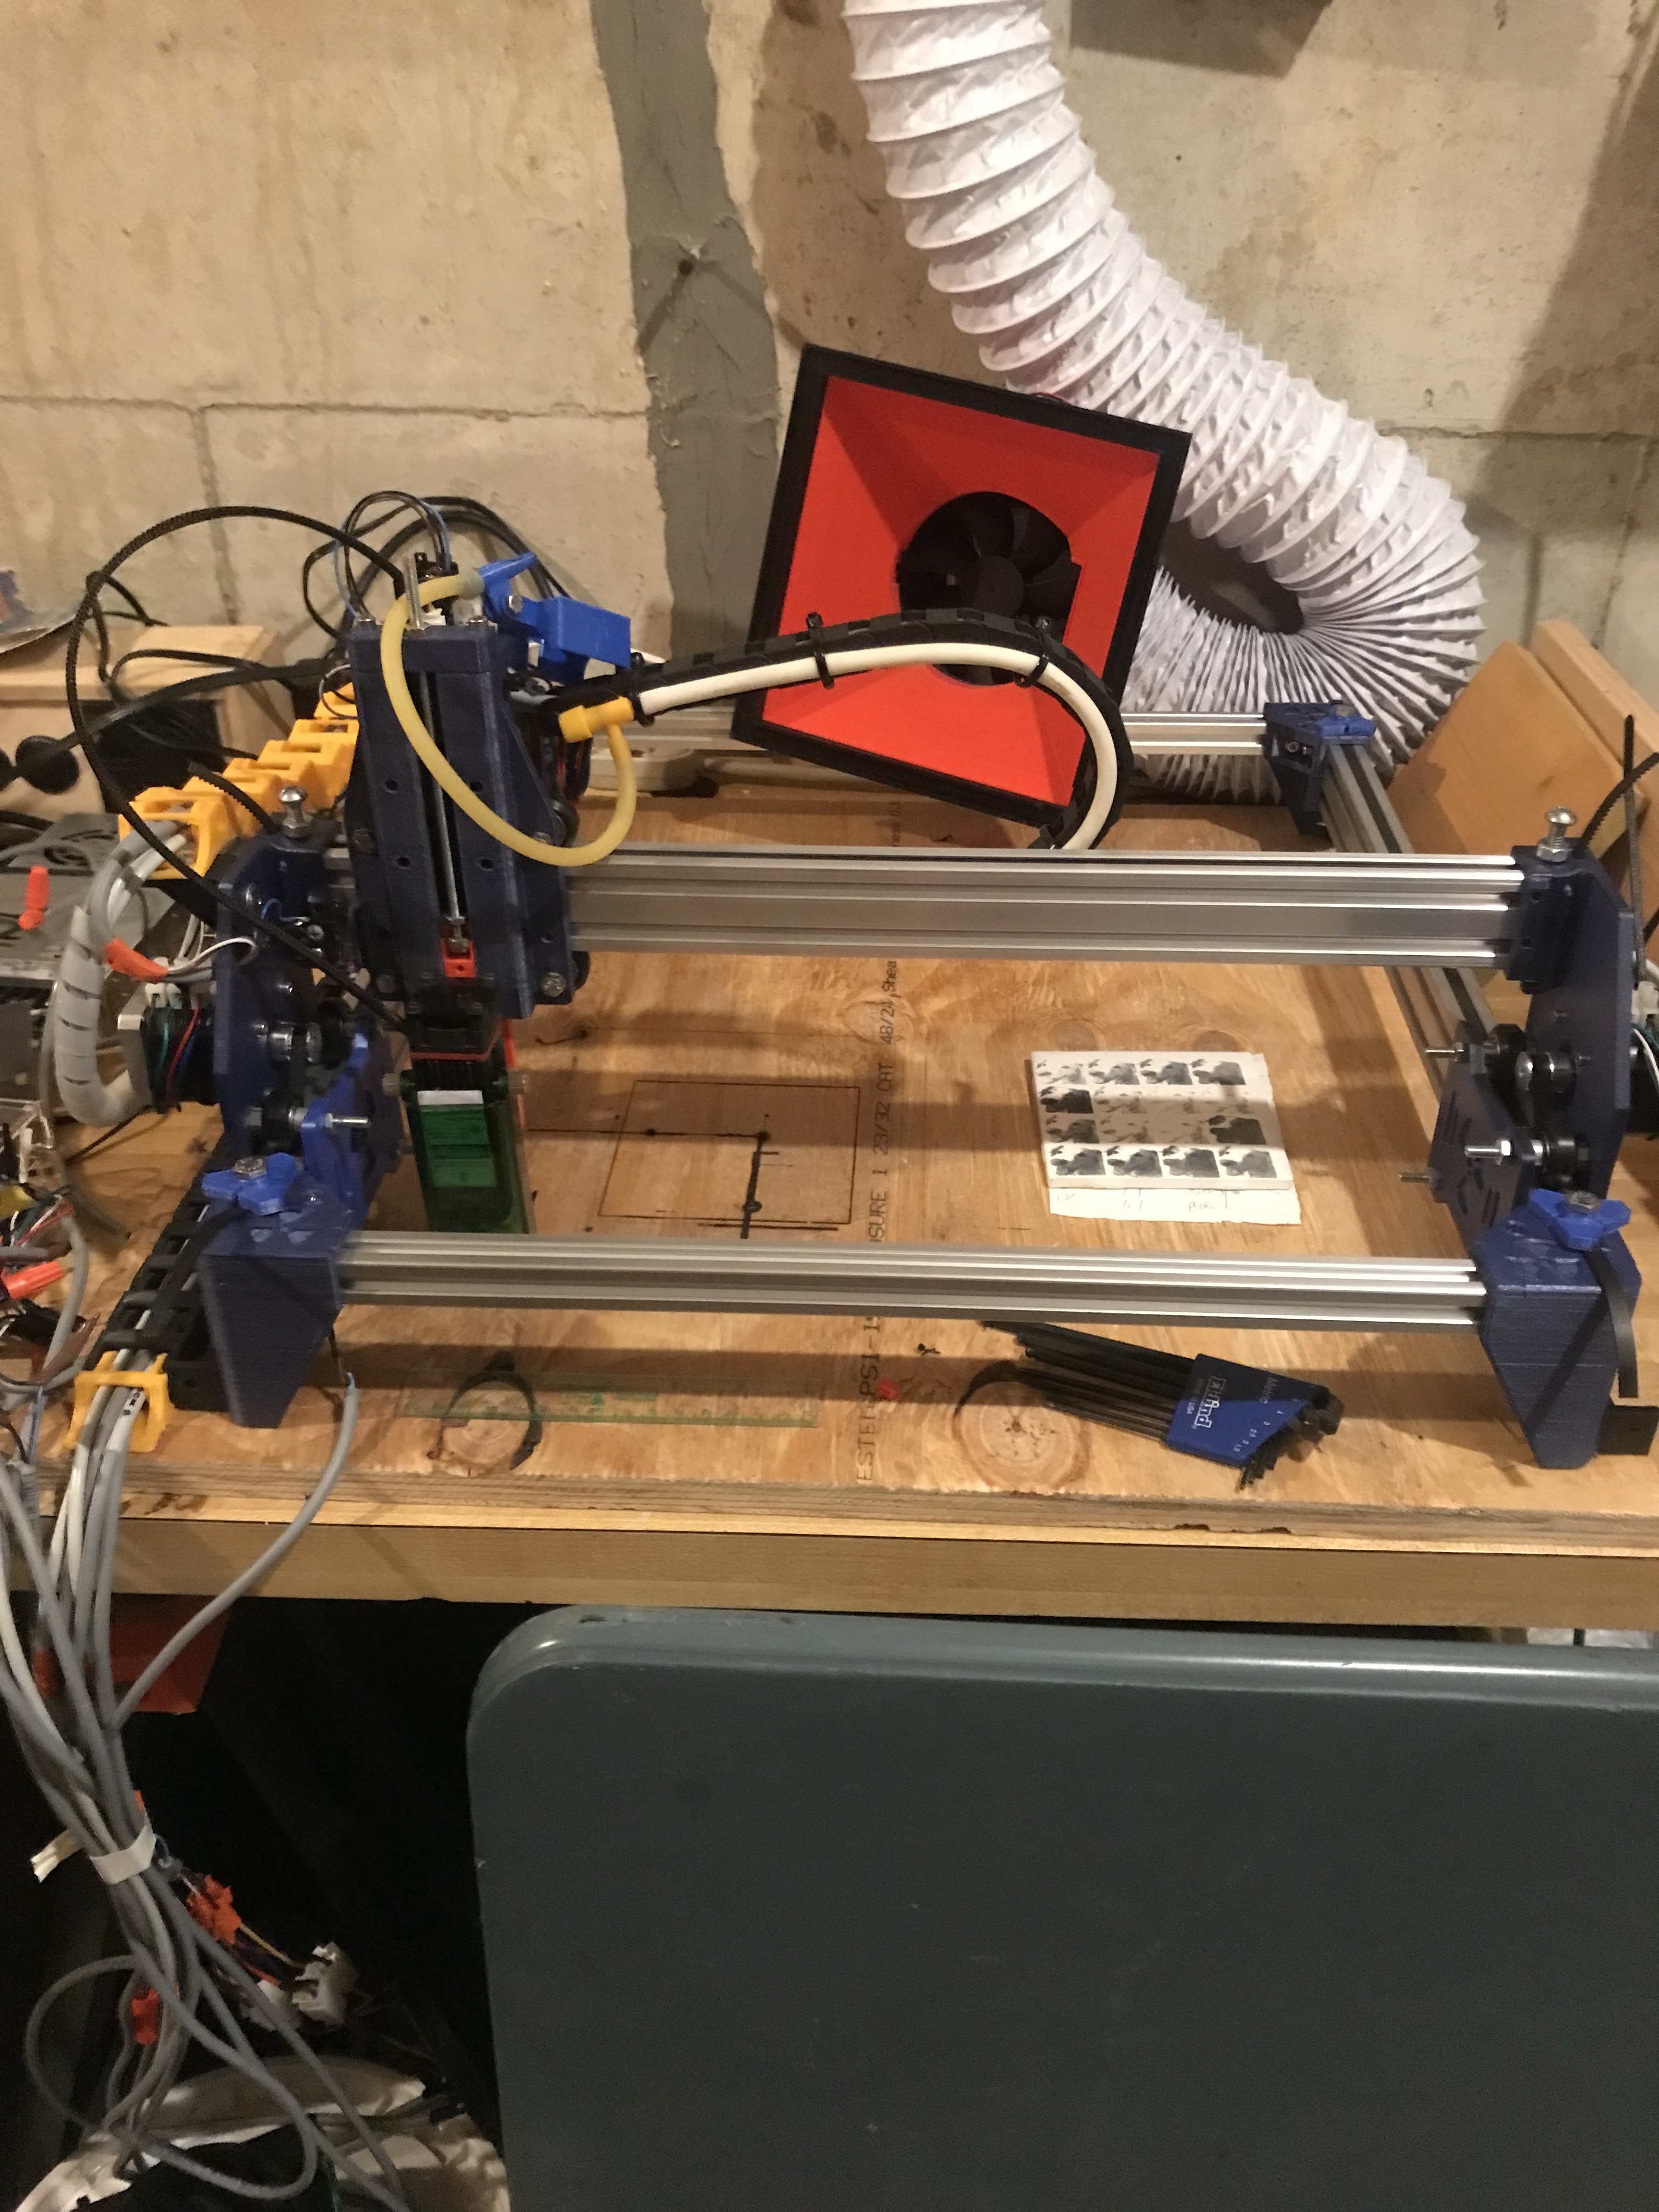
Without knowing what the machine looks like and why you are getting poor results any recommendation without further information is like hitting Ctr-Alt-Del to ‘fix’ Windows. YMMV.
Please post pics and tell us more about what’s going on.
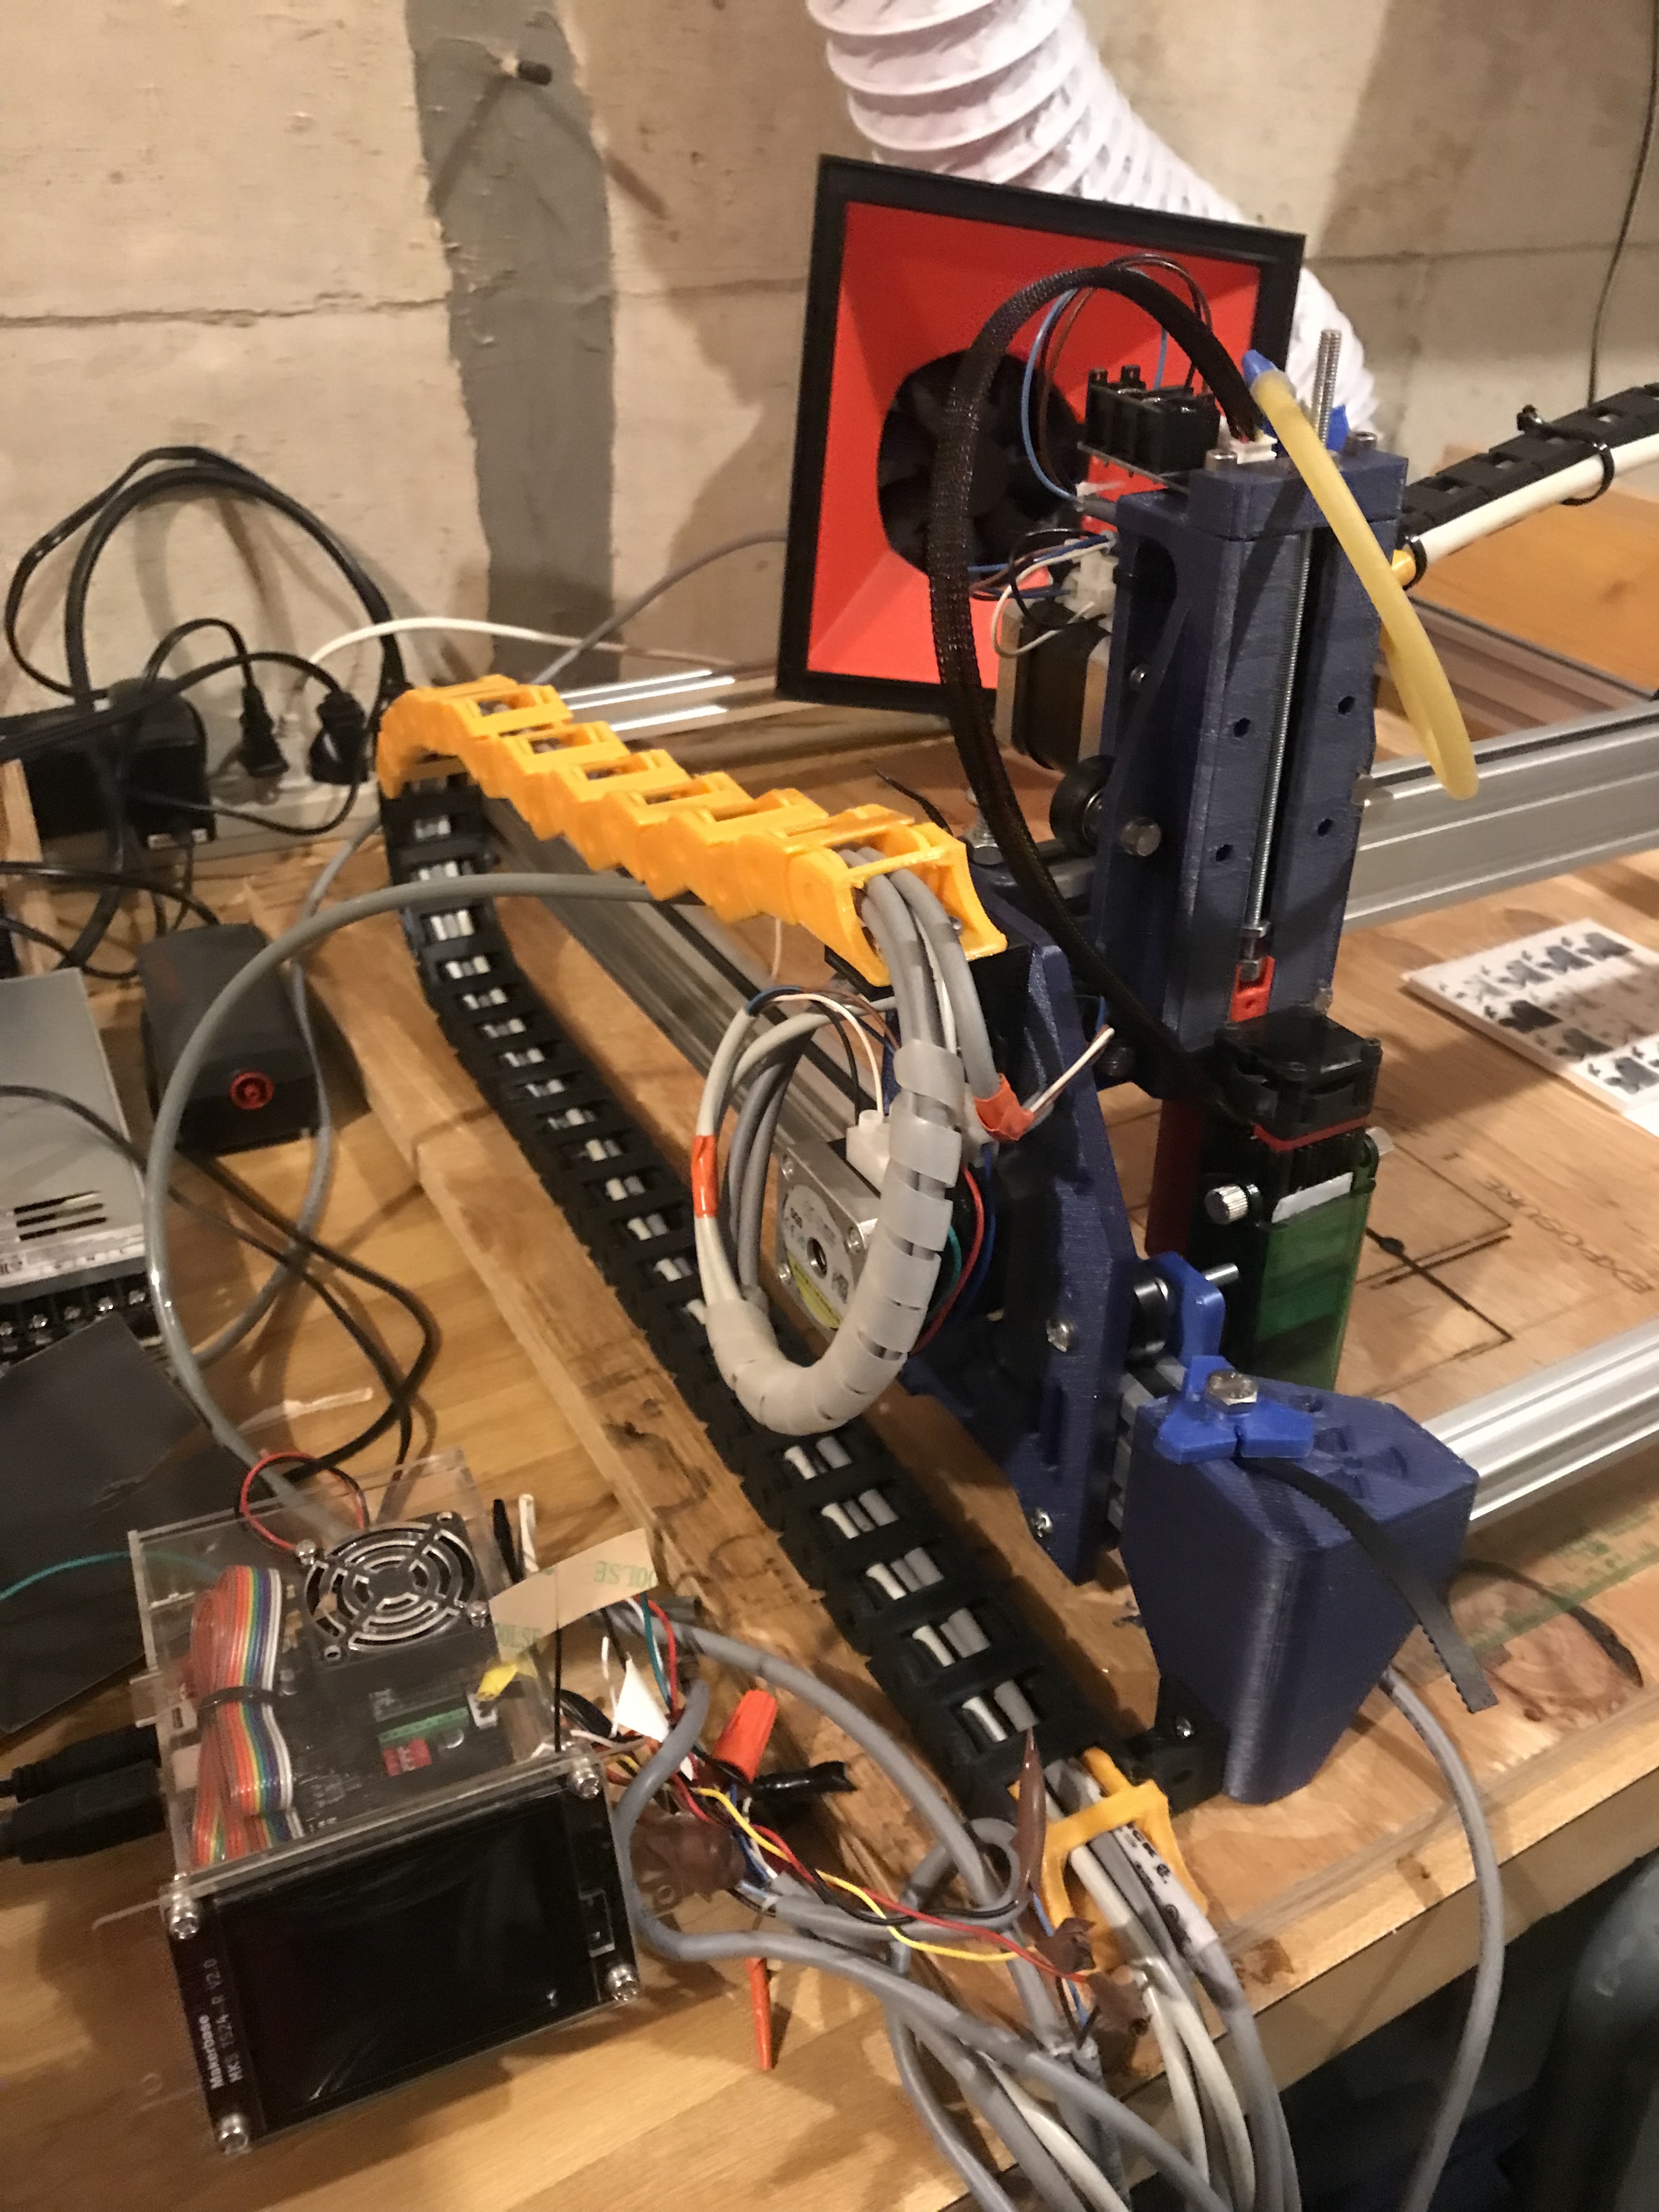
I’ve added some crude pics. One of my daughters cat I have trouble with Norton white tile method. I use Lightburn (brand new to it) and my controller is a mks dlc32 board running grbl (preconfigured by mks). Lightburn has helped some but I’m at the low end of learning the learning curve. I’m still trying to perfect the NWT method. But as much as I try to get settings that work for greyscale pic reproduction, it still leaves areas with patchy colors and sometimes the layers of pic shift over x axis and back. Now I scour the internet for possible hardware checks and firmware info to see if I’m mis configured! But I started this thread mainly to check firmware off the list of questions.
Thank you for your time
Jerry
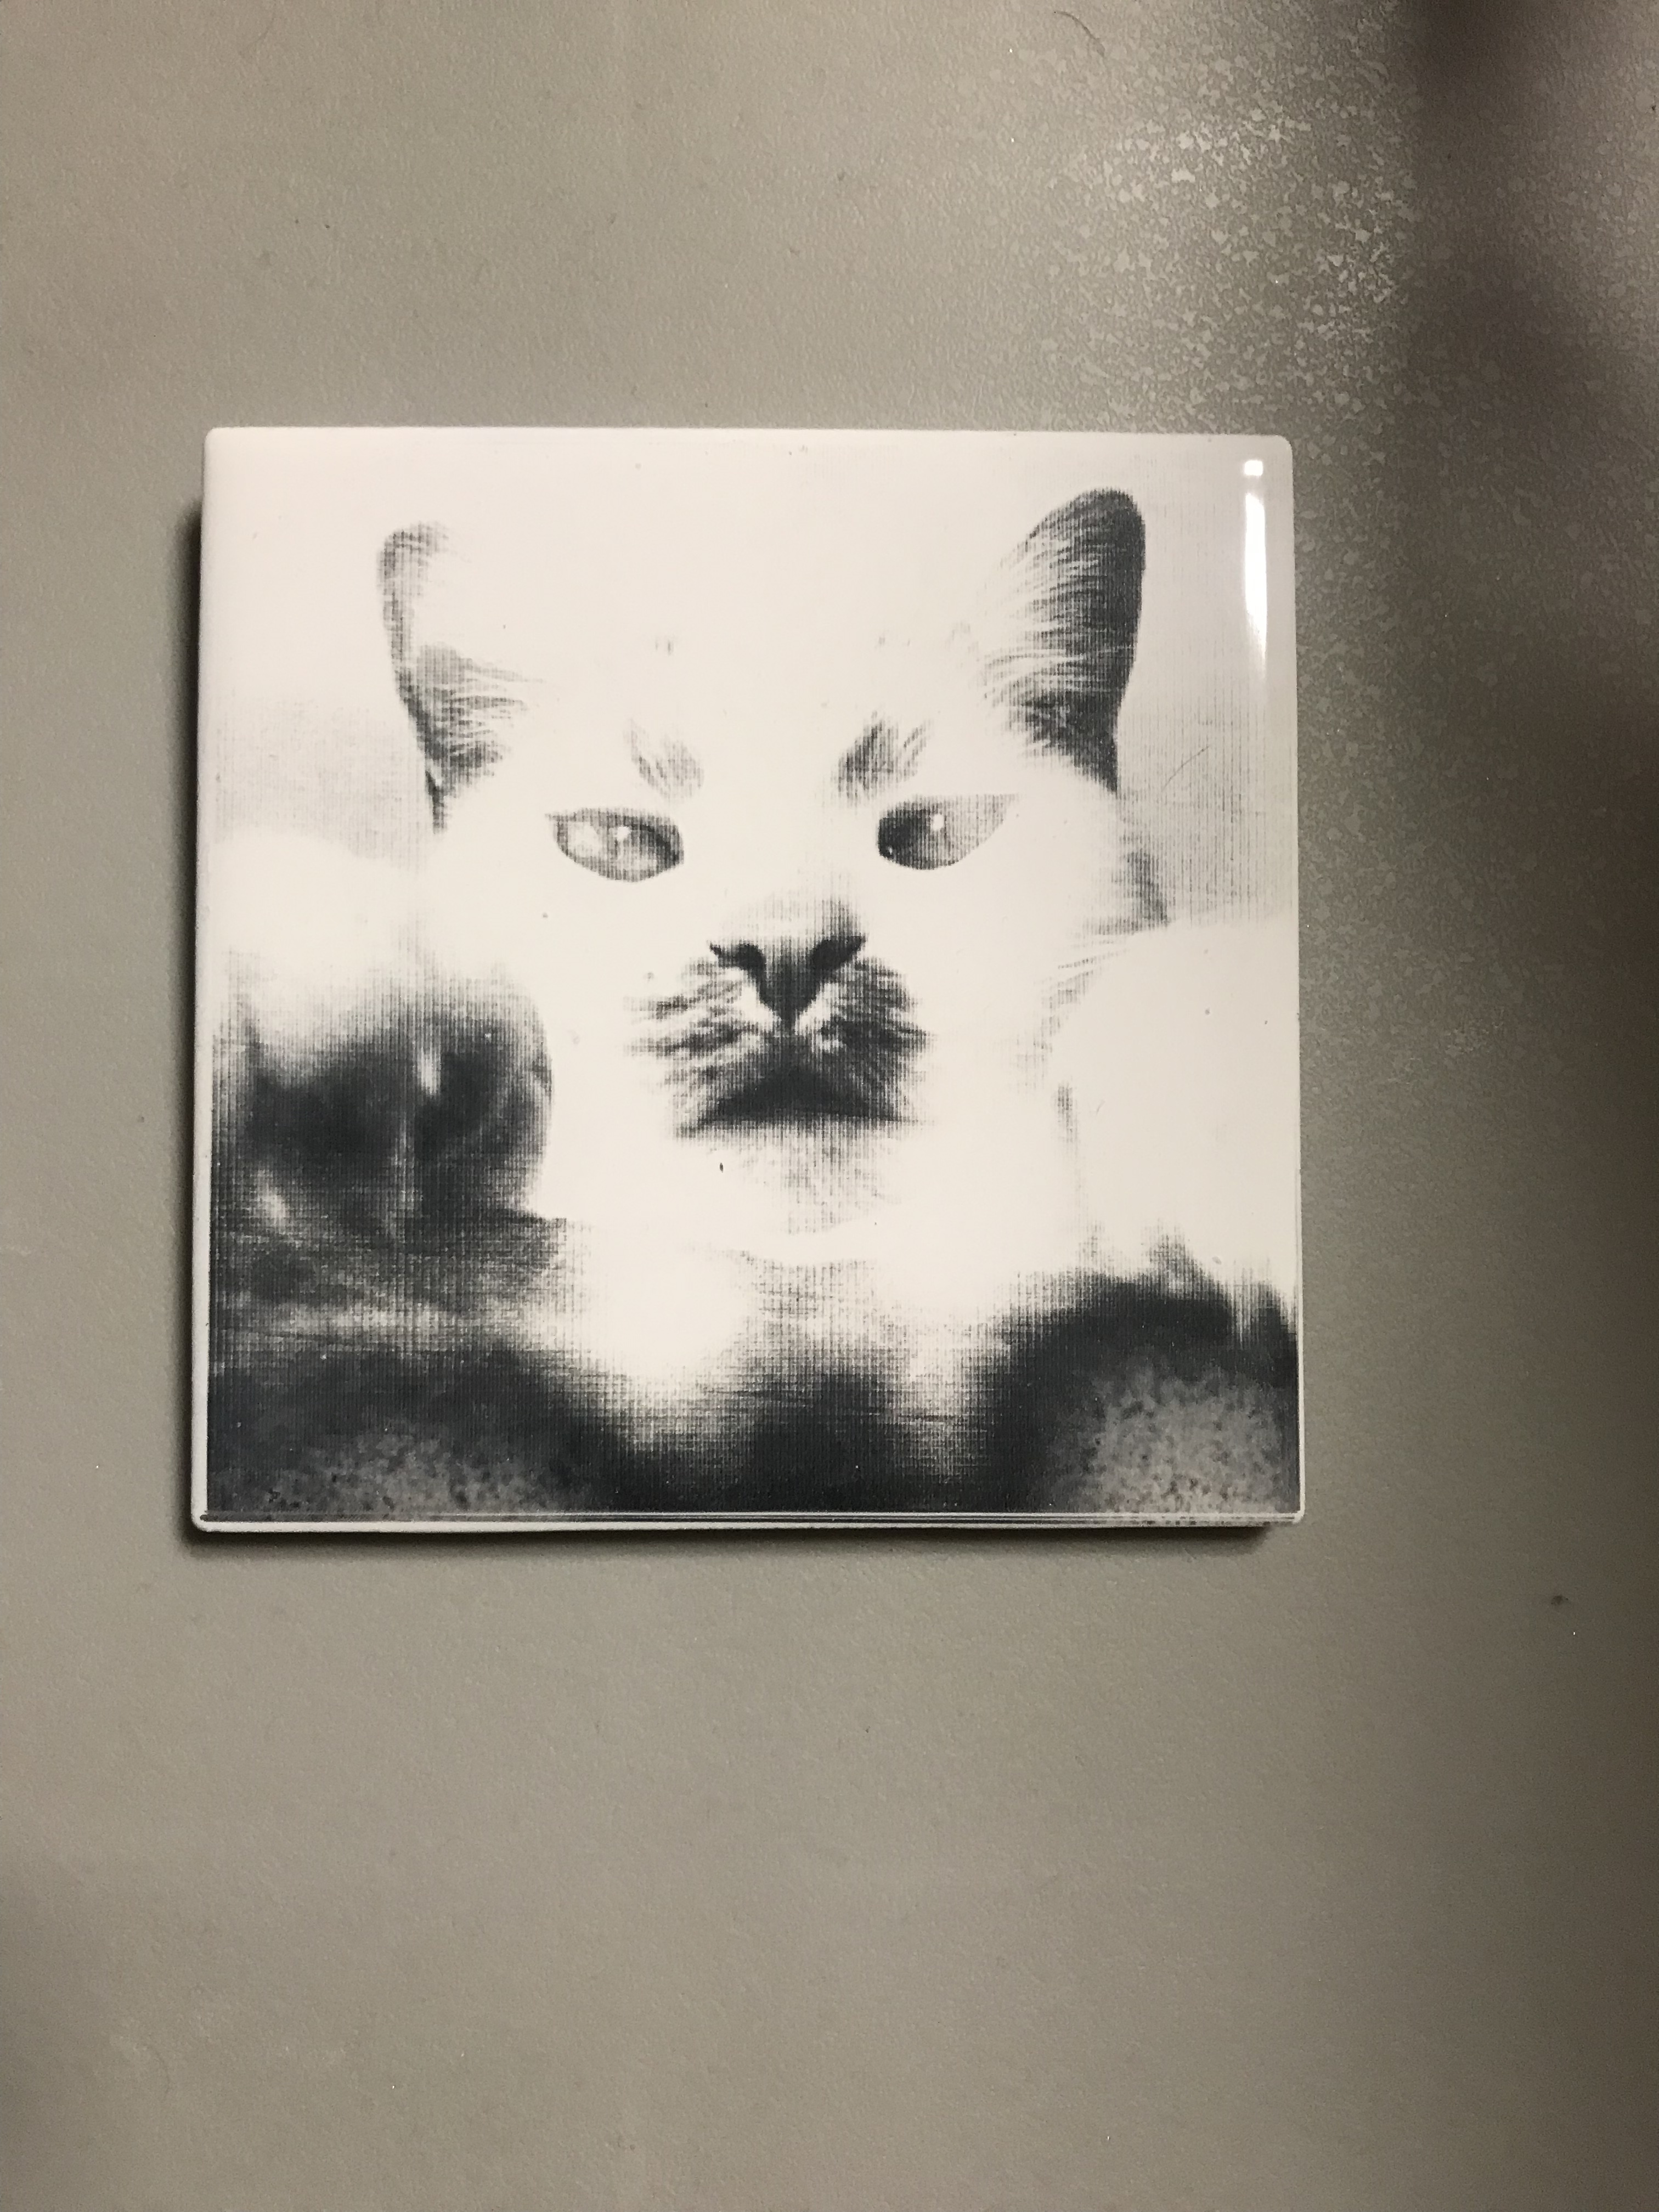
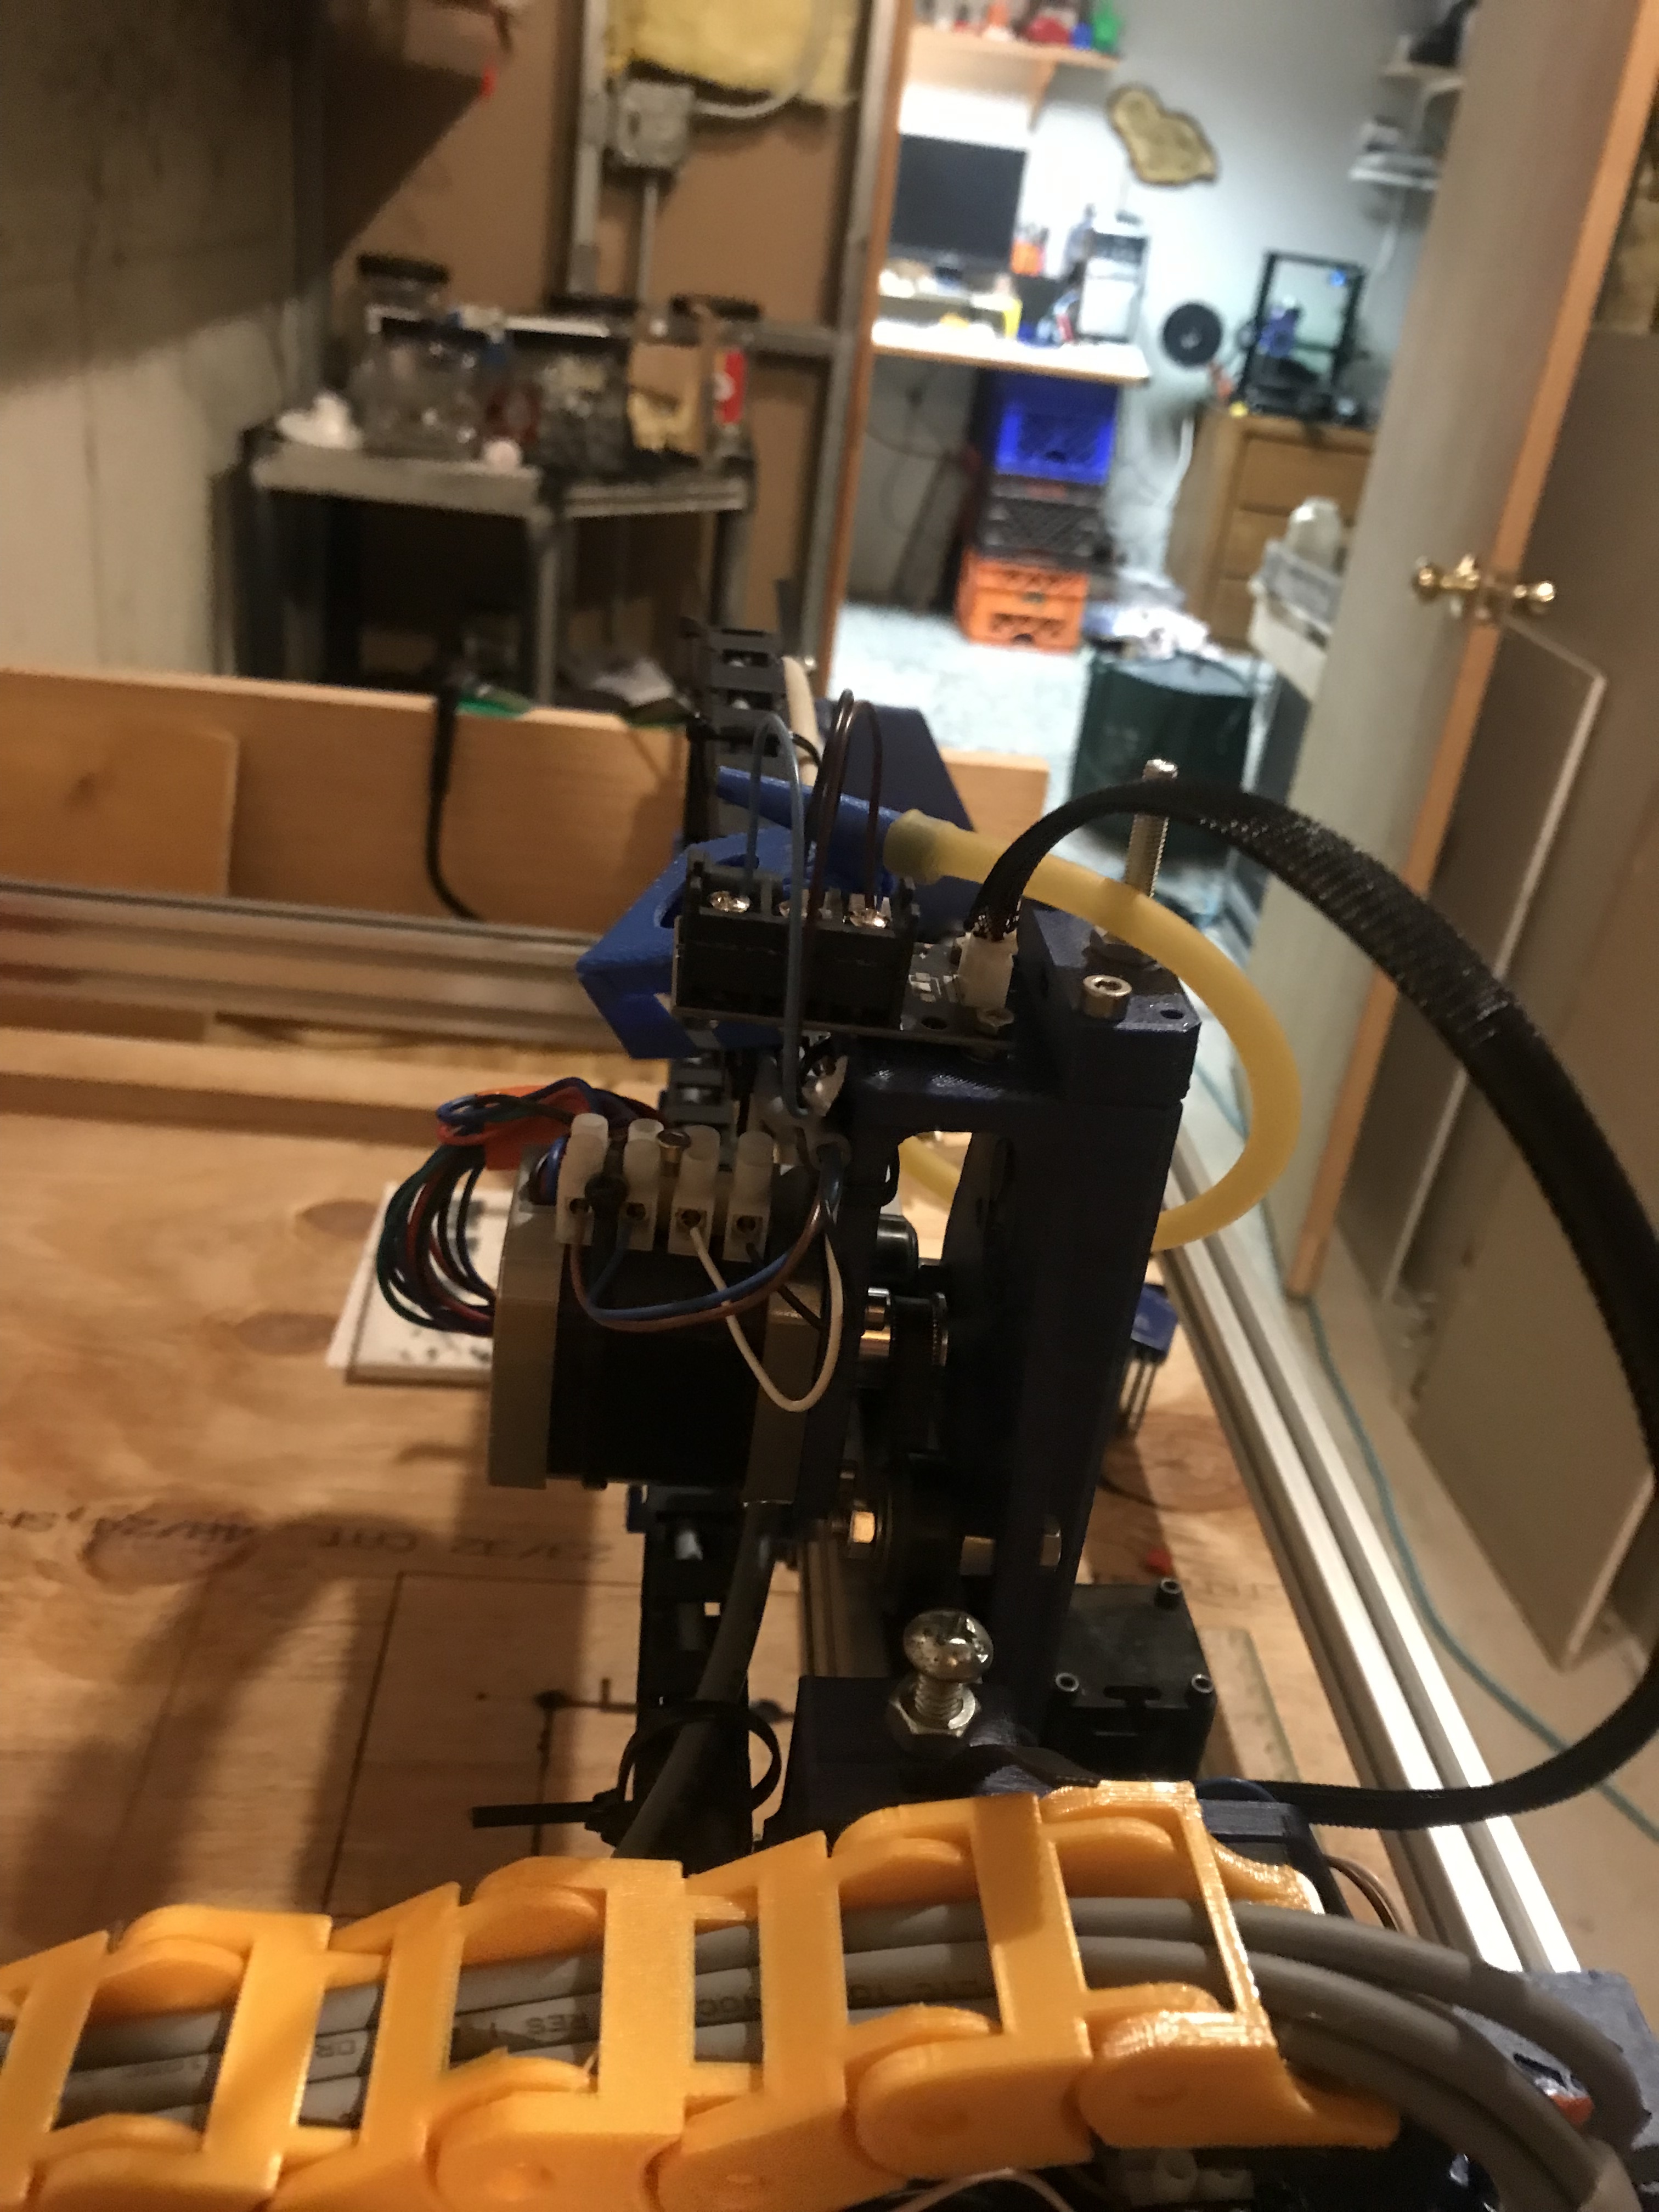

Here’s another pic close up of cal wheel. There’s a perfect pattern in the grey area. It baffles me how I could have done that. Everything seems to move just fine mechanically but really I don’t have a lot of experience.
NWT is not easy. I have not yet tried the PVA mixture talked about on the LightBurn forum and have used Rustoleum White 2x paint primer with decent results but you have to be VERY skilled at getting a light coat and evenly spread. People using the PVA mixture are usually talking about how to mix it for good Titanium oxide mixing and then spreading it on evenly. Only if you can do that consistantly(spray paint or PVA mixture) can you then expect to get consistent results.
A layer shift is a no-no and that can be a number of things:
bearings binding on the x axis
anything hanging off and getting dragged along x is hanging up(drag chain)
motor driver over or under driven causing skipping steps
weak power supply to the motor
just to name a few.
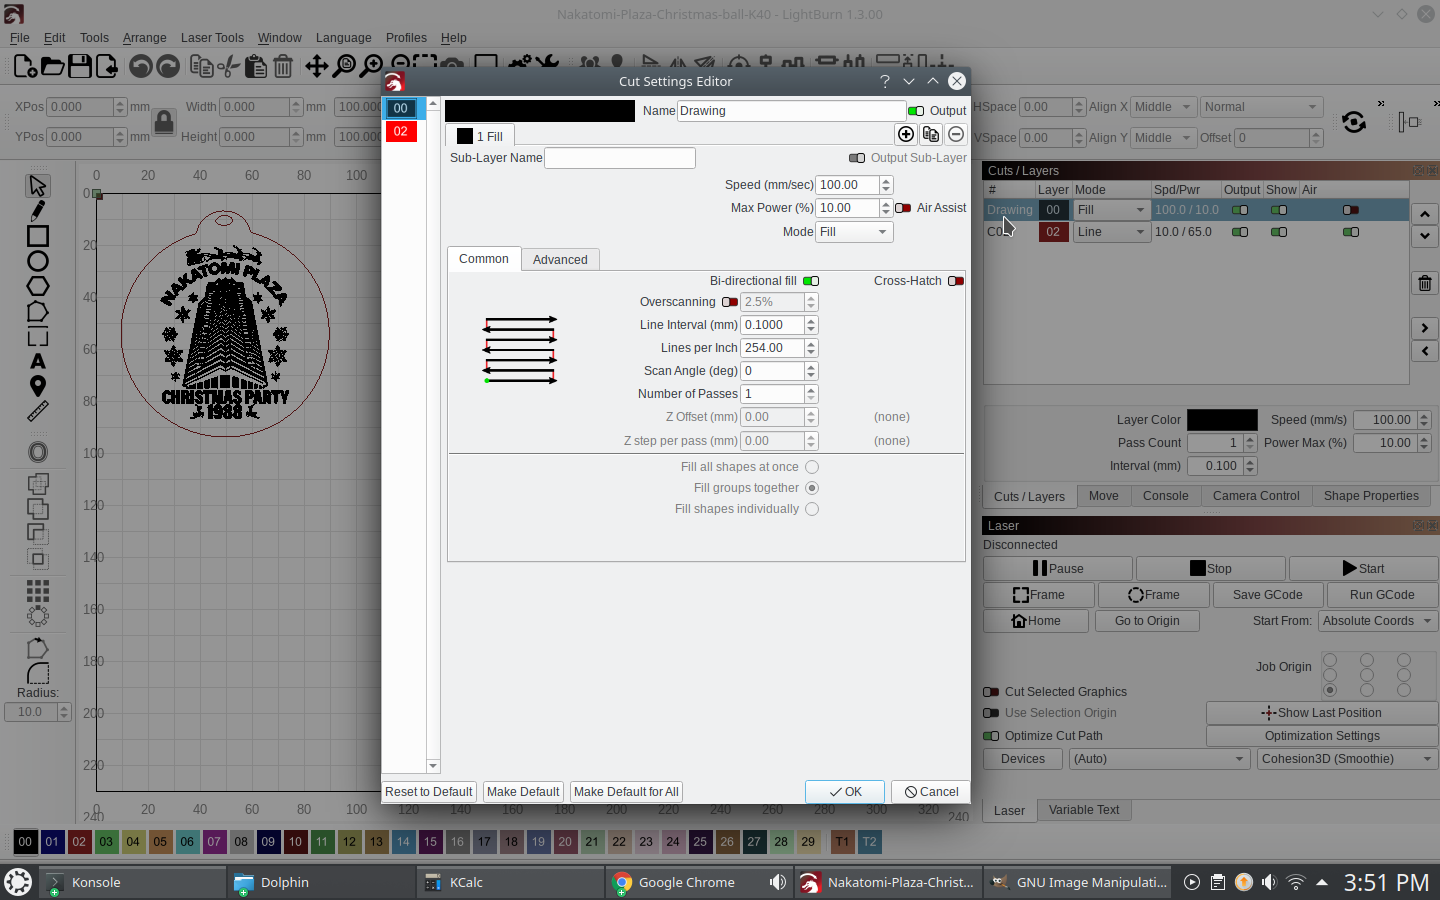
As for that pattern you are seeing on the grayscale test wheel, have you tried setting the scan angle 45 degrees and see if the pattern follows?
No I haven’t tried to change the angle. Frankly though I’m still looking how to do that(kinda intimidating right now). But I will follow up soon on these suggestions. Thank you so much for your hard work and time!
I hate the holidays too hard to focus on anything.
Happy holidays
There are lots of videos on how to do things in LIghtBurn. FWIW, what I mentioned is in the layer setting where you set the power/speed/etc and is called “scan angle”.
Thanks for that!!
1 Like
hi and thanks but im using image in my layer. i believe thats only an option for fill? im still learning how to use this software. iforgot to mention that the greyscale test wheel was a picture! my bad ! ill check videos for more raster instructions.
thank you
It doesn’t matter if it’s set to Line mode or fill mode. See the mouse pointer pointing to the Fill layer and see the dialog window open and the “scan angle” option? If you select Image mode it too has the same “scan angle” setting.
Thank you for being patient!! I’m going to give a try today.
Kids in town and my vacation almost over. Illl have more time. Please have a great day!
I feel really stupid at this point. Lol. I’ve been right clicking the whole time. I selected it and it came right up. Hopefully I can try today using a different angle. Thank you for your patience!!
Jerry
2 Likes
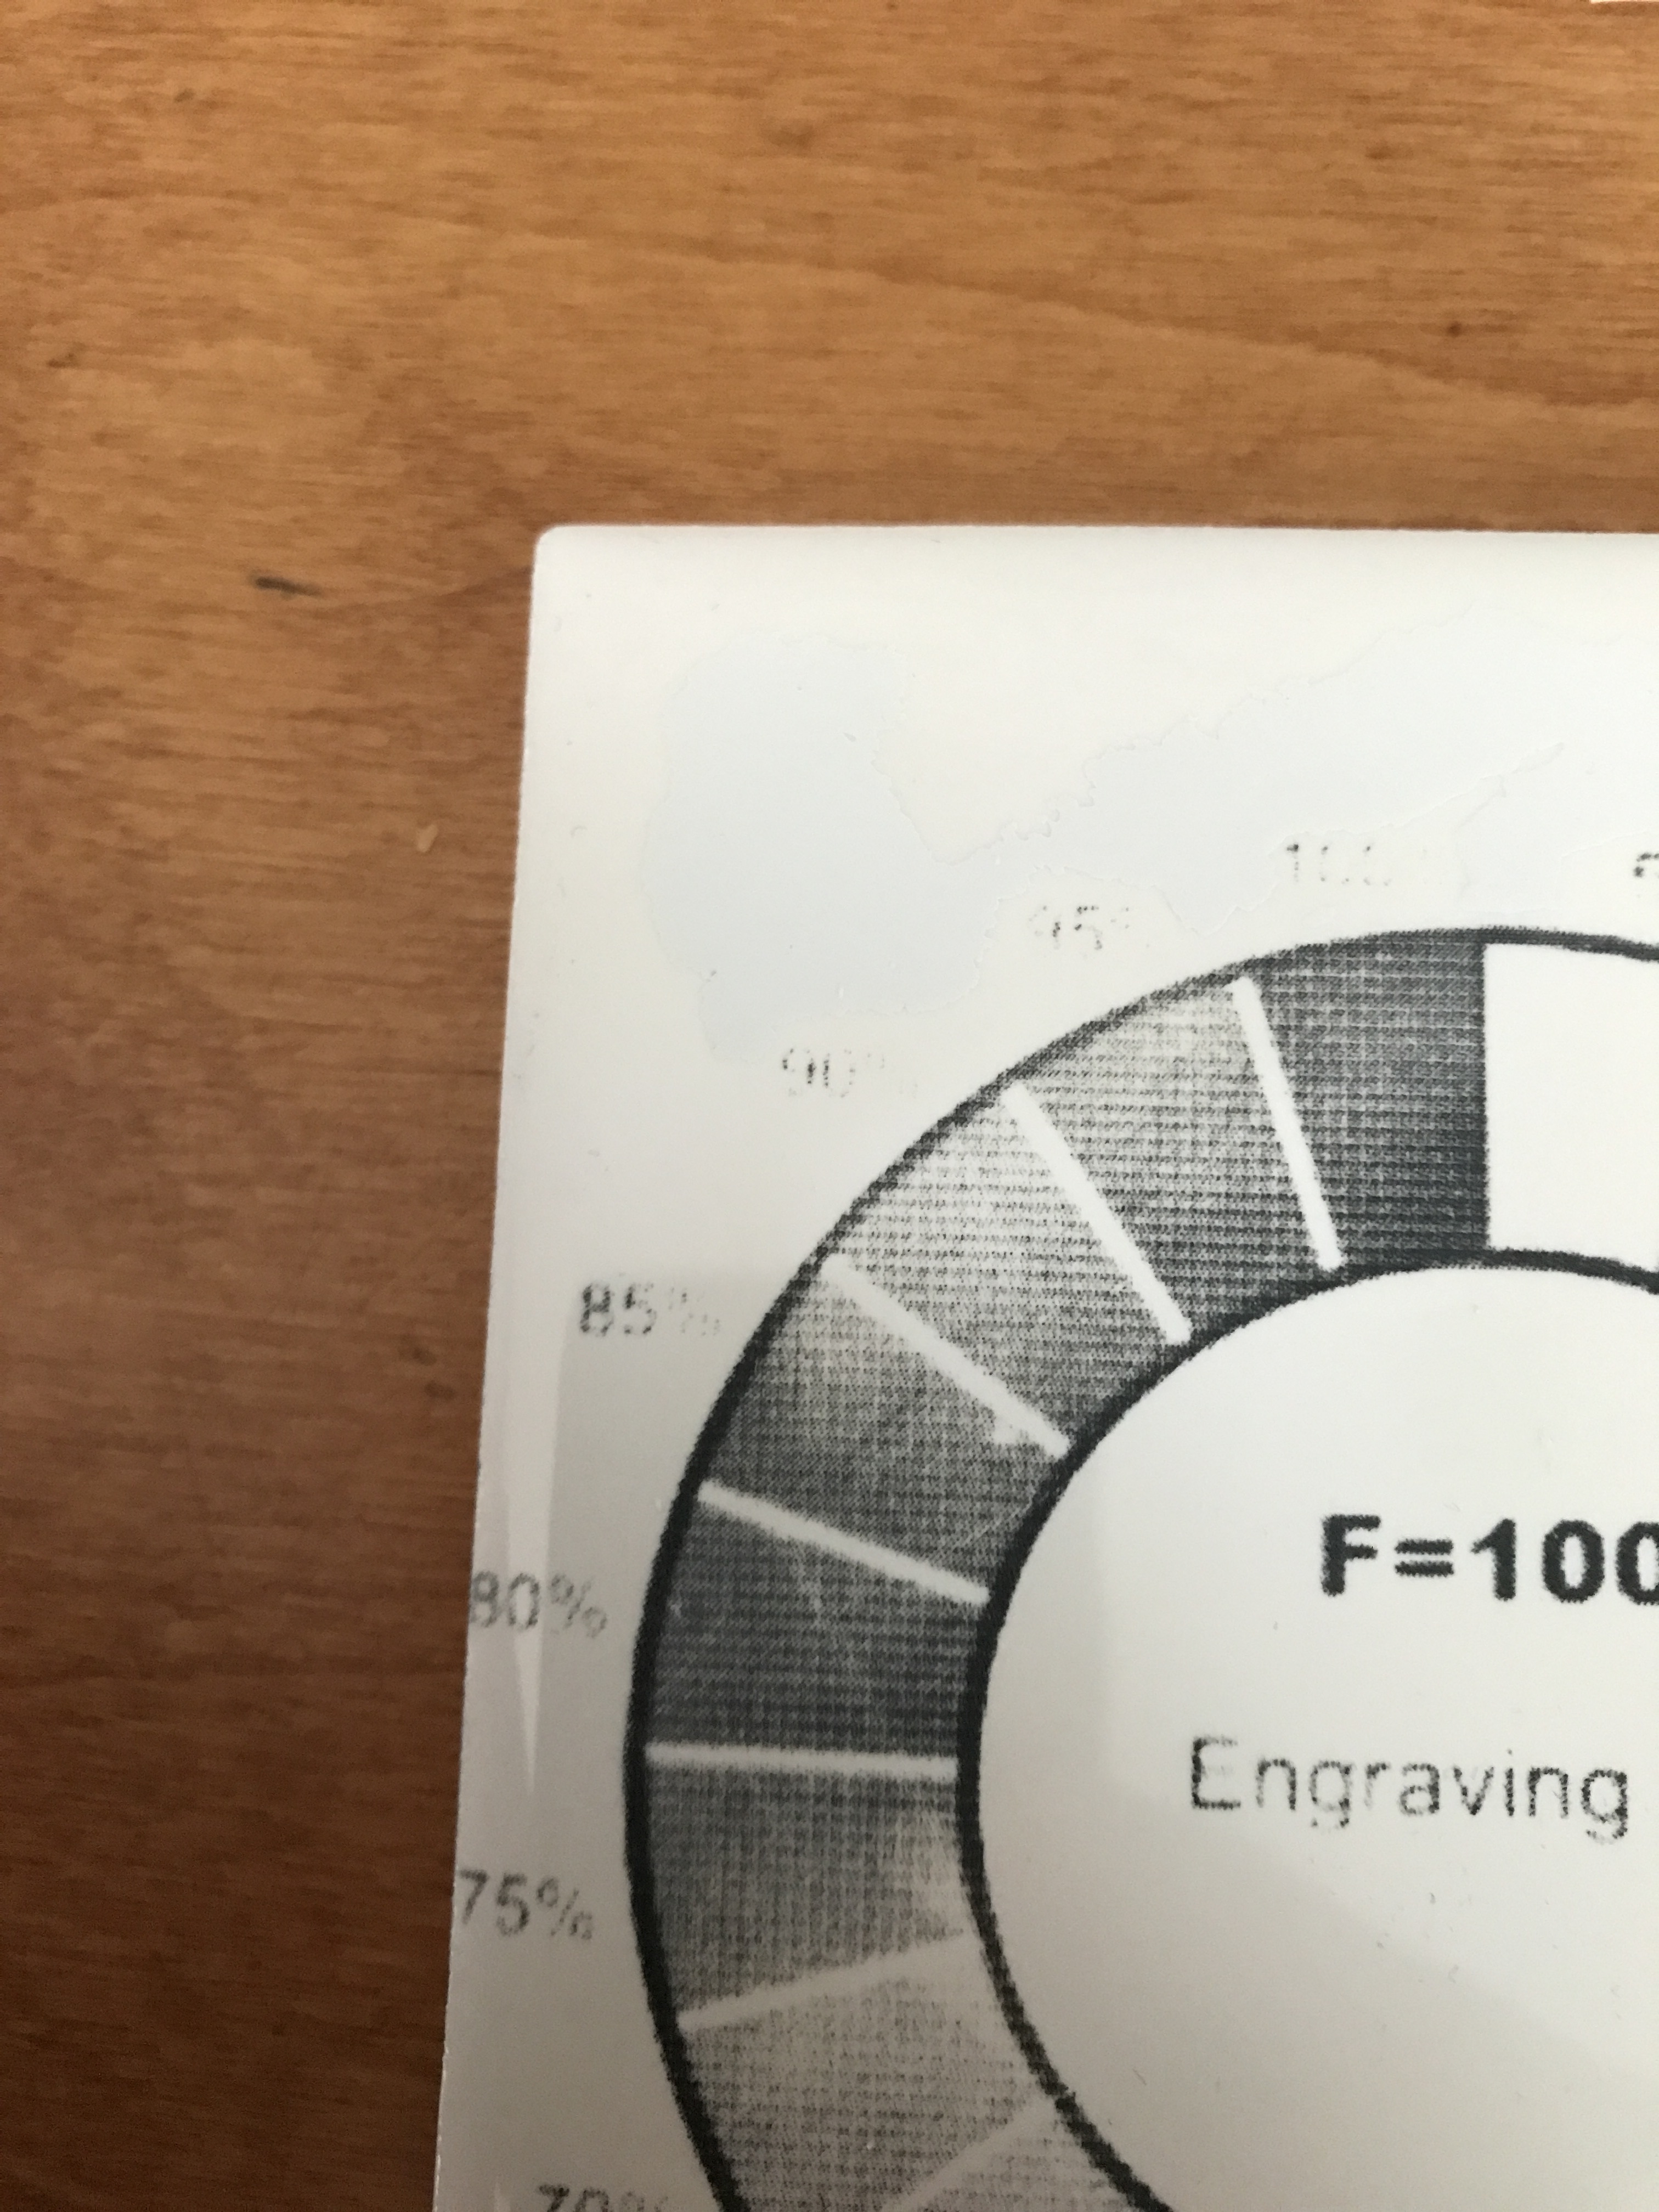
Doesn’t it seem odd that you rotated the scan 45 degrees and yet the tile markings are still at 90/180 degrees? Also, unless you are fine going through tiles and paint for testing, I would be using wood and doing smaller tests. Even on the tile, you could be doing just a 1"x1" square pattern to test and move that around on the tile as you tweak and change things.
It is definitely worth the time and effort to learn how to make a 1" x 1" box with a grayscale level pattern inside.
Yes I shall! It does seem strange that it happened. Well I’m thinking about changing the firmware if there’s no change then I guess I need to take it apart and try and figure out the mechanical end. It definitely looks mechanical.
it looks like you are using Dithering for the image… that would leave the dot pattern in place no matter how you moved the raster scanning directions. Try changing the Image Mode from Dither to Jarvis or to Stucki and see what results you get.
Thank you I’ll try that. I have to work today so I’ll try soon.
Thanks for all your hard work and your time.
1 Like
Well the angle changes with the change of mode as you said. I’ve gone through tensioning the belt again and recalibrated the stepper drivers. I’ve made some progress in the right direction. I’ll post results hopefully in morning.
Thanks again
change of mode? do you mean the pattern on the tile/wood changed when you changed the scan angle or the pattern changed when you changed the “image mode”? I would not expect the pattern angle to change with “image mode” change but you might be able to see the pattern by using the Preview option( icon looks like a Computer Monitor ) and zoom in/out to see the pattern simulated.
I’m sorry I changed the scan angle as requested and the pattern that was showing up in the burn followed. As I mentioned I’ve since gone through and adjusted some mechanical aspects of the build. Most of the little vertical lines have gotten much better. Now I’m trying different line spacing to see if maybe I’m too close together. I’m burning smaller sized tests on the medium but sometimes it’s hard to see changes (old eyes). I’m waiting on a usb microscope to try to enhance what I’m looking at. Sorry I’m lazy at explaining. I’m working on that too. Lol
2 Likes