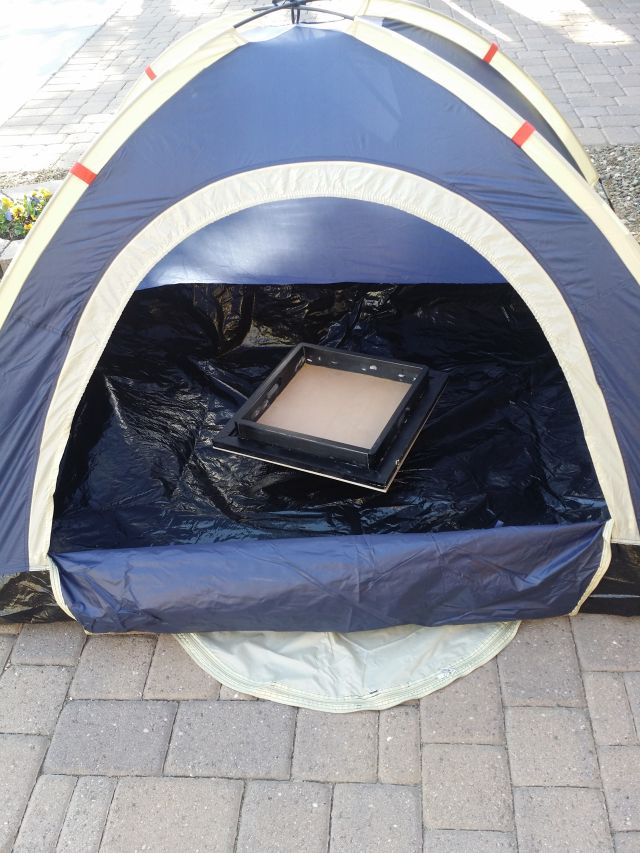
I do a lot of darkening of my laser engravings with a spray. So I have to rotate the piece and spray from all four sides to ensure I get down into all the engraved areas. Usually the piece is sitting on a piece of cardboard I rotate. Recently decided it would be nice to have an easy turning base for doing the spraying. This is a description of my build.
Material List:
- Lazy Susan Turntable base. They come in all sizes but I opted for a 4" base. I got this one from Amazon.
-
1/2" Plywood (you can use other thicknesses but 1/2" is good for the screws)
-
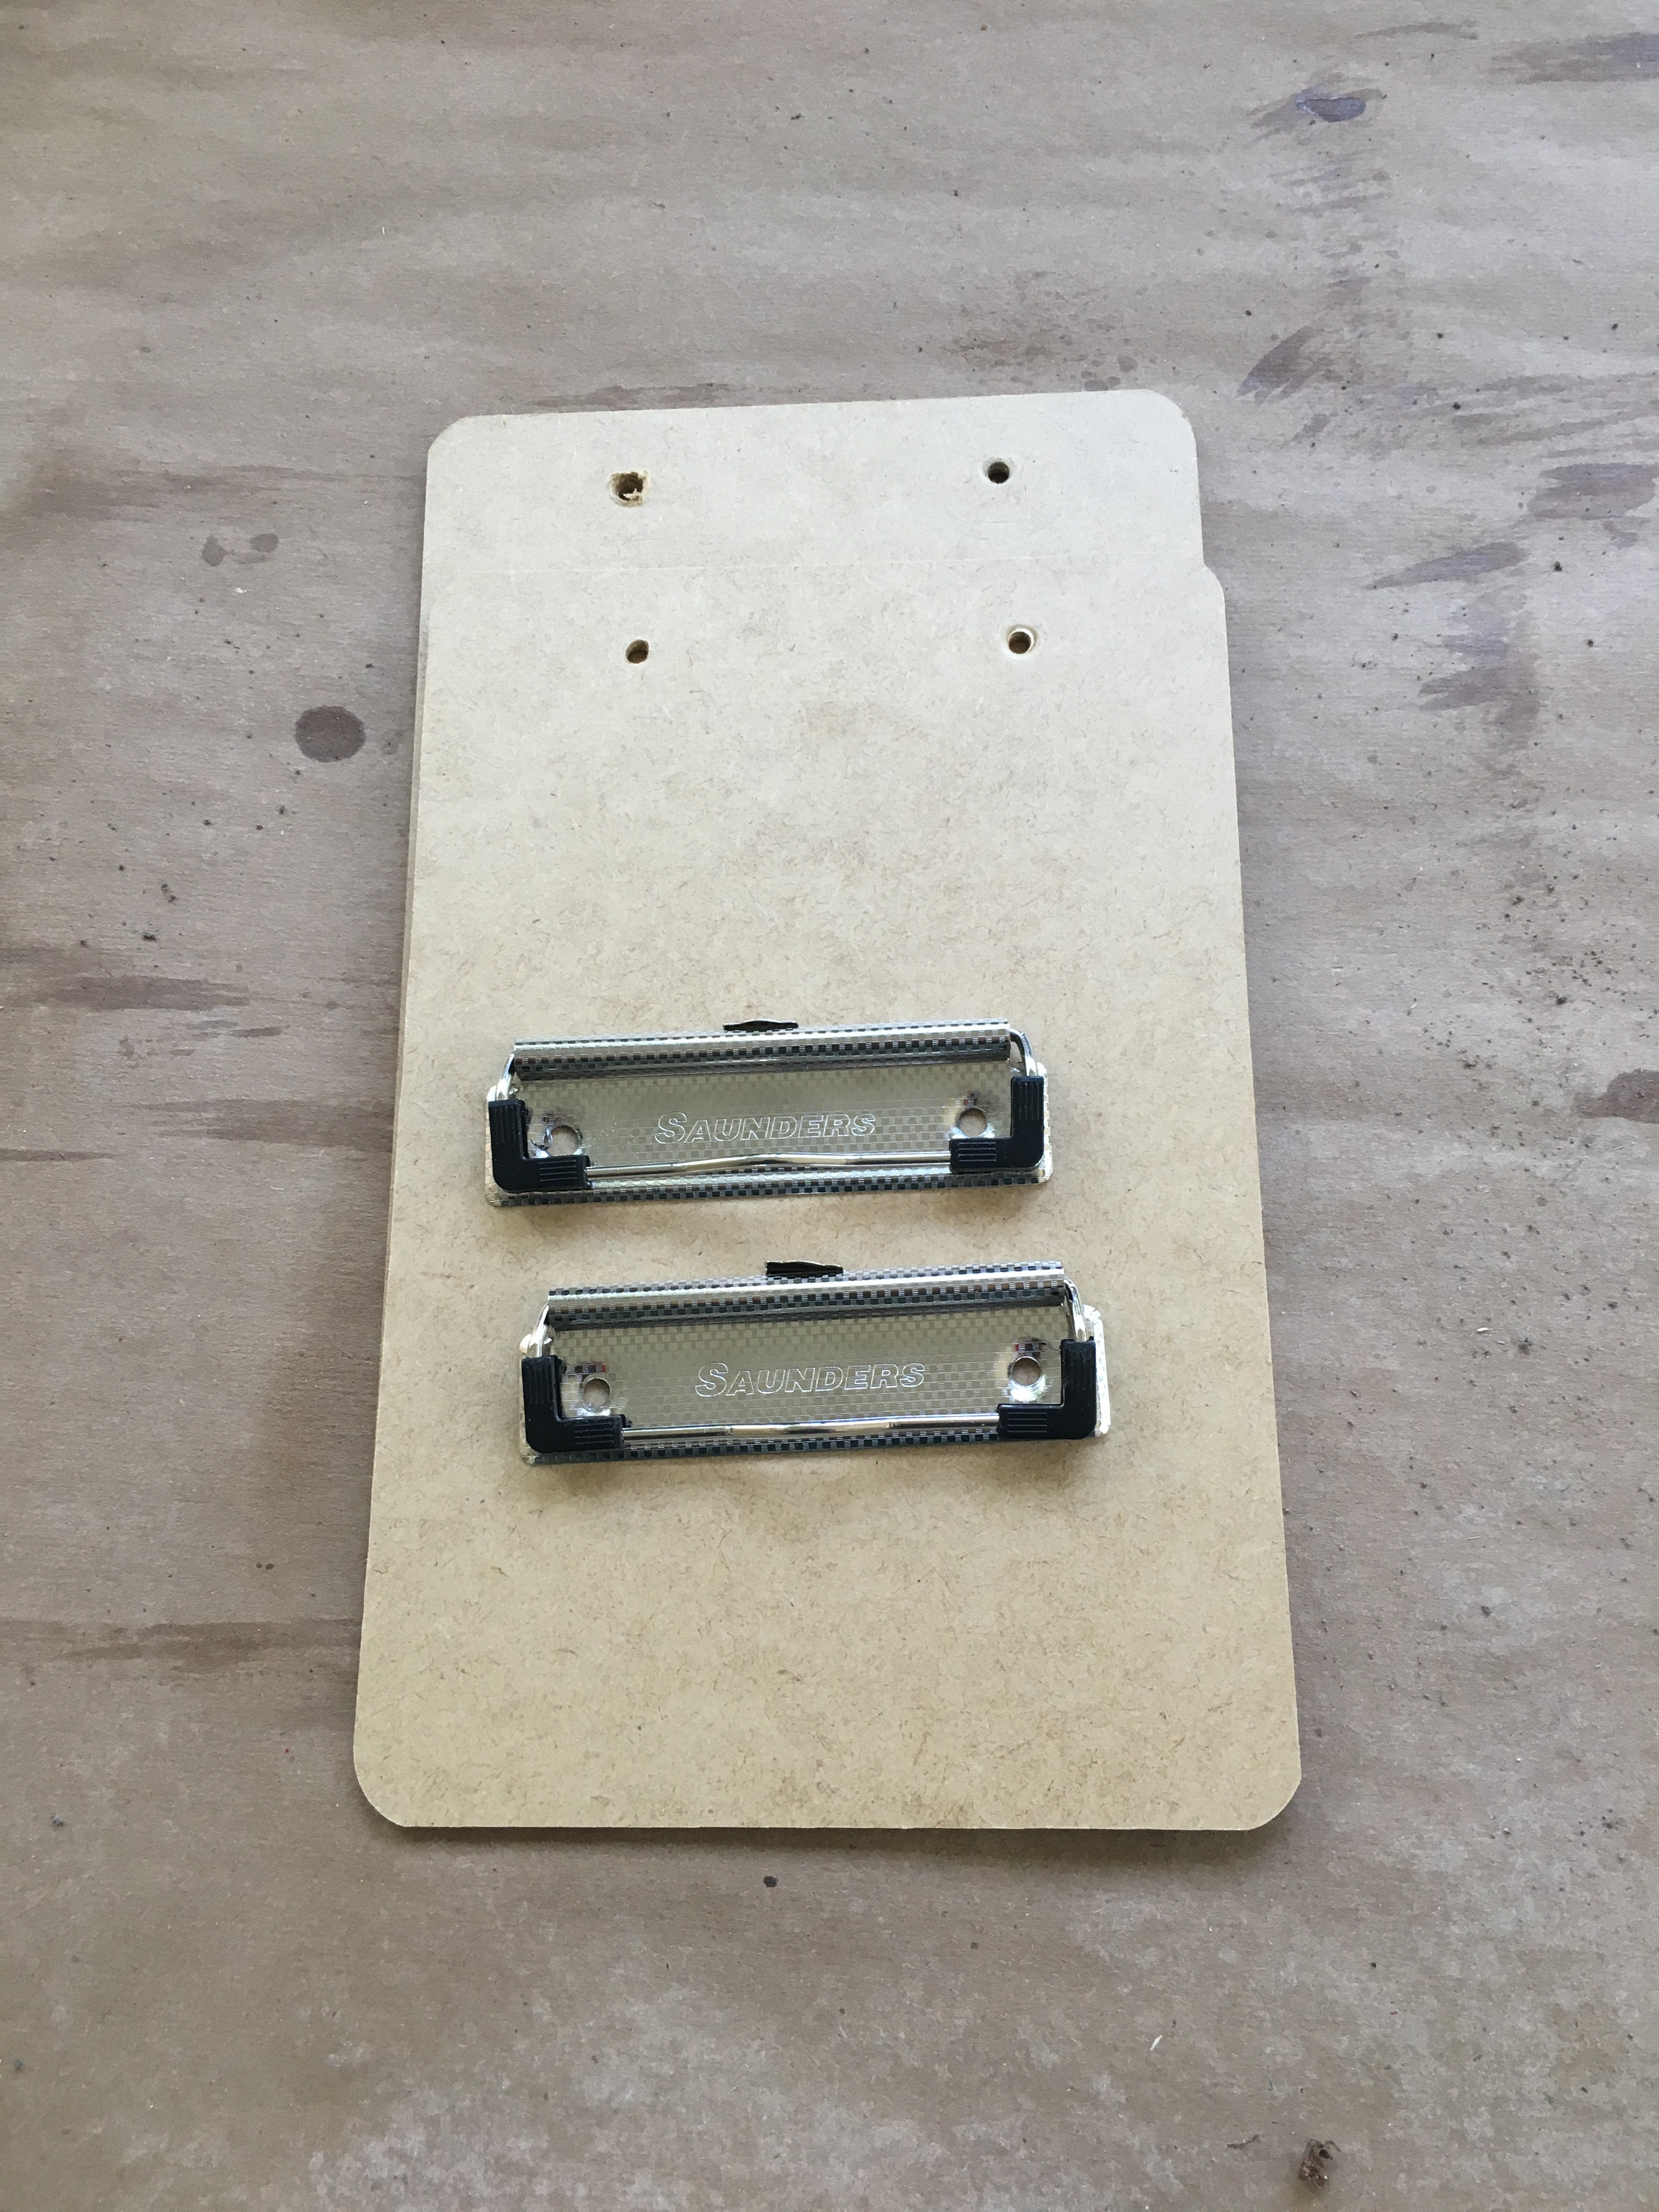
2 Clipboard clips (This is optional, but I wanted the ability to clip on a some paper over the top if I wanted to. I got 2 small press board clip boards from Walmart for ~$1.30 each.)
-
8 #8 x 3/8" pan head screws. ( You only need 4 if you’re not going to add the clips.)
-
4 #6 x 1/2" self tapping sheet metal screws.
-
4 #8S flat washers.
Build:
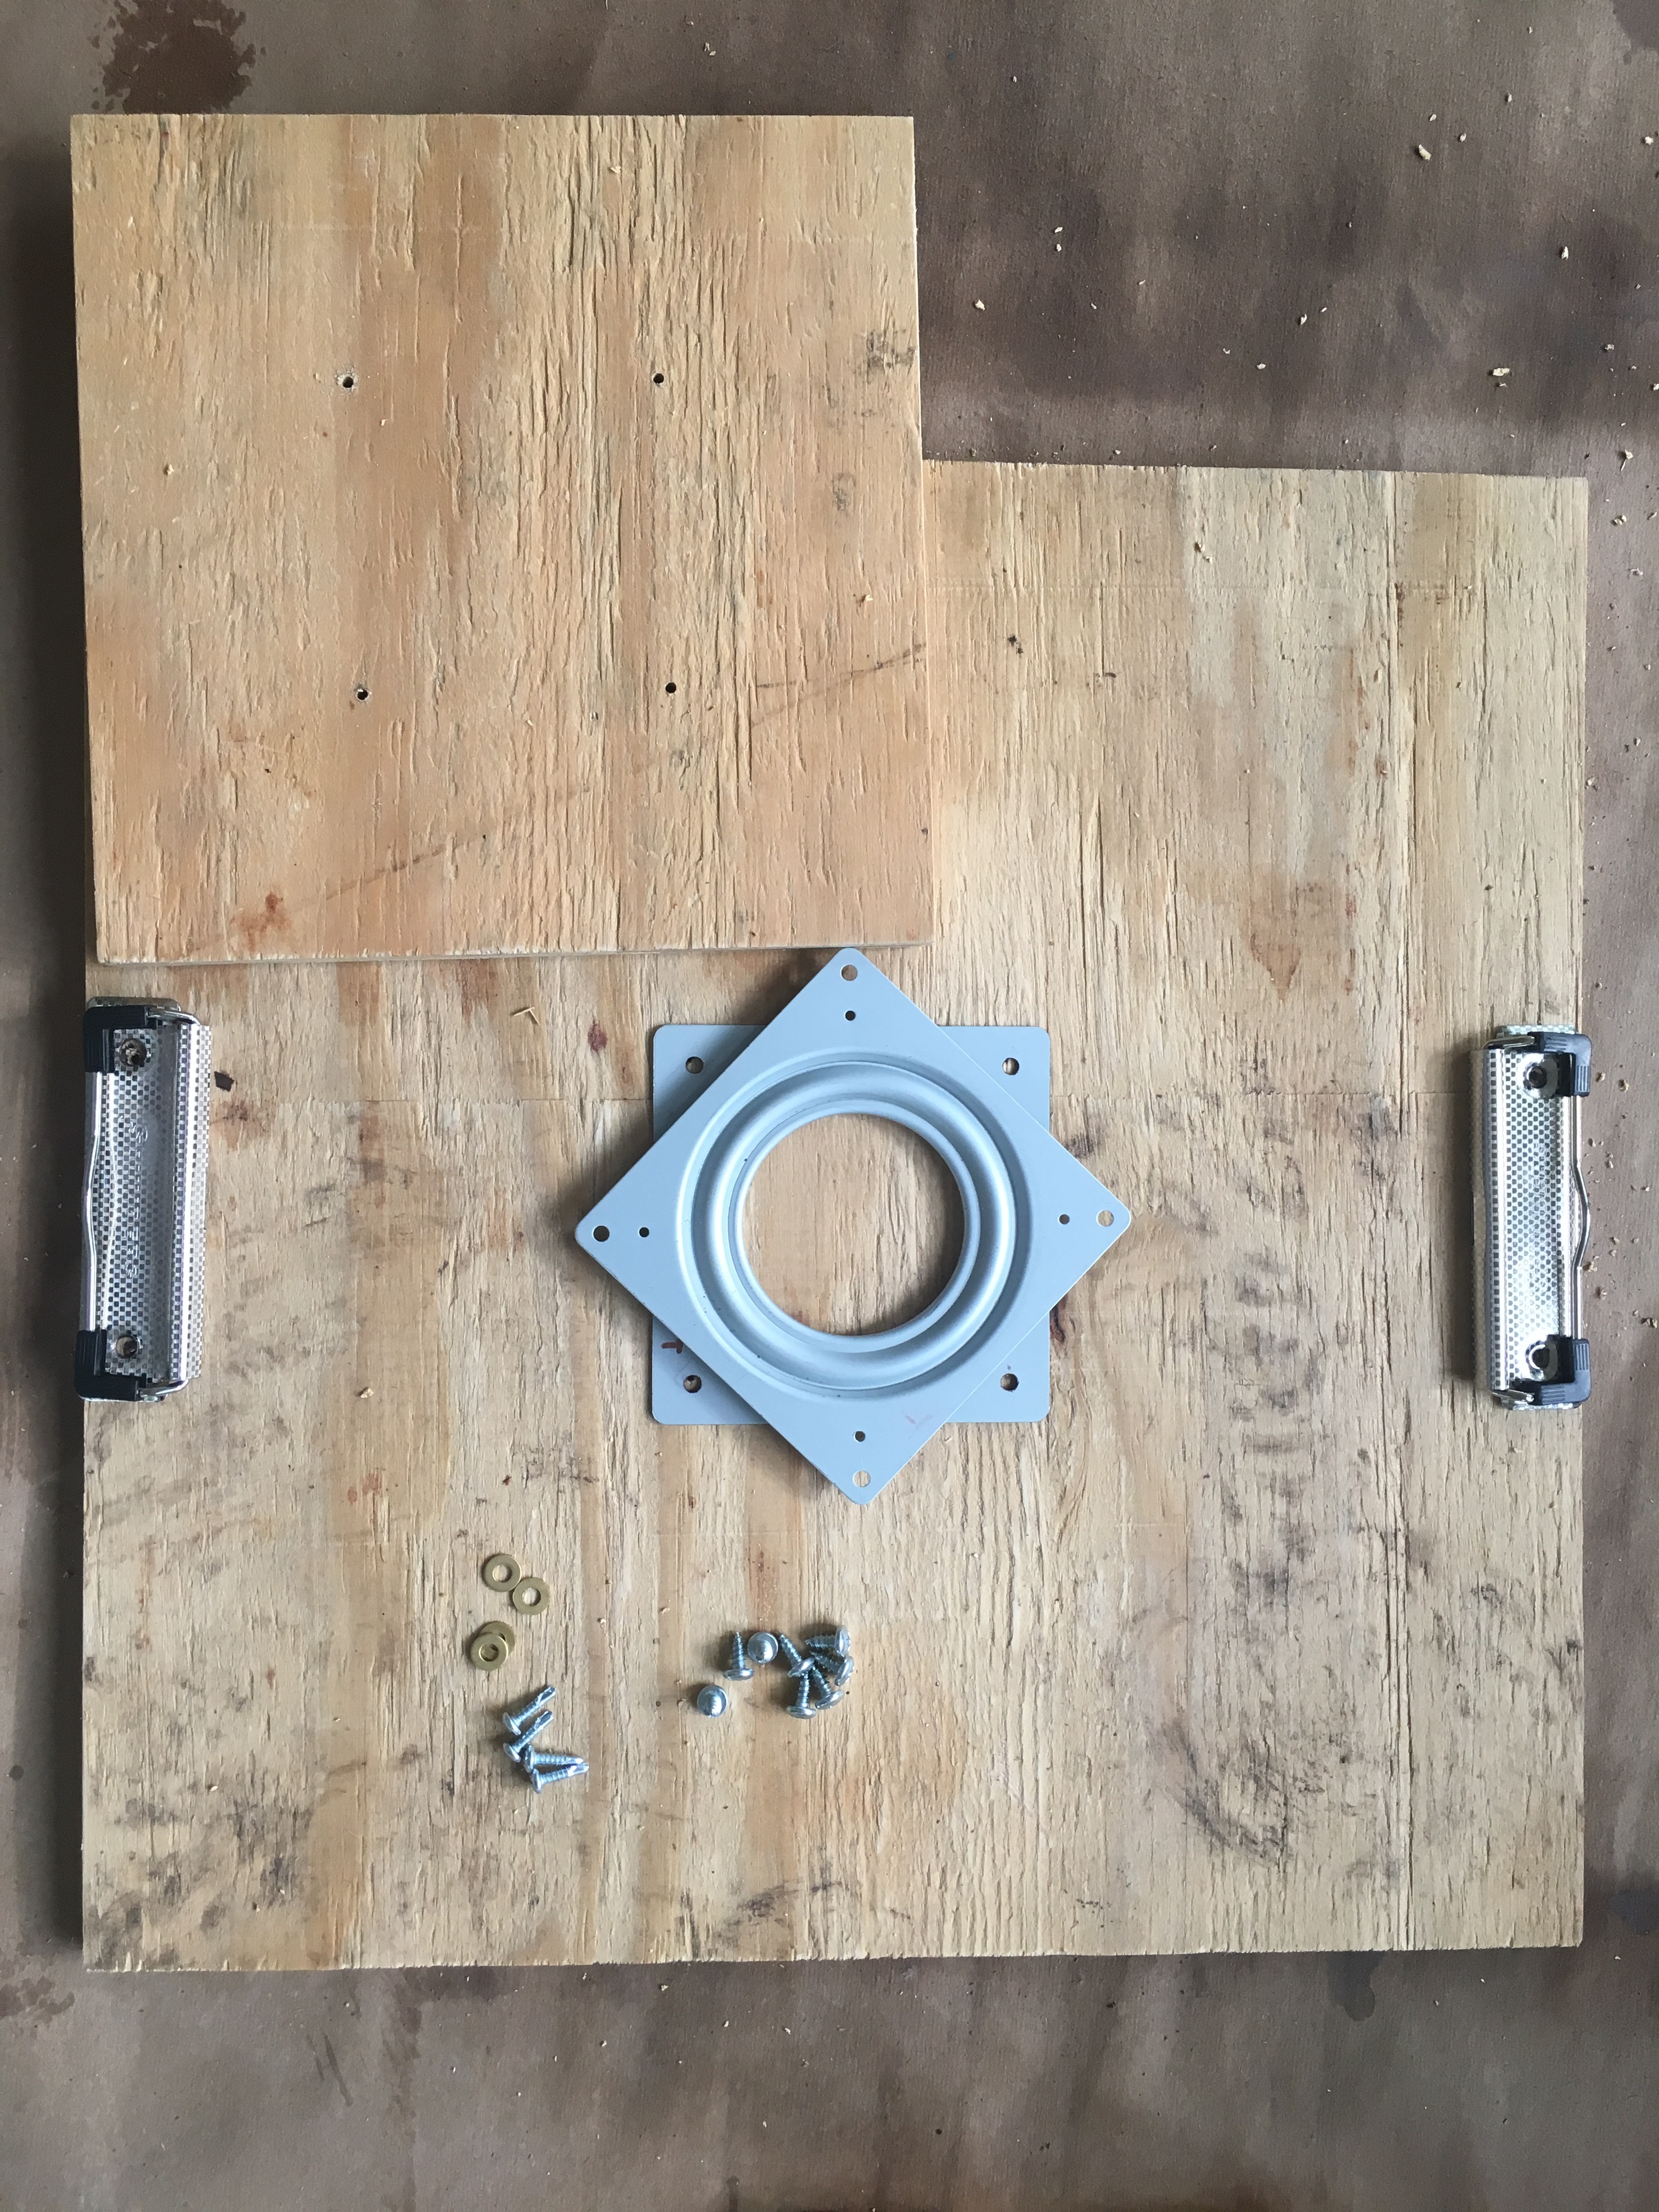
I cut a 8x8" base and a 15x15" top from the plywood.
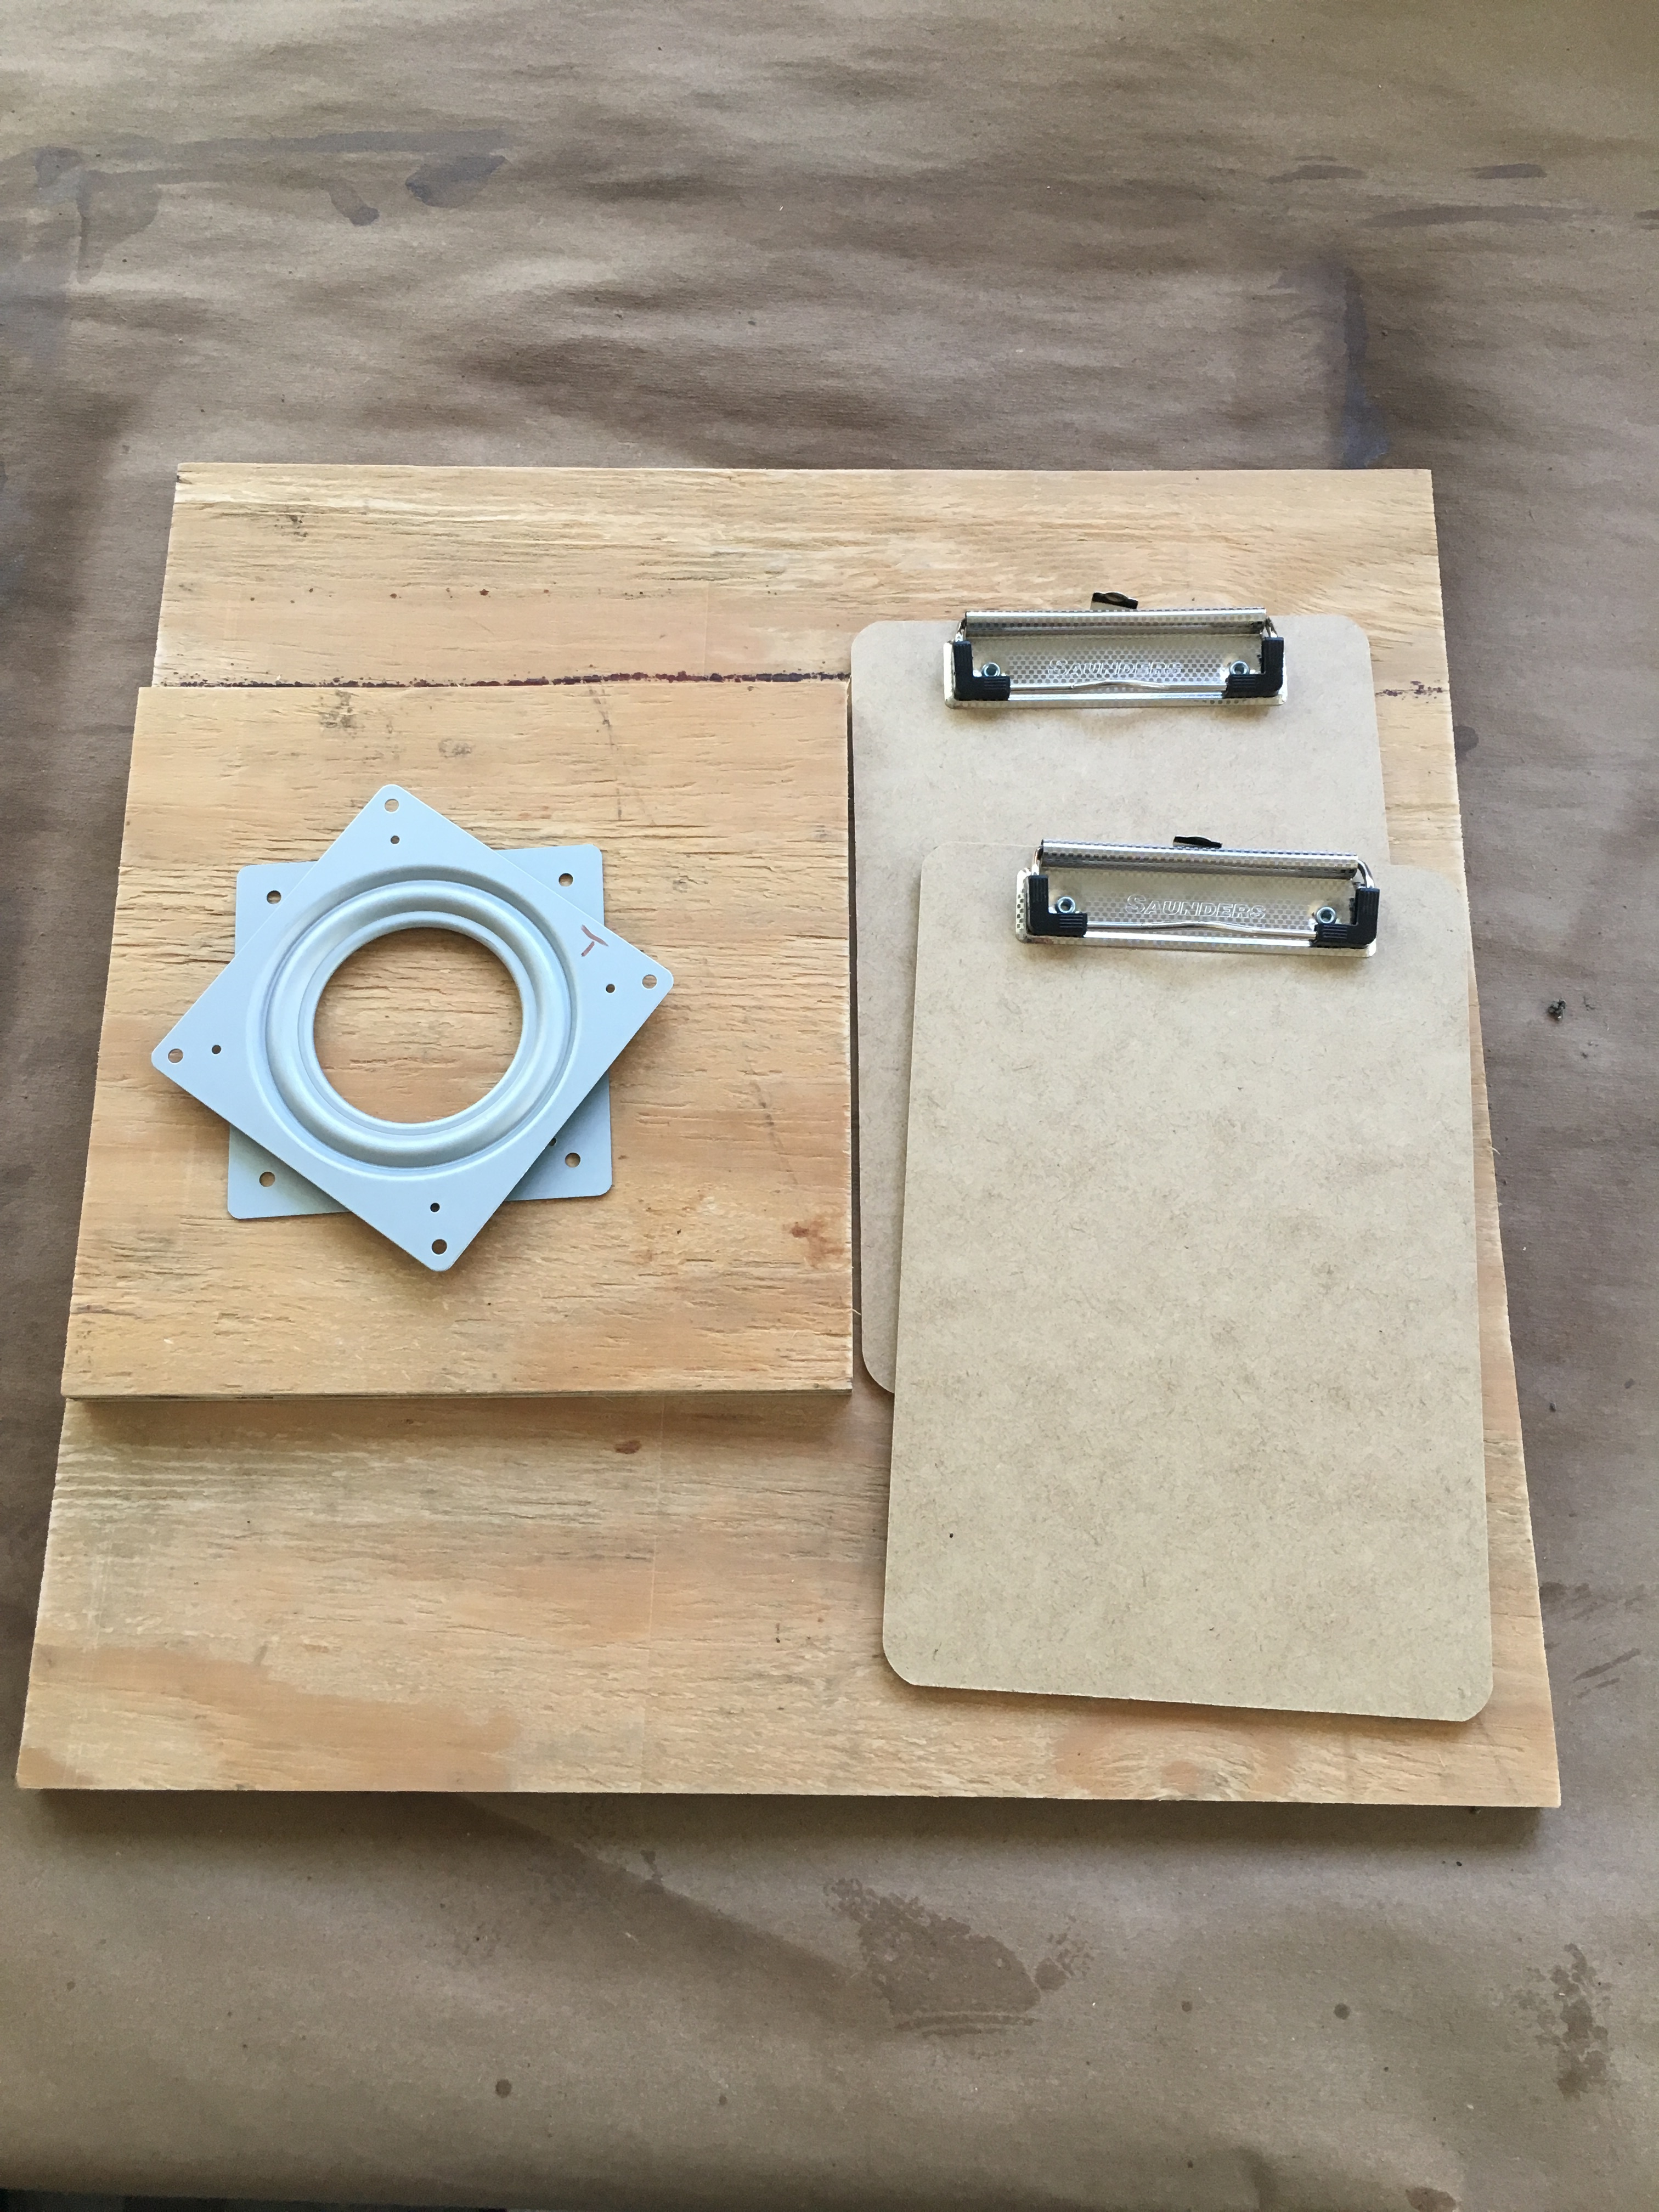
Next I carefully drilled out the rivets on the clipboards to remove the clips.
Each side of the lazy susan has 8 holes, 4 large and 4 small. If you rotate the halves 45deg you will see that one side has just the 4 bigger holes accessible while the other side has all 8 accessible. The side with just the 4 large holes will be directly screwed to the top from underneath while the base is attached using the 4 small holes and countersunk self tapping screws from the bottom. Laid everything out and maked the hole locations. Using a 3/32" drillbit I drilled about 3/8" deep into the top location holes and drilled all the way through on the bottom location holes
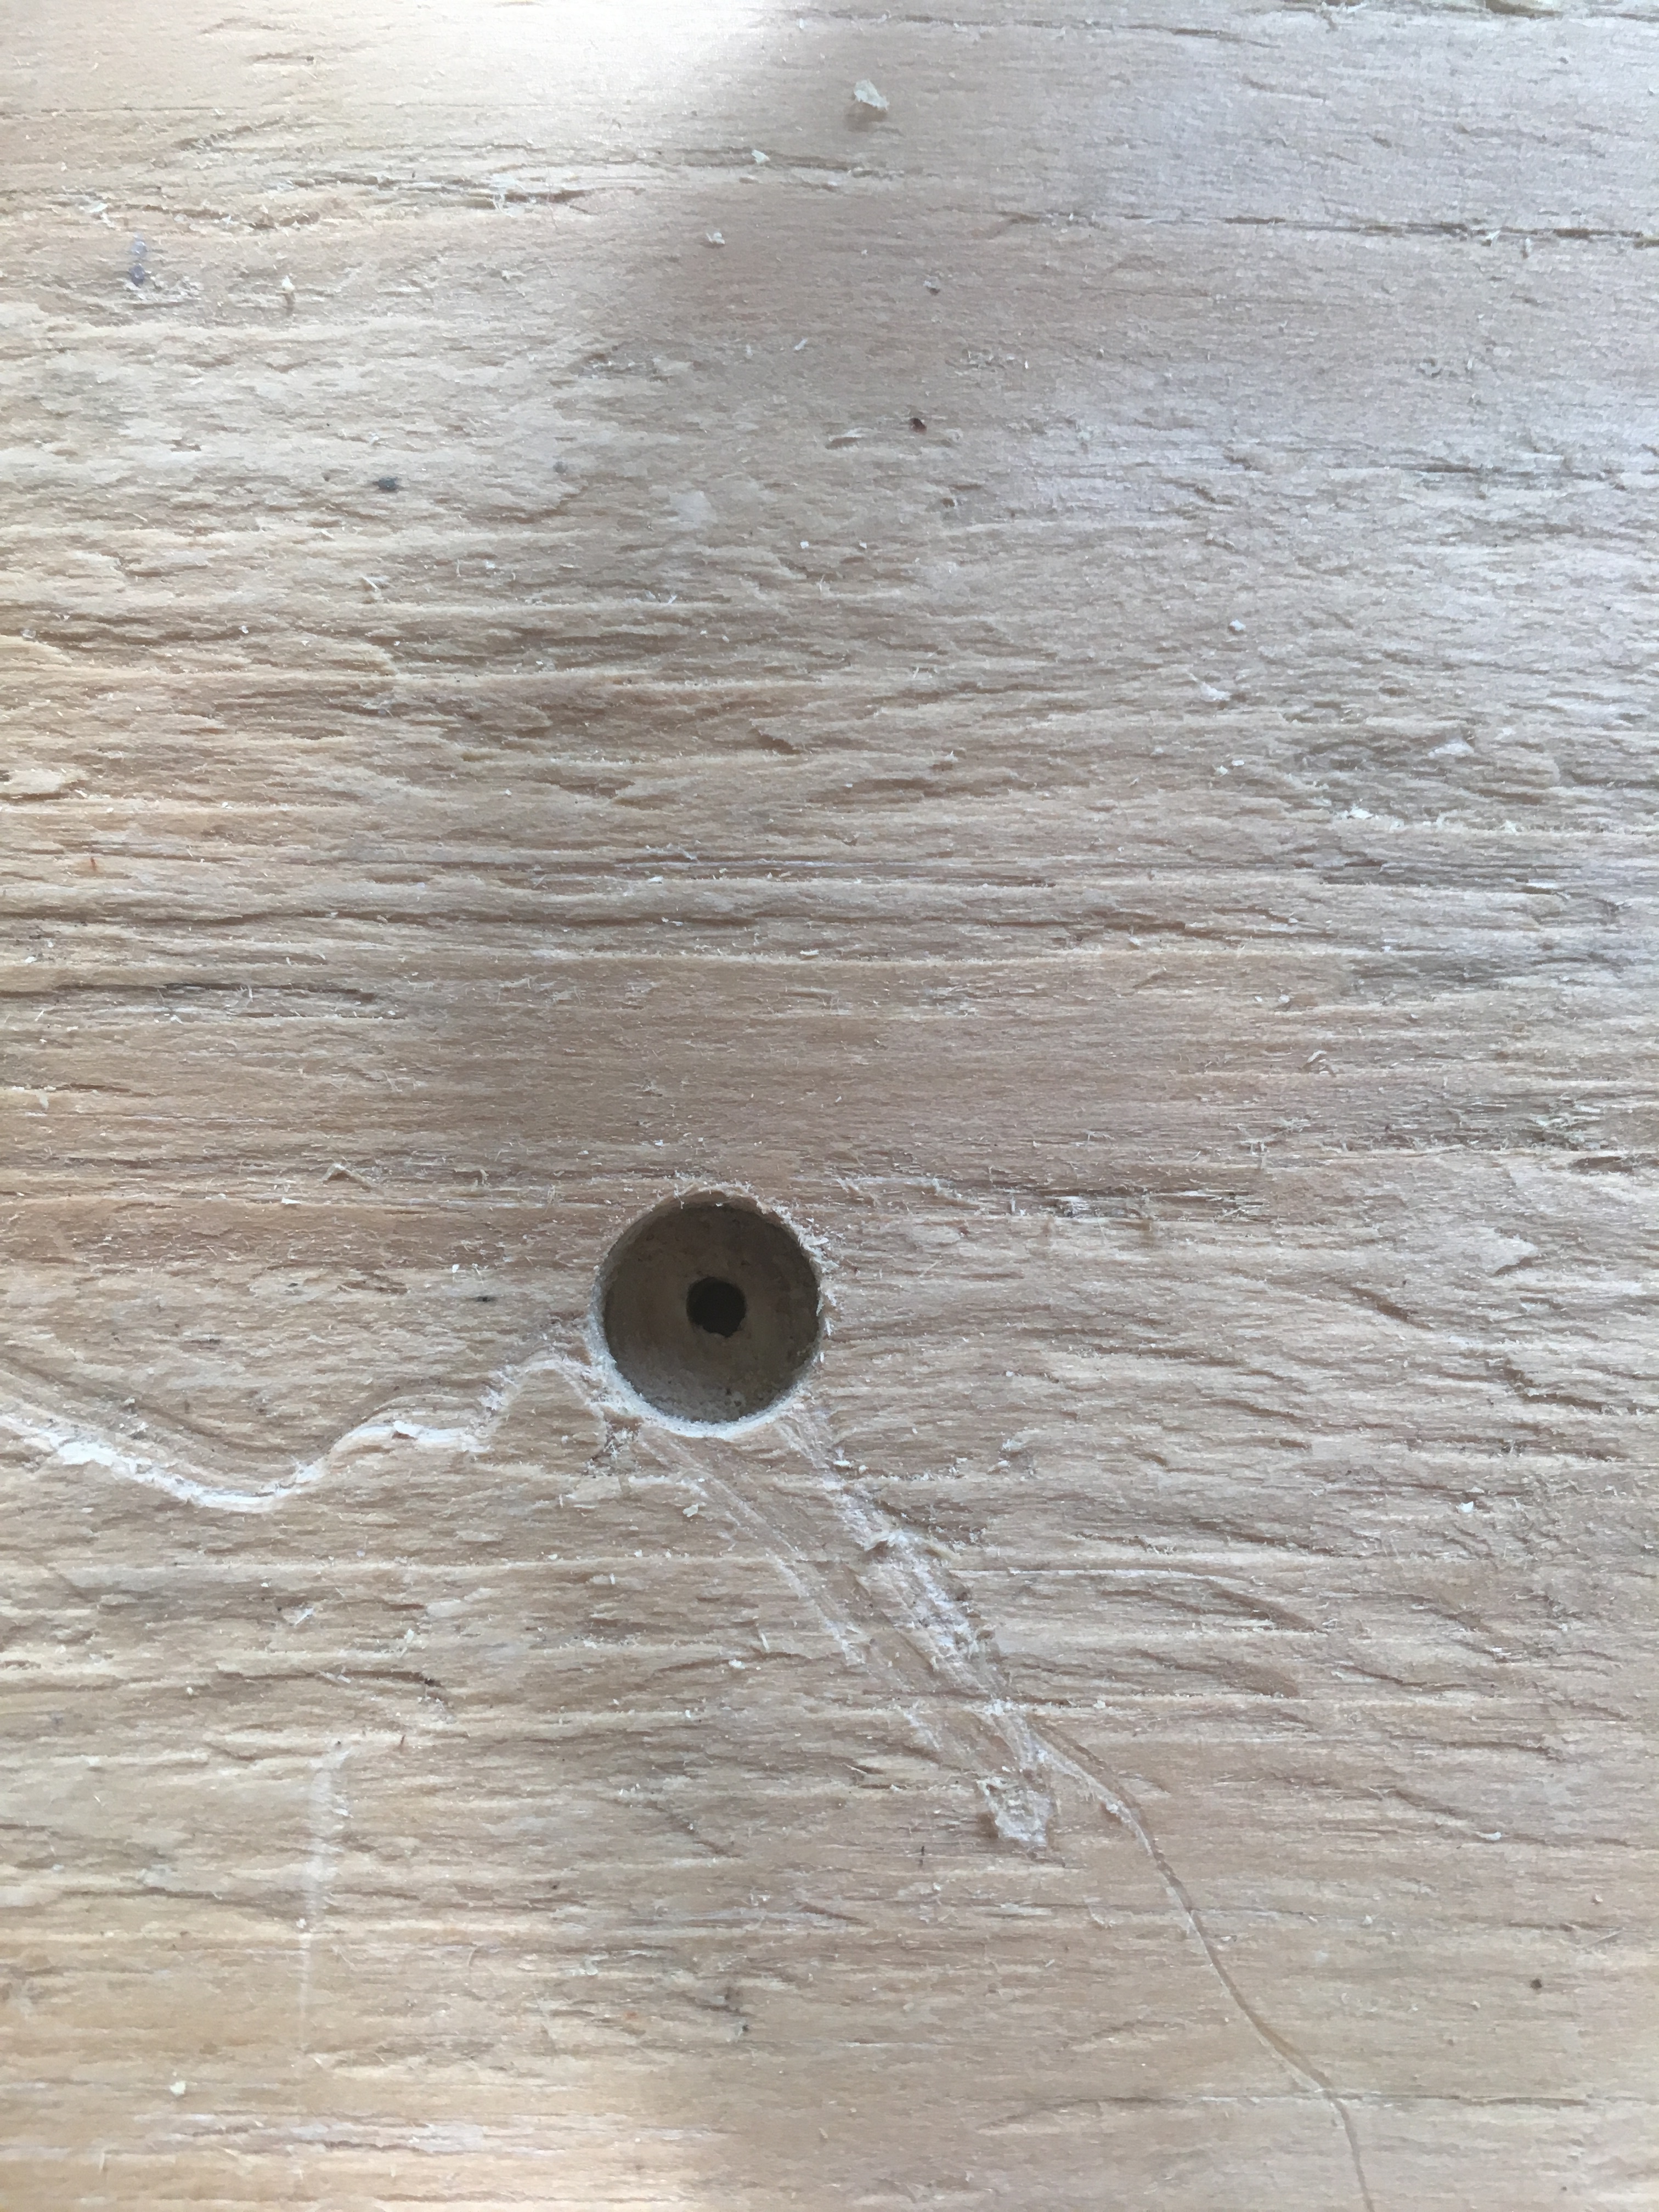
The holes for the base need to be countersunk from underneath ~ 3/8" to ensure enough threads from the self tapping screws get through the metal but not enough that the ends hit the other side of the lazy susan. Used a 3/8" dia drill bit for this.
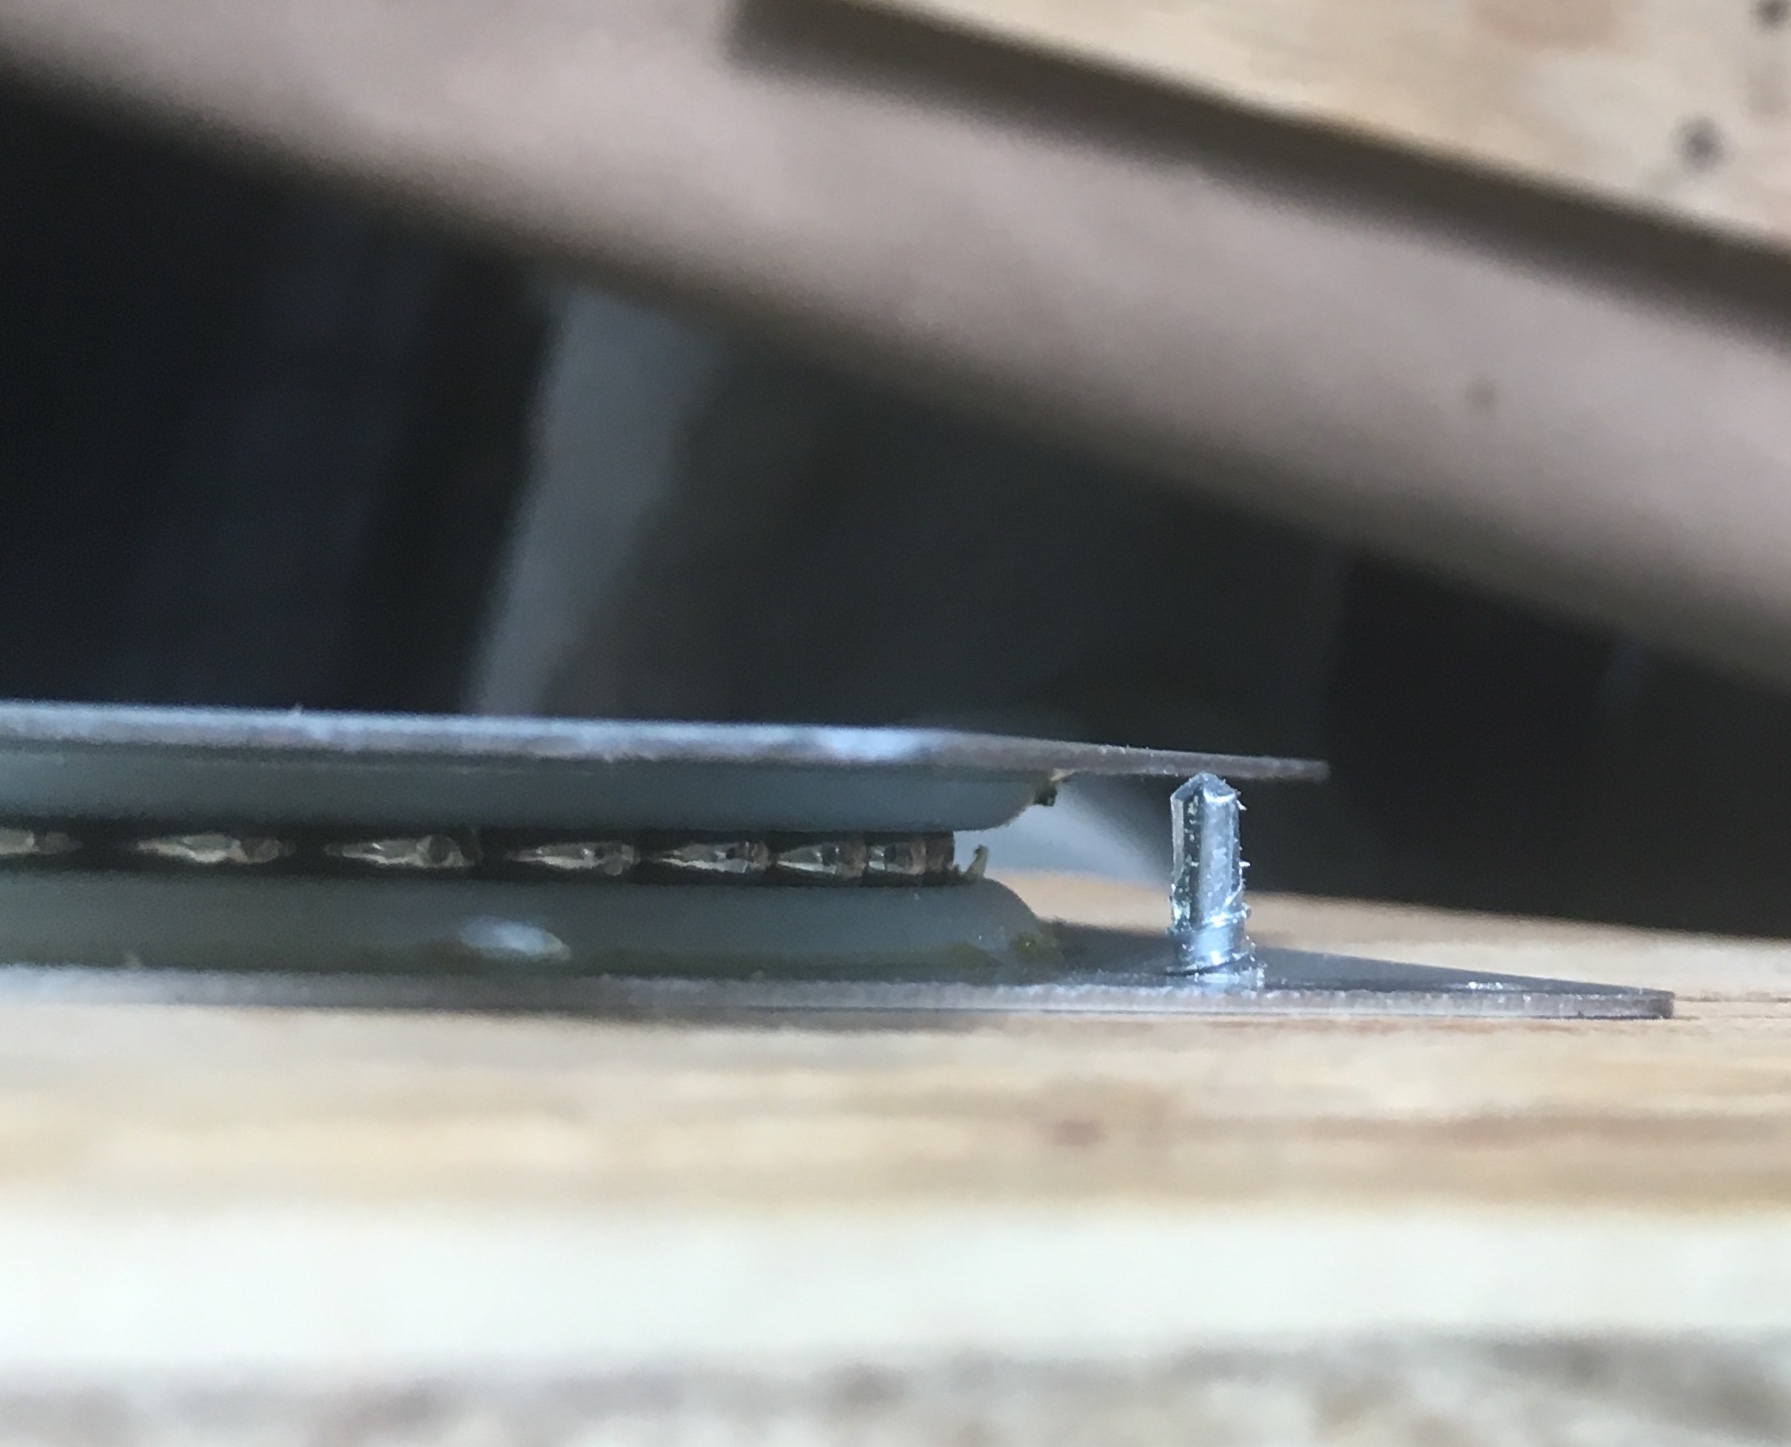
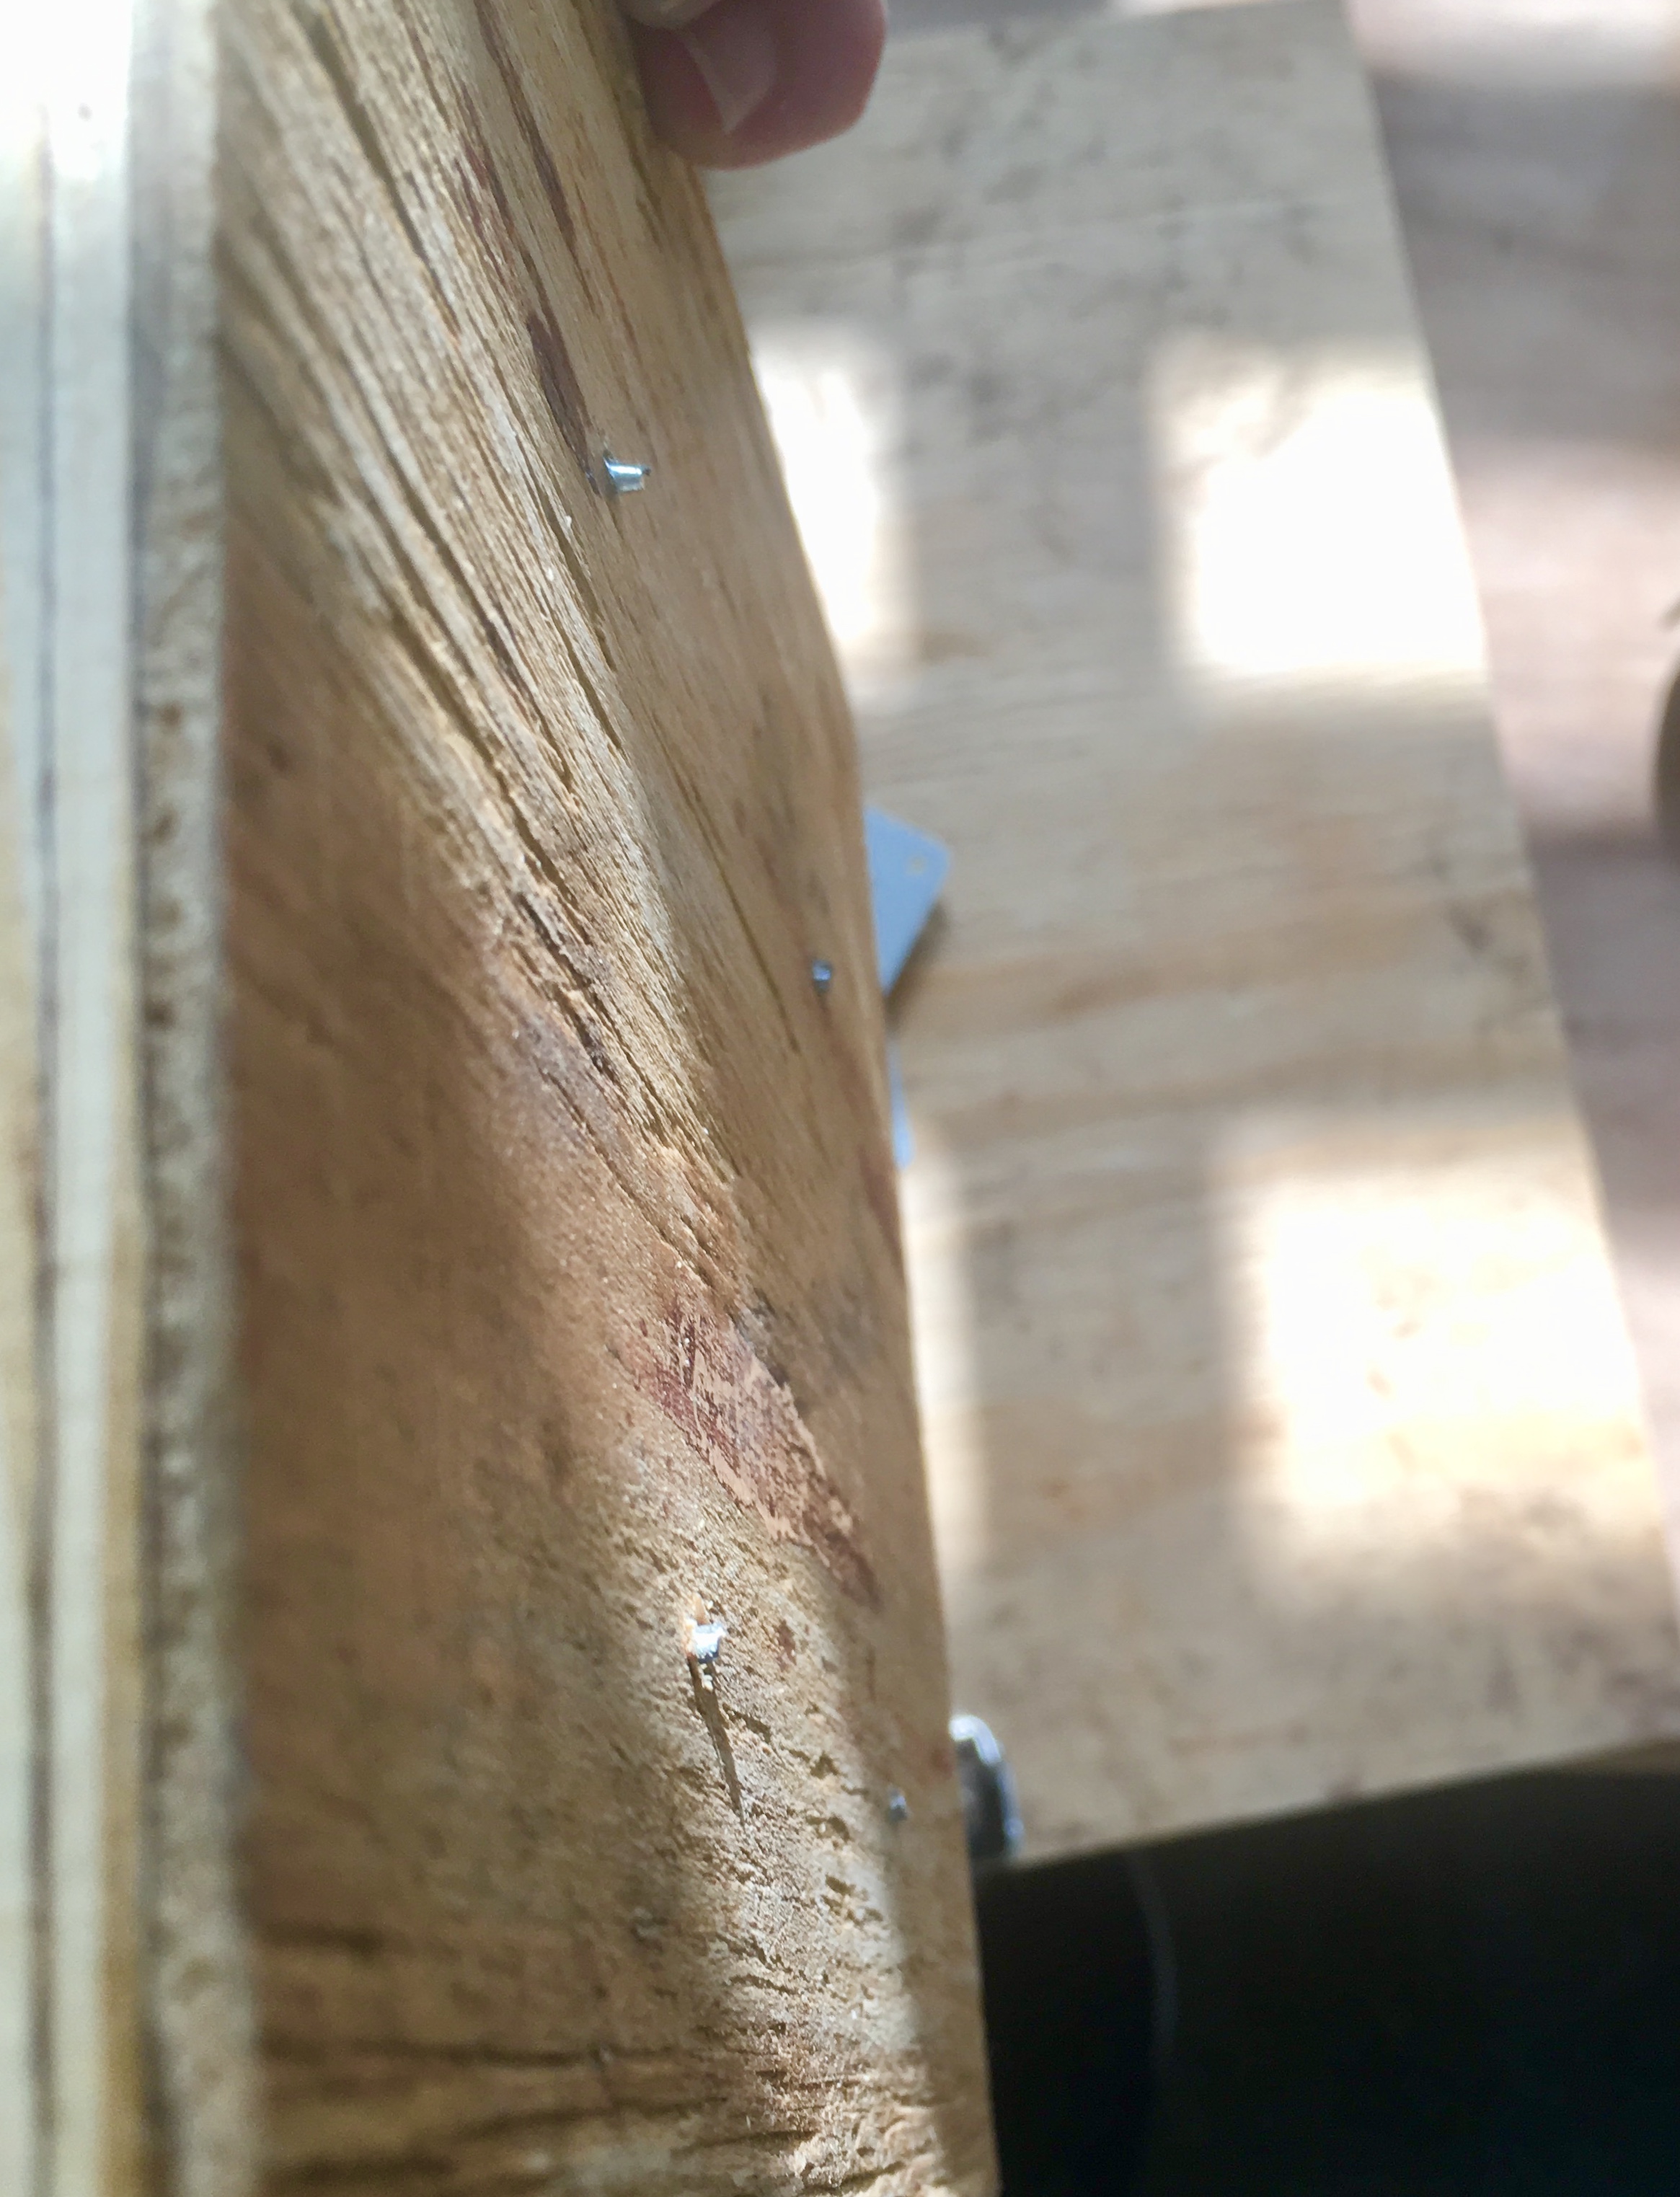
Preassemble the bottom using the self tapping screws and washers. If not enough thread comes through increase the depths of the countersink holes. If too much of the screw comes out then you will need to file or cut the ends of the screws down. As you can see I had to trim my screws down a bit.
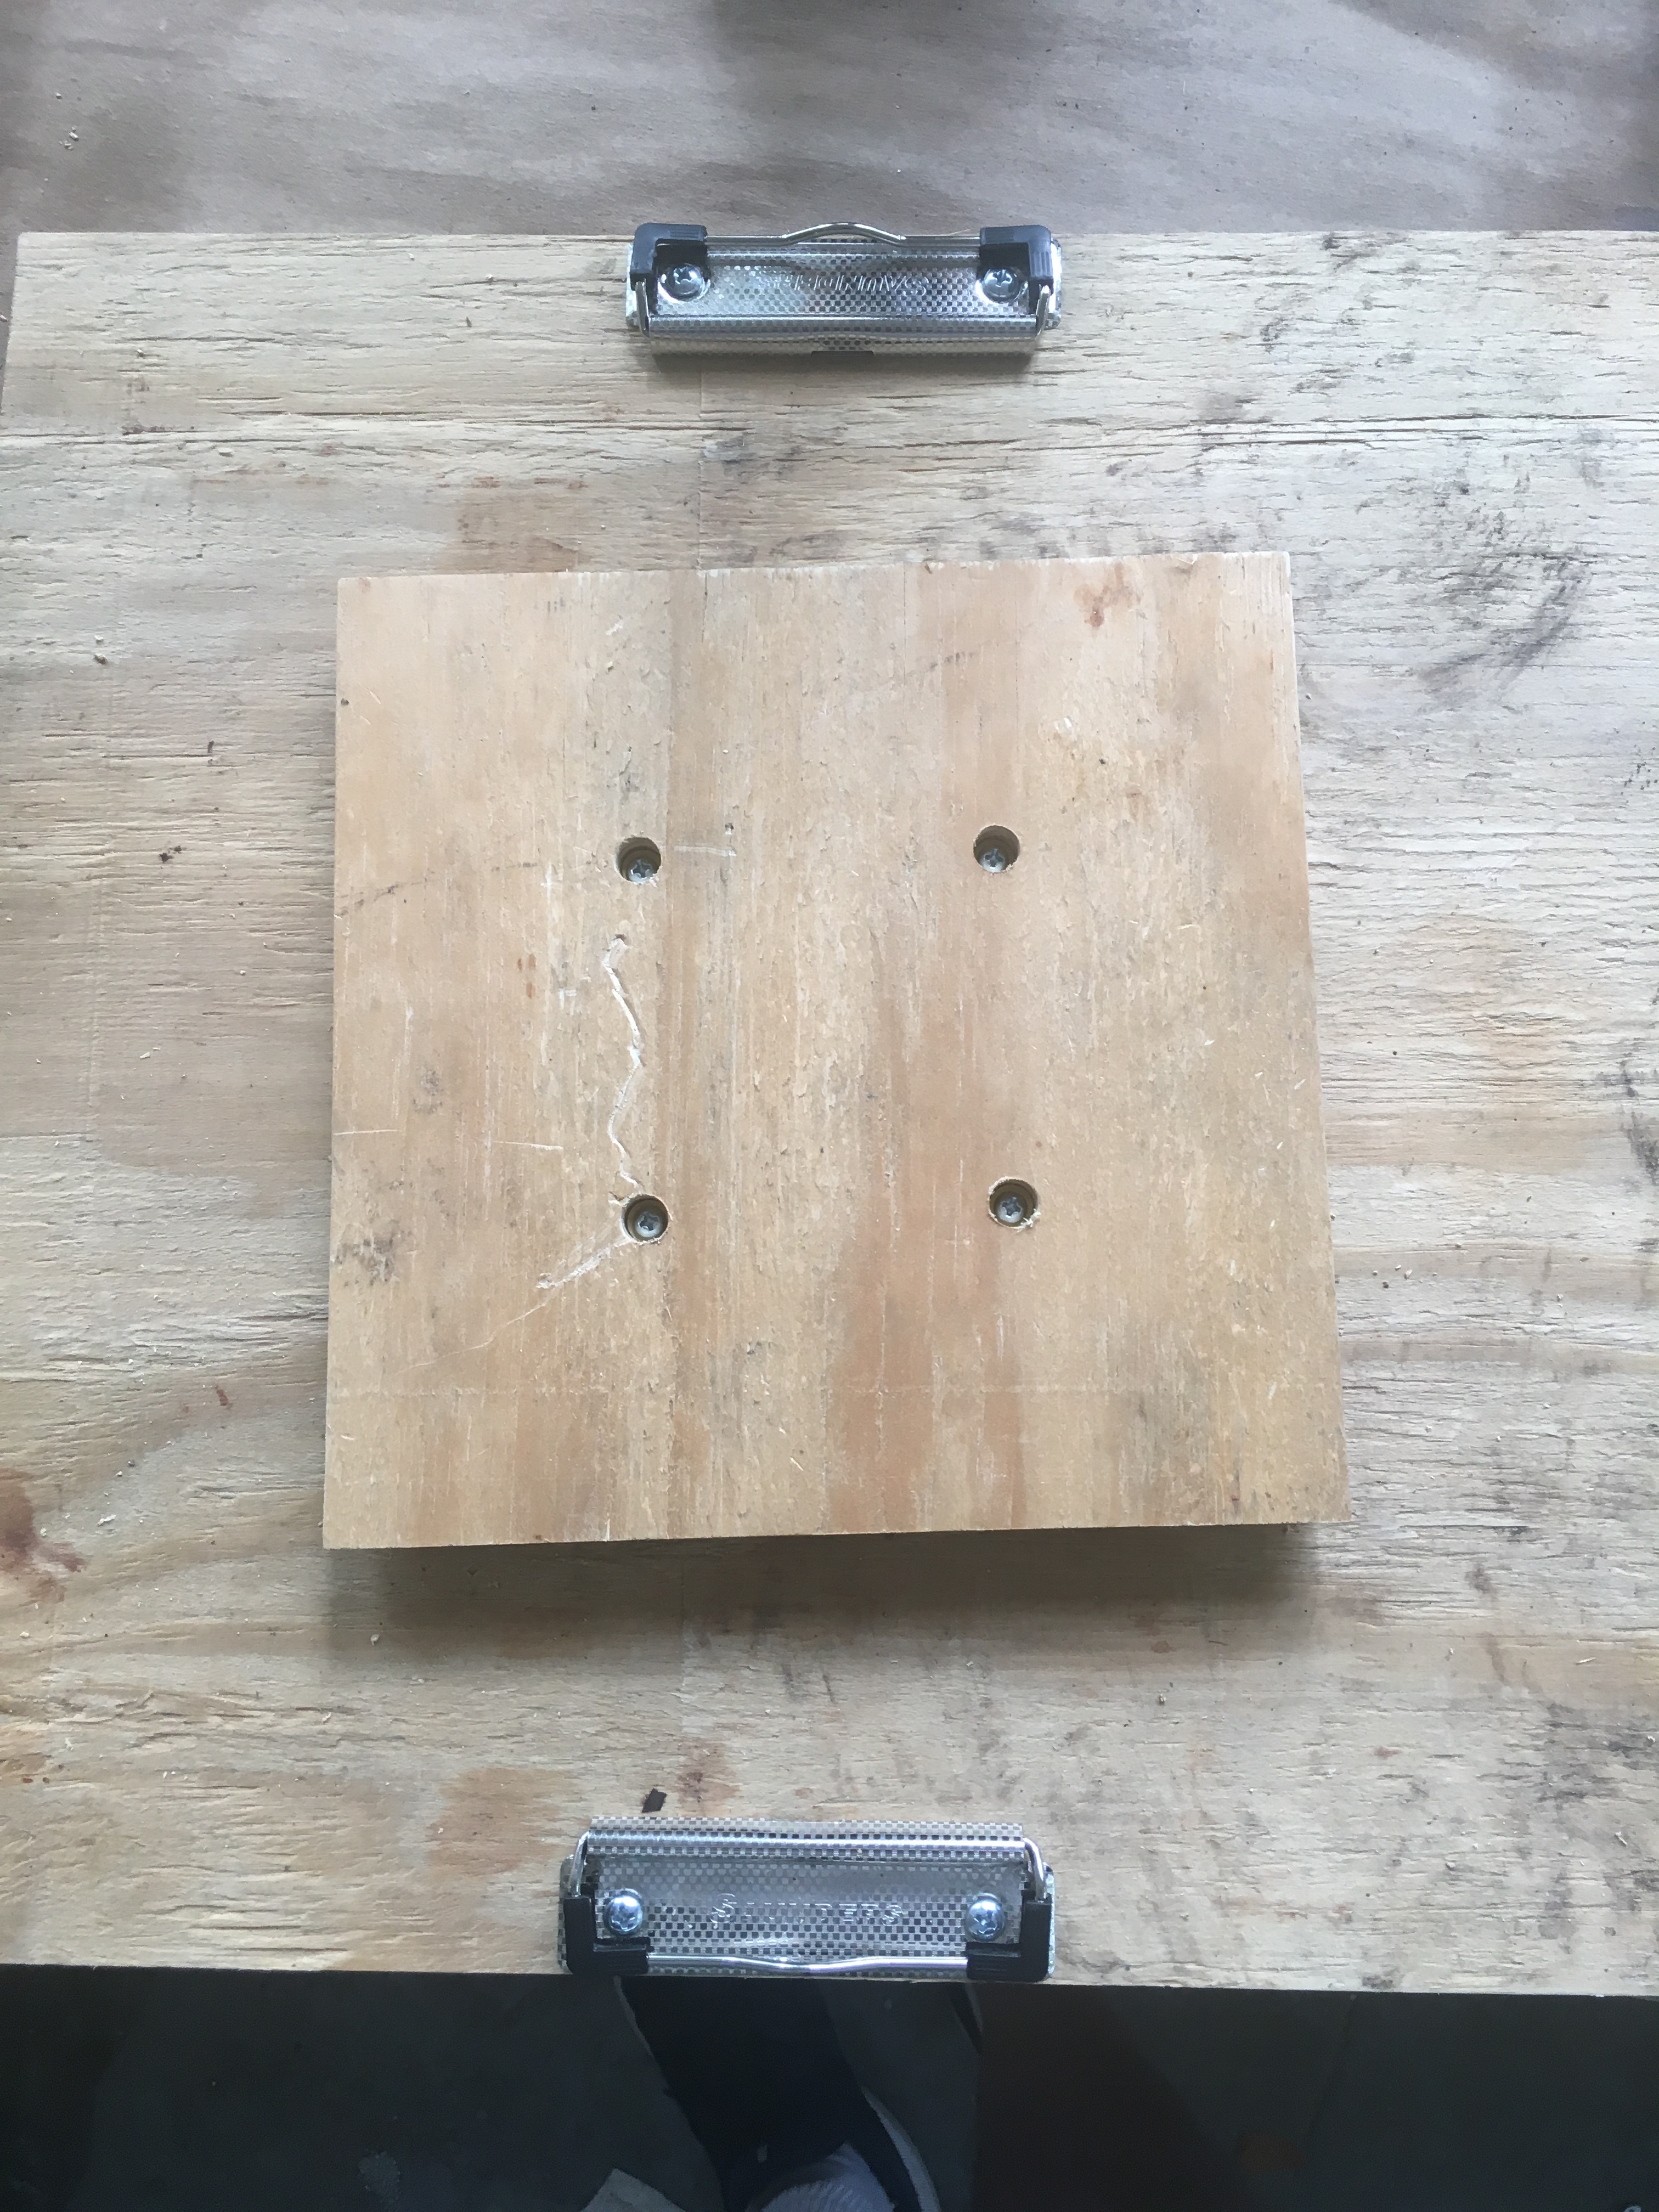
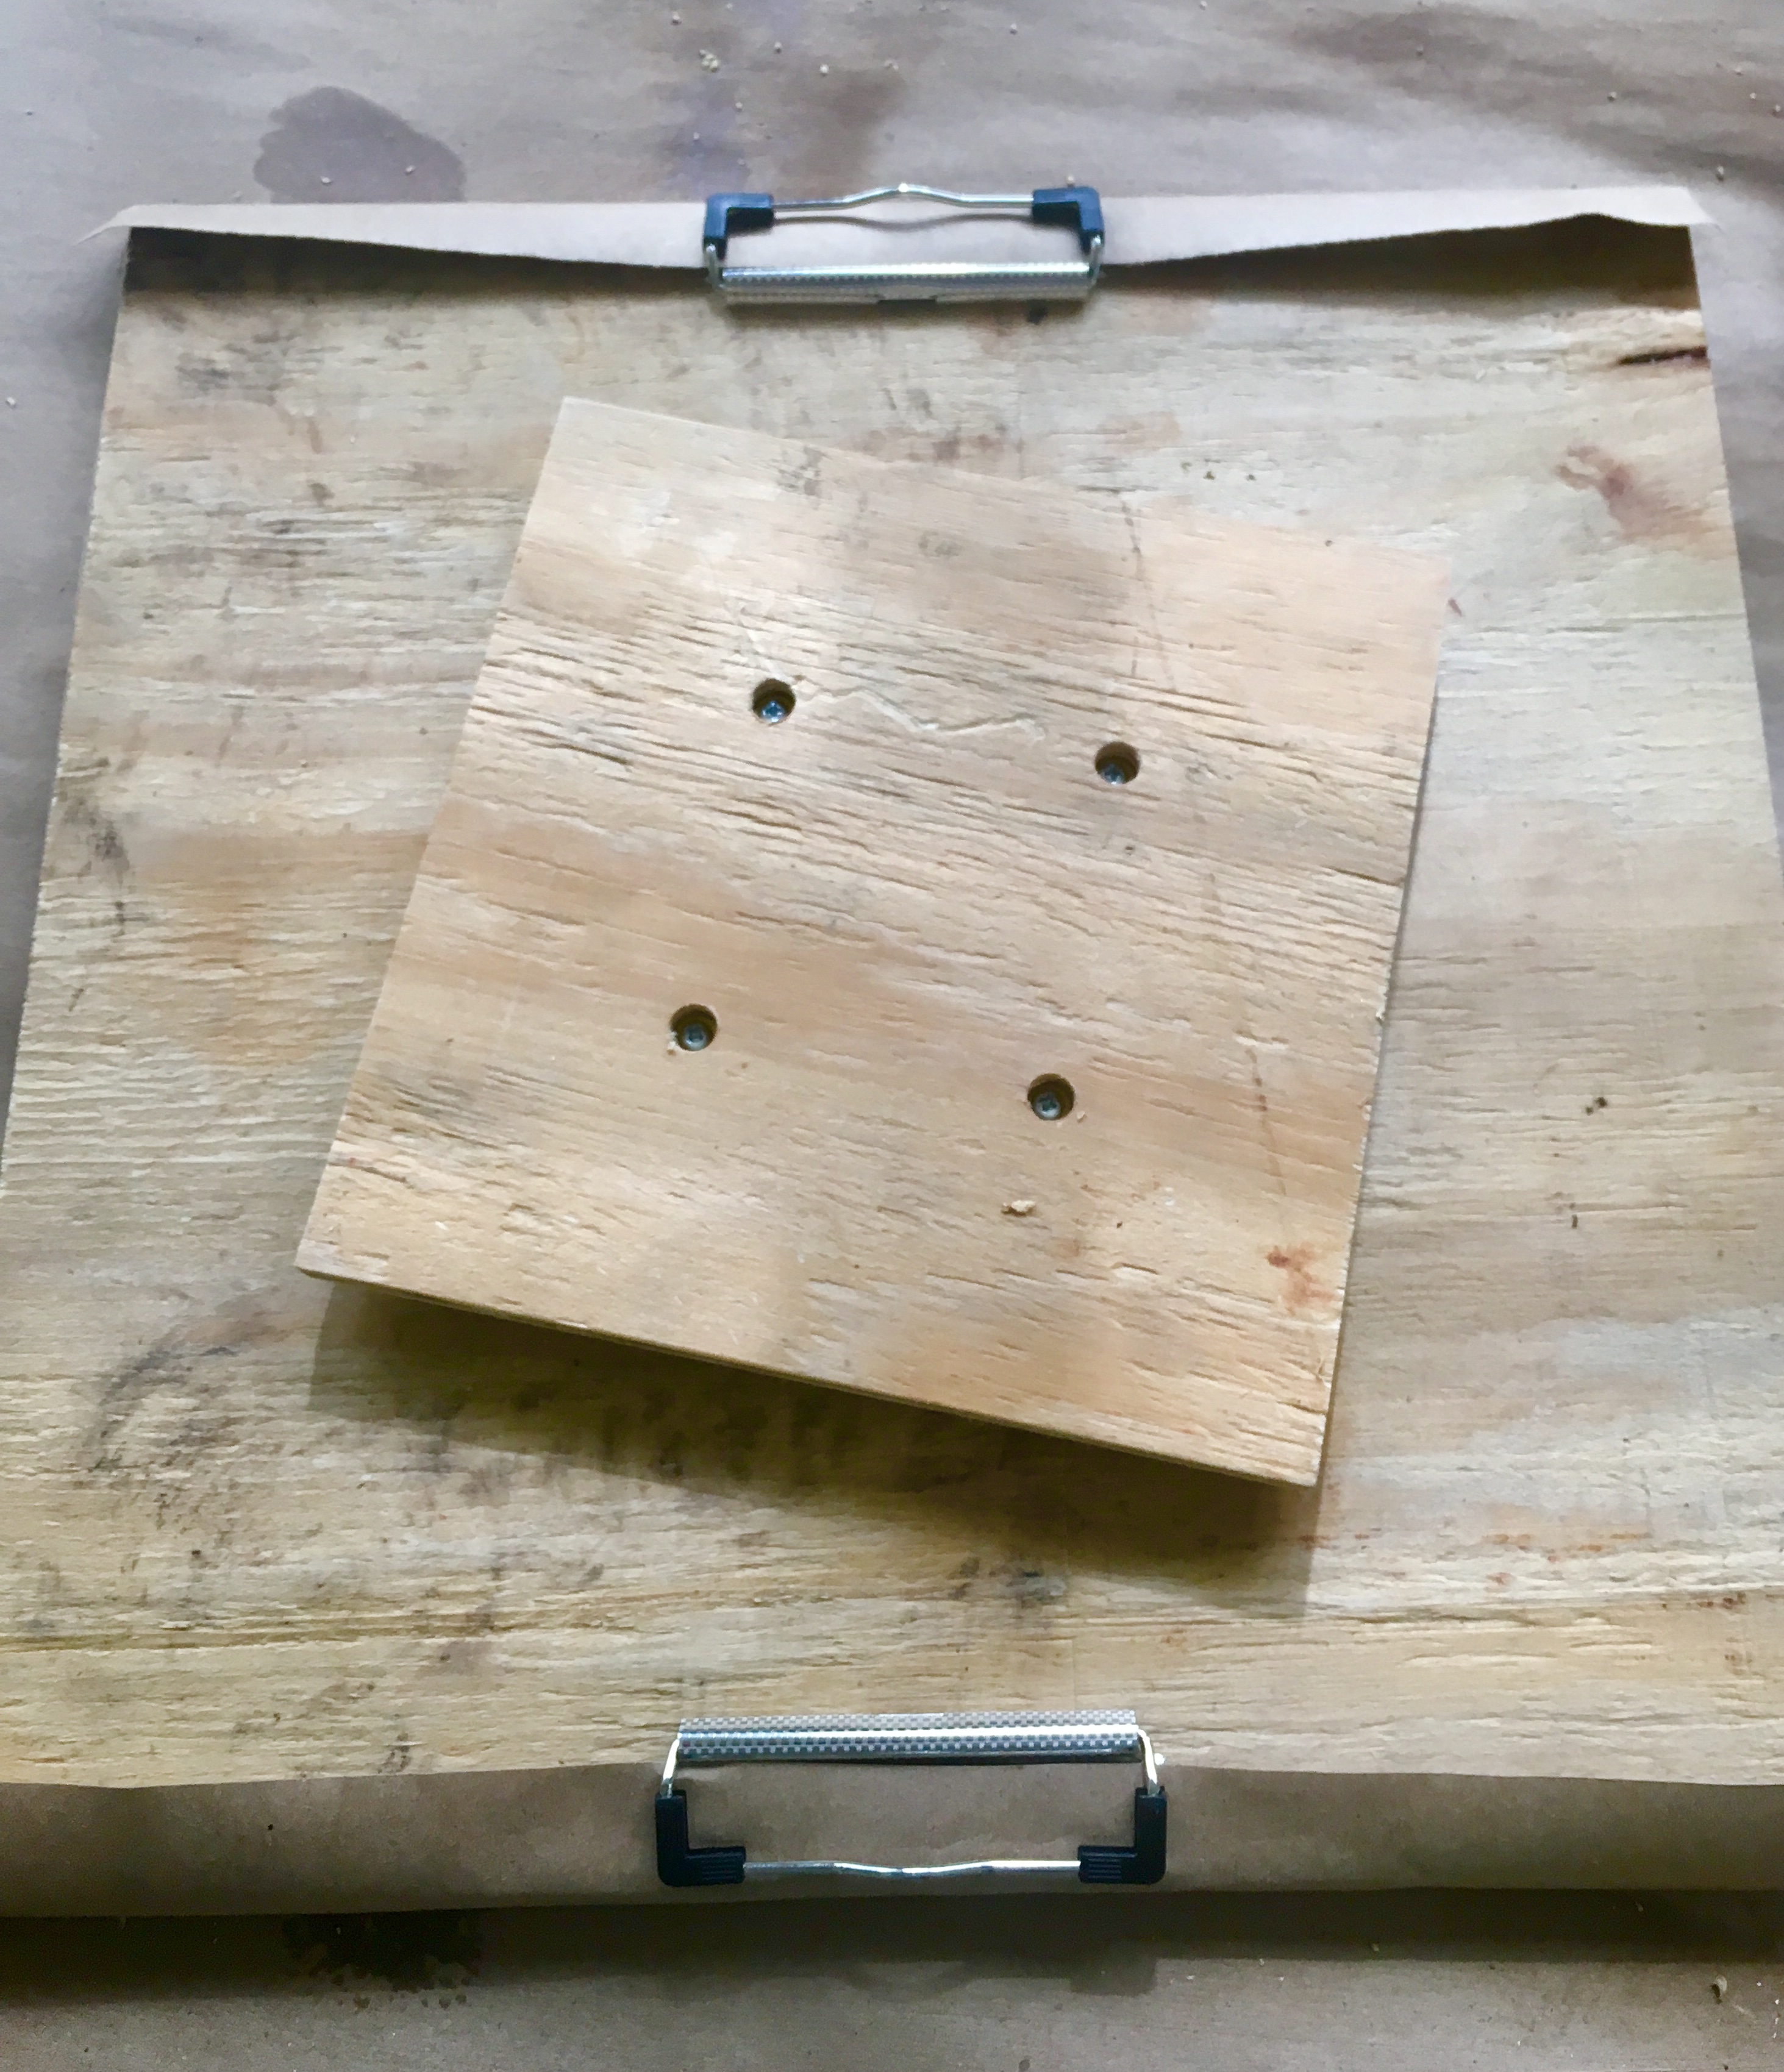
Disassemble the base and attach the lazy susan and clips to the bottom side of the top using the #8 x 3/8" screws.

Insert the base screws through the bottom so just the ends are showing. This will help you line up the screws.
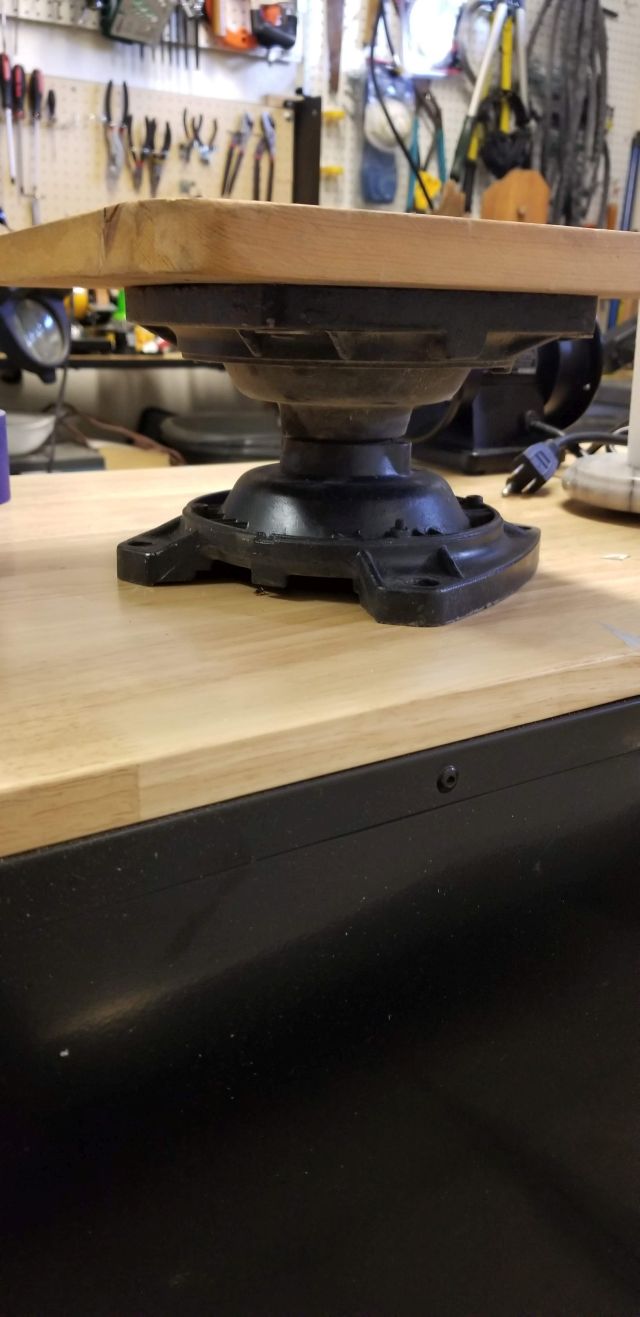
Full assembled.
Paper clips in action.
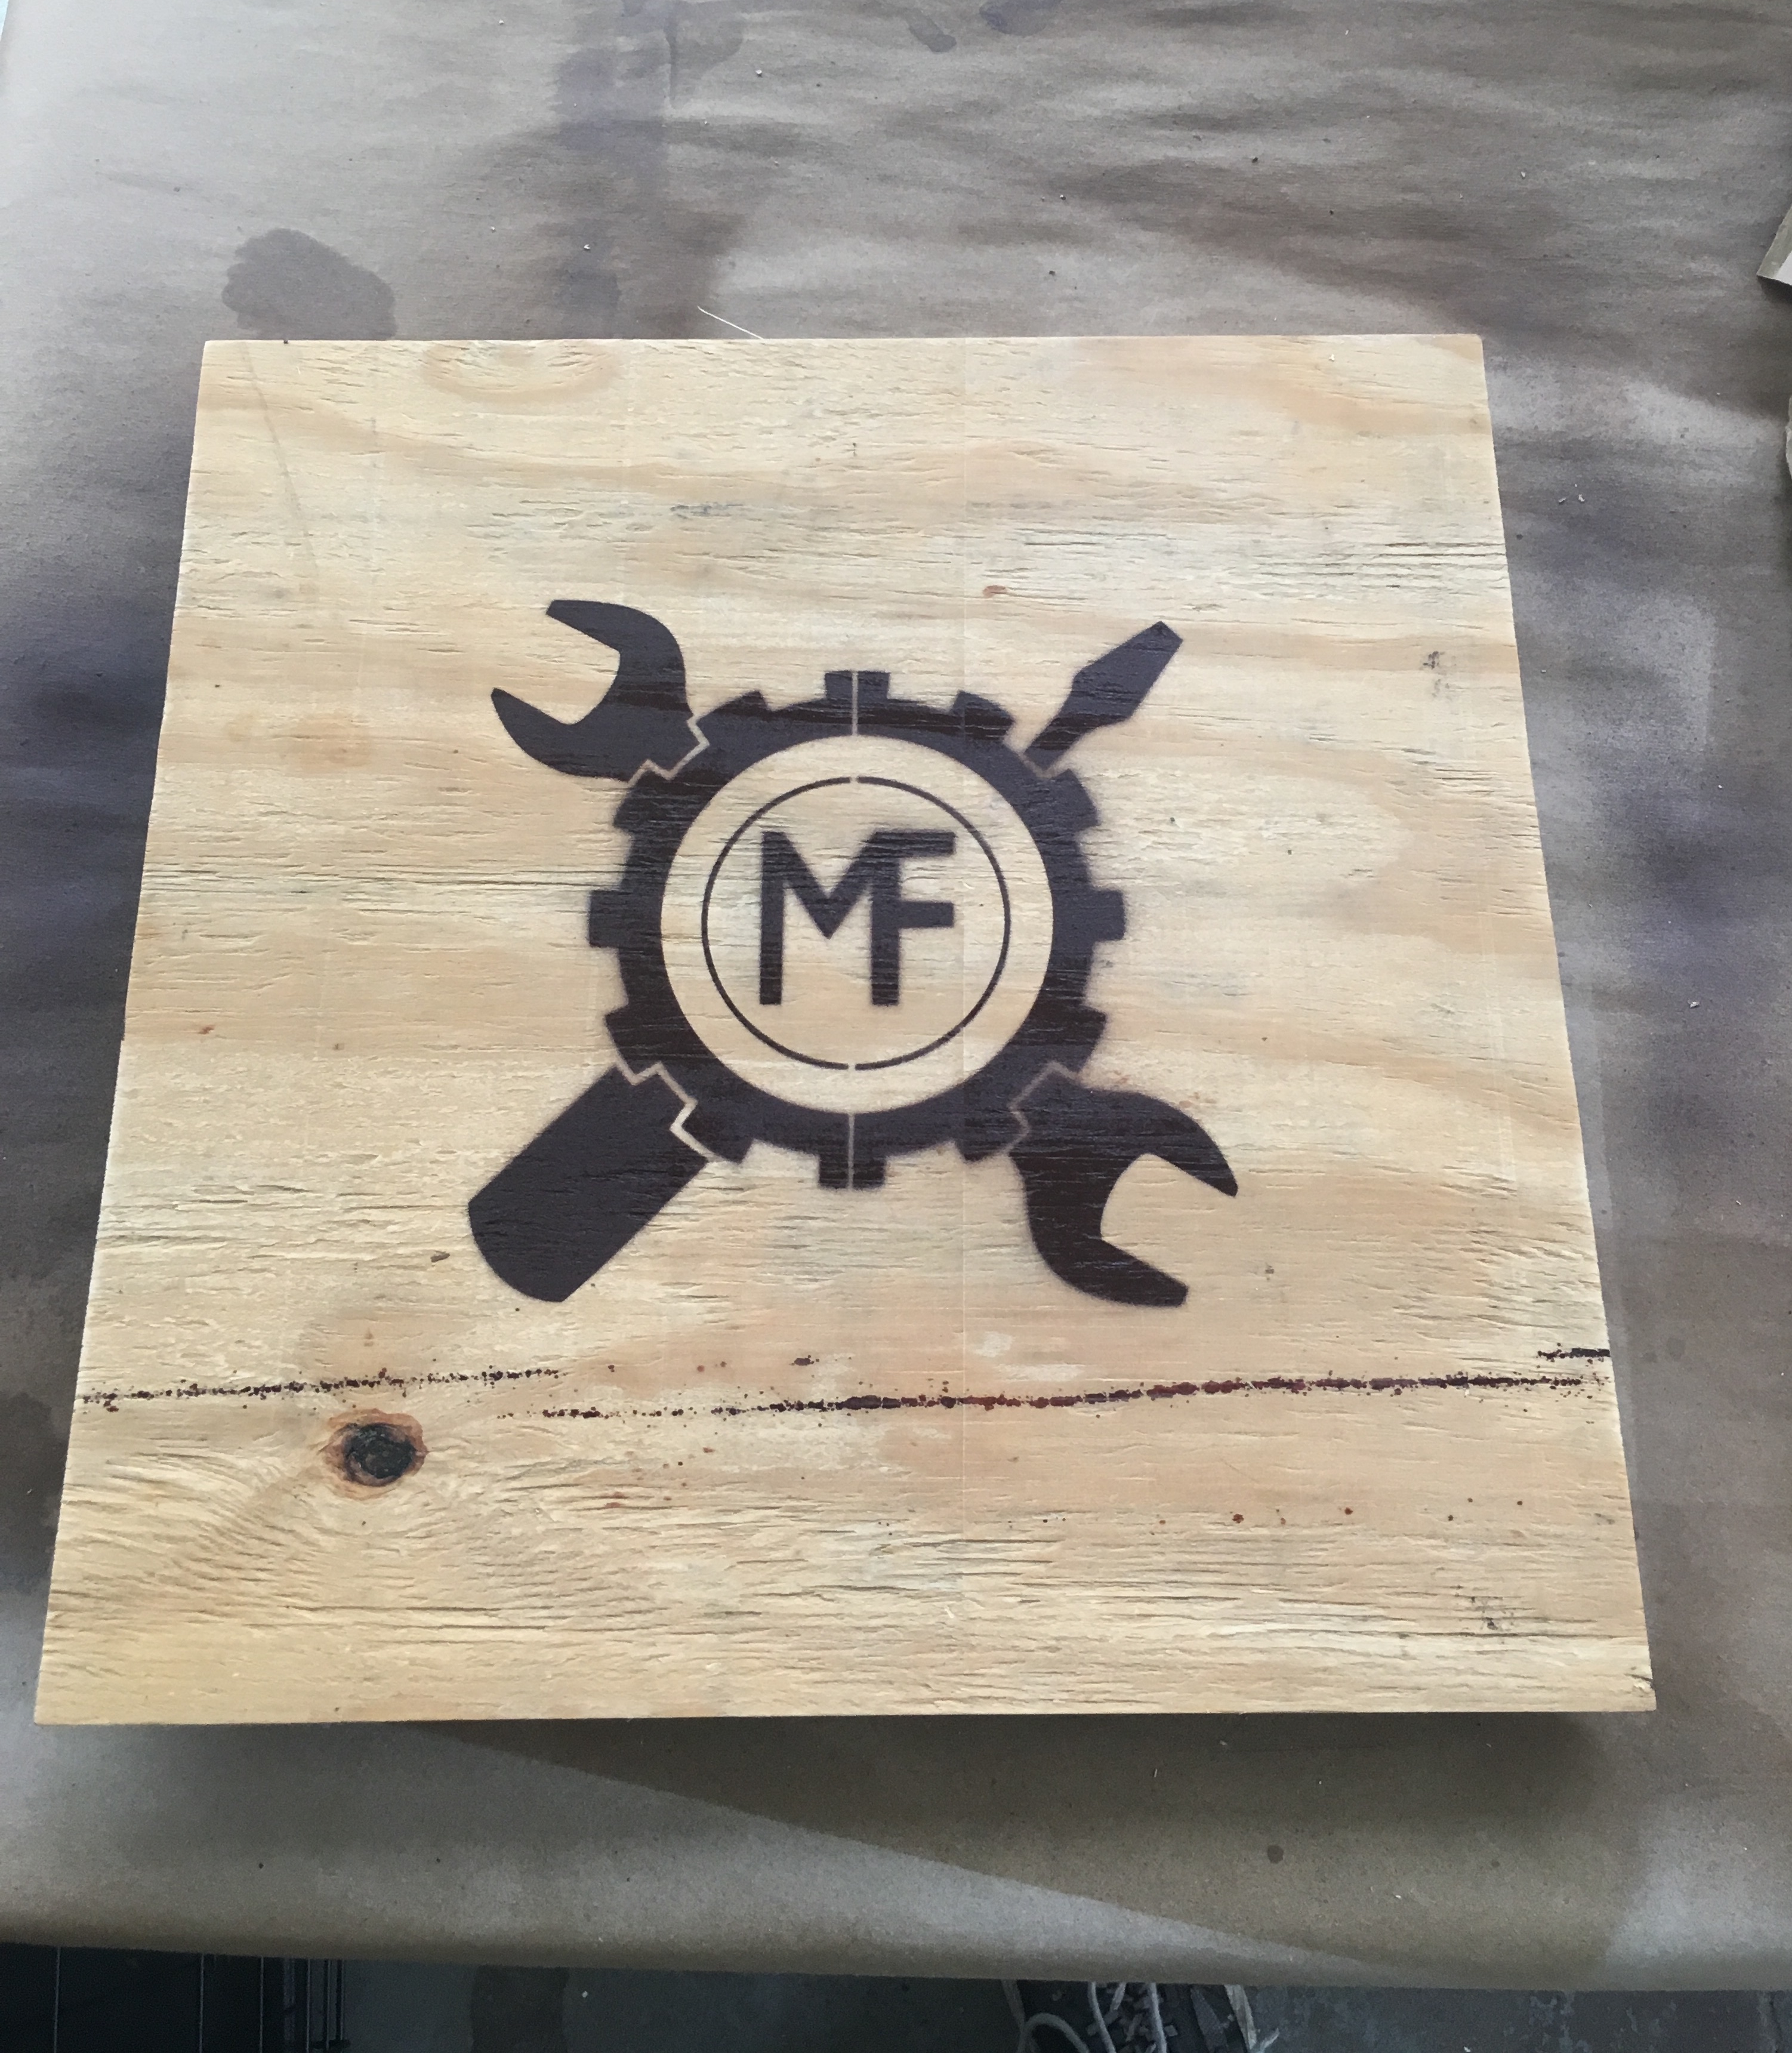
Tool big to fit my laser so I did a quick stencil and spray paint instead. ![]()